|
|

|
Porsche, and the Porsche crest are registered trademarks of Dr. Ing. h.c. F. Porsche AG.
This site is not affiliated with Porsche in any way. Its only purpose is to provide an online forum for car enthusiasts. All other trademarks are property of their respective owners. |
|
|
| Montreal914 |
 May 27 2018, 03:35 PM May 27 2018, 03:35 PM
Post
#1
|
|
Senior Member    Group: Members Posts: 1,700 Joined: 8-August 10 From: Claremont, CA Member No.: 12,023 Region Association: Southern California 
|
When I first saw the JWest shift linkage upgrade (NLA), I though it was a very elegant way to handle the support of the ball sleeve mechanism in the side shift gearbox console. I assume cost was the reason Porsche didn't do it that way.
I've always wanted to do something similar (IMG:style_emoticons/default/stirthepot.gif) . Being on a budget, I decided to modify/fabricated all of the components myself but pretty much all of this upgrade can be done with parts available through our member vendors here in one form or another. Here we go! (IMG:style_emoticons/default/sawzall-smiley.gif) (IMG:style_emoticons/default/smash.gif) (IMG:style_emoticons/default/welder.gif) (IMG:style_emoticons/default/driving.gif) Shift Console Preparation All of this started when I got a spare gearbox with a broken shift console. I though this was the perfect candidate to play with since it can't be used in its current form. I cut the remaining part of the bushing tab and file the casting flush. 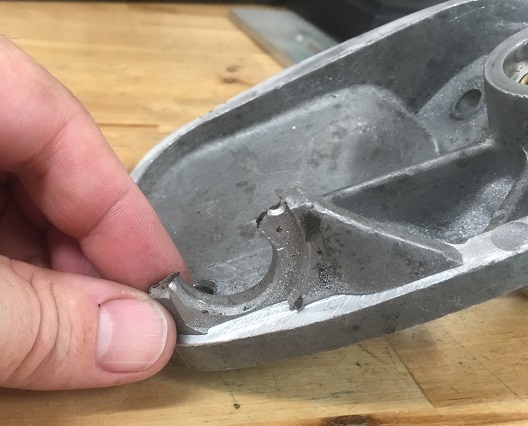 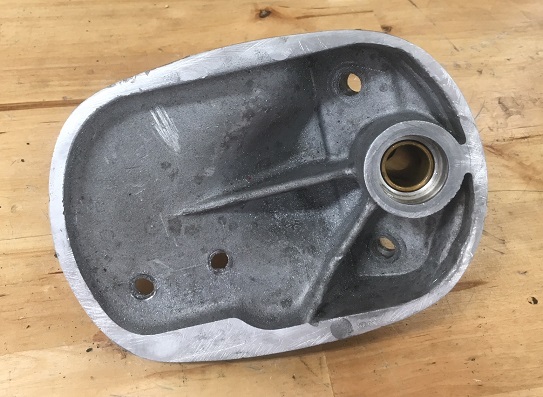 Then I prepared what would be the two new supporting tabs in which there would be oil impregnated bronze bushings. These tabs are made from a 1 1/4" x 3/8" aluminum flat bar. The 7/8" hole was machined in the right location (center 15mm from the console reference surface) to maintain the stock position of the shift rod. 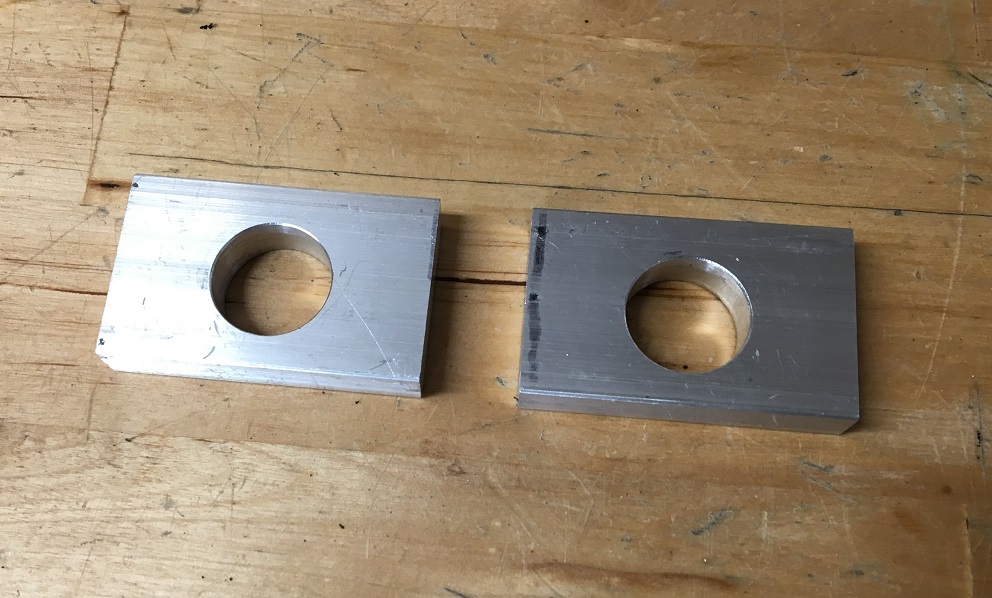 The bronze bushings (McMaster Carr 6338K426) were grooved to accept a snap ring (McMaster Carr 98585A115) to secure them to the tabs. 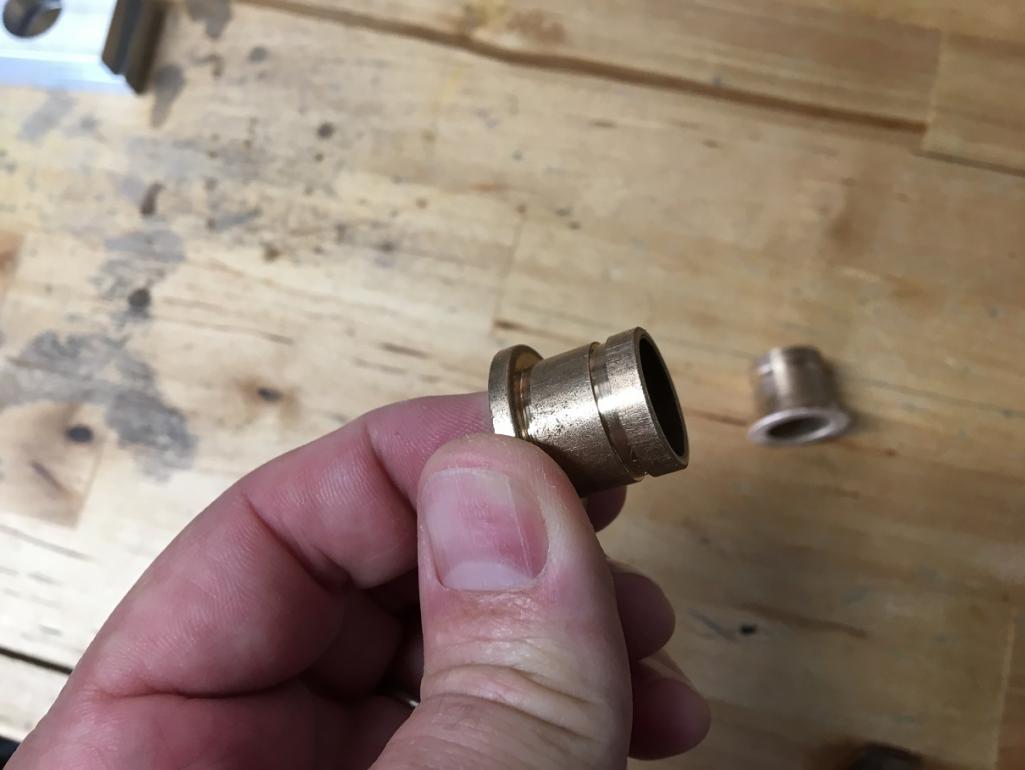 Using a piece of 5/8" shaft, I do the first layout of the assembly. 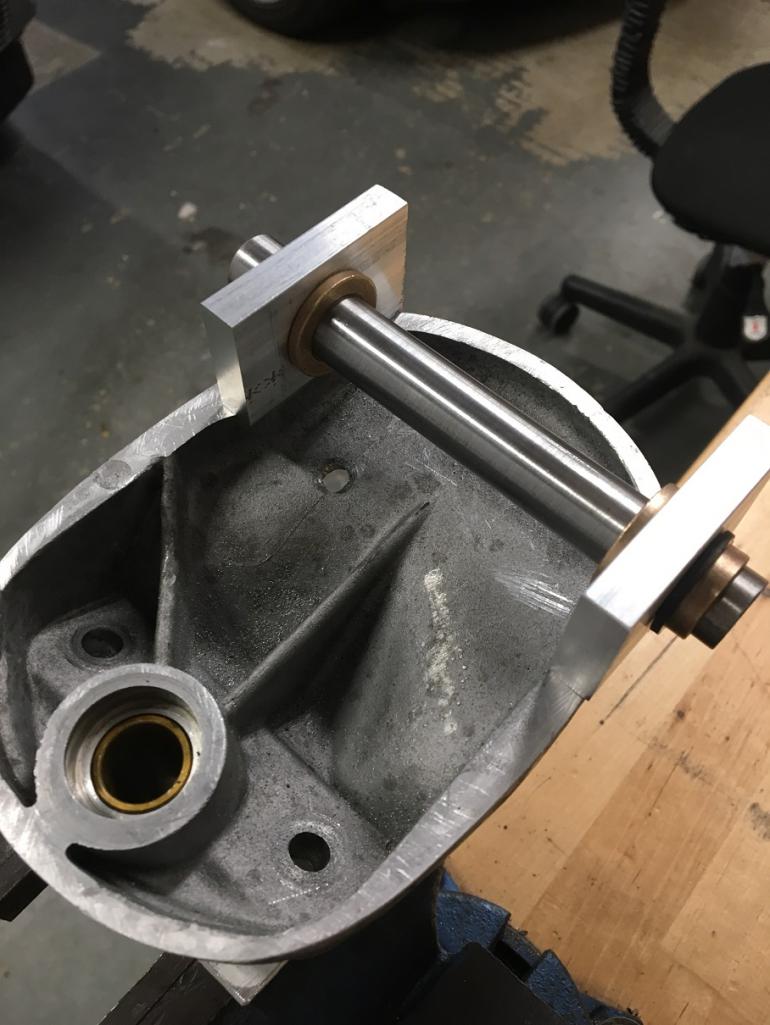 Then, with a file (aluminum is a beautiful material), I did the weld preparation of the various surfaces as per recommendations from my welder. 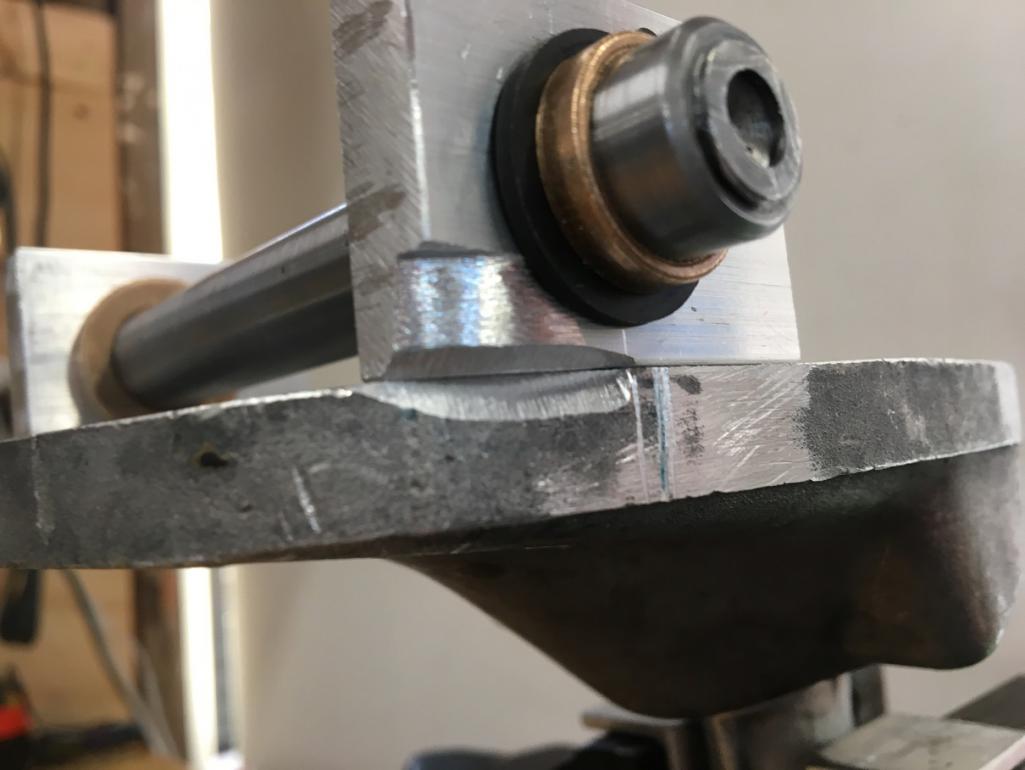 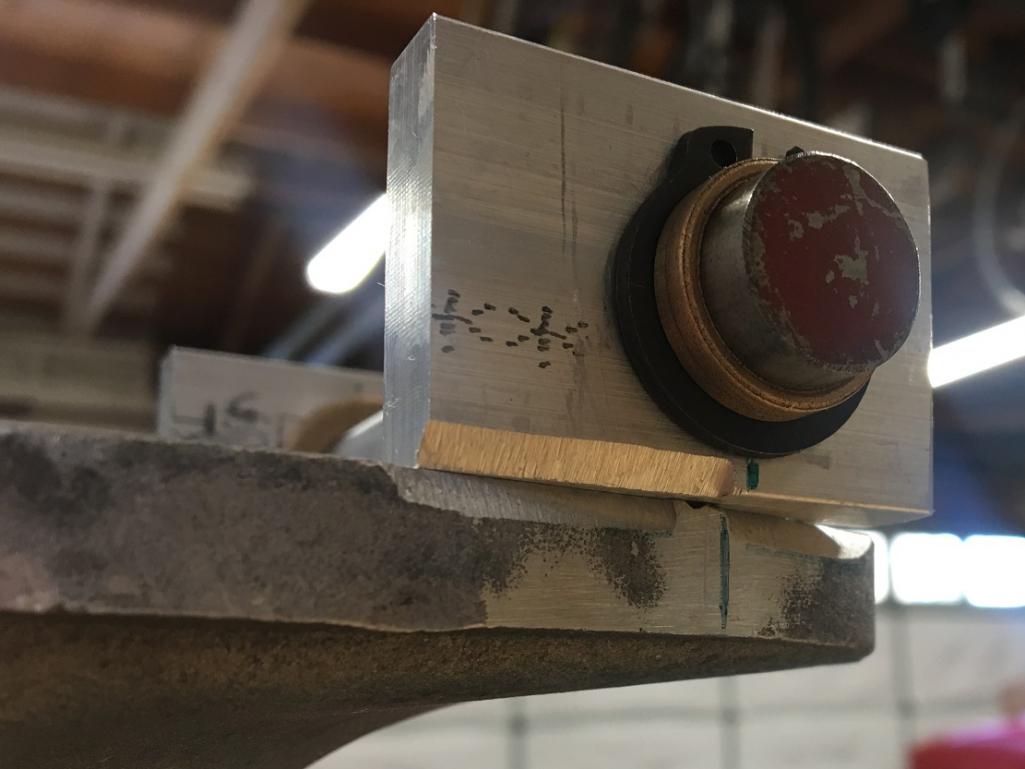 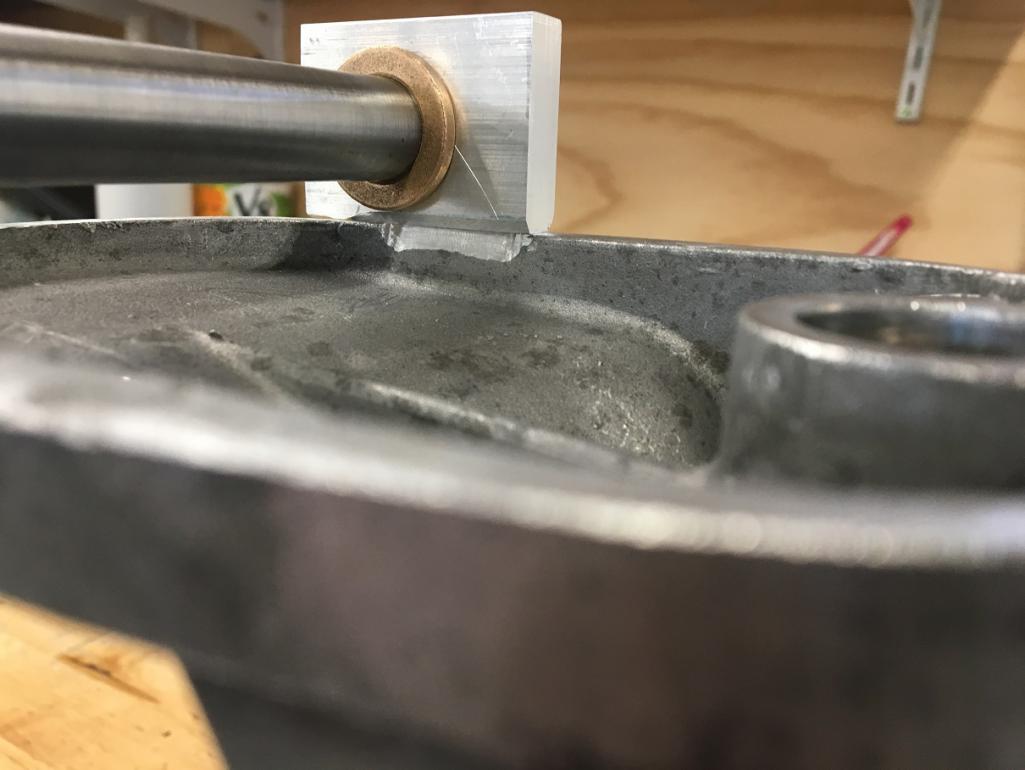 Then my welder did his magic while taking his time and extra care to make sure the material didn't pull which would have resulted with bent tabs where bushings wouldn't have lined up and ruined the whole thing. Yes the preferred way of doing this would have been to weld first and machine after but that would have made the machining of the tabs more expensive due to an elaborate setup to hold the console. I would probably do it this way if I was doing it again, but since I had a good welder, he pulled it off nicely (IMG:style_emoticons/default/sunglasses.gif) 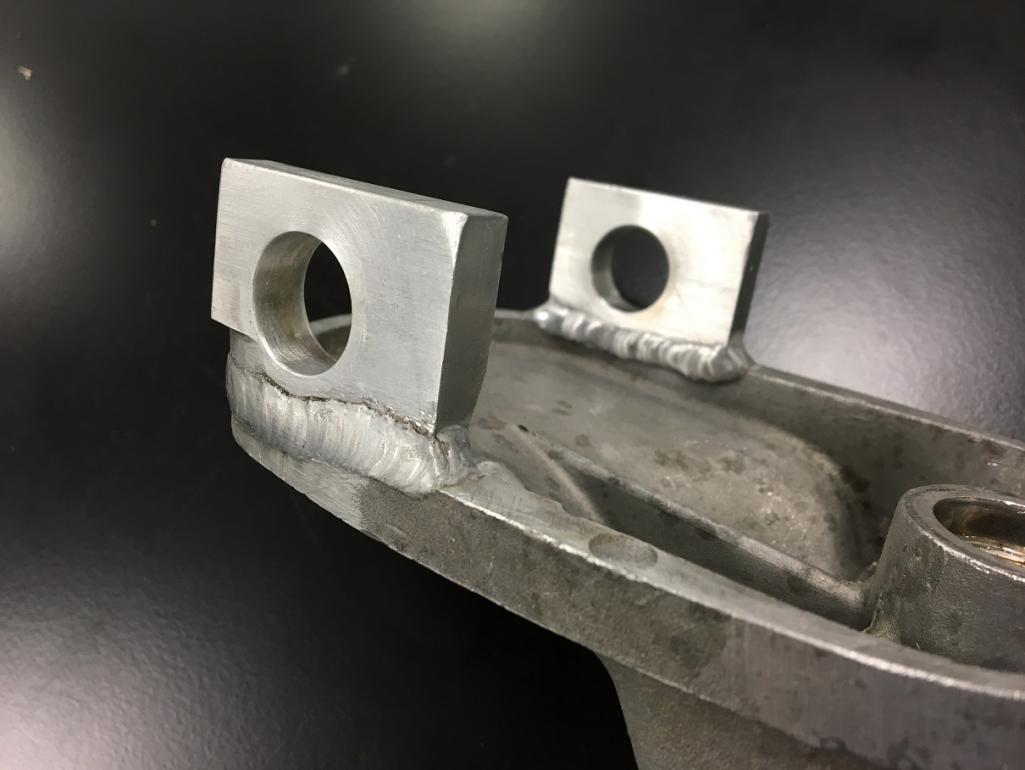 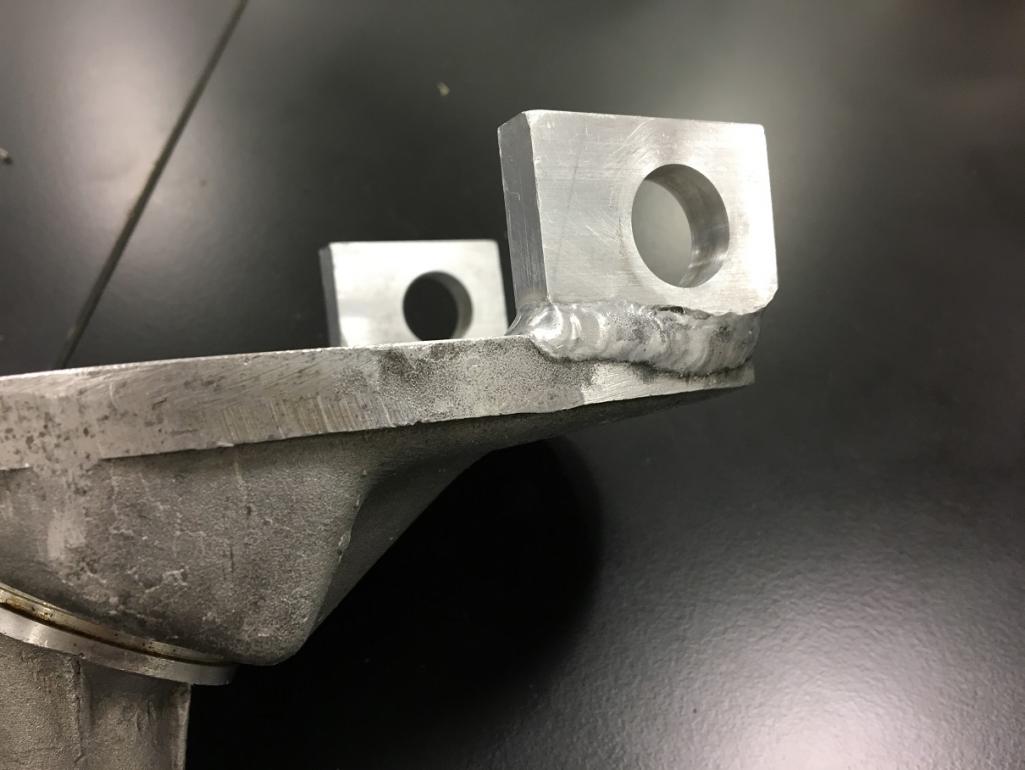 Then I used my trusted hack saw and files to smooth it out and bring it to a shape that could ressemble somewhat a stock casting form. (IMG:style_emoticons/default/w00t.gif) 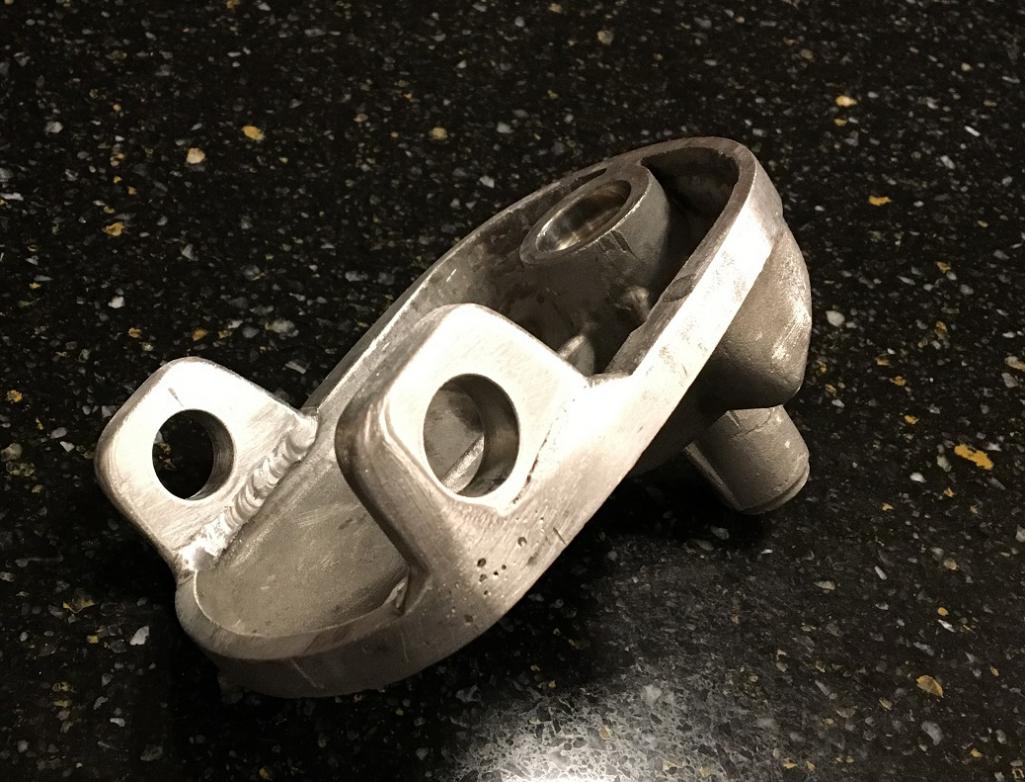 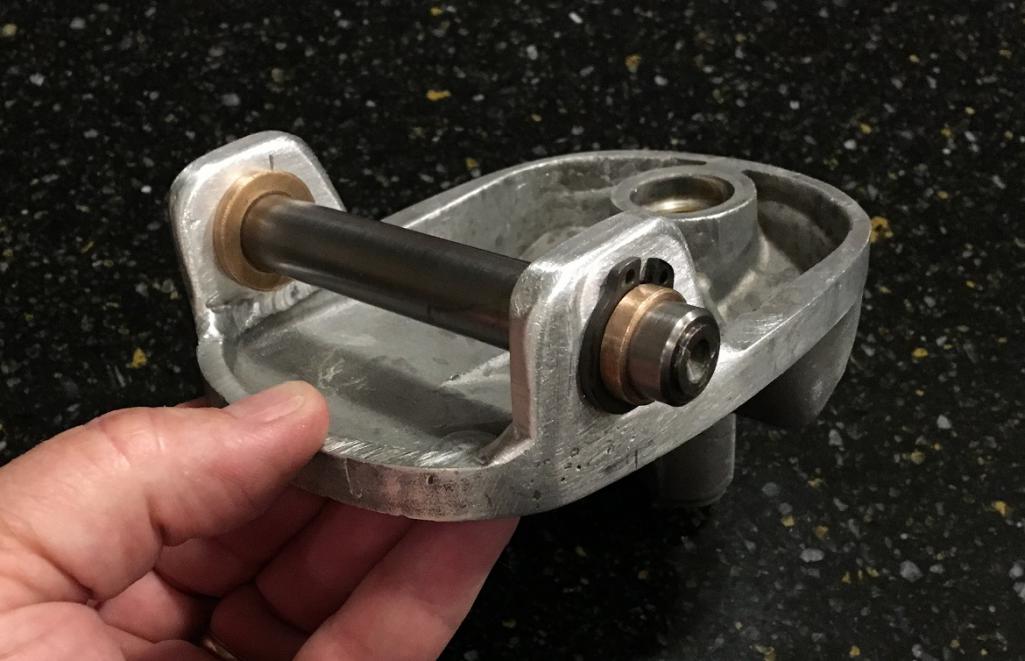 Last, I reassembled the rest of the components with a fresh seal and the console assembly was ready to be installed on the gearbox. (IMG:style_emoticons/default/beer3.gif) 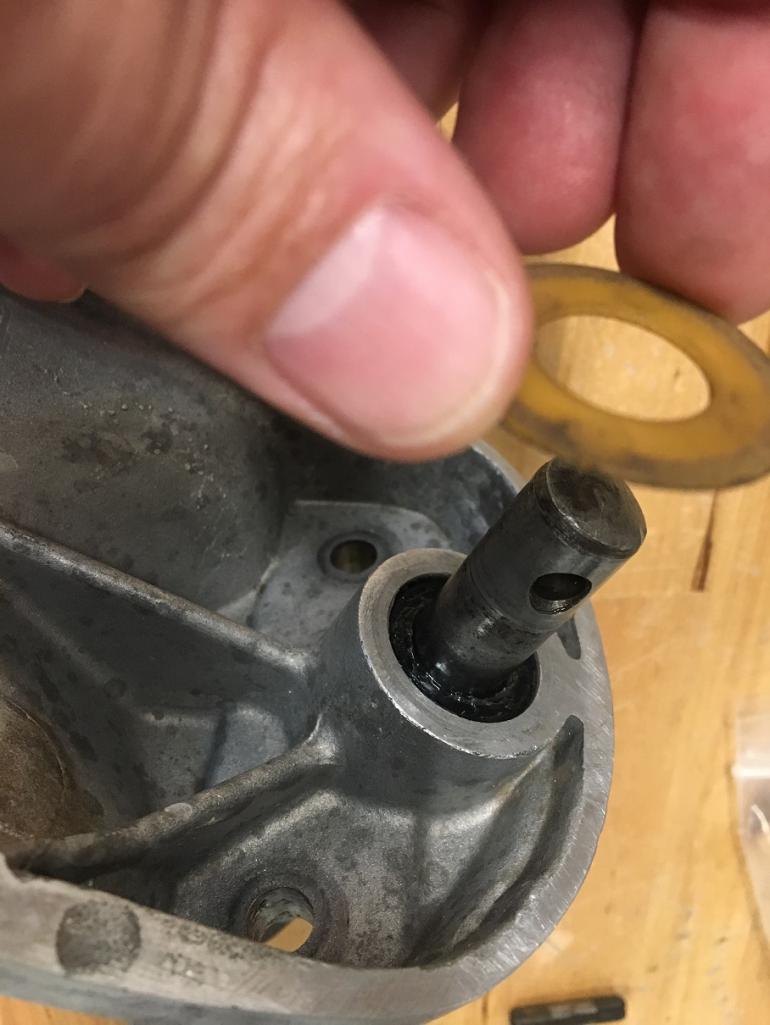 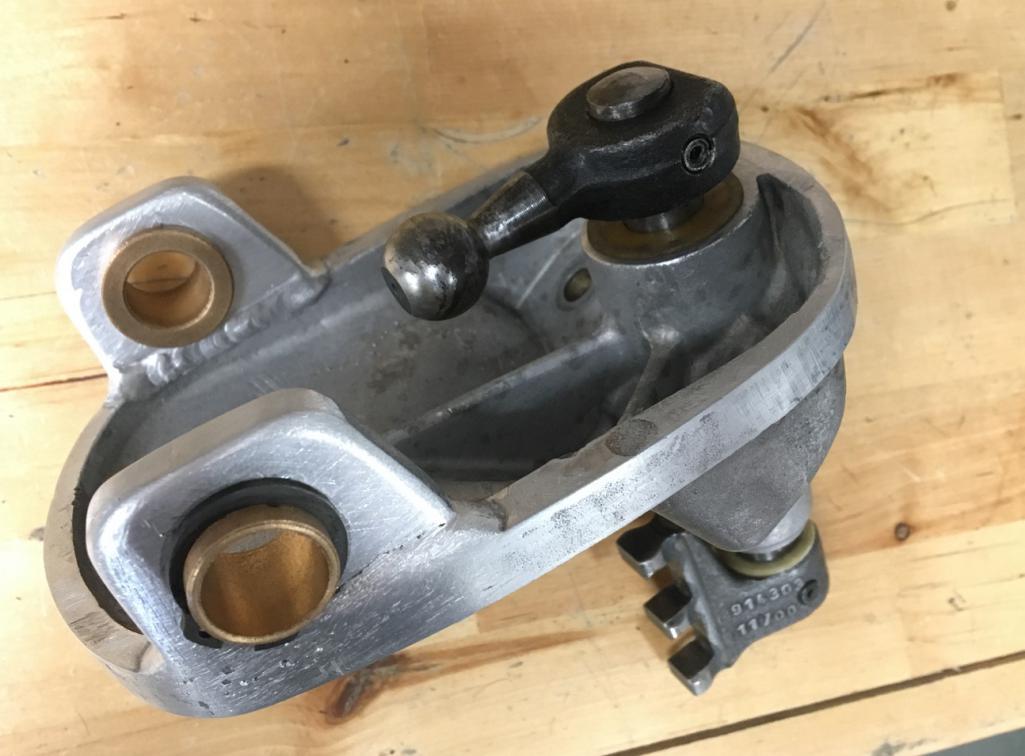 |
Posts in this topic

 Montreal914 Next step was to start working on the front rod of... May 27 2018, 03:54 PM
 Montreal914 Firewall Bushing
I lucked out on this one as I ha... May 27 2018, 04:06 PM
 Montreal914 Shift Console Installation
Before installing the ... May 27 2018, 04:21 PM
 porschetub
When I first saw the JWest shift linkage upgrade ... May 27 2018, 04:26 PM
 Montreal914 Rear Shift Rod
Again, before cutting anything, I ... May 27 2018, 04:51 PM
 Montreal914 Porschetub; I measured everything before modifyin... May 27 2018, 05:03 PM
 troth I remember seeing something similar on Chris foley... May 27 2018, 08:58 PM

 mepstein
I remember seeing something similar on Chris fole... May 27 2018, 09:42 PM


 Mark Henry
[quote name='troth' post='2613293' date='May 27 2... May 28 2018, 12:31 PM

 stugray
I remember seeing something similar on Chris fole... May 28 2018, 12:22 PM
 Blue6 Nice work. Thank you for documenting and posting :... May 27 2018, 09:07 PM
 Montreal914 Yep, didn't invent anything here, just made my... May 28 2018, 11:11 AM
 jim_hoyland Fantastic DIY project , Thanks for sharing the pic... May 28 2018, 07:07 PM
 GregAmy You are clearly a man of fab talent and motivation... May 29 2018, 06:41 AM
 maf914 Excellent thread, Montreal914. Thanks for posting... May 29 2018, 07:15 AM

 Montreal914
Excellent thread, Montreal914. Thanks for postin... May 29 2018, 01:35 PM

 porschetub
Excellent thread, Montreal914. Thanks for posti... May 29 2018, 11:50 PM
 UROpartsman
Then my welder did his magic while taking his tim... May 29 2018, 11:00 AM
 Dr Evil Very nice. Thanks for the pics and write up. Jun 1 2018, 01:47 PM
 Mueller Very nice, I might have to borrow a few of your de... Jun 1 2018, 02:00 PM
 Montreal914 Please do! :beer2:
This is a gathering of m... Jun 1 2018, 08:09 PM
 whitetwinturbo :popcorn: :smash: :trophy: ....great stuff! Jun 12 2018, 09:24 AM
  |
8 User(s) are reading this topic (8 Guests and 0 Anonymous Users)
0 Members:

|
Lo-Fi Version | Time is now: 23rd November 2024 - 07:16 AM |
Invision Power Board
v9.1.4 © 2024 IPS, Inc.


