|
|

|
Porsche, and the Porsche crest are registered trademarks of Dr. Ing. h.c. F. Porsche AG.
This site is not affiliated with Porsche in any way. Its only purpose is to provide an online forum for car enthusiasts. All other trademarks are property of their respective owners. |
|
|
  |
| SpecialK |
 Jul 31 2005, 08:14 AM Jul 31 2005, 08:14 AM
Post
#481
|
||
|
aircraft surgeon     Group: Benefactors Posts: 3,211 Joined: 15-March 04 From: Pacific, MO Member No.: 1,797  |
"...its amazing what you can do with some sheet metal and a hammer." (IMG:http://www.914world.com/bbs2/html/emoticons/pray.gif) |
||
| michelko |
 Aug 6 2005, 08:24 AM Aug 6 2005, 08:24 AM
Post
#482
|
|
Senior Member    Group: Members Posts: 867 Joined: 30-November 03 From: Germany, Lambsheim Member No.: 1,404 Region Association: None |
So guy´s
i decided for the por 15 way. Grind down the panel to bare metal (exept the great ding), wash it with marin clean, prep it with metal ready, paint some por 15. So far so good. then tie coat primer, then bondo the little scratches and dings, sand all smooth, shoot filler, again sanding/filling, last but not least the blue paint. This is the plan , let´s see how it works. the first four steps i did today, see the pics. #1 after metall ready Attached image(s) 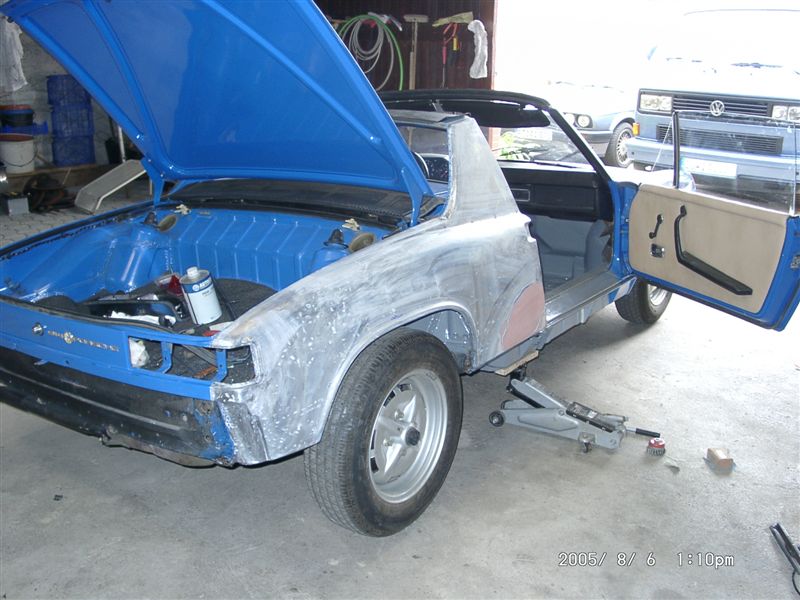
|
| michelko |
 Aug 6 2005, 08:25 AM Aug 6 2005, 08:25 AM
Post
#483
|
|
Senior Member    Group: Members Posts: 867 Joined: 30-November 03 From: Germany, Lambsheim Member No.: 1,404 Region Association: None |
#2
Attached image(s) 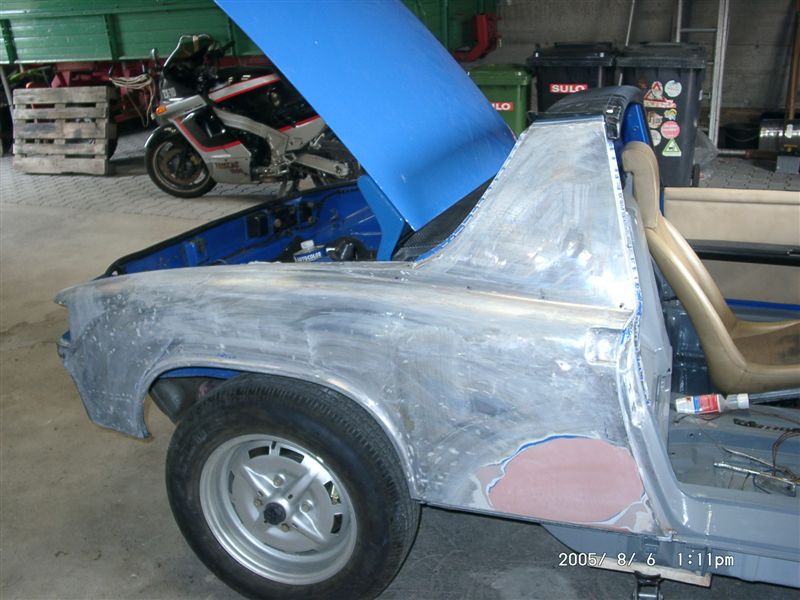
|
| michelko |
 Aug 6 2005, 08:26 AM Aug 6 2005, 08:26 AM
Post
#484
|
|
Senior Member    Group: Members Posts: 867 Joined: 30-November 03 From: Germany, Lambsheim Member No.: 1,404 Region Association: None |
#3
Attached image(s) 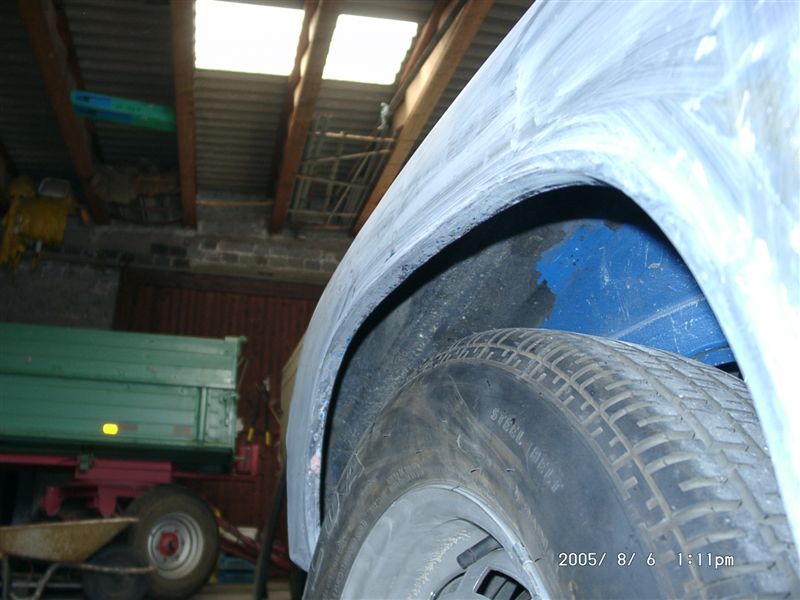
|
| michelko |
 Aug 6 2005, 08:27 AM Aug 6 2005, 08:27 AM
Post
#485
|
|
Senior Member    Group: Members Posts: 867 Joined: 30-November 03 From: Germany, Lambsheim Member No.: 1,404 Region Association: None |
#4
Attached image(s) 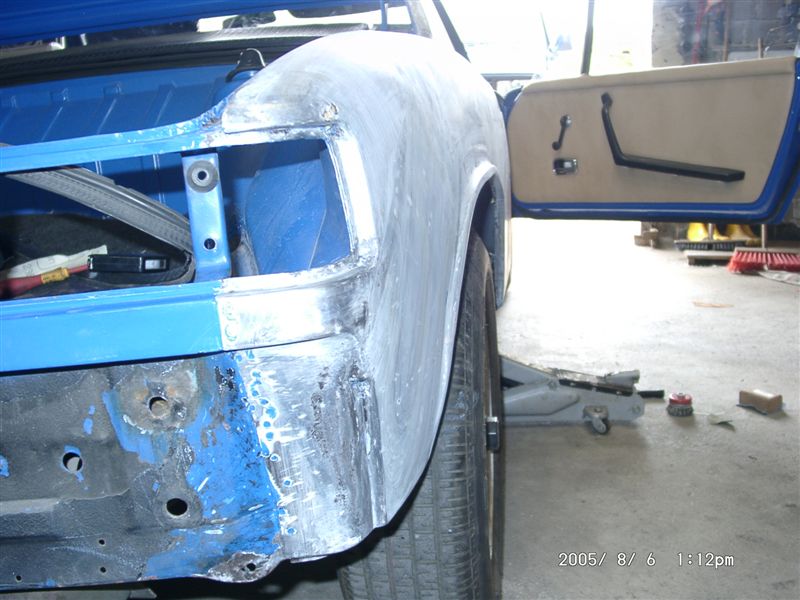
|
| michelko |
 Aug 6 2005, 08:29 AM Aug 6 2005, 08:29 AM
Post
#486
|
|
Senior Member    Group: Members Posts: 867 Joined: 30-November 03 From: Germany, Lambsheim Member No.: 1,404 Region Association: None |
the next ones with the por15 on
the difference in the look is realy amacing #5 Attached image(s) 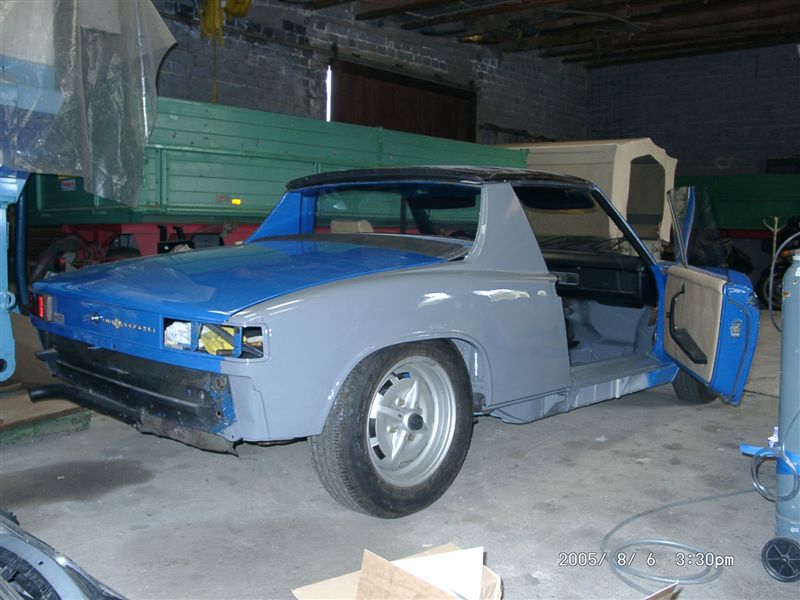
|
| michelko |
 Aug 6 2005, 08:30 AM Aug 6 2005, 08:30 AM
Post
#487
|
|
Senior Member    Group: Members Posts: 867 Joined: 30-November 03 From: Germany, Lambsheim Member No.: 1,404 Region Association: None |
#6
Attached image(s) 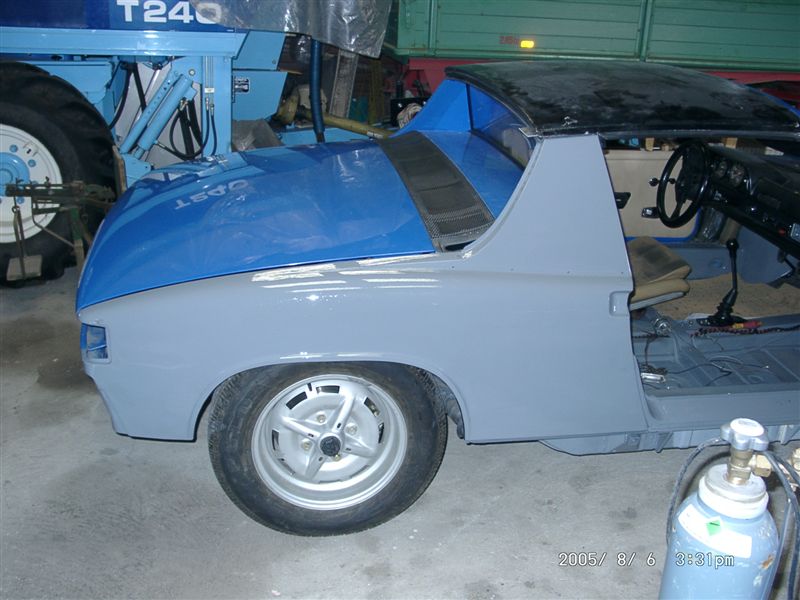
|
| michelko |
 Aug 6 2005, 08:31 AM Aug 6 2005, 08:31 AM
Post
#488
|
|
Senior Member    Group: Members Posts: 867 Joined: 30-November 03 From: Germany, Lambsheim Member No.: 1,404 Region Association: None |
#7
Attached image(s) 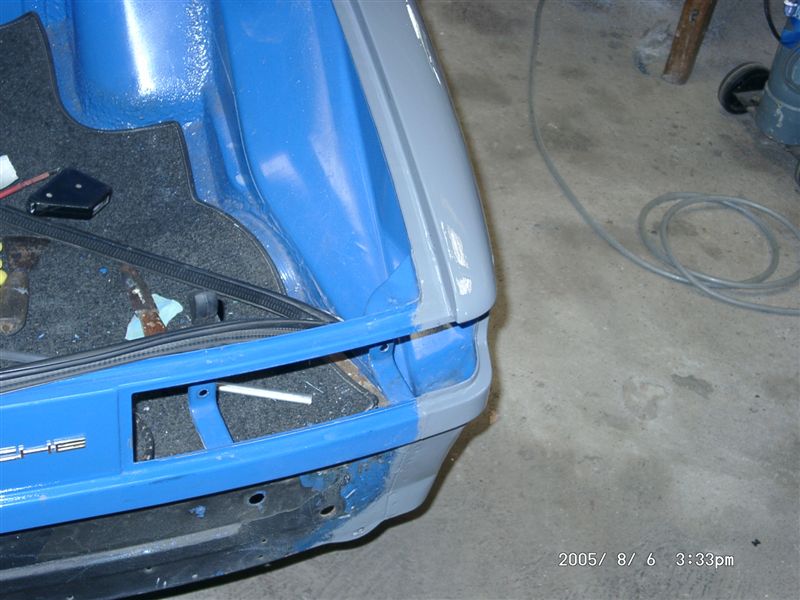
|
| michelko |
 Aug 6 2005, 08:32 AM Aug 6 2005, 08:32 AM
Post
#489
|
|
Senior Member    Group: Members Posts: 867 Joined: 30-November 03 From: Germany, Lambsheim Member No.: 1,404 Region Association: None |
#8
Attached image(s) 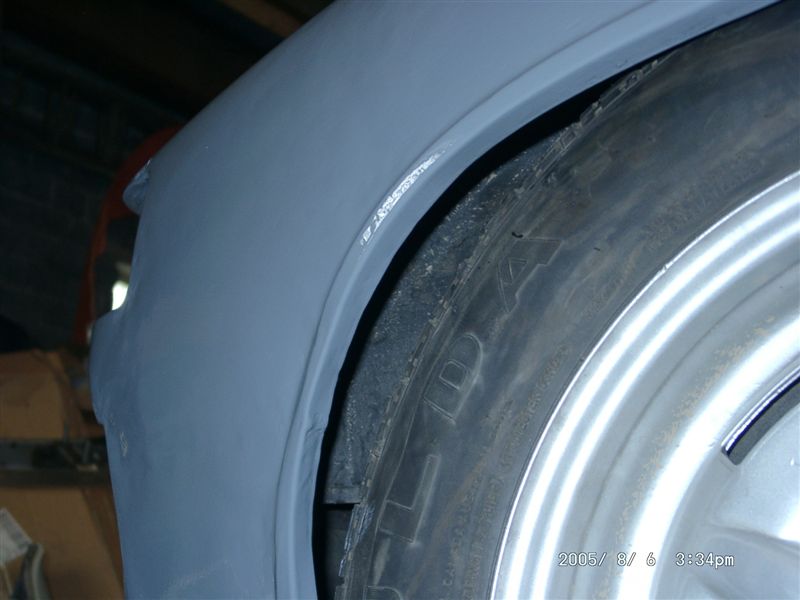
|
| michelko |
 Aug 6 2005, 08:32 AM Aug 6 2005, 08:32 AM
Post
#490
|
|
Senior Member    Group: Members Posts: 867 Joined: 30-November 03 From: Germany, Lambsheim Member No.: 1,404 Region Association: None |
#9
Attached image(s) 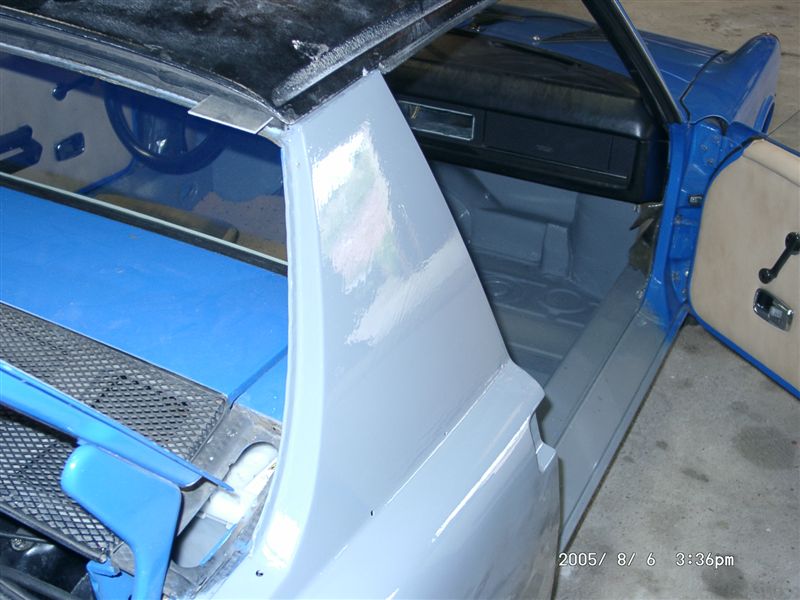
|
| michelko |
 Aug 6 2005, 08:34 AM Aug 6 2005, 08:34 AM
Post
#491
|
|
Senior Member    Group: Members Posts: 867 Joined: 30-November 03 From: Germany, Lambsheim Member No.: 1,404 Region Association: None |
#10
till now i am realy sattisfied with the result. can´t wait to go further. (IMG:http://www.914world.com/bbs2/html/emoticons/smilie_flagge6.gif) Attached image(s) 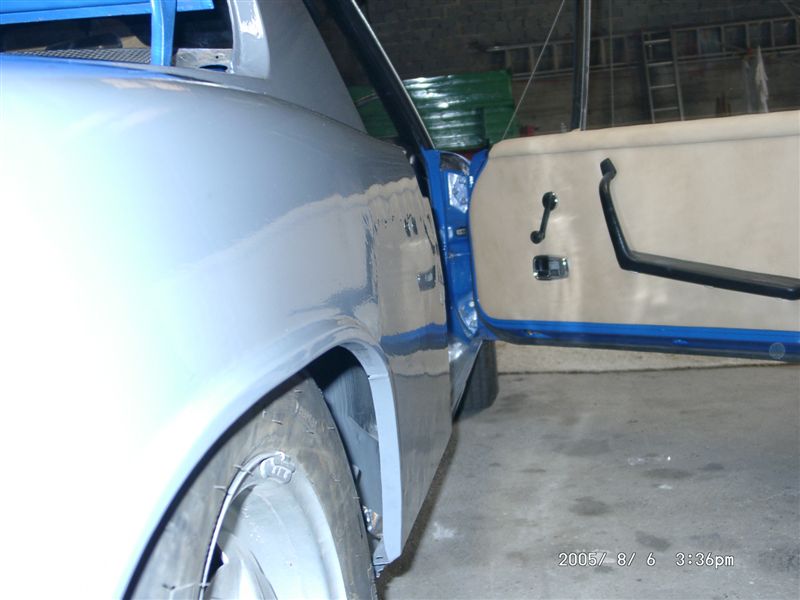
|
| SirAndy |
 Aug 6 2005, 01:02 PM Aug 6 2005, 01:02 PM
Post
#492
|
||
|
Resident German                          Group: Admin Posts: 41,890 Joined: 21-January 03 From: Oakland, Kalifornia Member No.: 179 Region Association: Northern California |
yes, you have to remove the hard foam filler that's sitting inside the cavity (from underneath) and clean it all out really good and use lots of "Metal Ready" in there. that's a very common rust spot on those cars. the seam sealer around the foam cracks after a few years of road use and allows water to seep in. the foam acts like a spunge and keeps the water in there until it has eaten it's way through the metal ... (IMG:http://www.914world.com/bbs2/html/emoticons/icon8.gif) Andy |
||
| michelko |
 Aug 6 2005, 01:36 PM Aug 6 2005, 01:36 PM
Post
#493
|
||||
|
Senior Member    Group: Members Posts: 867 Joined: 30-November 03 From: Germany, Lambsheim Member No.: 1,404 Region Association: None |
so you (mean I ) can access that foam from the wheel well? Gruss aus der alten Heimat (IMG:http://www.914world.com/bbs2/html/emoticons/smilie_flagge6.gif) |
||||
| SirAndy |
 Aug 6 2005, 01:46 PM Aug 6 2005, 01:46 PM
Post
#494
|
||
|
Resident German                          Group: Admin Posts: 41,890 Joined: 21-January 03 From: Oakland, Kalifornia Member No.: 179 Region Association: Northern California |
yes, from inside the wheel well. you'll see that the cavity is filled with "something" and has seam-sealer around it (might have undercoating over it) ... once you start "digging" into it, you'll see it's the same yellowish foam they used in so many other places on our little cars. you have to get it all out and clean it up really well. if it's already rusted through the top, i wouldn't be surprised if it also ate through into the rear trunk and behind the taillights (on the side) ... Viel Spaß beim Restaurieren! (IMG:http://www.914world.com/bbs2/html/emoticons/smilie_flagge6.gif) Andy |
||
| michelko |
 Aug 16 2005, 01:03 AM Aug 16 2005, 01:03 AM
Post
#495
|
|
Senior Member    Group: Members Posts: 867 Joined: 30-November 03 From: Germany, Lambsheim Member No.: 1,404 Region Association: None |
Hi everybody, here is some update on the project.
Like sirandy mentioned, i scraped out the foam. Nearly impossible from wheel well. "Fortunately" (IMG:http://www.914world.com/bbs2/html/emoticons/dry.gif) there was an hole in the fender, so i could use this as a window to access the schitty foam. found some nice rust under it. Sorry no pic of it. Metallreadyied the hell out of it and then put some por 15 over. After that i shot a coat of tie coat primer on it Attached image(s) 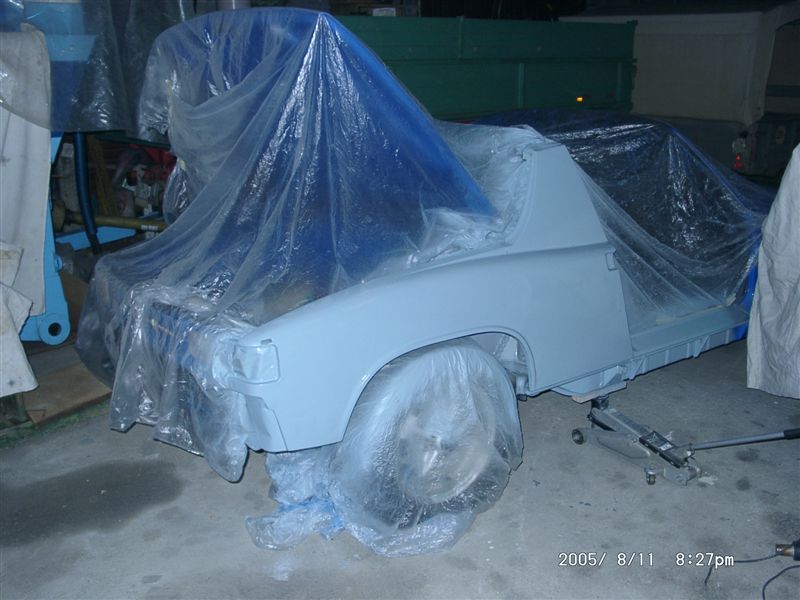
|
| michelko |
 Aug 16 2005, 01:04 AM Aug 16 2005, 01:04 AM
Post
#496
|
|
Senior Member    Group: Members Posts: 867 Joined: 30-November 03 From: Germany, Lambsheim Member No.: 1,404 Region Association: None |
nother
Attached image(s) 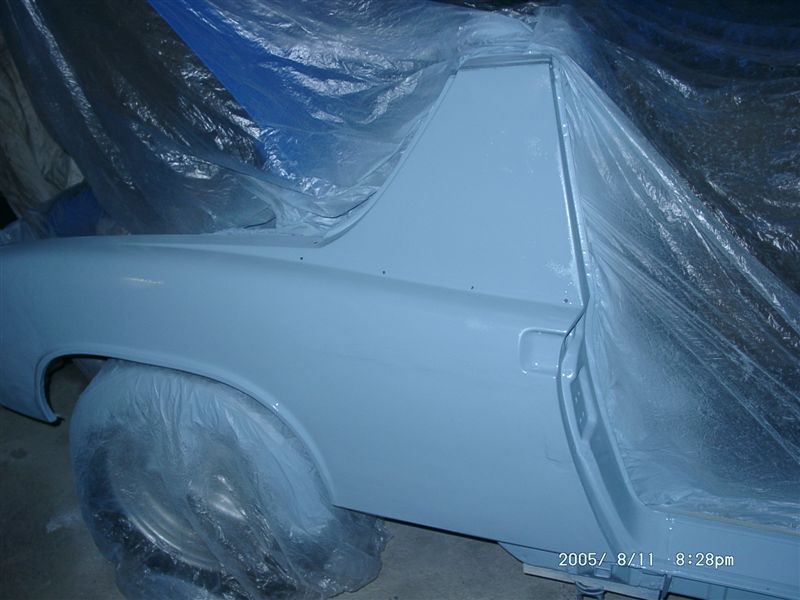
|
| michelko |
 Aug 16 2005, 01:06 AM Aug 16 2005, 01:06 AM
Post
#497
|
|
Senior Member    Group: Members Posts: 867 Joined: 30-November 03 From: Germany, Lambsheim Member No.: 1,404 Region Association: None |
next step:
filling the little dings with bondo an sanding it some more to go , but looks nice again Attached image(s) 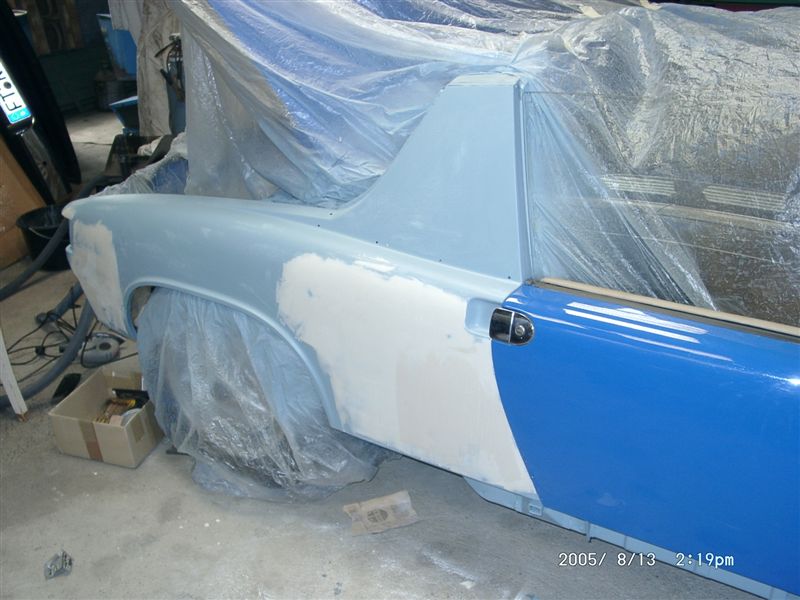
|
| michelko |
 Aug 16 2005, 01:07 AM Aug 16 2005, 01:07 AM
Post
#498
|
|
Senior Member    Group: Members Posts: 867 Joined: 30-November 03 From: Germany, Lambsheim Member No.: 1,404 Region Association: None |
nother
Attached image(s) 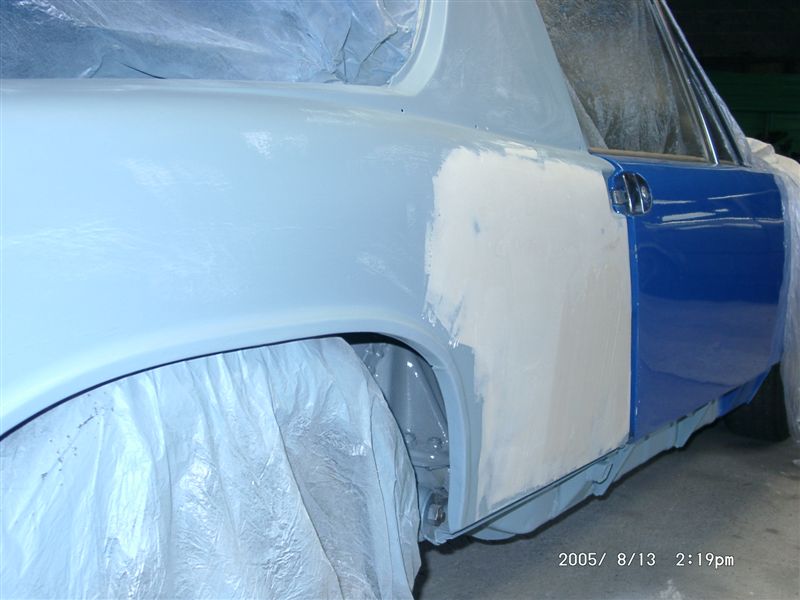
|
| michelko |
 Aug 16 2005, 01:08 AM Aug 16 2005, 01:08 AM
Post
#499
|
|
Senior Member    Group: Members Posts: 867 Joined: 30-November 03 From: Germany, Lambsheim Member No.: 1,404 Region Association: None |
Attached image(s) 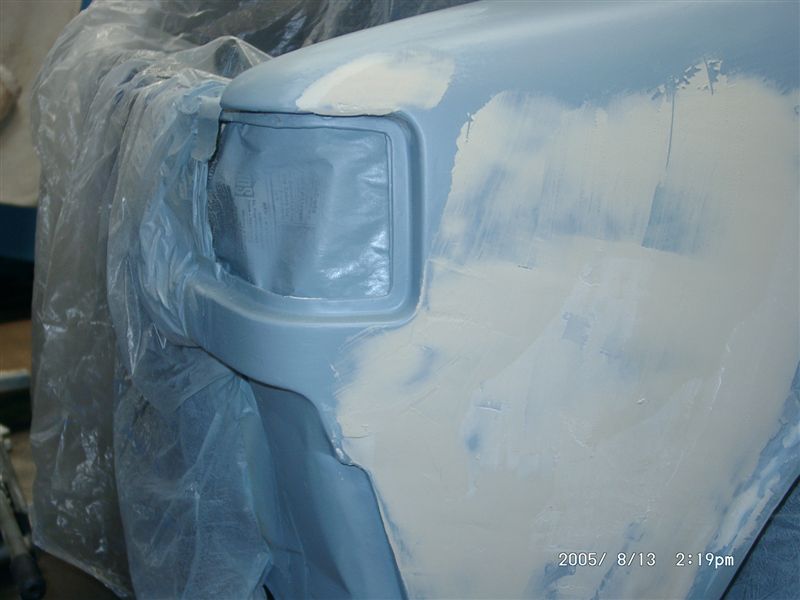
|
| CptTripps |
 Aug 16 2005, 06:22 AM Aug 16 2005, 06:22 AM
Post
#500
|
|
:: Punch and Pie ::     Group: Members Posts: 3,584 Joined: 26-December 04 From: Mentor, OH Member No.: 3,342 Region Association: Upper MidWest |
Unsolicited Advice: MAKE SURE you get this section PERFECT. I didn't, and I've been mad at myself ever since.
Don't be afraid to go back down to metal again to get it right. I thought "I'm too far at this point to go back" before I painted, and afterwards, I've been kicking myself for NOT going back and fixing it. Looking great man! |
  |
2 User(s) are reading this topic (2 Guests and 0 Anonymous Users)
0 Members:

|
Lo-Fi Version | Time is now: 23rd November 2024 - 12:59 PM |
Invision Power Board
v9.1.4 © 2024 IPS, Inc.


