|
|

|
Porsche, and the Porsche crest are registered trademarks of Dr. Ing. h.c. F. Porsche AG.
This site is not affiliated with Porsche in any way. Its only purpose is to provide an online forum for car enthusiasts. All other trademarks are property of their respective owners. |
|
|
  |
| rnellums |
 Mar 3 2014, 10:28 AM Mar 3 2014, 10:28 AM
Post
#281
|
|
Professional Enthusiast    Group: Members Posts: 1,646 Joined: 26-November 09 From: Littleton, CO Member No.: 11,072 Region Association: Rocky Mountains |
Kent, are you using the H6 pump or an impreza version? My EZ30 pump seems like the pickup is too short to be used in our tanks.
-Ross |
| 76-914 |
 Mar 3 2014, 11:09 AM Mar 3 2014, 11:09 AM
Post
#282
|
|
Repeat Offender & Resident Subaru Antagonist           Group: Members Posts: 13,634 Joined: 23-January 09 From: Temecula, CA Member No.: 9,964 Region Association: Southern California 
|
Ross, It's from an Impreza. Save the H-6 pump. I think the motors are interchangeable. I had to rotate the pick up tube 180 degrees but that is covered in the thread. IIRC. If not, LMK. I'll get it for you.
|
| 76-914 |
 Mar 5 2014, 11:48 AM Mar 5 2014, 11:48 AM
Post
#283
|
|
Repeat Offender & Resident Subaru Antagonist           Group: Members Posts: 13,634 Joined: 23-January 09 From: Temecula, CA Member No.: 9,964 Region Association: Southern California 
|
|
| 76-914 |
 Mar 18 2014, 07:38 PM Mar 18 2014, 07:38 PM
Post
#284
|
|
Repeat Offender & Resident Subaru Antagonist           Group: Members Posts: 13,634 Joined: 23-January 09 From: Temecula, CA Member No.: 9,964 Region Association: Southern California 
|
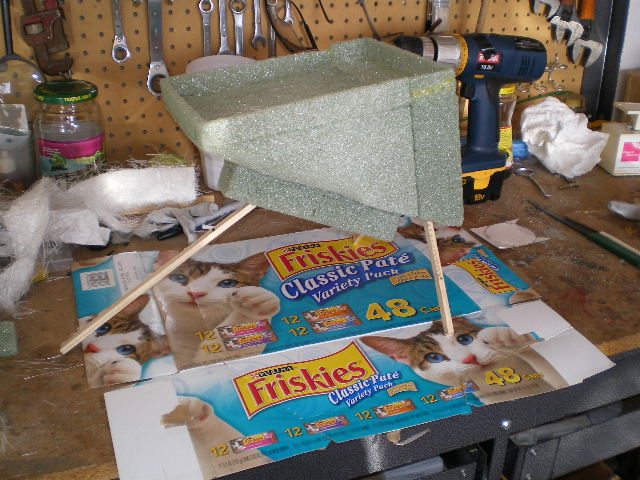
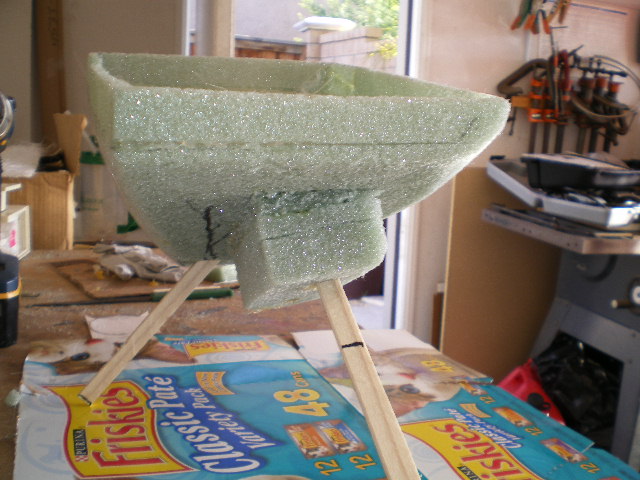
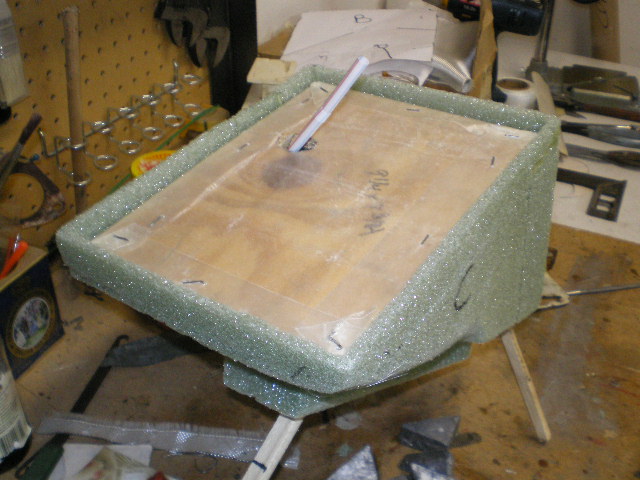
I've been busy as a one armed Cranberry merchant for the past few weeks so I haven't accomplished much with the car. But I did get to tinker in the garage yesterday. Once again, I have shamelessly appropriated one of Bigkat83's ideas. I moved the battery to the drivers side. And for 2 reasons. One, to replace it with OEM parts was too pricey for my beer budget and two, the Suby battery cable would reach this side, barely. (IMG:style_emoticons/default/piratenanner.gif) Although I believe the fiberglass battery tray that I put in the '76 is better in every way, I promised myself I would stick with metal on this car. I found these pic's of my mold for it taken 5 yr's ago yesterday. What a coincidence! The drinking straw is where the drain went (to the ground).
   This time I took some 18ga scrape and made the base and angle pieces. Not much to say other than I used the OEM relay board mount which in itself was not strong enough so bracing was welded in beneath it. Primer, paint and Plastidip to follow. 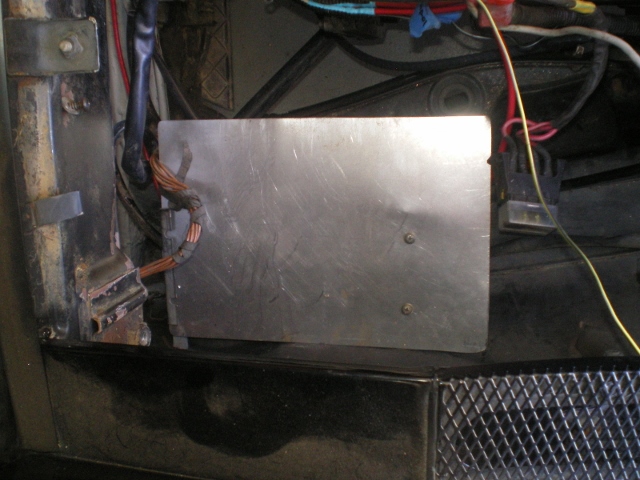 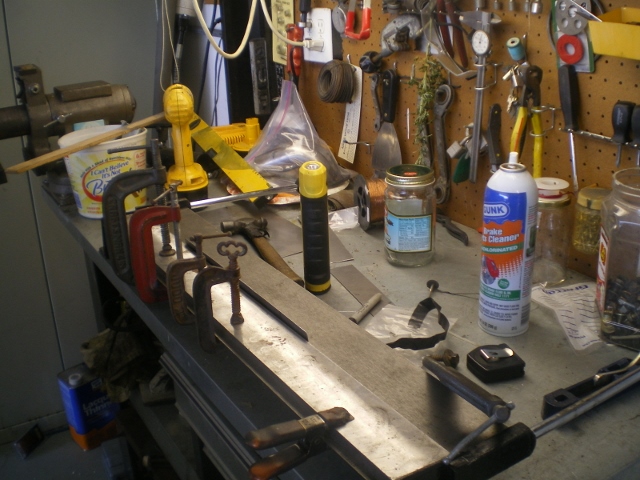 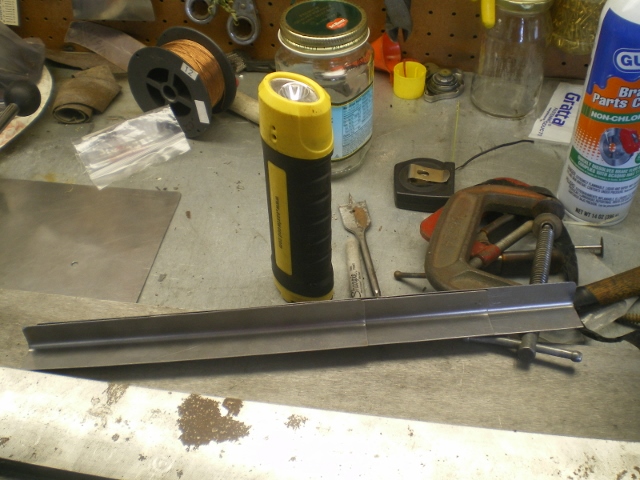 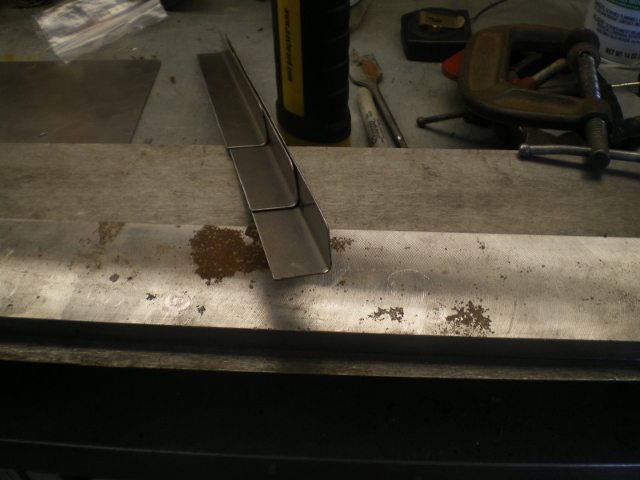 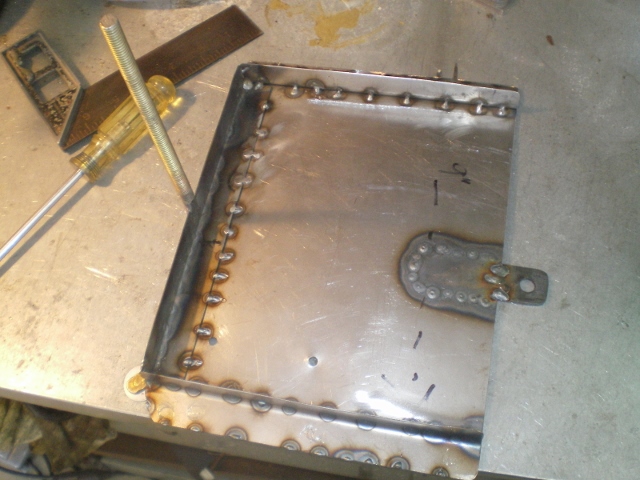 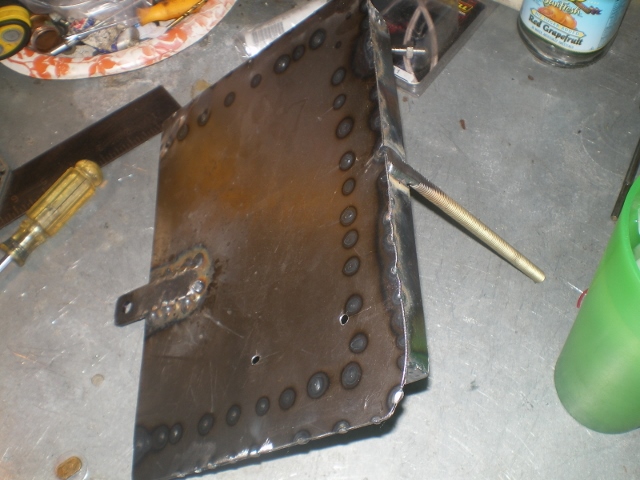 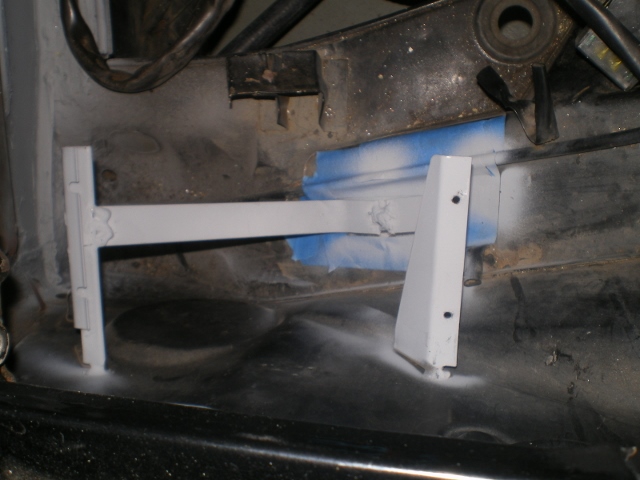 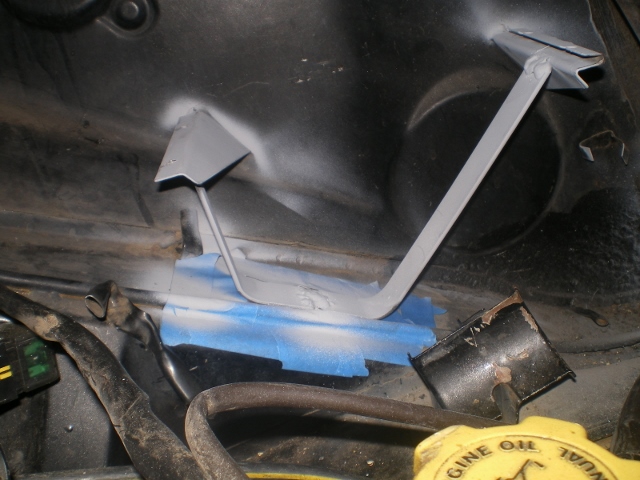 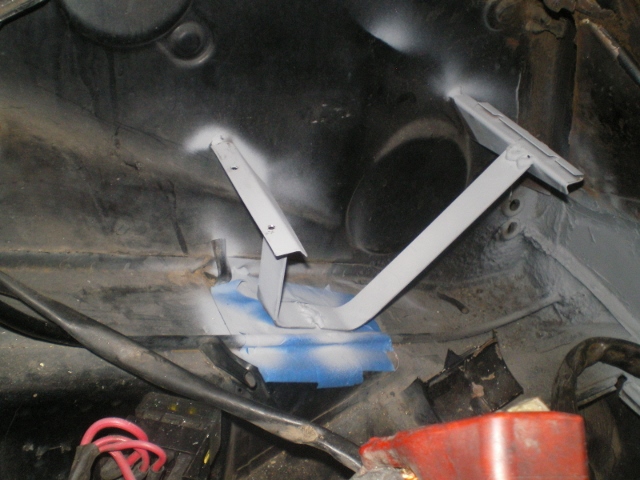 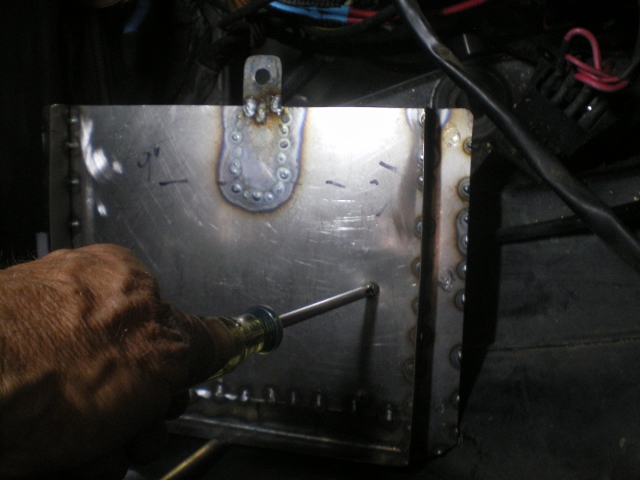 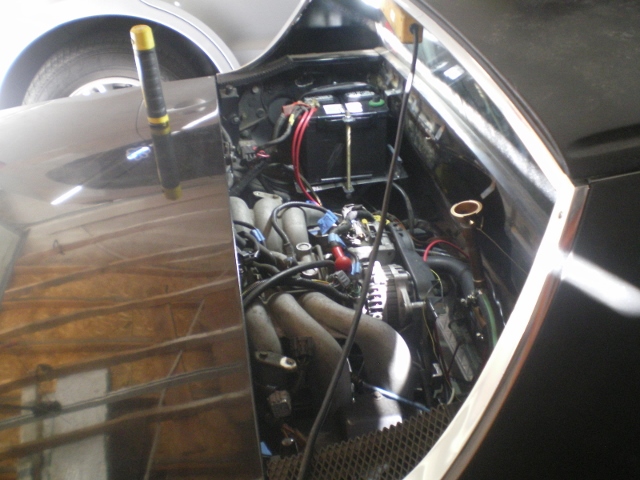 And I put a front sway bar in the week before but you already saw that here http://www.914world.com/bbs2/index.php?sho...=232123&hl= I did weld the inner plates but didn't get an after pic. BTW, that's Hell welding in there. It would be a snap if on a rotisserie. 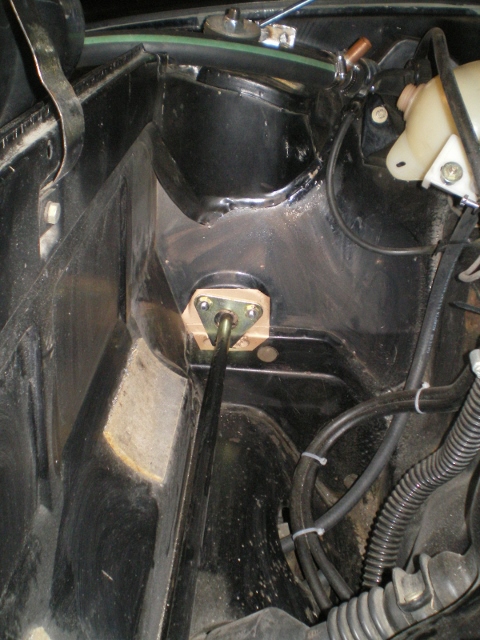 |
| 76-914 |
 Mar 23 2014, 07:56 PM Mar 23 2014, 07:56 PM
Post
#285
|
|
Repeat Offender & Resident Subaru Antagonist           Group: Members Posts: 13,634 Joined: 23-January 09 From: Temecula, CA Member No.: 9,964 Region Association: Southern California 
|
Wow, I was so busy the last 10 days I goofed off for some R&R this weekend. I decided this was easy enough so I did this little 1 hr project and now feel better about the some protection for the clutch MC. The shield had been trimmed to allow the MC to fit.
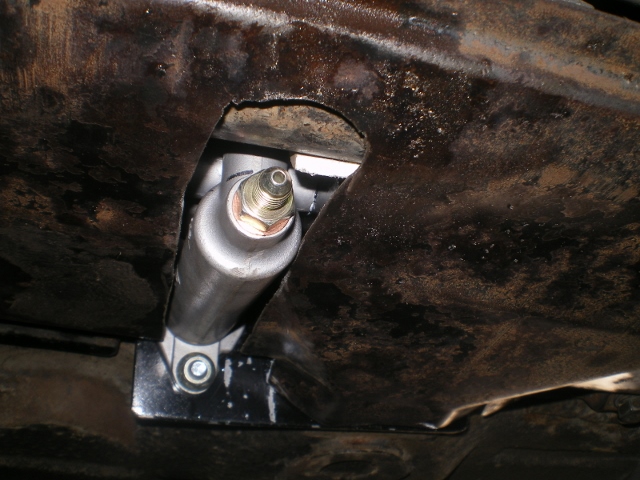 And with this 90 elbow and and line even more trimming was necessary 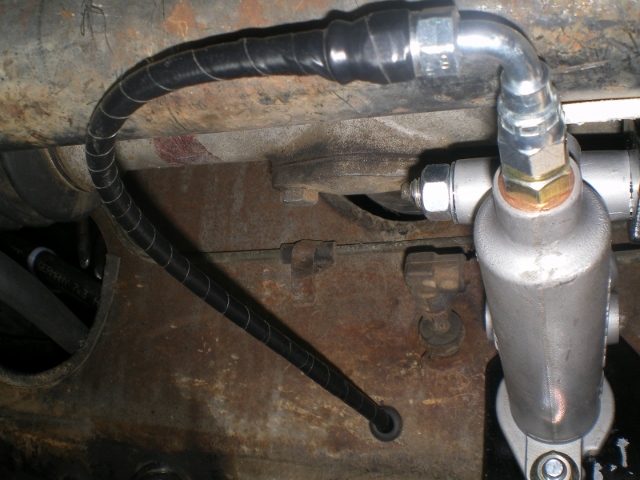 I had an old Mapp Cylinder I saved just for this. So a quick pass thru the chop saw. 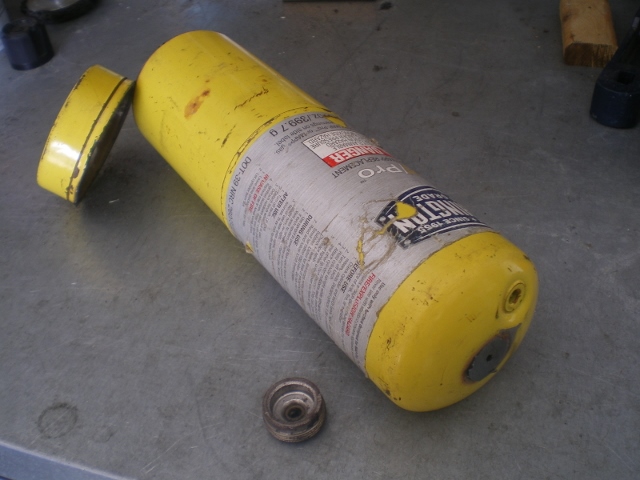 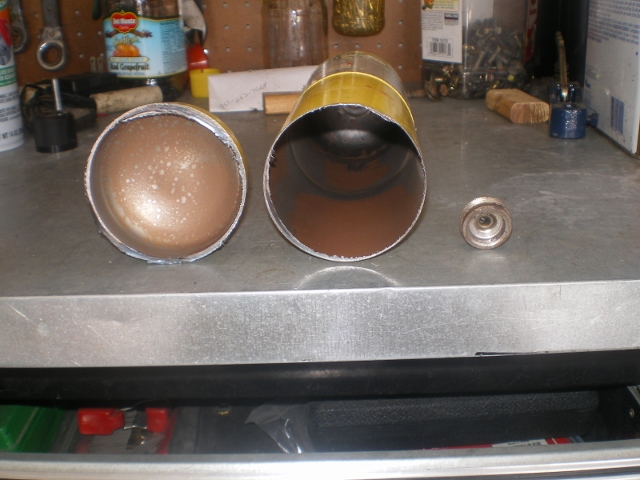 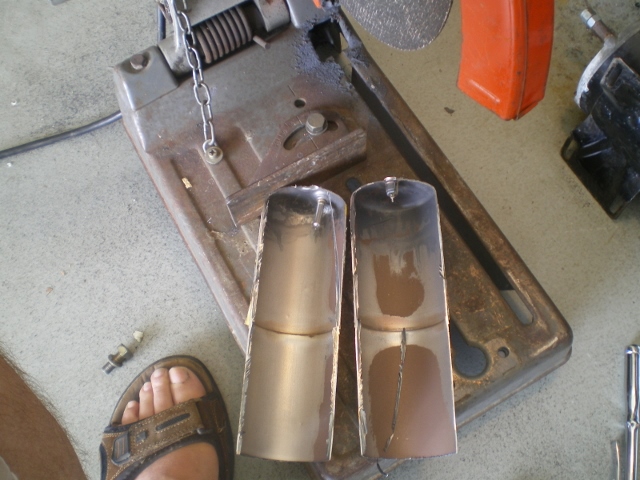 Then a pass with the welder 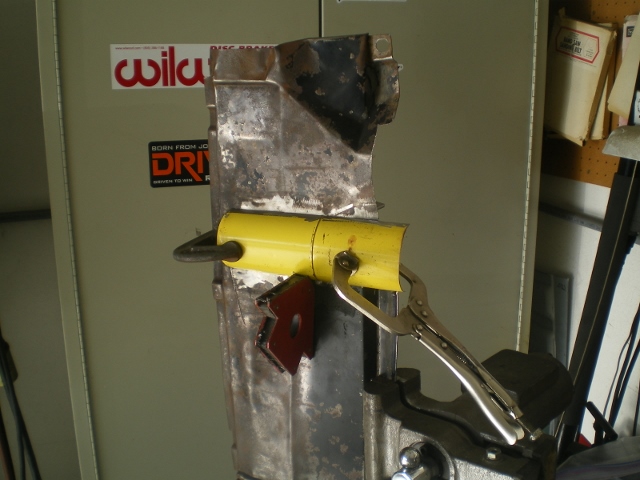 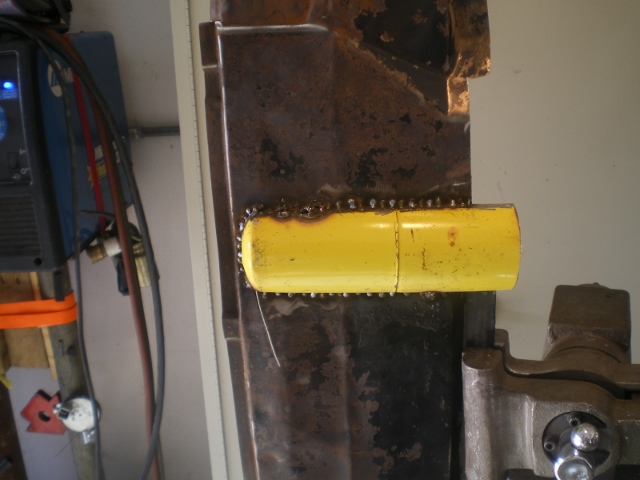 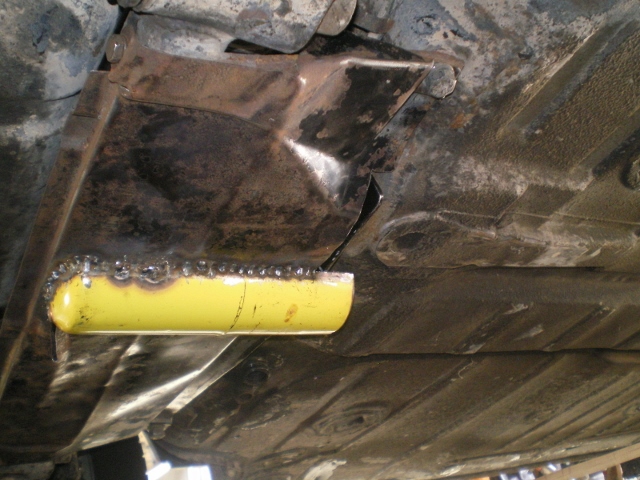 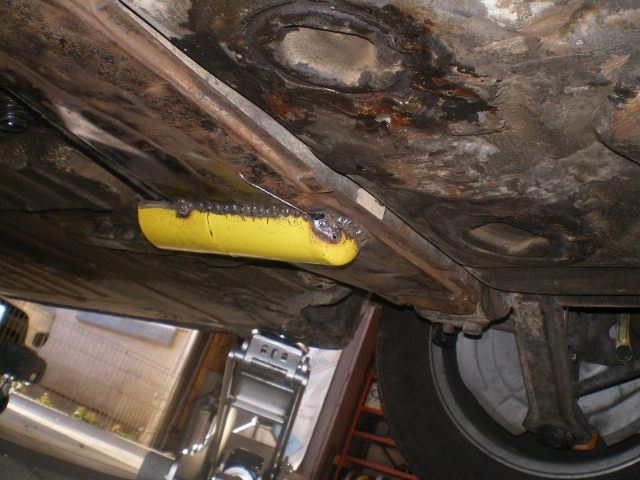 Next time I pull this I'll trim off about 3" at the rear, place some Wurth's at the seams and paint it. Look at the right side of the pic and you will see a slit that was cut. That was ball peened to allow for the hose and will be closed up when pulled again. 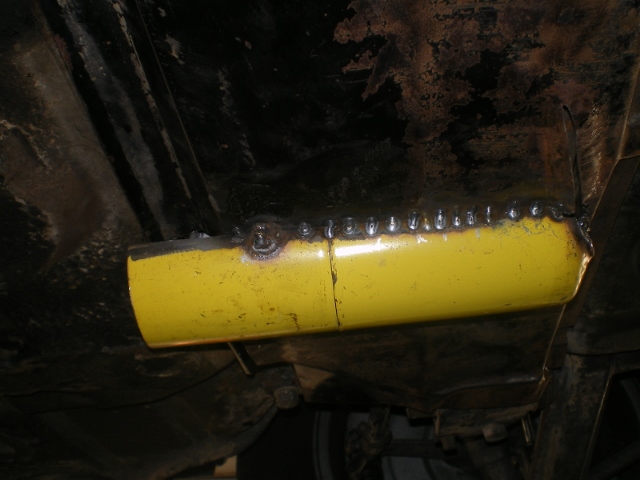 |
| CptTripps |
 Mar 23 2014, 08:49 PM Mar 23 2014, 08:49 PM
Post
#286
|
|
:: Punch and Pie ::     Group: Members Posts: 3,584 Joined: 26-December 04 From: Mentor, OH Member No.: 3,342 Region Association: Upper MidWest |
That's pretty awesome. I'm going to steal that idea from you.
...now to go find a dead torch bottle. |
| ruby914 |
 Mar 23 2014, 10:13 PM Mar 23 2014, 10:13 PM
Post
#287
|
|
Senior Member    Group: Members Posts: 720 Joined: 26-April 09 From: Hawthorne, Ca Member No.: 10,305 Region Association: None |
That's pretty awesome. I'm going to steal that idea from you. ...now to go find a dead torch bottle. The dead one is the one that doesn't explode, when you cut it. (IMG:style_emoticons/default/smoke.gif) |
| Elliot Cannon |
 Mar 23 2014, 11:19 PM Mar 23 2014, 11:19 PM
Post
#288
|
|
914 Guru      Group: Retired Members Posts: 8,487 Joined: 29-December 06 From: Paso Robles Ca. (Central coast) Member No.: 7,407 Region Association: None 

|
So... what was easier/harder? Building this or an airplane? (IMG:style_emoticons/default/biggrin.gif) Nice work.
|
| 76-914 |
 Mar 24 2014, 11:08 AM Mar 24 2014, 11:08 AM
Post
#289
|
|
Repeat Offender & Resident Subaru Antagonist           Group: Members Posts: 13,634 Joined: 23-January 09 From: Temecula, CA Member No.: 9,964 Region Association: Southern California 
|
That's pretty awesome. I'm going to steal that idea from you. ...now to go find a dead torch bottle. I just happen to have an extra. (IMG:style_emoticons/default/blink.gif) |
| 76-914 |
 Mar 24 2014, 11:09 AM Mar 24 2014, 11:09 AM
Post
#290
|
|
Repeat Offender & Resident Subaru Antagonist           Group: Members Posts: 13,634 Joined: 23-January 09 From: Temecula, CA Member No.: 9,964 Region Association: Southern California 
|
That's pretty awesome. I'm going to steal that idea from you. ...now to go find a dead torch bottle. The dead one is the one that doesn't explode, when you cut it. (IMG:style_emoticons/default/smoke.gif) Good point. There is a "Schroeder "like" " valve on the end that you can depress to be sure it is empty. |
| 76-914 |
 Mar 24 2014, 11:21 AM Mar 24 2014, 11:21 AM
Post
#291
|
|
Repeat Offender & Resident Subaru Antagonist           Group: Members Posts: 13,634 Joined: 23-January 09 From: Temecula, CA Member No.: 9,964 Region Association: Southern California 
|
So... what was easier/harder? Building this or an airplane? (IMG:style_emoticons/default/biggrin.gif) Nice work. I've been asking myself that same question these past few month's. (IMG:style_emoticons/default/dry.gif) I'll have to think that one through a bit more. However, I can tell you this. There is no feeling like sitting at the end of the runway about to jam the throttle on a "unproven" plane that has never flown, powered by an "unproven" engine that has never taken one up and being flown by a pilot so nervous you couldn't have driven a 10 penny nail up my ass with a sledge hammer. (IMG:style_emoticons/default/poke.gif) Done any spins in that V_Tail, yet? (IMG:style_emoticons/default/happy11.gif) |
| 76-914 |
 Apr 12 2014, 01:21 PM Apr 12 2014, 01:21 PM
Post
#292
|
|
Repeat Offender & Resident Subaru Antagonist           Group: Members Posts: 13,634 Joined: 23-January 09 From: Temecula, CA Member No.: 9,964 Region Association: Southern California 
|
Didn't get to work on mine today but I did put another boot in Cancer's ass. I finally got this 19mm style finished for Stephan (aka 914forme) who made a "very generous" donation to the "Fund" for the Cap'n Krusty's niece.
I removed about 3lb's of rust so I primed and sealed your brake base plate to seal it until you paint. The clutch plate was just primed as it is new steel. Hence, the different shades. I went with the 1/8" increase you measured so it should fit the 19mm master cylinder. I need to pick up the correct length bolt for the brace then I can ship it to you. PM me for shipping info. FWIW, I'm very close to powering up the electrical on the BlackBird. (IMG:style_emoticons/default/blink.gif) I should probably warn the Fire Dep't. ahead of time. (IMG:style_emoticons/default/w00t.gif) 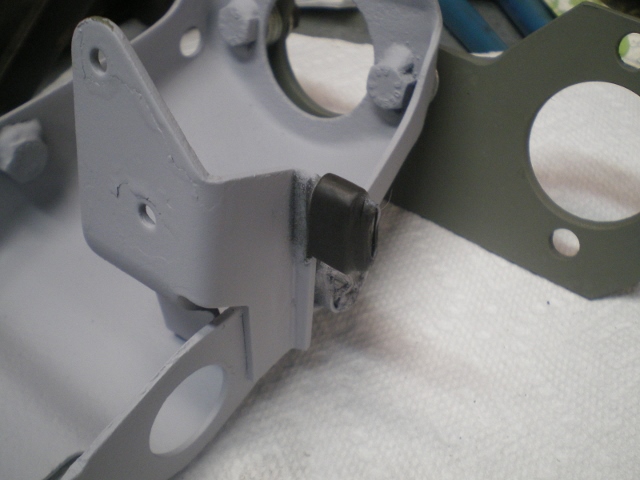 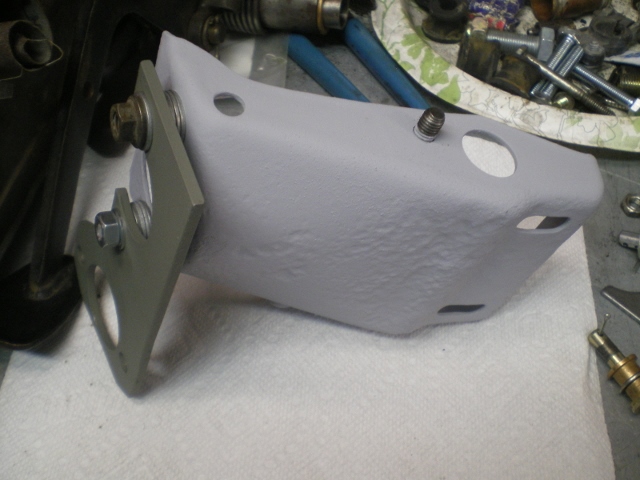 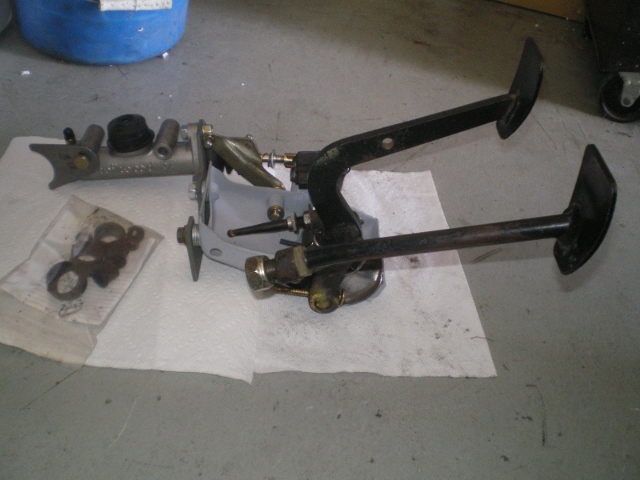 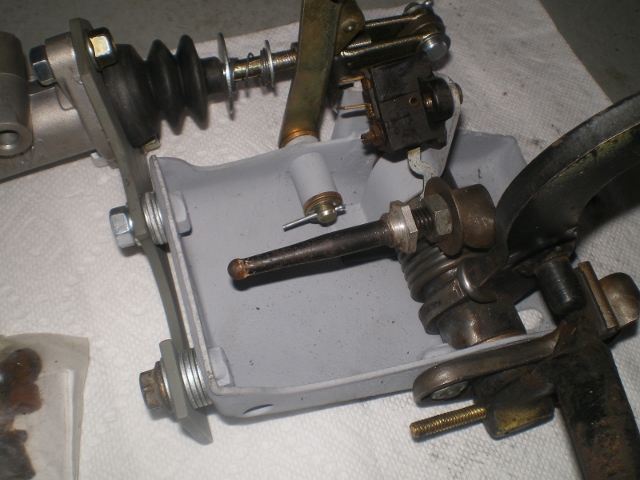 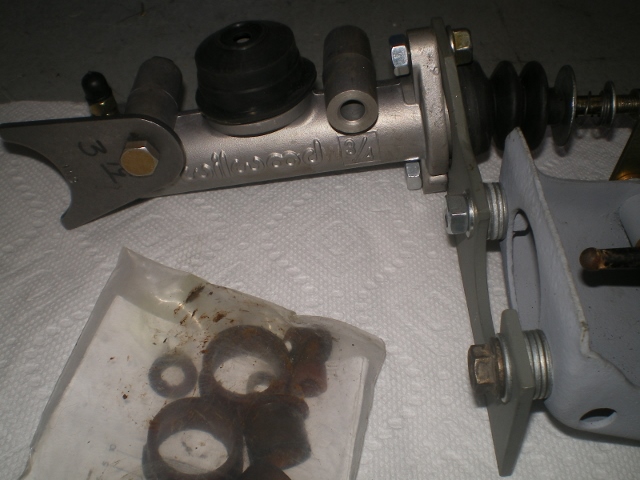 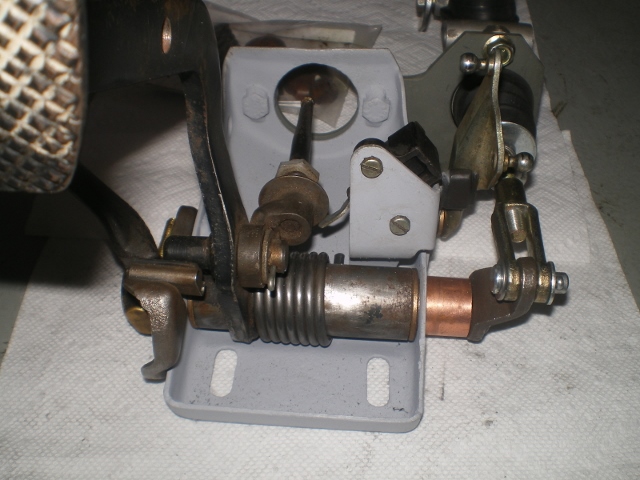 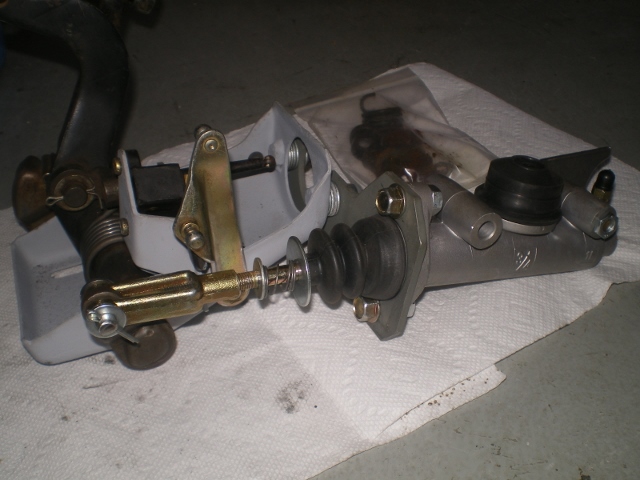 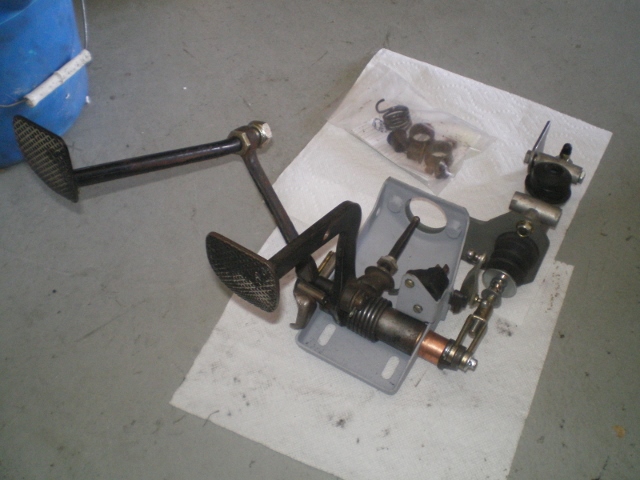 |
| 76-914 |
 Apr 21 2014, 10:15 PM Apr 21 2014, 10:15 PM
Post
#294
|
|
Repeat Offender & Resident Subaru Antagonist           Group: Members Posts: 13,634 Joined: 23-January 09 From: Temecula, CA Member No.: 9,964 Region Association: Southern California 
|
OK Stephan, your baby is finished w/ new 8mm bolts. I threw in a cover you can weld to your pan. I threw a smaller spring inside the package. Throw away the one that is presently on there.
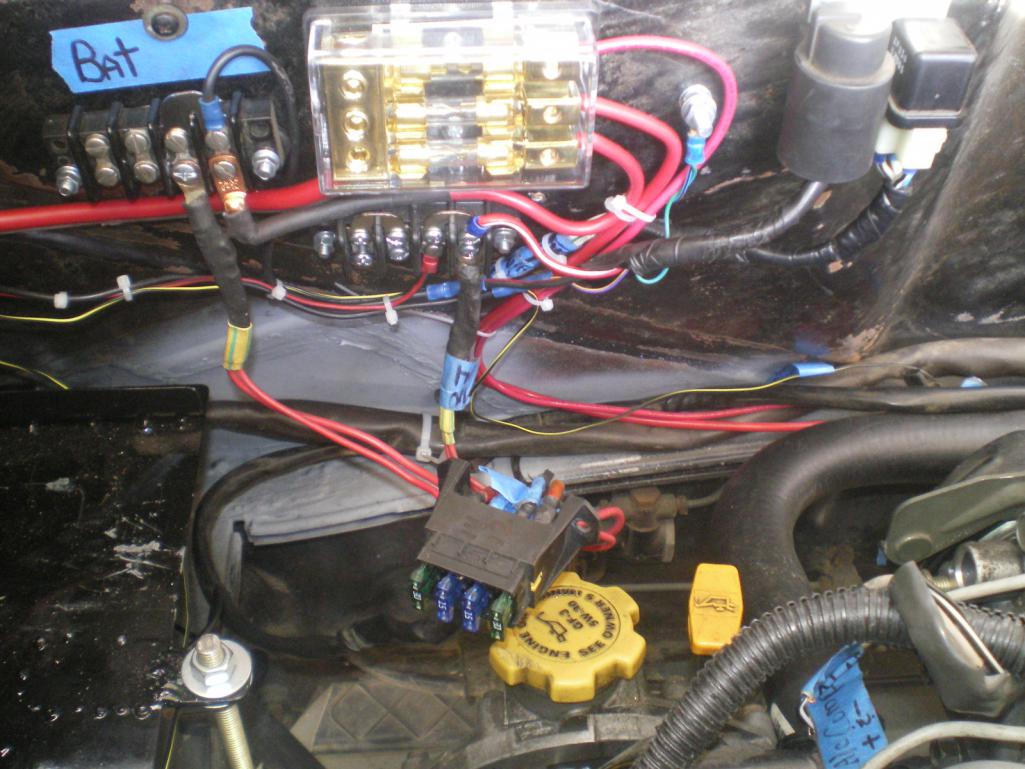
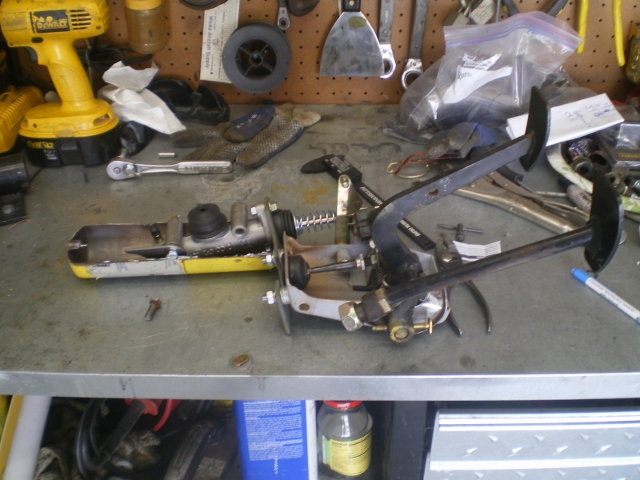 Now, back to work on my car. I didn't get to work on it the previous weekend or evenings these past few weeks but I did get some time in Saturday. Actually I did squeeze this 1 hr project in before Saturday. I wanted to keep this cover so I cut two slits, raised it up about 10mm then cut two small triangle pieces and (IMG:style_emoticons/default/welder.gif) them in. Damn that's some thin metal. Is there a rust filter I'm missing. All my work looks rusty in pic's. (IMG:style_emoticons/default/WTF.gif) 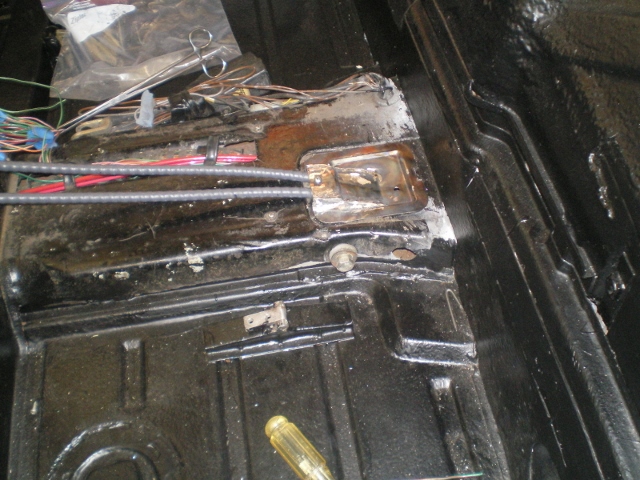 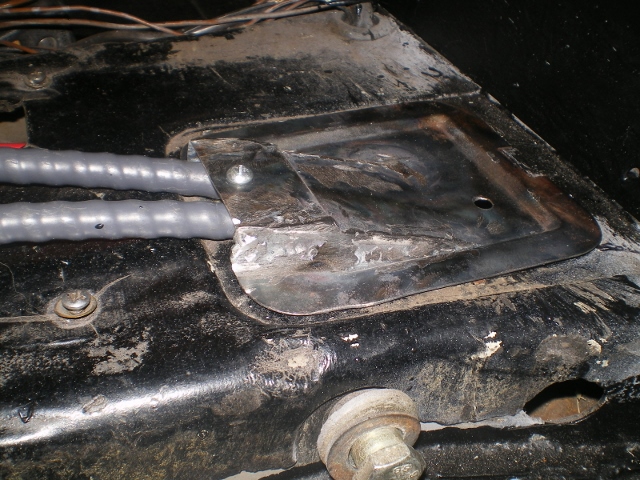 Continuing my trek thru Hell I started on the wiring that "I think" I will need in this area. The old relay board is long gone and all that remains is the 14 wire harness which you can see in the Chinese Pony Clamp. Of those 14 I am using 4 wires. 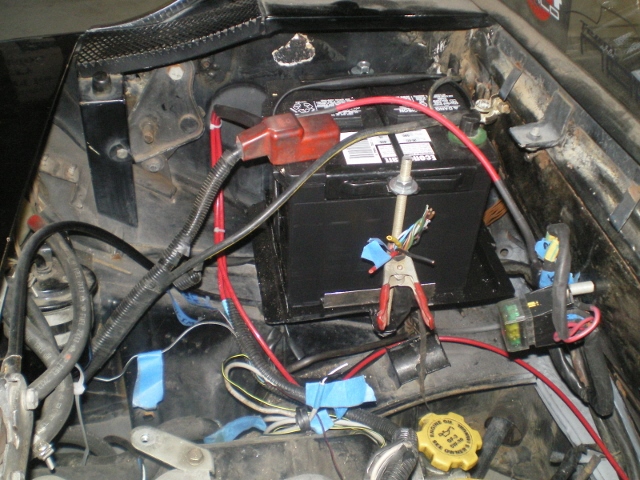 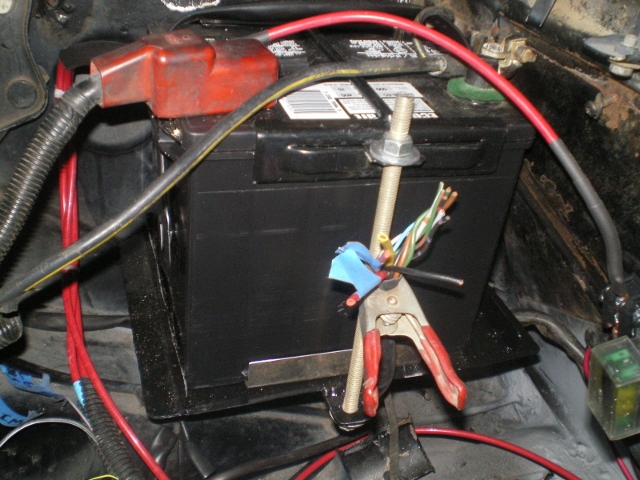 The Y will still go the starter solenoid, the B (switched +12v) will be my trigger for the relay controlling the new "switched ign" requirements, #12 R & #14 R are fused thru Tom's fuse block and will serve two requirements at the Suby ECU. Those 2 fuses will reduce to 15A. I added this 4ga from the bat cable to the new "power dist area". BTW, most of this is temp and will be tidied up later. 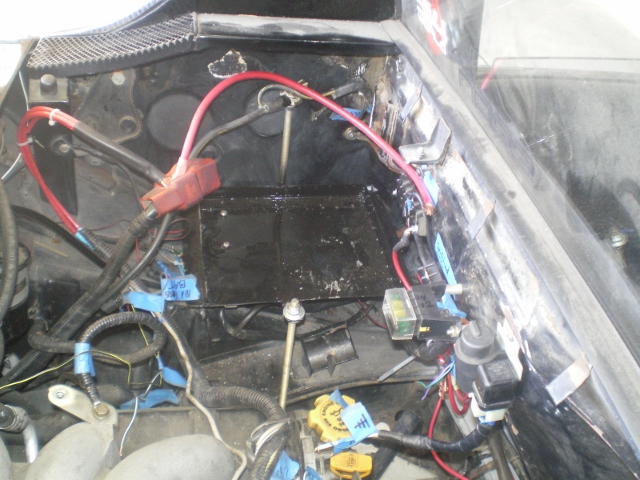 There are 2 terminal blocks in the pic. One is switched power the other is + BAT. 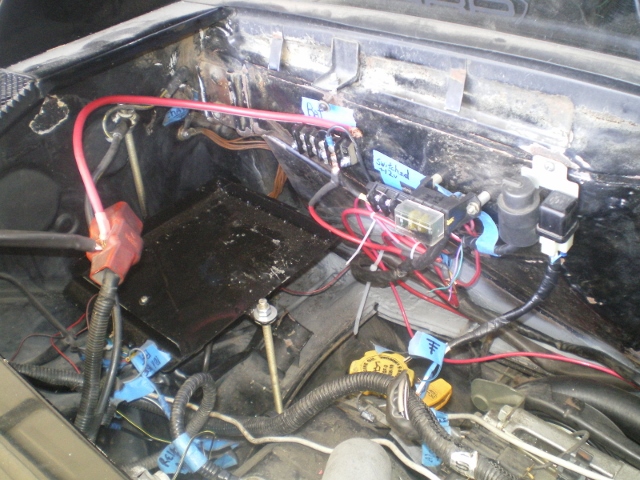 Some scavenged relays. One for now and one for later. 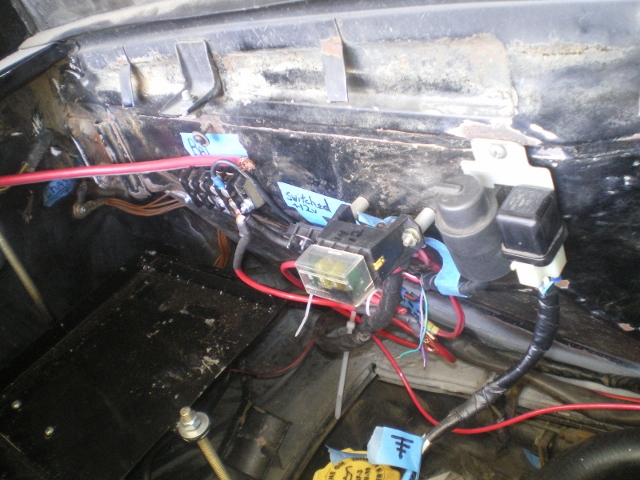 I know of two things that will change in these pic's later. The fused terminal block isn't mounted and Tom's 4 fuse block will be changed to a 6 fused unit. The 8ga & 10ga wires I ran to the front as well as the switched and BAT terminals will be fused thru the unarrived fuse terminal block. This will make since once I install that fused dist block. |
| euro911 |
 Apr 21 2014, 11:51 PM Apr 21 2014, 11:51 PM
Post
#295
|
|
Retired & living the dream. God help me if I wake up!      Group: Members Posts: 8,858 Joined: 2-December 06 From: So.Cal. & No.AZ (USA) Member No.: 7,300 Region Association: Southern California 
|
... I had an old Mapp Cylinder I saved just for this. So a quick pass thru the chop saw.   ... I had to cut some holes and slots into a couple of propane cylinders for one of my idiotic projects. I was absolutely positive they had been previously evacuated (IMG:style_emoticons/default/laugh.gif) 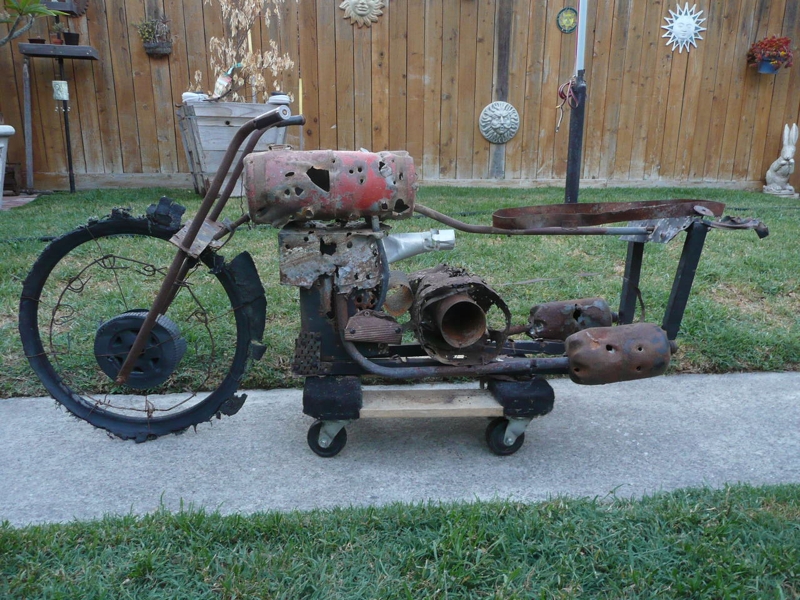 Nice work, Kent (IMG:style_emoticons/default/thumb3d.gif) |
| 76-914 |
 Apr 22 2014, 07:45 PM Apr 22 2014, 07:45 PM
Post
#296
|
|
Repeat Offender & Resident Subaru Antagonist           Group: Members Posts: 13,634 Joined: 23-January 09 From: Temecula, CA Member No.: 9,964 Region Association: Southern California 
|
Thanks Mark. I finally received that part so it might make sense now. The #4 wire feeds fused dist box. That box feeds 2 new lines thru the tunnel and the BAT terminal. There are two relays side by side. The relay on the left gets it's power from the BAT terminal, as well as a few other items. It in turn powers the +12v switched terminal. The 4 fuse box is hanging loose for now and 2 fuses changed to 15a. Next I need to wire the Y to the new starter circuit. The relay on the right will control the starter solenoid and take the load off that 41 yr old switch. I added another ground terminal next to the relays. That is 2 plus the factory ground on the left side! Can't have enough grounds. The rest I covered in the last post. After that I'm pretty much finished in the engine compartment and will need to connect 7 wires to the gages. I'll be on my knees asking questions at that point for sure.
 |
| 914forme |
 Apr 22 2014, 08:09 PM Apr 22 2014, 08:09 PM
Post
#297
|
|
Times a wastin', get wrenchin'!     Group: Members Posts: 3,896 Joined: 24-July 04 From: Dayton, Ohio Member No.: 2,388 Region Association: None 
|
Oh, wow that is outstanding! Here I was out huffing my Mapp Cylinder tonight, just trying to get it down to use for this. (IMG:style_emoticons/default/laugh.gif)4
Thanks again, great work, and it was my pleasure to help anyway I can. |
| 76-914 |
 Apr 24 2014, 11:06 AM Apr 24 2014, 11:06 AM
Post
#298
|
|
Repeat Offender & Resident Subaru Antagonist           Group: Members Posts: 13,634 Joined: 23-January 09 From: Temecula, CA Member No.: 9,964 Region Association: Southern California 
|
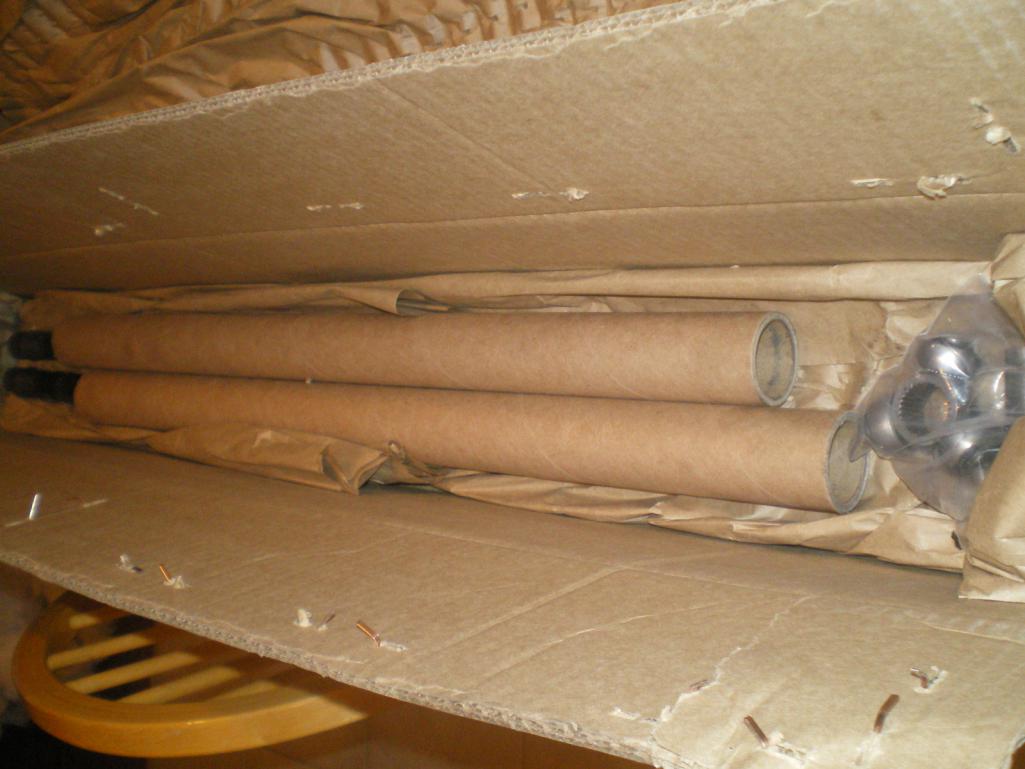
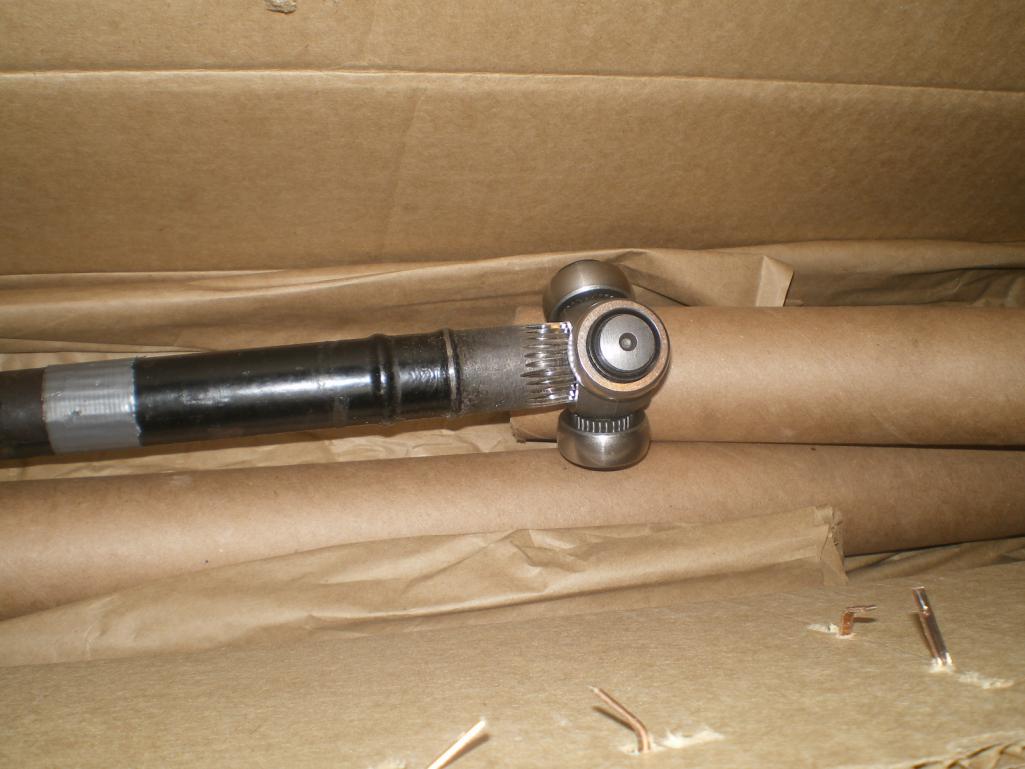
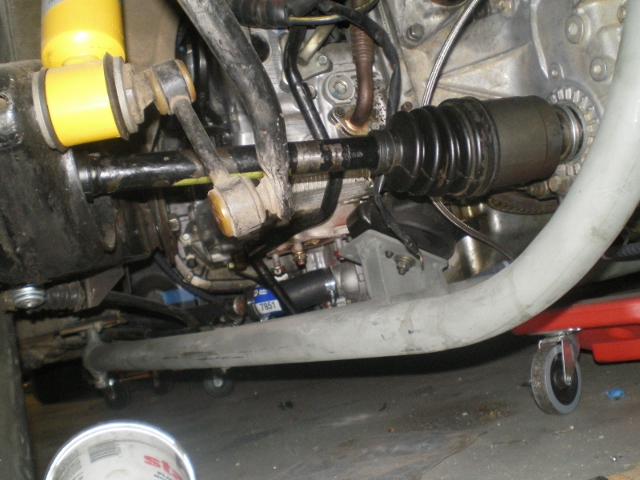
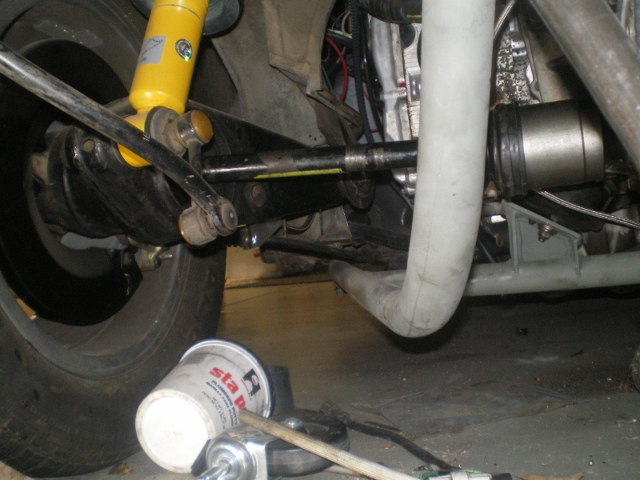
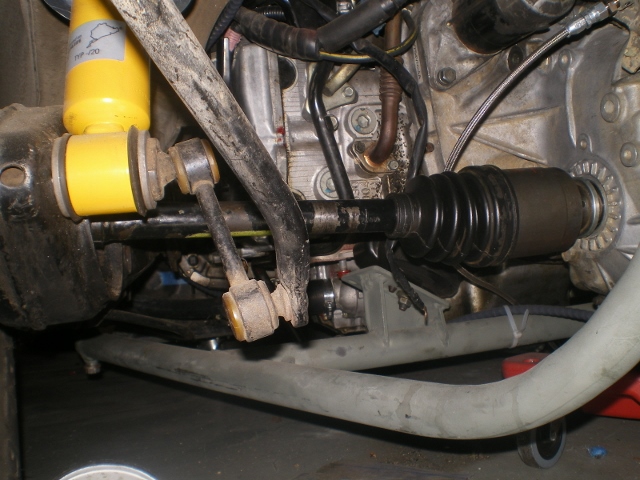
Don't know why I didn't post this earlier. I received these a few weeks back. The L side fits fine but the right side is appx 1-2mm too long. I need to drop the engine once more so I will see if I can get it to fit once the engine is dropped a few inches. I think that my cradle might be out of square or the car for that matter. I should have measured both sides instead of assuming they are equal lengths. (IMG:style_emoticons/default/headbang.gif) No matter, I'll sell them if not and cut another pair. My tranny lines up almost straight across so any trans that is offset by an inch or 2 should be OK to use these if I can't use them.
     |
| rnellums |
 Apr 24 2014, 12:23 PM Apr 24 2014, 12:23 PM
Post
#299
|
|
Professional Enthusiast    Group: Members Posts: 1,646 Joined: 26-November 09 From: Littleton, CO Member No.: 11,072 Region Association: Rocky Mountains |
So this is the side that fits right?
|
| BIGKAT_83 |
 Apr 24 2014, 01:05 PM Apr 24 2014, 01:05 PM
Post
#300
|
|
Senior Member    Group: Members Posts: 1,798 Joined: 25-January 03 From: Way down south Bogart,GA Member No.: 194 Region Association: South East States 

|
As the car sets in the picture(axle level) how much movement do you have on the axle? Pushing into the transaxle cv joint.
Bob |
  |
1 User(s) are reading this topic (1 Guests and 0 Anonymous Users)
0 Members:

|
Lo-Fi Version | Time is now: 23rd November 2024 - 04:32 AM |
Invision Power Board
v9.1.4 © 2024 IPS, Inc.


