|
|
|
Porsche, and the Porsche crest are registered trademarks of Dr. Ing. h.c. F. Porsche AG.
This site is not affiliated with Porsche in any way. Its only purpose is to provide an online forum for car enthusiasts. All other trademarks are property of their respective owners. |
|
|

  |

| Cuda911 |
 Aug 22 2014, 12:21 AM Aug 22 2014, 12:21 AM
Post
#1
|
|
Senior Member  Group: Members Posts: 1,489 Joined: 20-May 14 From: Oceanside (N. San Diego County), CA Member No.: 17,376 Region Association: Southern California |
Hey all,
My one (and only) complaint with my 914 is that the dash lights are very faint and very hard to see at night (speedometer, etc.). Someone told me that brighter LED bulbs are available. Is that correct? If so, can someone provide me with: 1. What bulbs? 2. What source to buy them? 3. How many do I need? 4. Are they direct replacements (i.e. no other modifications need to install them) 5. To replace them, do I take out the 5 or so screws on the dash faceplate to access them? Thanks, guys! |
   |

 
|
| bluhun |
Aug 22 2014, 12:46 AM
Post
#2
|
|
Member Group: Members Posts: 91 Joined: 23-January 06 From: San Rafael, CA Member No.: 5,464 Region Association: Northern California |
QUOTE(Cuda911 @ Aug 21 2014, 11:21 PM)  Hey all, My one (and only) complaint with my 914 is that the dash lights are very faint and very hard to see at night (speedometer, etc.). Someone told me that brighter LED bulbs are available. Is that correct? If so, can someone provide me with: 1. What bulbs? 2. What source to buy them? 3. How many do I need? 4. Are they direct replacements (i.e. no other modifications need to install them) 5. To replace them, do I take out the 5 or so screws on the dash faceplate to access them? Thanks, guys! The bulbs, designation BA7s-W, can be obtained from superbrightleds.com http://www.superbrightleds.com/cat/ba9s-ba7s/ I bought a pack of 15, which is plenty to replace all of the incandescent bulbs in the instrument cluster. They are direct plug-ins. Their is no need to remove any screws. Just pull the gauges directly out from the instrument cluster, remove the light receptacles from the rear of the gauges, remove the incandescent bulbs and replace with the LEDs. It makes a huge difference in illumination. |
|
|
|
| Dave_Darling |
Aug 22 2014, 12:46 AM
Post
#3
|
|
914 Idiot Group: Members Posts: 14,980 Joined: 9-January 03 From: Silicon Valley / Kailua-Kona Member No.: 121 Region Association: Northern California |
No direct replacements that I know of. You can take the gauges apart and put LED strips inside. You can build a timer circuit to flicker them to make them seem dimer or brighter.
Or, you can: - Clean all ground connections for the gauge lights - Clean all power connections from the battery, to the ignition switch, to the headlight switch, to the dimmer, to the lights - Replace the bulbs with new ones - Clean the glass in the gauge - Re-paint the inside of the gauge to reflect the light around better Each of the above should help a bit. When all done together, you'll have lights that are OK but not super bright. --DD |
|
|
|
| Cuda911 |
Aug 22 2014, 12:56 AM
Post
#4
|
|
Senior Member Group: Members Posts: 1,489 Joined: 20-May 14 From: Oceanside (N. San Diego County), CA Member No.: 17,376 Region Association: Southern California |
Interesting... two completely opposite replies regarding the bulbs.
So, to get the gauges out I just pry them? |
|
|
|
| bluhun |
Aug 22 2014, 12:58 AM
Post
#5
|
|
Member Group: Members Posts: 91 Joined: 23-January 06 From: San Rafael, CA Member No.: 5,464 Region Association: Northern California |
QUOTE(Cuda911 @ Aug 21 2014, 11:56 PM) Interesting... two completely opposite replies regarding the bulbs. So, to get the gauges out I just pry them? Correct, just pry them out. |
|
|
|
| Cuda911 |
Aug 22 2014, 01:05 AM
Post
#6
|
|
Senior Member Group: Members Posts: 1,489 Joined: 20-May 14 From: Oceanside (N. San Diego County), CA Member No.: 17,376 Region Association: Southern California |
Wow, never would have guessed that. One of my biggest concerns on fixing up this car is that I will take a perfectly good part and screw it up by taking it off incorrectly.
Bluhun, I didn't see a 15-pack option in the link, but those look great! Cool white or warm white? |
|
|
|
| bluhun |
Aug 22 2014, 01:18 AM
Post
#7
|
|
Member Group: Members Posts: 91 Joined: 23-January 06 From: San Rafael, CA Member No.: 5,464 Region Association: Northern California |
QUOTE(Cuda911 @ Aug 22 2014, 12:05 AM) Wow, never would have guessed that. One of my biggest concerns on fixing up this car is that I will take a perfectly good part and screw it up by taking it off incorrectly. Bluhun, I didn't see a 15-pack option in the link, but those look great! Cool white or warm white? Cool white. Just be careful with the gauges. Use your fingernails or a flat-bladed screwdriver to get between the rubber O-ring surrounding the gauge and the instrument cluster. Very gently start prying and then wiggle the gauge out of the cluster. |
|
|
|
| Cuda911 |
Aug 22 2014, 01:23 AM
Post
#8
|
|
Senior Member Group: Members Posts: 1,489 Joined: 20-May 14 From: Oceanside (N. San Diego County), CA Member No.: 17,376 Region Association: Southern California |
Will do, thanks again!!!
|
|
|
|
| Tom |
Aug 22 2014, 04:07 AM
Post
#9
|
|
Advanced Member Group: Members Posts: 2,139 Joined: 21-August 05 From: Port Orchard, WA 98367 Member No.: 4,626 Region Association: None |
(IMG:style_emoticons/default/dry.gif) pry out the gages? Why, it only takes 4 screws to remove the whole instrument cluster and keep the wiring from being stretched too much.
Tom |
|
|
|
| Cuda911 |
Aug 22 2014, 04:11 AM
Post
#10
|
|
Senior Member Group: Members Posts: 1,489 Joined: 20-May 14 From: Oceanside (N. San Diego County), CA Member No.: 17,376 Region Association: Southern California |
Ah, interesting, Tom. I was wondering the same thing. Lots of time the gaskets get stiff with age, so I'm a bit worried that when I press them back in that they won't seal as tightly.
So, if I just take out the four screws, the whole panel will come out and give me access to the bulbs? |
|
|
|
| ThePaintedMan |
Aug 22 2014, 07:52 AM
Post
#11
|
|
Advanced Member Group: Members Posts: 3,885 Joined: 6-September 11 From: St. Petersburg, FL Member No.: 13,527 Region Association: South East States |
The easiest, and BEST solution is to PM Tim (timothy_nd28). Have him do your gauges - you will not be disappointed.
Check out his awesome work here: http://www.914world.com/bbs2/index.php?sho...5&hl=gauges |
|
|
|
| Mike Bellis |
Aug 22 2014, 07:54 AM
Post
#12
|
|
Resident Electrician Group: Members Posts: 8,345 Joined: 22-June 09 From: Midlothian TX Member No.: 10,496 Region Association: None |
You will need to disconnect the speedo cable to get the cluster out.
|
|
|
|
| messix |
Aug 22 2014, 07:57 AM
Post
#13
|
|
AKA "CLUTCH KILLER"! Group: Members Posts: 6,995 Joined: 14-April 05 From: between shit kickers and pinky lifters/ puget sound wa.north of Seattle south of Canada Member No.: 3,931 Region Association: Pacific Northwest |
be very careful of the trip odometer reset cable that goes down to the bottom of the dash.
|
|
|
|
| dangrouche |
Aug 22 2014, 08:50 AM
Post
#14
|
|
dangrouche Group: Members Posts: 550 Joined: 1-May 04 From: San Francisco Bay Area Member No.: 2,012 Region Association: None |
here is the CSOB style, will require several hours of your time
http://www.914world.com/bbs2/index.php?showtopic=219852 |
|
|
|
| patssle |
Aug 22 2014, 10:58 AM
Post
#15
|
|
Senior Member Group: Members Posts: 981 Joined: 28-August 09 From: Houston, TX Member No.: 10,741 Region Association: None |
QUOTE(bluhun @ Aug 21 2014, 10:46 PM) The bulbs, designation BA7s-W, can be obtained from superbrightleds.com http://www.superbrightleds.com/cat/ba9s-ba7s/ The website only shows BA7s-x - is that the same thing? Don't see a -W. Edit: NEVERMIND. X represents color and changes when you select the white. |
|
|
|
| bandjoey |
Aug 22 2014, 11:21 AM
Post
#16
|
|
bandjoey Group: Members Posts: 4,923 Joined: 26-September 07 From: Bedford Tx Member No.: 8,156 Region Association: Southwest Region |
DO NOT !!! Replace the alternator bulb with led. Your alternator will quit charging. Has something to do with how the current gies through the bulb.
I bought the stock led bulbs in blue as a direct plug into the existing sockets. Speedo and Tach have a 50% immediate improvement. Gas gauge is. 25% improvement due to fewer bulbs. Tim's overhaul is the 150% improvement. |
|
|
|
| DRPHIL914 |
Aug 22 2014, 01:17 PM
Post
#17
|
|
Dr. Phil Group: Members Posts: 5,758 Joined: 9-December 09 From: Bluffton, SC Member No.: 11,106 Region Association: South East States |
The late All Garcia did mine and turned out nice. He installed the strips. Similar to what Timothy is doing.
This would be a better picture if I took it at night. Attached thumbnail(s) 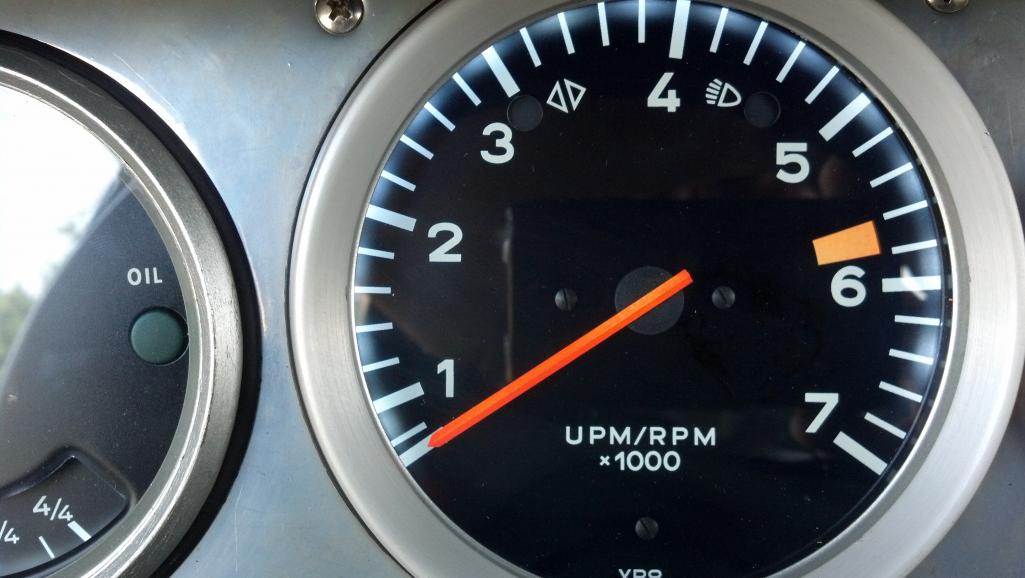 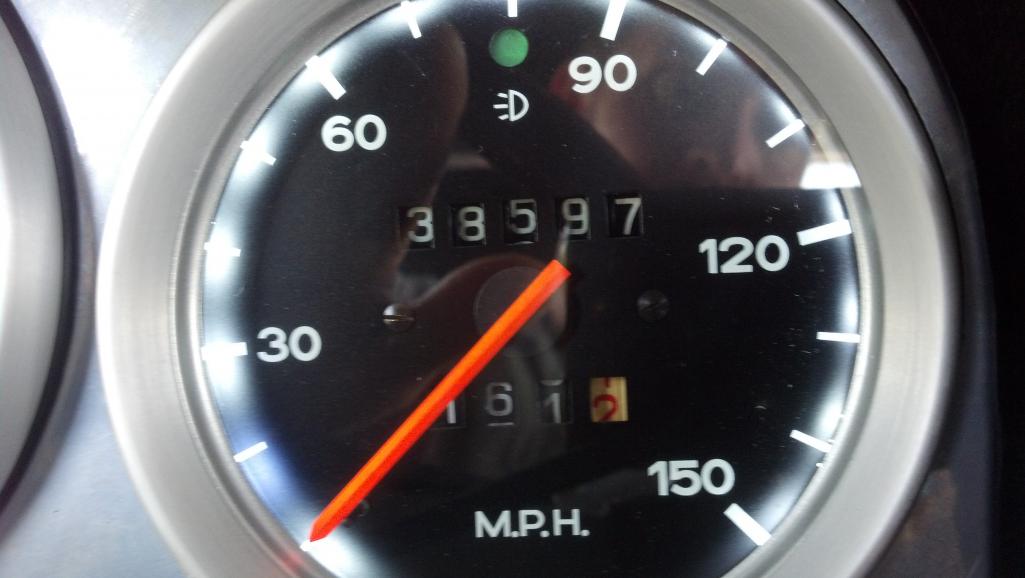
|
|
|
|
| Cuda911 |
Aug 22 2014, 01:58 PM
Post
#18
|
|
Senior Member Group: Members Posts: 1,489 Joined: 20-May 14 From: Oceanside (N. San Diego County), CA Member No.: 17,376 Region Association: Southern California |
Wow, some great additional info... thanks, guys!
OK, I will be sure to leave the alternator bulb alone. I assume that the various red and green lights are just red and green glass or plastic over the bulbs, and the all bulbs are actually clear? The ones with the whole strip installation thing look fantastic! The multicolor system in the link to Timothy's thread is absolutely outstanding!!! I think for now, I will go the cheapest and easiest route, and order some of the bulbs as per bluhun's post. So, how many bulbs should I expect to find back there? |
|
|
|
| timothy_nd28 |
Aug 22 2014, 07:17 PM
Post
#19
|
|
Advanced Member Group: Members Posts: 2,299 Joined: 25-September 07 From: IN Member No.: 8,154 Region Association: Upper MidWest |
I just copycatted ALs work, just because his method was the only one that seemed to brighten these gauges up the most.
Do a search with the LED bulb replacements, many people have mixed feelings with the results. I have a few threads explaining how to install these LED strips inside the gauges, it's really not that bad of a project just time consuming. If you take on this project, be sure to paint the inside of the gauge cans flat white, this is the best color to reflect the light. Also, with the tachometer, paint the back end of the bezel that holds the glass flat white. The gauge seems to be the dimmest due to the solid face dial. |
|
|
|
| Cevan |
Aug 22 2014, 08:39 PM
Post
#20
|
|
Senior Member Group: Members Posts: 1,079 Joined: 11-December 06 From: Western Massachusetts Member No.: 7,351 |
I used this method.
Uses your existing headlight dimmer and no need to open the gauges. Not as bright as a whole strip of LEDs but a vast improvement. |
|
|
|
|
1 User(s) are reading this topic (1 Guests and 0 Anonymous Users)
0 Members:

|
Lo-Fi Version | Time is now: 19th April 2024 - 05:41 PM |
Invision Power Board
v9.1.4 © 2024 IPS, Inc.