|
|
|
Porsche, and the Porsche crest are registered trademarks of Dr. Ing. h.c. F. Porsche AG.
This site is not affiliated with Porsche in any way. Its only purpose is to provide an online forum for car enthusiasts. All other trademarks are property of their respective owners. |
|
|

  |

| bkrantz |
 Jun 19 2021, 07:58 PM Jun 19 2021, 07:58 PM
Post
#3081
|
|
914 Guru  Group: Members Posts: 8,065 Joined: 3-August 19 From: SW Colorado Member No.: 23,343 Region Association: Rocky Mountains |
Best fit are 6 mm.
Attached thumbnail(s) 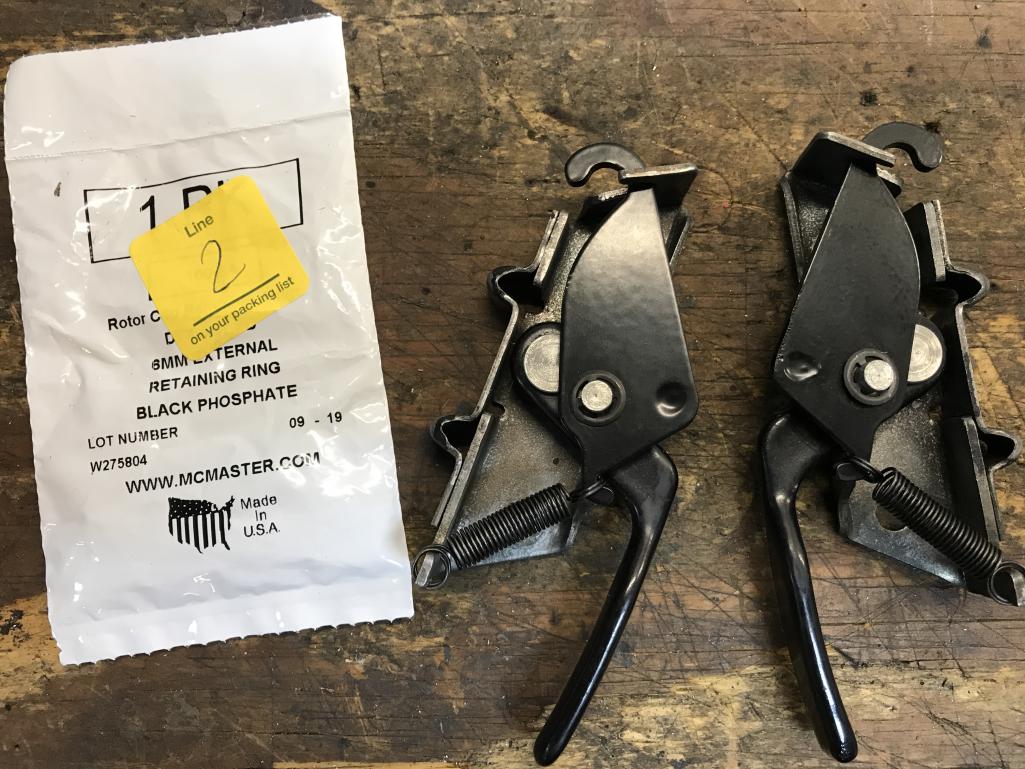
|
   |

 
|
| bkrantz |
Jun 19 2021, 07:59 PM
Post
#3082
|
|
914 Guru Group: Members Posts: 8,065 Joined: 3-August 19 From: SW Colorado Member No.: 23,343 Region Association: Rocky Mountains |
I bolted on the latches.
Attached thumbnail(s) 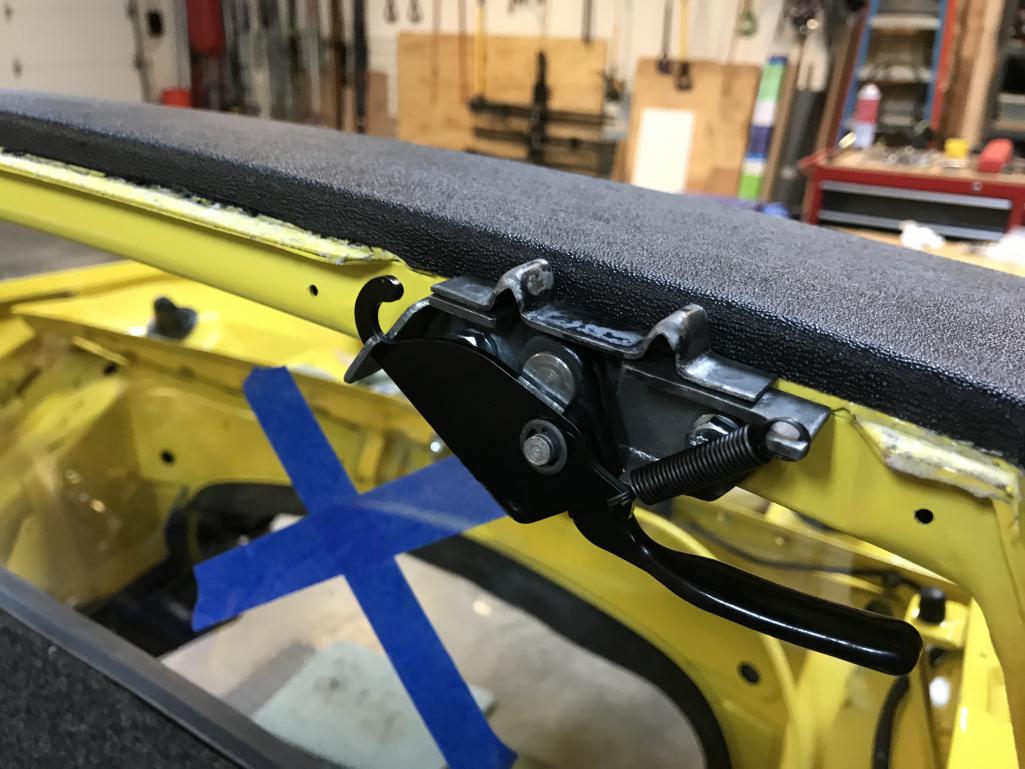
|
|
|
|
| bkrantz |
Jun 19 2021, 08:00 PM
Post
#3083
|
|
914 Guru Group: Members Posts: 8,065 Joined: 3-August 19 From: SW Colorado Member No.: 23,343 Region Association: Rocky Mountains |
And then installed the targa top pad. This has a few cracks, but will do for now.
Attached thumbnail(s) 
|
|
|
|
| bkrantz |
Jun 19 2021, 08:01 PM
Post
#3084
|
|
914 Guru Group: Members Posts: 8,065 Joined: 3-August 19 From: SW Colorado Member No.: 23,343 Region Association: Rocky Mountains |
I then got out the targa side weatherstrips.
Attached thumbnail(s) 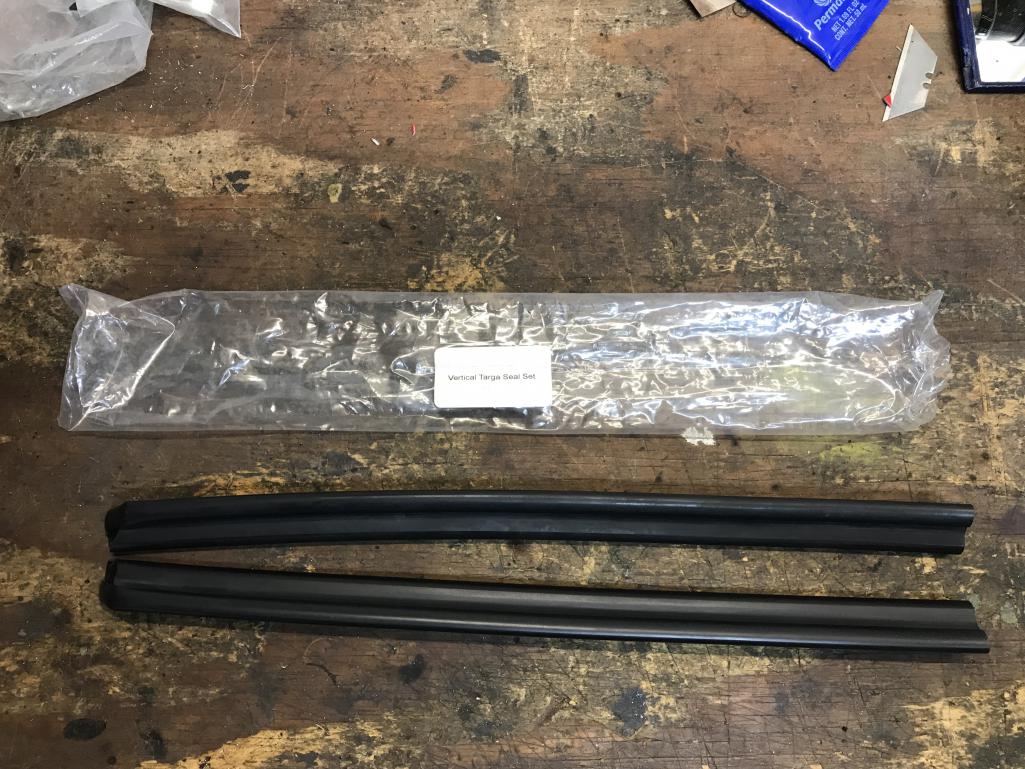
|
|
|
|
| bkrantz |
Jun 19 2021, 08:02 PM
Post
#3085
|
|
914 Guru Group: Members Posts: 8,065 Joined: 3-August 19 From: SW Colorado Member No.: 23,343 Region Association: Rocky Mountains |
Pretty easy to install. This was my initial attempt, which was a bit too high. I tried a second time, and left it sticking up just a little bit.
Attached thumbnail(s) 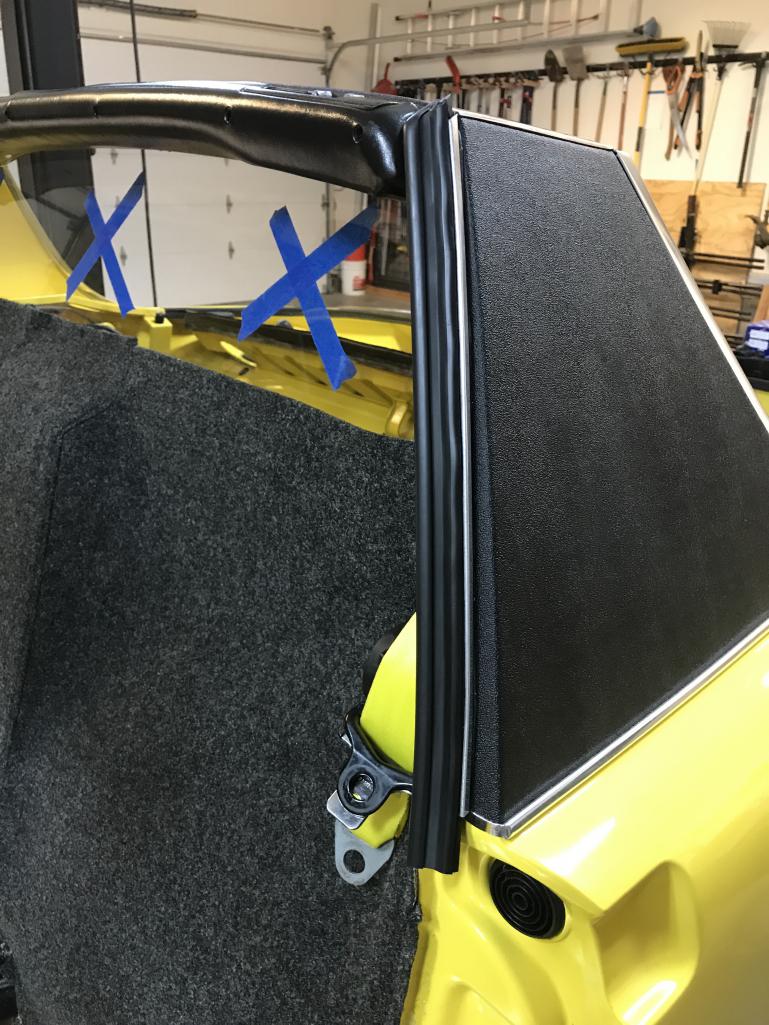
|
|
|
|
| bkrantz |
Jun 19 2021, 08:05 PM
Post
#3086
|
|
914 Guru Group: Members Posts: 8,065 Joined: 3-August 19 From: SW Colorado Member No.: 23,343 Region Association: Rocky Mountains |
More weatherstrip, here the bulkhead top seal (one of two).
Attached thumbnail(s) 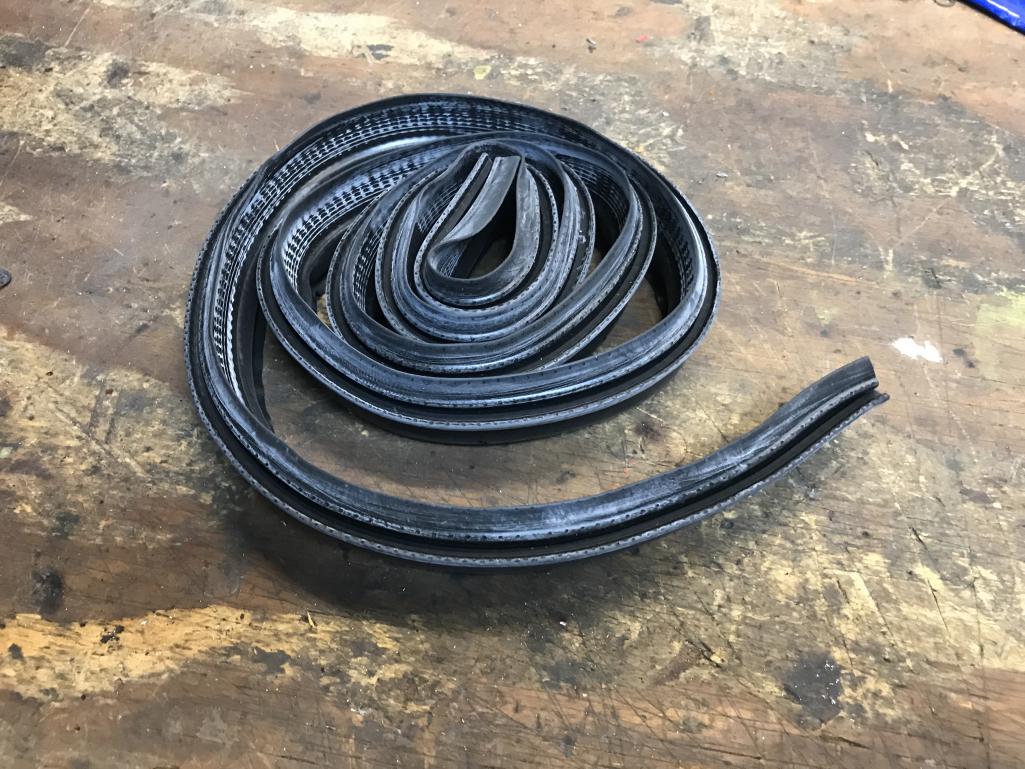
|
|
|
|
| bkrantz |
Jun 19 2021, 08:05 PM
Post
#3087
|
|
914 Guru Group: Members Posts: 8,065 Joined: 3-August 19 From: SW Colorado Member No.: 23,343 Region Association: Rocky Mountains |
One in the frunk.
Attached thumbnail(s) 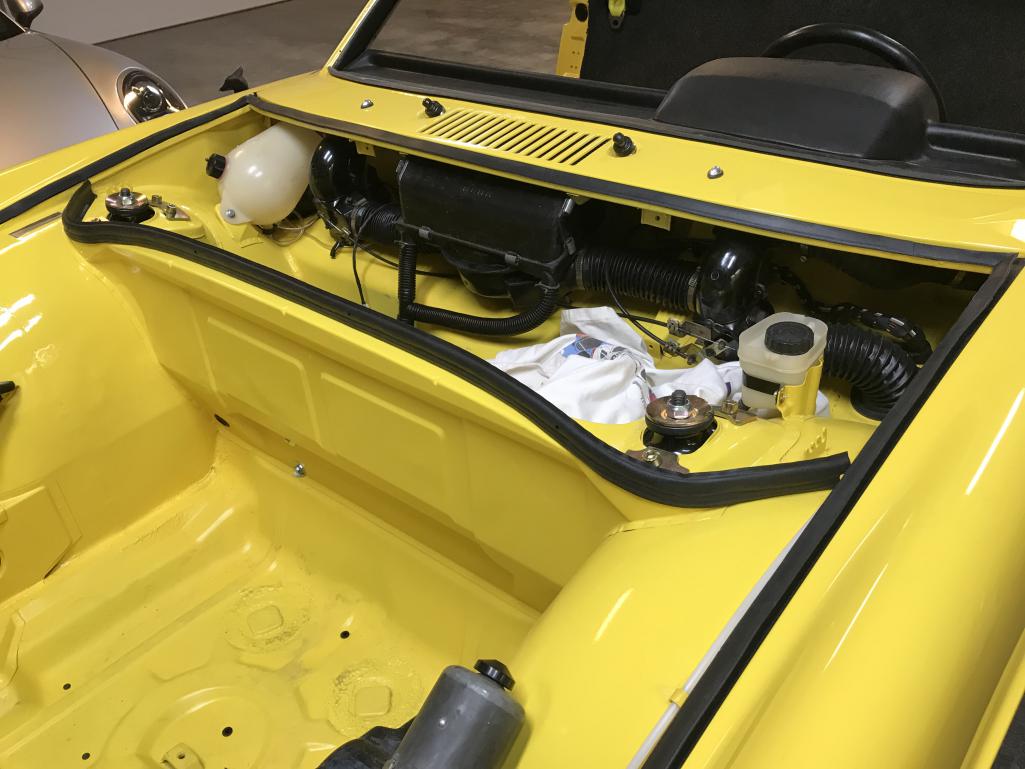
|
|
|
|
| bkrantz |
Jun 19 2021, 08:06 PM
Post
#3088
|
|
914 Guru Group: Members Posts: 8,065 Joined: 3-August 19 From: SW Colorado Member No.: 23,343 Region Association: Rocky Mountains |
And one in the trunk.
Attached thumbnail(s) 
|
|
|
|
| bkrantz |
Jun 19 2021, 08:07 PM
Post
#3089
|
|
914 Guru Group: Members Posts: 8,065 Joined: 3-August 19 From: SW Colorado Member No.: 23,343 Region Association: Rocky Mountains |
Speaking of the frunk, I got out the perimeter seal.
Attached thumbnail(s) 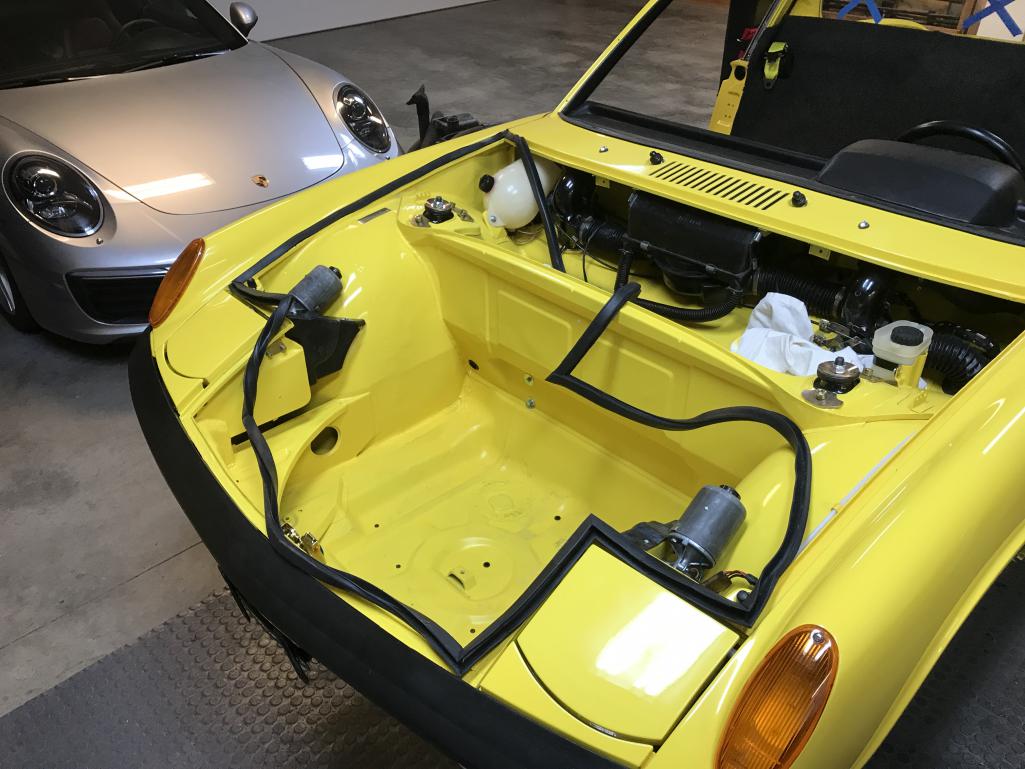
|
|
|
|
| bkrantz |
Jun 19 2021, 08:07 PM
Post
#3090
|
|
914 Guru Group: Members Posts: 8,065 Joined: 3-August 19 From: SW Colorado Member No.: 23,343 Region Association: Rocky Mountains |
I installed this without any adhesive, so it can come out for cleaning the channel.
Attached thumbnail(s) 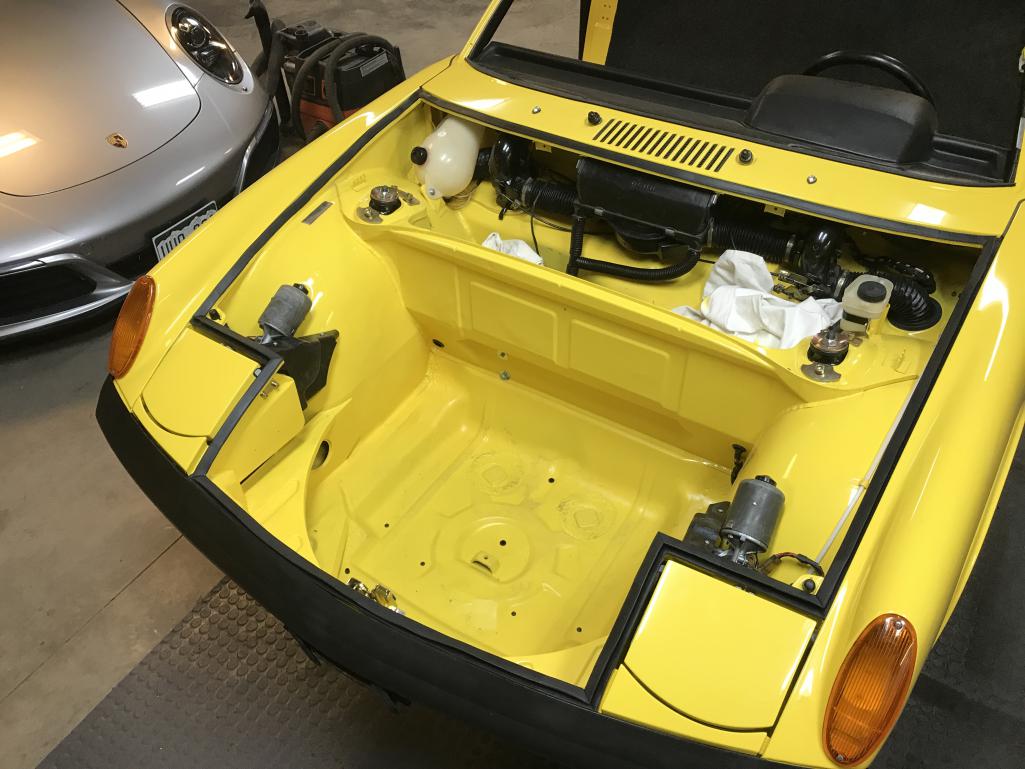
|
|
|
|
| bkrantz |
Jun 19 2021, 08:08 PM
Post
#3091
|
|
914 Guru Group: Members Posts: 8,065 Joined: 3-August 19 From: SW Colorado Member No.: 23,343 Region Association: Rocky Mountains |
Here's the trunk seal.
Attached thumbnail(s) 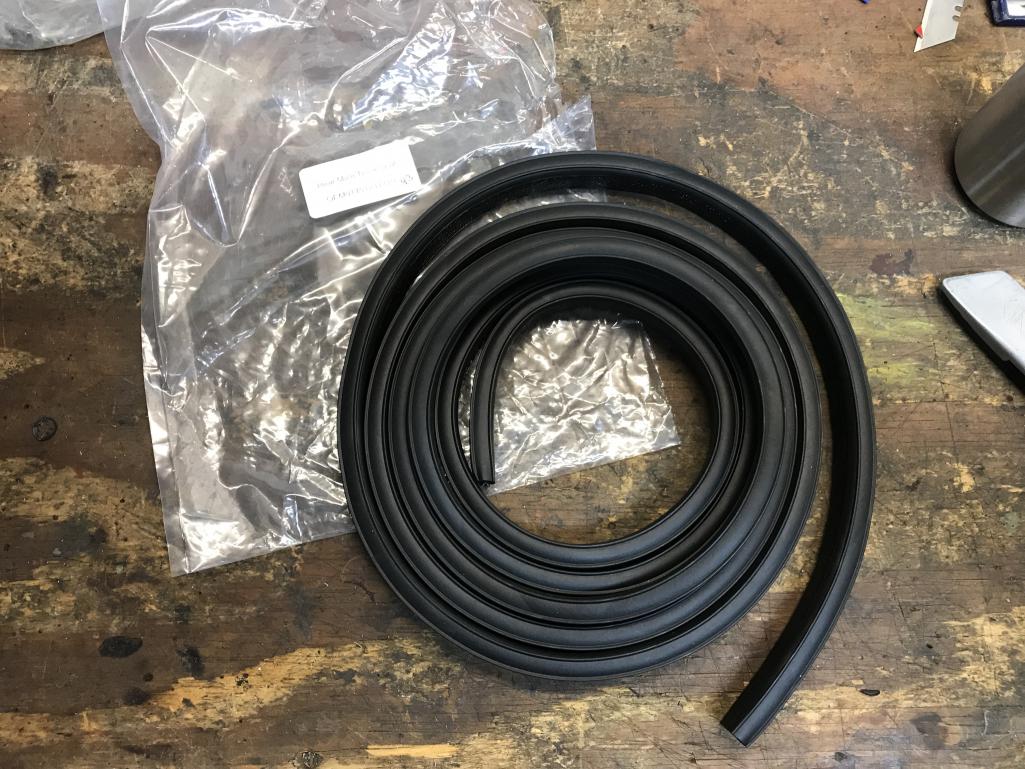
|
|
|
|
| bkrantz |
Jun 19 2021, 08:09 PM
Post
#3092
|
|
914 Guru Group: Members Posts: 8,065 Joined: 3-August 19 From: SW Colorado Member No.: 23,343 Region Association: Rocky Mountains |
Also an easy installation.
Attached thumbnail(s) 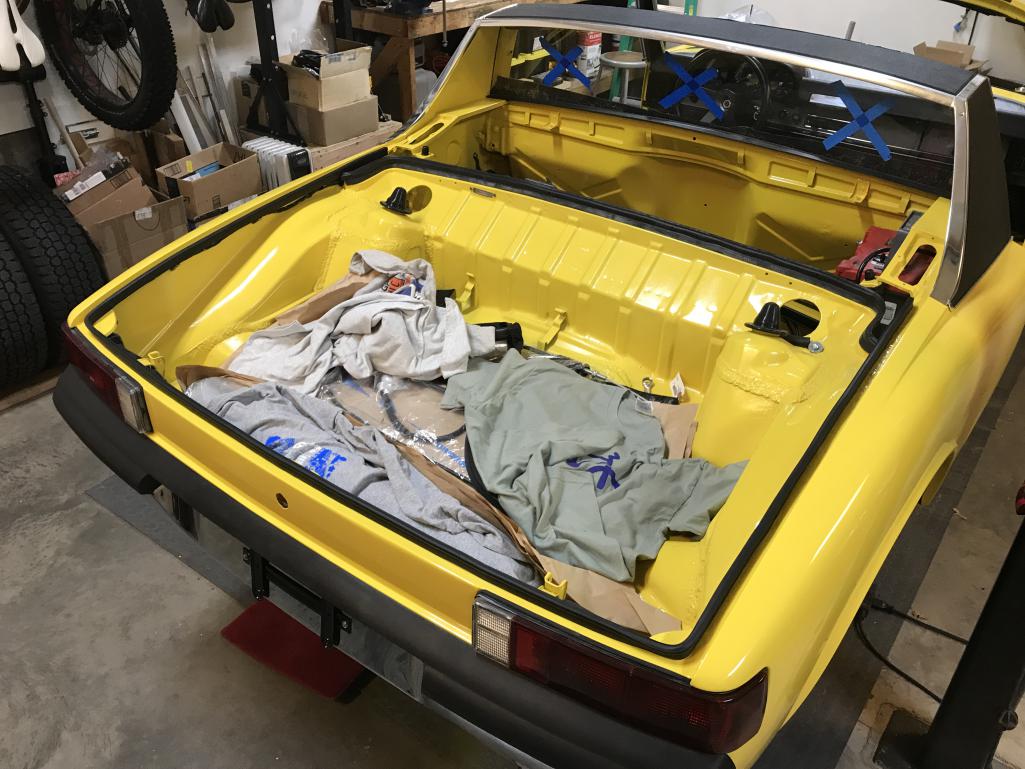
|
|
|
|
| raynekat |
Jun 20 2021, 12:15 AM
Post
#3093
|
|
Advanced Member Group: Members Posts: 2,160 Joined: 30-December 14 From: Coeur d'Alene, Idaho Member No.: 18,263 Region Association: Pacific Northwest |
Getting there Brother.
Looking great. |
|
|
|
| bkrantz |
Jun 20 2021, 06:42 PM
Post
#3094
|
|
914 Guru Group: Members Posts: 8,065 Joined: 3-August 19 From: SW Colorado Member No.: 23,343 Region Association: Rocky Mountains |
More weatherstrip fun today, getting the front targa top seals installed. This is now my (not so) favorite tool.
Attached thumbnail(s) 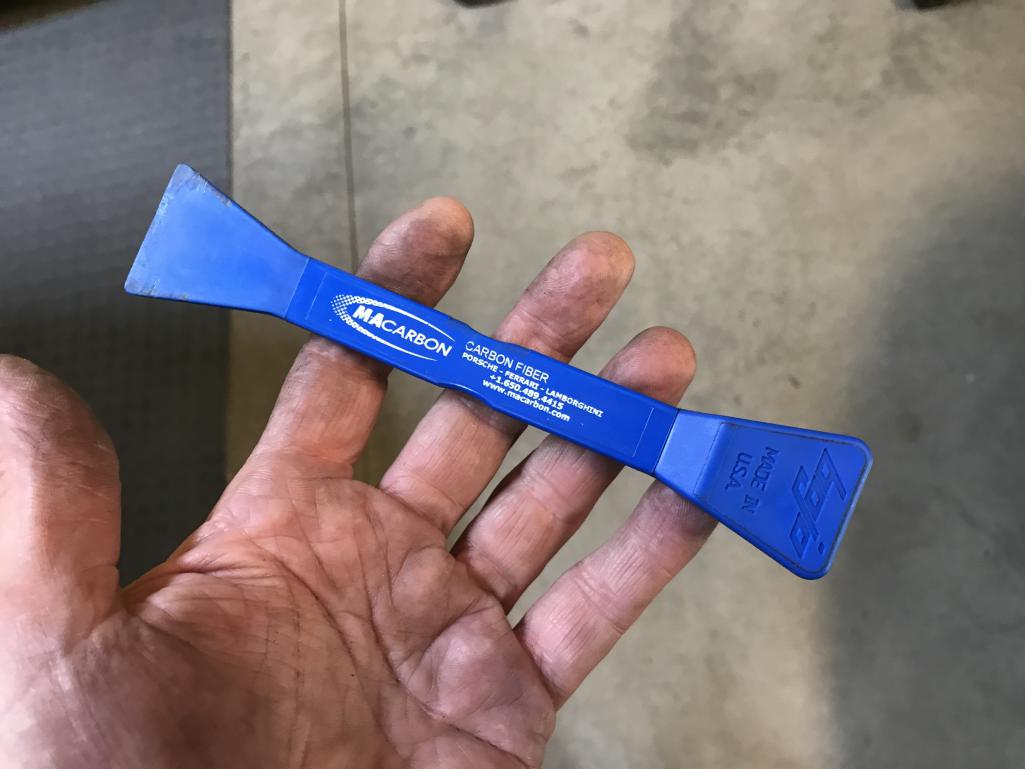
|
|
|
|
| bkrantz |
Jun 20 2021, 06:46 PM
Post
#3095
|
|
914 Guru Group: Members Posts: 8,065 Joined: 3-August 19 From: SW Colorado Member No.: 23,343 Region Association: Rocky Mountains |
Before installing either strip, I had to deal with the edge of the top pad, which is a bit mangled in places.
Attached thumbnail(s) 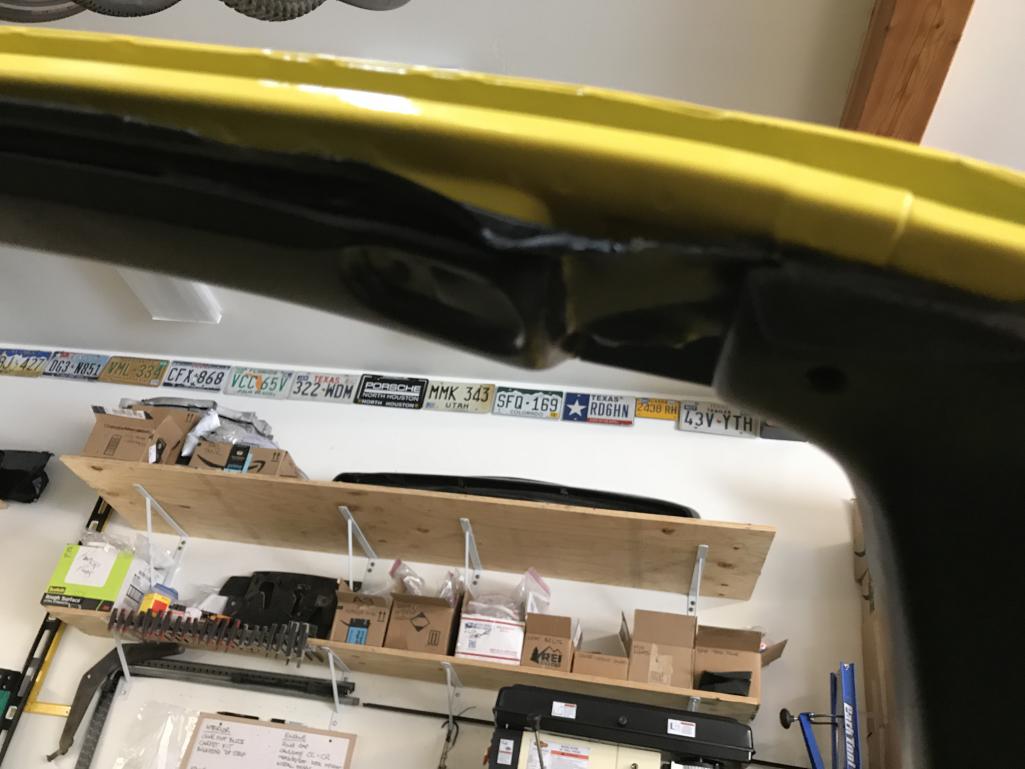
|
|
|
|
| bkrantz |
Jun 20 2021, 06:47 PM
Post
#3096
|
|
914 Guru Group: Members Posts: 8,065 Joined: 3-August 19 From: SW Colorado Member No.: 23,343 Region Association: Rocky Mountains |
Time again to dip into my lifetime supply of contact cement.
Attached thumbnail(s) 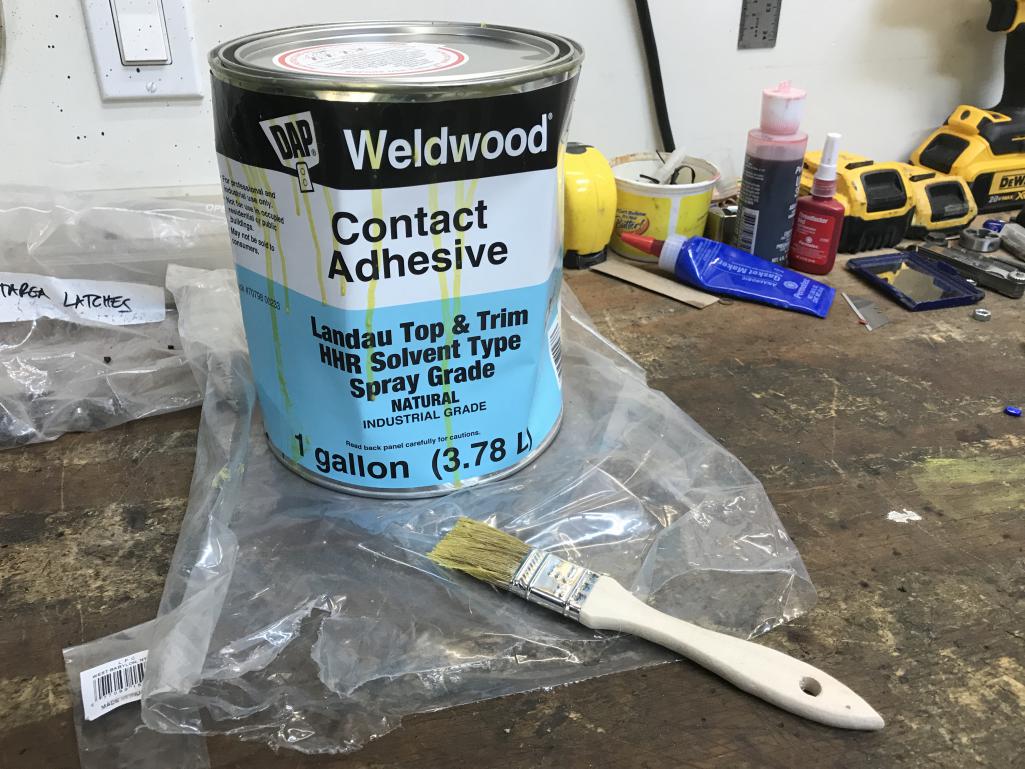
|
|
|
|
| bkrantz |
Jun 20 2021, 06:49 PM
Post
#3097
|
|
914 Guru Group: Members Posts: 8,065 Joined: 3-August 19 From: SW Colorado Member No.: 23,343 Region Association: Rocky Mountains |
I was able to get most of the edge glued, and also the "pads" where the front latches attach.
Attached thumbnail(s) 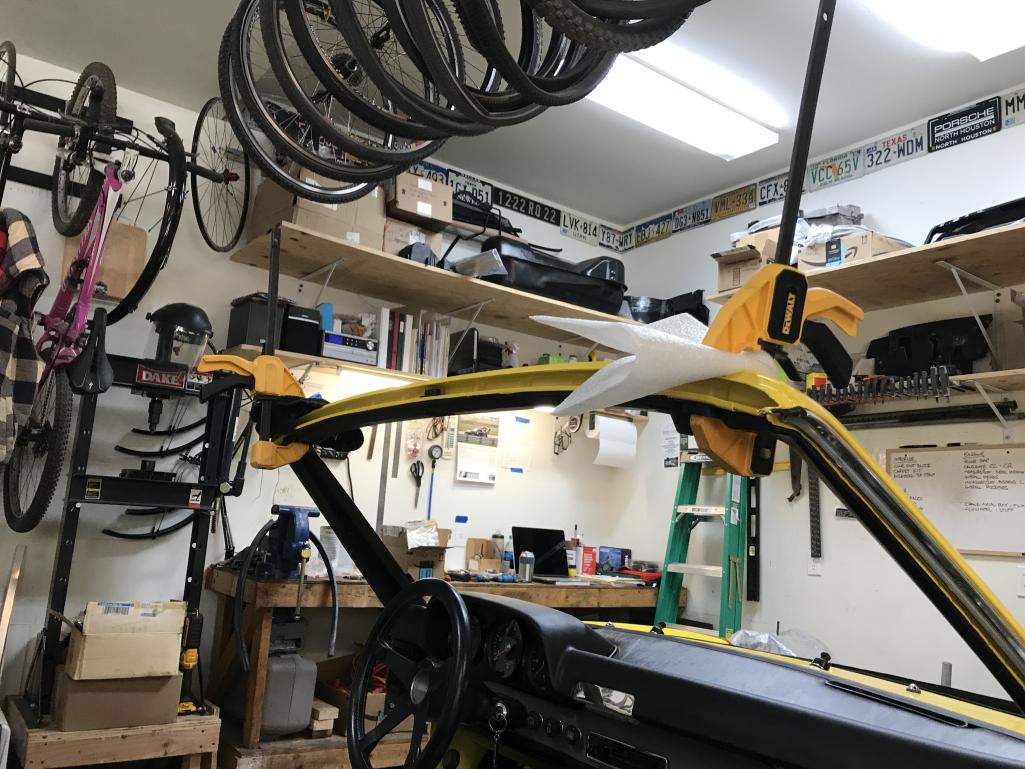
|
|
|
|
| bkrantz |
Jun 20 2021, 06:51 PM
Post
#3098
|
|
914 Guru Group: Members Posts: 8,065 Joined: 3-August 19 From: SW Colorado Member No.: 23,343 Region Association: Rocky Mountains |
I started on the left corner, and trimmed the metal tab to fit the shape of the indentation in the 914Rubber molding.
Attached thumbnail(s) 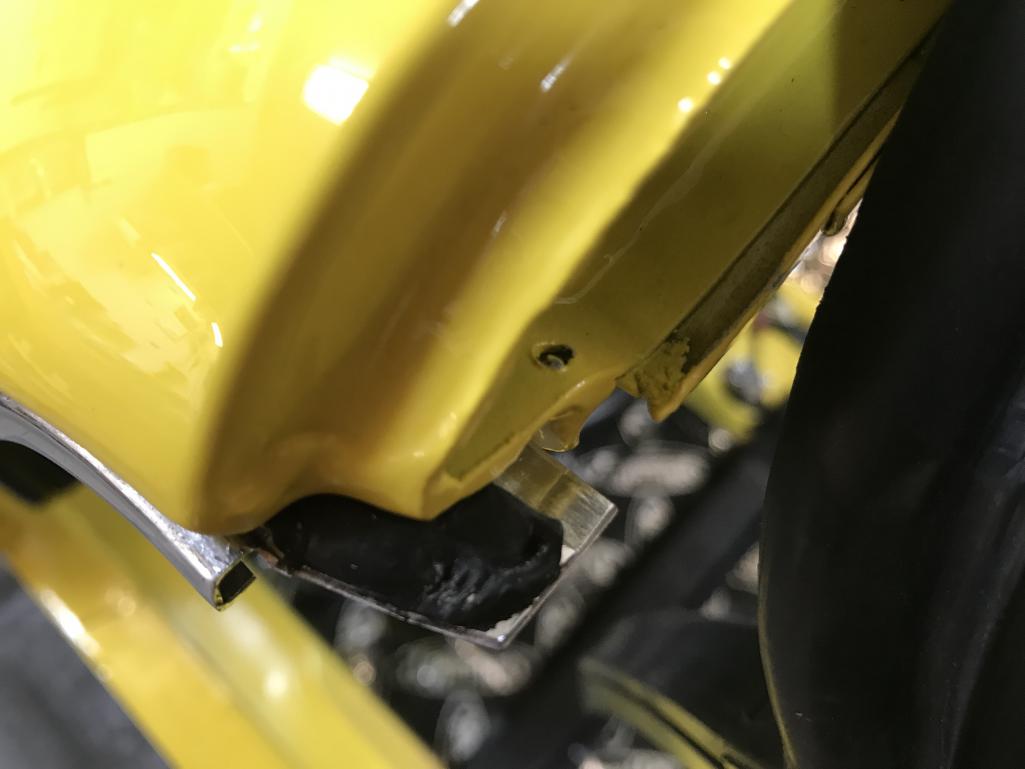
|
|
|
|
| bkrantz |
Jun 20 2021, 06:54 PM
Post
#3099
|
|
914 Guru Group: Members Posts: 8,065 Joined: 3-August 19 From: SW Colorado Member No.: 23,343 Region Association: Rocky Mountains |
Here's the recess, not quite rectangular.
Attached thumbnail(s) 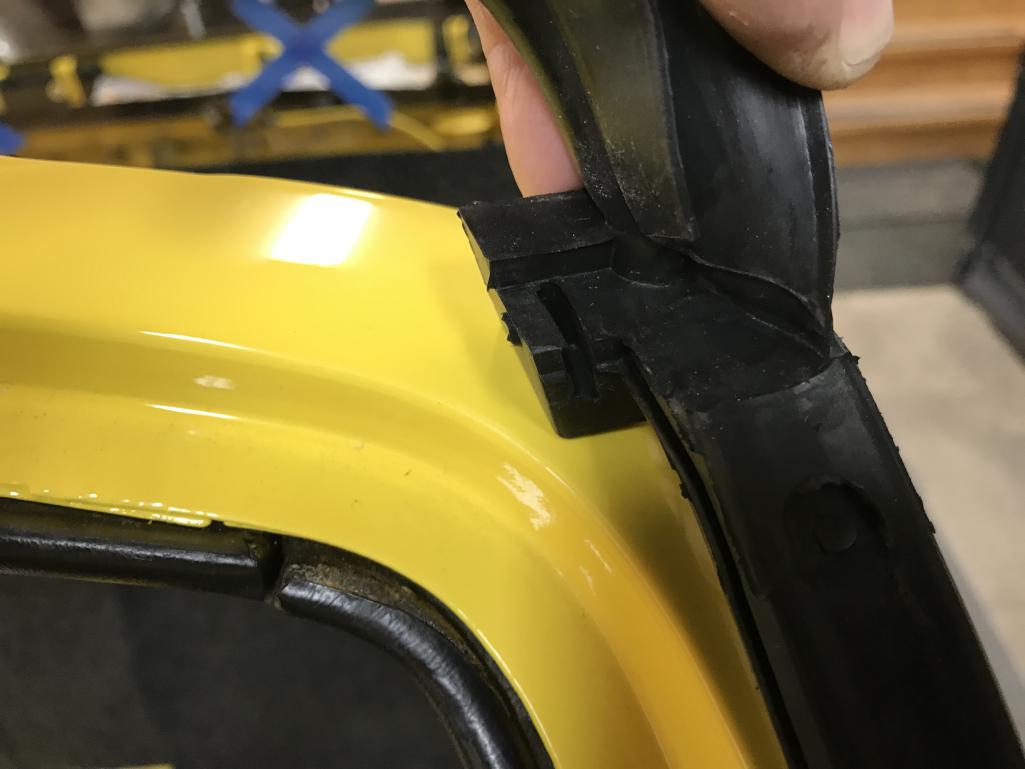
|
|
|
|
| bkrantz |
Jun 20 2021, 06:56 PM
Post
#3100
|
|
914 Guru Group: Members Posts: 8,065 Joined: 3-August 19 From: SW Colorado Member No.: 23,343 Region Association: Rocky Mountains |
First attempt: almost. I started near the top of the straight section, and then worked into the upper curve. Note that the molding as-is prevents the outer edge of the trim piece to seat.
Attached thumbnail(s) 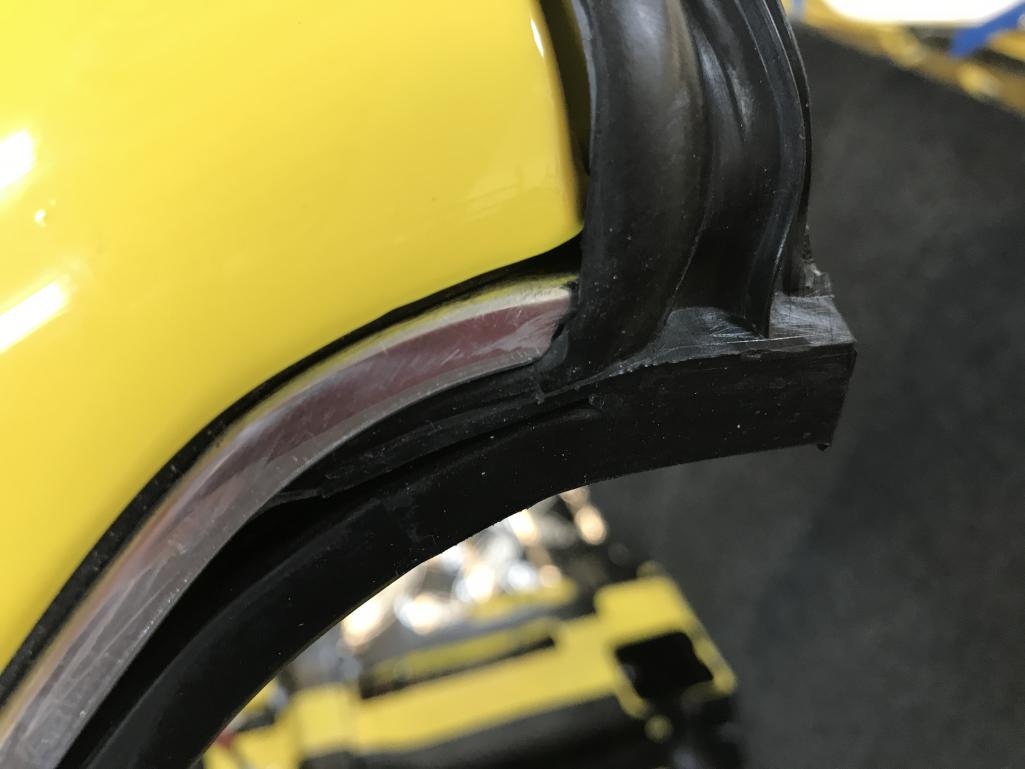
|
|
|
|
|
1 User(s) are reading this topic (1 Guests and 0 Anonymous Users)
0 Members:

|
Lo-Fi Version | Time is now: 27th September 2024 - 03:19 AM |
Invision Power Board
v9.1.4 © 2024 IPS, Inc.