|
|
|
Porsche, and the Porsche crest are registered trademarks of Dr. Ing. h.c. F. Porsche AG.
This site is not affiliated with Porsche in any way. Its only purpose is to provide an online forum for car enthusiasts. All other trademarks are property of their respective owners. |
|
|

  |

| bkrantz |
 Jun 23 2021, 07:14 PM Jun 23 2021, 07:14 PM
Post
#3141
|
|
914 Guru  Group: Members Posts: 8,065 Joined: 3-August 19 From: SW Colorado Member No.: 23,343 Region Association: Rocky Mountains |
Next, I installed the seal. I was able to start it with hard finger pressure, but it took some soft hammer taps.
Attached thumbnail(s) 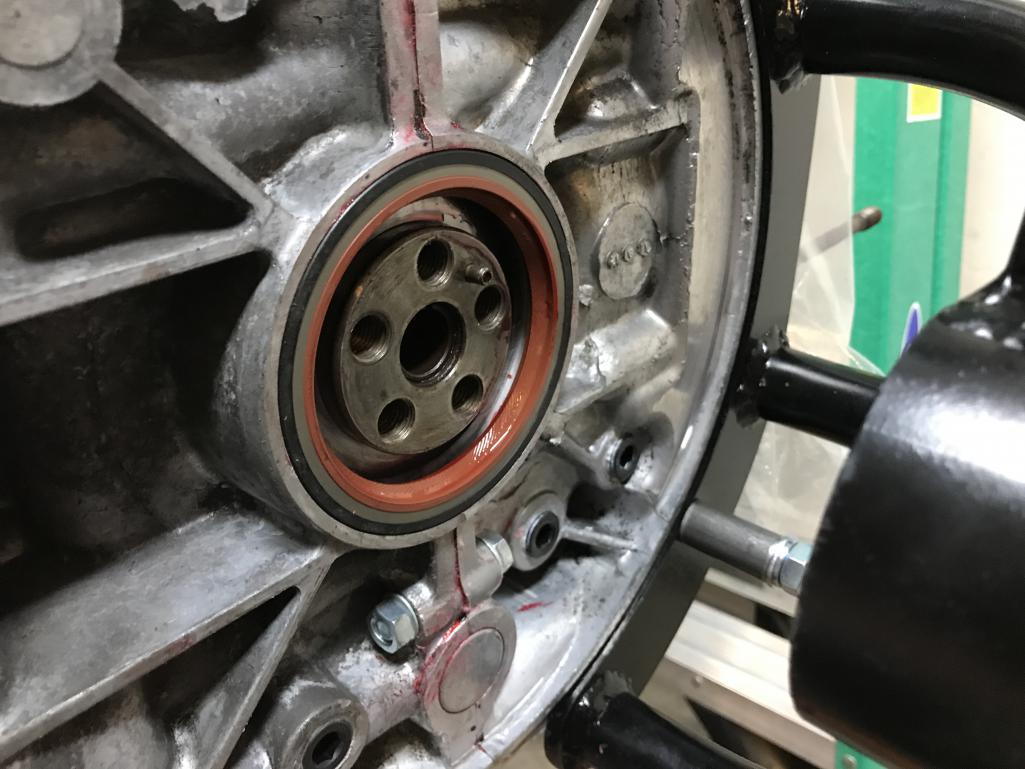
|
   |

 
|
| bkrantz |
Jun 23 2021, 07:15 PM
Post
#3142
|
|
914 Guru Group: Members Posts: 8,065 Joined: 3-August 19 From: SW Colorado Member No.: 23,343 Region Association: Rocky Mountains |
Then I got out all the parts for installing the flywheel.
Attached thumbnail(s) 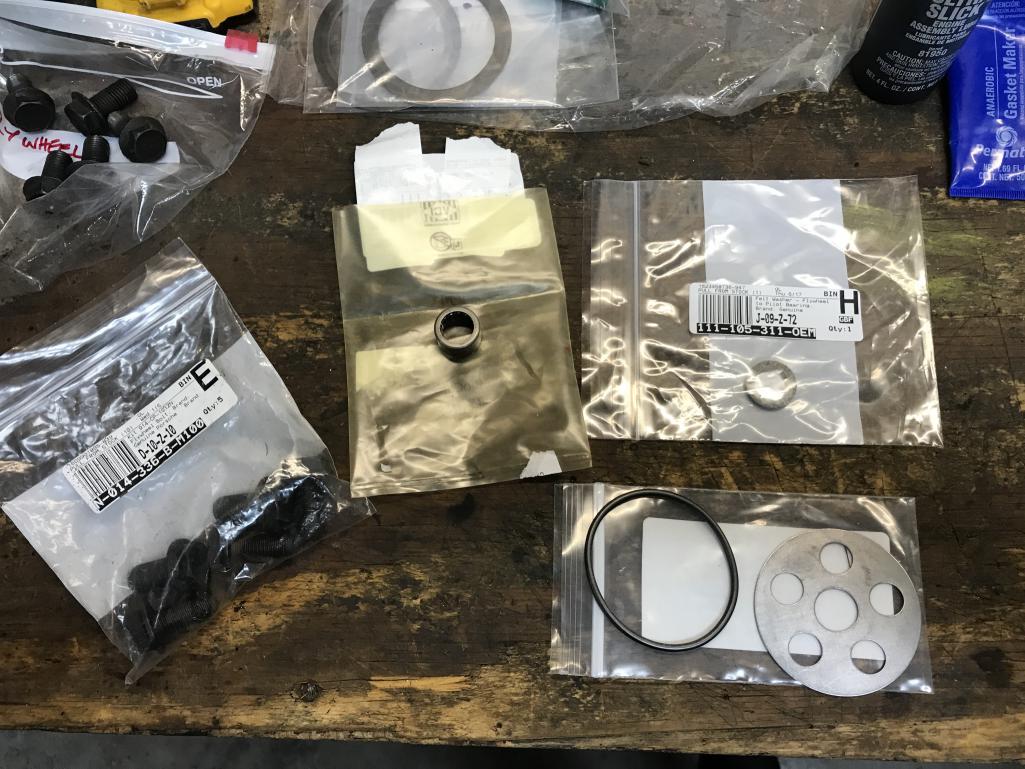
|
|
|
|
| bkrantz |
Jun 23 2021, 07:16 PM
Post
#3143
|
|
914 Guru Group: Members Posts: 8,065 Joined: 3-August 19 From: SW Colorado Member No.: 23,343 Region Association: Rocky Mountains |
Here's the big O-ring.
Attached thumbnail(s) 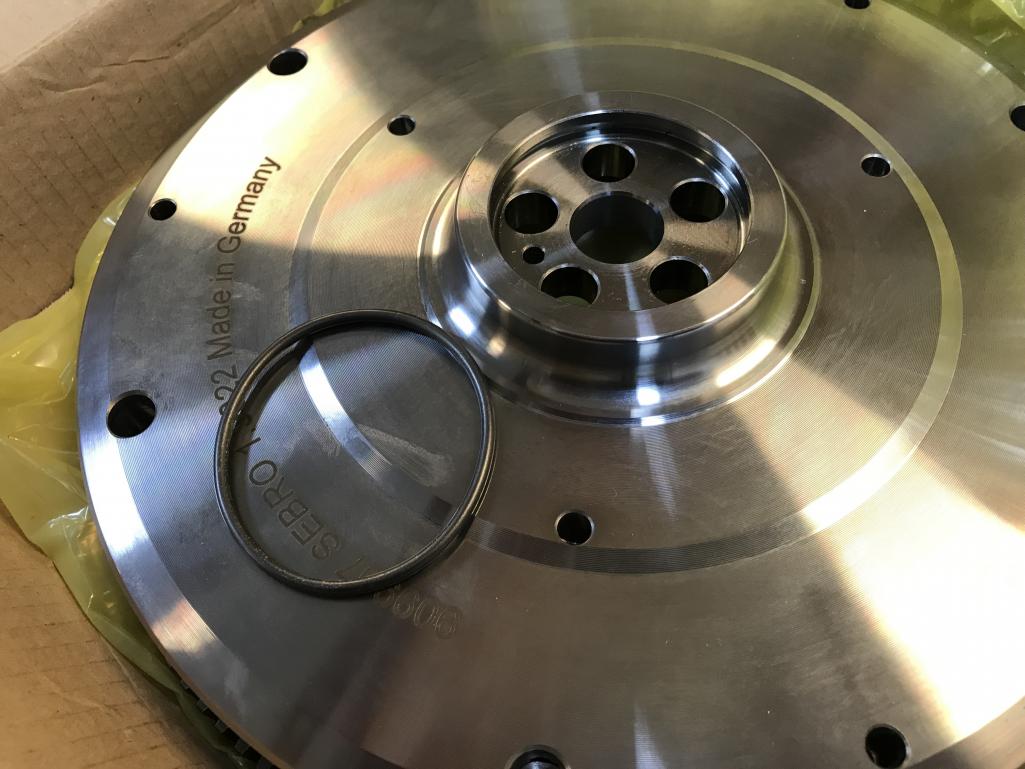
|
|
|
|
| bkrantz |
Jun 23 2021, 07:17 PM
Post
#3144
|
|
914 Guru Group: Members Posts: 8,065 Joined: 3-August 19 From: SW Colorado Member No.: 23,343 Region Association: Rocky Mountains |
Installed. And some assembly lube on the face and outside.
Attached thumbnail(s) 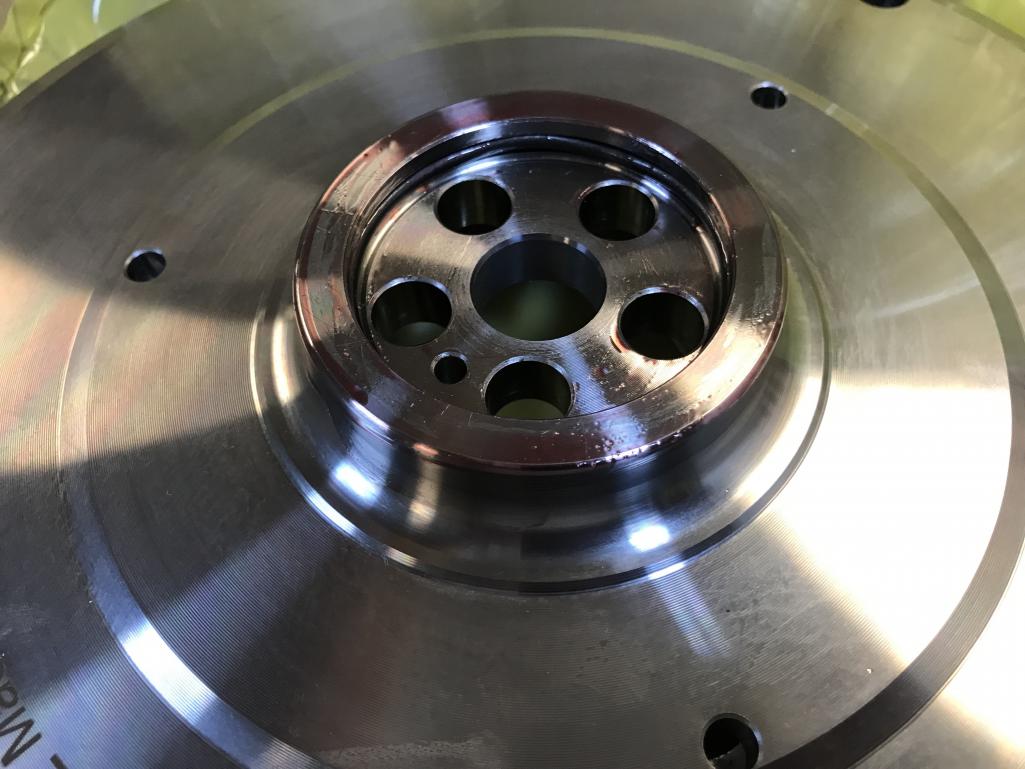
|
|
|
|
| bkrantz |
Jun 23 2021, 07:19 PM
Post
#3145
|
|
914 Guru Group: Members Posts: 8,065 Joined: 3-August 19 From: SW Colorado Member No.: 23,343 Region Association: Rocky Mountains |
Pilot bearing, with some moly grease.
Attached thumbnail(s) 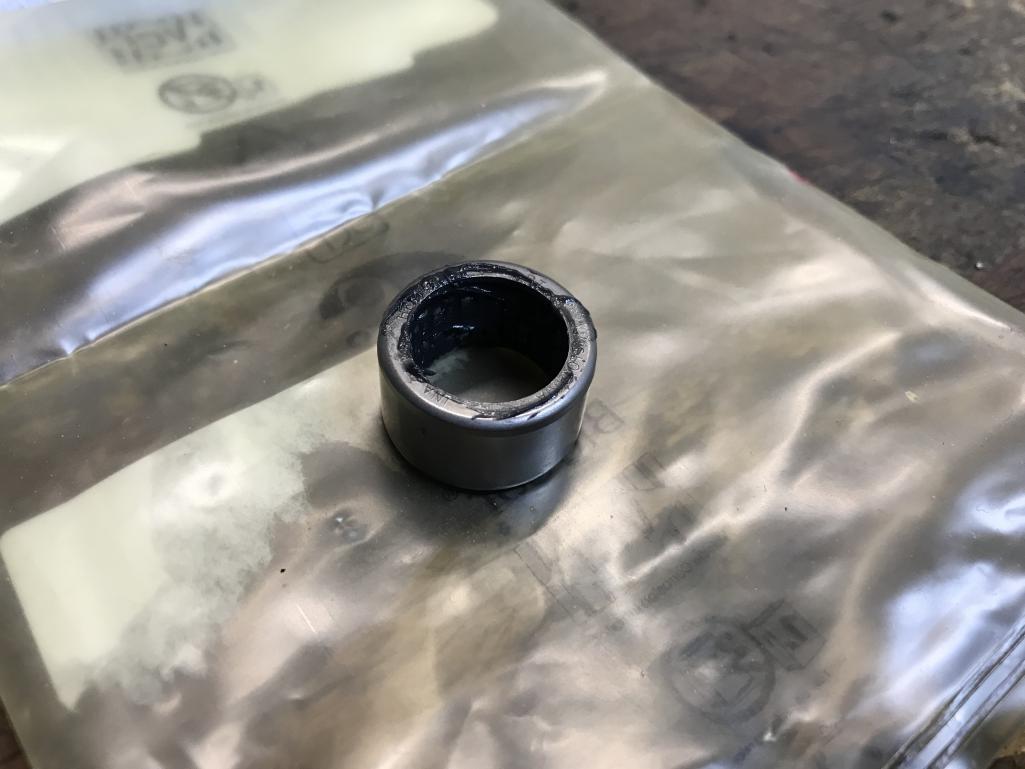
|
|
|
|
| bkrantz |
Jun 23 2021, 07:19 PM
Post
#3146
|
|
914 Guru Group: Members Posts: 8,065 Joined: 3-August 19 From: SW Colorado Member No.: 23,343 Region Association: Rocky Mountains |
The bearing is a tight fit in the flywheel.
Attached thumbnail(s) 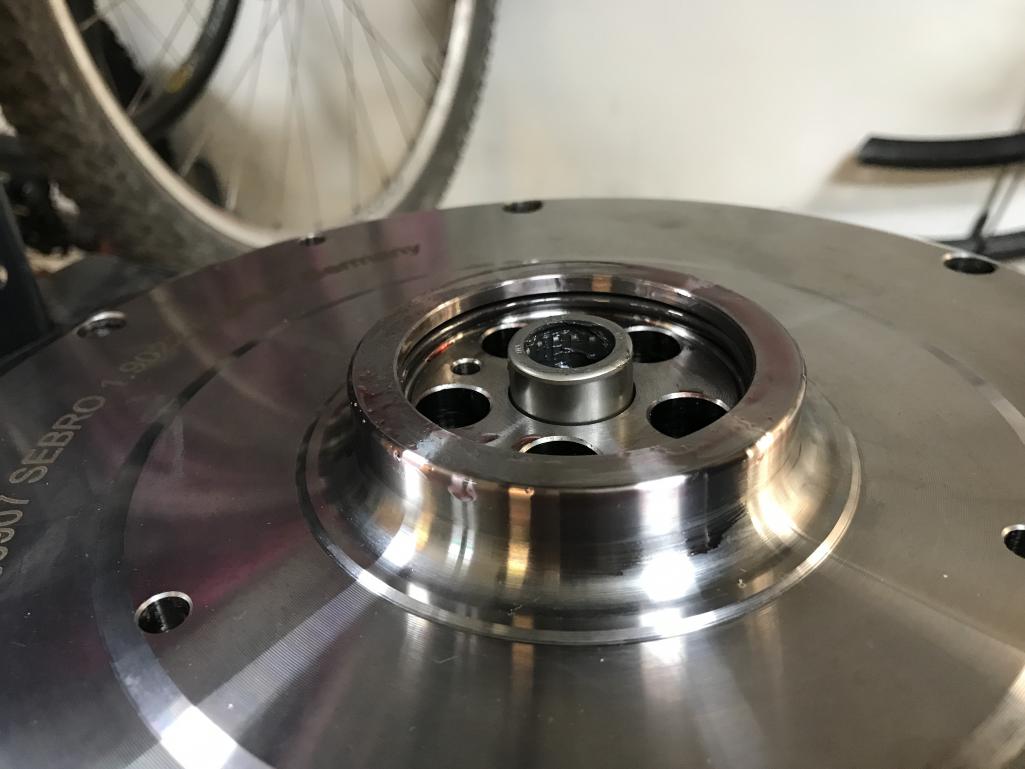
|
|
|
|
| bkrantz |
Jun 23 2021, 07:20 PM
Post
#3147
|
|
914 Guru Group: Members Posts: 8,065 Joined: 3-August 19 From: SW Colorado Member No.: 23,343 Region Association: Rocky Mountains |
So time for the press.
Attached thumbnail(s) 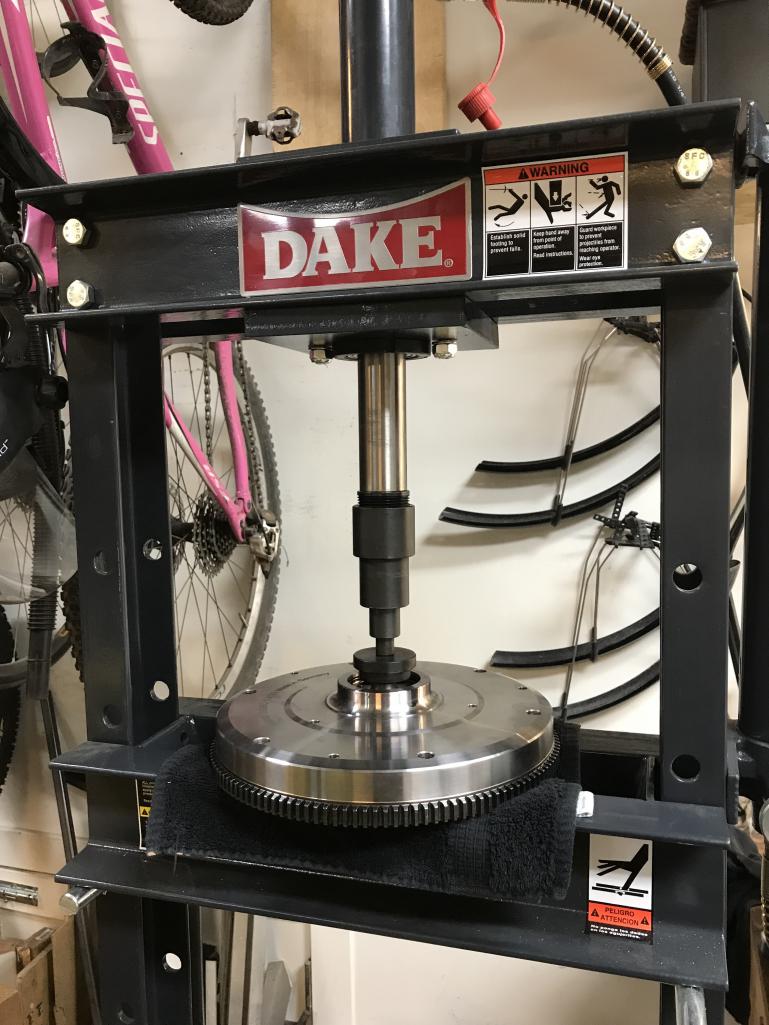
|
|
|
|
| bkrantz |
Jun 23 2021, 07:22 PM
Post
#3148
|
|
914 Guru Group: Members Posts: 8,065 Joined: 3-August 19 From: SW Colorado Member No.: 23,343 Region Association: Rocky Mountains |
I left the bearing sticking out a bit more than the recess in the end of the crank. I figured that it would press in as required when I bolted the flywheel on.
Attached thumbnail(s) 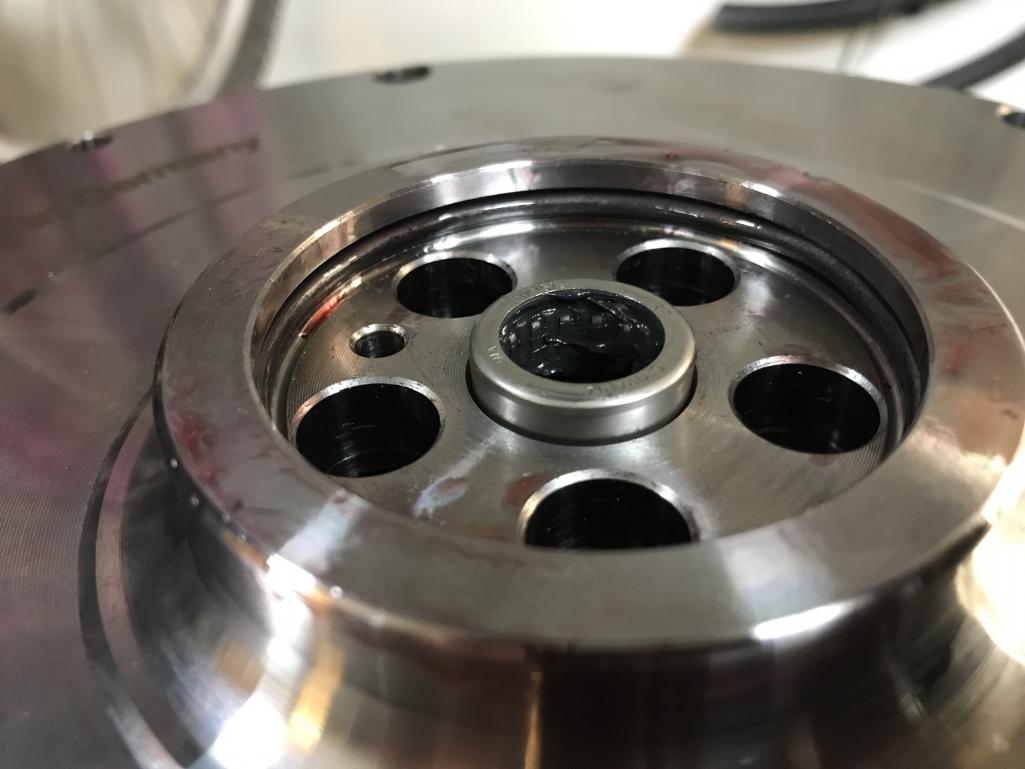
|
|
|
|
| bkrantz |
Jun 23 2021, 07:24 PM
Post
#3149
|
|
914 Guru Group: Members Posts: 8,065 Joined: 3-August 19 From: SW Colorado Member No.: 23,343 Region Association: Rocky Mountains |
Then the felt washer, dampened with engine oil, as per the factory repair manual.
Attached thumbnail(s) 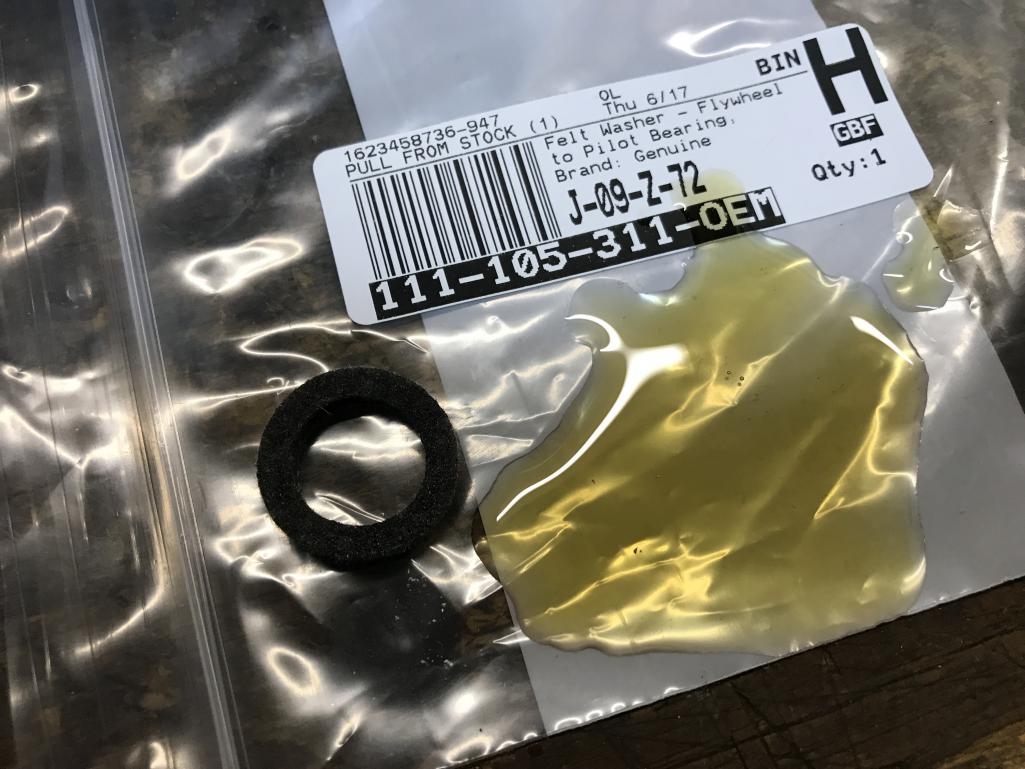
|
|
|
|
| bkrantz |
Jun 23 2021, 07:25 PM
Post
#3150
|
|
914 Guru Group: Members Posts: 8,065 Joined: 3-August 19 From: SW Colorado Member No.: 23,343 Region Association: Rocky Mountains |
The felt washer in place. Note the marks on the flywheel from the old bolts when I made them snug enough for setting the axial play.
Attached thumbnail(s) 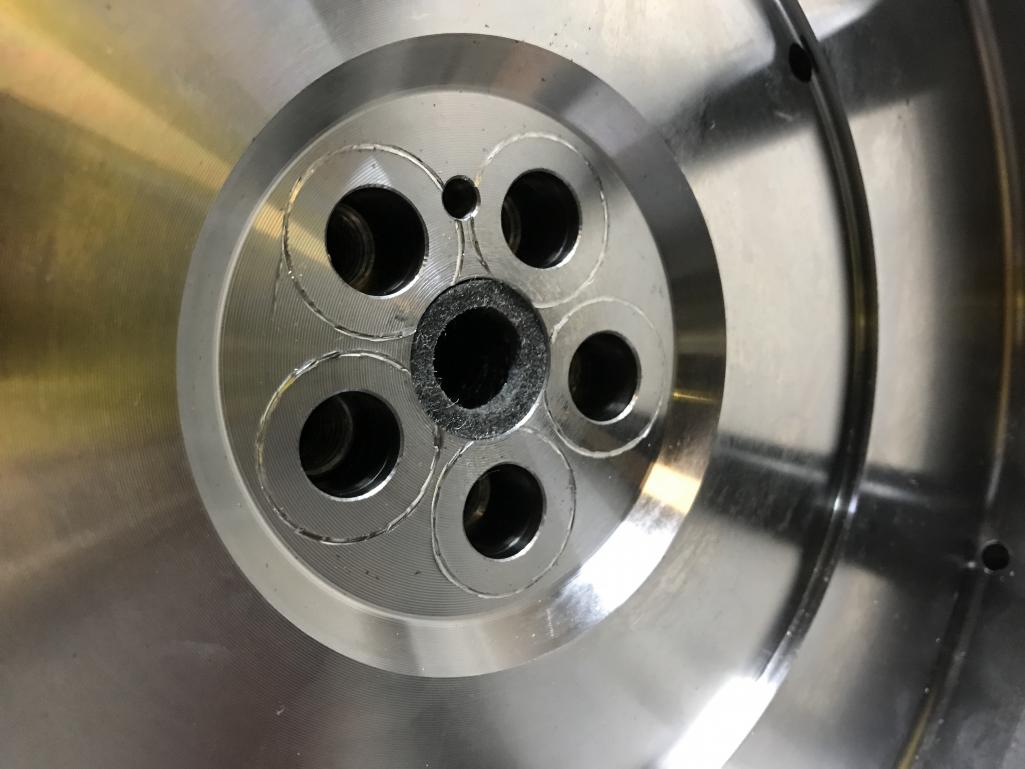
|
|
|
|
| bkrantz |
Jun 23 2021, 07:26 PM
Post
#3151
|
|
914 Guru Group: Members Posts: 8,065 Joined: 3-August 19 From: SW Colorado Member No.: 23,343 Region Association: Rocky Mountains |
Then new bolts and the retaining washer.
Attached thumbnail(s) 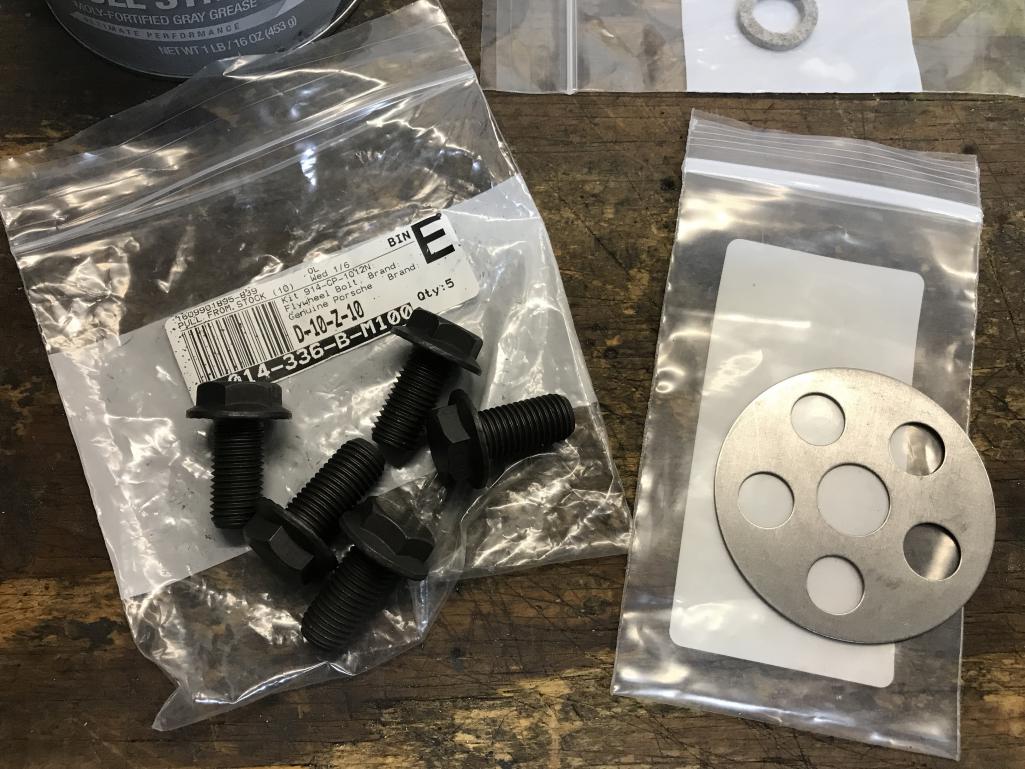
|
|
|
|
| bkrantz |
Jun 23 2021, 07:27 PM
Post
#3152
|
|
914 Guru Group: Members Posts: 8,065 Joined: 3-August 19 From: SW Colorado Member No.: 23,343 Region Association: Rocky Mountains |
After torquing the new bolts, all done with the flywheel.
Attached thumbnail(s) 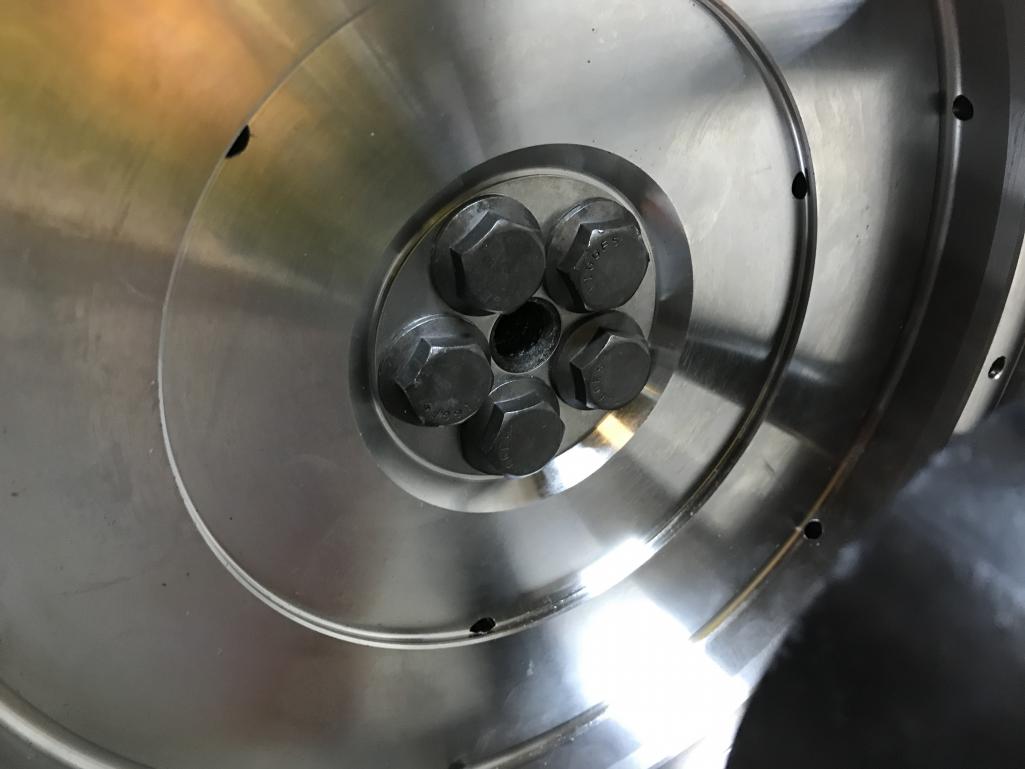
|
|
|
|
| bkrantz |
Jun 23 2021, 07:27 PM
Post
#3153
|
|
914 Guru Group: Members Posts: 8,065 Joined: 3-August 19 From: SW Colorado Member No.: 23,343 Region Association: Rocky Mountains |
A few more things crossed off the list.
Attached thumbnail(s) 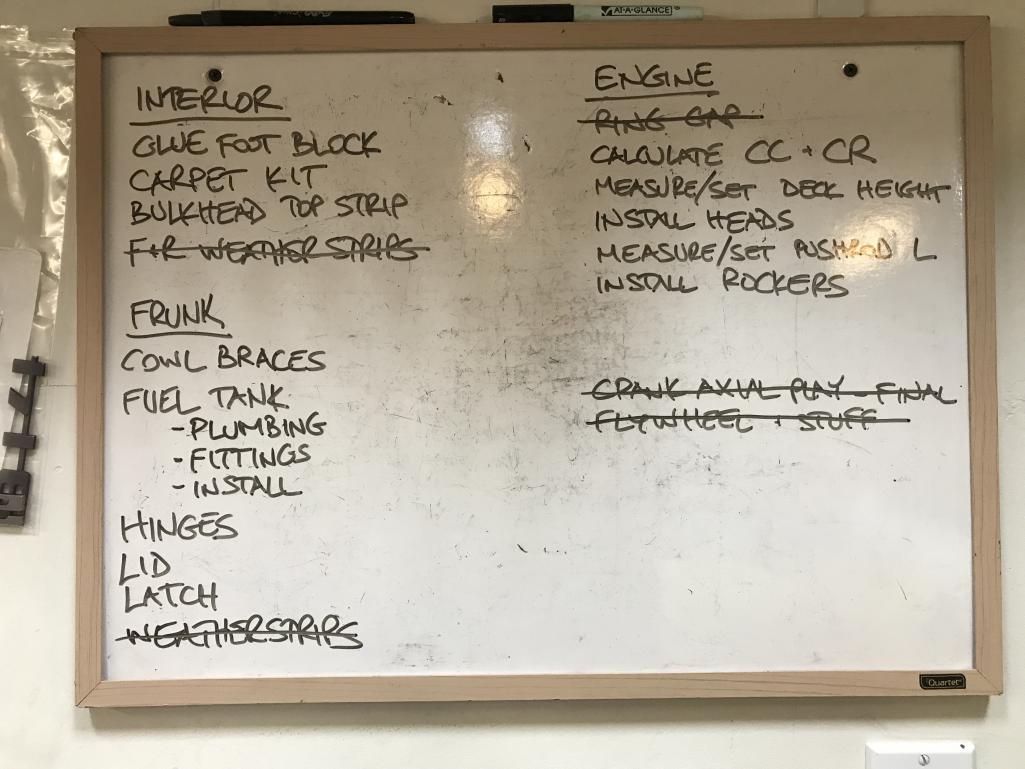
|
|
|
|
| bkrantz |
Jun 24 2021, 07:43 PM
Post
#3154
|
|
914 Guru Group: Members Posts: 8,065 Joined: 3-August 19 From: SW Colorado Member No.: 23,343 Region Association: Rocky Mountains |
I decided to see if I could make my uncooperative repro door handles work. Lots of measuring and thinking.
Attached thumbnail(s) 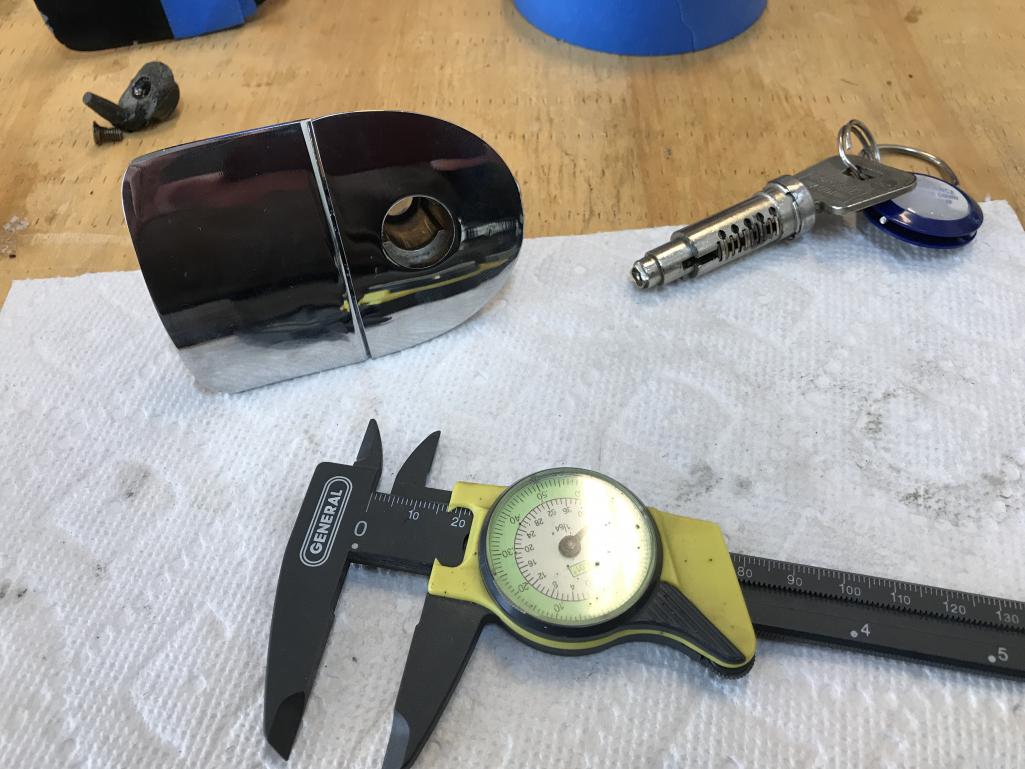
|
|
|
|
| bkrantz |
Jun 24 2021, 07:44 PM
Post
#3155
|
|
914 Guru Group: Members Posts: 8,065 Joined: 3-August 19 From: SW Colorado Member No.: 23,343 Region Association: Rocky Mountains |
On the left handle, the out hole was a bit small.
Attached thumbnail(s) 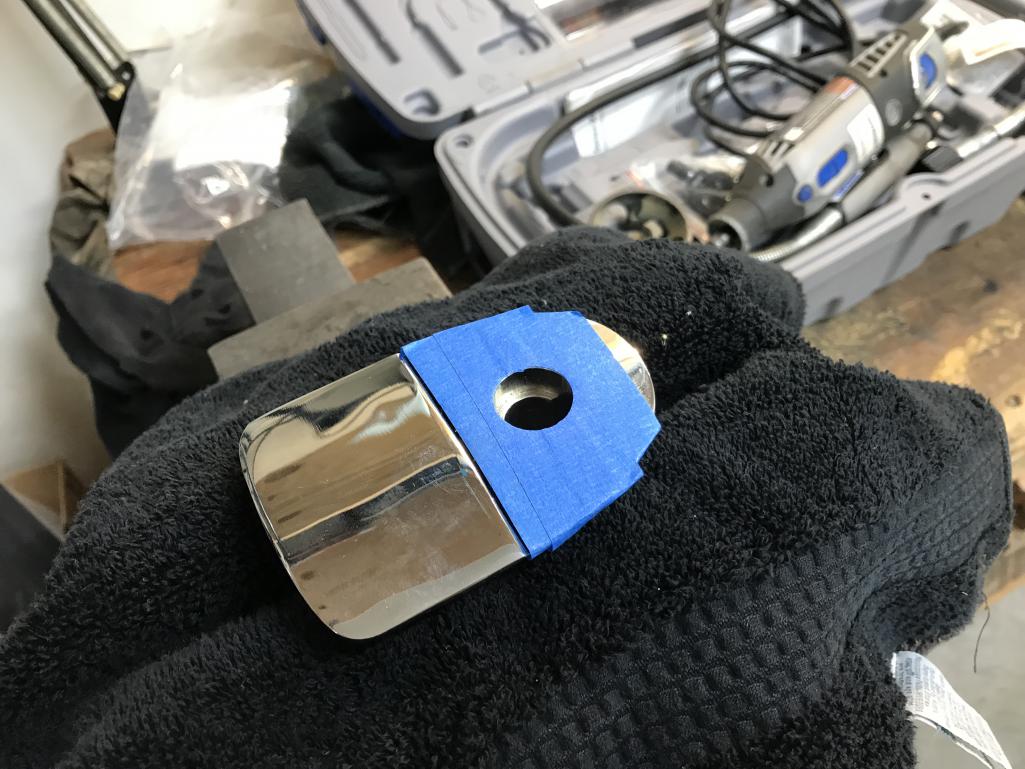
|
|
|
|
| bkrantz |
Jun 24 2021, 07:45 PM
Post
#3156
|
|
914 Guru Group: Members Posts: 8,065 Joined: 3-August 19 From: SW Colorado Member No.: 23,343 Region Association: Rocky Mountains |
I used a "big" drum sander on my Dremel to open up the hole a bit.
Attached thumbnail(s) 
|
|
|
|
| bkrantz |
Jun 24 2021, 07:47 PM
Post
#3157
|
|
914 Guru Group: Members Posts: 8,065 Joined: 3-August 19 From: SW Colorado Member No.: 23,343 Region Association: Rocky Mountains |
Then I used a hand file to knock off the sharp edge at the inside end of the main cylinder, and take just a little off the inner 1/8 inch of the cylinder.
Attached thumbnail(s) 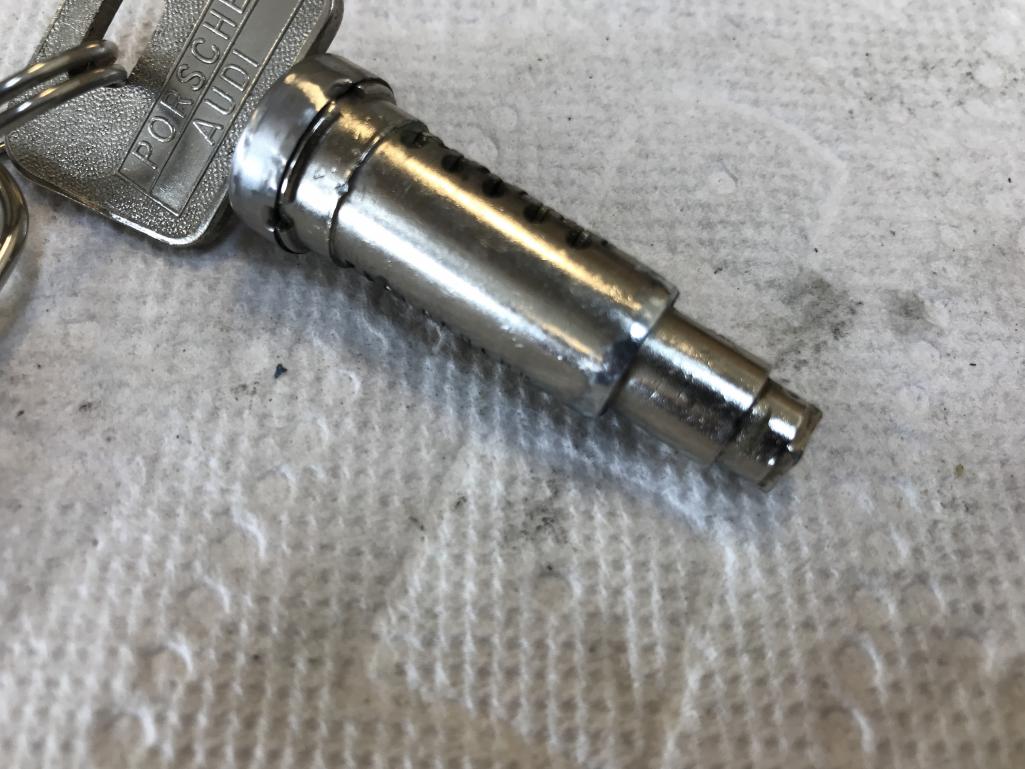
|
|
|
|
| bkrantz |
Jun 24 2021, 07:49 PM
Post
#3158
|
|
914 Guru Group: Members Posts: 8,065 Joined: 3-August 19 From: SW Colorado Member No.: 23,343 Region Association: Rocky Mountains |
The cylinder fit OK, but the recess on the inner end of the handle was too deep by about .01 inch, so the cam was binding.
Attached thumbnail(s) 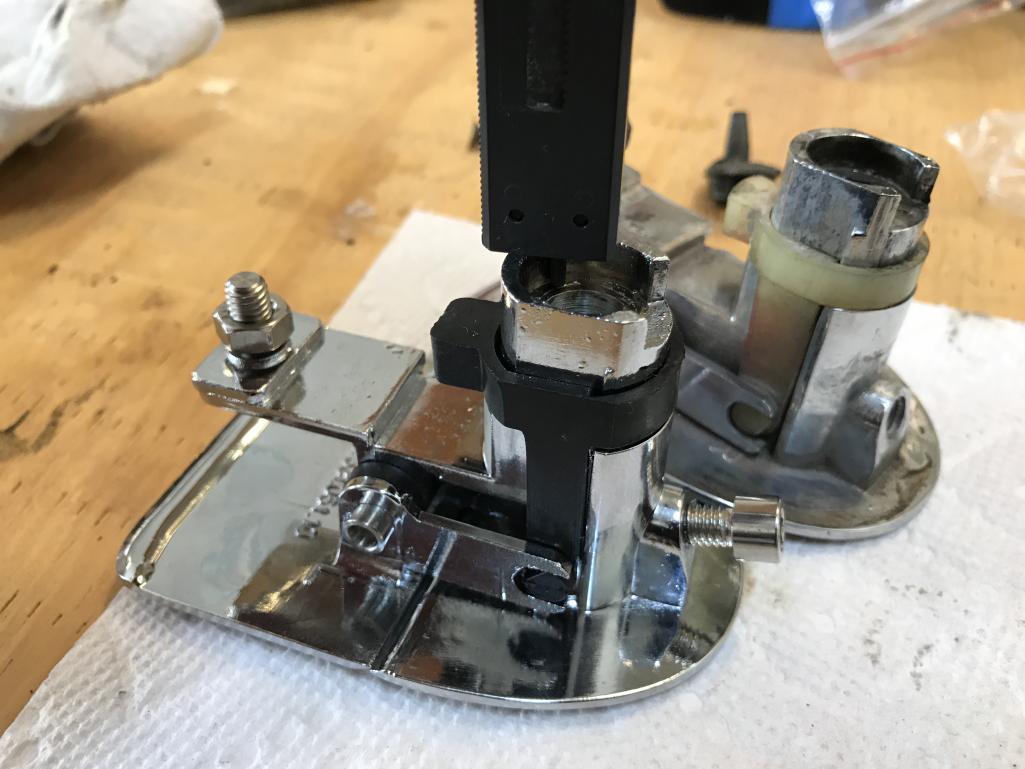
|
|
|
|
| bkrantz |
Jun 24 2021, 07:49 PM
Post
#3159
|
|
914 Guru Group: Members Posts: 8,065 Joined: 3-August 19 From: SW Colorado Member No.: 23,343 Region Association: Rocky Mountains |
A bit more hand filing.
Attached thumbnail(s) 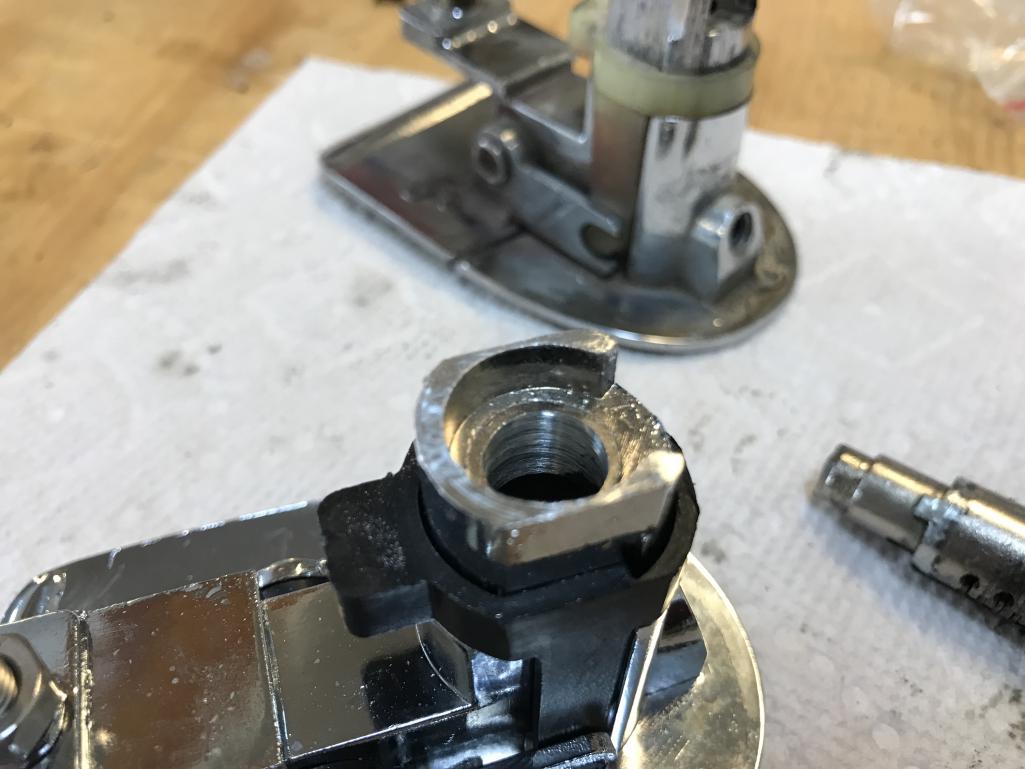
|
|
|
|
| bkrantz |
Jun 24 2021, 07:50 PM
Post
#3160
|
|
914 Guru Group: Members Posts: 8,065 Joined: 3-August 19 From: SW Colorado Member No.: 23,343 Region Association: Rocky Mountains |
On the right handle, the entire opening for the cylinder was too tight. I used the small drum sander to open it up a bit.
Attached thumbnail(s) 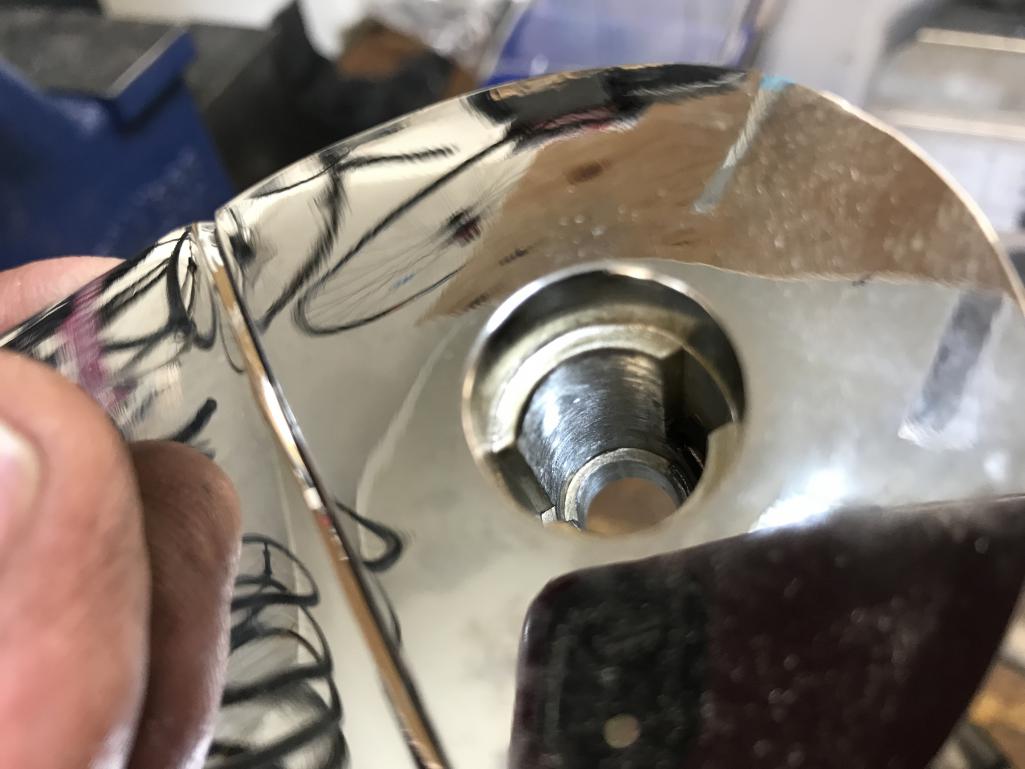
|
|
|
|
|
2 User(s) are reading this topic (2 Guests and 0 Anonymous Users)
0 Members:

|
Lo-Fi Version | Time is now: 26th September 2024 - 11:15 PM |
Invision Power Board
v9.1.4 © 2024 IPS, Inc.