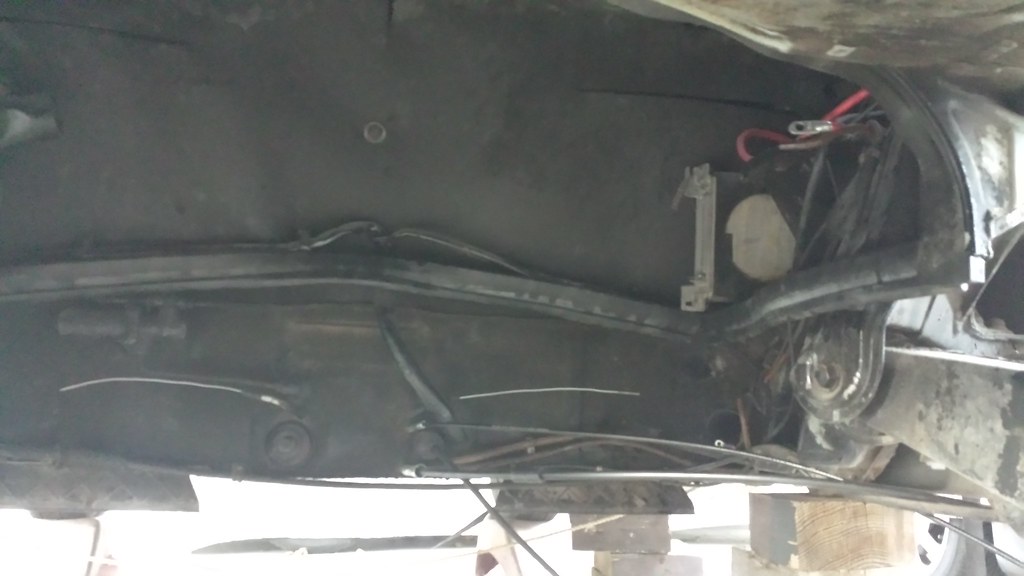
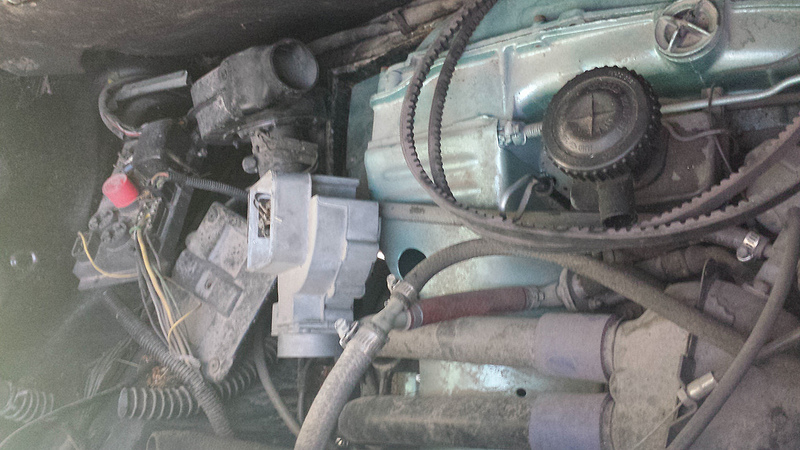
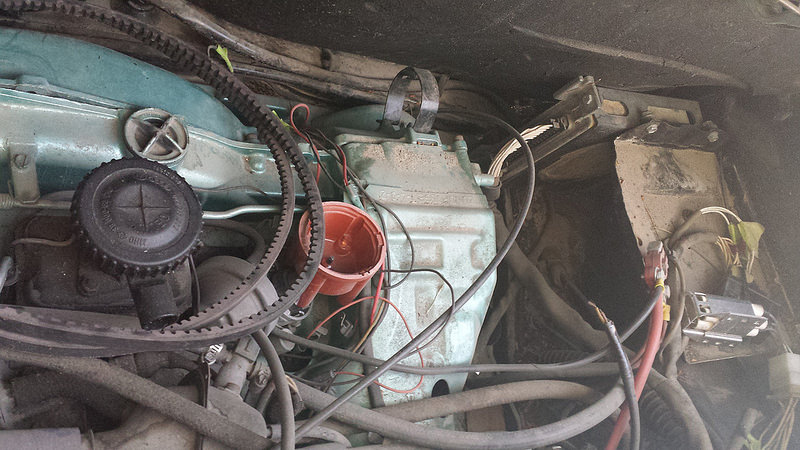
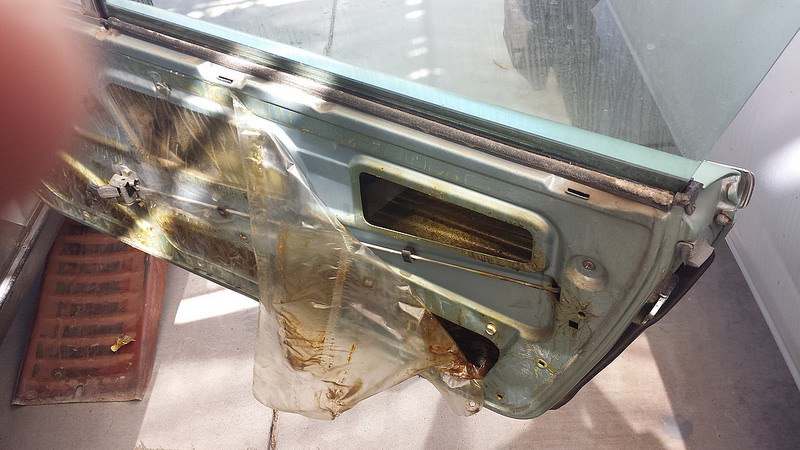
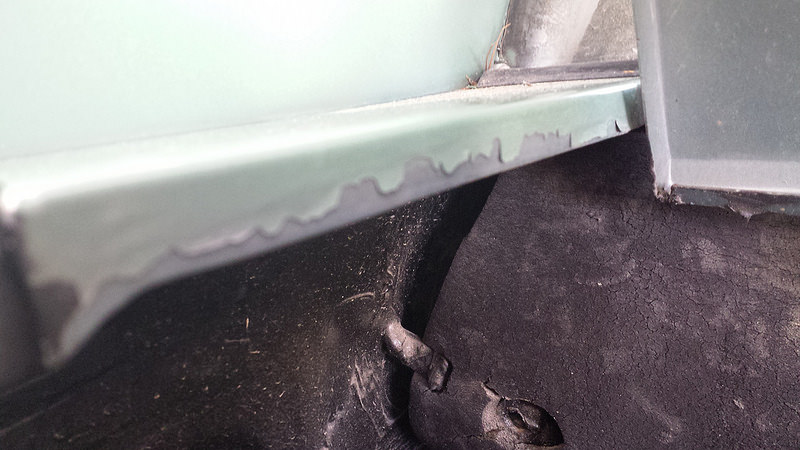
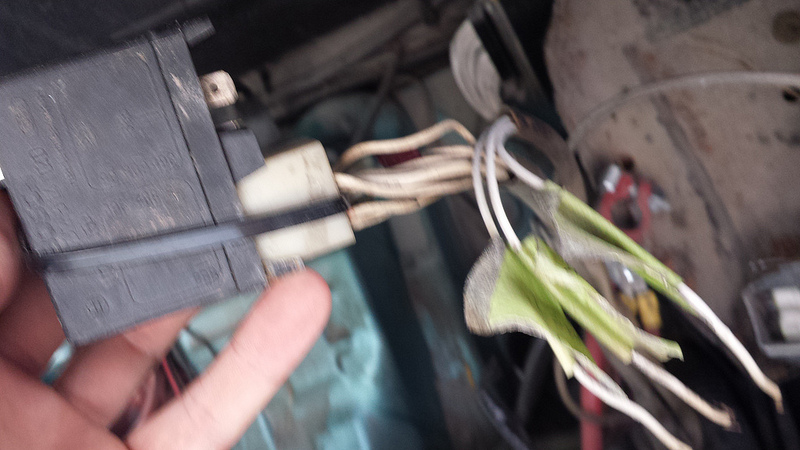
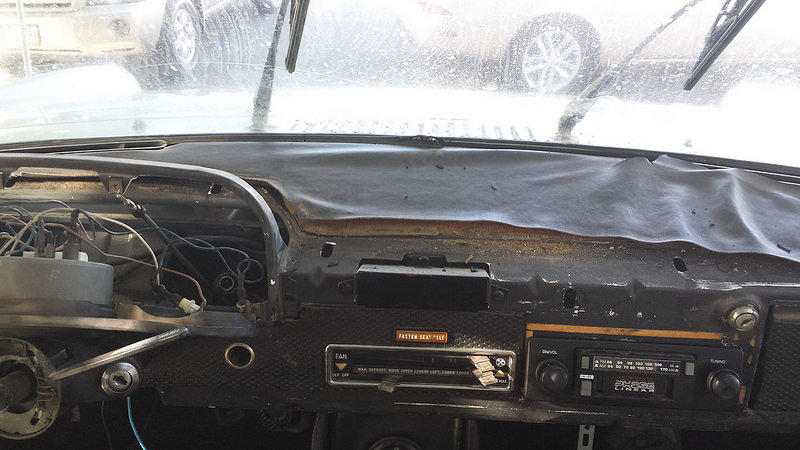
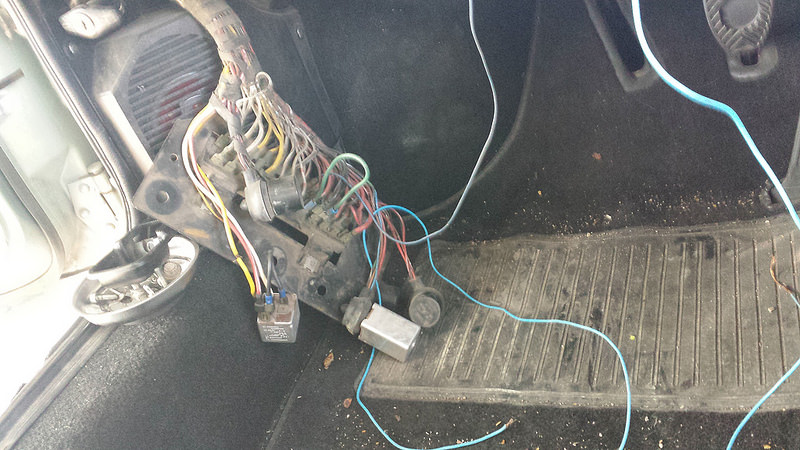
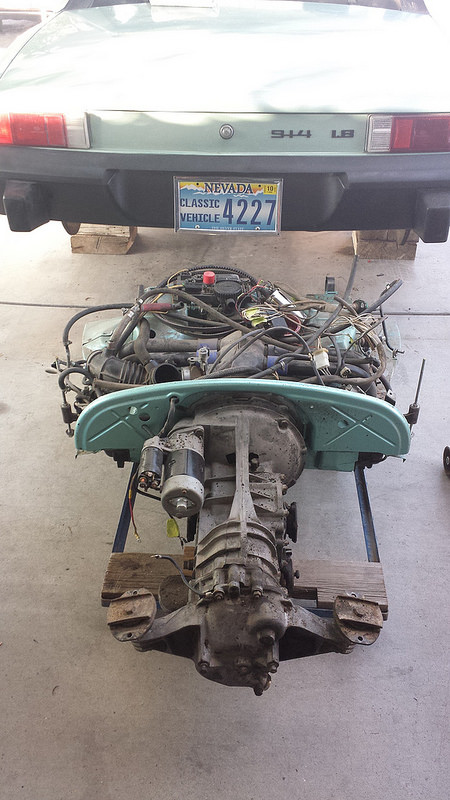
My job is to get it to good Daily Driver condition, which involves figuring out the mess left over (particularly the 1.8L FI) and the usual old car fixes. This is my first time working with 914 Ljet so I'm sure I'll be asking questions, plus we'll need some parts that were lost.
Parts needed: (will get longer as the days go by)
-stock 1.8 banana muffler, gaskets, nuts & bolts.
Custom Adds:
There are a few goodies on the list...
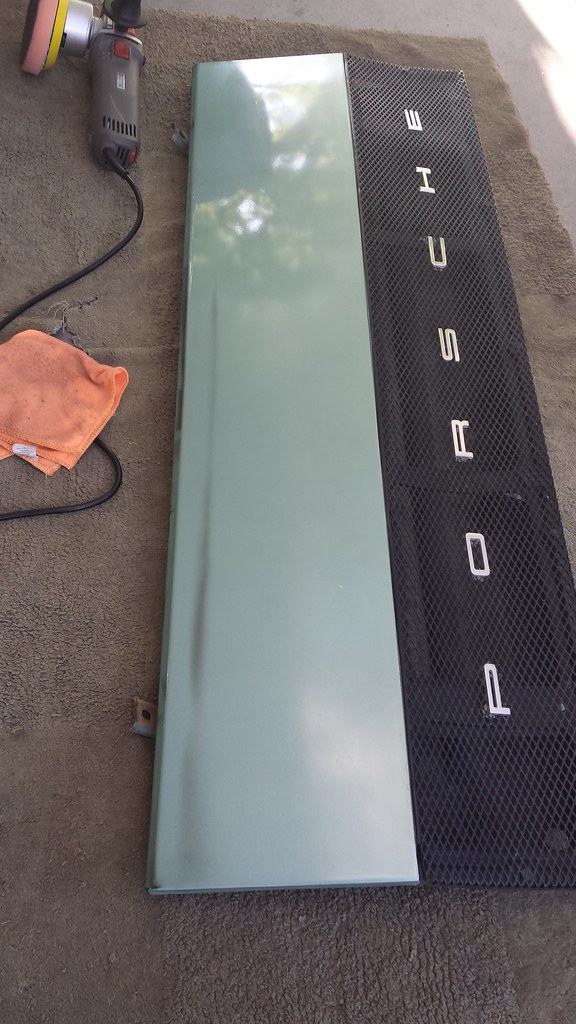
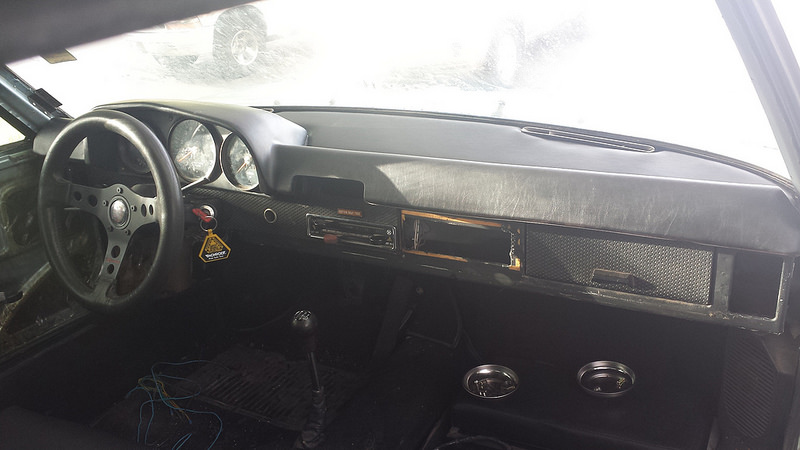
-914Rubber top dash pad
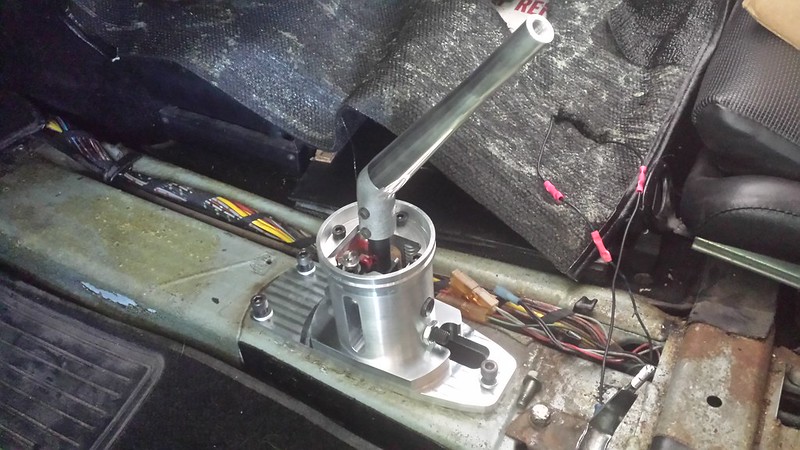
-RennShift shifter
-Tangerine SS lines
Problems needing solved:
Time keeps on ticking into the future....
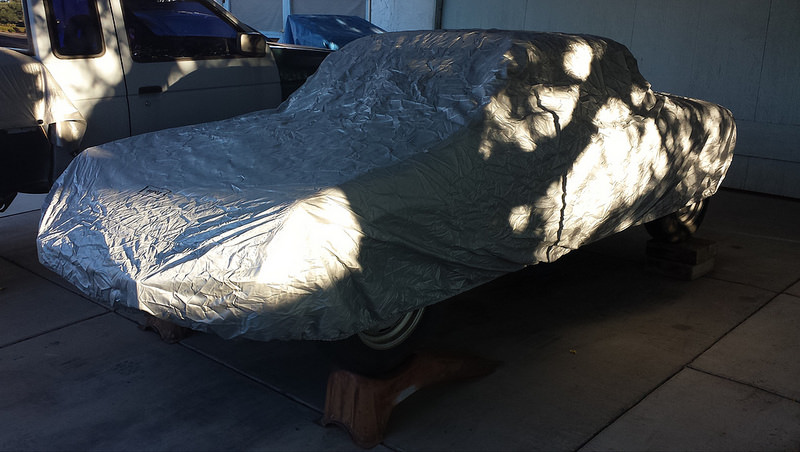
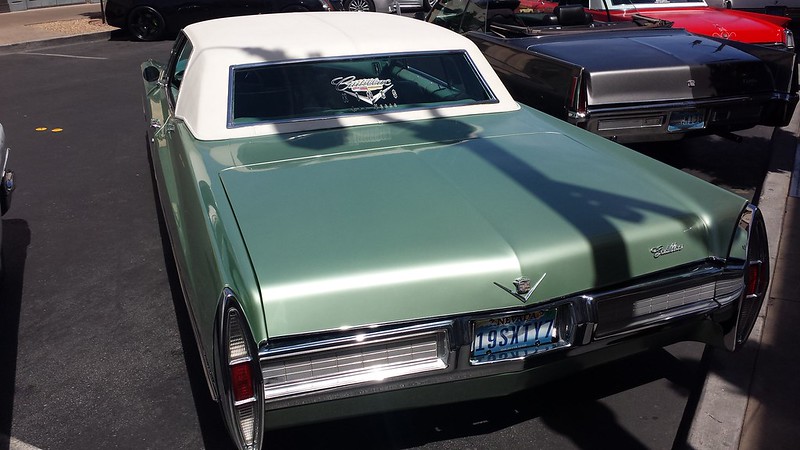
Hello good look'n
Click to view attachment


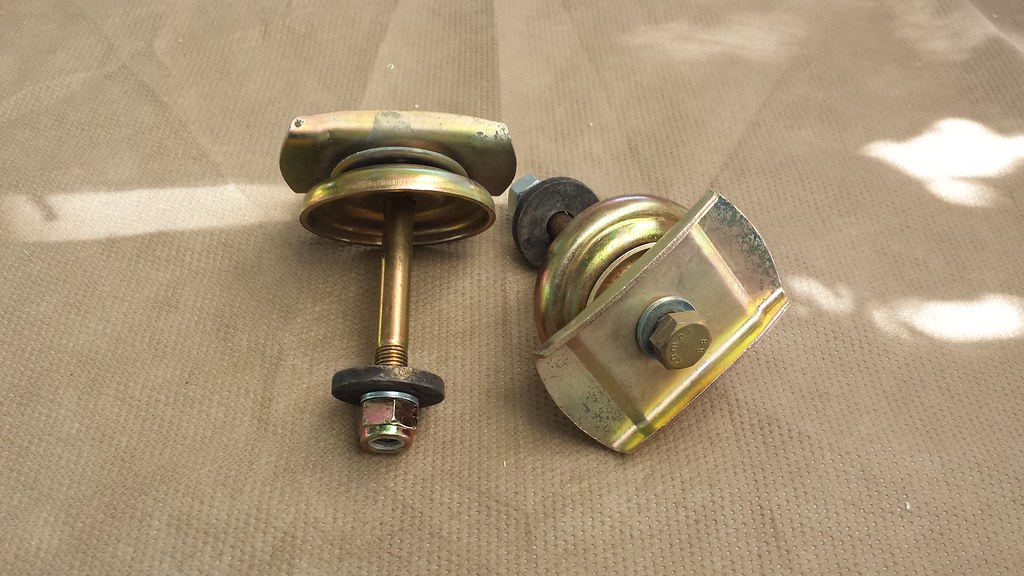
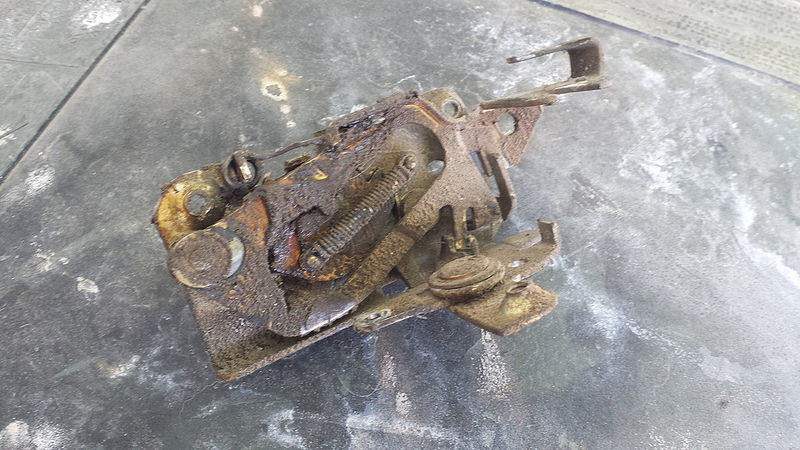
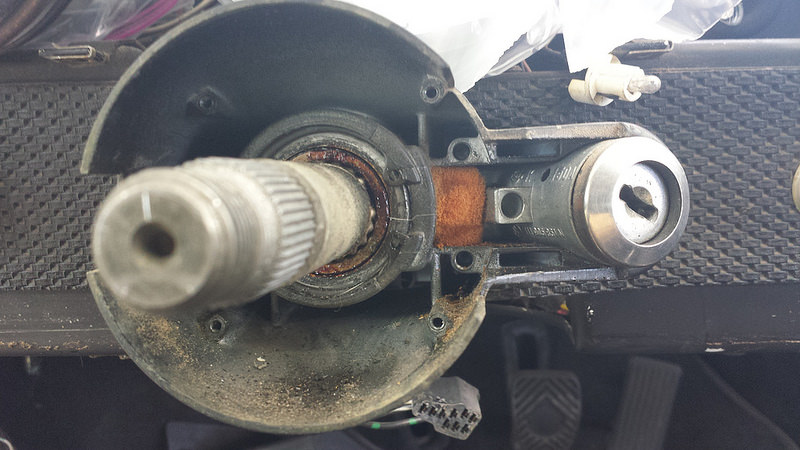
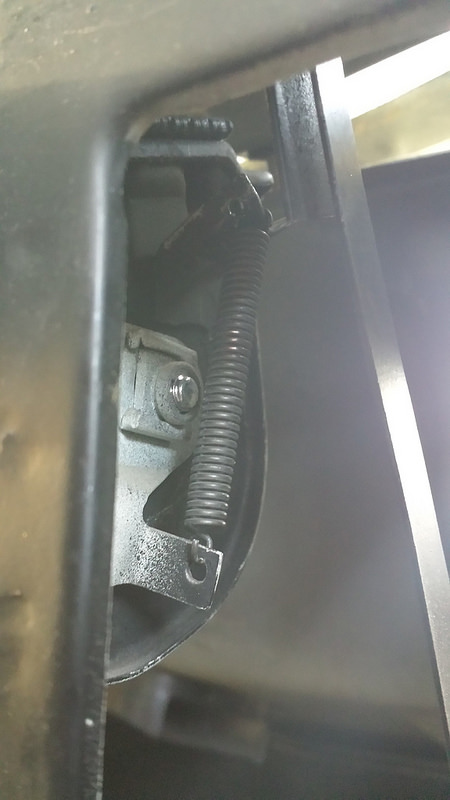
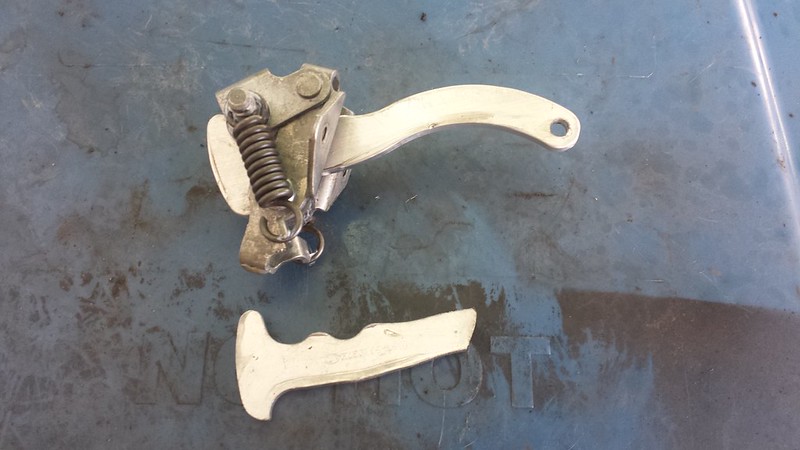
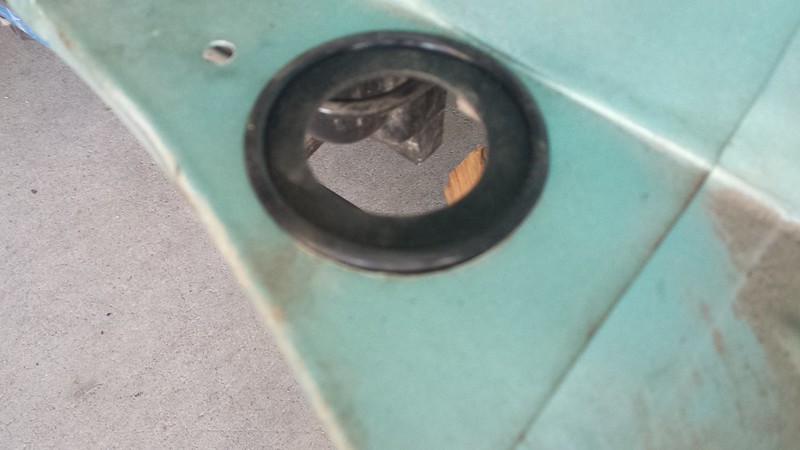
 I started with drilling it like I do a rivet head - stopped making progress when it decided to just spin. Plan B was to slot it with a cut off wheel but wasn't enough meat to hold against the lock nut. So ended up braking off the cast aluminum bits and the stud just fell out.
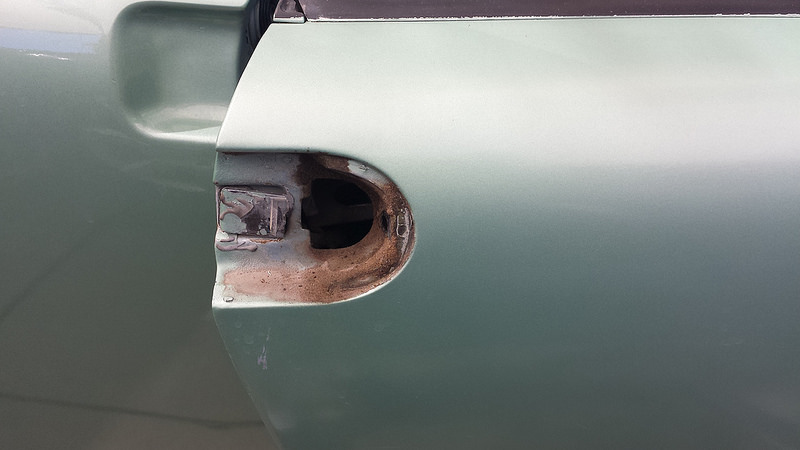

![popcorn[1].gif](http://www.914world.com/bbs2/style_emoticons/default/popcorn[1].gif)


 ) let's get her running!


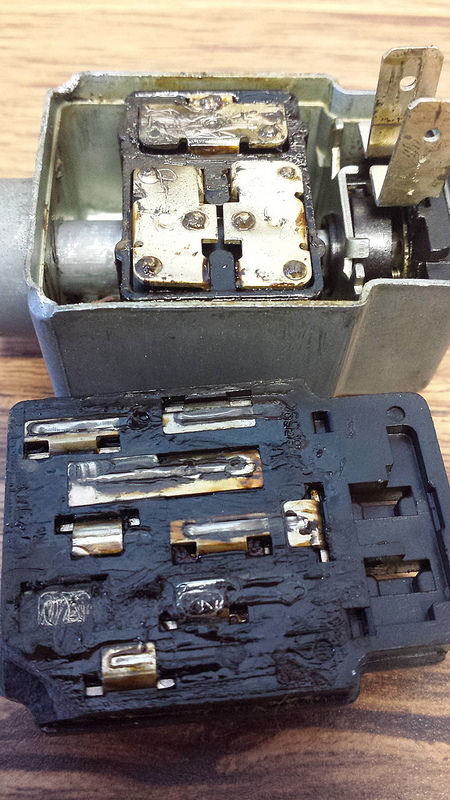


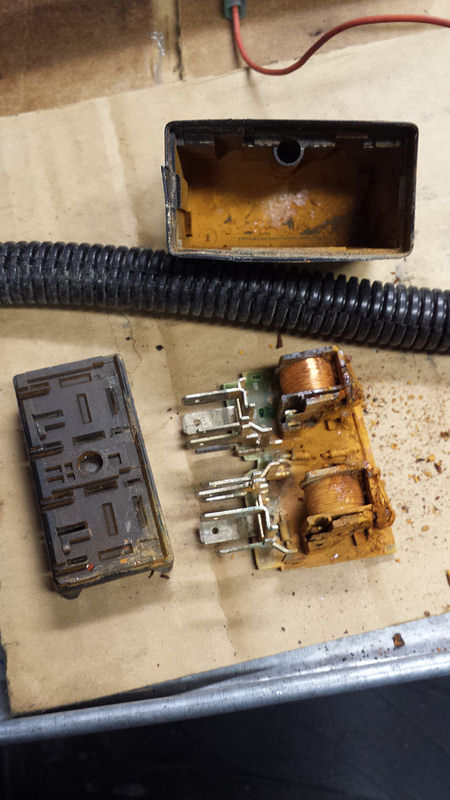


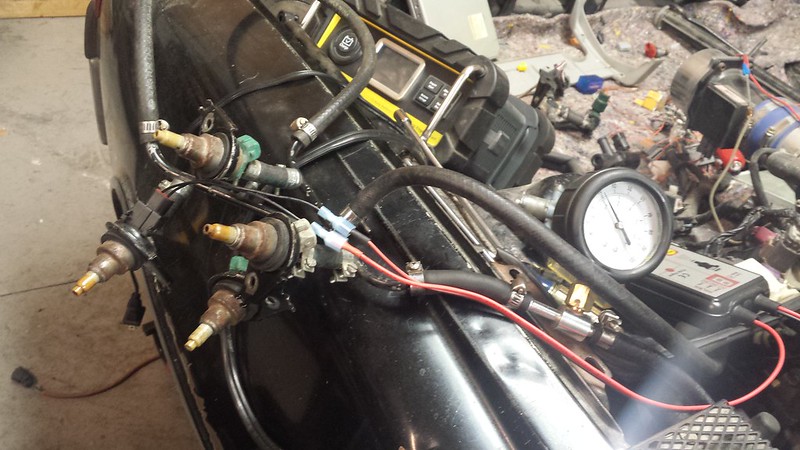


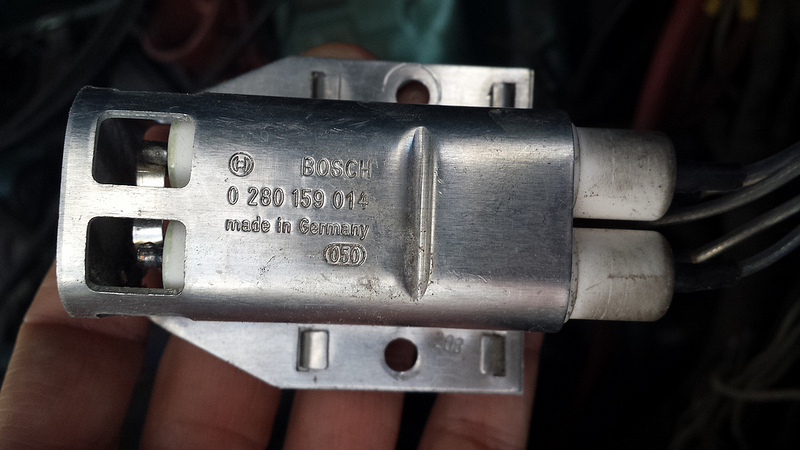
 I get excited for fine engineering