Saturday's progress:
3 years ago I took a metal shaping class at Wray Schelin's ProShaper shop in Charlton, MA. That was the first time I ever did any kind of sheet metal work, and the first time I picked up a tig welder. I learned a ton of fundamentals in those 4 days, and Wray also taught us his method for getting a tight fit all the way along long butt joints, so...
All in it took me about 3 hours to get the butt joint tight.
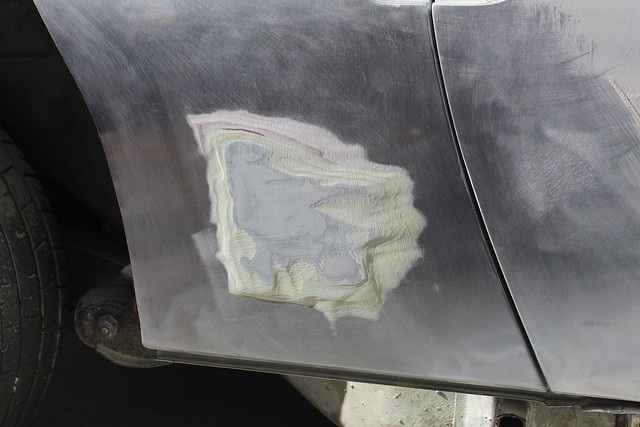
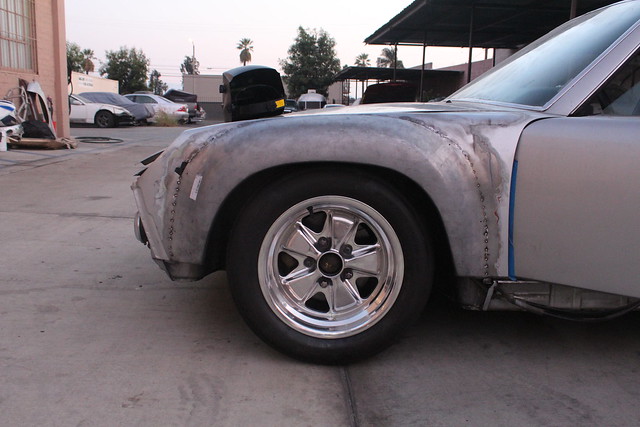
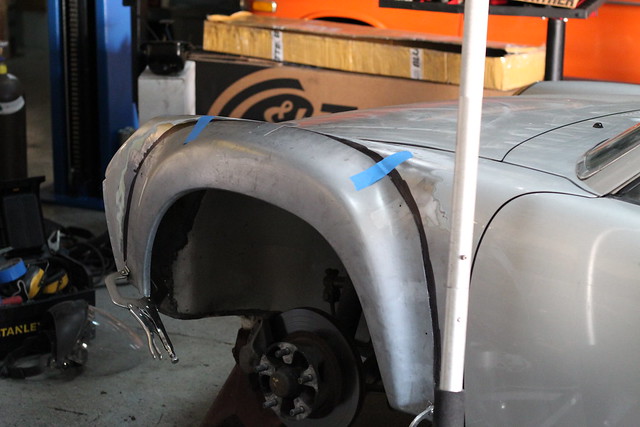
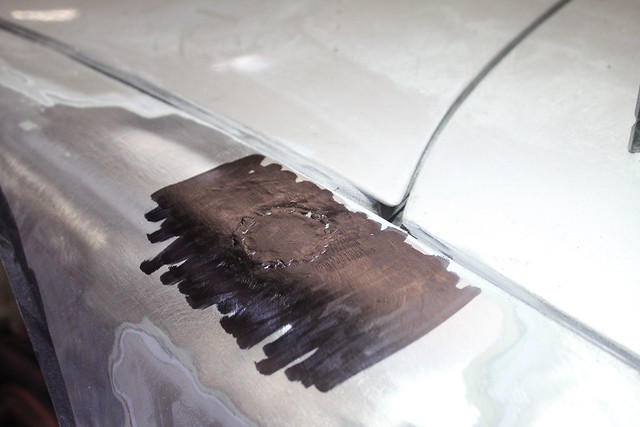
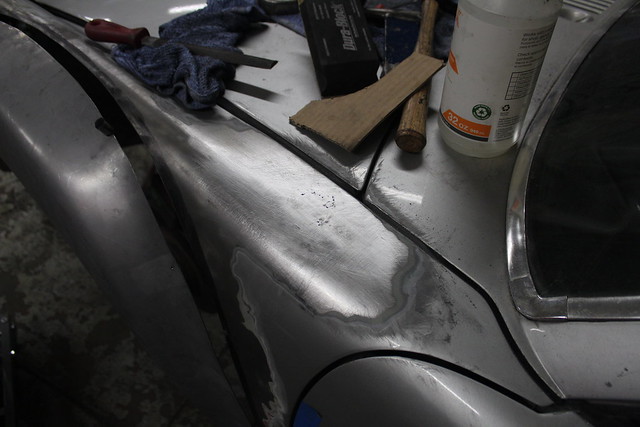
First I rough cut the shape of the flare out of the fender, about an inch away from the final cut. Then I cover the fender where the flare will overlap with black sharpie - that's the black strip you can see in this pic.

Then I mount the flare in its final position on top of the fender using clamps and drilled holes with clecos where clamps won't reach.
Then I scribe a line with a really sharp point along the edge of the flare. This leaves a really fine line scribed into the black sharpie telling me exactly how much metal I need to cut.
Then I cut as close as I can to that line using my nibblers (unlike hand shears they don't bend the sheet metal).
Then I go all the way along the seam with a hand file and file away any remaining material tight to the scribed line.
It's ridiculously laborious, and if this was my job not a hobby it wouldn't be cost effective, but by the time I'm done I have a super tight fit all the way along the butt joint between the flare and fender.
Now, all of that said, my tig welding is a little hit and miss. No matter how tight my joint is I have an incredible ability to blow a hole in one out of every five of my tig tack welds. Which means I then have to go back and fix every fifth tack... which adds a load more time, and quite frankly drives me nuts.
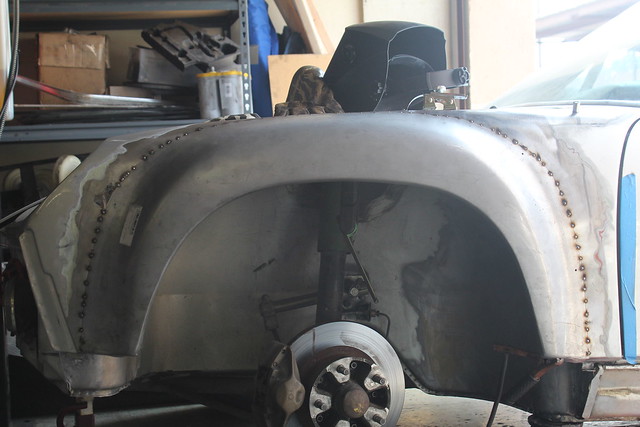
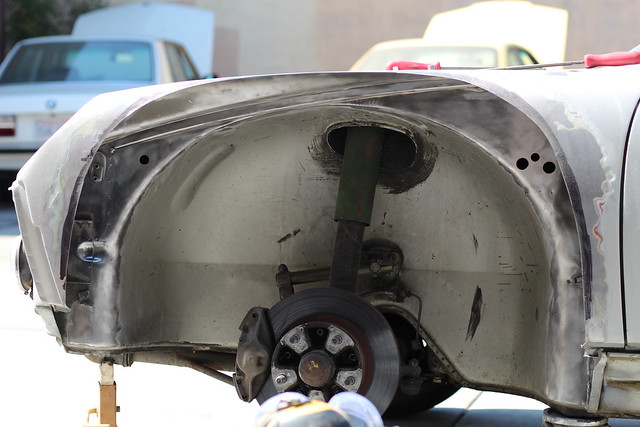
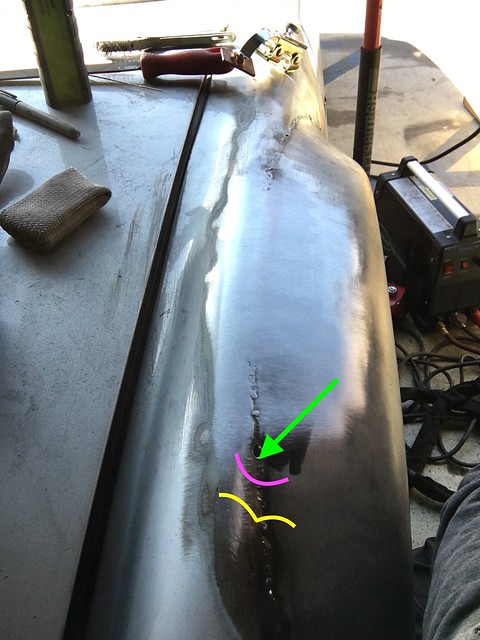
So I decided to use the mig to tack the flare instead, every other inch, in sequence one after the other to make sure the seam stayed tight all the way along and I could correct any distortion if it occurred.
All in it took me 75 tack welds to get the flare in place.
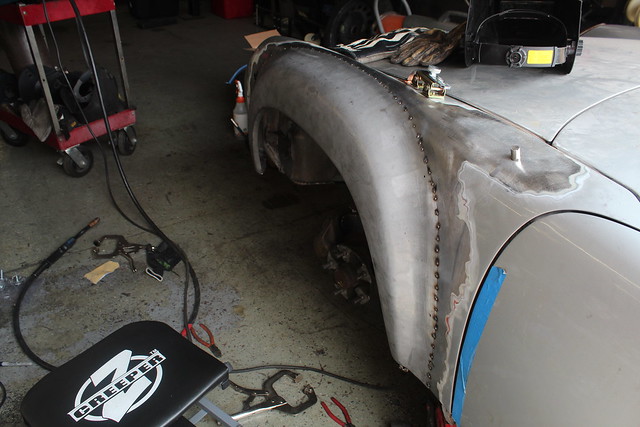
Once the tacks were all done I knocked the top off each of them with my cheapo harbor freight hand held belt sander and then started to tig weld the inch long sections between the mig welds, jumping around from section to section so not to build up too much heat.
By starting the tig weld pool on the mig tack that let's me reduce the size of the mig tack further.
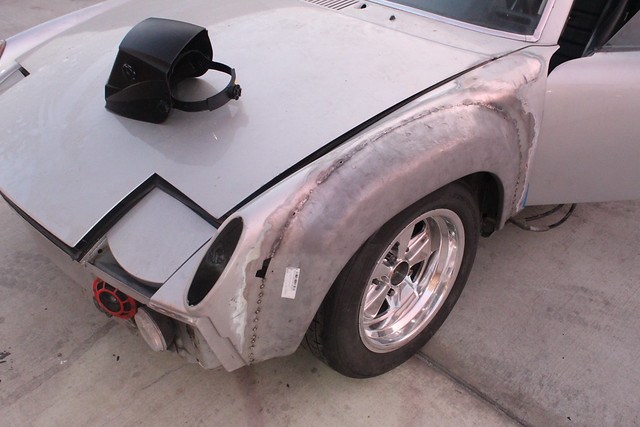
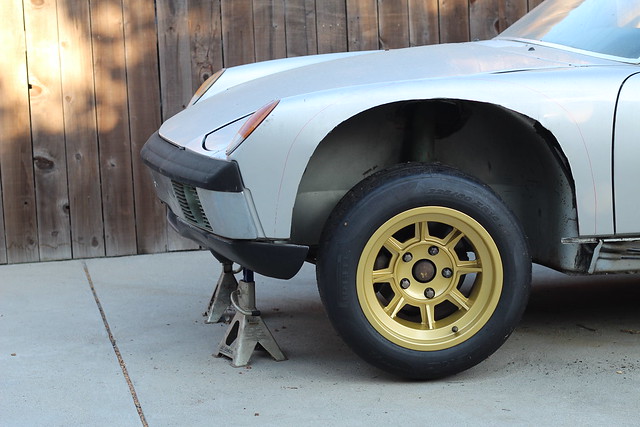
All in I managed to tig 2/3rds of the flare before I ran out of time. I'll finish up the rest of the weld and metal finish it this week.
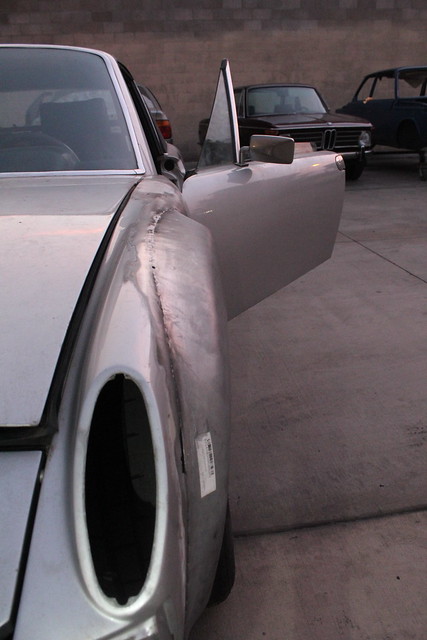
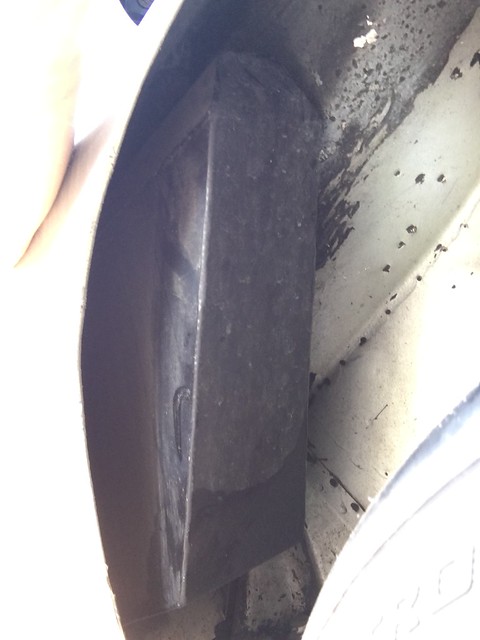
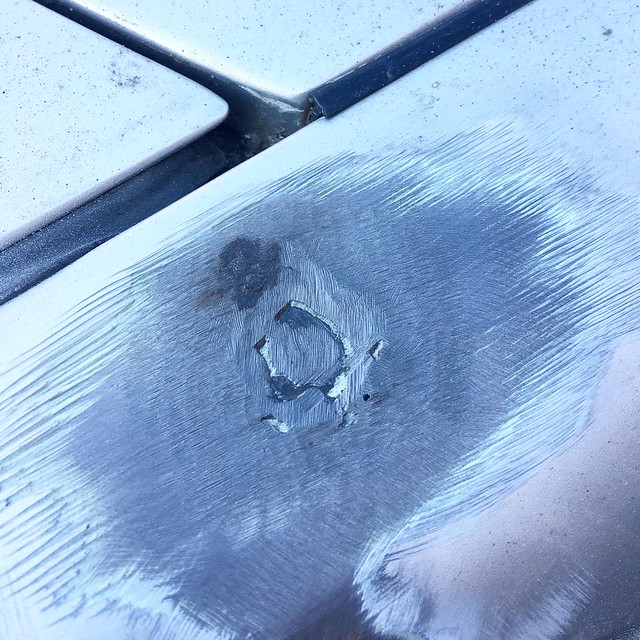
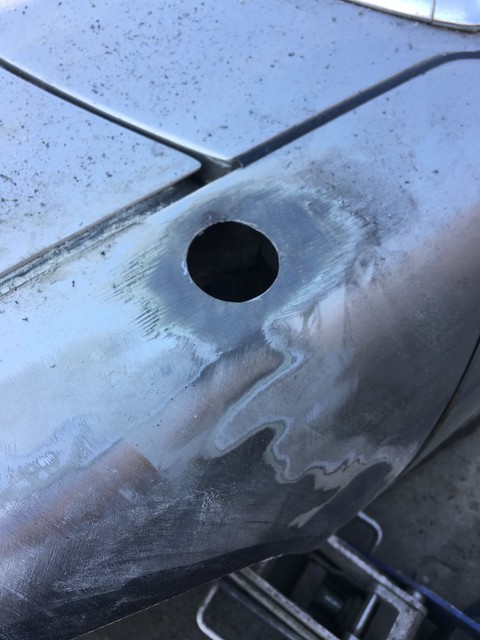
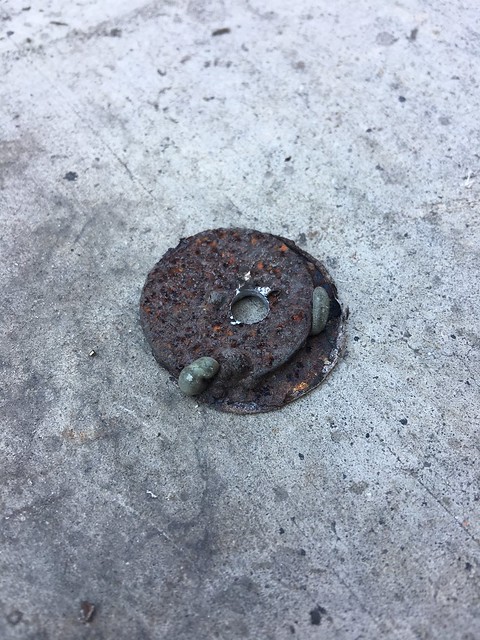
The hole by the where the turn signal barnacle used to be was where I found more patch work from the antenna hole butcher and another rusty patch. I had to chop it out too, but the plan is to patch that hole once the flare's welded in place.


 , so I was trying to figure out the best way to get it done without leaving the metal exposed for too long. Which is when I stumbled on this roll on stuff from Eastwood.
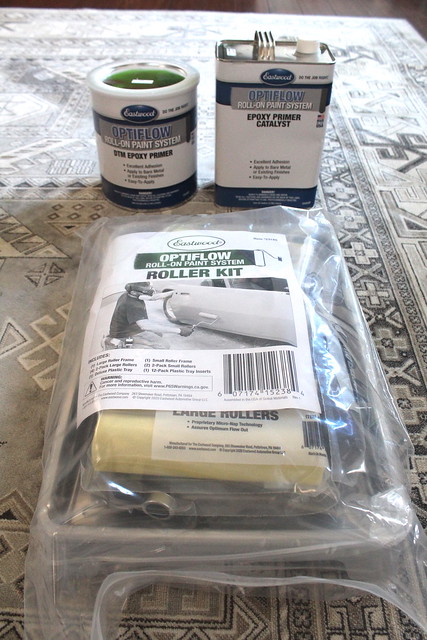
 Dzus fasteners maybe?

 . I have my project car (which is outdoors/unprotected) in epoxy primer now after stripping it down to bare metal, then rolling it on with 4" rollers from Home Depot (don't laugh). The thing is, I expected a good amount of orange peal - which I got, 'cause I plan on blocking it down (filler work was done before the epoxy). Then I plan to roll on polyester primer surfacer (2K high build primer).. and block it down too. My time is free, so..
  . The advantages for me being that I would not have to invest in purchasing and putting up a temporary garage to shoot in, seal it, purchase exhaust fans, etc. Also, the lack of highly aerosol-ed paint may not smell as bad and get the attention of fewer pissed off neighbors. Not to mention, may be less hazardous to me - I don't completely trust the respirator/masks (though I'd still wear one) - and professional paint is dangerous stuff. But, I have not decided against spraying either. So I will be getting an idea of it's feasibility by rolling it on the under-side of the car, wheel wells and longs first. I know this is probably crazy, but we'll see before going all in on the visible parts of the car. Anyway, your project is coming along nicely, keep it up