|
|

|
Porsche, and the Porsche crest are registered trademarks of Dr. Ing. h.c. F. Porsche AG.
This site is not affiliated with Porsche in any way. Its only purpose is to provide an online forum for car enthusiasts. All other trademarks are property of their respective owners. |
|
|
  |
| Jeff Hail |
 Oct 31 2014, 12:26 AM Oct 31 2014, 12:26 AM
Post
#626
|
|
Senior Member    Group: Members Posts: 1,141 Joined: 3-May 07 From: LA/ CA Member No.: 7,712 |
I'm working
Attached thumbnail(s) 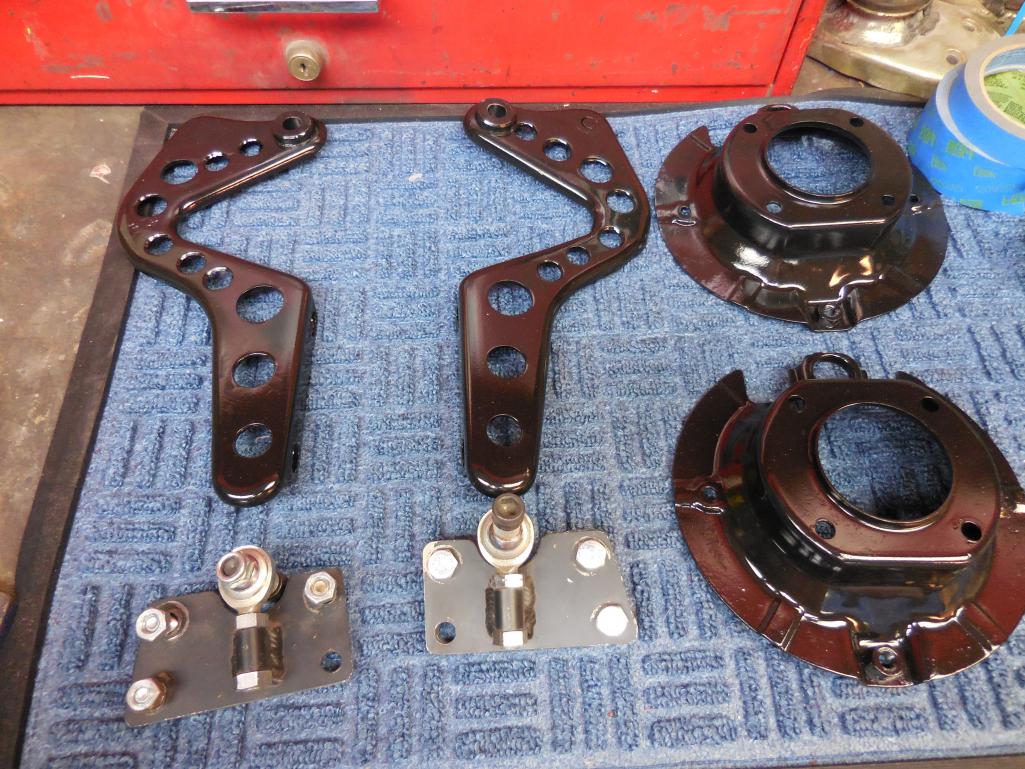
|
| Jeff Hail |
 Oct 31 2014, 12:26 AM Oct 31 2014, 12:26 AM
Post
#627
|
|
Senior Member    Group: Members Posts: 1,141 Joined: 3-May 07 From: LA/ CA Member No.: 7,712 |
I'm working
Attached thumbnail(s) 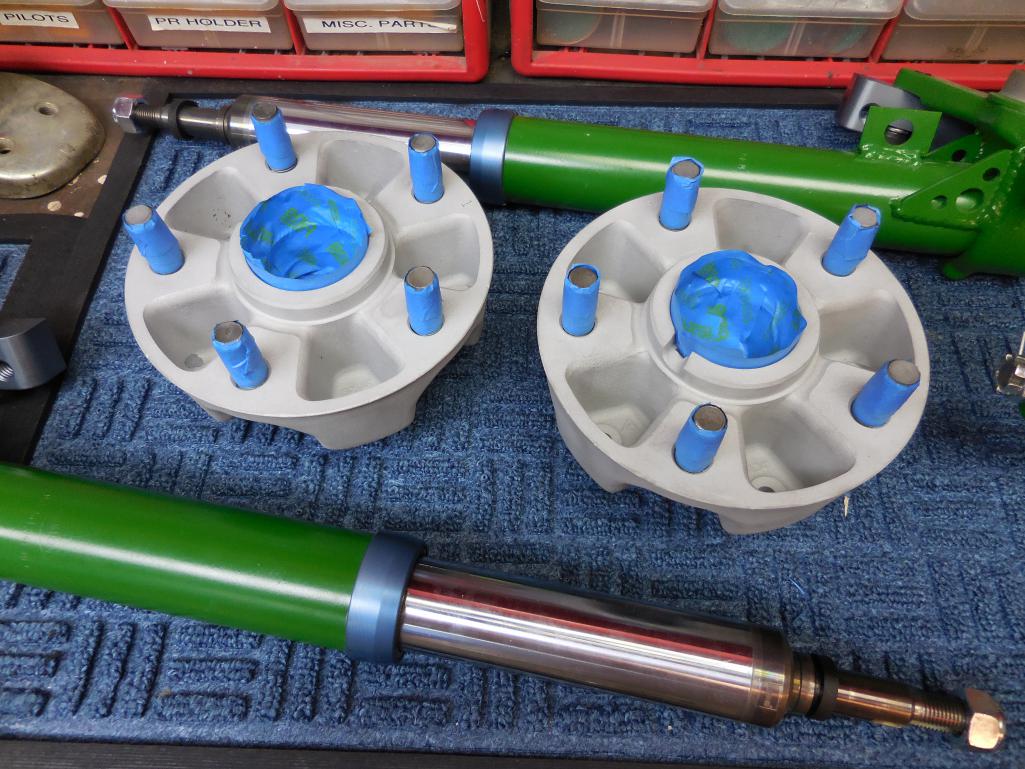
|
| Jeff Hail |
 Oct 31 2014, 12:28 AM Oct 31 2014, 12:28 AM
Post
#628
|
|
Senior Member    Group: Members Posts: 1,141 Joined: 3-May 07 From: LA/ CA Member No.: 7,712 |
I'm working
Attached thumbnail(s) 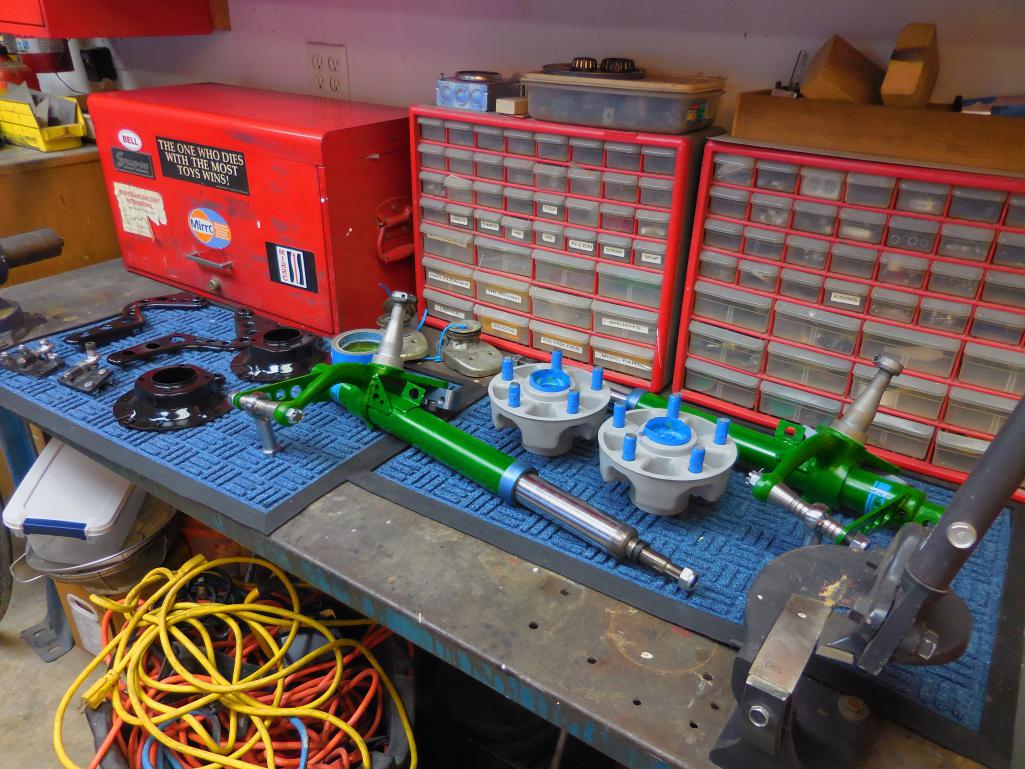
|
| Jeff Hail |
 Oct 31 2014, 12:33 AM Oct 31 2014, 12:33 AM
Post
#629
|
|
Senior Member    Group: Members Posts: 1,141 Joined: 3-May 07 From: LA/ CA Member No.: 7,712 |
Really like my NEW blasting cabinet. Inexpensive, doesn't take up a ton of space like commercial units BUT will do everything a commercial unit does. MADE IN TEXAS/ USA and a well thought out design. Will handle larger size parts. So far I have used both glass beads and StarBlast media.
It doesn't leak like the HF POS! A Plug for the Barrel Blaster http://www.barrelblaster.com/ Attached thumbnail(s) 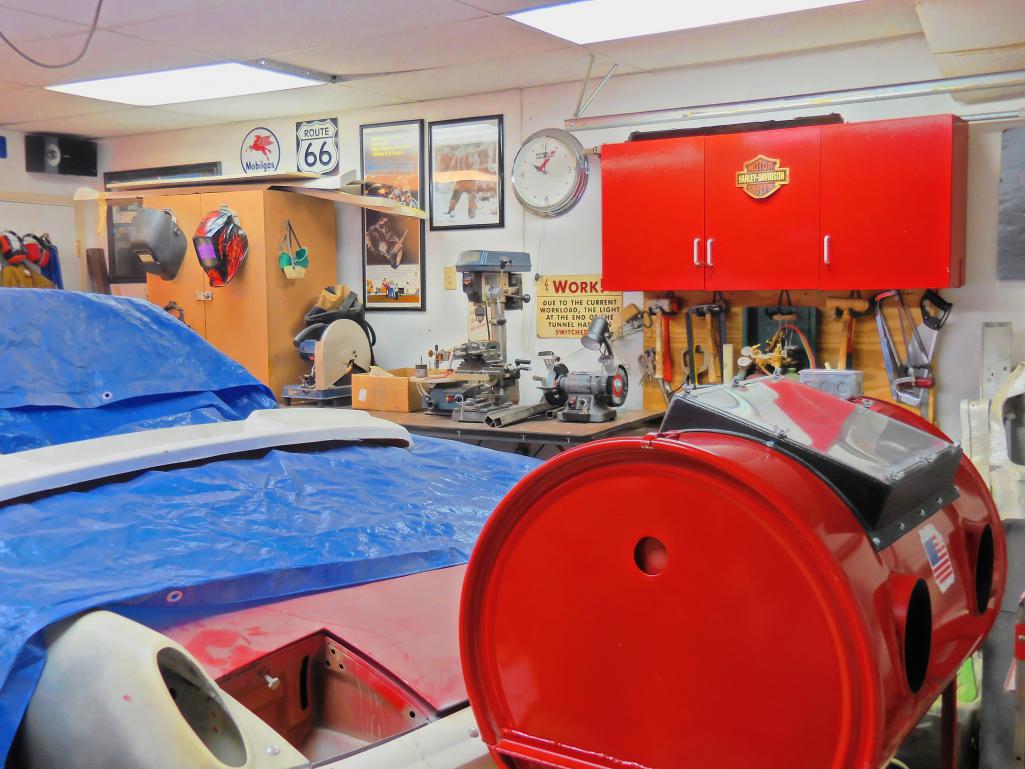
|
| Jeff Hail |
 Oct 31 2014, 12:41 AM Oct 31 2014, 12:41 AM
Post
#630
|
|
Senior Member    Group: Members Posts: 1,141 Joined: 3-May 07 From: LA/ CA Member No.: 7,712 |
Added more lighting to the shop.
Quote: Eddie Murphy - "I can see, I can see! " Attached thumbnail(s) 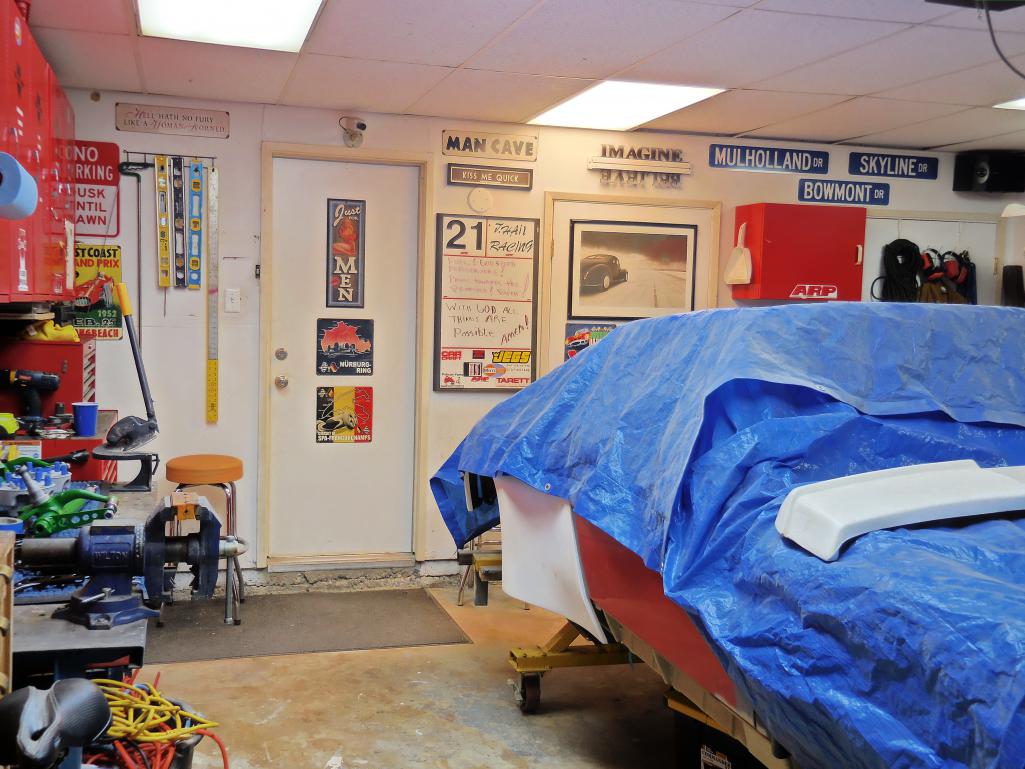
|
| injunmort |
 Oct 31 2014, 04:34 PM Oct 31 2014, 04:34 PM
Post
#631
|
|
Senior Member    Group: Members Posts: 1,024 Joined: 12-April 10 From: sugarloaf ny Member No.: 11,604 Region Association: North East States |
I have a first generation barrel blaster and been upgrading it for last 13 years. great blaster, great price and great manufacturer support. works better now than it did when I bought it. they are a great tool.
|
| Jeff Hail |
 Oct 31 2014, 09:58 PM Oct 31 2014, 09:58 PM
Post
#632
|
|
Senior Member    Group: Members Posts: 1,141 Joined: 3-May 07 From: LA/ CA Member No.: 7,712 |
Funny that you ask what happened to Toppers parts.
A spoiler I picked up I had to enlarge the opening, center it (inlet opening was off on one side by 2 inches) and generally reshape it so its uniform. Now the lower inlet and upper round holes are very close to the Carrera cooler size in sq inches. The white gelcoat spoiler photo is before I made changes to it. Attached image(s) 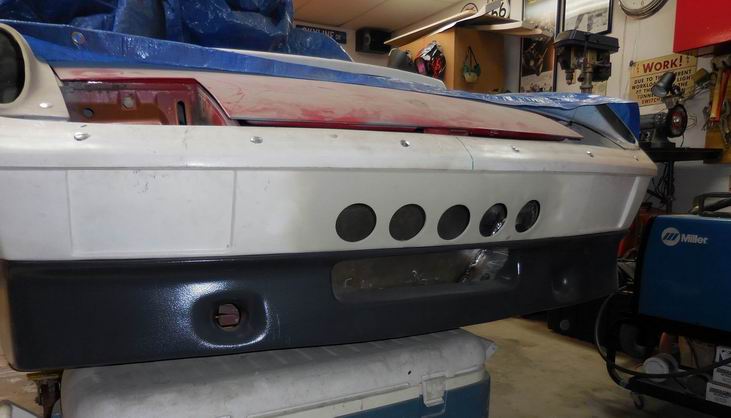 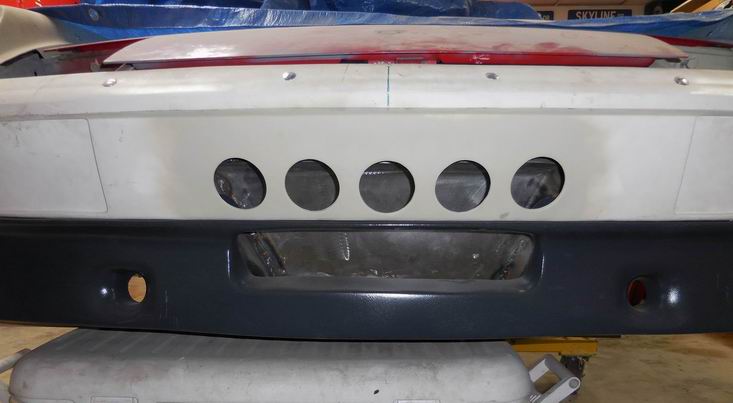 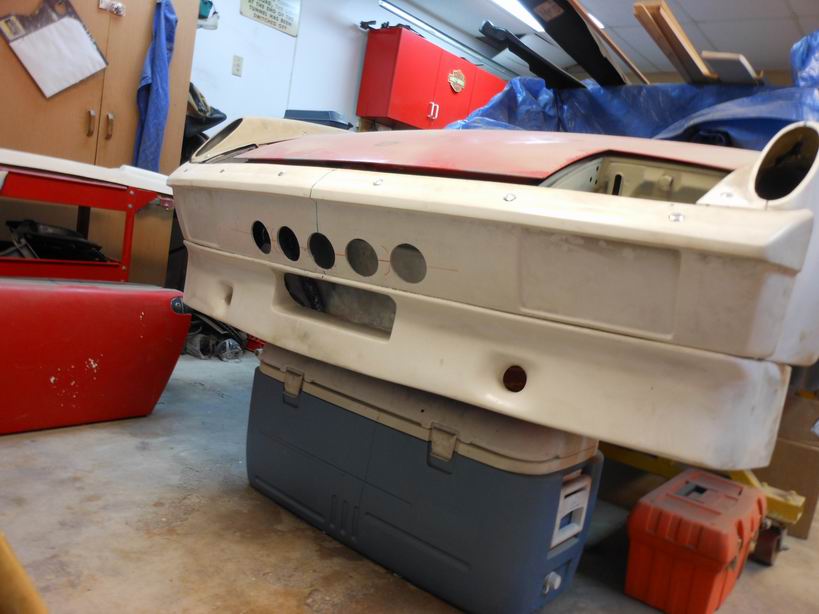
|
| Jeff Hail |
 Oct 31 2014, 10:10 PM Oct 31 2014, 10:10 PM
Post
#633
|
|
Senior Member    Group: Members Posts: 1,141 Joined: 3-May 07 From: LA/ CA Member No.: 7,712 |
These are the rocker moldings I picked up from Toppers estate.
Stock molding in the middle used for comparison. Attached image(s) 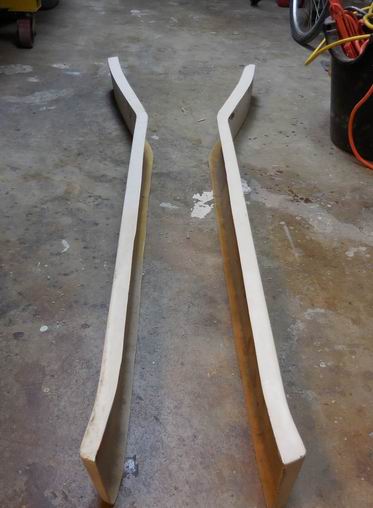 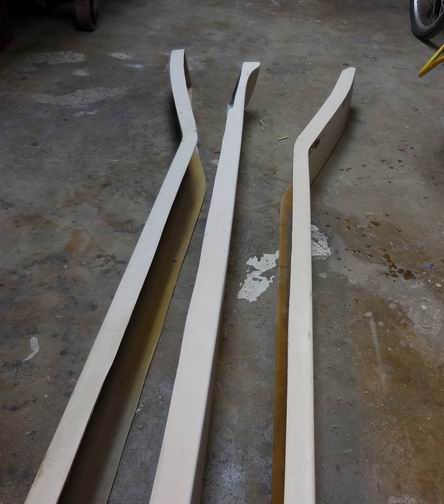
|
| Jeff Hail |
 Oct 31 2014, 10:15 PM Oct 31 2014, 10:15 PM
Post
#634
|
|
Senior Member    Group: Members Posts: 1,141 Joined: 3-May 07 From: LA/ CA Member No.: 7,712 |
How rude of me
Seasons Greetings and other uses for a welding jacket. Attached image(s) 
|
| OllieG |
 Nov 6 2014, 03:51 AM Nov 6 2014, 03:51 AM
Post
#635
|
|
OllieG   Group: Members Posts: 212 Joined: 6-July 11 From: UK Member No.: 13,282 Region Association: England |
A really good product I have used for years is Jasco metal etch. It's a little different than metal ready. 1st its more agressive and only has to sit about 10 minutes (the instructions says 1 minute and rinse) versus some other products out there. It is very cheap in comparison to others and I think does a better job overall because it is full strength. (3/1, 2/1 with H20 or full strength as I use it right out of the bottle) This is an excellent etching product. What it does not do ......It is not a conversion coating as it has no zinc or phosphate. If you are repairing and going directly to epoxy primer Jasco is a great product. If you are leaving metal exposed for a period you may get some flash and probably should use a zinc conversion coating even on good clean steel. I am not fond of conversion coatings because rust is rust no matter what color it turns. Enjoying reading this thread. I'm psyching myself up to tackle the same cowl repair you did. I reckon it's going to be the most challenging job of my resto for my newly learned and limited fabrication and welding skills! I'm using epoxy primer like you and was wondering what the Jasco Metal Etch was for?? If you're wire-brushing the surface rust off, isn't the surface roughened enough by the brush just to take the epoxy straight, without needing to acid etch aswell? Can you also use the Jasco to etch the first coat of epoxy so you can get additional coats to adhere? Cheers. |
| Jeff Hail |
 Nov 6 2014, 03:58 PM Nov 6 2014, 03:58 PM
Post
#636
|
|
Senior Member    Group: Members Posts: 1,141 Joined: 3-May 07 From: LA/ CA Member No.: 7,712 |
3M Metal Prep or Jasco is just phosphoric acid. Jasco is about a third the price and you get a bottle three times as big.
The acid is a good surface conditioner which aids in bite while also leaving beyond some zinc. Wire brushing isn't enough to abrade the surface for good coating adhesion. Wire brush is good for post weld clean up. |
| mrbubblehead |
 Nov 6 2014, 08:16 PM Nov 6 2014, 08:16 PM
Post
#637
|
|
Twodollardoug    Group: Members Posts: 1,155 Joined: 17-December 10 From: calimesa ca. Member No.: 12,492 Region Association: Southern California |
what about a sand blasted surface jeff? would that be a good enuff surface to epoxy primer over?
|
| Jeff Hail |
 Nov 6 2014, 09:15 PM Nov 6 2014, 09:15 PM
Post
#638
|
|
Senior Member    Group: Members Posts: 1,141 Joined: 3-May 07 From: LA/ CA Member No.: 7,712 |
Depends on what grit abrasive is used. I finer media tends to create a good mechanical bond. Generally the answer would be yes but a proper cross-hatch abrading is proven to be best in conjunction with a chemical bond such as Epoxy. Epoxy is sticky stuff but like any coating surface prep is key to a good finish.
Imagine blasting with 60-80 grit media then going right to priming with EP or surfacer. You would still have a zillion micro craters to "fill" to get past the texture in the surface. Sand it and shoot another coat of EP, or skim coat it with glaze, or high build primer, sand some more, etc etc. At that point the mil thickness is building quickly. |
| Jeff Hail |
 Nov 18 2014, 02:16 AM Nov 18 2014, 02:16 AM
Post
#639
|
|
Senior Member    Group: Members Posts: 1,141 Joined: 3-May 07 From: LA/ CA Member No.: 7,712 |
Anyone that has ever removed bearing races from 911 hubs knows there is any easy way if you have later hubs because they have a relief cut in the bore to catch the edge of the race. A flat edged tool is pretty much all that is needed. Its still the Captain Cave Man way because you will still damage the race rendering it unusable pounding it out.
I have the last year hubs before Porsche added the relief cut. Conundrum: (Which is a great bottle of wine I may add). I'm replacing new races and bearing so who cares if they get destroyed right? The early hubs tend to get beat up with the flat edged tool no matter. The early hubs tend to get the shoulder the races seat on beat up. One burr or high spot on the race shoulder edge you will end up with hub that wobbles radially - NO BUENO! The other issue I have seen with about 30 bearing /race replacements is if you end up with a burr or high spot and when installing the new races they end up galling inside the hub...again causing radial issues. Once this happens out come the new races and you start over again. Hopefully you don't have to purchase a new set of bearings with match set of races again. Seen it too many times to mention. The solution: Correct tools for the job. On the left: Race installation driver. Off the shelf tool except I had to modify it for the correct angle for depth. Have you ever priced out the German Bearing/Race installation kit? Its running over $300 today. My driver was $8 and three minutes of lathe time. In the middle: Two old races cut and welded so they are a little smaller in diameter than the bore. These work perfectly as lapping tools when 600 grit lapping compound is used to remove any galling and square up the bores. After thought they also double as installation adaptors to seat new races in the bores. On the right: A tube bending wheel cut down on a lathe to use as a race removal tool to press out the outer race WITHOUT DAMAGING it. In case of seating issues due to galling I can press new races out in 10 seconds and use them again. I have seen so many hubs trashed or called junk due to galling in the bores. No more. Easily corrected to zero run out. Attached image(s) 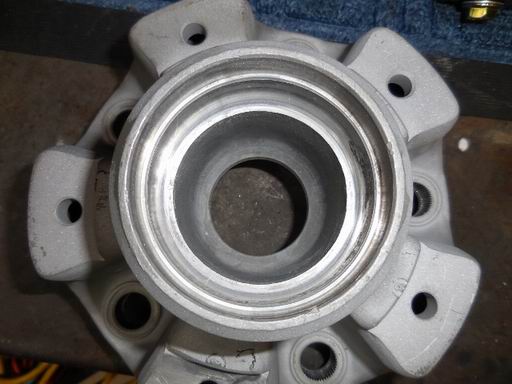 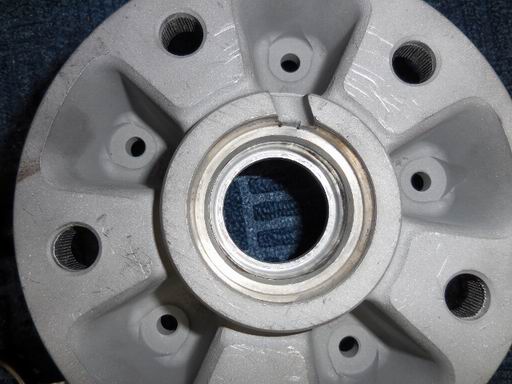 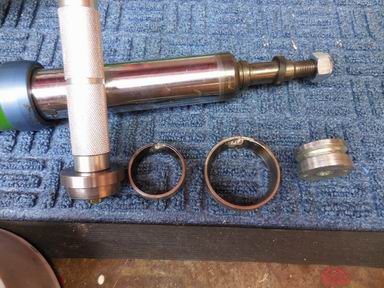
|
| Jeff Hail |
 Nov 18 2014, 02:21 AM Nov 18 2014, 02:21 AM
Post
#640
|
|
Senior Member    Group: Members Posts: 1,141 Joined: 3-May 07 From: LA/ CA Member No.: 7,712 |
Pressing in the new races GENTLY. I believe a press is the only and right way to do this procedure....
Attached image(s) 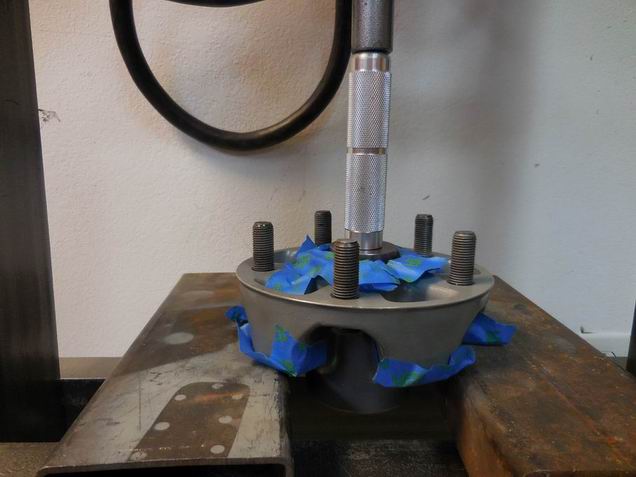
|
| Jeff Hail |
 Nov 18 2014, 02:25 AM Nov 18 2014, 02:25 AM
Post
#641
|
|
Senior Member    Group: Members Posts: 1,141 Joined: 3-May 07 From: LA/ CA Member No.: 7,712 |
Ready to go. Races installed. Bearings packed. Installed on the strut assembly. I also replaced the often neglected hidden O-ring behind the bearing spacer.
I glass beaded the hubs to clean them up. I also sprayed a light coat of 600 degree engine clearcoat to keep them from oxidizing. Baked at 200 and 400 with 30 minute cool down cycles in between. I thought these were clear anodized originally. I was wrong.. some sort of clear crud was applied from the factory. It came off to easy for it to be anodizing. Attached image(s) 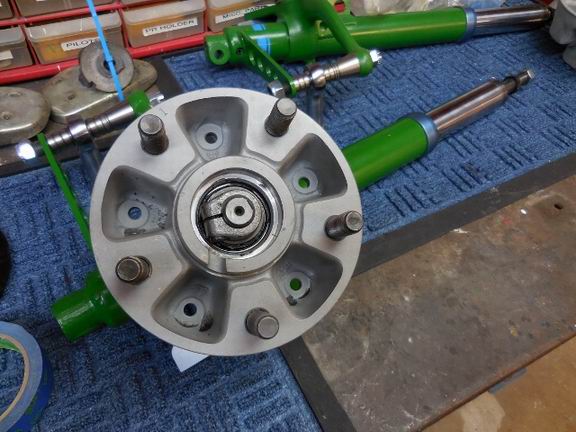
|
| Maltese Falcon |
 Nov 19 2014, 01:58 PM Nov 19 2014, 01:58 PM
Post
#642
|
|
Advanced Member     Group: Members Posts: 4,919 Joined: 14-September 04 From: Mulholland SoCal Member No.: 2,755 Region Association: None  |
Jeff,
Good tip on the front hubs...definitely will have these looked at by Mr. Alarcon my suspension guru. Keep up the xlnt painstaking work ! Marty |
| Jeff Hail |
 Nov 30 2014, 01:28 PM Nov 30 2014, 01:28 PM
Post
#643
|
|
Senior Member    Group: Members Posts: 1,141 Joined: 3-May 07 From: LA/ CA Member No.: 7,712 |
The art of restoration.
The only parts that are new are the spreaders and spring retainer cones. Everything else including the shoes were glass beaded and finished. The brass star adjusters were glass beaded and then polished. From rusty to perfect. Attached image(s) 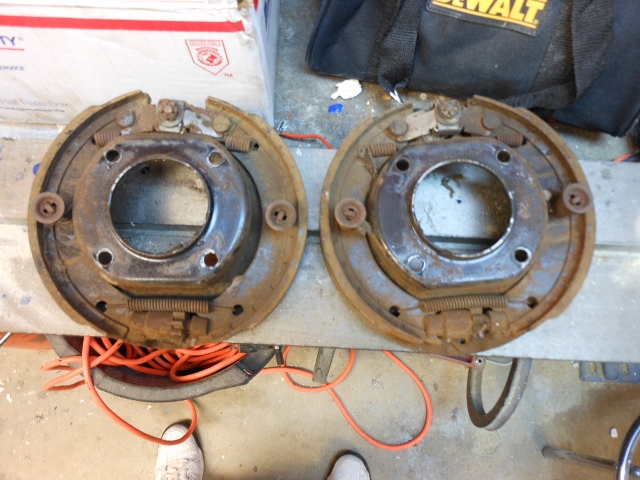 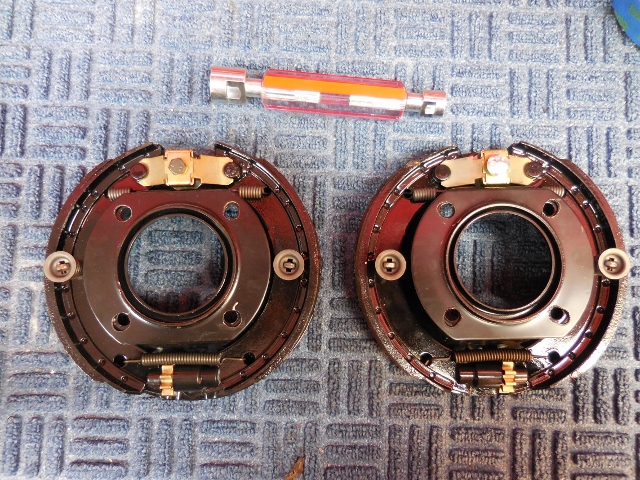
|
| Jeff Hail |
 Nov 30 2014, 01:32 PM Nov 30 2014, 01:32 PM
Post
#644
|
|
Senior Member    Group: Members Posts: 1,141 Joined: 3-May 07 From: LA/ CA Member No.: 7,712 |
I deviated from one thing on Foleys 911 e-brake mod. I cut the return spring in half behind the spreader (since only one spreader is used) and placed a washer where the cable passes through to provide a little extra push on the shoe retract.
Attached image(s) 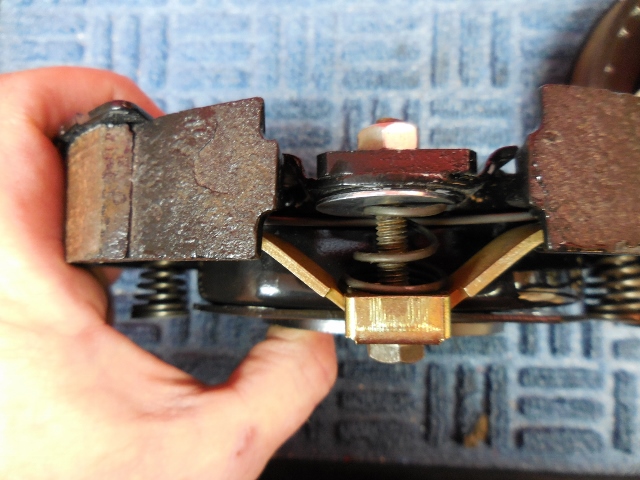
|
| Jeff Hail |
 Nov 30 2014, 01:38 PM Nov 30 2014, 01:38 PM
Post
#645
|
|
Senior Member    Group: Members Posts: 1,141 Joined: 3-May 07 From: LA/ CA Member No.: 7,712 |
In process
Attached image(s) 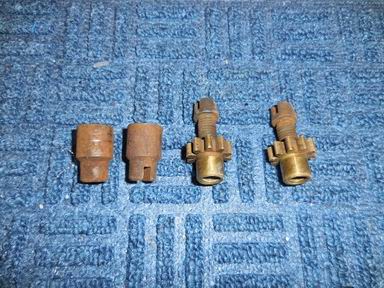 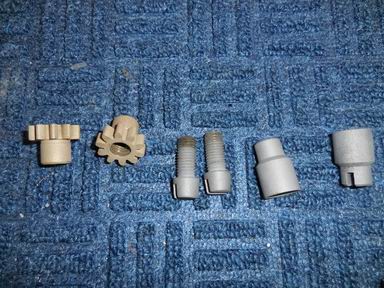 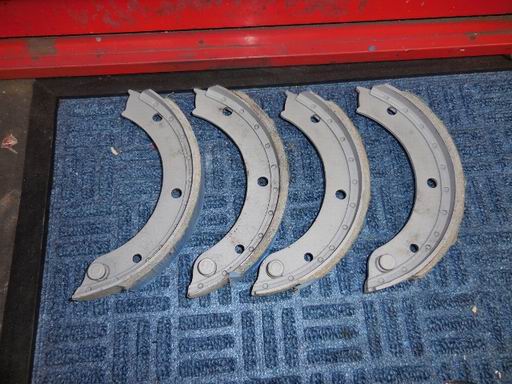
|
  |
1 User(s) are reading this topic (1 Guests and 0 Anonymous Users)
0 Members:

|
Lo-Fi Version | Time is now: 16th January 2025 - 03:51 PM |
Invision Power Board
v9.1.4 © 2025 IPS, Inc.


