|
|

|
Porsche, and the Porsche crest are registered trademarks of Dr. Ing. h.c. F. Porsche AG.
This site is not affiliated with Porsche in any way. Its only purpose is to provide an online forum for car enthusiasts. All other trademarks are property of their respective owners. |
|
|
  |
| my928s4 |
 Sep 27 2010, 11:32 AM Sep 27 2010, 11:32 AM
Post
#161
|
|
Member   Group: Members Posts: 349 Joined: 18-August 07 From: Spokane, WA Member No.: 8,018 Region Association: Pacific Northwest |
I have a question - those little 'rust spiders' - what do you do with them ? I've been giving them a hard time with a wire brush on an angle grinder until there's not much more than a bit of discolouration but I'm now wondering whether I should keep going till even that has gone. What do you reckon ? If I don't get rid completely will they come back ? Cheers, Andrew PS Where did you visit in England ? Hi Andrew To keep the Orange was decided by my teenage daughters, they thought the color was right for the look. Who I am to argue .... It is hard to get all of the rust without sandblasting, a wire brush and then hitting with some 80grit is what I do followed up with some kind of rust converter if there is any resilient rust residue. IMO this works for our dry climate, others may have better options for your wetland environment (IMG:style_emoticons/default/smile.gif) I am an expat, my home area is Bucks so usually where I end up visiting family and friends. Where are you located? Cheers indeed and good luck with your project! |
| my928s4 |
 Oct 4 2010, 09:45 PM Oct 4 2010, 09:45 PM
Post
#162
|
|
Member   Group: Members Posts: 349 Joined: 18-August 07 From: Spokane, WA Member No.: 8,018 Region Association: Pacific Northwest |
Pulled the hood of the garage wall, been there for a while ... decided I might as well get the hood and trunk to the same point as the doors. Out with the paint stripper ...
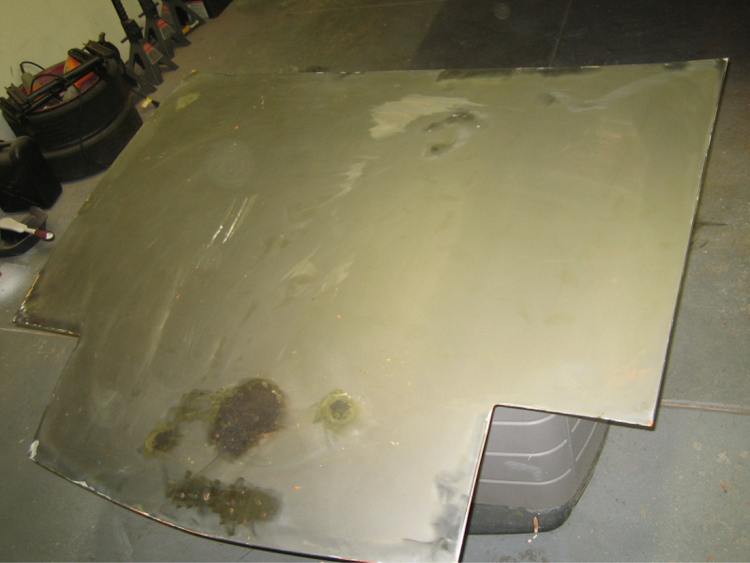 Wire brush shows some thin metal and holes. The round holes are where someone had a Porsche badge. 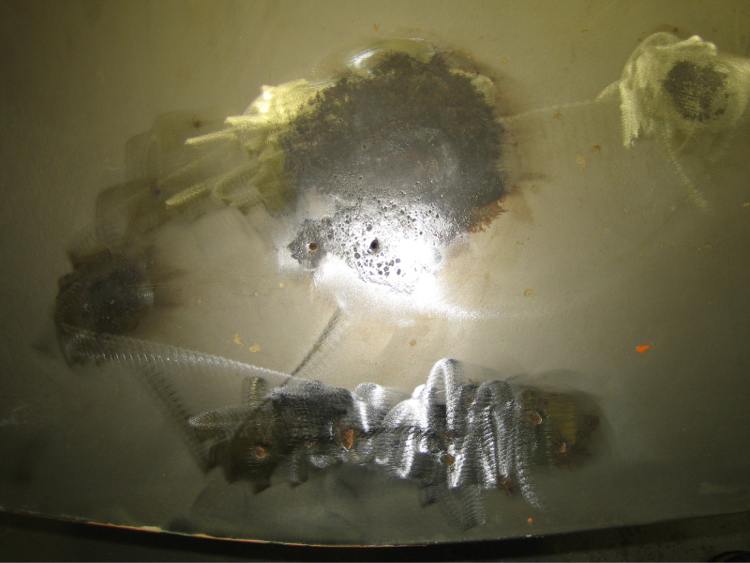 Time to get out the cutting wheel, some hard rust encrusted foam. 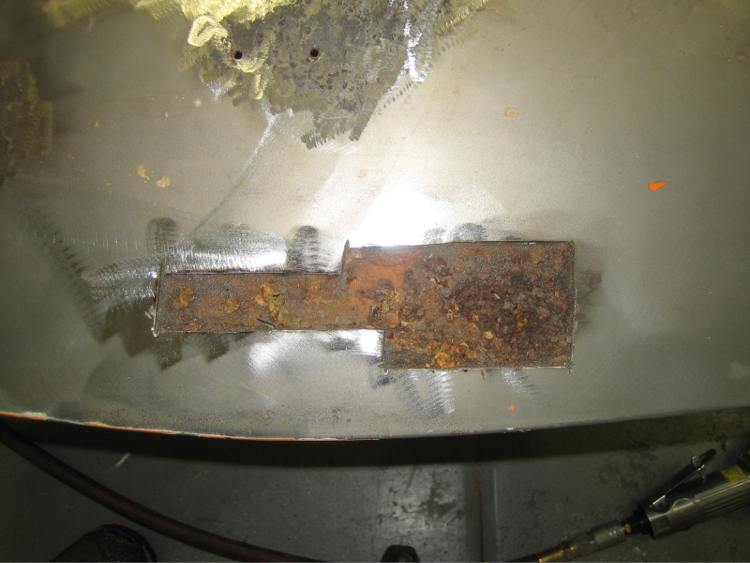 After much mess there is some metal in there ! 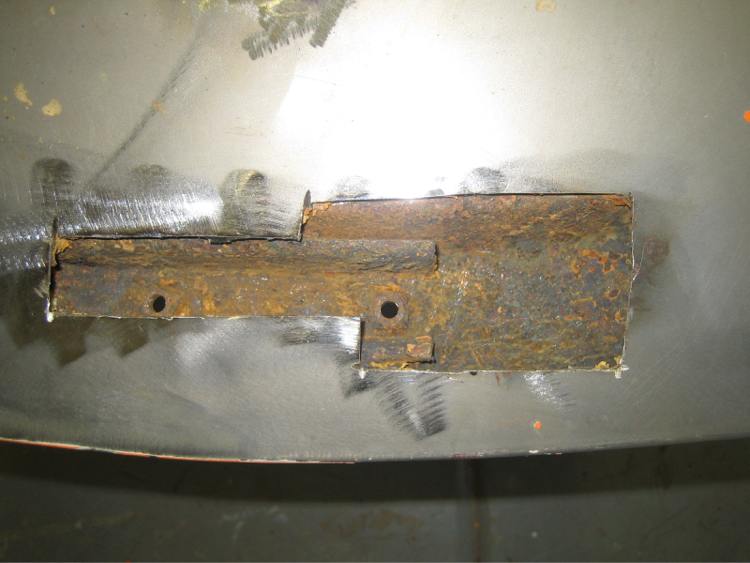 Sanded and the rust that I can't remove with the grinder gets rust inhibitor. 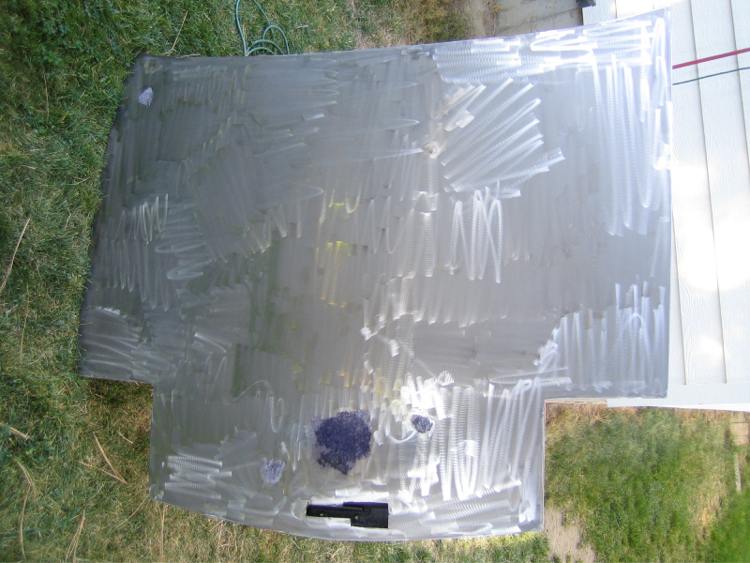 Backside looks pretty good after a rub down. 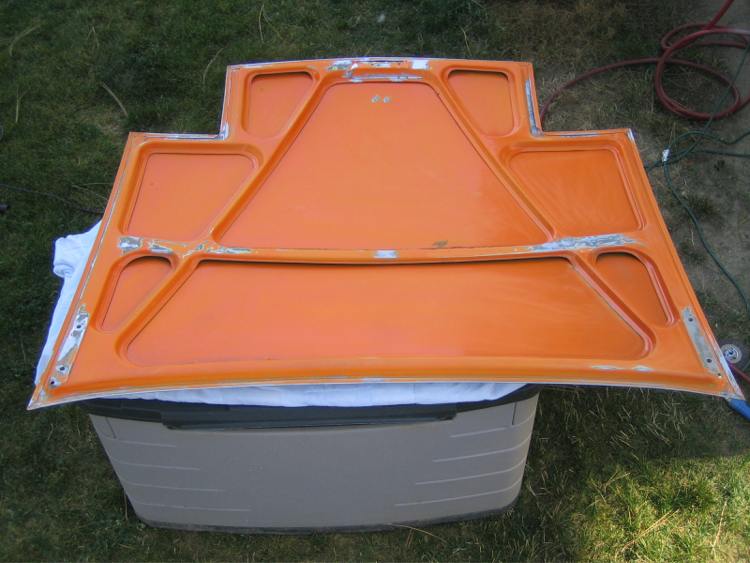 Now to get the trunk to the same level, then out with the welder. 1.5" front spacers arrived in the mail today, just about perfect fit. 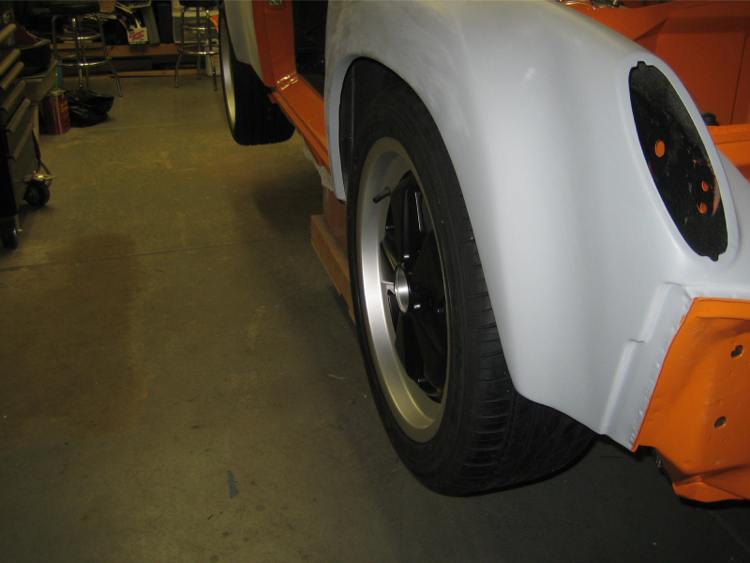 |
| Root_Werks |
 Oct 5 2010, 08:42 AM Oct 5 2010, 08:42 AM
Post
#163
|
|
Village Idiot      Group: Members Posts: 8,526 Joined: 25-May 04 From: About 5NM from Canada Member No.: 2,105 Region Association: Pacific Northwest 
|
I like the spacing on the wheels, looks really good.
It's amazing were rust will hide on 914's. That hood is a really good example of the rust monster. (IMG:style_emoticons/default/sad.gif) |
| my928s4 |
 Oct 10 2010, 01:47 PM Oct 10 2010, 01:47 PM
Post
#164
|
|
Member   Group: Members Posts: 349 Joined: 18-August 07 From: Spokane, WA Member No.: 8,018 Region Association: Pacific Northwest |
So started work on the trunk, stripped and sanded.
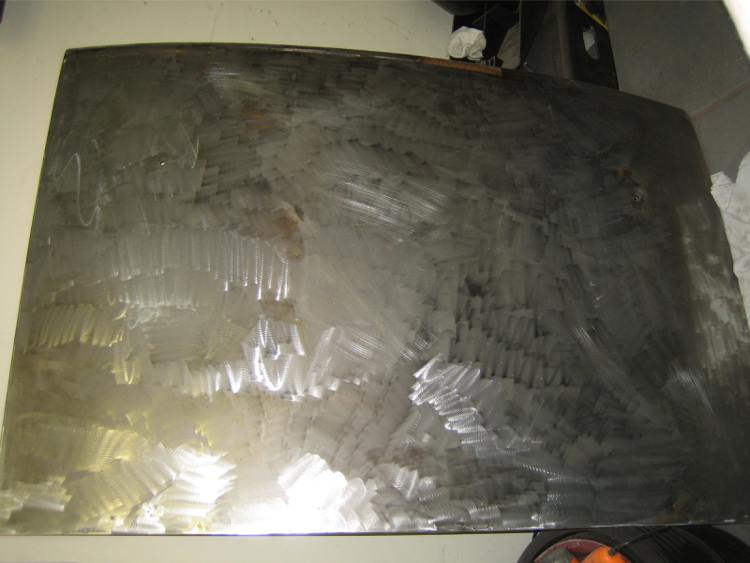 Trunk used to have a rack on it at one time, need to weld those holes up. The supports for the rack were still attached to the trunk, if anyone wants them let me know, just pay shipping. 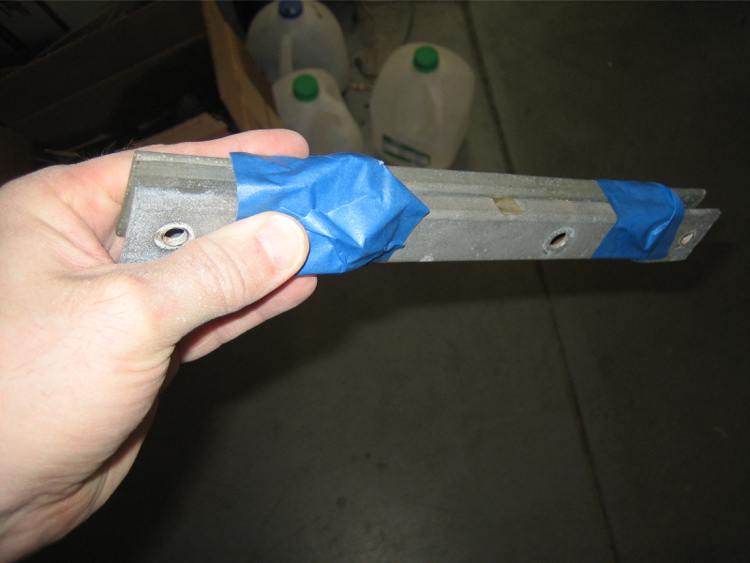 There was a patch of rust on the trunk where it looked like the paint had been gone some time. After sanding sure enough there were some holes. 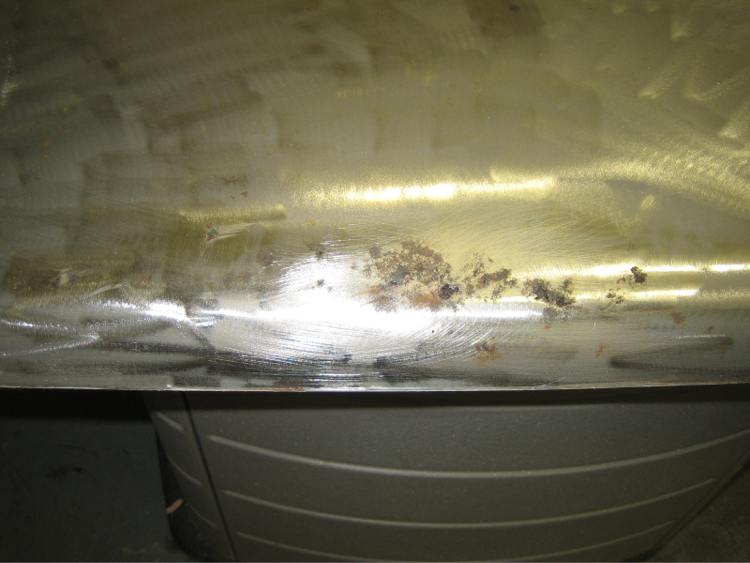 Like the hood decided it might as well be cut out, got some holes on the other side also. If this is anything like the hood it is going to be a bear to weld, 3 dimensional plus warpage .... hmmmm. Ok save this one for anther day. 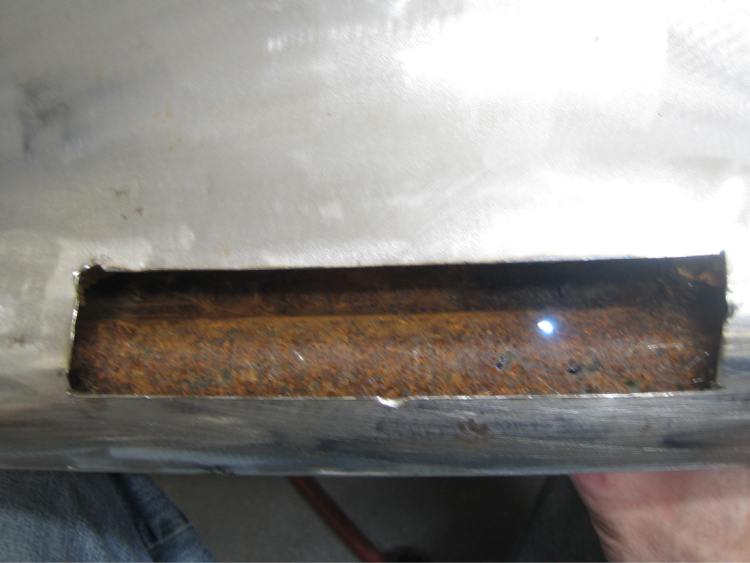 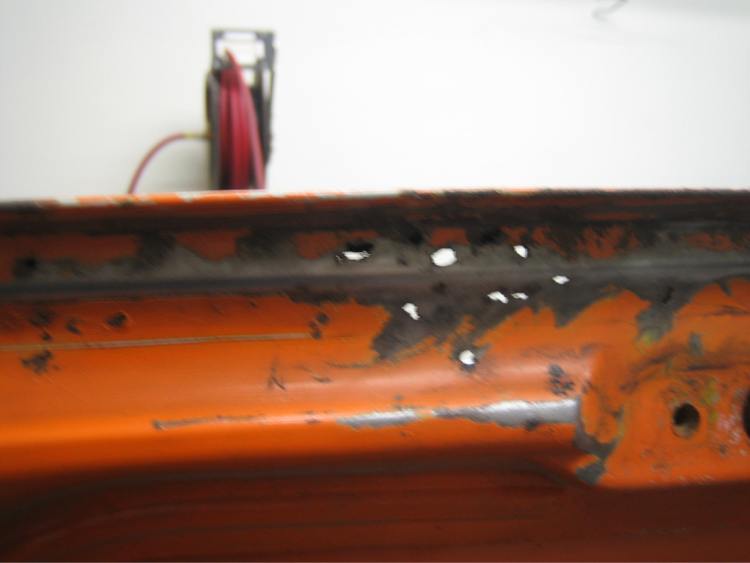 Back to the hood, first coat of filler sanded, my arms were hanging off after this and had to watch sweat from dripping on the filler. (IMG:style_emoticons/default/pray.gif) to you professional bodywork guys. 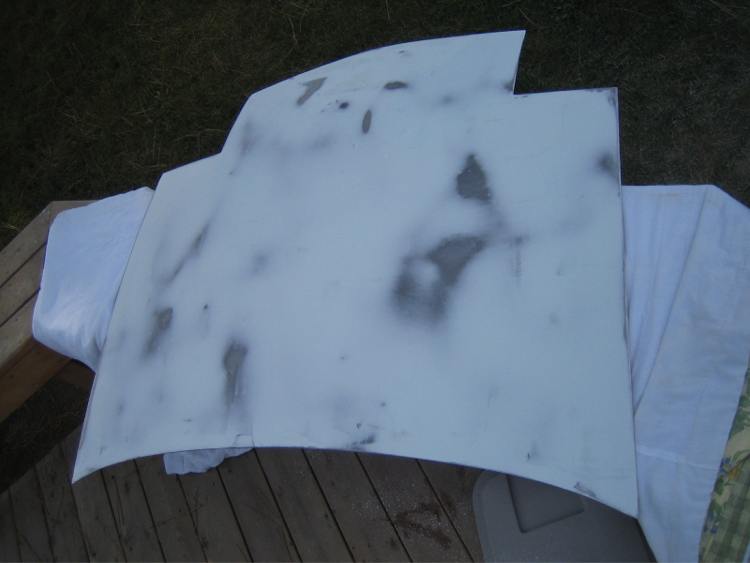 4 or so filler applications later time to epoxy and 2K ready for some more sanding later. Going to be gone next couple of weekends, proably good time to take a break from sanding (IMG:style_emoticons/default/smile.gif) 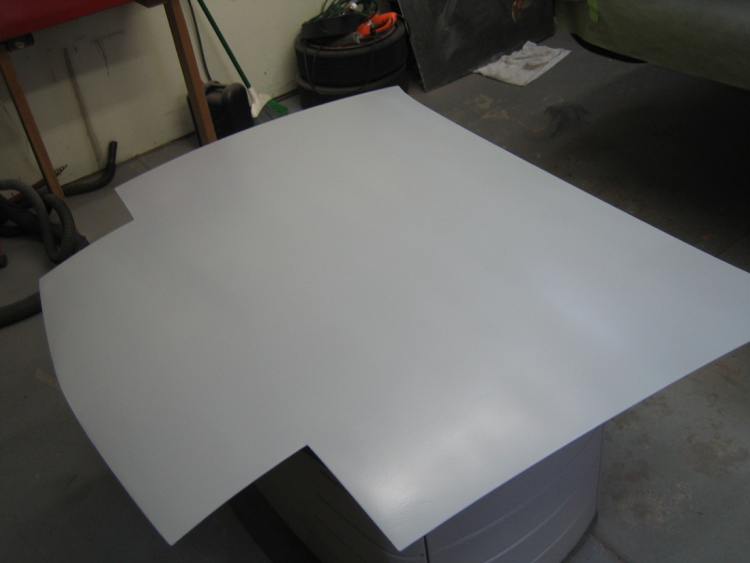 |
| banksyinoz |
 Oct 29 2010, 11:38 PM Oct 29 2010, 11:38 PM
Post
#165
|
|
finally getting back into it   Group: Members Posts: 223 Joined: 17-June 05 From: queensland, aus Member No.: 4,293 Region Association: Australia and New Zealand |
Thankyou Your thread has reinspired me to get back to restoring my 76 Many thanks from Brisbane Australia |
| my928s4 |
 Nov 20 2010, 04:41 PM Nov 20 2010, 04:41 PM
Post
#166
|
|
Member   Group: Members Posts: 349 Joined: 18-August 07 From: Spokane, WA Member No.: 8,018 Region Association: Pacific Northwest |
So the front trunk lid is done with sanding, just need to paint the underside but am going to do that when the rear trunk is ready. I am out of filler so stalled on bodywork right now.
This week I finally managed to get the pins for the rear handbrake cable, trick was to use this part number 999-166-010-02-OEM which is the pin for the handbrake body. The one noted in PET for the cable is unobtanium. 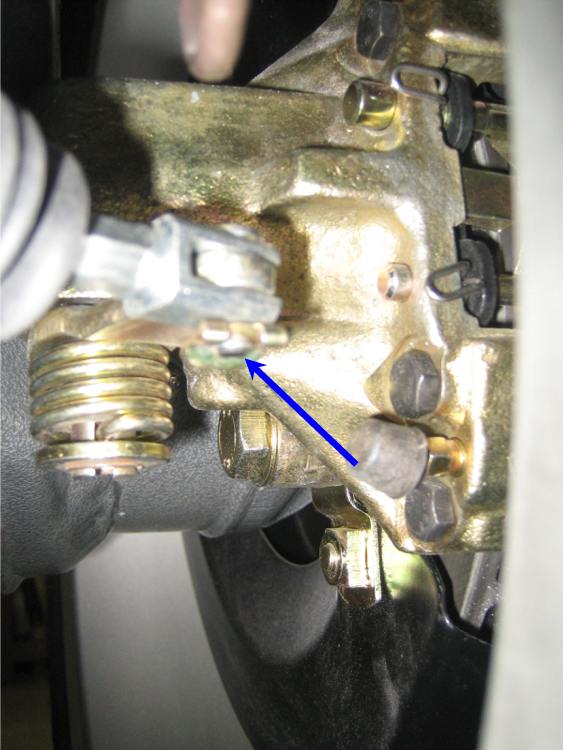 Now I have a handbrake I decided to get the car of the trolley and onto its wheels, been a LONG time since it was on the ground so I took the liberty of taking some pictures. 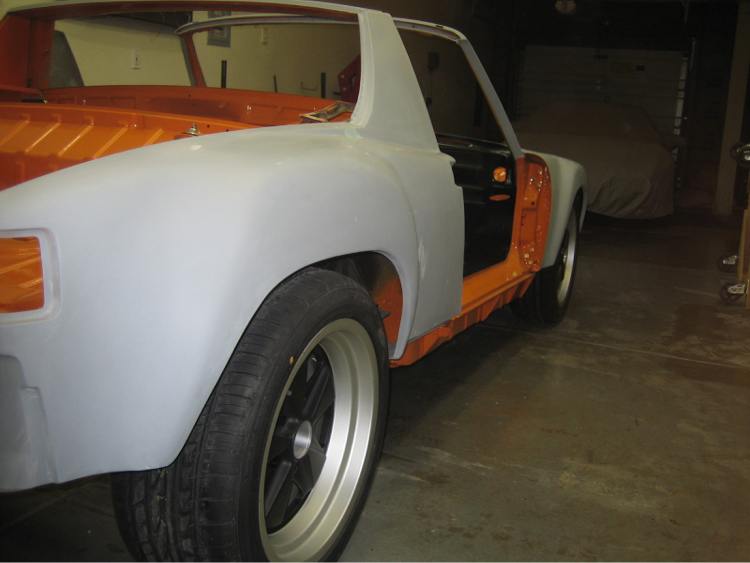 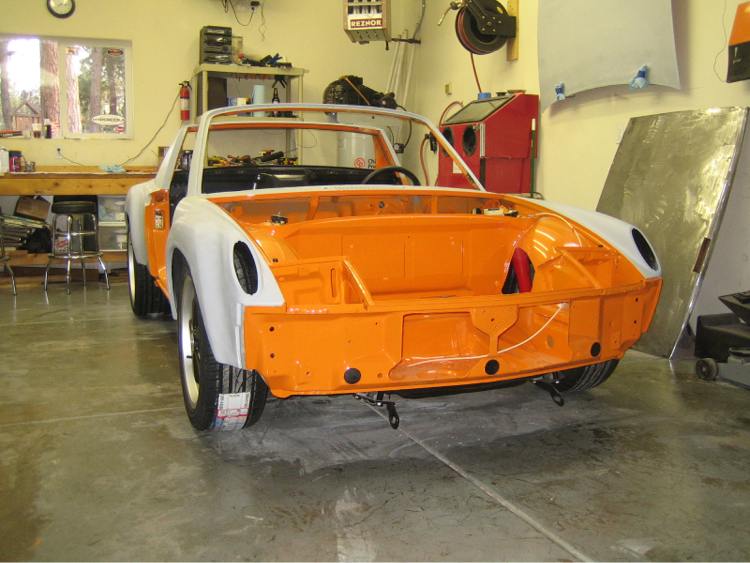 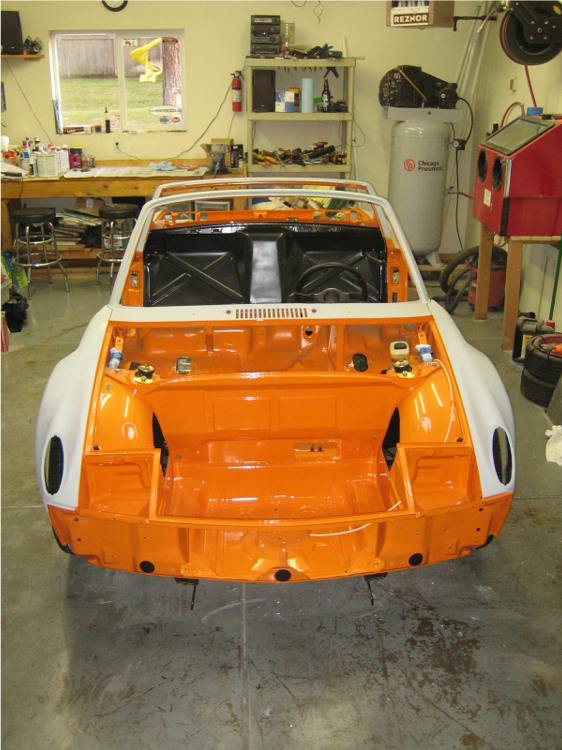 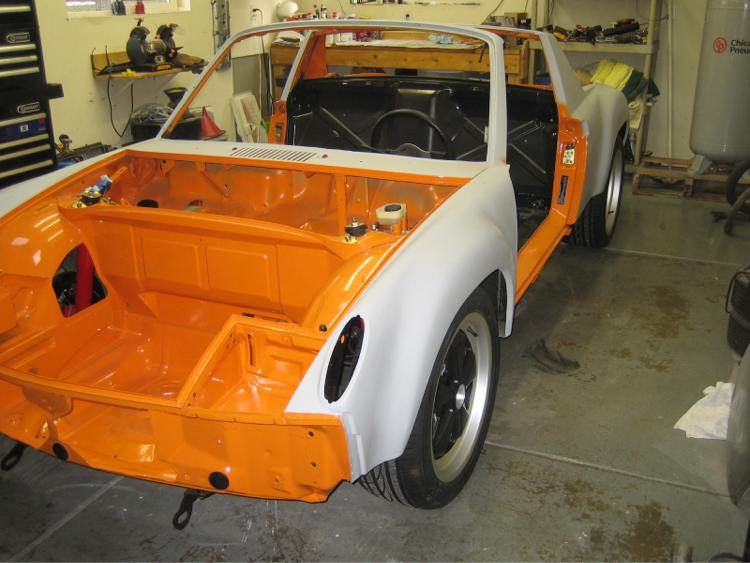 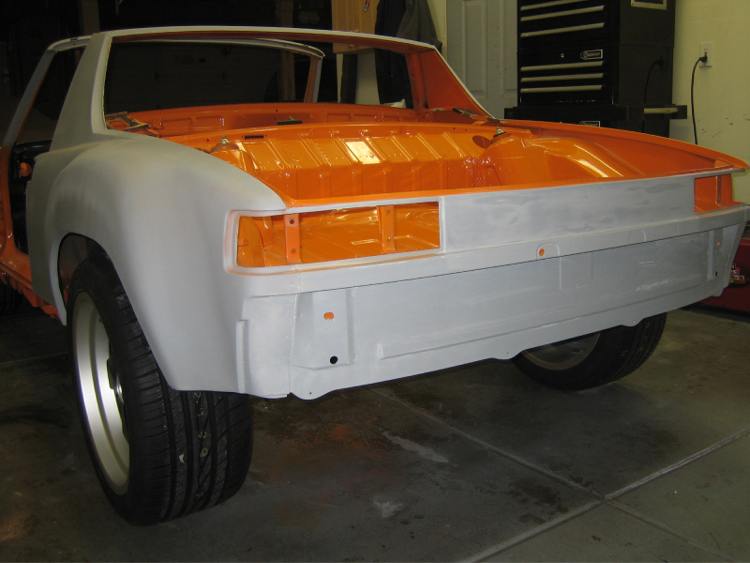 |
| my928s4 |
 Dec 11 2010, 09:14 PM Dec 11 2010, 09:14 PM
Post
#167
|
|
Member   Group: Members Posts: 349 Joined: 18-August 07 From: Spokane, WA Member No.: 8,018 Region Association: Pacific Northwest |
Got some time in the garage today, good to tidy up some odds and ends.
I am hoping this is my last batch of plating, I went through all my boxes and bags of parts and tried to find every last part that I might want to get plated. 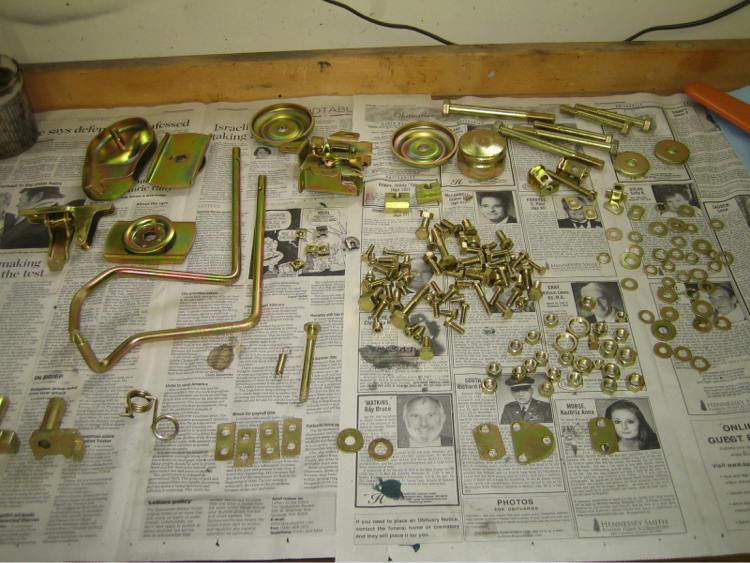 Now I can finish of the seat rails, lost one roll pin trying to get the spring back on but otherwise went OK. 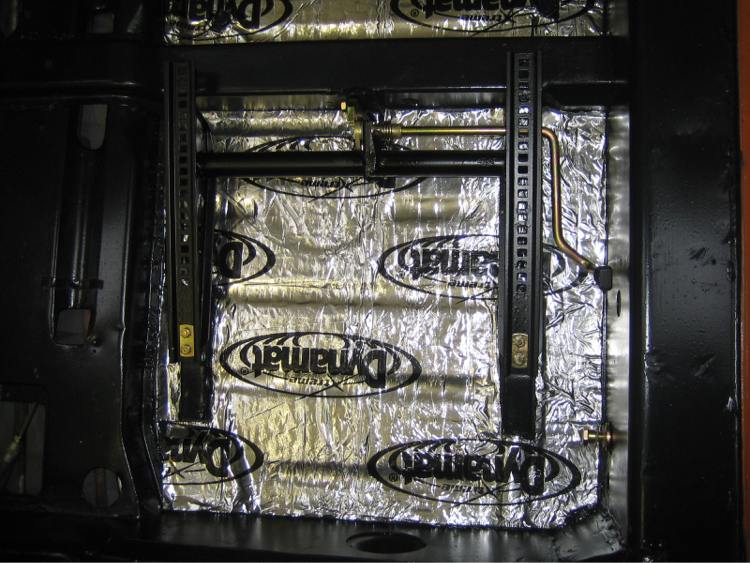 Added the SS fuel lines from Tangering Racing, gave up with trying to use the tie down tabs in the tunnel though. Just tie wrapped them together and that seems to work. 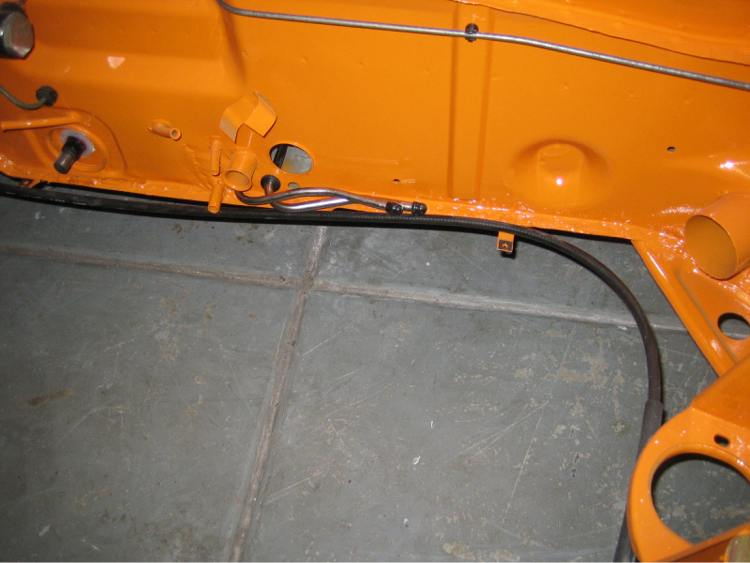 Also got the sway bar finally, been on back order since August. 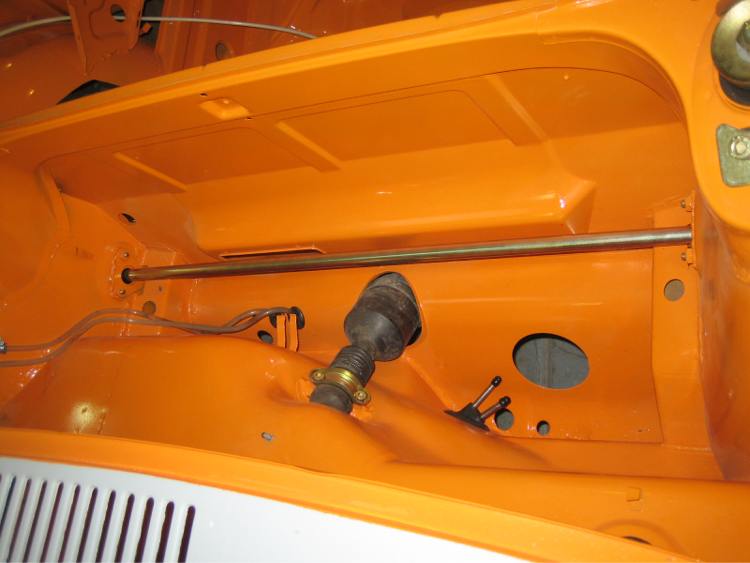 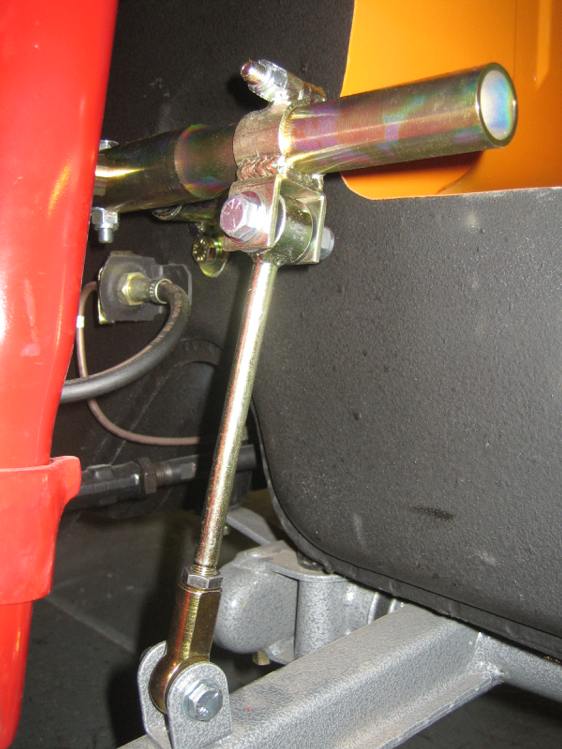 OK, now I can sit in the car and make vrooom vrooom noises .... OK maybe not but definitely makes it easier to have someone sit in and steer while moving in and out of the garage. 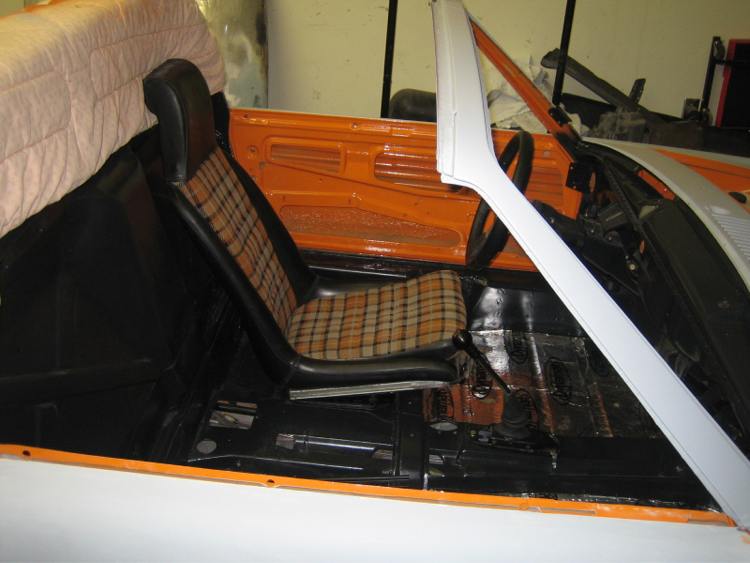 Put the doors back on, everything still lines up OK! Sure glad I drilled a hole in each hinge to align it all back up. 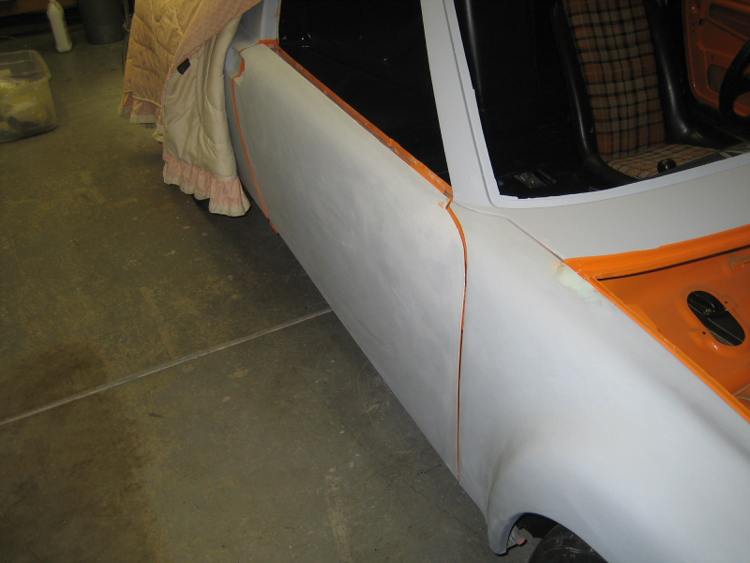 |
| FourBlades |
 Dec 12 2010, 09:16 AM Dec 12 2010, 09:16 AM
Post
#168
|
|
From Wreck to Rockin     Group: Members Posts: 2,056 Joined: 3-December 07 From: Brevard, FL Member No.: 8,414 Region Association: South East States 
|
Your car is looking good! (IMG:style_emoticons/default/piratenanner.gif) That color will look great with the flares. John |
| scott_in_nh |
 Dec 12 2010, 05:00 PM Dec 12 2010, 05:00 PM
Post
#169
|
|
Senior Member    Group: Members Posts: 808 Joined: 10-December 10 From: Hampton, NH Member No.: 12,471 Region Association: North East States |
I just read this entire thread at once - great stuff!
As a newbie looking at possibly purchasing my 1st 914, your well lit photos and fully dismantled car has really helped me understand where to look for rust on any prospective purchase. Good luck - I will be following your progress! (IMG:style_emoticons/default/beerchug.gif) |
| my928s4 |
 Dec 19 2010, 07:23 PM Dec 19 2010, 07:23 PM
Post
#170
|
|
Member   Group: Members Posts: 349 Joined: 18-August 07 From: Spokane, WA Member No.: 8,018 Region Association: Pacific Northwest |
Your car is looking good! (IMG:style_emoticons/default/piratenanner.gif) That color will look great with the flares. John Thanks John, coming from you that means a lot. I envy you in that you have your 1st project back on the road already! |
| my928s4 |
 Dec 19 2010, 07:25 PM Dec 19 2010, 07:25 PM
Post
#171
|
|
Member   Group: Members Posts: 349 Joined: 18-August 07 From: Spokane, WA Member No.: 8,018 Region Association: Pacific Northwest |
I just read this entire thread at once - great stuff! As a newbie looking at possibly purchasing my 1st 914, your well lit photos and fully dismantled car has really helped me understand where to look for rust on any prospective purchase. Good luck - I will be following your progress! (IMG:style_emoticons/default/beerchug.gif) Thanks but lots of great 914 project pages on this site and a wealth of knowledge. |
| my928s4 |
 Dec 19 2010, 07:31 PM Dec 19 2010, 07:31 PM
Post
#172
|
|
Member   Group: Members Posts: 349 Joined: 18-August 07 From: Spokane, WA Member No.: 8,018 Region Association: Pacific Northwest |
OK got the Engman pedal board fitted, need to find a rubber stop for the clutch though. Looks like a bicycle brake pad might work.
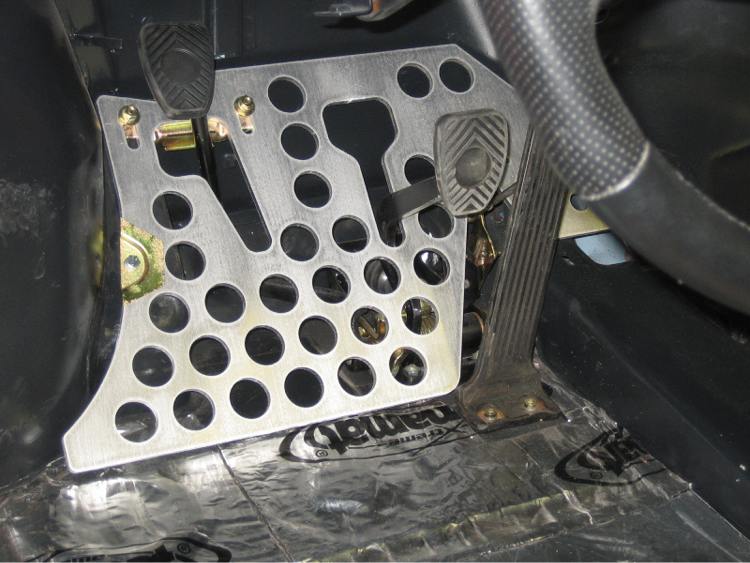 Got the window rubber from Mikey on the group buy, will be a while before they get fitted but I did use the roller and put the window mechanism back together. 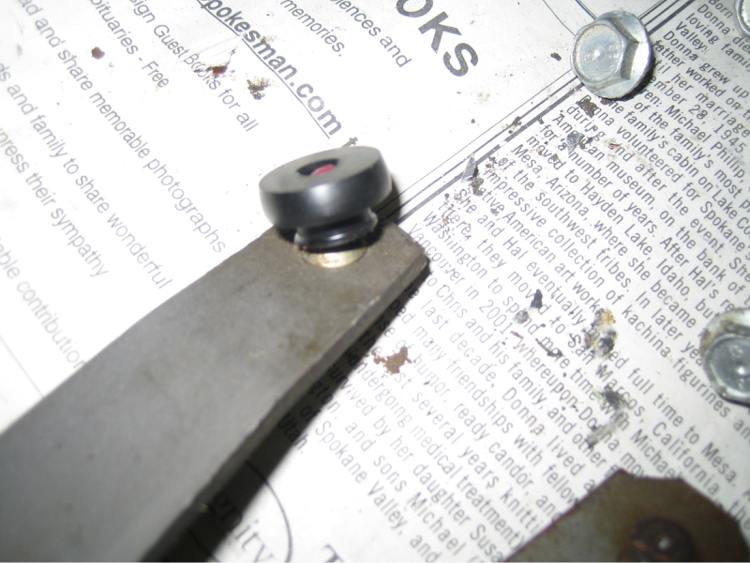 It is damn cold outside but wanted to get the front trunk together, turned up the heat in the garage on got some primer on. 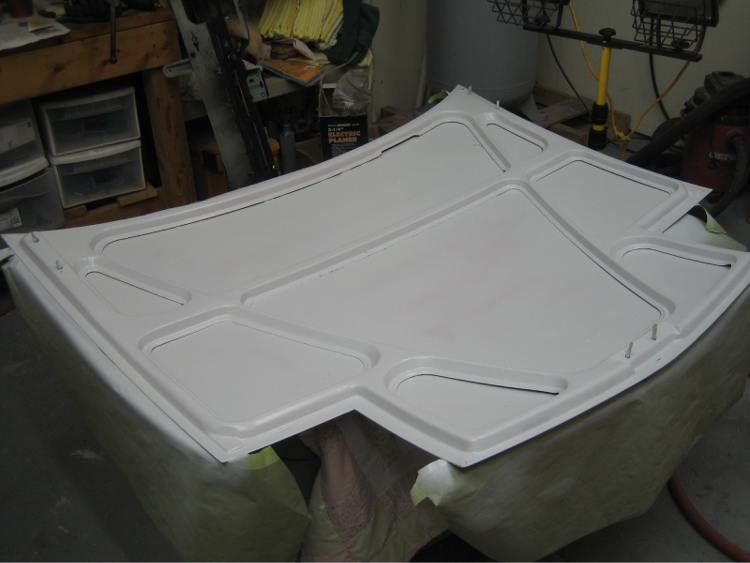 And then paint, tried to get it back on the car alone but had to give up and ask the wife for help!. 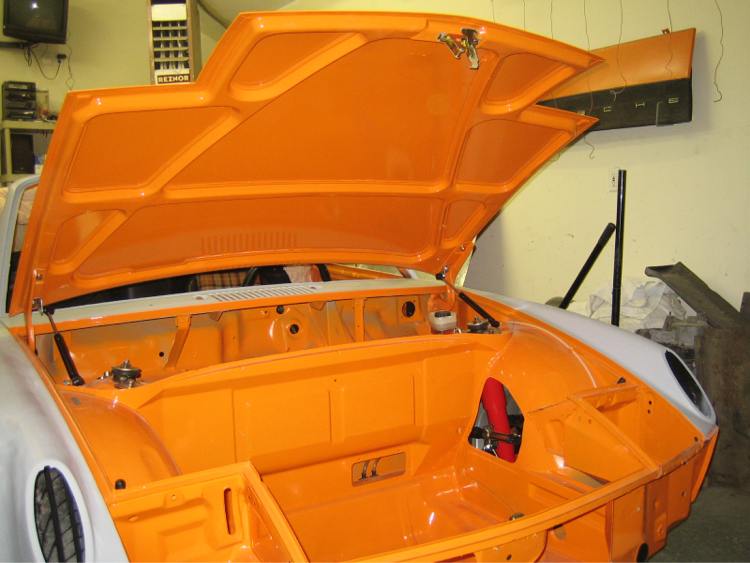 Closed. 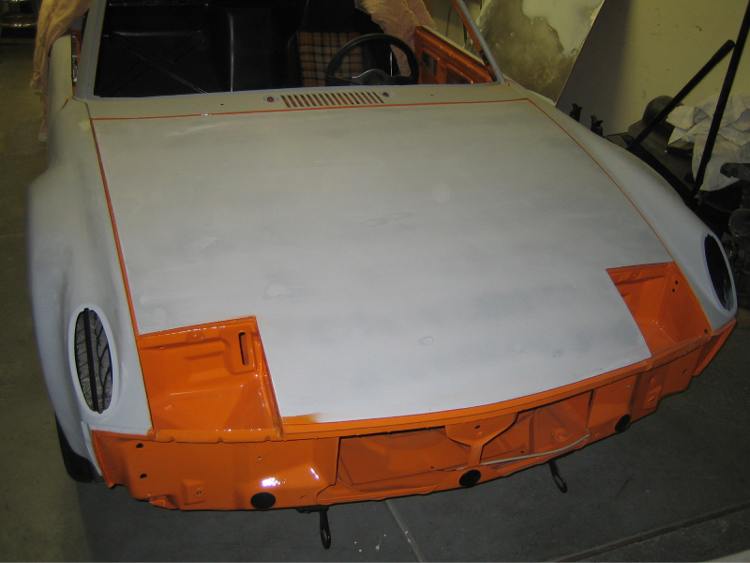 As per my question on another post, it does hit the hood but only just. Looks like I need a washer on the top of the strut to reduce the height of the threaded portion. 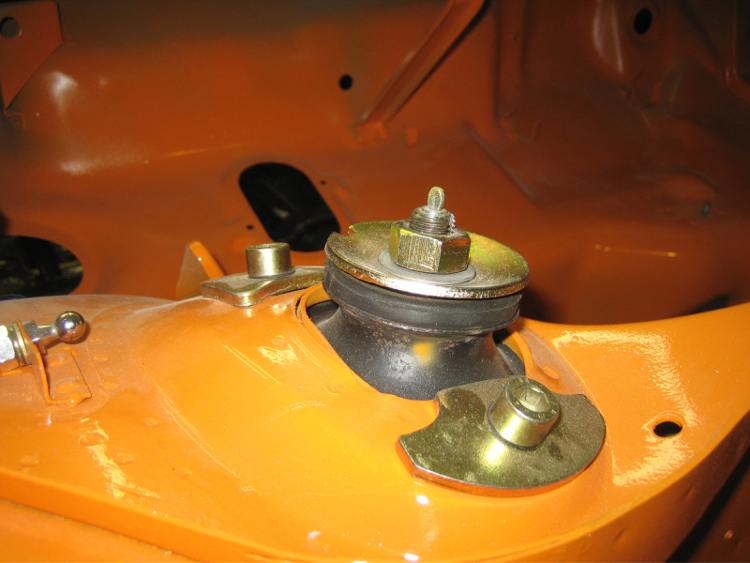 |
| porsche_dreamer |
 Jan 12 2011, 12:46 PM Jan 12 2011, 12:46 PM
Post
#173
|
|
Member   Group: Members Posts: 147 Joined: 21-December 10 From: Harrison, OH Member No.: 12,505 Region Association: None |
Any updates?
|
| my928s4 |
 Jan 16 2011, 08:31 AM Jan 16 2011, 08:31 AM
Post
#174
|
|
Member   Group: Members Posts: 349 Joined: 18-August 07 From: Spokane, WA Member No.: 8,018 Region Association: Pacific Northwest |
Any updates? What with the Xmas Holidays, a vacation to some warmer weather the answer is no not much! Also the 928 needs some work before the Spring so that may force another break. I did get a nice package just after Xmas. 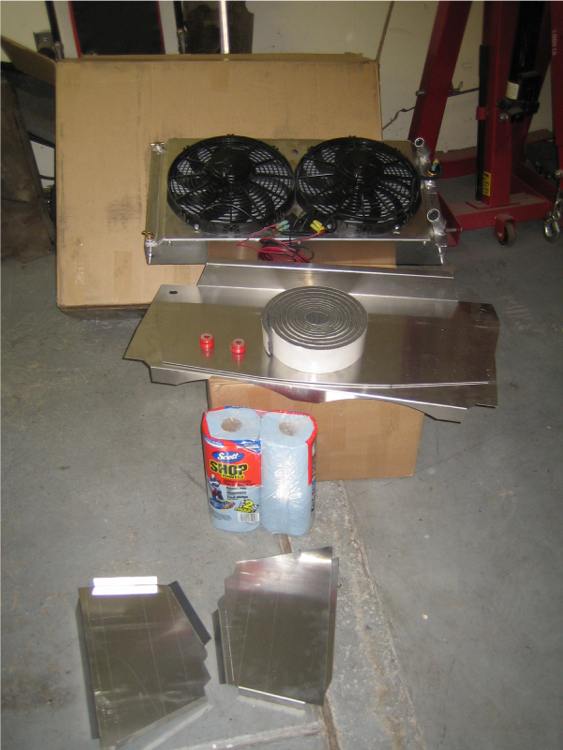 This is the Renegade cooling system and I also bought the hoses, I played around with it for a while and the only issue I see is the side plates will need to be modified. Looks like they are made for the pre-75 cars. Also going to see if I can get some nutcerts and use those rather than sheet metal screws or rivets. Also thinking powder coating in black. We shall see. 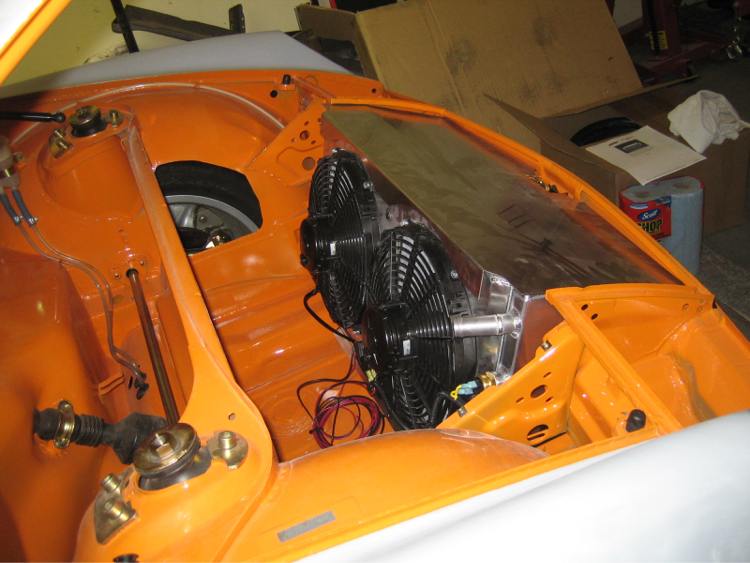 Bought some washers to sought out the clearance issue with the top of the struts and the hood. Sorted now and the hood latches shut nicely. 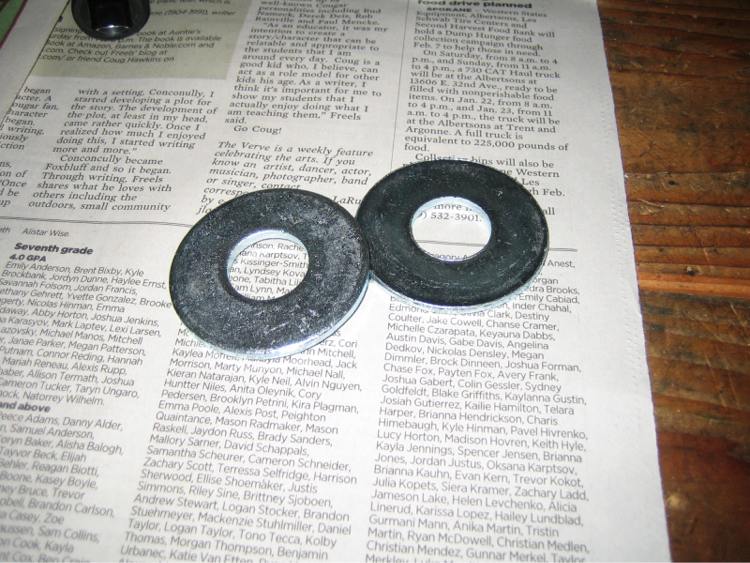 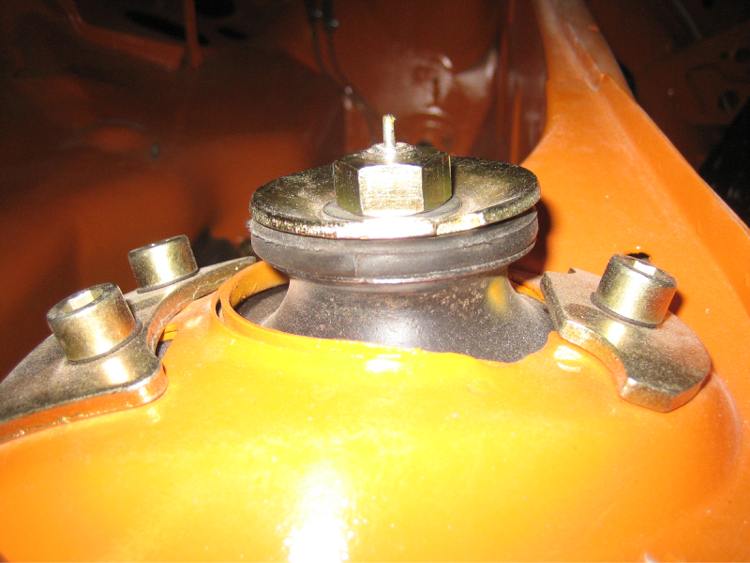 |
| my928s4 |
 Jan 16 2011, 06:47 PM Jan 16 2011, 06:47 PM
Post
#175
|
|
Member   Group: Members Posts: 349 Joined: 18-August 07 From: Spokane, WA Member No.: 8,018 Region Association: Pacific Northwest |
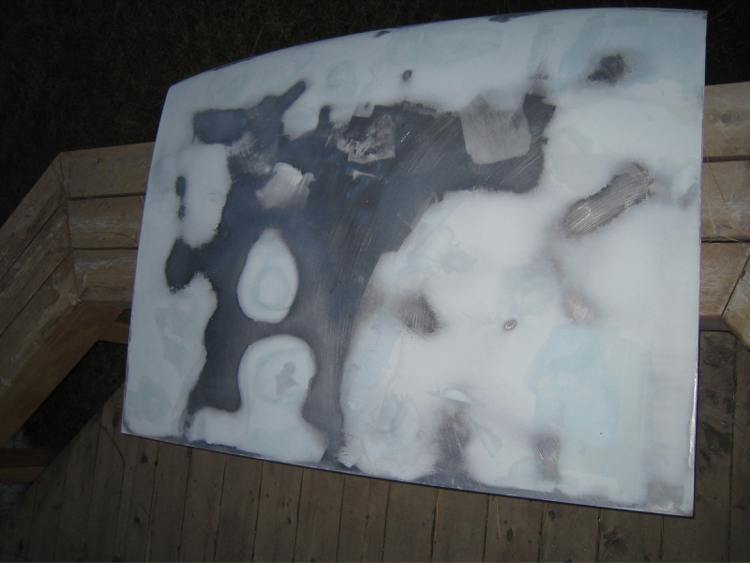
For some reason it was unseasonably warm so I took the opportunity to finish up the filler work on the rear trunk. Took me most of the day and am glad this is done.
 |
| FourBlades |
 Jan 16 2011, 07:28 PM Jan 16 2011, 07:28 PM
Post
#176
|
|
From Wreck to Rockin     Group: Members Posts: 2,056 Joined: 3-December 07 From: Brevard, FL Member No.: 8,414 Region Association: South East States 
|
Your car is looking good! (IMG:style_emoticons/default/piratenanner.gif) That color will look great with the flares. John Thanks John, coming from you that means a lot. I envy you in that you have your 1st project back on the road already! Dude I just re-read your whole thread and you are the man! You have come so far on this car it is amazing. You will not regret the work once you are driving your car. I still get a load of satisfaction every time I turn the key. John |
| barada |
 Jan 23 2011, 05:00 PM Jan 23 2011, 05:00 PM
Post
#177
|
|
Member   Group: Members Posts: 257 Joined: 5-October 08 From: Atlanta Member No.: 9,613 Region Association: None |
Your car is looking good! (IMG:style_emoticons/default/piratenanner.gif) That color will look great with the flares. John Thanks John, coming from you that means a lot. I envy you in that you have your 1st project back on the road already! Dude I just re-read your whole thread and you are the man! You have come so far on this car it is amazing. You will not regret the work once you are driving your car. I still get a load of satisfaction every time I turn the key. John Any updates? Love following this build |
| my928s4 |
 Feb 6 2011, 01:48 PM Feb 6 2011, 01:48 PM
Post
#178
|
|
Member   Group: Members Posts: 349 Joined: 18-August 07 From: Spokane, WA Member No.: 8,018 Region Association: Pacific Northwest |
Not too much to update and some back tracking but that is the way it goes sometimes, I was never happy with the rubber coupling after putting in the rack spacers. Seemed to put stress on the shaft where it clamps to the body in the fuel tank area.
Also I bought the PP bushing for the front A-arms a long time ago, never liked them, squeaky and stiff which might improve with usage but that is not going to happen just yet. Decided to buy the ones Eric started selling. Here is the old donut, looks OK from this angle. 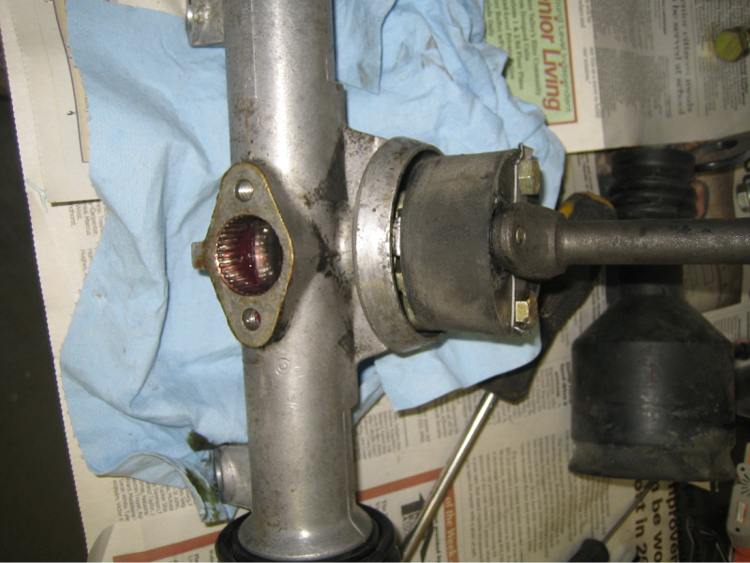 Once removed the holes had significant wear, talk about slop around the bushings. 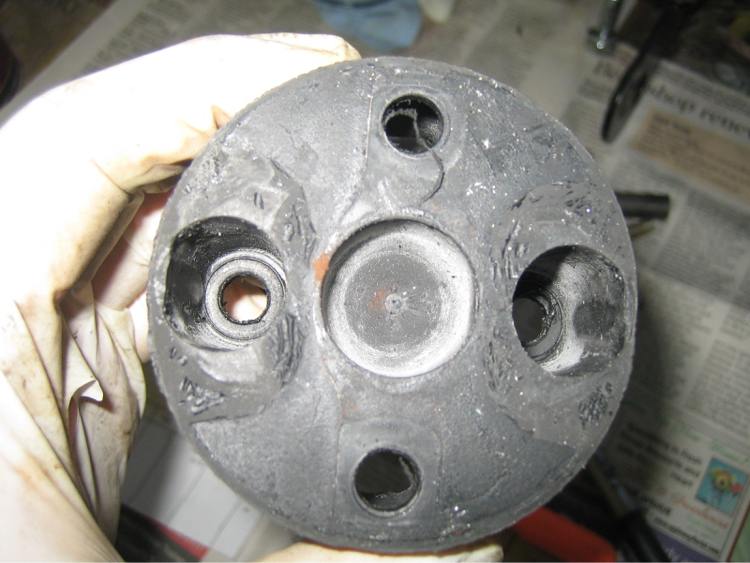 New Delrin part, sweet. 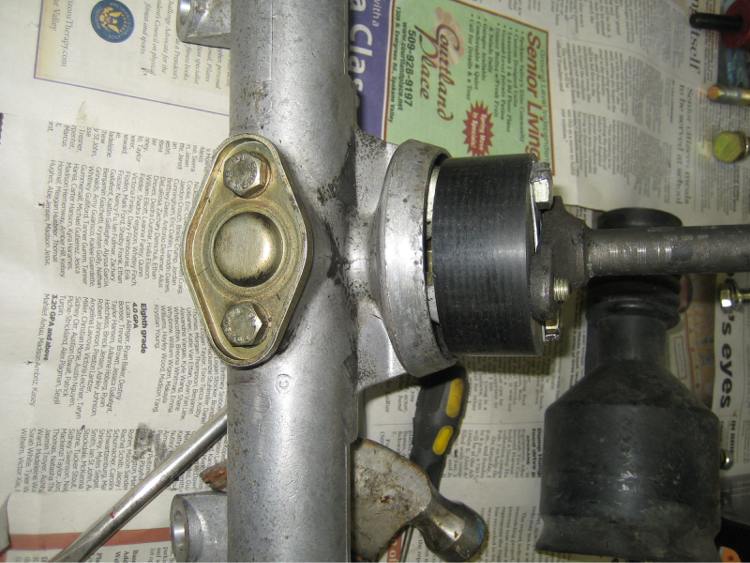 Decided to wet sand with 400grit the passenger fender, only have a two small low areas. Once that is done the whole passenger side of the car is good to go. 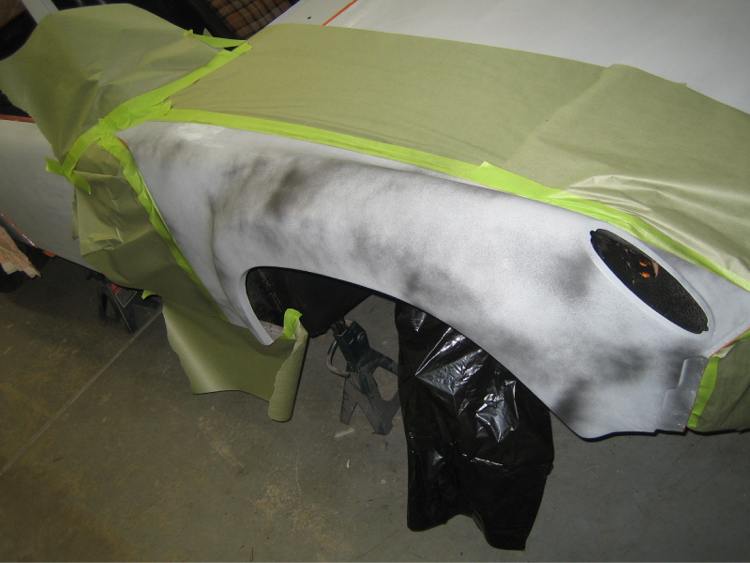 Been putting of spraying primer as I had run out of gun cleaner, got some yesterday and Epoxy and 2K'd the rear trunk lid. Sand that next weekend. 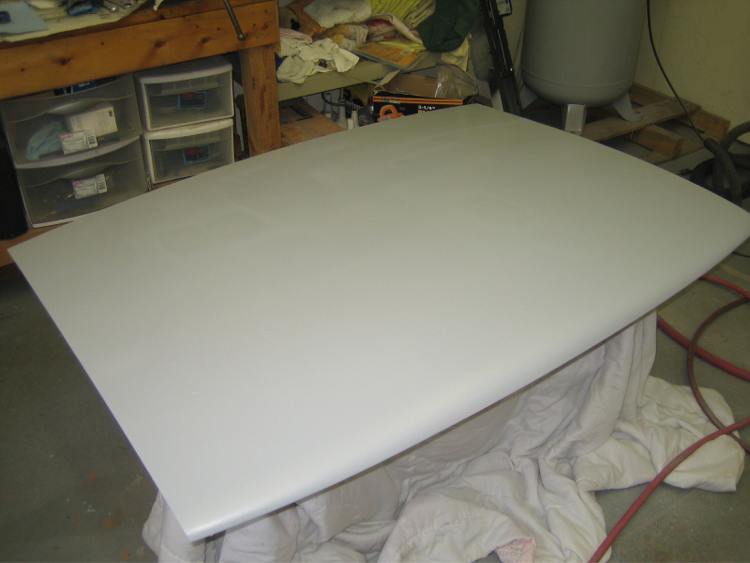 |
| Root_Werks |
 Feb 11 2011, 02:29 PM Feb 11 2011, 02:29 PM
Post
#179
|
|
Village Idiot      Group: Members Posts: 8,526 Joined: 25-May 04 From: About 5NM from Canada Member No.: 2,105 Region Association: Pacific Northwest 
|
Looks like you're close to color on the fenders, cool!
|
| speed metal army |
 Feb 11 2011, 11:07 PM Feb 11 2011, 11:07 PM
Post
#180
|
|
Waiting for the rain to stop...    Group: Members Posts: 1,068 Joined: 4-September 10 From: PNW Member No.: 12,137 Region Association: Canada |
This looks super.Nice work. (IMG:style_emoticons/default/smile.gif)
|
  |
1 User(s) are reading this topic (1 Guests and 0 Anonymous Users)
0 Members:

|
Lo-Fi Version | Time is now: 7th January 2025 - 01:05 PM |
Invision Power Board
v9.1.4 © 2025 IPS, Inc.


