|
|

|
Porsche, and the Porsche crest are registered trademarks of Dr. Ing. h.c. F. Porsche AG.
This site is not affiliated with Porsche in any way. Its only purpose is to provide an online forum for car enthusiasts. All other trademarks are property of their respective owners. |
|
|
  |
| cary |
 Apr 22 2013, 09:04 PM Apr 22 2013, 09:04 PM
Post
#201
|
|
Advanced Member     Group: Members Posts: 3,900 Joined: 26-January 04 From: Sherwood Oregon Member No.: 1,608 Region Association: Pacific Northwest 
|
Finally got it finished.
Replaced all the hoses, except the $200 upper one. If it wasn't for bad luck I wouldn't have any. That hose let go three days after I finished it up. Damn it .................. Glad they hadn't taken it home. 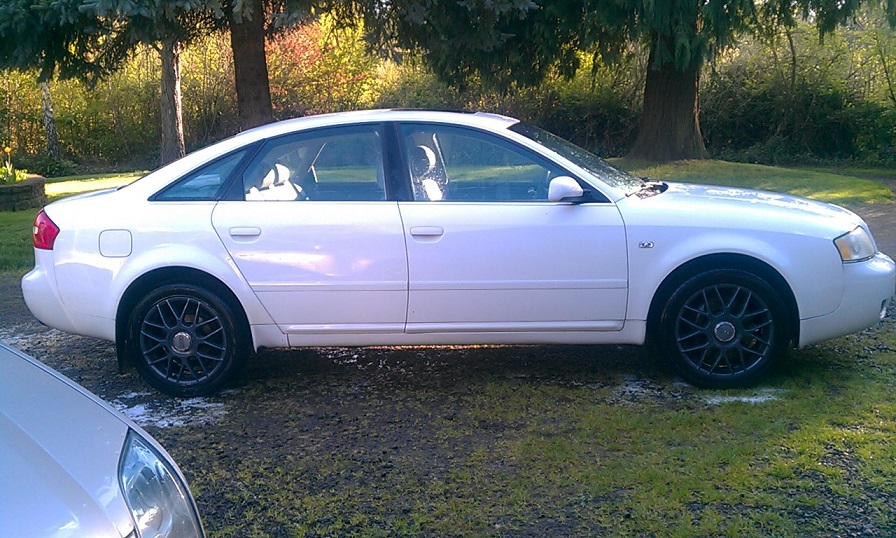 |
| cary |
 Apr 29 2013, 08:38 PM Apr 29 2013, 08:38 PM
Post
#202
|
|
Advanced Member     Group: Members Posts: 3,900 Joined: 26-January 04 From: Sherwood Oregon Member No.: 1,608 Region Association: Pacific Northwest 
|
Finally back to the shop ................
And back to work (play) ......................... 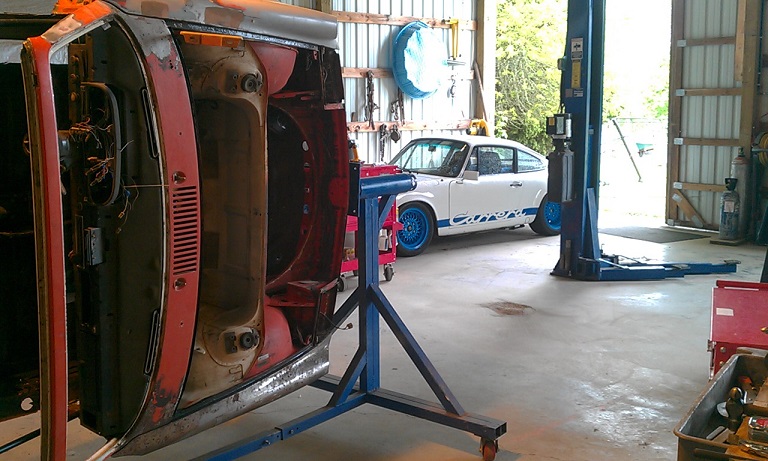 |
| cary |
 Apr 29 2013, 08:42 PM Apr 29 2013, 08:42 PM
Post
#203
|
|
Advanced Member     Group: Members Posts: 3,900 Joined: 26-January 04 From: Sherwood Oregon Member No.: 1,608 Region Association: Pacific Northwest 
|
Next order of business.
Measuring the inner/engine long. I'm using the hinge studs as a point of reference. 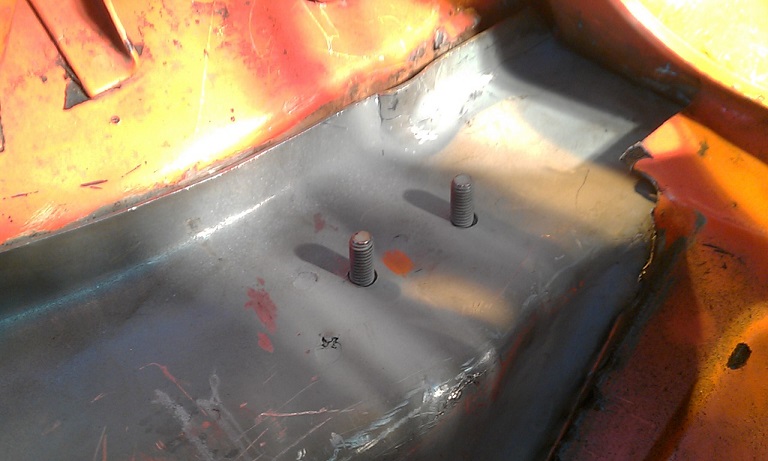 It was about a 1/4 off .......................... |
| cary |
 Apr 29 2013, 08:46 PM Apr 29 2013, 08:46 PM
Post
#204
|
|
Advanced Member     Group: Members Posts: 3,900 Joined: 26-January 04 From: Sherwood Oregon Member No.: 1,608 Region Association: Pacific Northwest 
|
So I had to fiddle with the top end next to the back shock tower.
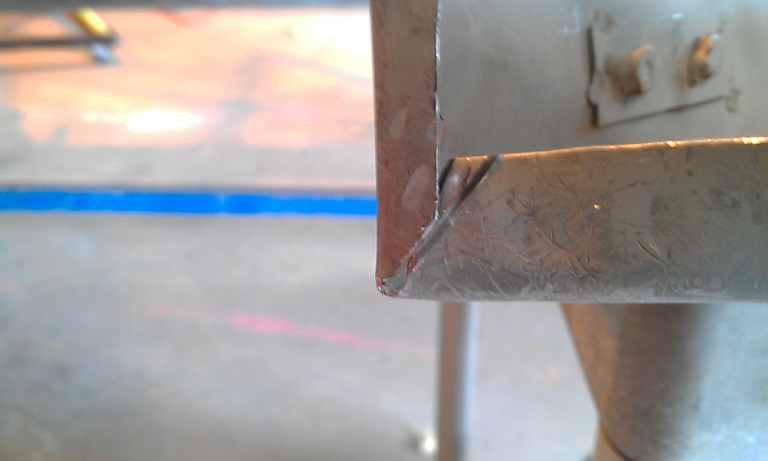 Still didn't fit. Had to recut the flanges. 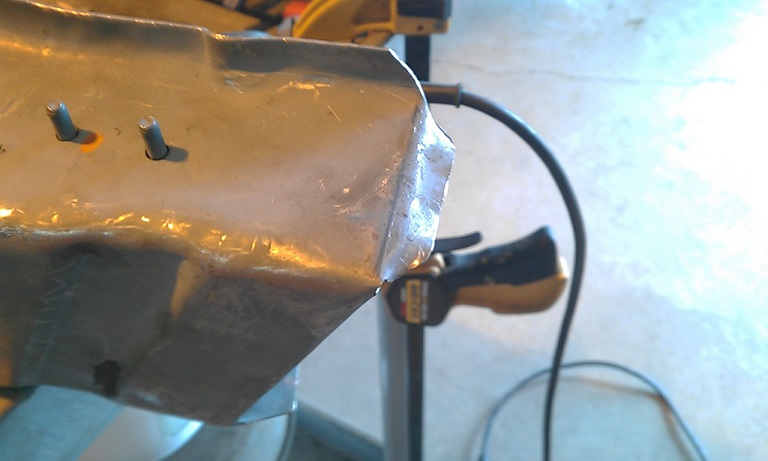 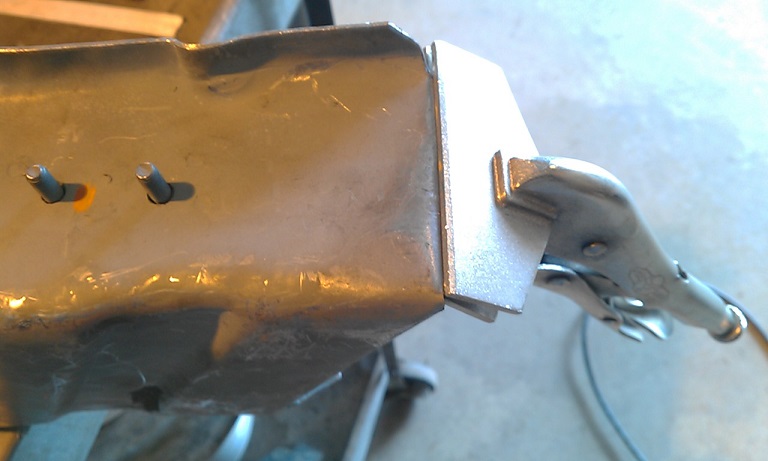 |
| cary |
 Apr 29 2013, 08:53 PM Apr 29 2013, 08:53 PM
Post
#205
|
|
Advanced Member     Group: Members Posts: 3,900 Joined: 26-January 04 From: Sherwood Oregon Member No.: 1,608 Region Association: Pacific Northwest 
|
Now it matches the drivers side.
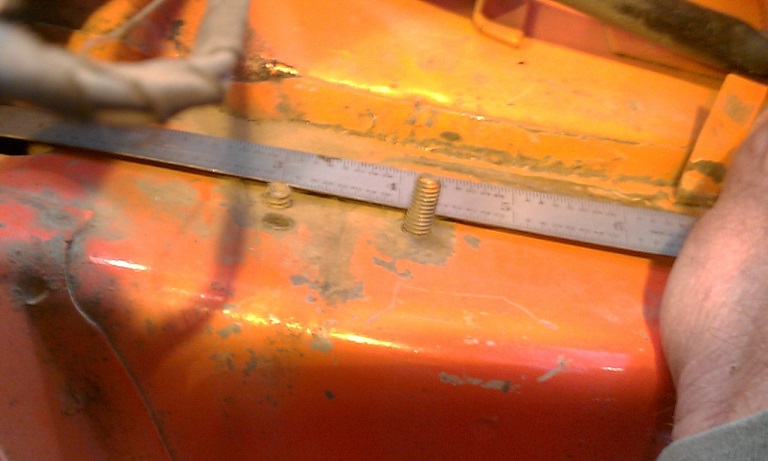 Here's the virgin divers side. 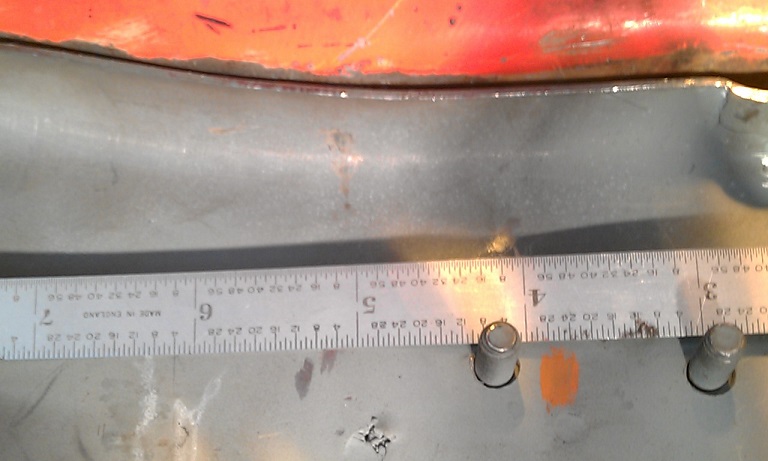 Now the passenger side after I finish tinkering. |
| cary |
 Apr 29 2013, 08:56 PM Apr 29 2013, 08:56 PM
Post
#206
|
|
Advanced Member     Group: Members Posts: 3,900 Joined: 26-January 04 From: Sherwood Oregon Member No.: 1,608 Region Association: Pacific Northwest 
|
Now measure, measure & re-measure ................
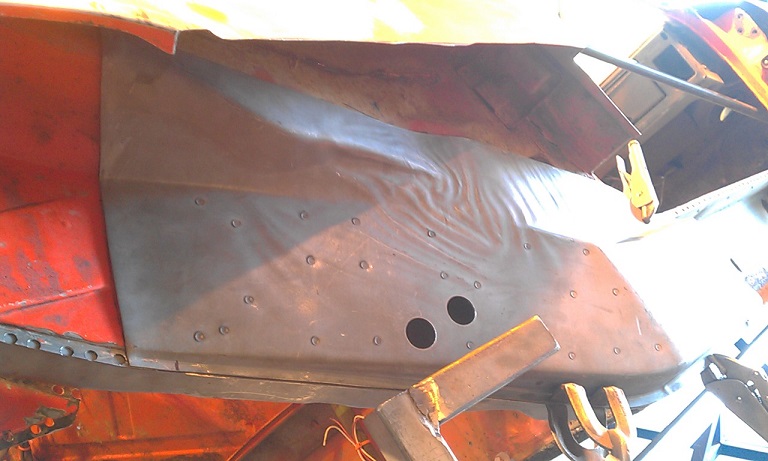 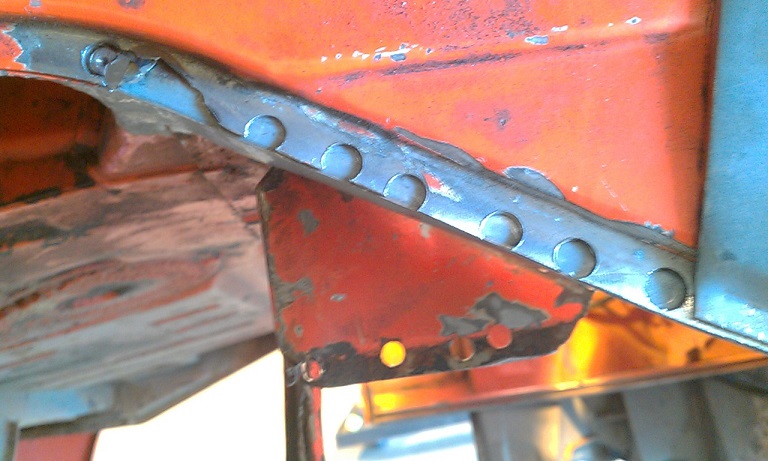 Align bottom edge .................... Everything is starting to come together. |
| cary |
 Apr 29 2013, 09:01 PM Apr 29 2013, 09:01 PM
Post
#207
|
|
Advanced Member     Group: Members Posts: 3,900 Joined: 26-January 04 From: Sherwood Oregon Member No.: 1,608 Region Association: Pacific Northwest 
|
Now we start to work on the the two pieces of the wheelhouse.
The two pieces overlap each over. So using both, I'll need to lap them together. Measure FOUR, times cut once. 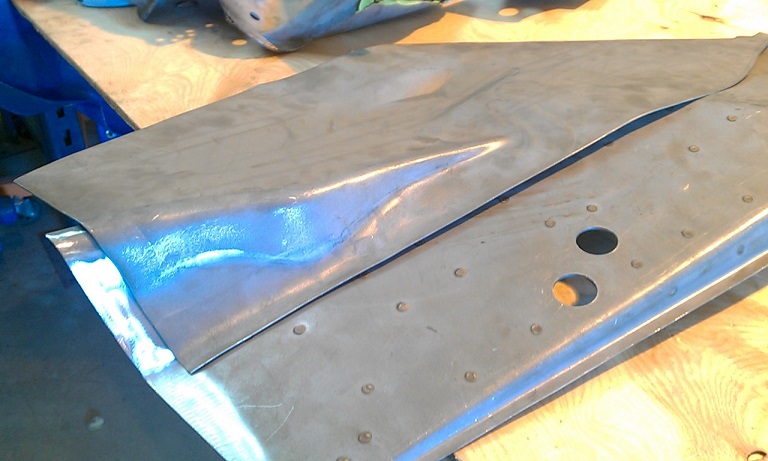 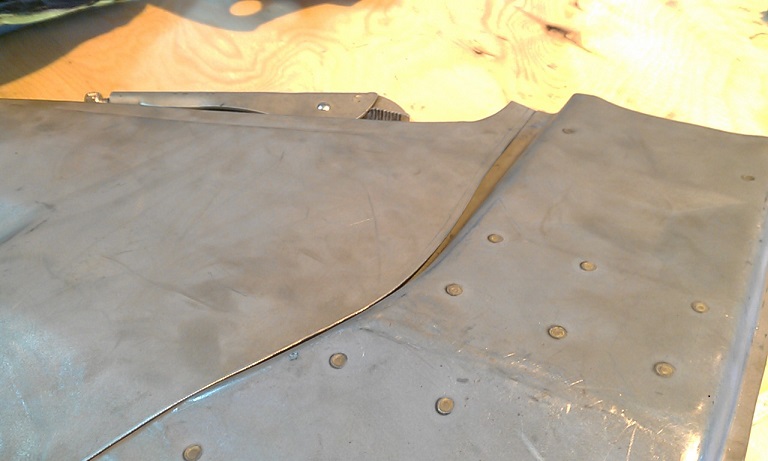 |
| cary |
 Apr 29 2013, 09:23 PM Apr 29 2013, 09:23 PM
Post
#208
|
|
Advanced Member     Group: Members Posts: 3,900 Joined: 26-January 04 From: Sherwood Oregon Member No.: 1,608 Region Association: Pacific Northwest 
|
So I measure the upper wheelhouse so I can cut off the lower portion.
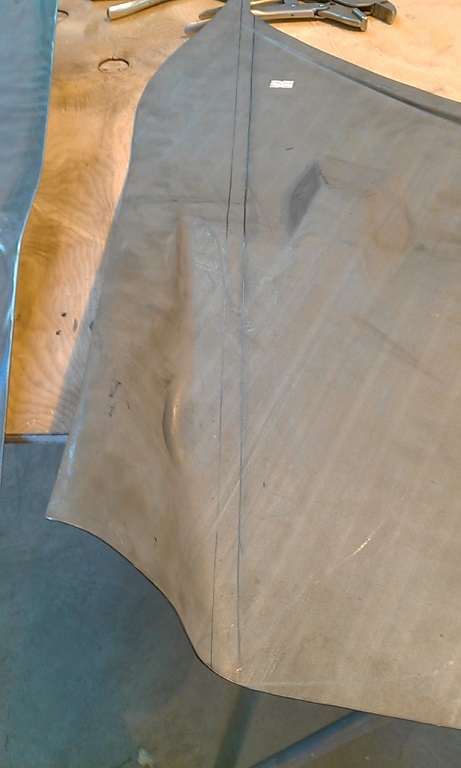 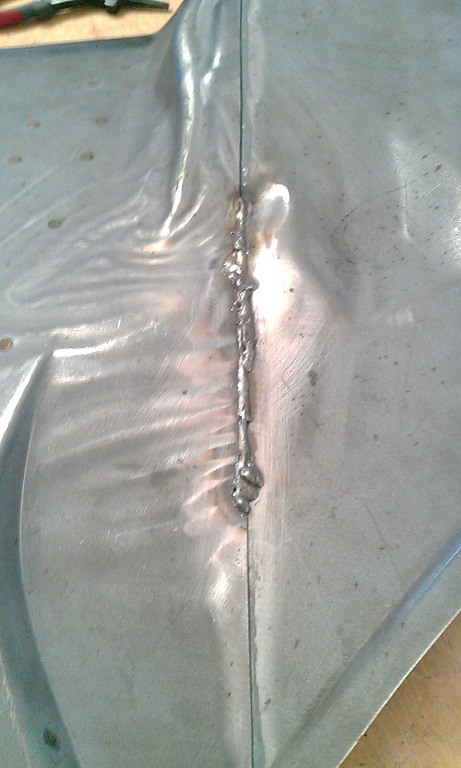 So we start the lap weld after we crimp a flange on it. I think one is a AA part and the other an RD part. I'll let Pete answer that. Right about were the AA part is wavy. They don't line up perfect. Master grinder should be able to tidy it up. LOL. I still have trouble seeing, even using the $200 helmet. I'll get it figured it out. Over over-welded it in a couple spots. I'll take a picture of the penetration when I come back to pickup the enclosed trailer. It is freeking cool. Perfect. All in all, a good day ............ Had a great time. Left the shop with a big smile. (IMG:style_emoticons/default/biggrin.gif) (IMG:style_emoticons/default/biggrin.gif) |
| cary |
 May 6 2013, 08:37 AM May 6 2013, 08:37 AM
Post
#209
|
|
Advanced Member     Group: Members Posts: 3,900 Joined: 26-January 04 From: Sherwood Oregon Member No.: 1,608 Region Association: Pacific Northwest 
|
Back to work.
Back on the lift it will go. It want to make sure everything is aligned perfect before I tie these three pieces together. Kind of a slow process. But part of learning what you can and can't do. Plus I'll get Super In Law to drill some new holes in the rotisserie so it goes on the lift perfectly flat. Meaning, when the car is perfectly flat on the lift. We have to lift one end of the rotisserie up to bolt it on. Which tweaks the nose a couple MM. |
| cary |
 May 14 2013, 07:37 PM May 14 2013, 07:37 PM
Post
#210
|
|
Advanced Member     Group: Members Posts: 3,900 Joined: 26-January 04 From: Sherwood Oregon Member No.: 1,608 Region Association: Pacific Northwest 
|
Well, back to work again.
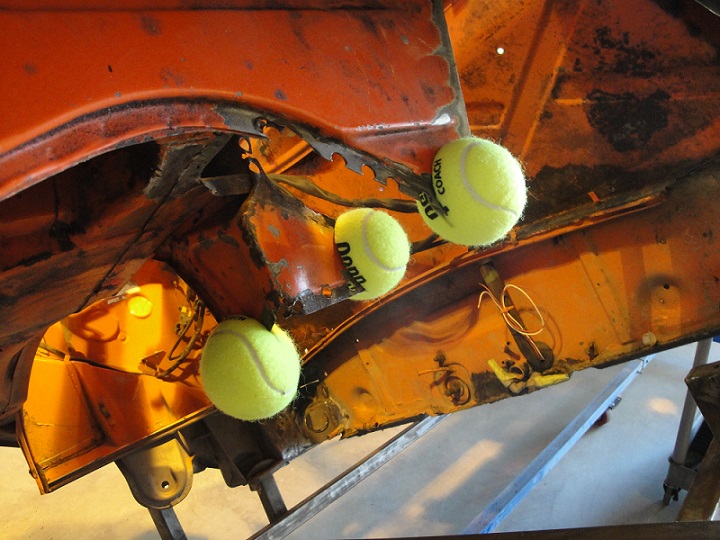 Getting tired of getting poked in the back. |
| cary |
 May 14 2013, 07:42 PM May 14 2013, 07:42 PM
Post
#211
|
|
Advanced Member     Group: Members Posts: 3,900 Joined: 26-January 04 From: Sherwood Oregon Member No.: 1,608 Region Association: Pacific Northwest 
|
Getting ready to put the car back on the lift and get it back into alignment.
So we're building a couple more lift jacks. 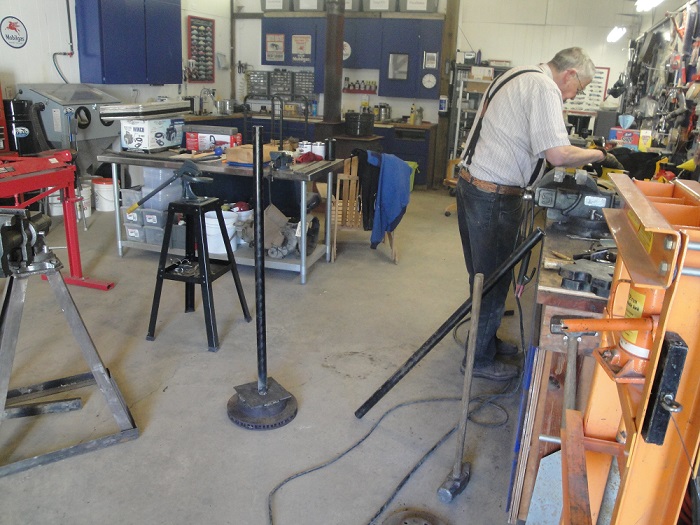 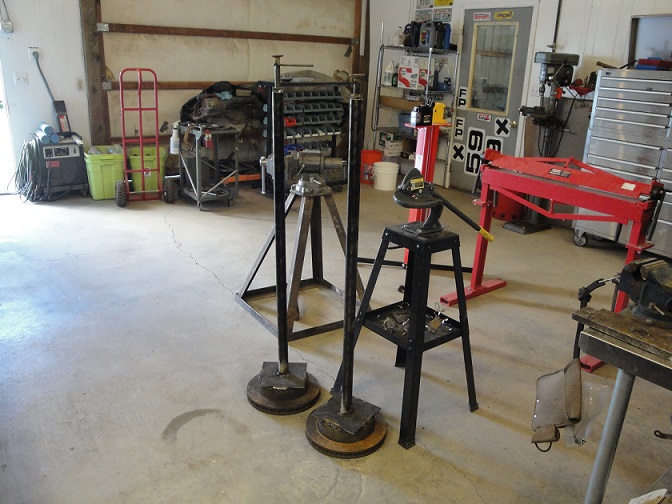 |
| cary |
 May 14 2013, 07:43 PM May 14 2013, 07:43 PM
Post
#212
|
|
Advanced Member     Group: Members Posts: 3,900 Joined: 26-January 04 From: Sherwood Oregon Member No.: 1,608 Region Association: Pacific Northwest 
|
Cutting patch patterns ...................
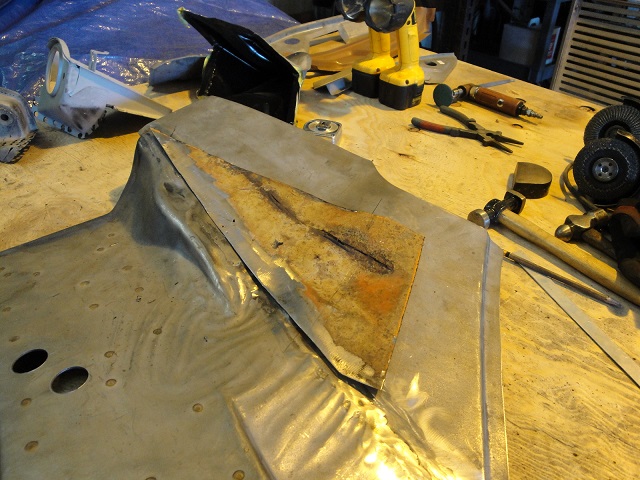 |
| cary |
 May 14 2013, 07:59 PM May 14 2013, 07:59 PM
Post
#213
|
|
Advanced Member     Group: Members Posts: 3,900 Joined: 26-January 04 From: Sherwood Oregon Member No.: 1,608 Region Association: Pacific Northwest 
|
Test fitting the outside suspension console.
Getting aligned back on the jig. Getting closer to welding in back together. 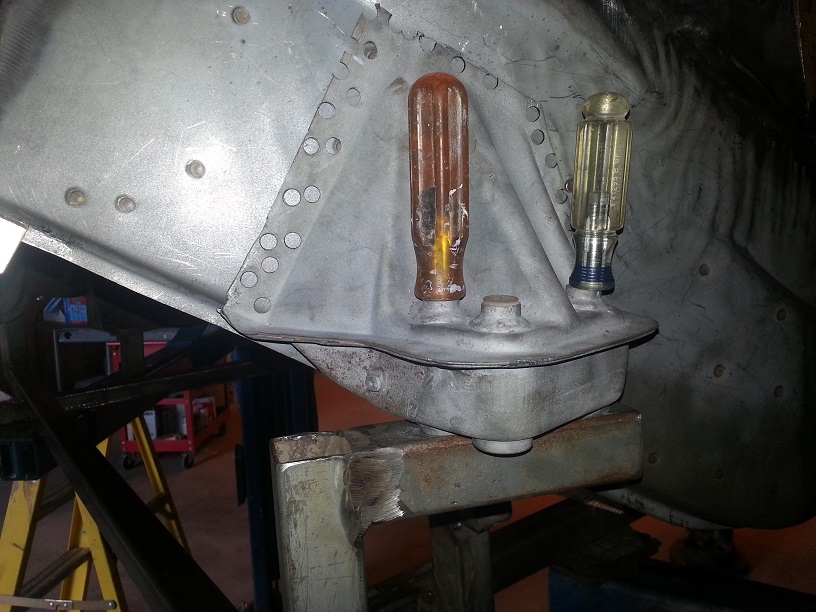 |
| cary |
 May 19 2013, 09:19 AM May 19 2013, 09:19 AM
Post
#214
|
|
Advanced Member     Group: Members Posts: 3,900 Joined: 26-January 04 From: Sherwood Oregon Member No.: 1,608 Region Association: Pacific Northwest 
|
So it's s back on the lift.
Now the tedious job of getting the doors gapped to 5mm. 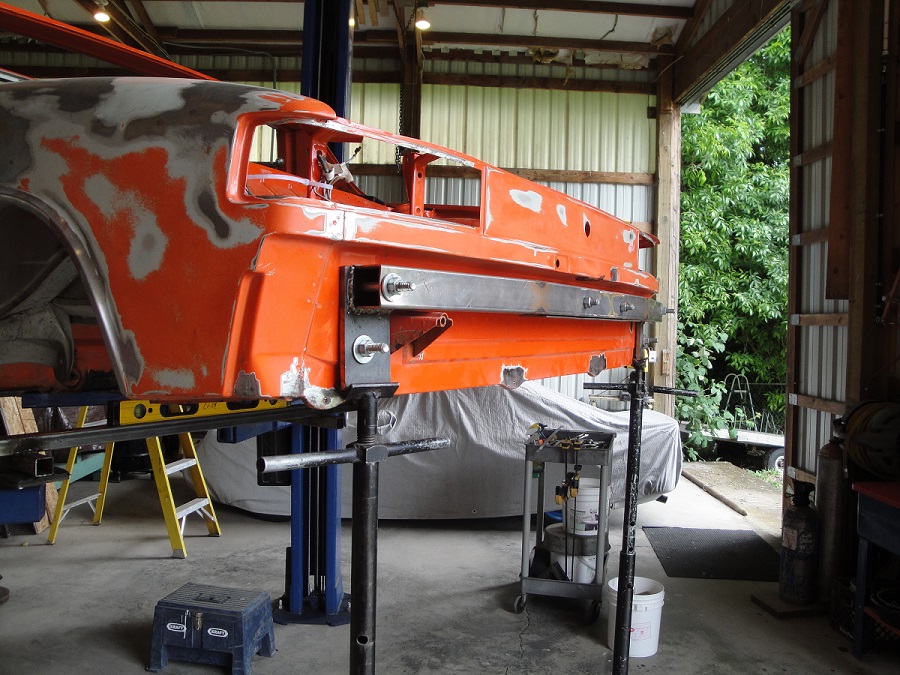 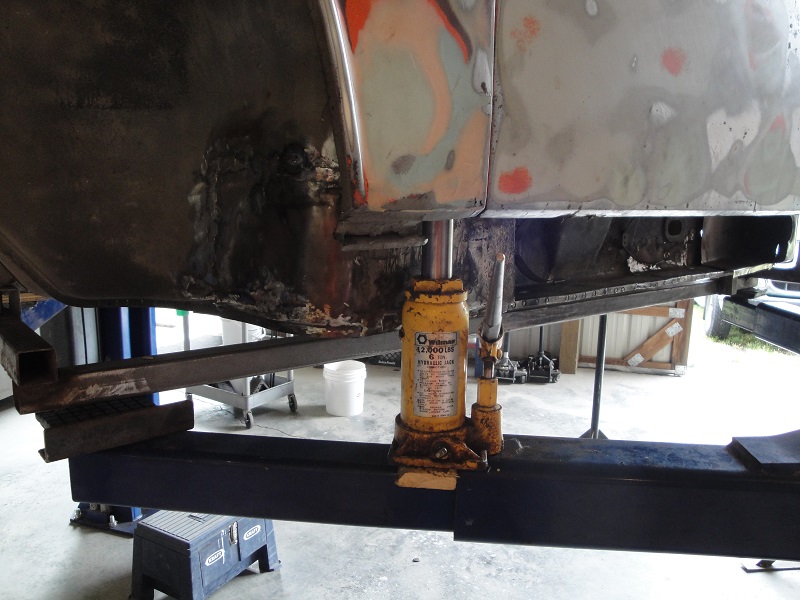 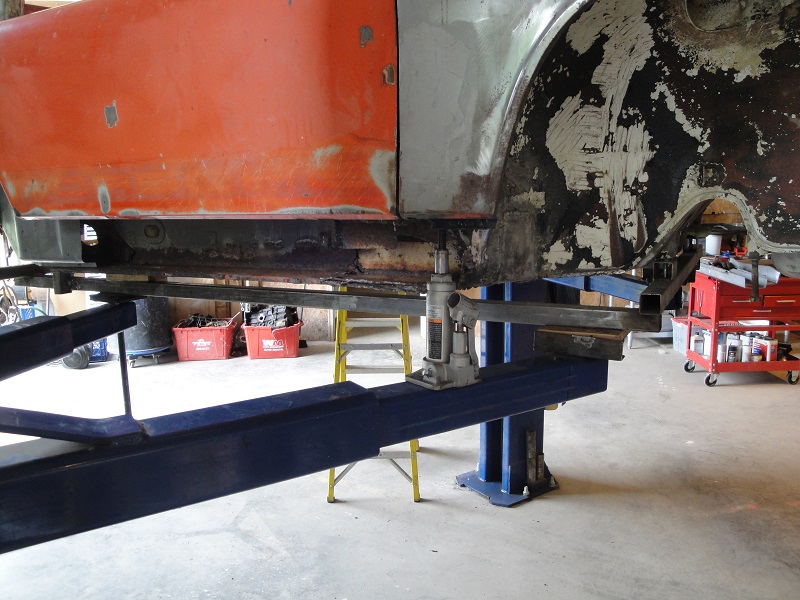 I need to start looking for a used bench ................... This is a PIA. |
| cary |
 May 19 2013, 09:28 AM May 19 2013, 09:28 AM
Post
#215
|
|
Advanced Member     Group: Members Posts: 3,900 Joined: 26-January 04 From: Sherwood Oregon Member No.: 1,608 Region Association: Pacific Northwest 
|
Now to start adding parts.
First is RD P351 Inner longitudinal member, engine compartment, Right side. 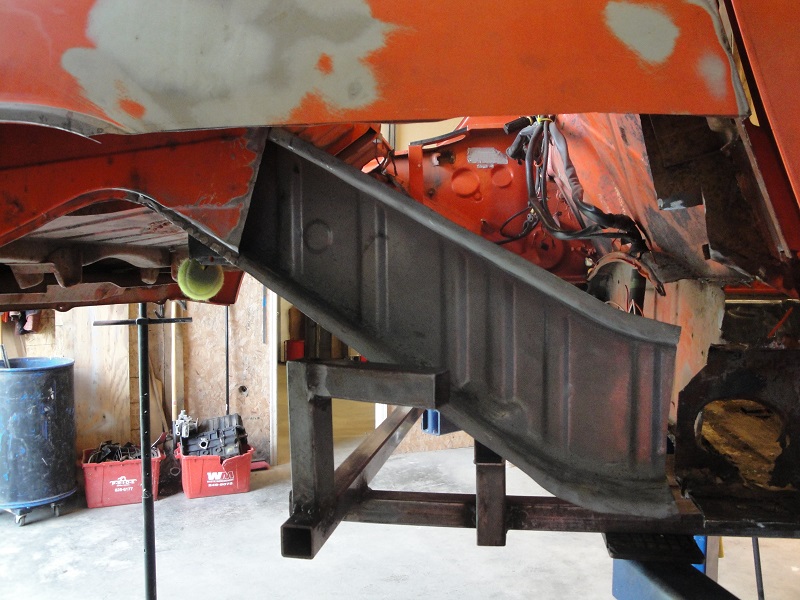 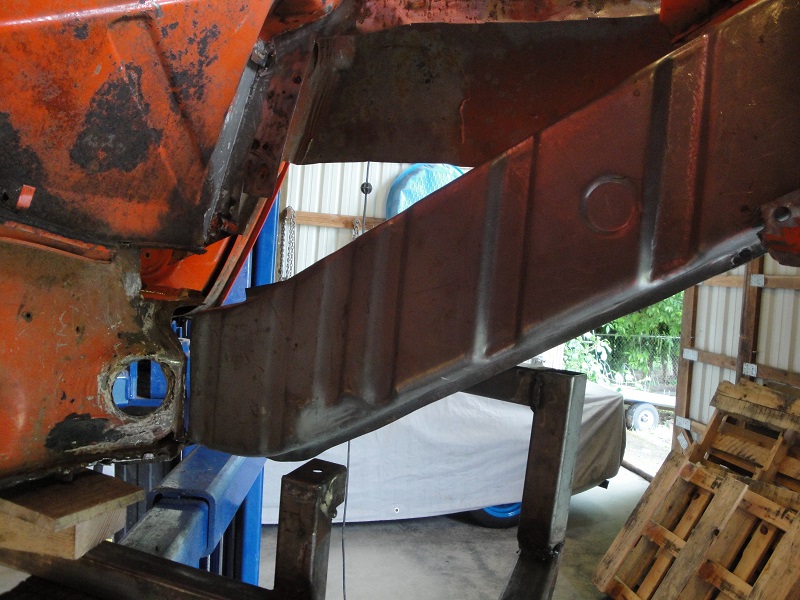 Gave up on trying to weld up against the shock tower on the inside. I'll tack it at the top. Thought about some self tapping SS screws. But the rosette and hole punched welds are some much larger that the spot welds I think we'll be ok. Thoughts ??? |
| cary |
 May 19 2013, 09:40 AM May 19 2013, 09:40 AM
Post
#216
|
|
Advanced Member     Group: Members Posts: 3,900 Joined: 26-January 04 From: Sherwood Oregon Member No.: 1,608 Region Association: Pacific Northwest 
|
Going to have to do some tweaking on the P351 to get it to align with the P331.
Inner wheelhouse, lower right. The flange on the long is wider than the flange on the wheel house. So we'll squeeze the long a bit to get the fit we want. Should have squeezed the long BEFORE I welded it in. (IMG:style_emoticons/default/mad.gif) Only looking for a couple MM's so it was no big deal. Did use Pete's self tapping screw idea. Worked great. Looking forward, I'll use it when dry fitting multiple layers/pieces together. (IMG:style_emoticons/default/welder.gif) I'll get a picture of the box of screws I got at Home Depot. #10 wide & flat. |
| cary |
 May 19 2013, 09:55 AM May 19 2013, 09:55 AM
Post
#217
|
|
Advanced Member     Group: Members Posts: 3,900 Joined: 26-January 04 From: Sherwood Oregon Member No.: 1,608 Region Association: Pacific Northwest 
|
Let my son have the white 914 to drive the last couple weeks at Oregon State. Graduating Summa Cum Laude in a couple weeks.
Getting a BS in Finance. Should hear back on his CFA Level 1 test in June. He has been accepted into the School of Law at the U of 0. Hopefully he'll get a spot. Applied late. Was hoping to go to Sanford. But his LSAT test was 2 points too low to even attempt to get it in. Born leader ...................anything less than becoming a CEO will be a let down. Oh yeah .............I miss the car. Even though its only been a couple weeks. He took it to the beach from Corvallis last weekend. Dad what did you do to the car? It runs like a dream. I explained the MPS and AFR adjustments. He's the son that drove it all 4 years of high school in Montana. |
| cooltimes |
 May 19 2013, 05:54 PM May 19 2013, 05:54 PM
Post
#218
|
|
Advanced Member     Group: Members Posts: 2,508 Joined: 18-May 04 Member No.: 2,081 Region Association: None |
That was a real 914 thriller.
Getting it all together and seeing expert craftsmanship in a real timeline. Thanks to you and your Great In Law for sharing each moment in your skills of keeping your 914 alive with us. MikeCool TN. |
| worn |
 May 19 2013, 08:32 PM May 19 2013, 08:32 PM
Post
#219
|
|
Winner of the Utah Twisted Joint Award     Group: Members Posts: 3,383 Joined: 3-June 11 From: Madison, WI Member No.: 13,152 Region Association: Upper MidWest 
|
Well, back to work again.  Getting tired of getting poked in the back. I am glad to see someone else tennis balling their project. I figure I have it coming if blood is running into my shirt, but the helpers don't deserve it. Steve Zissous said it best when he said you didn't point a gun at an intern. |
| Kraftwerk |
 May 21 2013, 10:37 PM May 21 2013, 10:37 PM
Post
#220
|
|
Member   Group: Members Posts: 195 Joined: 6-September 07 From: Bbbbbrroooklynnn Member No.: 8,085 |
Great work, and a great deal of work. You really saved this one.
|
  |
2 User(s) are reading this topic (2 Guests and 0 Anonymous Users)
0 Members:

|
Lo-Fi Version | Time is now: 16th January 2025 - 06:55 PM |
Invision Power Board
v9.1.4 © 2025 IPS, Inc.


