|
|

|
Porsche, and the Porsche crest are registered trademarks of Dr. Ing. h.c. F. Porsche AG.
This site is not affiliated with Porsche in any way. Its only purpose is to provide an online forum for car enthusiasts. All other trademarks are property of their respective owners. |
|
|
  |
| cary |
 Oct 20 2012, 08:11 AM Oct 20 2012, 08:11 AM
Post
#41
|
|
Advanced Member     Group: Members Posts: 3,900 Joined: 26-January 04 From: Sherwood Oregon Member No.: 1,608 Region Association: Pacific Northwest 
|
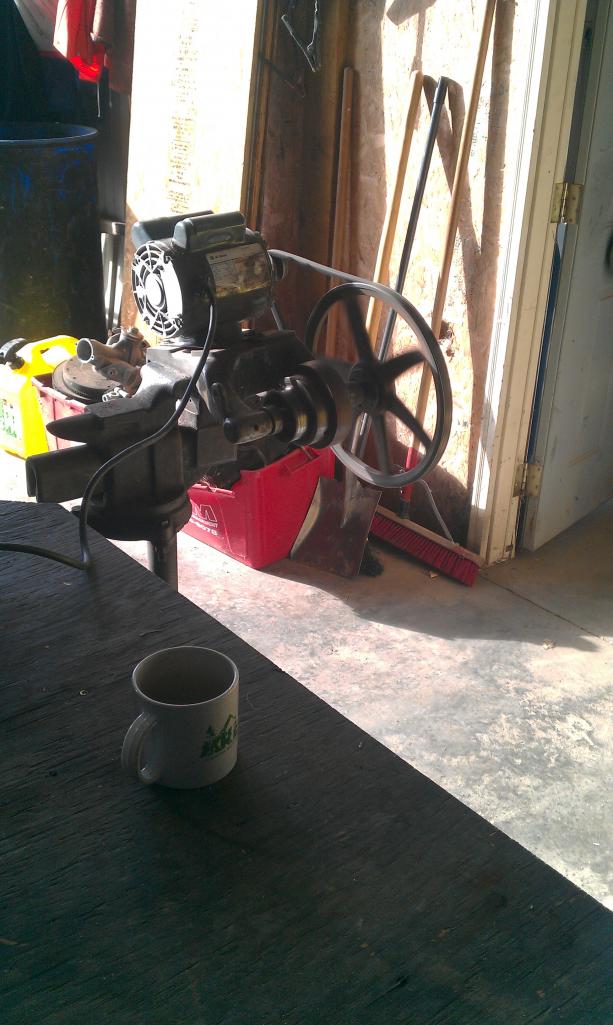
Saturday morning .........................
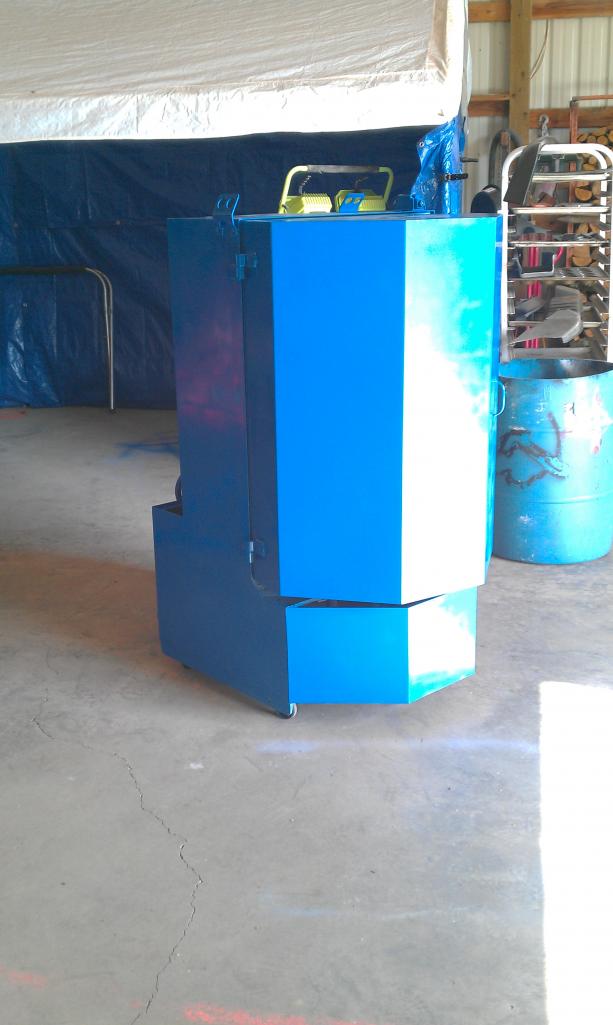
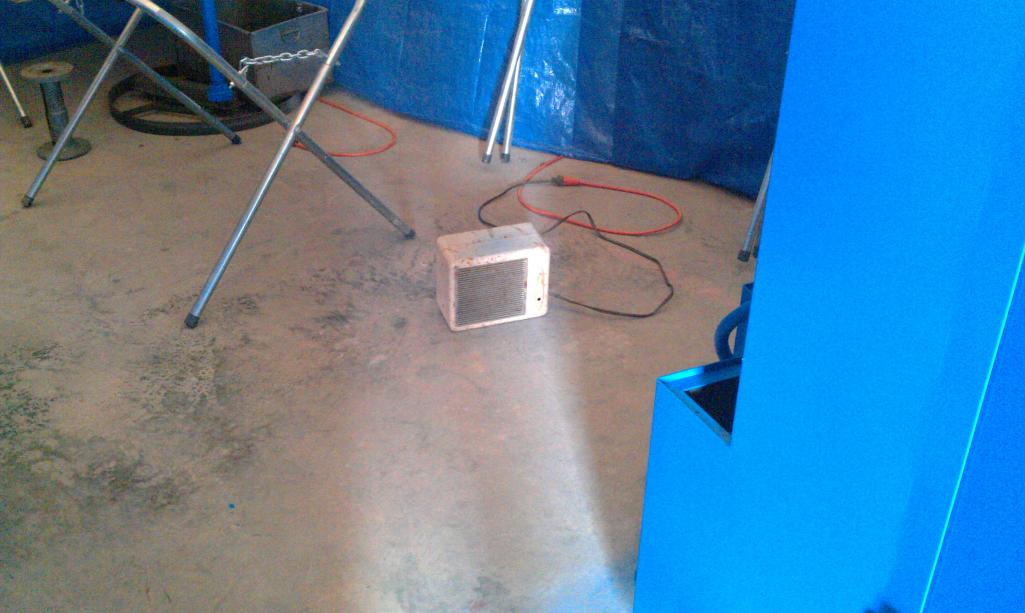
Should be a fun day. Going to shoot the color on the parts washer. Its a Ford tractor blue. Its really going to pop when it lays down on the parts washer. I did start another thread last night looking for some pictures of the corner under the door hinge post, The front three layers on the long. http://www.914world.com/bbs2/index.php?showtopic=196524 Bob and Mark hooked me up. So after I shoot some color on the on the parts washer I'll begin to start designing the parts. Coffee and pondering. I have odd day off this week. Wednesday. So I might spend some time at the fabrication shop to see what they have for weapons. I need to buy another sheet of 18 gauge any way. |
| cary |
 Oct 20 2012, 08:30 AM Oct 20 2012, 08:30 AM
Post
#42
|
|
Advanced Member     Group: Members Posts: 3,900 Joined: 26-January 04 From: Sherwood Oregon Member No.: 1,608 Region Association: Pacific Northwest 
|
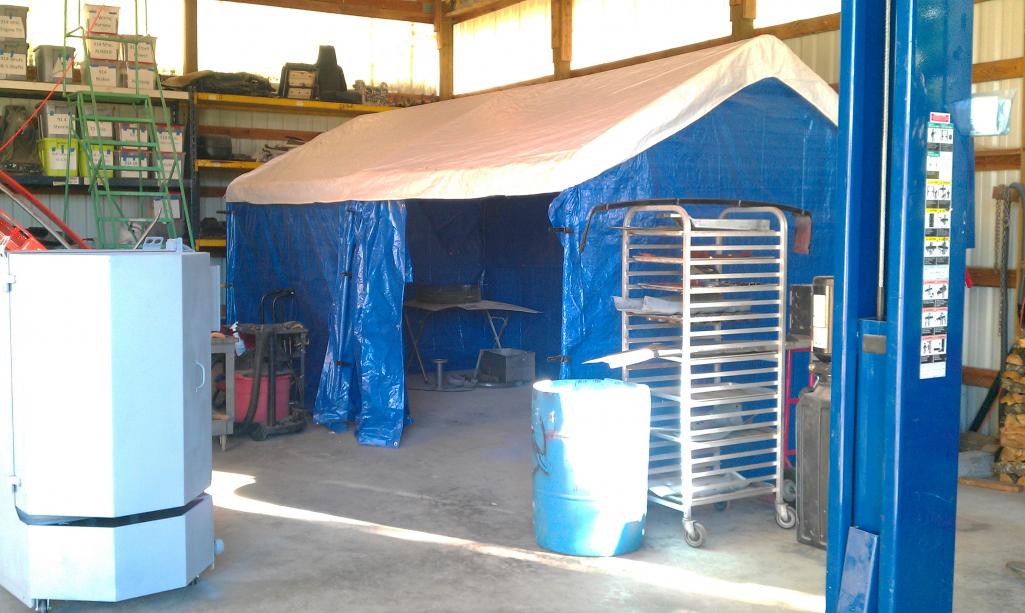
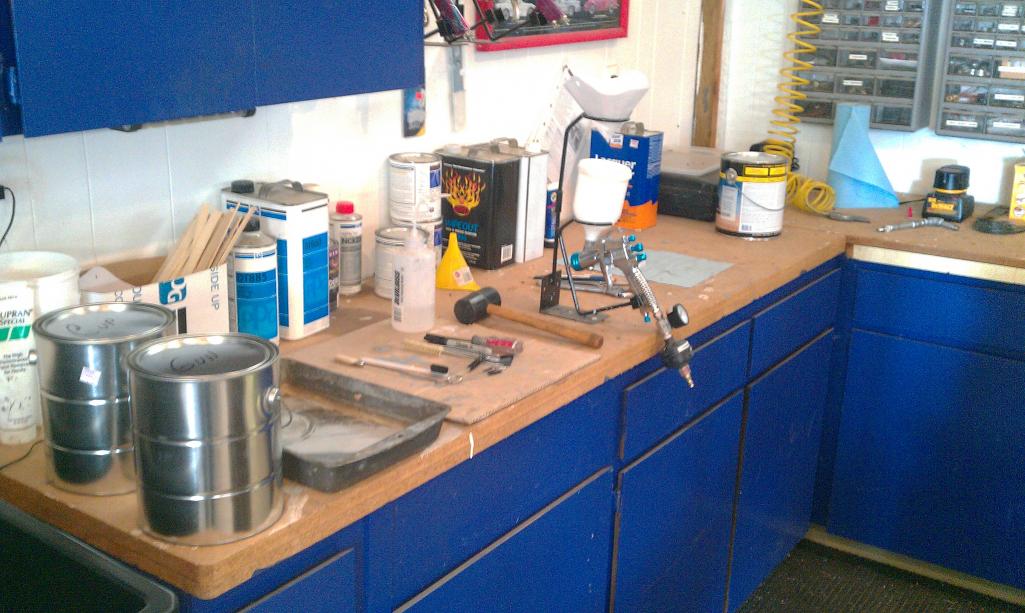
I forgot to mention. If you want to practice painting. Using VanSickle implement paint is the best.
Its old school so it takes 12 hours to recoat. But its cheap and it lays down real nice. I am lucky. The shop I rent is way out in the country so I don't have any issues with the vapors and smell. But I don't want to wear out my welcome. I'm only going to shoot epoxy primer and parts here in my paint shack. The owner of one of Portland's major auto paint suppliers lives about 5 miles away. So when it comes time to shoot color on the car I'll take him up on using his gillion $$ paint booth. Ryan's coming up from Silverton to dial in a pile of MPS's and tweek his car tomorrow. So I'll be able to shoot another coat tomorrow if need be. |
| cary |
 Oct 20 2012, 05:02 PM Oct 20 2012, 05:02 PM
Post
#43
|
|
Advanced Member     Group: Members Posts: 3,900 Joined: 26-January 04 From: Sherwood Oregon Member No.: 1,608 Region Association: Pacific Northwest 
|
|
| cary |
 Oct 20 2012, 05:06 PM Oct 20 2012, 05:06 PM
Post
#44
|
|
Advanced Member     Group: Members Posts: 3,900 Joined: 26-January 04 From: Sherwood Oregon Member No.: 1,608 Region Association: Pacific Northwest 
|
|
| cary |
 Oct 20 2012, 05:11 PM Oct 20 2012, 05:11 PM
Post
#45
|
|
Advanced Member     Group: Members Posts: 3,900 Joined: 26-January 04 From: Sherwood Oregon Member No.: 1,608 Region Association: Pacific Northwest 
|
|
| tscrihfield |
 Oct 20 2012, 07:07 PM Oct 20 2012, 07:07 PM
Post
#46
|
|
Drive Fast and Take Chances    Group: Members Posts: 643 Joined: 8-September 10 From: Amelia Ohio Member No.: 12,156 Region Association: None 
|
|
| cary |
 Oct 23 2012, 07:12 AM Oct 23 2012, 07:12 AM
Post
#47
|
|
Advanced Member     Group: Members Posts: 3,900 Joined: 26-January 04 From: Sherwood Oregon Member No.: 1,608 Region Association: Pacific Northwest 
|
Did some phone work on Monday. I was hoping to catch a passenger long before the holes were punched/cut out. Not to be. They just did a run of 56 pieces. The gentlemen that stamps them out said it would be over a year before the next run. (IMG:style_emoticons/default/sad.gif)
So back to using both ends of a passenger long flipped upside down. Or seeing if I can get the fabrication shop to create the piece I need. I'm thinking of replacing the bottom completely. Working around the pressed area for the hand brake. My biggest concern is creating the lip to spotweld the outer long too. On the upright portion I'm thinking of going right to the edge of the big oblong hole. What is that hole for? Didn't we determine it was a form release or something like that? 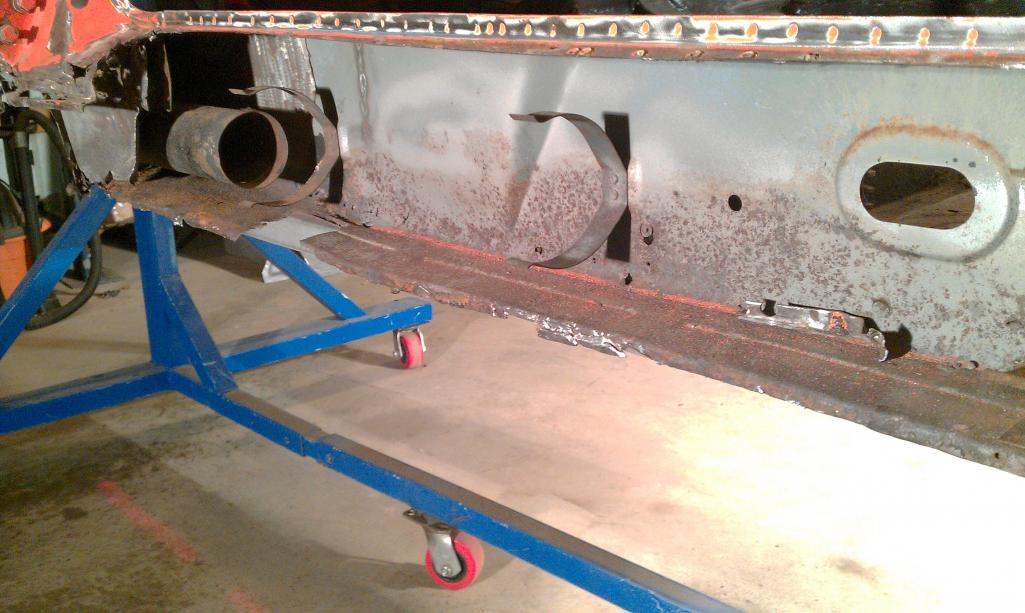 If I can get the shop to create the piece I'll probably have them make 6 of them just in case I need them in the future. We'll see. |
| cary |
 Oct 24 2012, 08:18 PM Oct 24 2012, 08:18 PM
Post
#48
|
|
Advanced Member     Group: Members Posts: 3,900 Joined: 26-January 04 From: Sherwood Oregon Member No.: 1,608 Region Association: Pacific Northwest 
|
|
| cary |
 Oct 24 2012, 08:24 PM Oct 24 2012, 08:24 PM
Post
#49
|
|
Advanced Member     Group: Members Posts: 3,900 Joined: 26-January 04 From: Sherwood Oregon Member No.: 1,608 Region Association: Pacific Northwest 
|
|
| cary |
 Oct 24 2012, 08:27 PM Oct 24 2012, 08:27 PM
Post
#50
|
|
Advanced Member     Group: Members Posts: 3,900 Joined: 26-January 04 From: Sherwood Oregon Member No.: 1,608 Region Association: Pacific Northwest 
|
|
| cary |
 Oct 24 2012, 08:32 PM Oct 24 2012, 08:32 PM
Post
#51
|
|
Advanced Member     Group: Members Posts: 3,900 Joined: 26-January 04 From: Sherwood Oregon Member No.: 1,608 Region Association: Pacific Northwest 
|
|
| cary |
 Oct 24 2012, 08:38 PM Oct 24 2012, 08:38 PM
Post
#52
|
|
Advanced Member     Group: Members Posts: 3,900 Joined: 26-January 04 From: Sherwood Oregon Member No.: 1,608 Region Association: Pacific Northwest 
|
|
| cary |
 Oct 24 2012, 08:55 PM Oct 24 2012, 08:55 PM
Post
#53
|
|
Advanced Member     Group: Members Posts: 3,900 Joined: 26-January 04 From: Sherwood Oregon Member No.: 1,608 Region Association: Pacific Northwest 
|
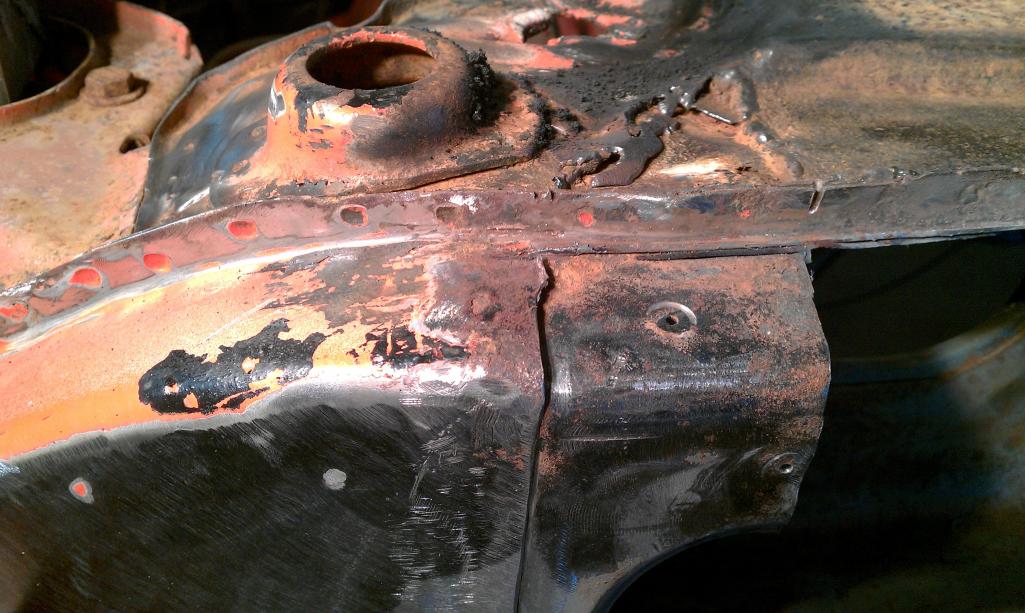
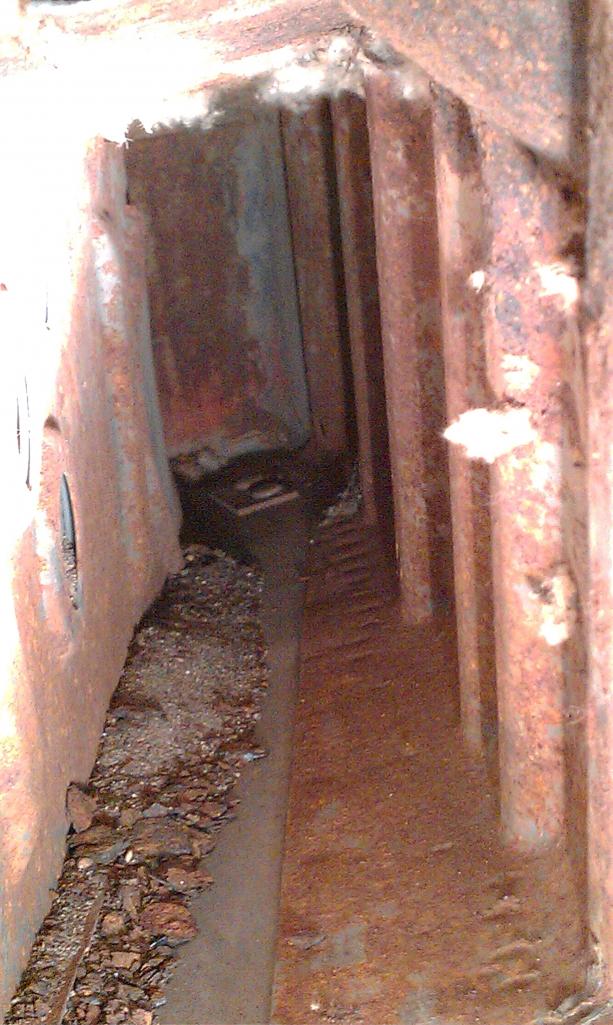
First I cut off the bottom ..............
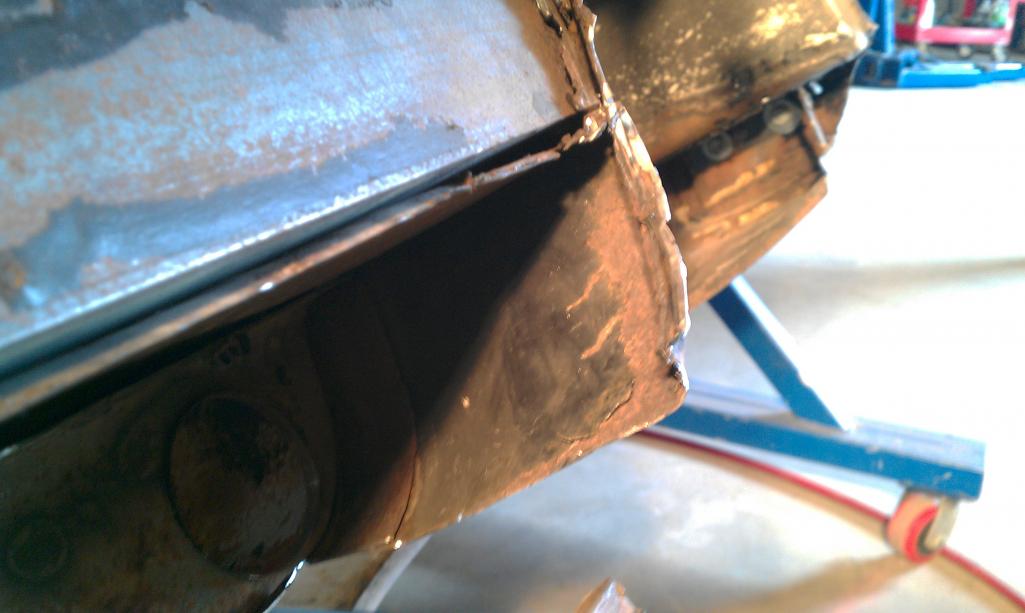
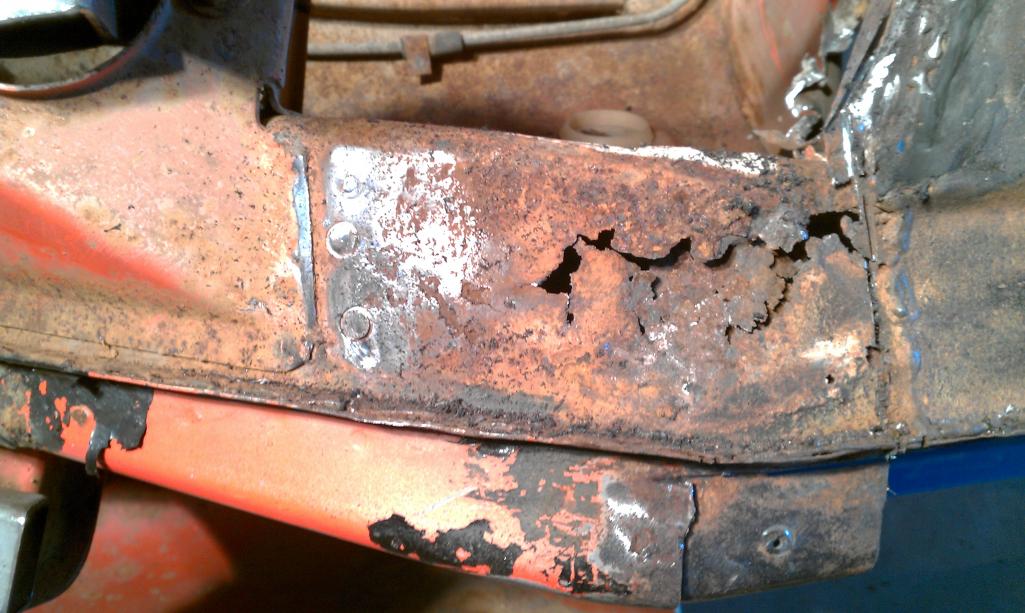
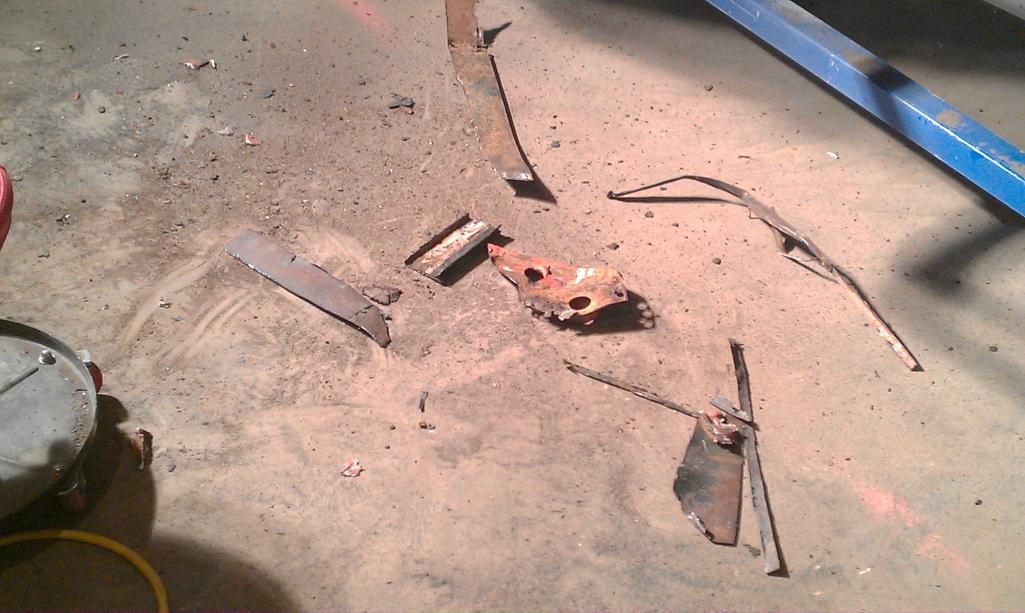
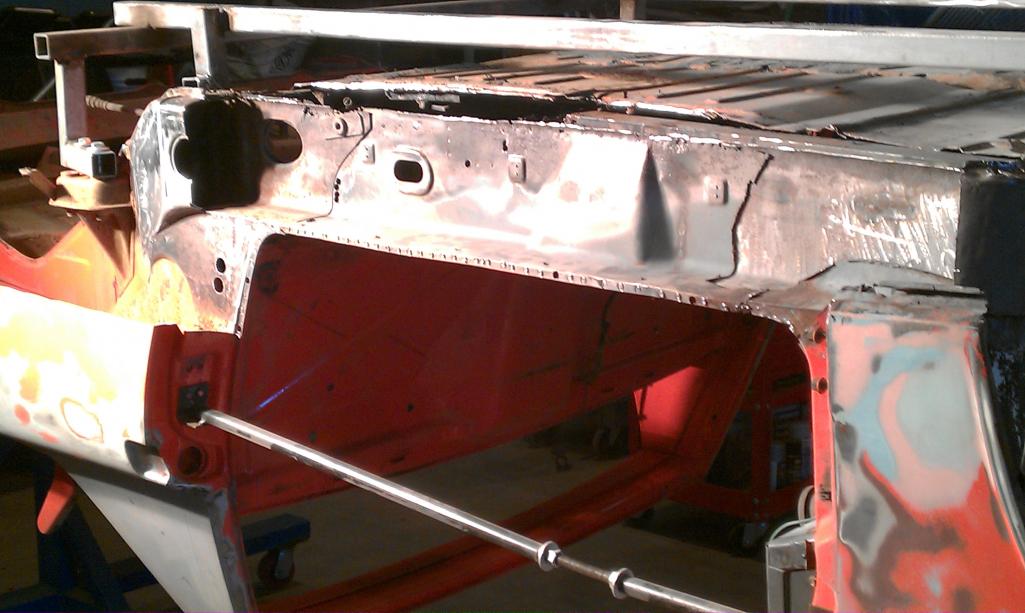 Still amazes me how crappy the workmanship was on that front clip repair back in the day.................. Then I cut thru the first layer to remove the seatbelt nut ............. 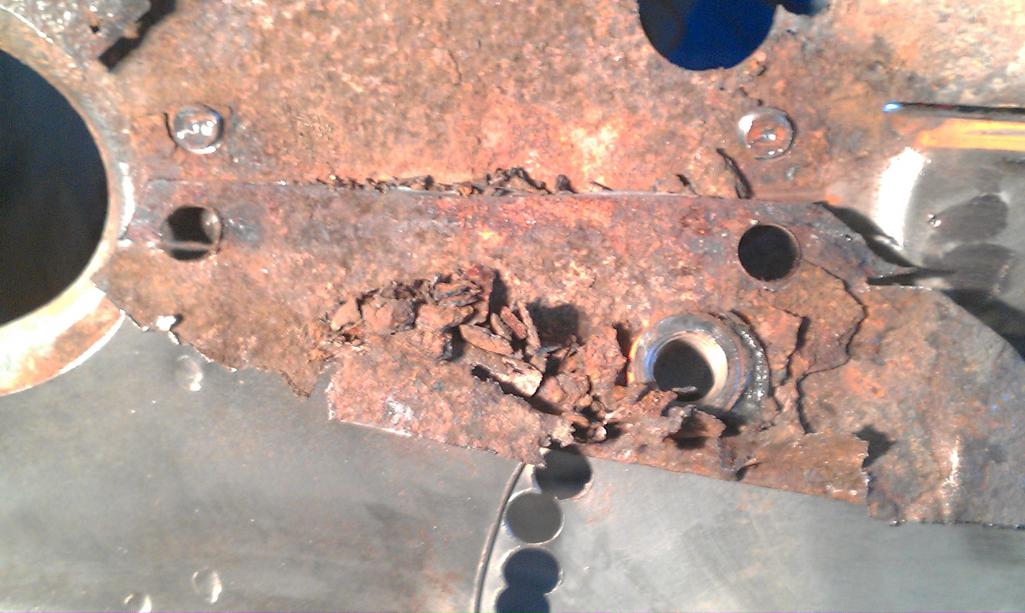 What that shows you is what happens when you don't use weld thru primer. What you see is that portion folded down after I cut only thru the first layer. So I cut off a portion on the inner box layer. The rust was primarily isolated to the bottom. |
| cary |
 Oct 24 2012, 09:07 PM Oct 24 2012, 09:07 PM
Post
#54
|
|
Advanced Member     Group: Members Posts: 3,900 Joined: 26-January 04 From: Sherwood Oregon Member No.: 1,608 Region Association: Pacific Northwest 
|
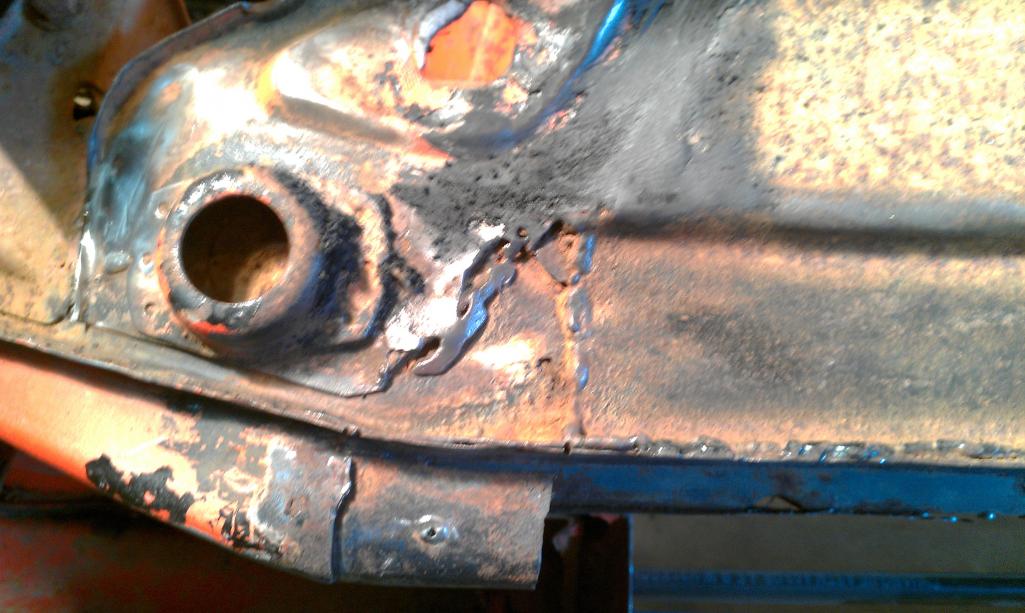
Then you see where the day ended ................
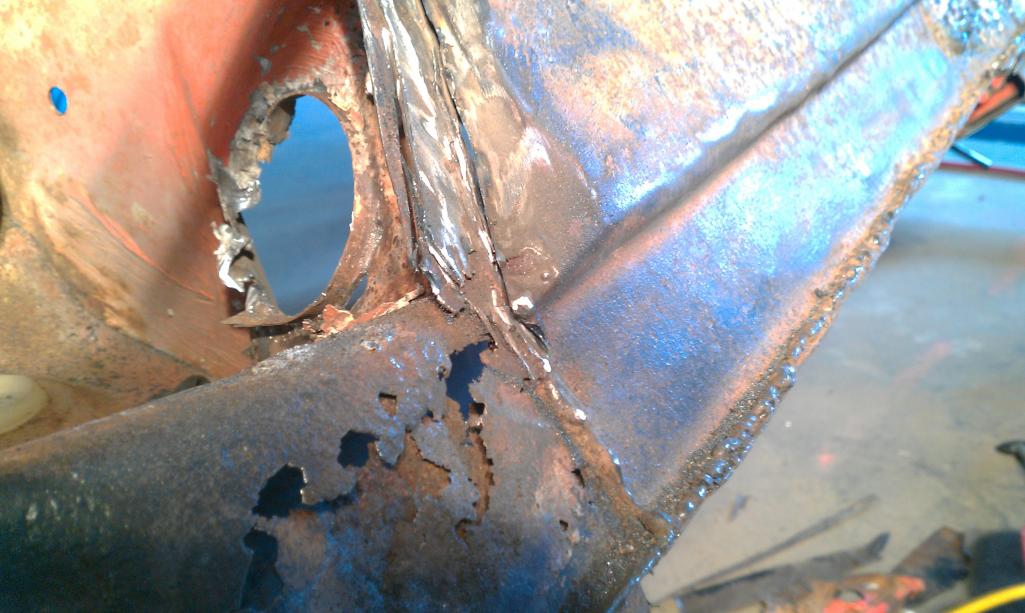
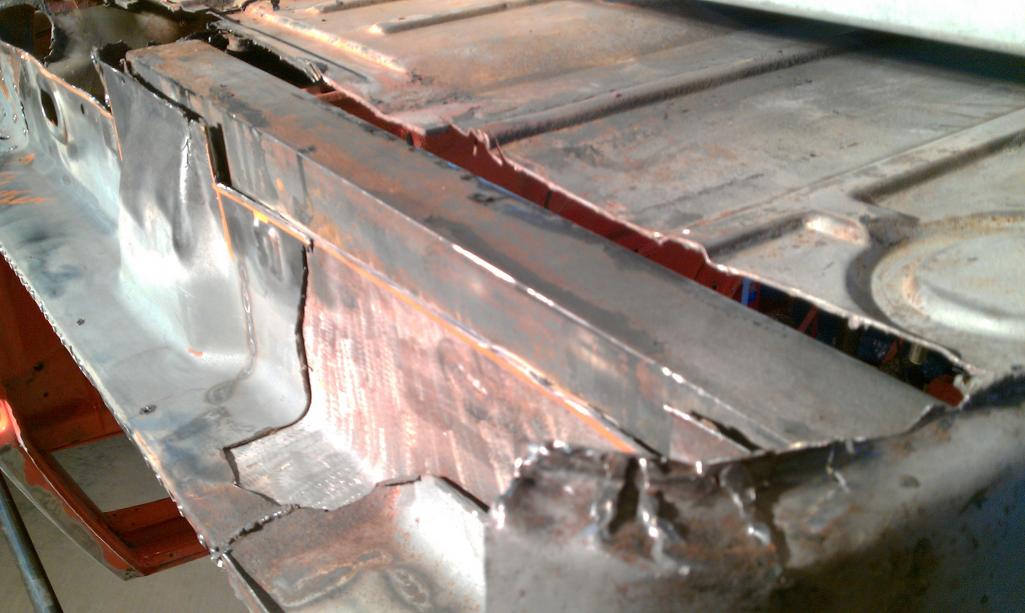 Cut out the rotten portion of the long wall. I know some will say that I'm probably being too critical and should just Ospho and paint. But I plan on using this car as my daily driver here in Portland. So with all of the rain here in PDX I don't want to have to restore it again for another 20 years. 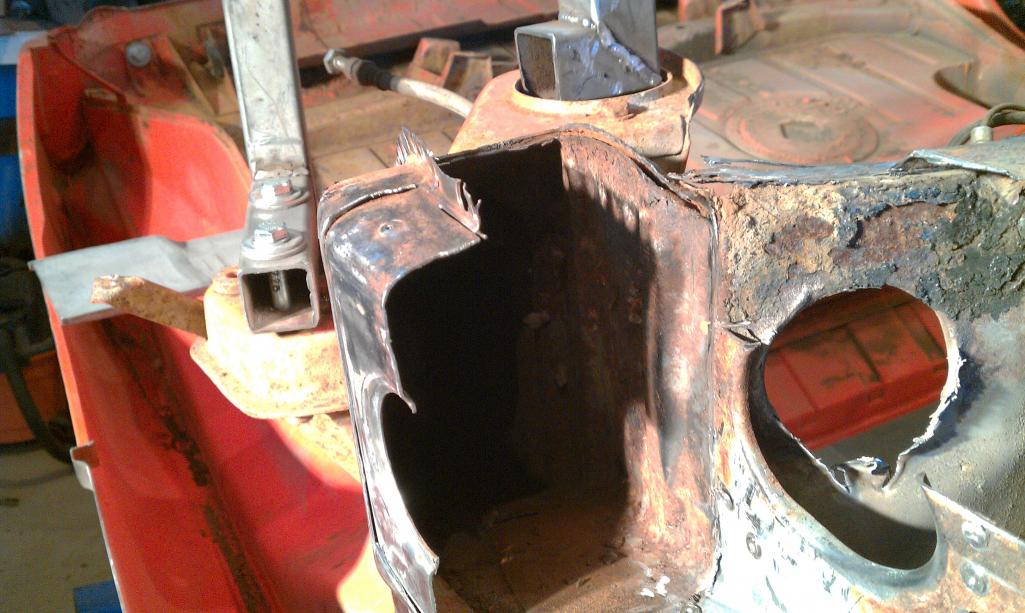 |
| cary |
 Oct 24 2012, 09:24 PM Oct 24 2012, 09:24 PM
Post
#55
|
|
Advanced Member     Group: Members Posts: 3,900 Joined: 26-January 04 From: Sherwood Oregon Member No.: 1,608 Region Association: Pacific Northwest 
|
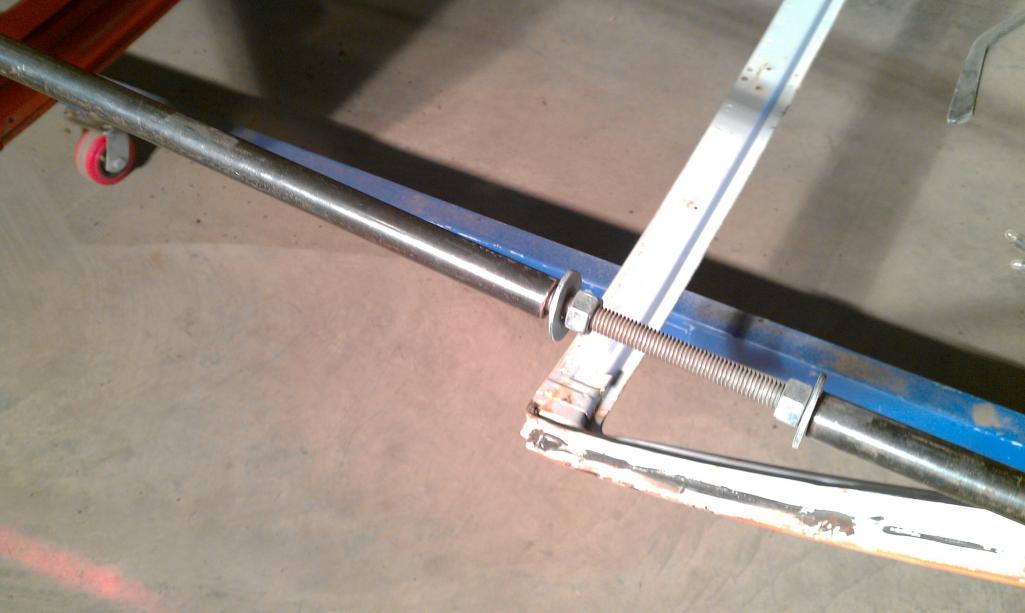
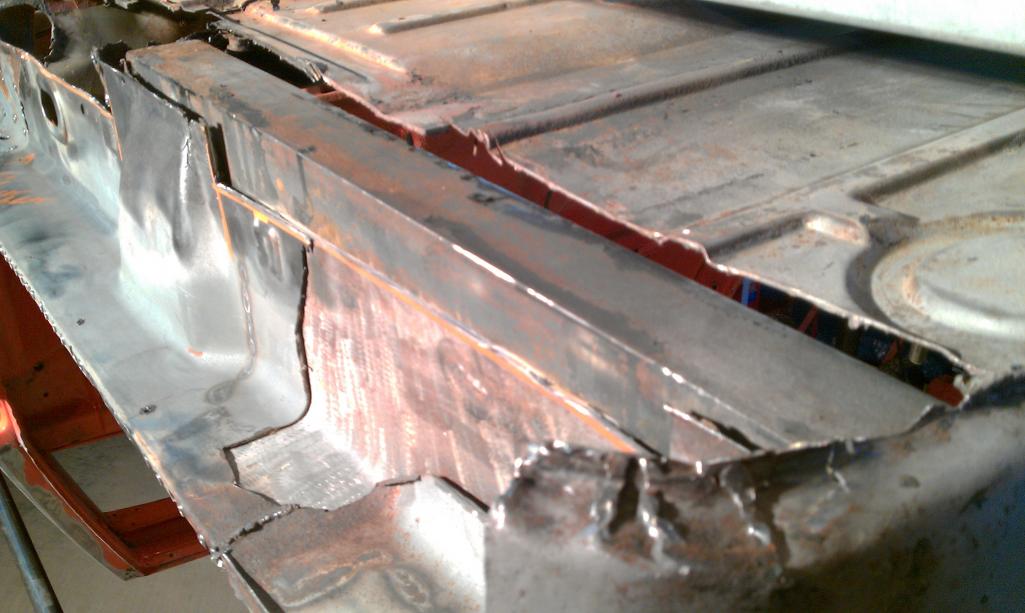 You can see in this picture our cheater bar. Back 10 years ago when we were prepping the car for my son Robert. We installed a portion of angle iron between the front wall and the floor crossmember. It served us well. I haven't decided if I'll replace it with a stiffener kit or leave it for sentimental reasons. |
| cary |
 Oct 24 2012, 09:27 PM Oct 24 2012, 09:27 PM
Post
#56
|
|
Advanced Member     Group: Members Posts: 3,900 Joined: 26-January 04 From: Sherwood Oregon Member No.: 1,608 Region Association: Pacific Northwest 
|
|
| cary |
 Oct 24 2012, 09:29 PM Oct 24 2012, 09:29 PM
Post
#57
|
|
Advanced Member     Group: Members Posts: 3,900 Joined: 26-January 04 From: Sherwood Oregon Member No.: 1,608 Region Association: Pacific Northwest 
|
|
| jersey914 |
 Oct 25 2012, 04:31 PM Oct 25 2012, 04:31 PM
Post
#58
|
|
Member   Group: Members Posts: 161 Joined: 6-September 12 From: Marlton, NJ Member No.: 14,895 Region Association: North East States |
I have a simple question! Because of all the steel patchwork, is there any concern for an unequal weight balance in the vehicle?
(IMG:style_emoticons/default/confused24.gif) |
| cary |
 Oct 25 2012, 05:35 PM Oct 25 2012, 05:35 PM
Post
#59
|
|
Advanced Member     Group: Members Posts: 3,900 Joined: 26-January 04 From: Sherwood Oregon Member No.: 1,608 Region Association: Pacific Northwest 
|
Good question...........
We'll see when it goes on the corner balance scales. The passenger side was done in the same manner so in that regards its balanced. Both sides have the piece of angle iron in them. |
| cary |
 Oct 26 2012, 10:49 PM Oct 26 2012, 10:49 PM
Post
#60
|
|
Advanced Member     Group: Members Posts: 3,900 Joined: 26-January 04 From: Sherwood Oregon Member No.: 1,608 Region Association: Pacific Northwest 
|
10/26/2012
Stopped by HF to pick up consumables. Spot weld cutters, 7/64 bits and cutting wheels. Took a look a set of shrinker stretchers gadgets. I need that to create a couple layers on the bottom of the driver side wheelhouse. Then I headed out to the shop to tinker. I spent the evening filling in my overzealous spot weld holes. And drinking Ryan's beer. Super In Law really has my 90 amp MIG welder dialed in. Had a great evening ......................... |
  |
65 User(s) are reading this topic (65 Guests and 0 Anonymous Users)
0 Members:

|
Lo-Fi Version | Time is now: 16th January 2025 - 01:08 PM |
Invision Power Board
v9.1.4 © 2025 IPS, Inc.


