|
|

|
Porsche, and the Porsche crest are registered trademarks of Dr. Ing. h.c. F. Porsche AG.
This site is not affiliated with Porsche in any way. Its only purpose is to provide an online forum for car enthusiasts. All other trademarks are property of their respective owners. |
|
|
  |
| cary |
 May 18 2015, 11:17 AM May 18 2015, 11:17 AM
Post
#406
|
|
Advanced Member     Group: Members Posts: 3,900 Joined: 26-January 04 From: Sherwood Oregon Member No.: 1,608 Region Association: Pacific Northwest 
|
I would think this would be a worst case scenario.
I decided to take on my worst case first. I 'm building this to be my daily driver. It will probably be over welded and over seam sealed for most folks. |
| Han Solo |
 May 18 2015, 12:10 PM May 18 2015, 12:10 PM
Post
#407
|
|
Member   Group: Members Posts: 291 Joined: 30-September 13 From: Middle Tennessee Member No.: 16,456 Region Association: South East States |
I would think this would be a worst case scenario. Pretty much what this one has... '76 Parts Car or Keeper? |
| cary |
 May 25 2015, 07:38 AM May 25 2015, 07:38 AM
Post
#408
|
|
Advanced Member     Group: Members Posts: 3,900 Joined: 26-January 04 From: Sherwood Oregon Member No.: 1,608 Region Association: Pacific Northwest 
|
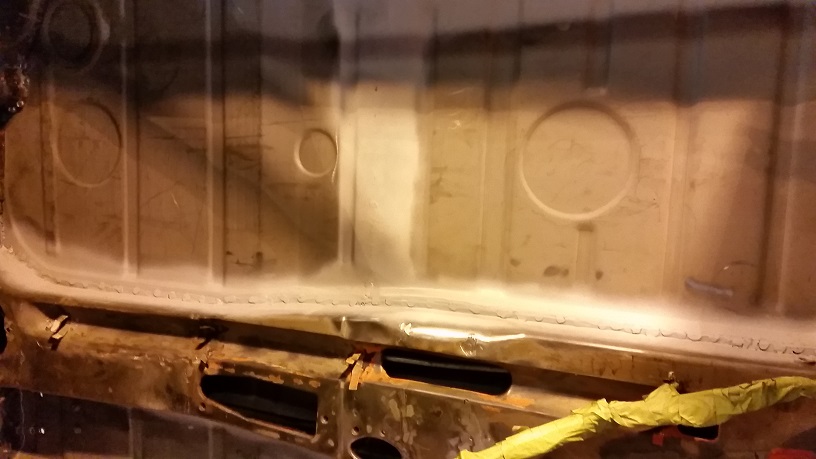
Last Friday was pretty uneventful. After servicing the truck I knocked down the rosette welds and the floor pan seam. I'm real happy with the seam. If it was going to be seen and out in the open, I could make the weld disappear. I have only one spot were it wasn't perfectly even. But the bottom will be undercoated and the interior covered with sound mat.
 |
| cary |
 May 30 2015, 07:08 AM May 30 2015, 07:08 AM
Post
#409
|
|
Advanced Member     Group: Members Posts: 3,900 Joined: 26-January 04 From: Sherwood Oregon Member No.: 1,608 Region Association: Pacific Northwest 
|
Today I fitted the inner firewall pieces. Once again, it takes some fiddling to get a nice fit. Every time you fit a piece you question whether the car is square. So you double check everything again. But at this point it isn't going to move too much.
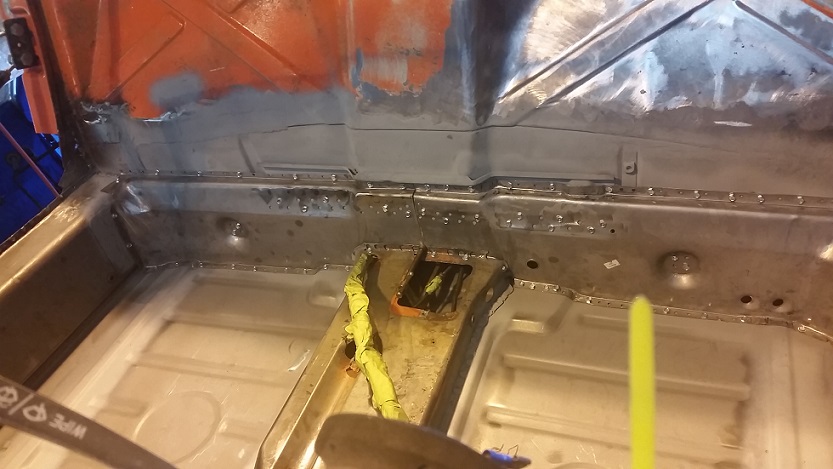 It's really starting to become fun and rewarding. I'm about half way thru with welding it in. Pretty tedious. Back and forth, up and down. The metal tells you when its getting too hot. The edge of your punched hole blows out. Stop, cool everything, take a break. Oh yeah, once again dumb ass used too much weld thru primer. What a frikking mess and hassle. What a waste of wire and gas. One thing I did learn, or teach my self. Using the 1/4" Blair/Rotacut spot weld cutter to cut the rosette holes makes a much nicer weld when combined with the self taping screw. Makes a nicer, flatter weld. If some one else was paying me for my time on a no expense spared restoration that's how'd I'd do every hole. Screws, 7.5c (Fastenal), Blair cutter head $7.50 (Airgas Online), they add up. But then so do grinding disks, flapper disks and Rolock disks. LOL. I'll be back to it on Monday. Hopefully get that finished up and move on to the cross members. |
| nathansnathan |
 May 30 2015, 08:53 AM May 30 2015, 08:53 AM
Post
#410
|
|
Senior Member    Group: Members Posts: 1,052 Joined: 31-May 10 From: Laguna Beach, CA Member No.: 11,782 Region Association: None |
Looks awesome, man. Inspiring work here. (IMG:style_emoticons/default/beer.gif)
|
| cary |
 Jun 1 2015, 10:21 PM Jun 1 2015, 10:21 PM
Post
#411
|
|
Advanced Member     Group: Members Posts: 3,900 Joined: 26-January 04 From: Sherwood Oregon Member No.: 1,608 Region Association: Pacific Northwest 
|
Finished up the welding. Not real happy/proud of the flange on top of the tunnel.
Should have cut it off and replaced it. 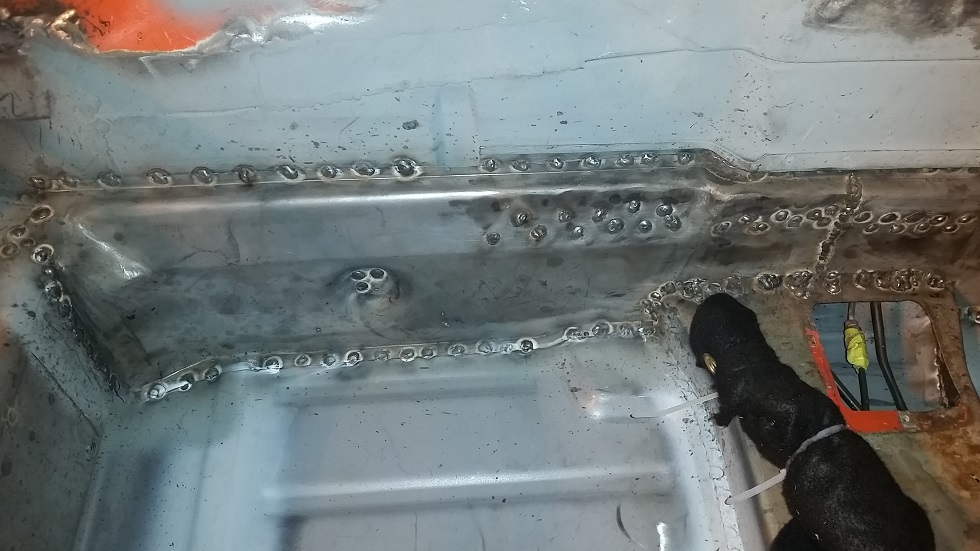 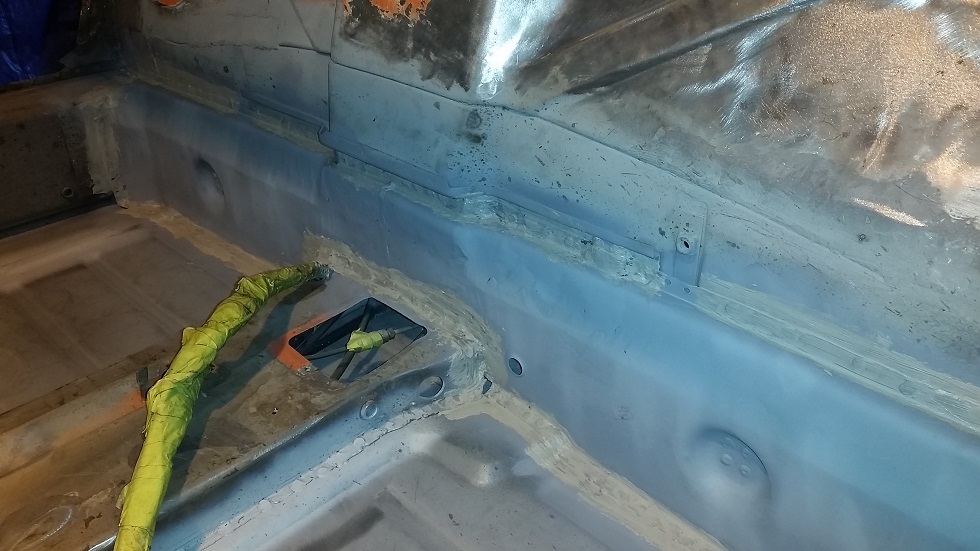 Added a little brush on seam sealer. |
| cary |
 Jun 1 2015, 10:30 PM Jun 1 2015, 10:30 PM
Post
#412
|
|
Advanced Member     Group: Members Posts: 3,900 Joined: 26-January 04 From: Sherwood Oregon Member No.: 1,608 Region Association: Pacific Northwest 
|
On to the jack points.
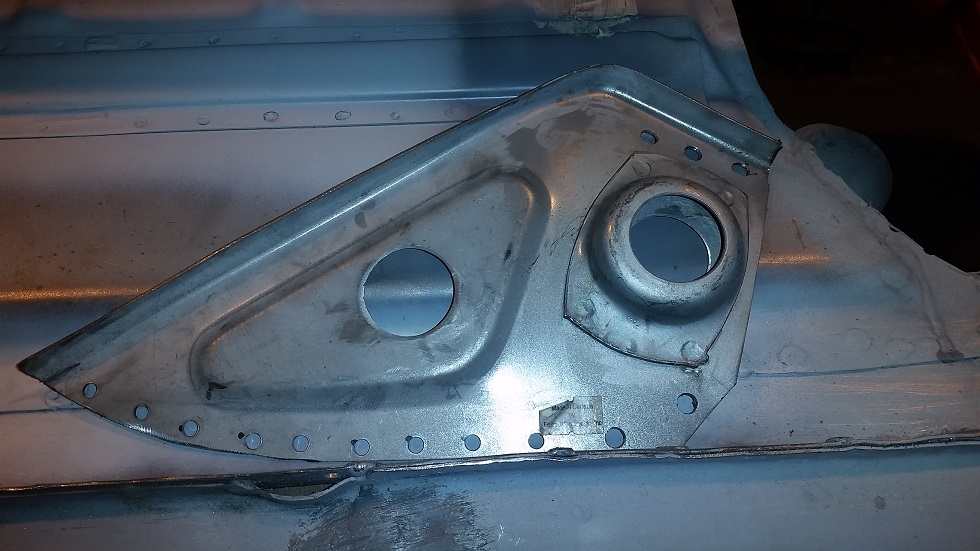 Prepped and ready to go ................ 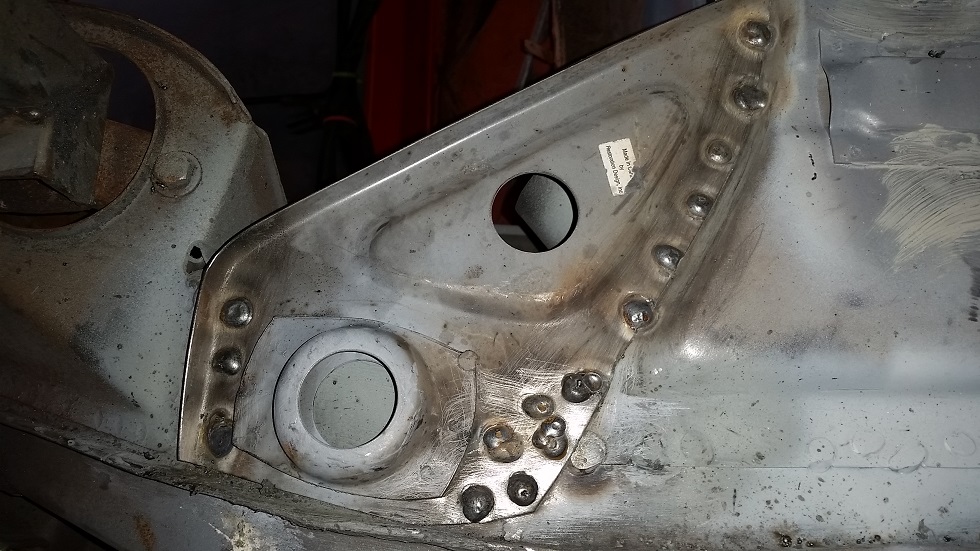 Welded in, ready for the grinder. 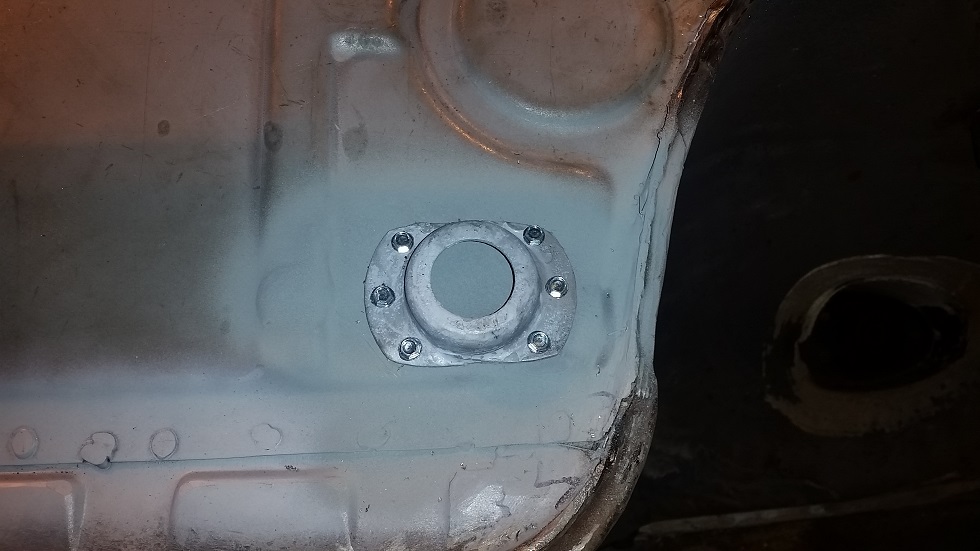 Front jack point located. |
| cary |
 Jun 1 2015, 10:37 PM Jun 1 2015, 10:37 PM
Post
#413
|
|
Advanced Member     Group: Members Posts: 3,900 Joined: 26-January 04 From: Sherwood Oregon Member No.: 1,608 Region Association: Pacific Northwest 
|
After years of welding I'm finally getting the grinder pile down to a manageable level.
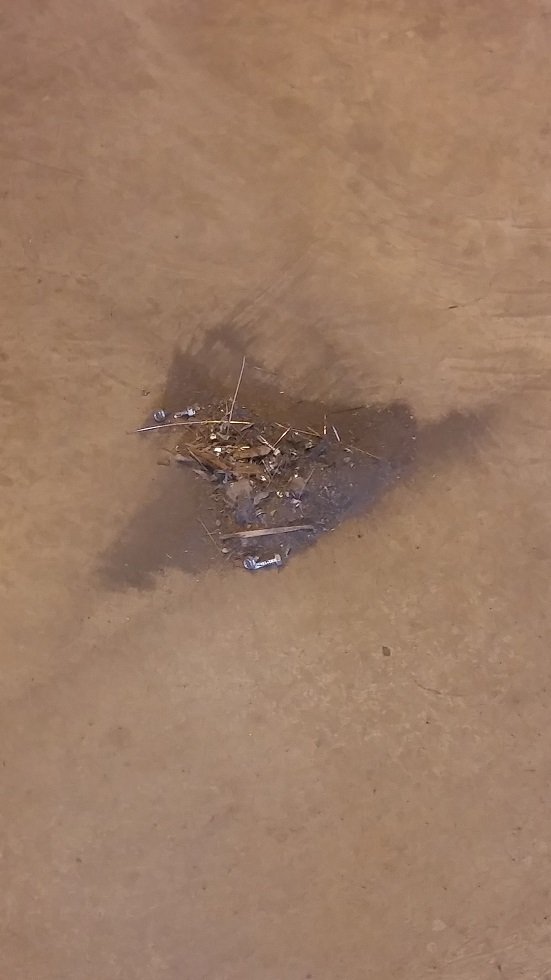 Time for a couple tools shots. (IMG:style_emoticons/default/sawzall-smiley.gif) (IMG:style_emoticons/default/welder.gif) 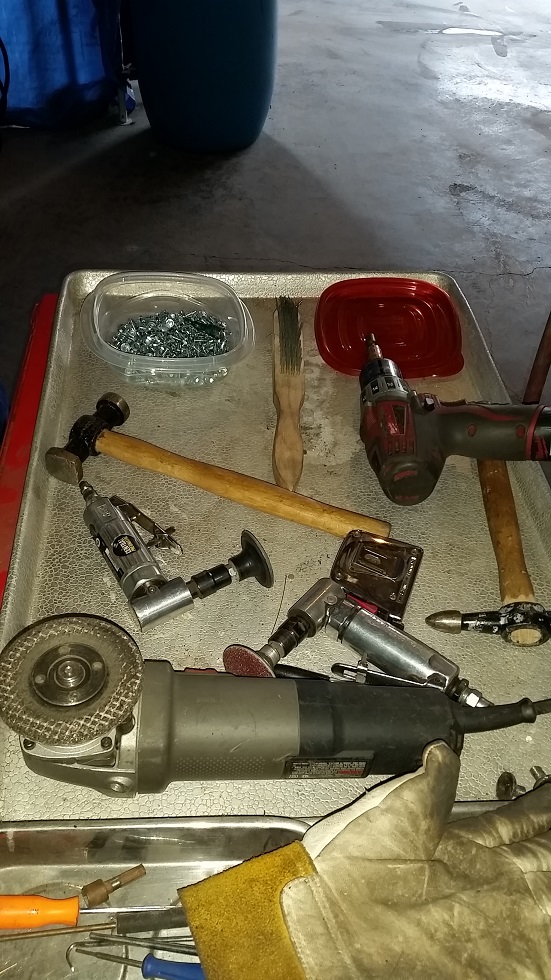 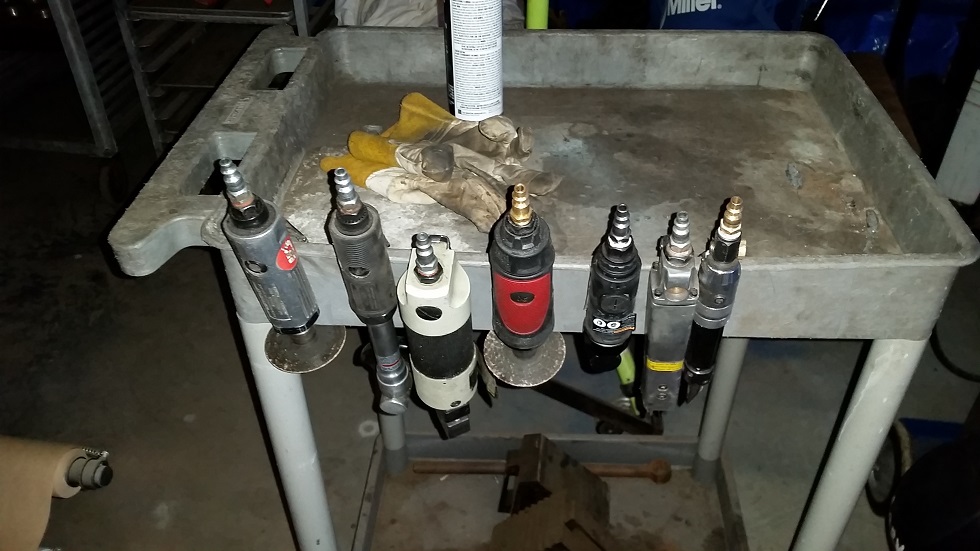 |
| peteyd |
 Jun 2 2015, 09:29 AM Jun 2 2015, 09:29 AM
Post
#414
|
|
Senior Member    Group: Members Posts: 734 Joined: 27-March 08 From: Elora, Ontario, Canada Member No.: 8,858 Region Association: Canada |
|
| cary |
 Jun 3 2015, 01:12 PM Jun 3 2015, 01:12 PM
Post
#415
|
|
Advanced Member     Group: Members Posts: 3,900 Joined: 26-January 04 From: Sherwood Oregon Member No.: 1,608 Region Association: Pacific Northwest 
|
Back at again .........
But first, a new computer station. Repurposed an old TV wall mount. 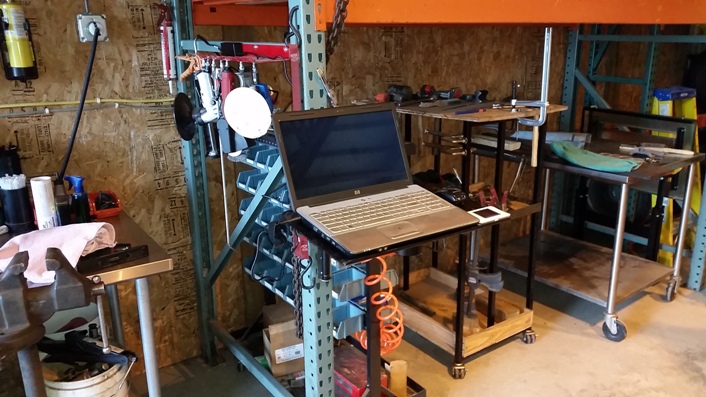 Then I got tired of picking the the air hose (cooling) and the wire feed pliers off the floor. Which caused an outburst of profanity ....... Used a magnet from HF and a eyelet bolt. 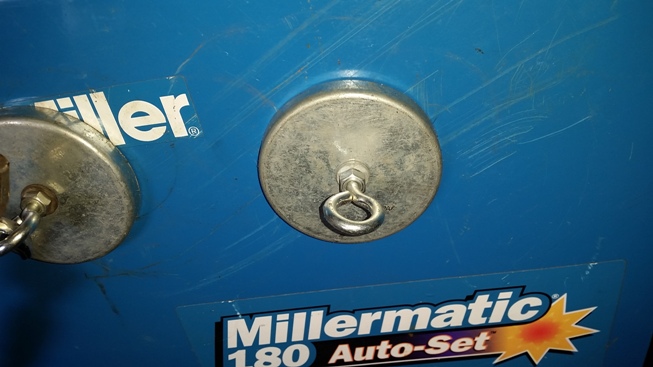 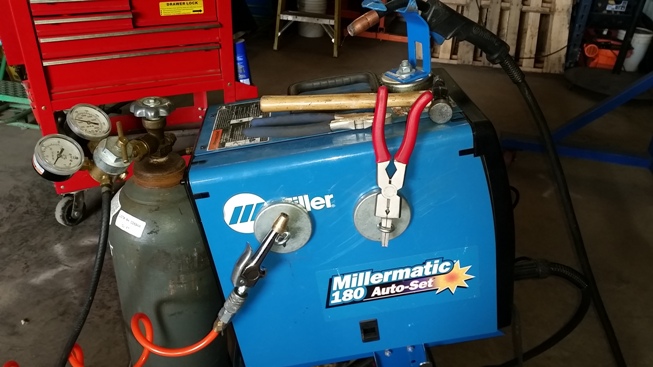 Might build a bigger one for the pick hammer. Must be the IE in me. Spent too many years teaching folks how to do it faster and with less energy. Off to lunch ............... |
| raynekat |
 Jun 3 2015, 06:20 PM Jun 3 2015, 06:20 PM
Post
#416
|
|
Advanced Member     Group: Members Posts: 2,167 Joined: 30-December 14 From: Coeur d'Alene, Idaho Member No.: 18,263 Region Association: Pacific Northwest 
|
Was going to come out tonight (Wed, June 3), but not sure if you work at nights or just during the day?
Let me know a good day and time to come visit. -Doug |
| cary |
 Jun 3 2015, 07:48 PM Jun 3 2015, 07:48 PM
Post
#417
|
|
Advanced Member     Group: Members Posts: 3,900 Joined: 26-January 04 From: Sherwood Oregon Member No.: 1,608 Region Association: Pacific Northwest 
|
I'm only out there during the day. I usually stay till 5:30.
I'll be back out there on Friday. |
| raynekat |
 Jun 3 2015, 07:49 PM Jun 3 2015, 07:49 PM
Post
#418
|
|
Advanced Member     Group: Members Posts: 2,167 Joined: 30-December 14 From: Coeur d'Alene, Idaho Member No.: 18,263 Region Association: Pacific Northwest 
|
|
| cary |
 Jun 3 2015, 11:02 PM Jun 3 2015, 11:02 PM
Post
#419
|
|
Advanced Member     Group: Members Posts: 3,900 Joined: 26-January 04 From: Sherwood Oregon Member No.: 1,608 Region Association: Pacific Northwest 
|
First order of business after lunch. Change the outside splatter shield. Whoa, it was hammered. No wonder it was a little blurry.
Yesterday I turned down the sensitivity. I can finally see what I'm working on. Nice. 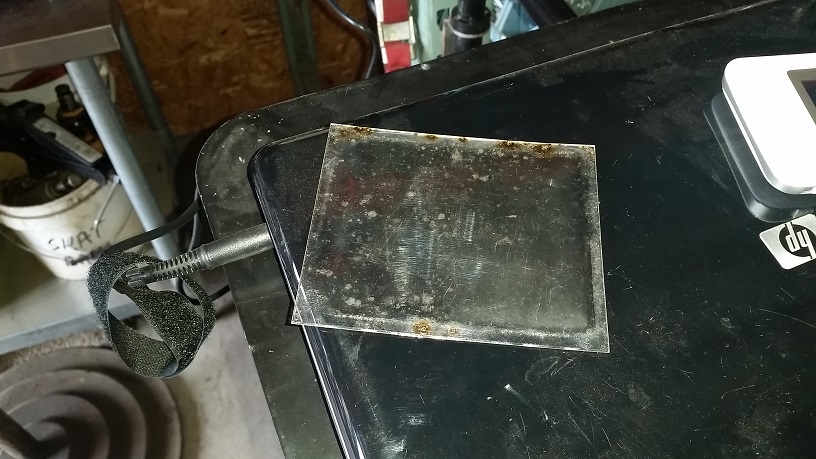 Dad also did an oil change on the Princesses car. 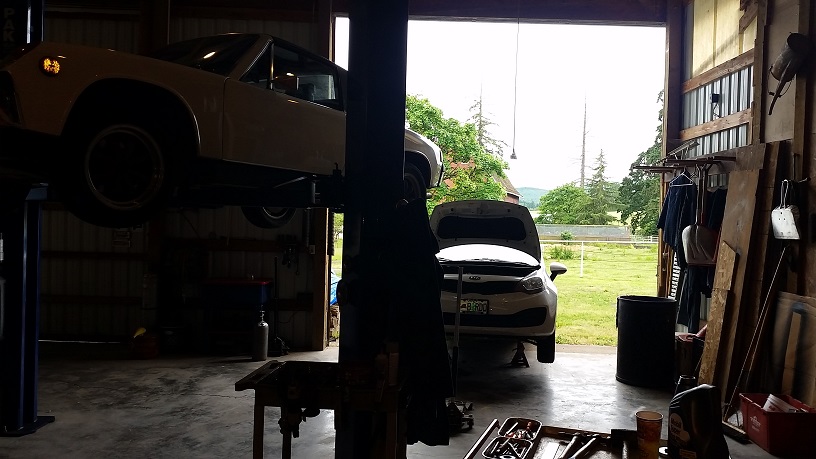 |
| cary |
 Jun 3 2015, 11:26 PM Jun 3 2015, 11:26 PM
Post
#420
|
|
Advanced Member     Group: Members Posts: 3,900 Joined: 26-January 04 From: Sherwood Oregon Member No.: 1,608 Region Association: Pacific Northwest 
|
First was tidying up a few spots on the bottom of the pan. The welding is getting easier. Don't know if its the miles and hours, or I'm working on a little less rust.
Then I moved on to the inside bottom edge of the front firewall to floor pan. Not exactly my finest hour, I should have put a new bottom edge on them. But it welded up much better than I thought it would, and it will be covered by seam sealer. Oh well ................ lesson learned for the next one. 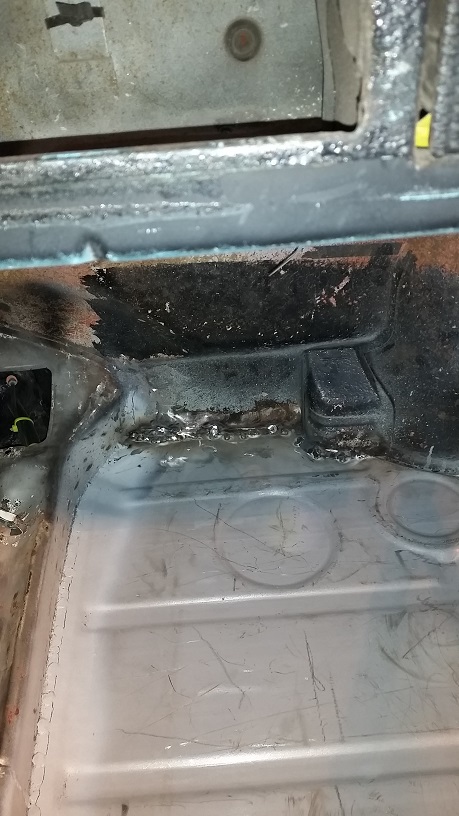 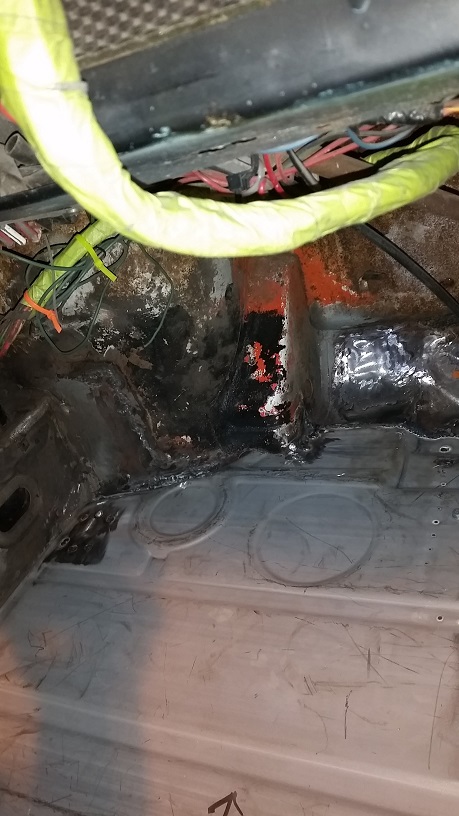 Then I SE primered the bottom. I'll start epoxy primering after I'm done welding. I hate the weld thru primer splatters. Black specks ............ 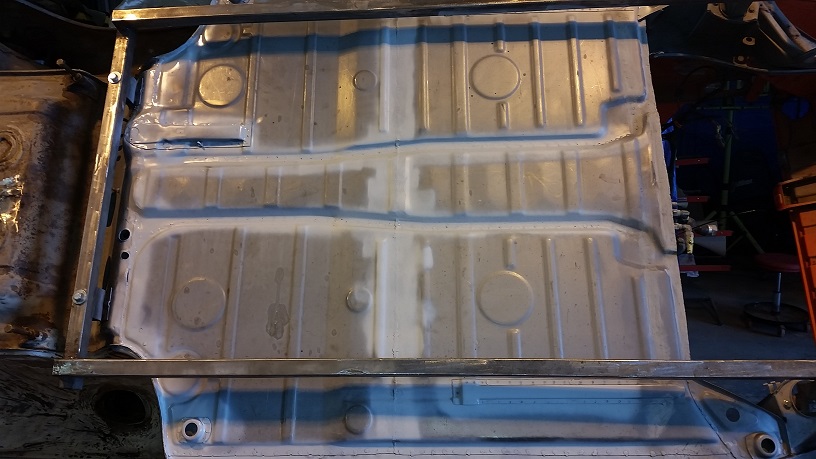 This put a big smile on my face. (IMG:style_emoticons/default/cheer.gif) (IMG:style_emoticons/default/cheer.gif) (IMG:style_emoticons/default/cheer.gif) |
| cary |
 Jun 3 2015, 11:48 PM Jun 3 2015, 11:48 PM
Post
#421
|
|
Advanced Member     Group: Members Posts: 3,900 Joined: 26-January 04 From: Sherwood Oregon Member No.: 1,608 Region Association: Pacific Northwest 
|
Now on to the center braces .................... I thought I'd never get here. Like everything, it takes fiddling to get that perfect tight fit. It's beginning to become fun.
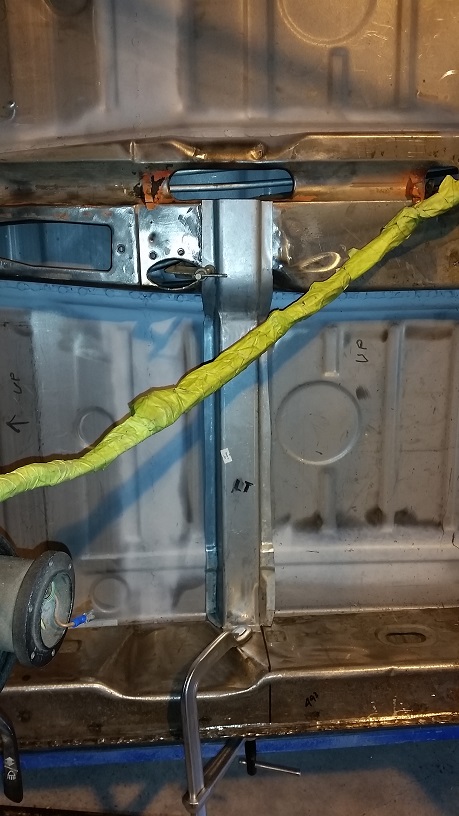 Left side fitted. Clamped in place. (IMG:style_emoticons/default/biggrin.gif) I forgot to say. I have the 74 to measure and get dimensions off of. Measured off the back wall to get the correct location. Started tinkering with the right side. (IMG:style_emoticons/default/beer.gif) 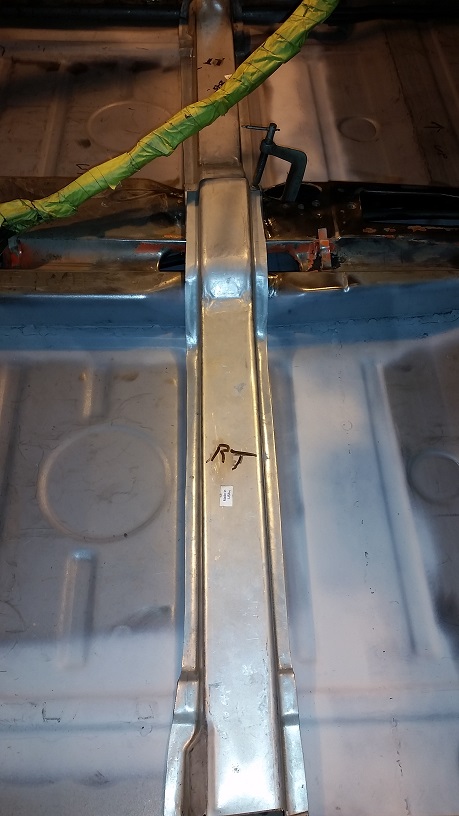 Then I decided to prep the seat adjusters. Drilled out the rosette weld holes. Then cleaned off the cutting oil in the parts cleaner. They are ready for weld thru primer on Friday. 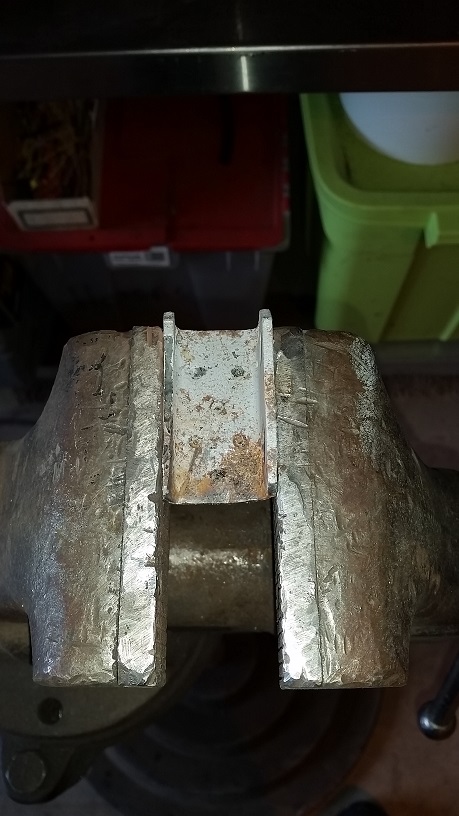 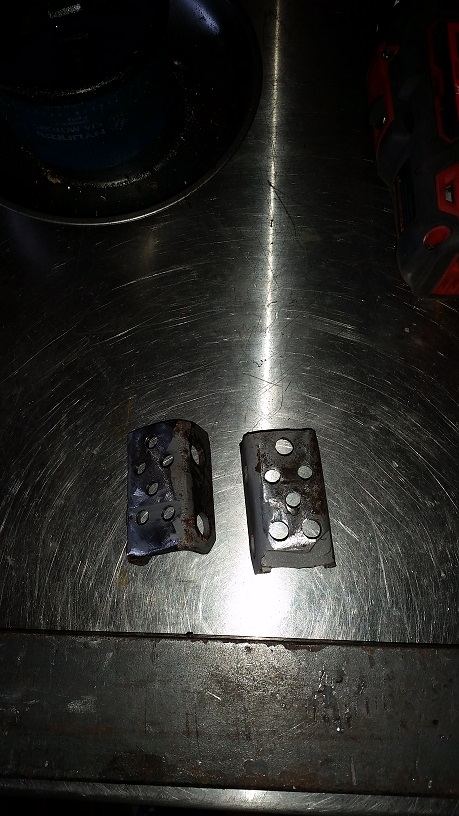 |
| cary |
 Jun 3 2015, 11:52 PM Jun 3 2015, 11:52 PM
Post
#422
|
|
Advanced Member     Group: Members Posts: 3,900 Joined: 26-January 04 From: Sherwood Oregon Member No.: 1,608 Region Association: Pacific Northwest 
|
A tool whore shot. The shear sure makes short work of the trimming. (IMG:style_emoticons/default/biggrin.gif) (IMG:style_emoticons/default/biggrin.gif)
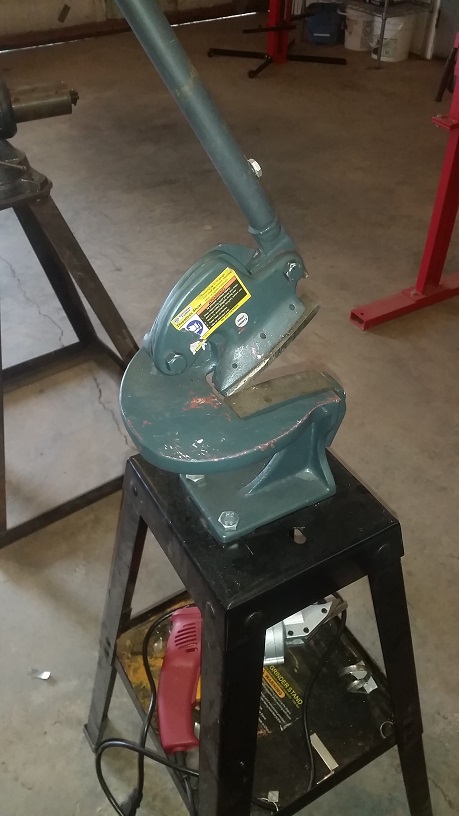 But I wish I had a big shear that would cut thru 3ft. of 16 gauge mild steel. Maybe when I win the Powerball. |
| FourBlades |
 Jun 4 2015, 05:37 AM Jun 4 2015, 05:37 AM
Post
#423
|
|
From Wreck to Rockin     Group: Members Posts: 2,056 Joined: 3-December 07 From: Brevard, FL Member No.: 8,414 Region Association: South East States 
|
You are kicking ass now! (IMG:style_emoticons/default/smilie_pokal.gif) (IMG:style_emoticons/default/welder.gif) (IMG:style_emoticons/default/beer.gif) John |
| worn |
 Jun 4 2015, 07:25 PM Jun 4 2015, 07:25 PM
Post
#424
|
|
Winner of the Utah Twisted Joint Award     Group: Members Posts: 3,385 Joined: 3-June 11 From: Madison, WI Member No.: 13,152 Region Association: Upper MidWest 
|
A tool whore shot. The shear sure makes short work of the trimming. (IMG:style_emoticons/default/biggrin.gif) (IMG:style_emoticons/default/biggrin.gif)  But I wish I had a big shear that would cut thru 3ft. of 16 gauge mild steel. Maybe when I win the Powerball. I got that for Christmas. I think my son wanted one so I have it! Great things fathers and sons. Wish I had a super in law, but perhaps I will simply become one someday. Forlorn hope I suppose. |
| cary |
 Jun 5 2015, 06:50 AM Jun 5 2015, 06:50 AM
Post
#425
|
|
Advanced Member     Group: Members Posts: 3,900 Joined: 26-January 04 From: Sherwood Oregon Member No.: 1,608 Region Association: Pacific Northwest 
|
Next shop project.
We're going to build a two sided panel to store/clip all the plastic bags of parts on. It will be on wheels so it can be moved around. It's almost time to send stuff off to be plated. So Ill go thru every bag. Photo every bag. Rename if needed. Hmm ........... I need to find that e-brake tube/spring bracket. Having to dig thru the tub of bags isn't real handy. 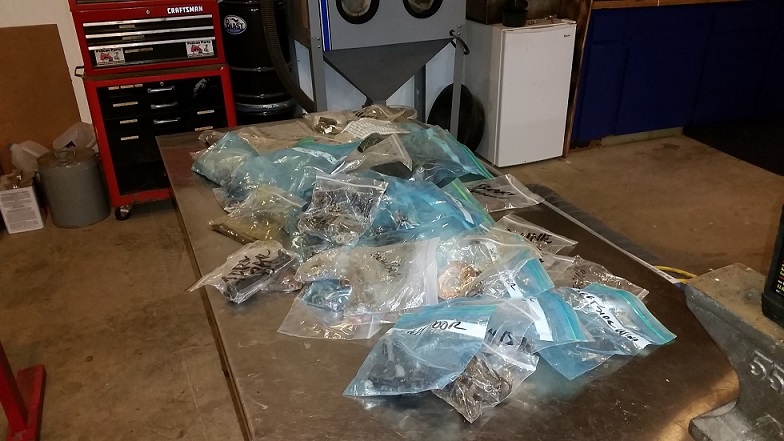 On the way to the shop this am we're stopping at HF for a couple more magnets. Ace Hardware for some eye bolts and maybe some copper tubing. Oh yeah, maybe some taller wheels for the bag panel at HF. Time to make some coffee ................. 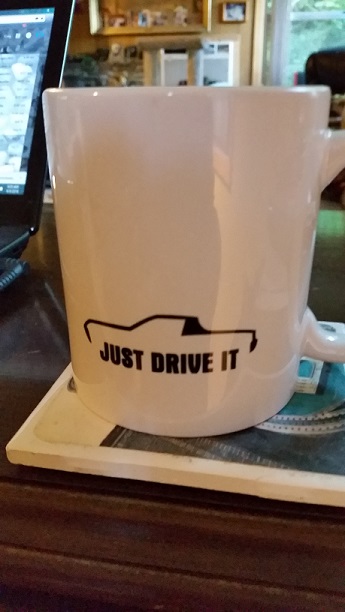 |
  |
2 User(s) are reading this topic (2 Guests and 0 Anonymous Users)
0 Members:

|
Lo-Fi Version | Time is now: 16th January 2025 - 11:54 PM |
Invision Power Board
v9.1.4 © 2025 IPS, Inc.


