|
|

|
Porsche, and the Porsche crest are registered trademarks of Dr. Ing. h.c. F. Porsche AG.
This site is not affiliated with Porsche in any way. Its only purpose is to provide an online forum for car enthusiasts. All other trademarks are property of their respective owners. |
|
|
| 9fourteen |
 Mar 25 2012, 06:09 PM Mar 25 2012, 06:09 PM
Post
#1
|
|
Newbie  Group: Members Posts: 42 Joined: 20-November 06 From: Cincinnati, OH Member No.: 7,239 Region Association: Upper MidWest |
I have finally started to rebuild my 74 914. I got my garage setup, tools ready, just need to find the time now. I figured I would start a thread to keep track of progress. I bounce around between many projects and usually busy on other things so I expect this to take many years.
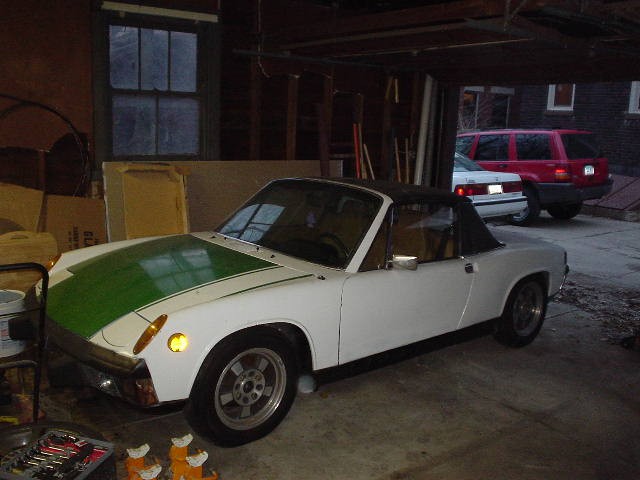
Paid $900 for it and drove it home. I drove it a few times before it developed a serious oil leak and has been sitting in the garage ever since. I am finding a lot of hidden rust on this car. Typical spots but a lot that has been hidden by previous repaints and repairs. Hell hole is shot, outer longs in bad shape, floor pan needs repair, etc. Like I said, typical 914 rot. I am a complete beginner at this so it will be a learning experience all the way. I plan on doing it all myself and getting in way over my head. Here is a picture of the car as it was bought about 10 years ago. Attached image(s) 
|
  |
Replies
| 9fourteen |
 Mar 25 2012, 06:35 PM Mar 25 2012, 06:35 PM
Post
#2
|
|
Newbie  Group: Members Posts: 42 Joined: 20-November 06 From: Cincinnati, OH Member No.: 7,239 Region Association: Upper MidWest |
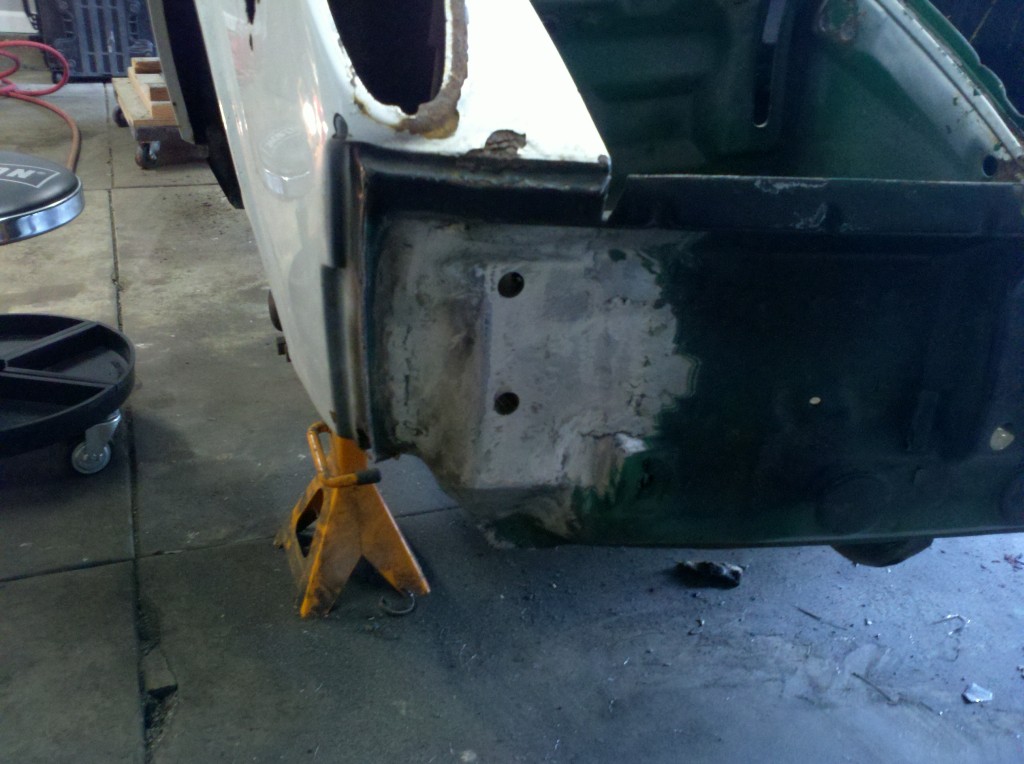
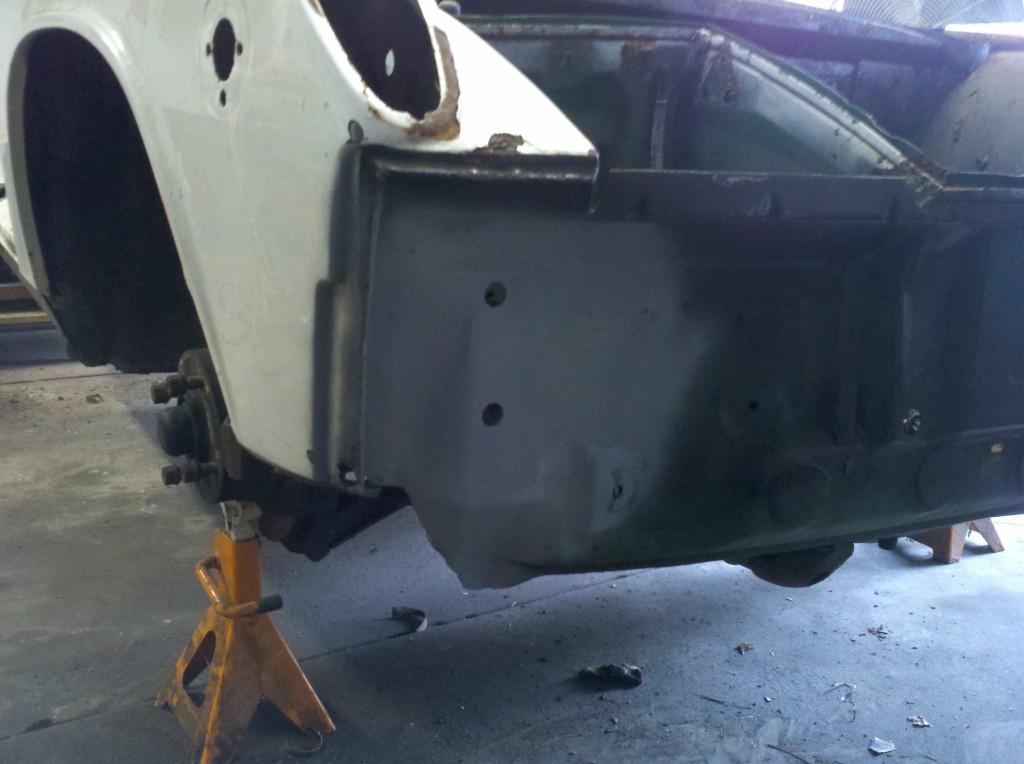
I got it welded in. Not a perfect job but it works. Took forever to figure out how to weld that thin metal. blew a lot of holes. had to make some additional patch pieces, etc. After several hours of welding, grinding, rewelding, grinding some more I go it looking pretty good. I figured this was the best place to start since it will be covered with the bumper so if I made some mistakes learning it wouldn't matter so much.
The biggest thing I learned on the welding was to be patient. If you try to weld too much too fast you will blow a hole. Skip, tack welds was the trick. Also I was welding with too thick of wire. I was using .030 wire and switched to .023. that made a huge improvement. I also manually adjusted my Miller welder instead of using the auto set settings. That got me better results. I was very frustrated at first but once I got the welder dialed in, right wire, right technique I started to really enjoy it. Attached image(s)  
|
Posts in this topic
 9fourteen 1974 Restortaion/Build Thread Mar 25 2012, 06:09 PM
 9fourteen The first repair I attempted was to rebuild the fr... Mar 25 2012, 06:13 PM
 9fourteen hammered out a patch piece with a new support brac... Mar 25 2012, 06:17 PM
 9fourteen With my first repair under my belt I am starting o... Mar 25 2012, 06:52 PM
 dlo914 :wttc: Off to a good start! GL on the rest of ... Mar 25 2012, 07:10 PM
 9fourteen I decided to cut the quarter panel off all the way... Mar 25 2012, 07:11 PM
 9fourteen Do I have enough support?
I am getting ready to s... May 23 2012, 09:42 AM
  |
4 User(s) are reading this topic (4 Guests and 0 Anonymous Users)
0 Members:

|
Lo-Fi Version | Time is now: 27th December 2024 - 08:13 AM |
Invision Power Board
v9.1.4 © 2024 IPS, Inc.


