|
|

|
Porsche, and the Porsche crest are registered trademarks of Dr. Ing. h.c. F. Porsche AG.
This site is not affiliated with Porsche in any way. Its only purpose is to provide an online forum for car enthusiasts. All other trademarks are property of their respective owners. |
|
|
| 76-914 |
 Jun 25 2012, 10:23 AM Jun 25 2012, 10:23 AM
Post
#1
|
|
Repeat Offender & Resident Subaru Antagonist           Group: Members Posts: 13,647 Joined: 23-January 09 From: Temecula, CA Member No.: 9,964 Region Association: Southern California 
|
It's finally down after 8 weeks on the jack stands. Ugh! (IMG:style_emoticons/default/barf.gif). I know; it shouldn't have taken that long but I'm old and stupid so I have two good excuses for being slow. Most of this is McMarks fault. Just kidding. I had read a post where McMark describes how to check your CV's. Mine failed. (IMG:style_emoticons/default/headbang.gif) So, I ordered a set of CV's. Then that damned Otto posted these in the classified WTS:
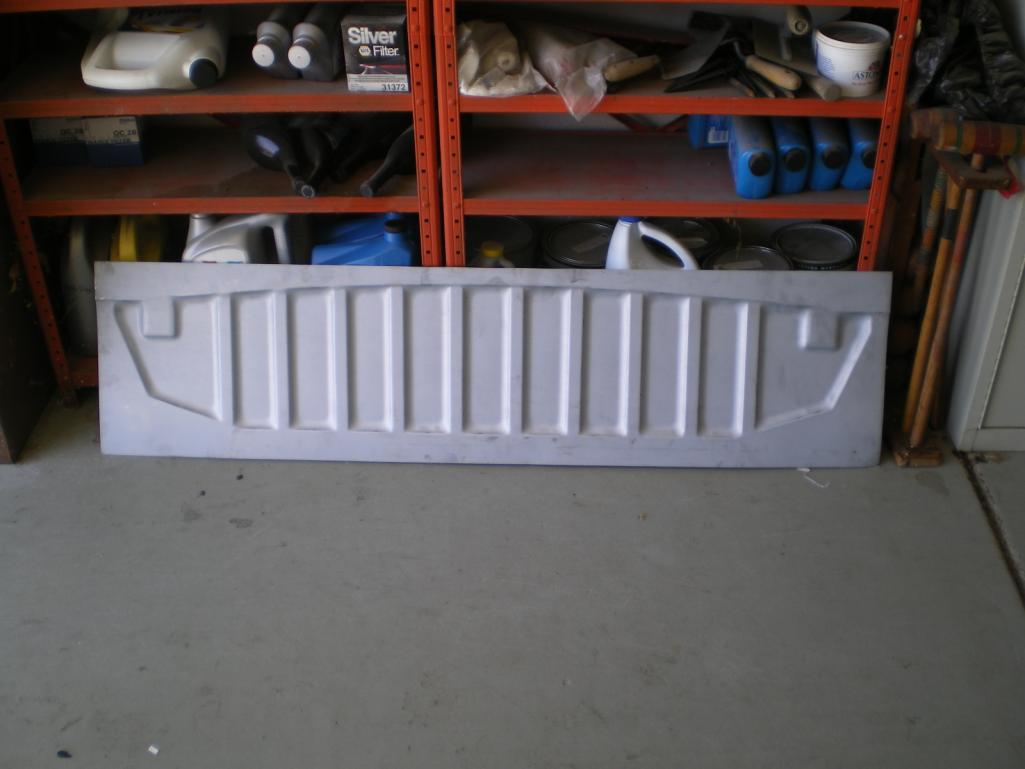 Since it was on jack stands and my trunk looked like this I decided to repair the trunk while it was up. 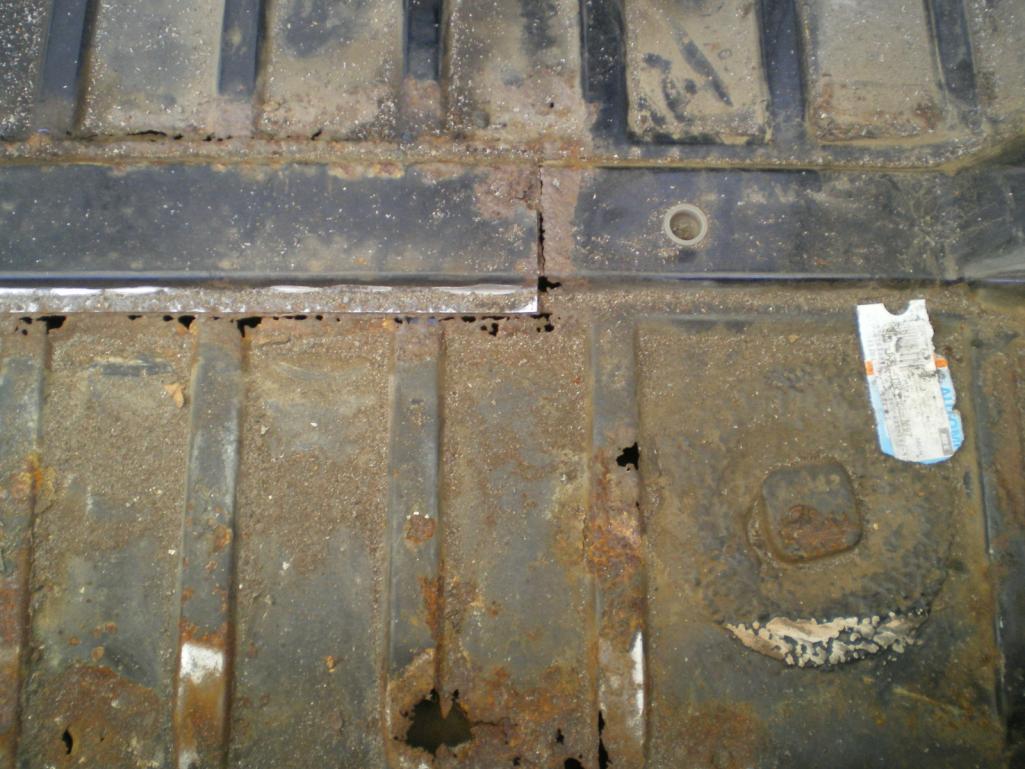 As I began fitting the rear panel piece I noticed the similarity between the rear panel and the piece in front of the trunk spar/brace and thought, maybe...... Then the G&R event happened and found another one of these panels ($5 cheaper than the one I bought from Otto) so I bought it, too! I said too because I also bought a set of Fuch's (IMG:style_emoticons/default/wub.gif) Sure enough, after a few measurements and "trim to fit" I was able to "sneak" this rear panel piece into the front. 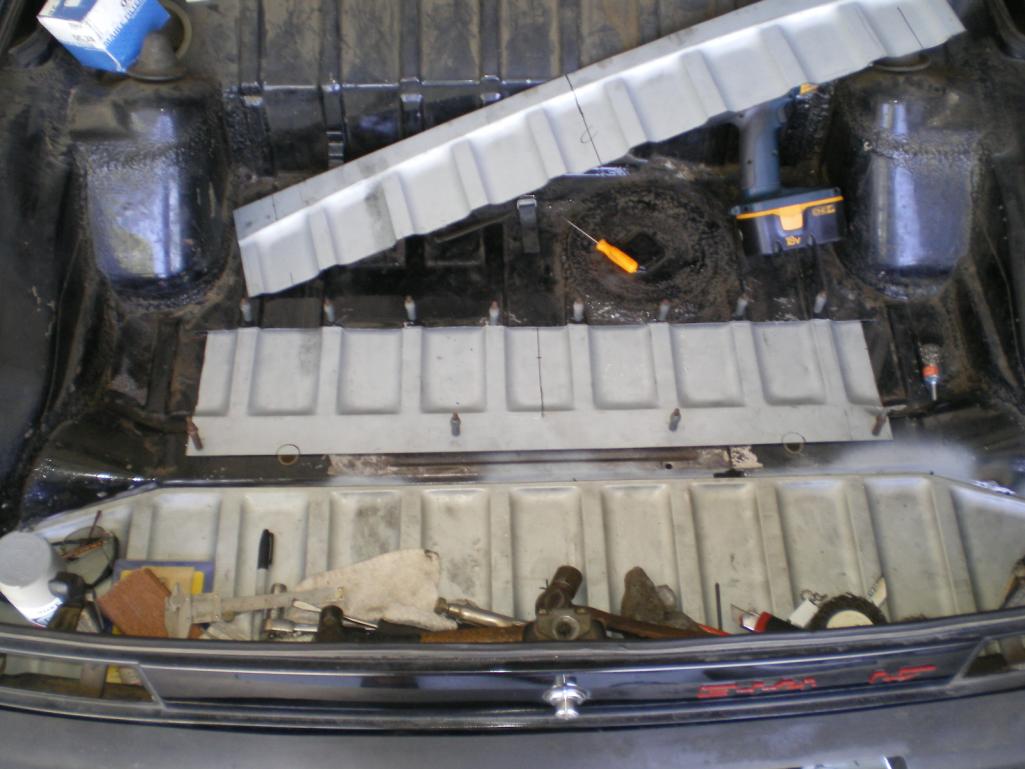 The slits were intentional to allow the piece to slid between. 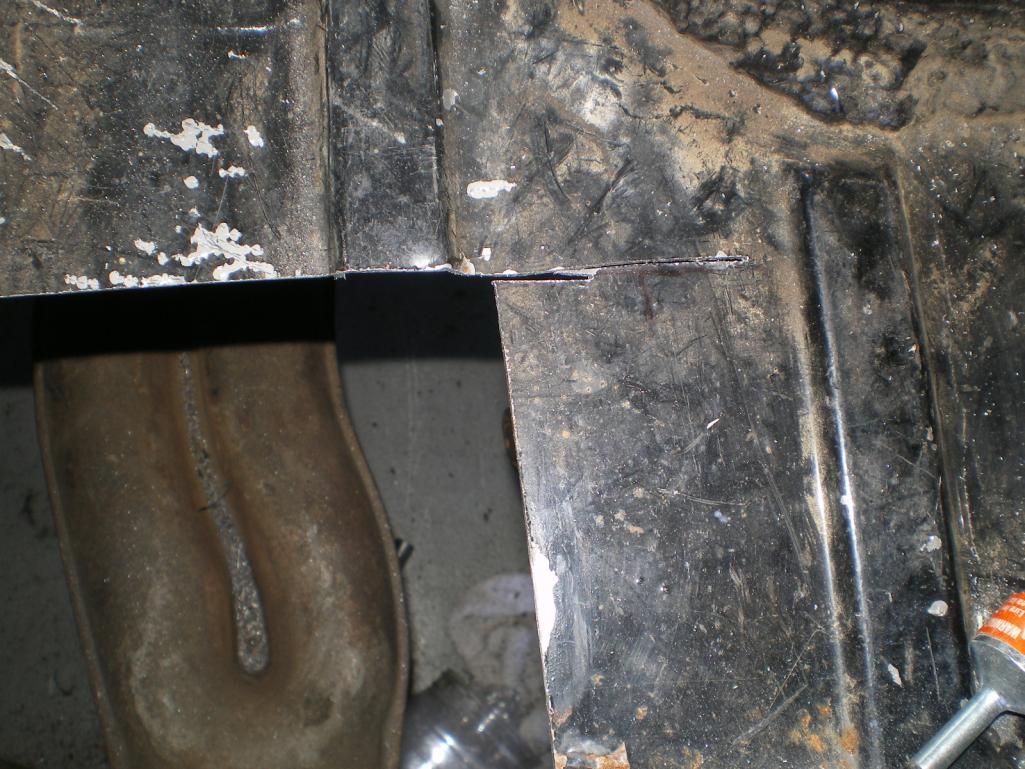 This is one place that it didn't match. Notice the gap between the new piece and the brace. It's a gap appx. 15mm 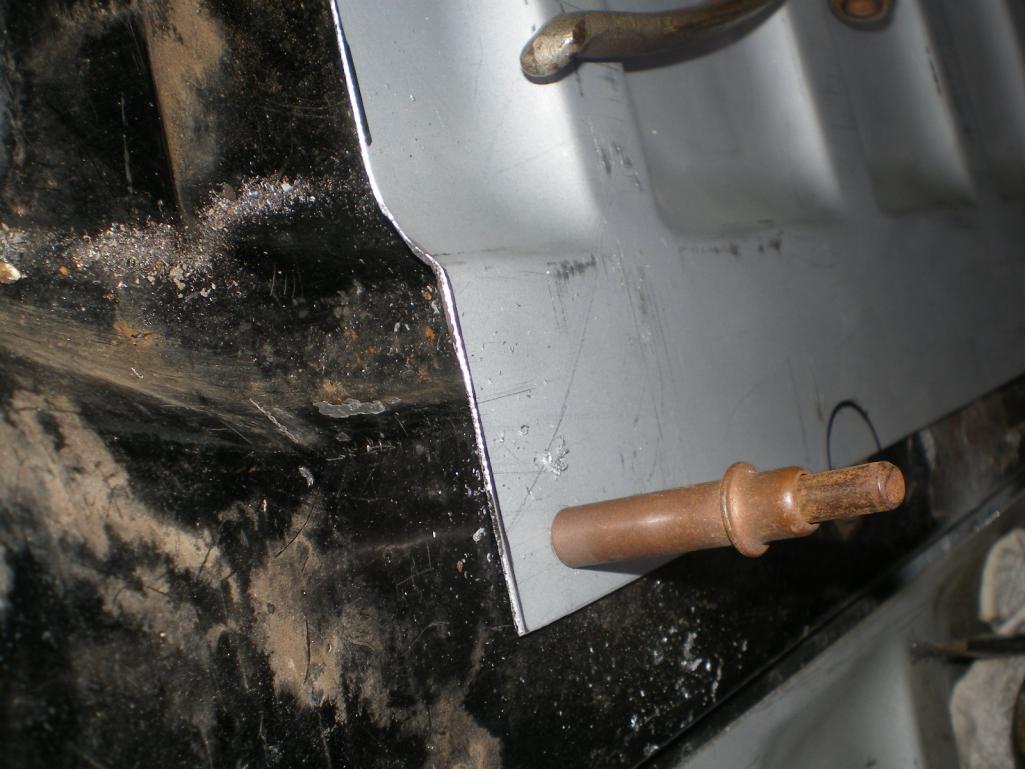 |
  |
Replies
| 76-914 |
 Jun 25 2012, 10:50 AM Jun 25 2012, 10:50 AM
Post
#2
|
|
Repeat Offender & Resident Subaru Antagonist           Group: Members Posts: 13,647 Joined: 23-January 09 From: Temecula, CA Member No.: 9,964 Region Association: Southern California 
|
Here is the other side "beaten" into submission with the ball pin hammer.
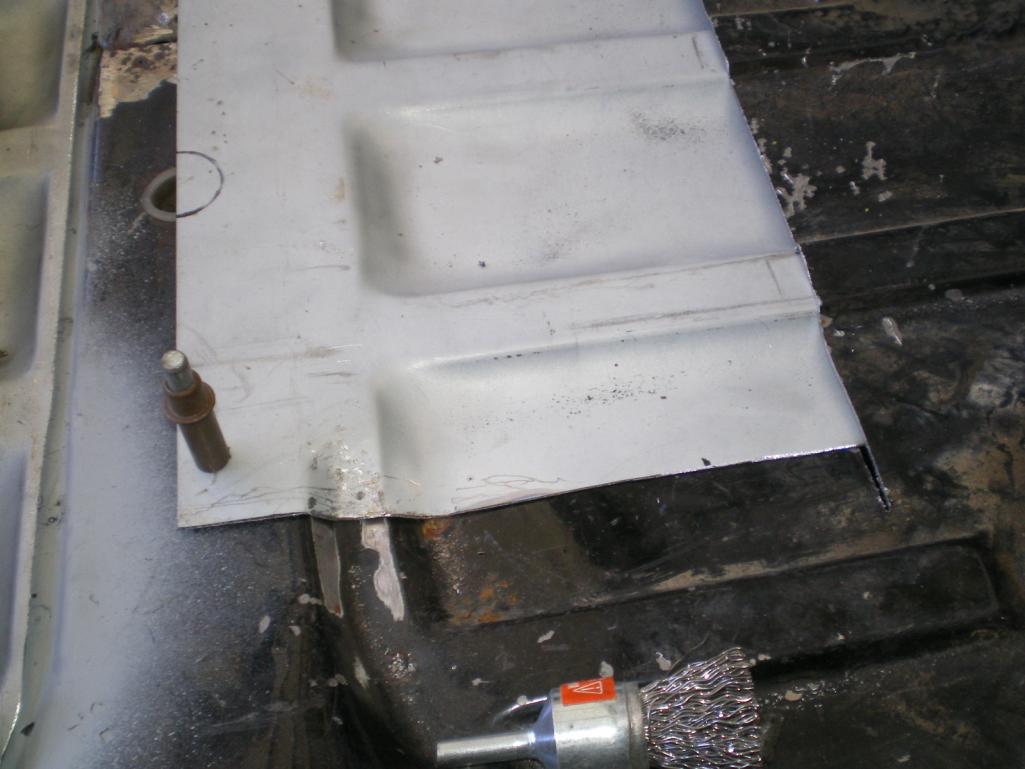 There is a height difference between the ridges/valleys of the front and rear pieces (appx 2 mm). The valleys of the old piece were hammered down at a slight angle to meet the new piece. 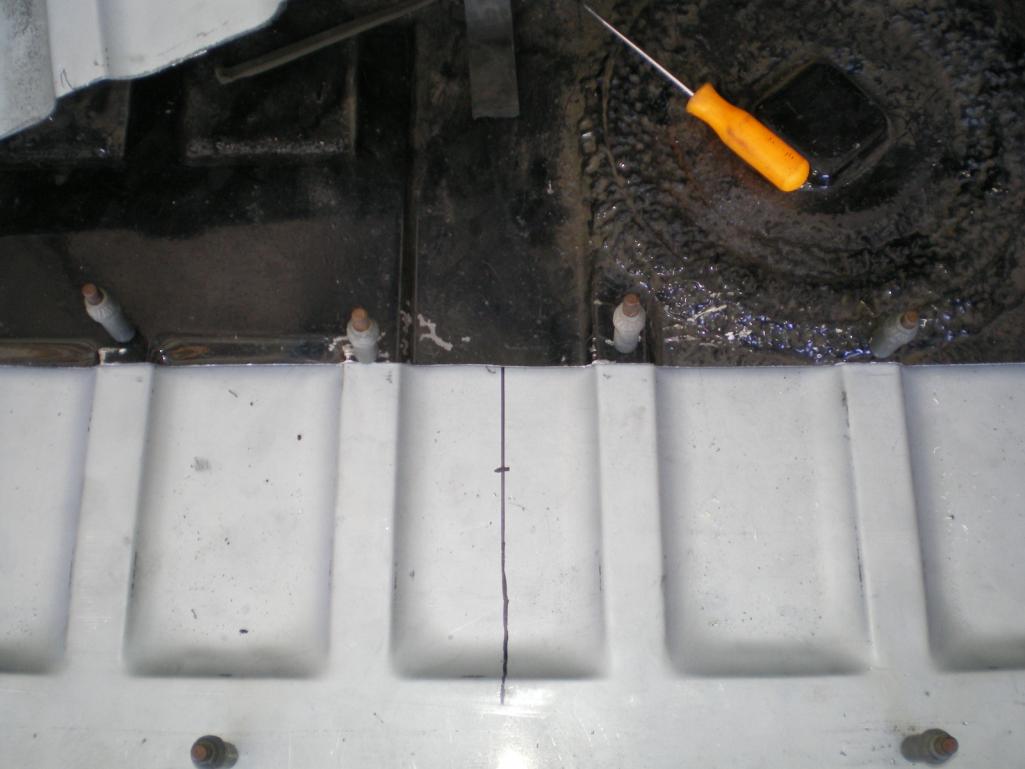 Once everything was clecoed into place the CV's finally arrived (IMG:style_emoticons/default/piratenanner.gif) so I took advantage of the temporary opening. BTW, it might just be my imagination but I believe the car runs much smoother with this addition. 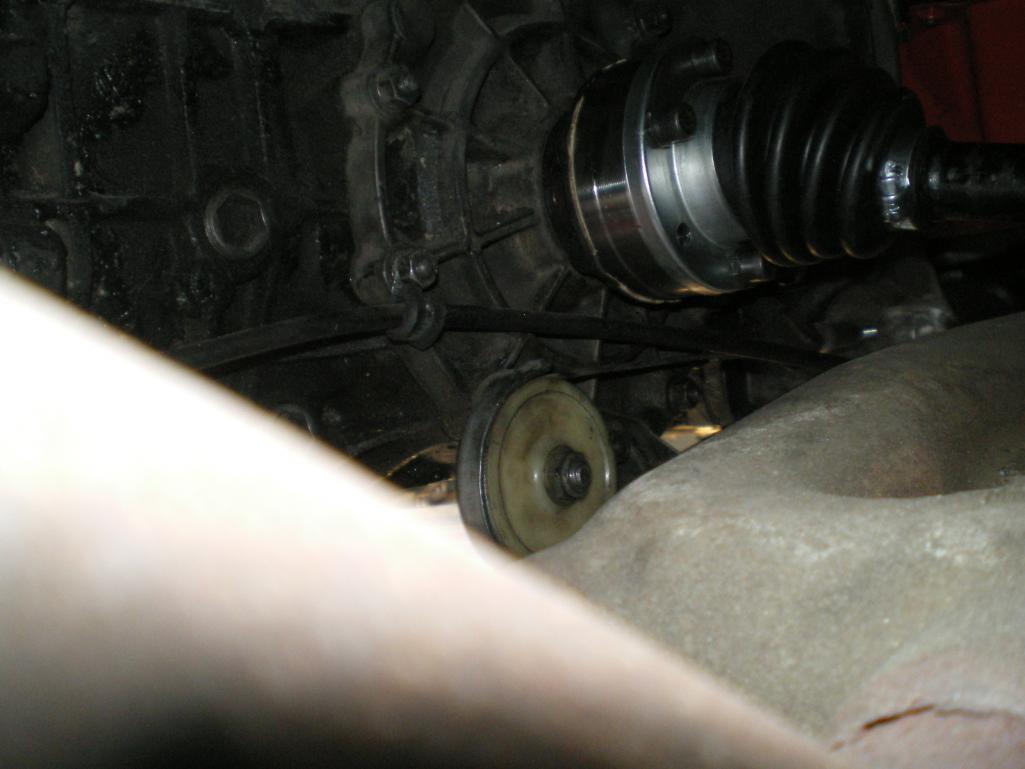 Next, it was onto the seat-belts which were reluctant to retract properly. I believe the greatest benefit came from polishing the chrome guide piece, though. 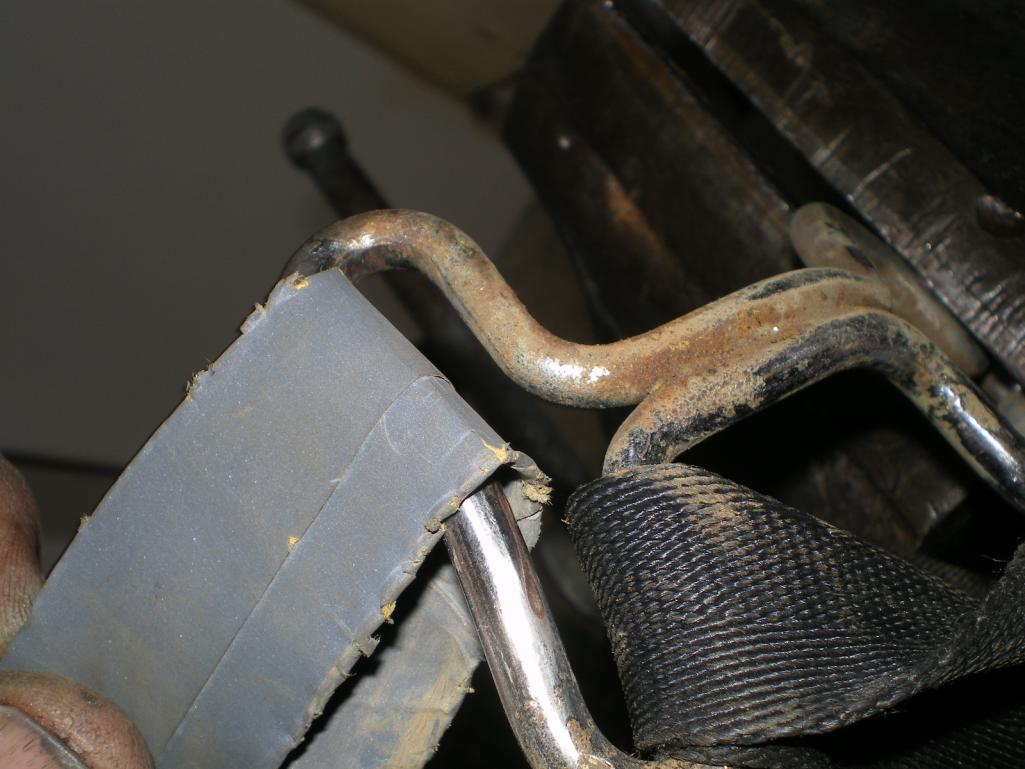 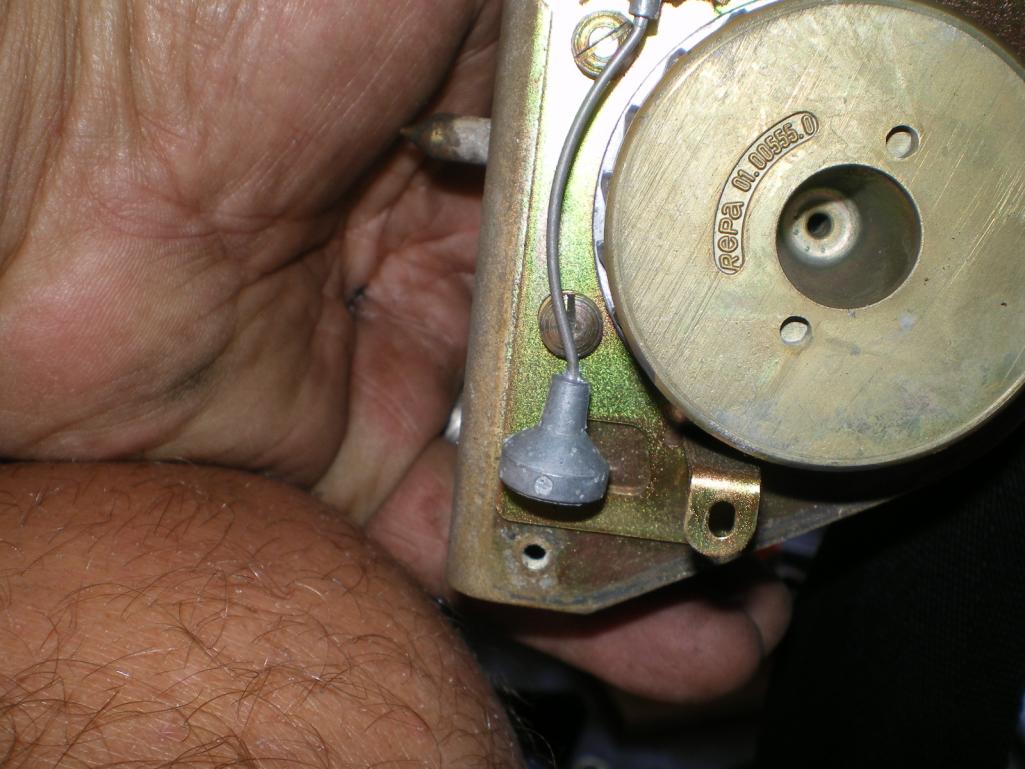 |
Posts in this topic
 76-914 Rear trunk Repair Jun 25 2012, 10:23 AM
 76-914 So what in the Hell was I doing the rest of the ti... Jun 25 2012, 10:58 AM
 76-914 Geez, I almost forgot the "money shot". ... Jun 25 2012, 11:14 AM

 xsJerry Nice job on the trunk. I just cut out a piece of 1... Jun 25 2012, 10:05 PM
 SLITS Now you can trap water again.
Good job Kent (at l... Jun 25 2012, 11:26 AM
 ThePaintedMan Couple questions. Since this isn't load bearin... Jun 25 2012, 12:55 PM

 76-914
Couple questions. Since this isn't load beari... Jun 25 2012, 03:32 PM

 ThePaintedMan
Those extra holes should have the dowel pins ins... Jun 25 2012, 07:40 PM
 76-914 Now I got it. I usually have to dig out old grease... Jun 25 2012, 09:54 PM
  |
2 User(s) are reading this topic (2 Guests and 0 Anonymous Users)
0 Members:

|
Lo-Fi Version | Time is now: 27th December 2024 - 01:50 AM |
Invision Power Board
v9.1.4 © 2024 IPS, Inc.


