|
|

|
Porsche, and the Porsche crest are registered trademarks of Dr. Ing. h.c. F. Porsche AG.
This site is not affiliated with Porsche in any way. Its only purpose is to provide an online forum for car enthusiasts. All other trademarks are property of their respective owners. |
|
|
| bigkensteele |
 Nov 24 2013, 10:20 PM Nov 24 2013, 10:20 PM
Post
#1
|
|
Major Member     Group: Members Posts: 2,199 Joined: 30-August 04 From: Cincinnati, OH Member No.: 2,660 Region Association: South East States 
|
When I decided to backdate my bumpers, I wanted to have all of the answers before I started cutting stuff off and drilling holes. Using the fine search function, I was able to find all of those answers, but I had to wade through many, many threads to get them all.
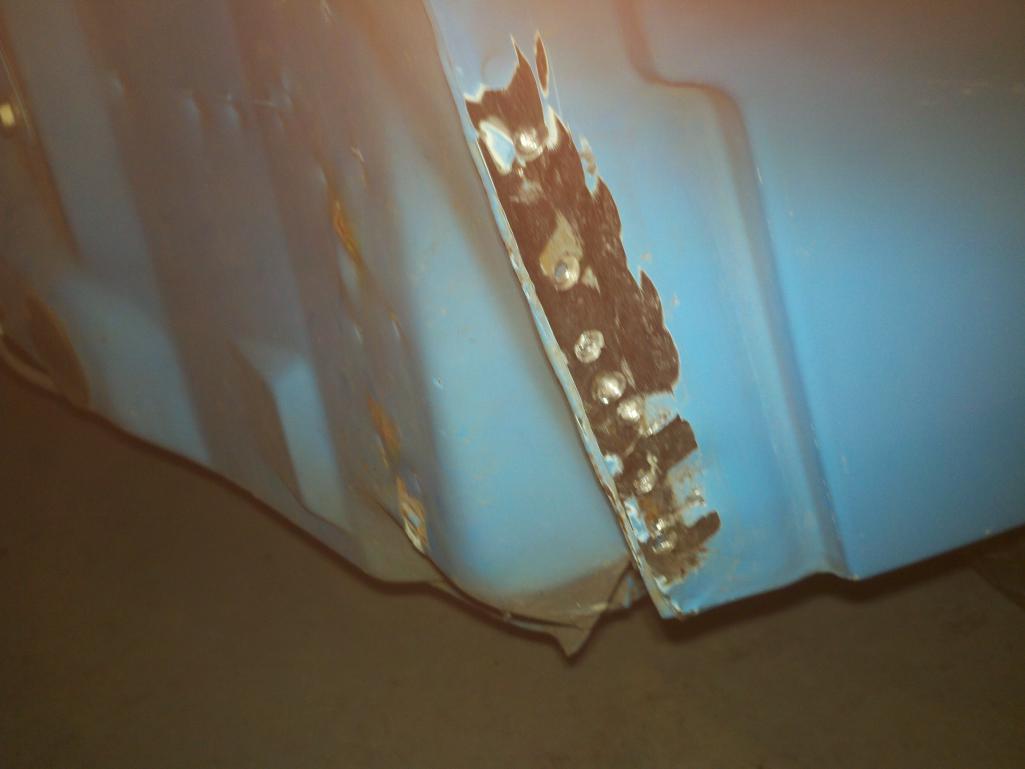
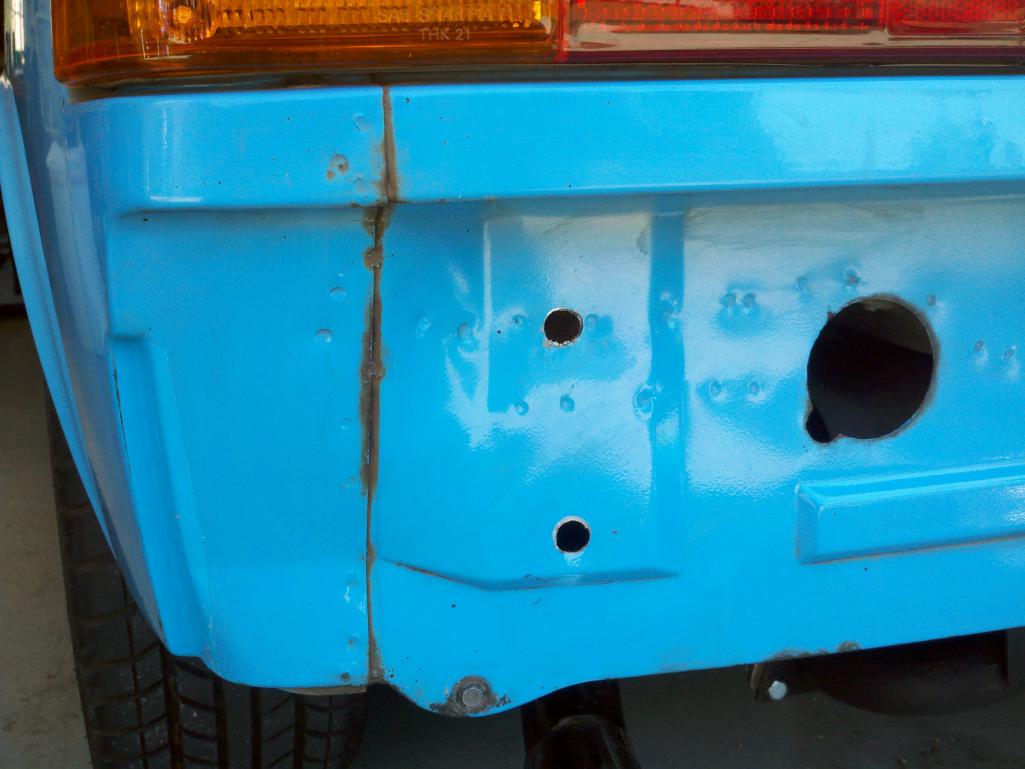
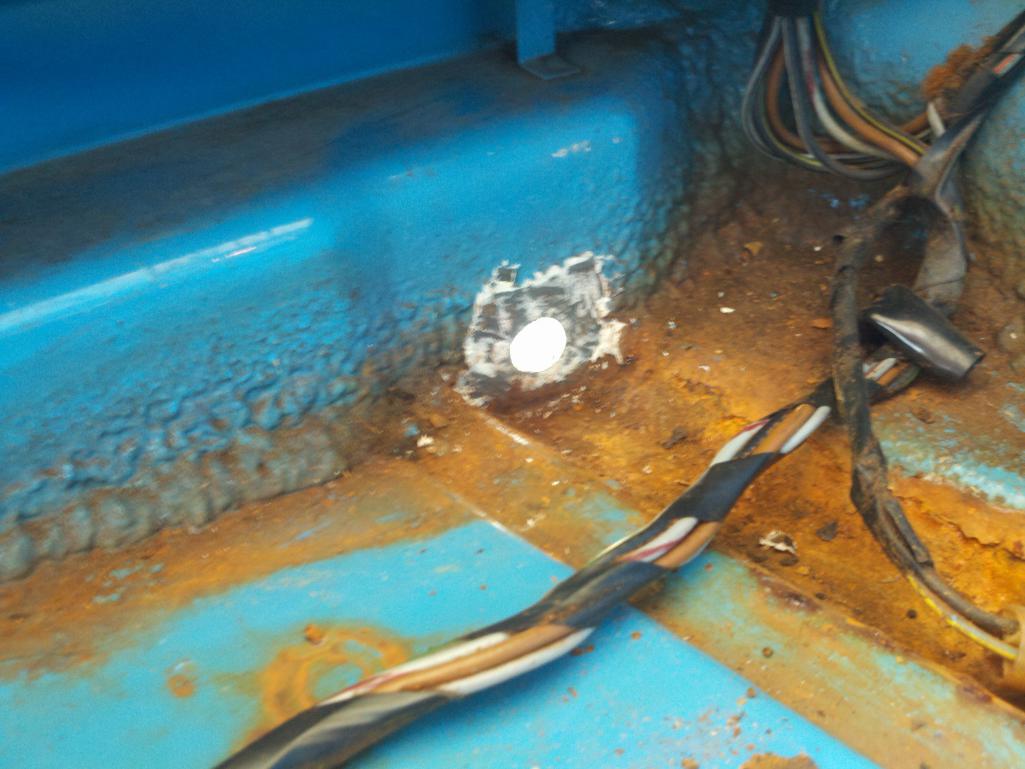
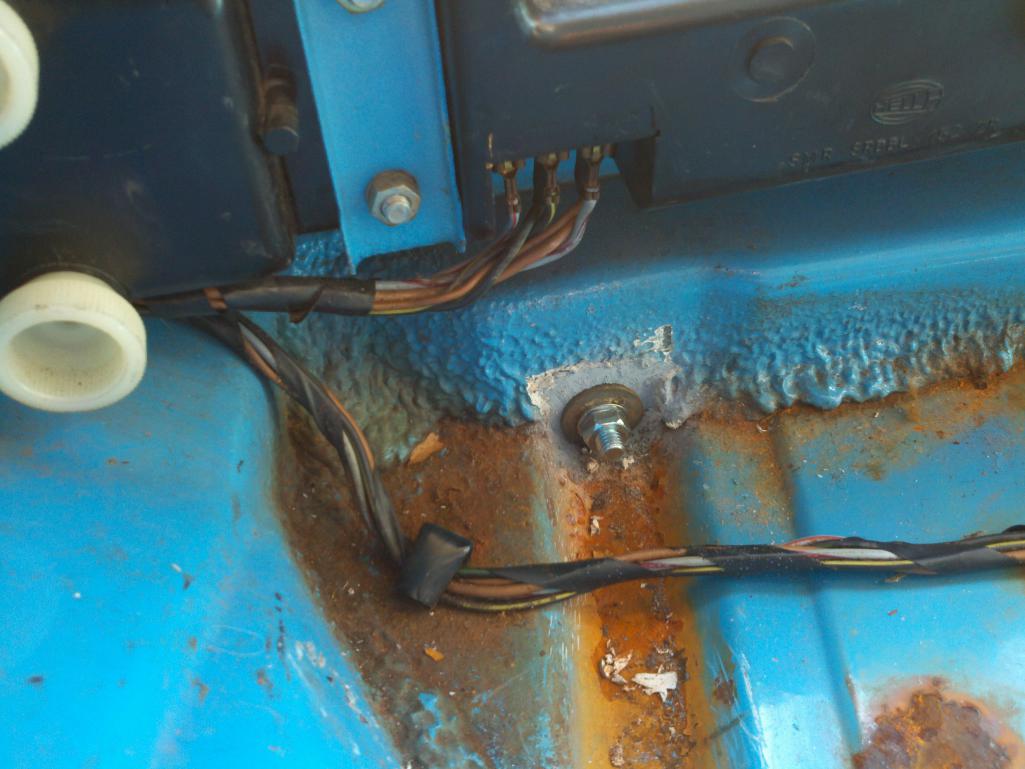
With that in mind, I decided to write one up that will contain every last bit of information needed to do the job. I can’t take credit for much, if any, if any of the information below. I got most all of it from my searches, and I will try to give credit where credit is due. I apologize up front for the crappy phone pictures – while bad, they still tell the story. While there are a few of us who like the looks of the late bumper (myself included, depending on the color of the car), there is one really good reason to go with early bumpers – weight. I have seen many figures thrown about, so I decided to weigh them both, including all mounting hardware, fog lights, grills, etc. I was quite surprised at just how much heavier the later bumpers are. Front: Early – 20 pounds, included pad, dog bones, lights, grills, and hardware Late – 46 pounds, including the shocks, and hardware (non fog light bumper) Rear: Early – 18 pounds, including pad, dog bones and hardware Late – 50 pounds, including the shocks, and hardware 38 pounds vs. 96 – 58 pounds, or roughly 3% of the entire weight of the car removed from the two places you would most want to lose it! So, let’s get started. Tools required: - safety goggles (ask me how I know how much is sucks to have metal surgically removed from your eye) -3/8 ratchet, extension and a set of metric sockets - screwdrivers – both kinds - pliers - angle grinder, grinding disk and a metal cutting wheel - mig welder if you are a hack like me - left cutting (red) tin snips if you are right handed, right cutting (green) if you are left handed - center punch - step drill bit at least 5/8 - drill - spot weld cutter - hacksaw - hammer and dolly Hardware/misc. required or recommended: - (8) 8M x 1.25 x50 bolts - (8) 8M large flat washers - (8) 8M lock washers - (8) 8M nuts - primer, body color paint, sandpaper, tape, paper, etc. - early bumpers, tops, dog bones, etc. - beer (optional) I did the rear first, for no particular reason. The first order of business is to remove the bumper. This is accomplished by first disengaging the bumper sides from the retaining rails on both sides of the car. Simply pull the bumper sides away, and they will peel right out. Next, unscrew the license plate lights and disconnect the wiring. Finally, remove the two 19mm bolts located in the holes on the underside of the bumper. The bumper should now slide right off, but remember – it weighs 50 pounds, so be prepared. I removed my valence as well. Not sure if it was necessary, but it needed some dents removed and paint anyway, so what the heck, it was only a few screws. Next, you will need to crawl under the car with a 17mm socket and remove the 3 bolts holding on each shock and work the shock out. I recommend putting the bolts back in place to keep water out. Now for the fun part. You will need to remove those retaining rails from each side of the car. They are spot-welded on in 5 or 6 spots. There are a couple of ways to do this. You can use a grinder or cutting disc to grind through the welds, or you can buy yourself a spot weld cutter to drill them out. Or if you are an idiot like me, you can attempt to use a regular drill bit and drill them out, and then weld up the resulting holes. I bought a spot weld cutter before I did the front. I forgot to take pictures of the rear, but here is one of the front – same procedure for both.  As far as the bodywork required to touch these areas up, I welded up the holes and ground it flat. I then taped off the area, primed it and used a rattle can of a fairly close blue that I found at Lowes. When the bumper is installed, these areas don’t show much, but they still needed to be painted.  |
  |
Replies
| bigkensteele |
 Nov 24 2013, 10:28 PM Nov 24 2013, 10:28 PM
Post
#2
|
|
Major Member     Group: Members Posts: 2,199 Joined: 30-August 04 From: Cincinnati, OH Member No.: 2,660 Region Association: South East States 
|
|
Posts in this topic
 bigkensteele Backdating Bumpers Nov 24 2013, 10:20 PM
 bigkensteele Now the part that had me nervous – where do I dr... Nov 24 2013, 10:26 PM
 bigkensteele
Using one of your dog bones (they are the same ... Nov 24 2013, 10:27 PM
 bigkensteele You may need to dig out some seam sealer to get a ... Nov 24 2013, 10:30 PM
 bigkensteele Now it is time to mount the bumper. If you haven�... Nov 24 2013, 10:32 PM
 bigkensteele My bumper didn’t have the plug when I got it, so... Nov 24 2013, 10:33 PM
 Cap'n Krusty Nice post. Ask the admins to put it in the classi... Nov 24 2013, 10:34 PM
 bigkensteele On to the front, which provides a different challe... Nov 24 2013, 10:36 PM

 mcbrems
I think installed the above sheet metal plates... Jan 21 2021, 12:27 AM

 mcbrems
I think installed the above sheet metal plate... Jan 21 2021, 12:28 AM
 bigkensteele Hope you have bought that spot weld cutter by now.... Nov 24 2013, 10:39 PM
 Eric_Shea Excellent. Nov 24 2013, 10:39 PM
 bigkensteele For the center section, I used tin snips to cut of... Nov 24 2013, 10:42 PM
 bigkensteele And here is the corner.
I used a hammer and doll... Nov 24 2013, 10:43 PM
 bigkensteele Remember how I said the holes were already there, ... Nov 24 2013, 10:45 PM
 bigkensteele And from the outside...
Nov 24 2013, 10:46 PM
 bigkensteele You may have noticed that I am a little out of seq... Nov 24 2013, 10:48 PM
 Chris H. Nice work Ken!
Did my Laguna Blue car a few... Nov 25 2013, 06:21 AM
 computers4kids Nice write up! If you go to a Harley Davidson... Nov 25 2013, 09:35 AM

 bigkensteele
Nice write up! If you go to a Harley Davidso... Nov 25 2013, 09:59 AM
 boxstr I have used the nutserts that you have pictured. D... Nov 25 2013, 11:43 AM

 bigkensteele
I have used the nutserts that you have pictured. ... Nov 25 2013, 01:23 PM
 Eric_Shea Already added to the "Classics" :thumbsu... Nov 25 2013, 04:05 PM

 bigkensteele
Already added to the "Classics" :thumbs... Nov 25 2013, 05:55 PM
 johannes Very well done tutorial. Thank you for sharing. Nov 26 2013, 05:54 AM
 dlee6204 Nice write up! :thumbsup: Nov 26 2013, 06:40 AM
 maf914 Very good write up. Thank you. And thanks to all... Nov 26 2013, 06:53 AM

 bigkensteele
Very good write up. Thank you. And thanks to al... Nov 26 2013, 04:20 PM
 69telecaster "While there are a few of us who like the loo... Nov 26 2013, 07:46 AM

 Chris H.
I was wondering if there's any way to simply... Nov 26 2013, 08:29 AM

 mepstein
I was wondering if there's any way to simpl... Nov 26 2013, 09:20 AM

 Vacca Rabite
[quote name='Chris H.' post='1962669' date='Nov 2... Nov 27 2013, 07:01 PM
 ndfrigi Great Documentation!
God Bless you for sharin... Nov 26 2013, 09:23 AM
 Dave_Darling IIRC, the late European cars used the black rubber... Nov 26 2013, 12:40 PM
 andys See this thread for bumper mounting studs:
http:/... Nov 26 2013, 01:14 PM

 bigkensteele
See this thread for bumper mounting studs:
http:... Nov 26 2013, 04:23 PM
 1970 Neun vierzehn Nice work on the bumper backdate (upgrade?). As yo... Nov 26 2013, 08:26 PM

 bigkensteele
Nice work on the bumper backdate (upgrade?). As y... Nov 26 2013, 08:56 PM
 Type 47 OMG...had the body guy do all the cutting before p... Nov 27 2013, 11:19 PM
 colingreene just so anyone knows, i marked the holes as indica... Dec 5 2015, 05:36 PM

 bigkensteele
just so anyone knows, i marked the holes as indic... Dec 5 2015, 07:44 PM
 colingreene about half a inch. the up down was approx but they... Dec 5 2015, 10:08 PM
 914Sixer You could use the dog bones for a hole pattern wit... Dec 6 2015, 12:20 PM
 Porschef Here's what I did, took all guesswork/ individ... Dec 6 2015, 01:56 PM
 Steve Great article. I just used it to swap out my fibe... Mar 17 2016, 09:51 AM
 flat4guy Great article - are you able to run a front lower ... Apr 12 2020, 01:21 PM

 DRPHIL914
Great article - are you able to run a front lower... Apr 12 2020, 07:11 PM
 r_towle TL;DR
I think we need another thread Apr 12 2020, 10:05 PM
  |
1 User(s) are reading this topic (1 Guests and 0 Anonymous Users)
0 Members:

|
Lo-Fi Version | Time is now: 3rd April 2025 - 01:33 AM |
Invision Power Board
v9.1.4 © 2025 IPS, Inc.


