|
|

|
Porsche, and the Porsche crest are registered trademarks of Dr. Ing. h.c. F. Porsche AG.
This site is not affiliated with Porsche in any way. Its only purpose is to provide an online forum for car enthusiasts. All other trademarks are property of their respective owners. |
|
|
| 914forme |
 Jan 31 2014, 09:54 PM Jan 31 2014, 09:54 PM
Post
#1
|
|
Times a wastin', get wrenchin'!     Group: Members Posts: 3,896 Joined: 24-July 04 From: Dayton, Ohio Member No.: 2,388 Region Association: None 
|
Okay, for my project I have been working on a concept to build a custom set of gauges to keep every thing in the dash. And I am thinking about building some kits so you can build a set yourself.
First off is a Tach with a fuel gauge at the bottom, in reality it could be anything with a 90 degree sweep. So Turbo boast ala 930, but my is getting a fuel gauge. It is setup to use the Sun Tach update and the mounts have been moved to make it work. It will look something like this when its done. The tach needle will be the proper length once done, I need some pin drills. 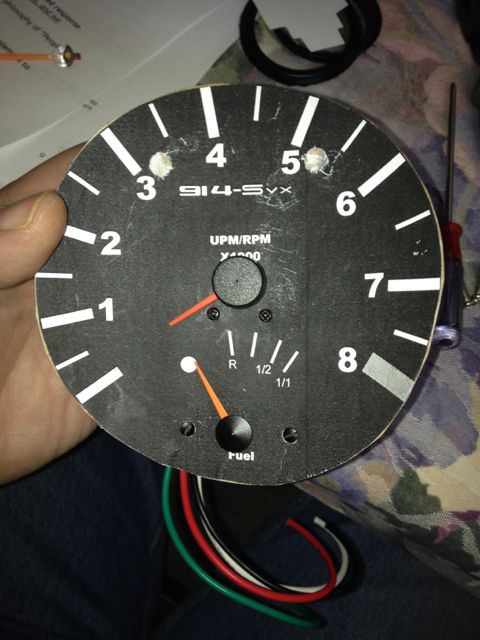 It was setup to use a VDO fuel gauge, but the stock unit will also work though the face would need to be redone. The quad gauges I setup for Oil pressure and temp, water temp, and volts. 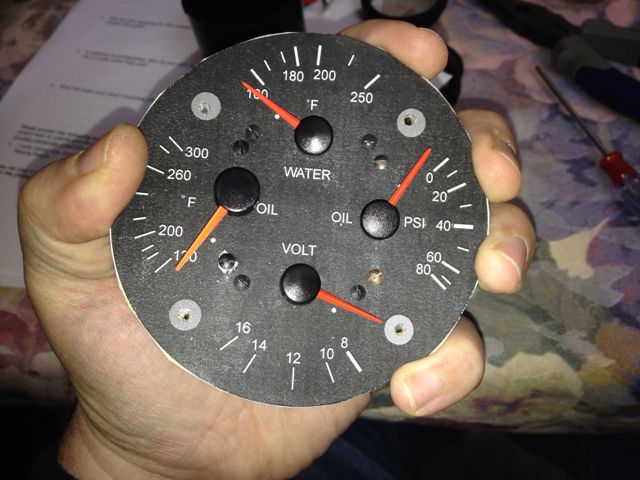 I need to clean up some of the line widths on this one call it an alfa as I used it to prototype with. Even though CAD said it would work, and it did, I liked hold a down and dirty physical version in my hands. Nothing like a laser printer and a few pieces of cardboard. $ lights are for generator, oil pressure, brake, and a check engine for us OBDI or II groups. This is the prototype with the gauges I had, the oil temp needle is from a different line in the VDO gauges, so its hight and needle are different. In case you need to know, I did the original metal work nd plating for the triple gauge sets from way back when that Pelican sold. I did all the back and front machine work, laser cut. And the silver CAD plating on the rears. I don't know if I will make these together but if the interest is there, I'll do a run to help my project along. So would people be interested in these, once I get the final setup done I have no idea on pricing just yet, I still need to get costs on face printing, and finalizing the design, and the costs for all the machine work and metal. Of course I will show the progress I make once I get into metal prototypes, instructions, printing faces and all that stuff. |
  |
Replies
| 914forme |
 Feb 23 2014, 03:06 PM Feb 23 2014, 03:06 PM
Post
#2
|
|
Times a wastin', get wrenchin'!     Group: Members Posts: 3,896 Joined: 24-July 04 From: Dayton, Ohio Member No.: 2,388 Region Association: None 
|
I disassembled my VDO Cockpit oil temp gauge yesterday. And did a few pictures so you could see how you get into these. I need an camera assistant, some of my picture skills are no better than Sir Andy's
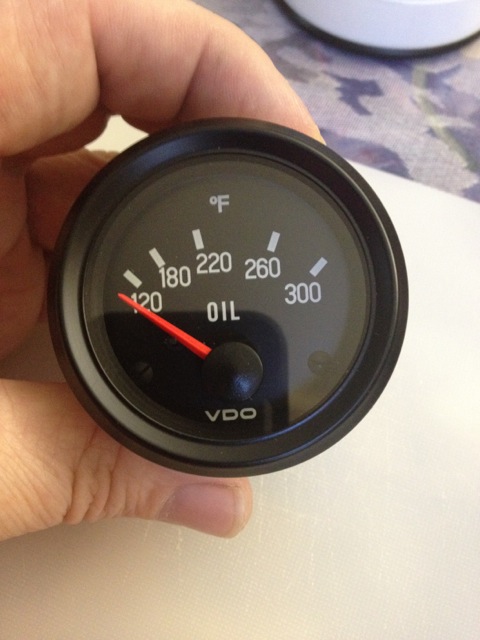 So here we go. Tools needed: A pocket knife, locking blade is nice I use a Gerber. The point makes it easy to get into the lip. Varius flat blade screwdrivers. A set of micro-screw drivers, to fit the small gauge face screws. needle Nose pliers - to get the nut off the screw that holds the ground lug on the gauge. Set of flush cutting pliers or similar to remove the pointer stop from the gauge face. First I pull all the items off the back of the gauge I can. this just mass it easier. Lighting is the first to go. 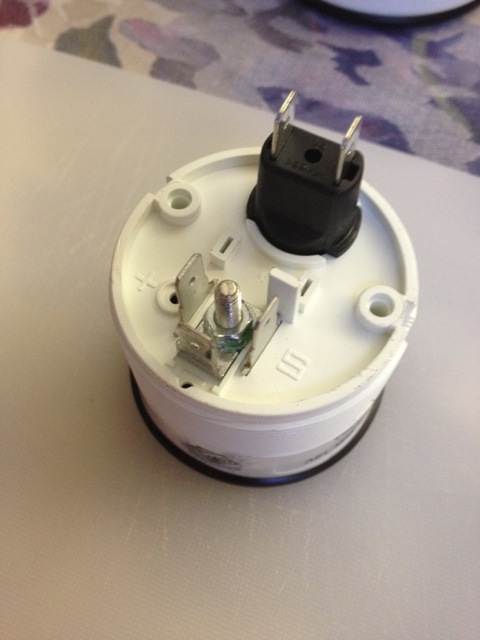 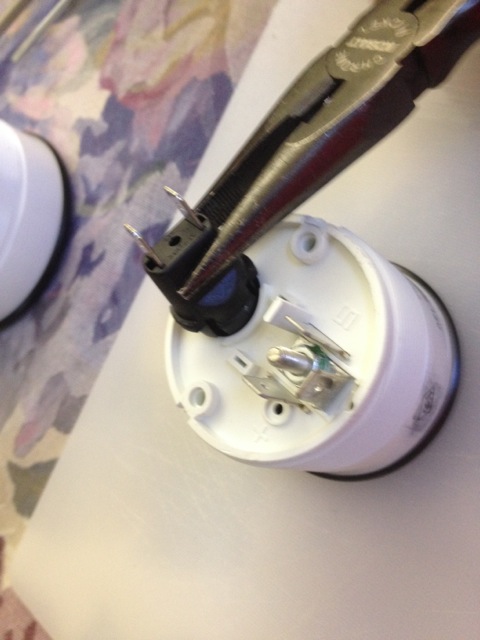 I then take off the front trim ring. I start with a knife and bend the brass ring away from the side of the gauge. I found a knife does a great job just be careful not to slice your self wide open. I then use a larger screw drivers to open it up even more. 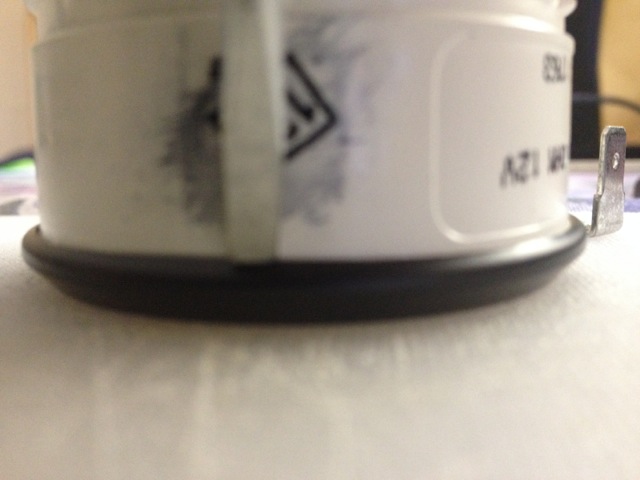 Next you pull the trim off, the glass will fall out, and you can pull the inner trim ring out. Sorry no pictures. After that you remove the nut holding the ground lug onto the back of the gauge. This also holds the gauge into the body of the gauge and makes sure the contacts are into their appropriate lugs, interesting design, nut unlike the Porsche VDO gauges. 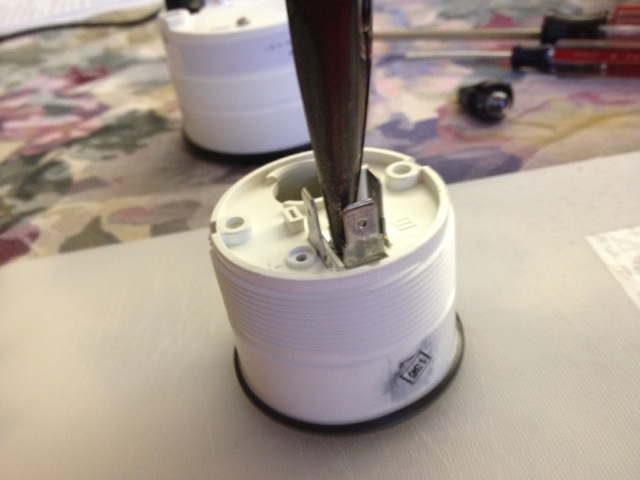 Looks like this once done.  Now you can remove the gauge from the housing. It might take some force, I place the nut back onto the threads and give it a few taps with my needle nose pliers. The nut will keep you from buggering up the threads and also from launching the gauge assembly across the room. You get this once done. 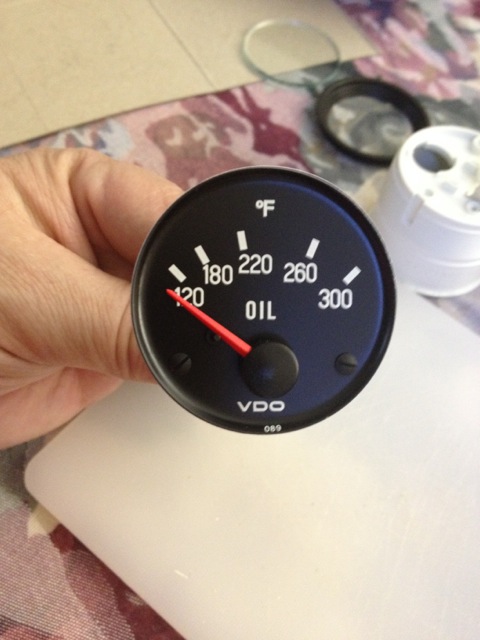 The whole reason I wanted to take this apart. 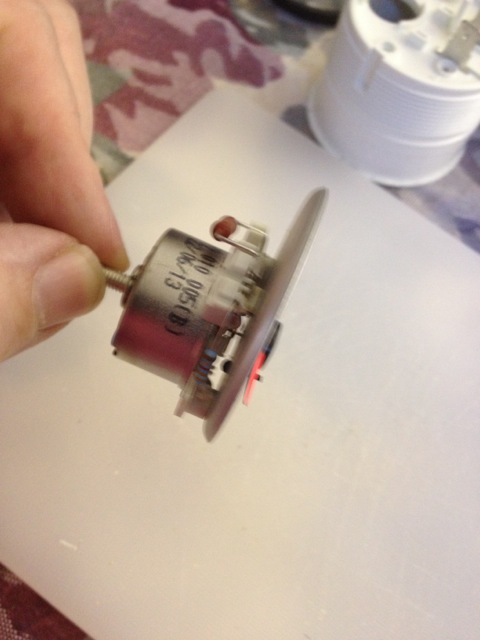 Yes its still using the .020 inch thick face, so it matches all the other units. (IMG:style_emoticons/default/piratenanner.gif) Next remove the needle, I simply pull it off easier said and done. You can also use two spoons to pry them up off the shaft. And yes my needles are the same across the Cockpit gauge line. 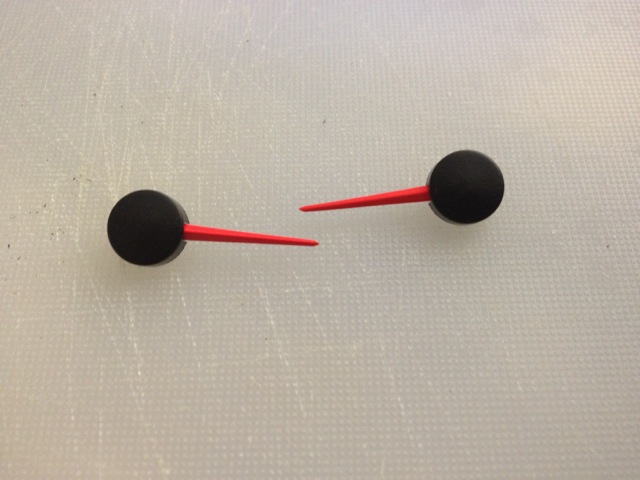 Remove the gauge face next. 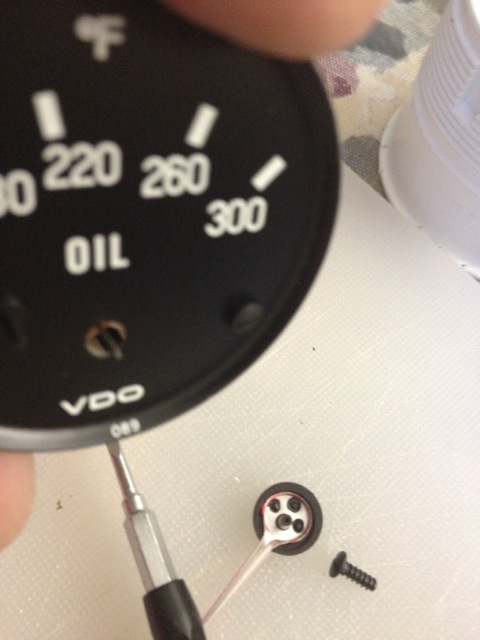 This is what the ring ill look like when done. For this production I don't care much, but the shows you the carnage. 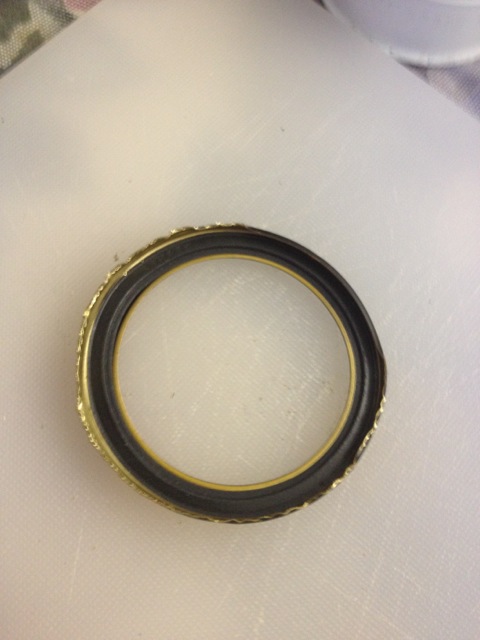 If I left anything out lt me know, or if you have a question feel free to ask. I have done so many of these I just do them, so I might have left out a few items just out of shear familiarity. |
Posts in this topic
 914forme Gauging interest Jan 31 2014, 09:54 PM
 craig downs Awesome, getting back into gauges again huh. Its ... Jan 31 2014, 10:14 PM
 timothy_nd28 Nice! It's weird the sunpro tachs are non... Jan 31 2014, 10:24 PM

 914forme
Nice! It's weird the sunpro tachs are no... Jan 31 2014, 10:34 PM
 IanJ Very interested. Jan 31 2014, 10:40 PM
 timothy_nd28 Glad it was useful and stoked that you're taki... Jan 31 2014, 10:55 PM
 r_towle If you could think about the fonts and see if the ... Jan 31 2014, 11:01 PM

 914forme
If you could think about the fonts and see if the... Feb 1 2014, 11:02 AM
 r_towle No idea, but there are people around who do know..... Feb 1 2014, 07:04 PM
 r_towle Look here
http://www.914world.com/bbs2/index.php?... Feb 1 2014, 07:07 PM
 914forme Okay so I messed with the fonts today, this is as ... Feb 17 2014, 04:08 PM

 CptTripps
First up Tach and Fuel Combo Gauge.
To me, tha... Feb 18 2014, 07:42 AM

 914forme
First up Tach and Fuel Combo Gauge.
To me, th... Feb 18 2014, 09:52 AM

 CptTripps
Okay Doug, what program did you use to do that?
... Feb 18 2014, 12:01 PM
 timothy_nd28 Send the rendering to white gauges.net. They will ... Feb 17 2014, 04:11 PM
 quadracerx Any thought to "White Face" Gauges? I... Feb 17 2014, 04:57 PM
 914forme This set I am using VDO gauges the cockpit series ... Feb 17 2014, 07:13 PM
 timothy_nd28 They did this custom decal for me.
SirAndy's ... Feb 17 2014, 08:55 PM
 Mark Henry Sorry about the highjack but have either of you ta... Feb 18 2014, 06:16 AM

 914forme
Sorry about the highjack but have either of you t... Feb 18 2014, 11:39 AM

 Mark Henry
Sorry about the highjack but have either of you ... Feb 18 2014, 12:49 PM
 bulitt The multi gauge is very nice! Think all the p... Feb 18 2014, 06:29 AM
 falcor75 one little thing I noticed is that the most import... Feb 18 2014, 07:30 AM

 914forme
one little thing I noticed is that the most impor... Feb 18 2014, 11:29 AM
 914forme So I sent up all the gauge faces to Doug, thank yo... Feb 23 2014, 02:28 PM
 914forme That is odd, my export to JPG changed the ratios o... Feb 23 2014, 02:29 PM
  |
25 User(s) are reading this topic (25 Guests and 0 Anonymous Users)
0 Members:

|
Lo-Fi Version | Time is now: 18th April 2025 - 12:40 PM |
Invision Power Board
v9.1.4 © 2025 IPS, Inc.


