|
|

|
Porsche, and the Porsche crest are registered trademarks of Dr. Ing. h.c. F. Porsche AG.
This site is not affiliated with Porsche in any way. Its only purpose is to provide an online forum for car enthusiasts. All other trademarks are property of their respective owners. |
|
|
| McMark |
 May 30 2007, 01:42 AM May 30 2007, 01:42 AM
Post
#1
|
|
914 Freak!                Group: Retired Admin Posts: 20,179 Joined: 13-March 03 From: Grand Rapids, MI Member No.: 419 Region Association: None |
Okay folks, here it is. The pictorial installation of the JWest Shift Kit. Everything went pretty smooth and the setup is real quality. We made a few Original Customs ((IMG:style_emoticons/default/av-943.gif)) to it.
Here is the shifter, ready for modification. Isn't it just begging to be upgraded? (IMG:style_emoticons/default/happy11.gif) 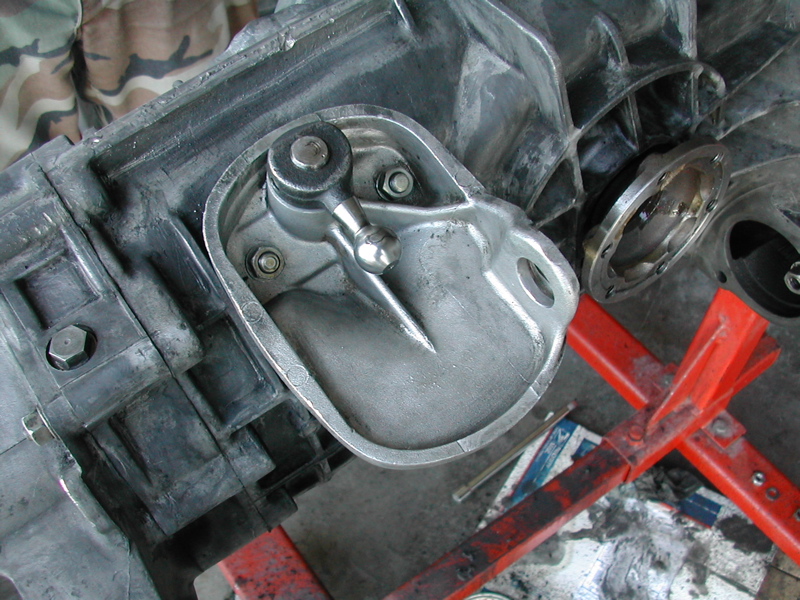 First we test fit. 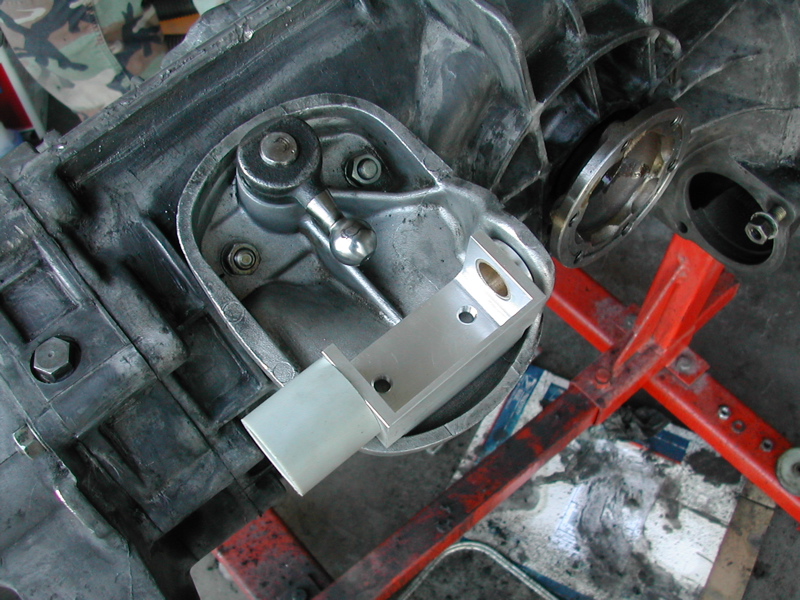 Andy marks the holes. 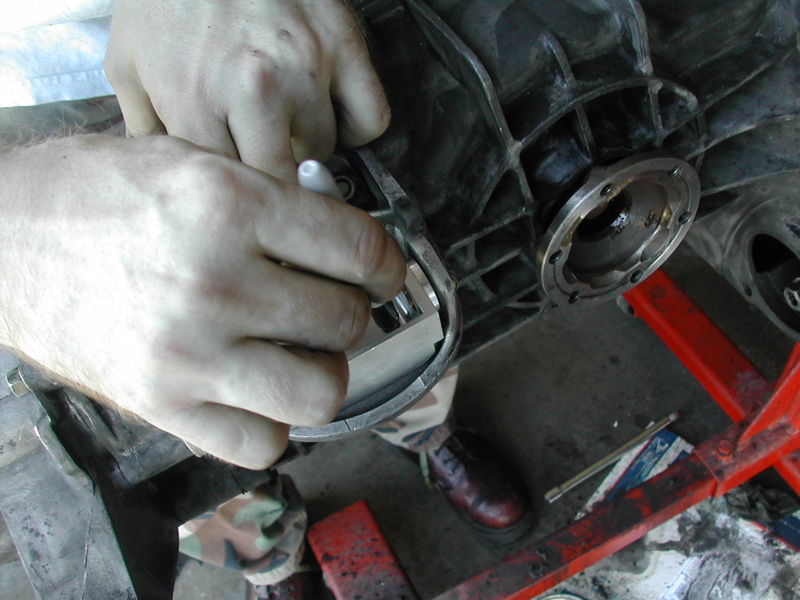 See the marking? 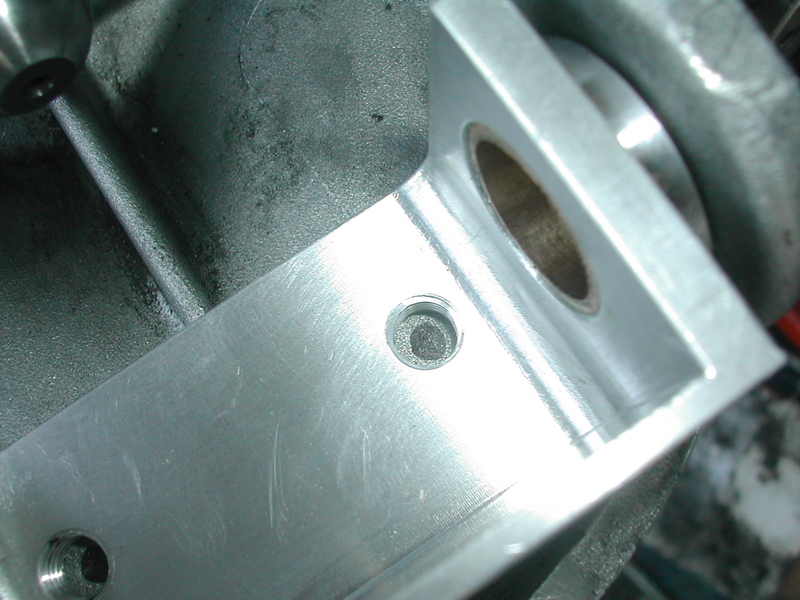 Here they are... 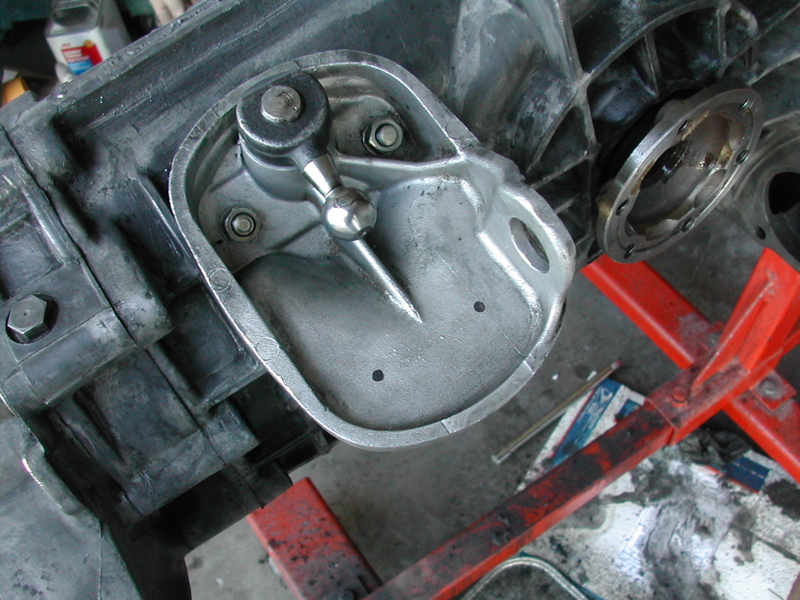 Time out to install the shifter bushing. Grease up the cup. 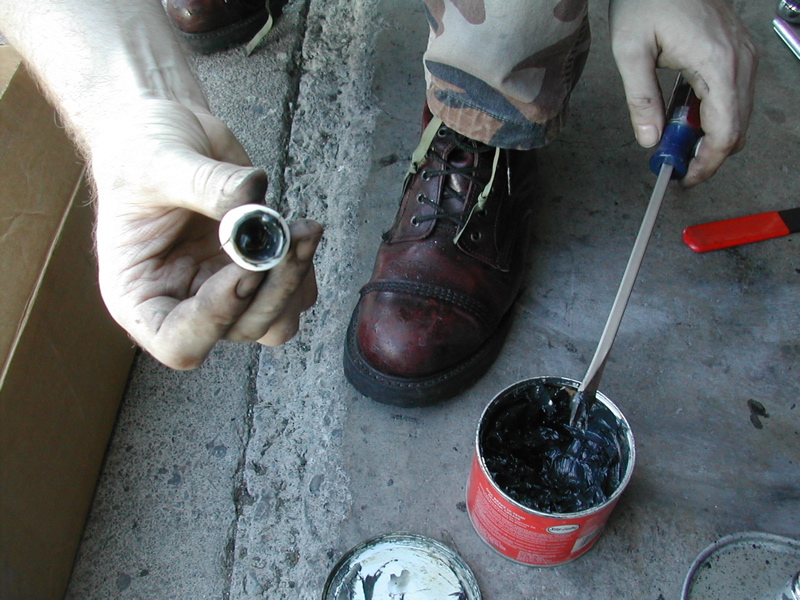 Grease up the shifter ball. 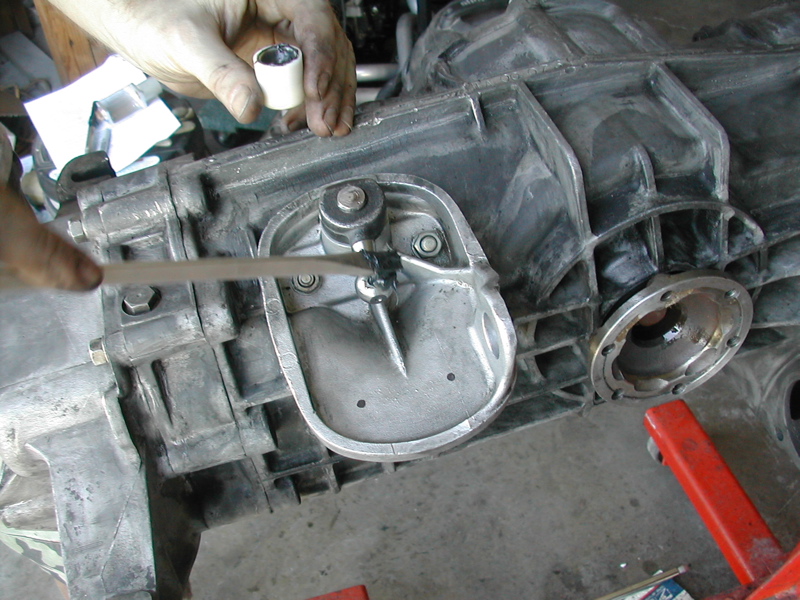 Push the bushing onto the ball. 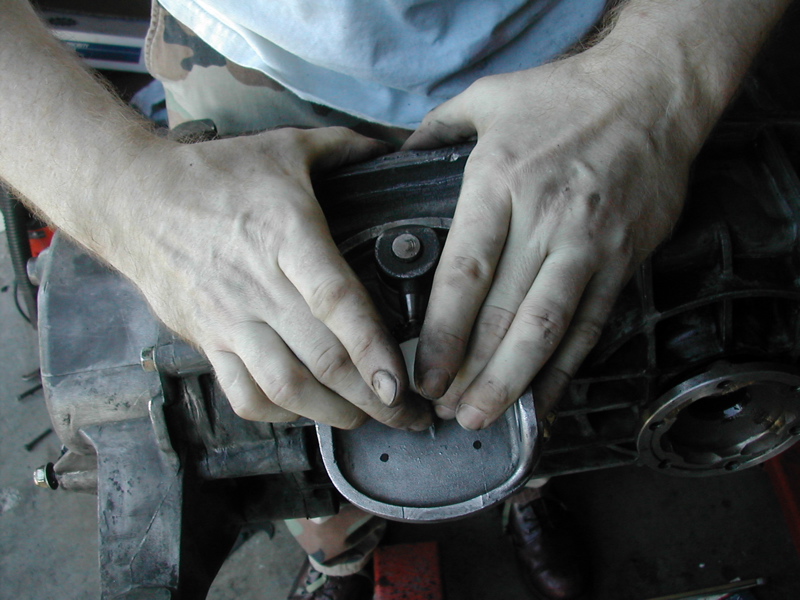 We drilled a hole in the bushing to let air escape. MUCH EASIER TO INSTALL! 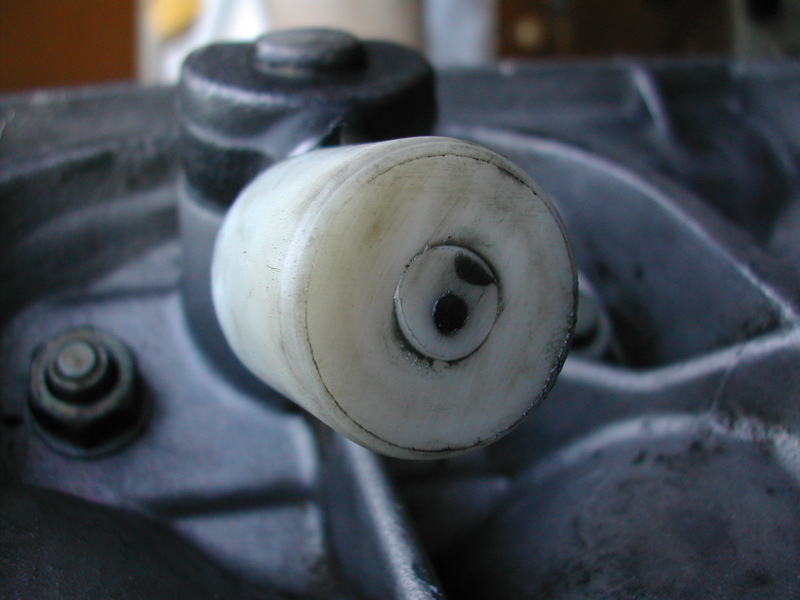 Center punch the markings to keep the drill bit from wandering. Then pre-drill with a small drill bit. The center punch markings are too small for the large drill bit. So make the punches a bit bigger with the small drill (you don't need to go all the way through). 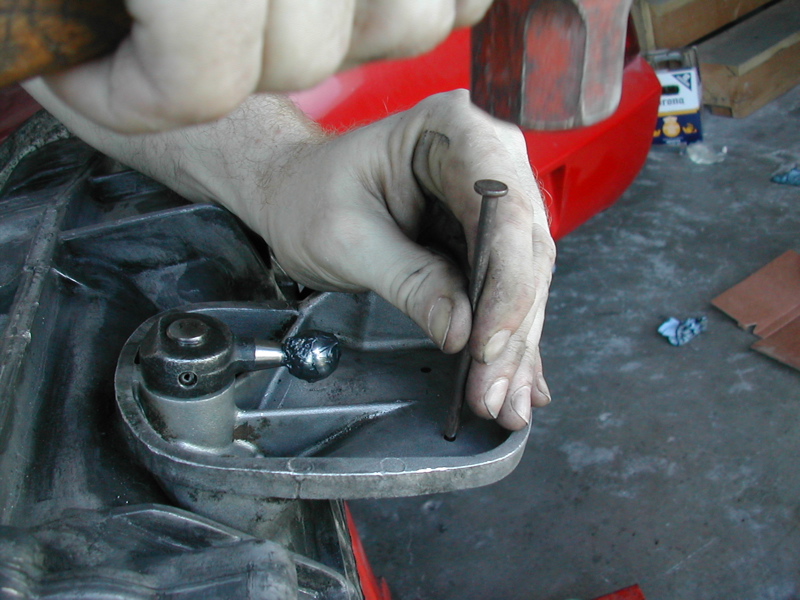 Center punches. 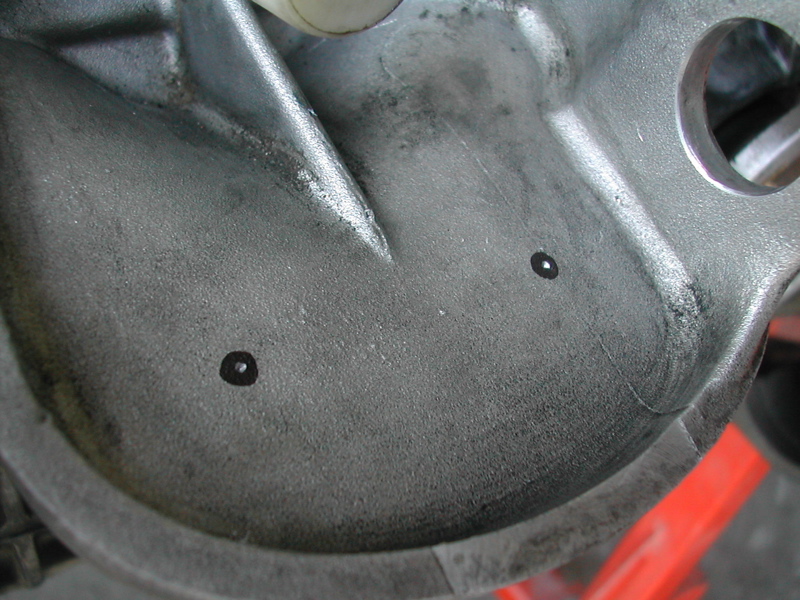 Start drilling! We used a letter P drill bit which was the Perfect size for a Porsche. (IMG:style_emoticons/default/av-943.gif) 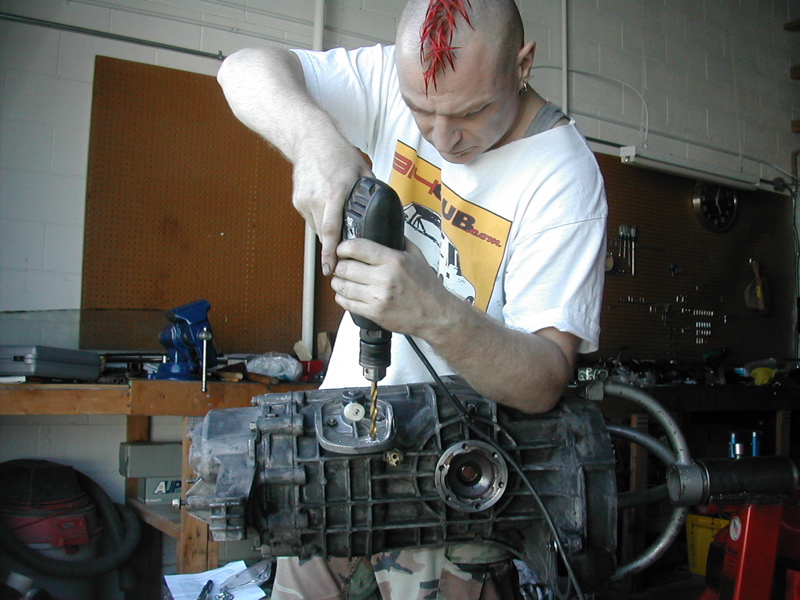 Your markings need to be pretty accurate or use a larger drill bit. We had to elongate one hole slightly. 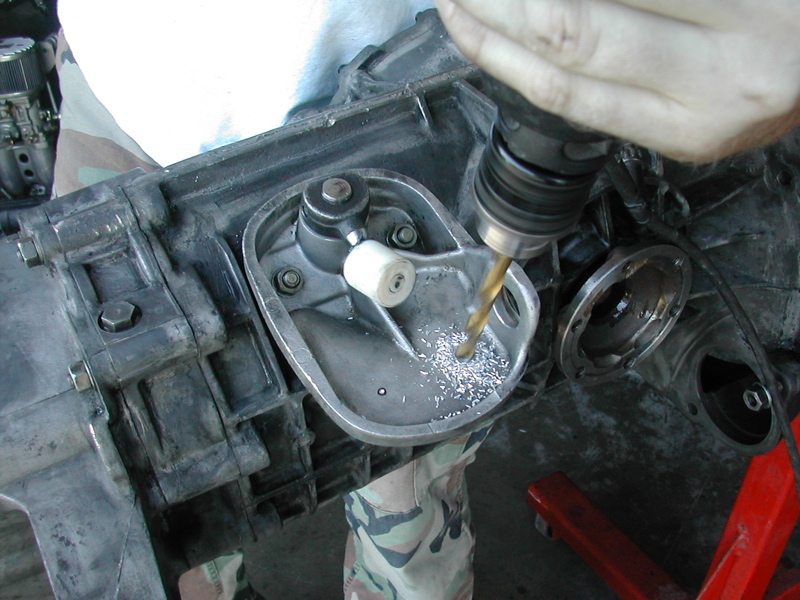 The bolts fit though great! 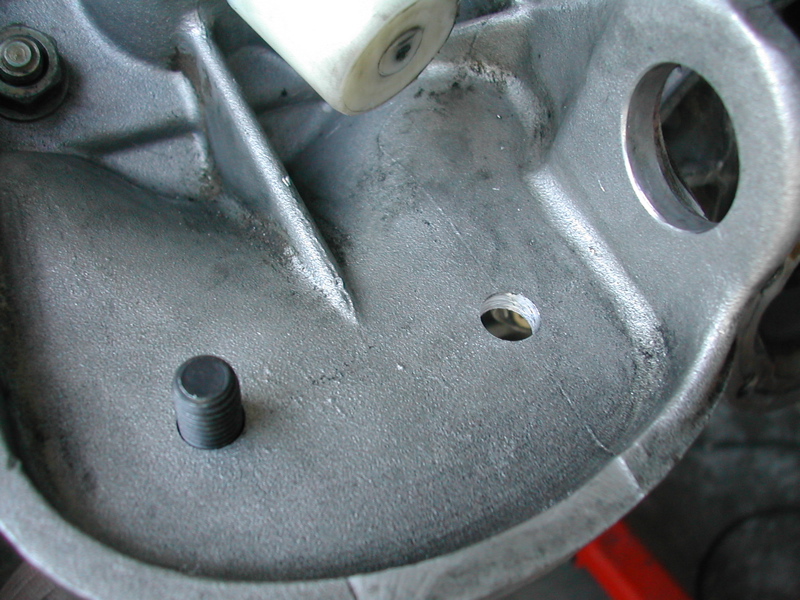 Start the bolts. 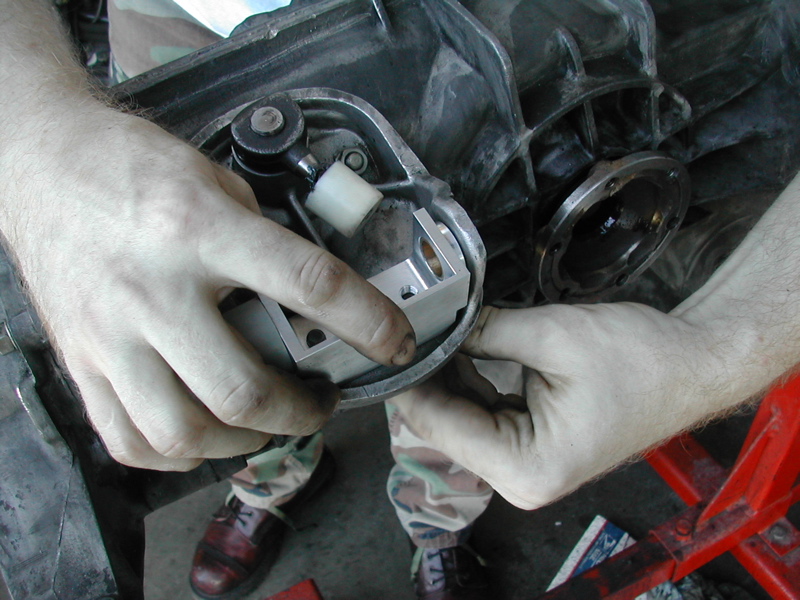 Then tighten with a wrench. 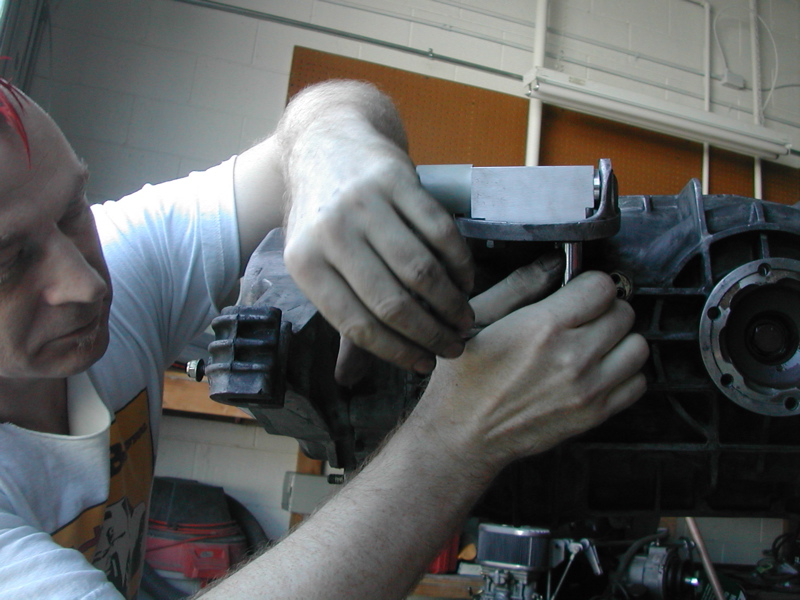 Test fit the shift rod through the stock shifter piece. 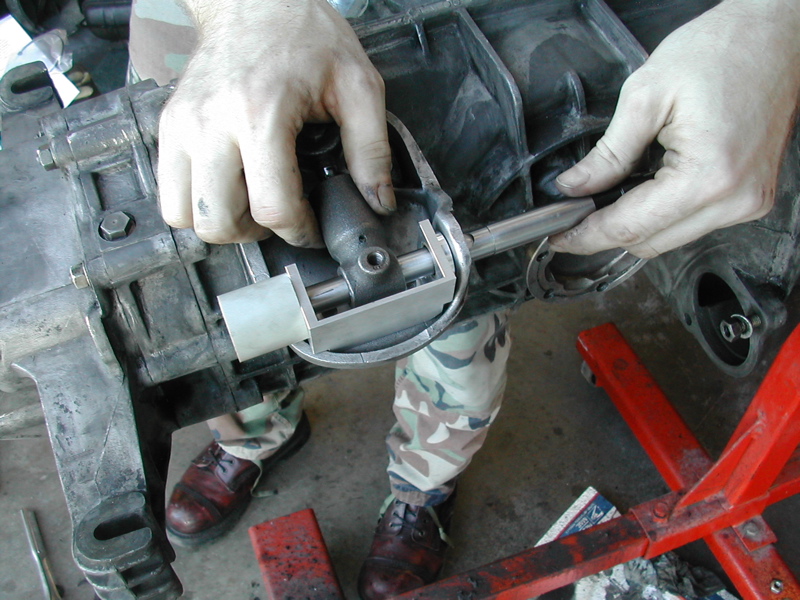 Here it is in place. 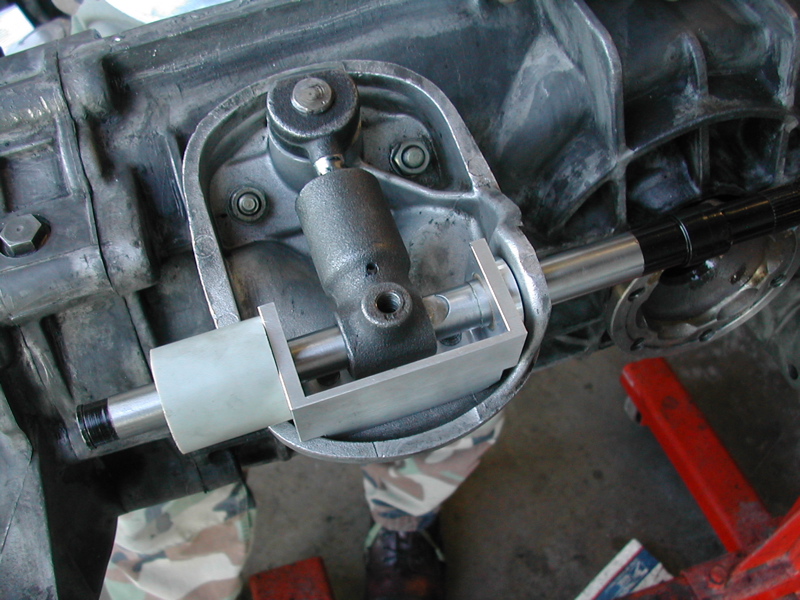 Custom #1: James supplies a bolt to hold things in place. Andy and I decided to grind a stock cone screw. For only one reason, it's more original. (IMG:style_emoticons/default/wink.gif) The bolt would work fine and doesn't use up an extra 15 minutes. 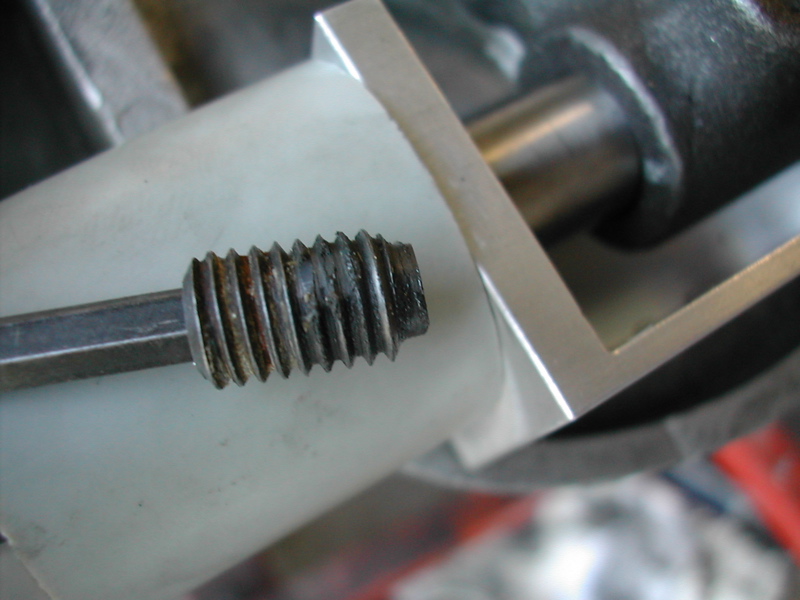 After grinding it threads all the way in and holds firm. 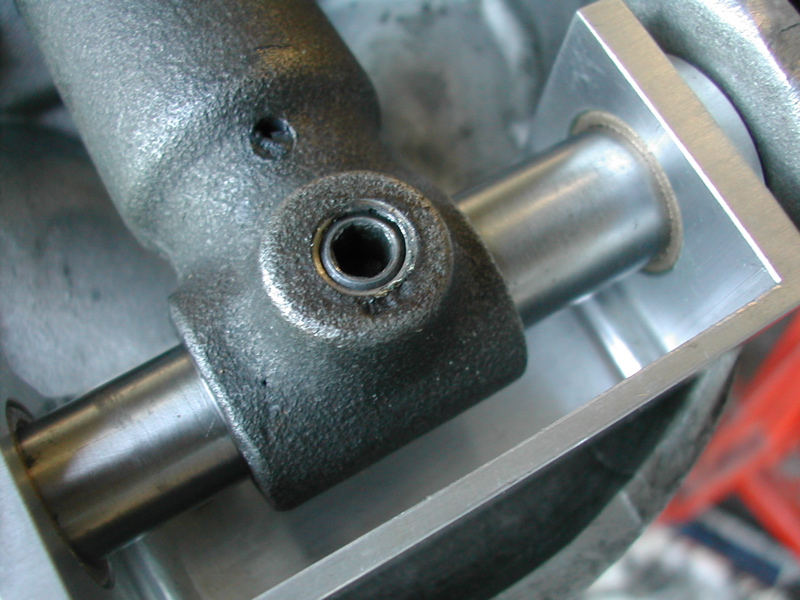 Remove the rod again and grease the bushings. 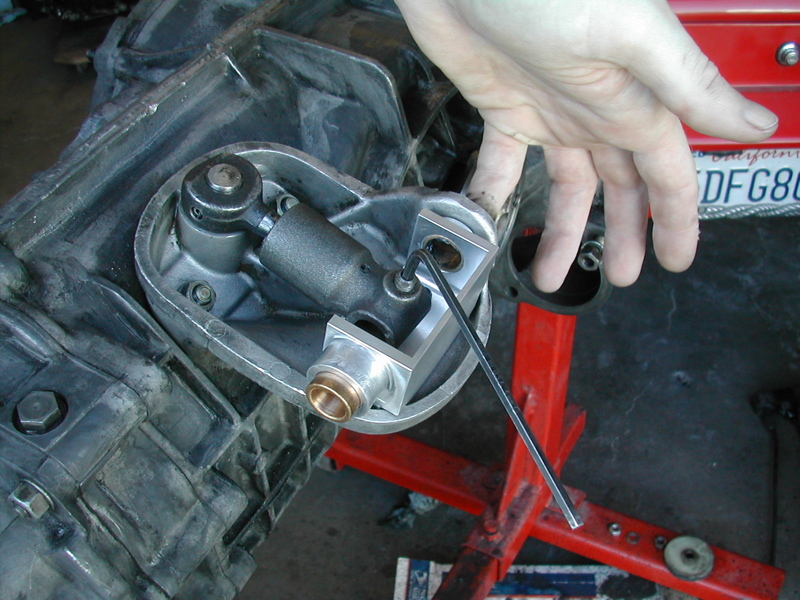 Custom #2: We decided to sacrifice Andy's old shifter cover and rivet the 'tube' on the other side of the new one. 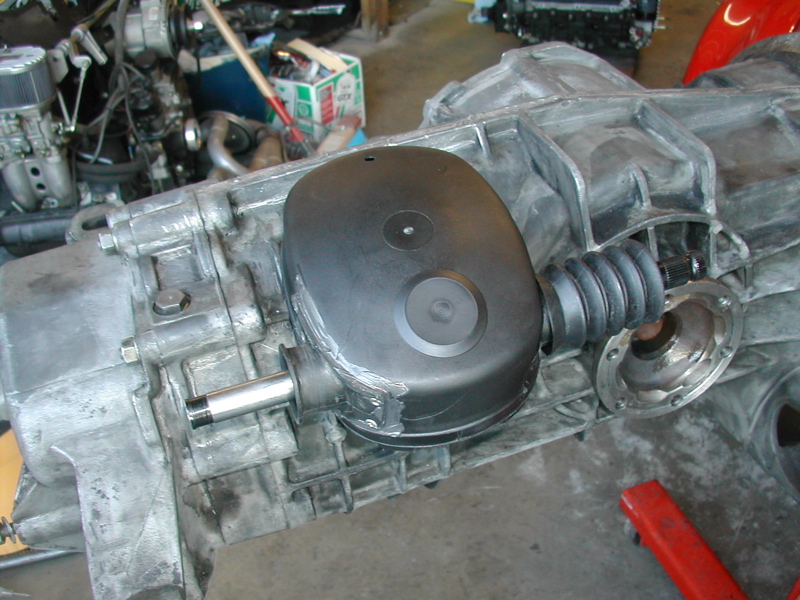 We sealed it up with RTV. 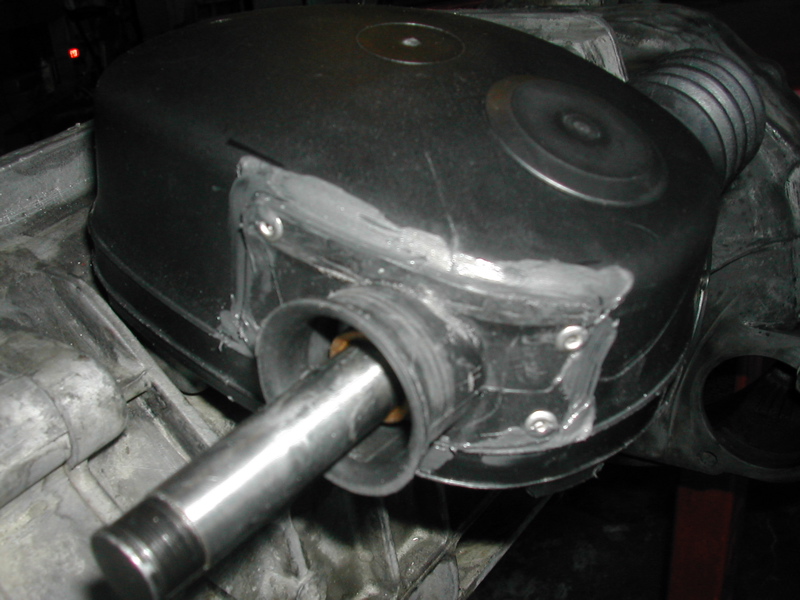 And finally cleaned up the excess once it dried. 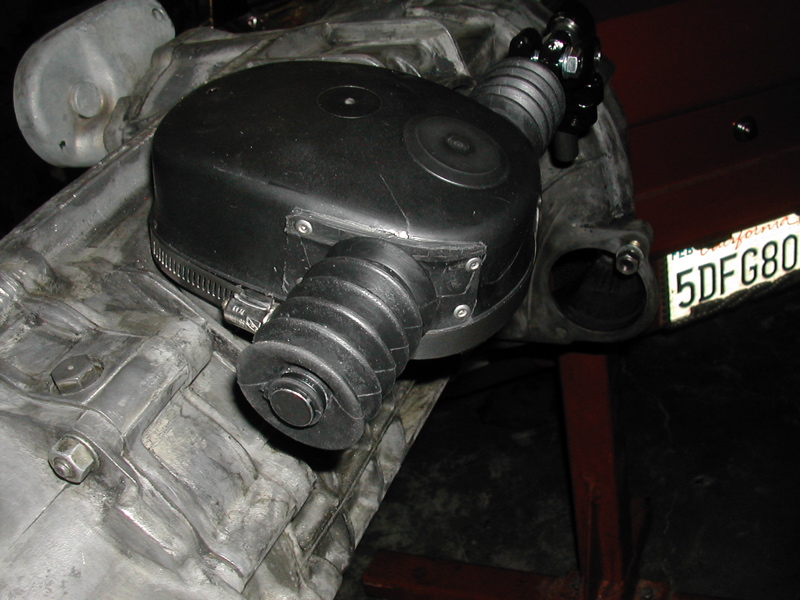 This is only the beginning: Click here for part 2 |
  |
Replies
| ConeDodger |
 May 30 2007, 09:38 PM May 30 2007, 09:38 PM
Post
#2
|
|
Apex killer!                Group: Members Posts: 23,824 Joined: 31-December 04 From: Tahoe Area Member No.: 3,380 Region Association: Northern California 
|
Mark splits tools between two shops right now. I bet he has had a few "oh that is at the other shop" moments lately.
Nice write up guys. I cannot wait for part two. |
Posts in this topic
 McMark JWest Shift Kit Install Part 1: the transmission May 30 2007, 01:42 AM
 SirAndy a few comments ....
- the supplied instructions r... May 30 2007, 02:04 AM

 James Adams
Yes, the diagram is not done yet, sorry.
Each... May 30 2007, 01:14 PM
 Dr Evil Woh! Thats somthing new. I better get on my pr... May 30 2007, 02:22 AM

 SirAndy
Woh! Thats somthing new.
here's a pic of... May 30 2007, 02:48 AM
 Aaron Cox nice work!
when do we find out how good it s... May 30 2007, 03:21 PM
 McMark The motor might go back in the car next week. It... May 30 2007, 04:15 PM

 racerbvd
The motor might go back in the car next week. It... May 30 2007, 06:34 PM

 SirAndy
will it work in a 6??
not sure about "a 6... May 30 2007, 07:21 PM
 URY914 Nice nail. :) May 30 2007, 08:25 PM
 TimT
:rotfl:
well since somebody else picked up o... May 30 2007, 09:28 PM
 McMark I've been looking for a nice center punch (Why... May 30 2007, 11:22 PM
 Gint Did Andy get new boots? Or are those the same old... May 31 2007, 10:15 AM
 pete-stevers might of missed this detail..is there a new bushi... May 31 2007, 10:50 AM

 SirAndy
might of missed this detail..is there a new bush... May 31 2007, 11:16 AM
 drew365 Good thread. I'm anxious to hear how much impr... May 31 2007, 11:37 AM
 Air_Cooled_Nut
...
Time out to install the shifter bushing. Gre... May 31 2007, 11:56 AM

 SirAndy
If SirAndy is worried about messing up his manicu... May 31 2007, 12:03 PM
 Borderline brown boots and Kamo after Easter!!! ... May 31 2007, 07:32 PM
 Dr. Roger Andy and Mark,
Very nice!
BTW, where do you ... May 31 2007, 08:14 PM
 URY914 Thier not called "pants" anymore. Thier ... May 31 2007, 08:38 PM

 Paul Illick
Thier not called "pants" anymore. Thier... Jun 11 2007, 05:30 AM
 effutuo101
brown boots and Kamo after Easter!!! ... Jun 1 2007, 10:52 AM
 SirAndy Click here for Part #2 of the install ...
:boing... Jun 11 2007, 02:40 AM
  |
10 User(s) are reading this topic (10 Guests and 0 Anonymous Users)
0 Members:

|
Lo-Fi Version | Time is now: 24th November 2024 - 07:49 PM |
Invision Power Board
v9.1.4 © 2024 IPS, Inc.


