|
|

|
Porsche, and the Porsche crest are registered trademarks of Dr. Ing. h.c. F. Porsche AG.
This site is not affiliated with Porsche in any way. Its only purpose is to provide an online forum for car enthusiasts. All other trademarks are property of their respective owners. |
|
|
| neo914-6 |
 Jul 16 2007, 02:10 AM Jul 16 2007, 02:10 AM
Post
#1
|
|
neo life      Group: Members Posts: 5,086 Joined: 16-January 03 From: Willow Glen (San Jose) Member No.: 159 |
Introduction: Complete instructions to install the rear needle bearings (let me know if I've missed anything)
These bearings were designed and manufactured by Mike Mueller and sold direct or through Tarret Engineering. He ceased production so they are currently NLA. 736conver also made them in '05 but are NLA. SRS (Shine Racing) had the same design and sold their last bearing sets in '06 with no plans to reproduce. If you are interested in buying needle bearings, contact McMark to get on the pre-sale list. Below are some discussions or comparisons with other bushings to help you decide whether these bearings are right for you. They are a relatively expensive option and require more maintenance than bushings. They are used in most race cars. Which bushings: PolyGraph, Bronze, needle bearing,, or Delrin? Suspension Bushings, Needle vs. Bronze control arm bushings Roller bearing/poly rear bushing Suspension Rebuild, Elephant Racing Polybronze bearings? Suspension Bushings vs. Bearings, Opinions? Precision Needle Bearing Kits, who has Mueller's product installed... Suspension Bushings - Which ones? Best Bushings for my Application?, Oh noes! the choices! Are roller bearings really that great?, anyone out there with some experience? Whats the word on the self aligning control arm mounts, Do they help 914 Suspension Upgrade Spirited Street No Track?, What do you think?? Does anybody else besides me have trouble, getting keeping their NUTS tight!? trailing arm nuts Estimated time is 8 hours of removal, disassembly, bearing assembly, and installation for both sides given no problems with broken bolts or rust issues. Level of difficulty is 6 on a scale of 10. Tools and materials needed: -optional special tools -jack -good jack stands -17, 19, 22mm sockets -breaker bar -torque wrench rated up to 260 ft lbs -hammer -pickle fork or ball joint separator -Grease (Mobil 1 Synthetic, Swepco Wheel Bearing grease or Marine Grade Boat Trailer Wheel Bearing Grease) 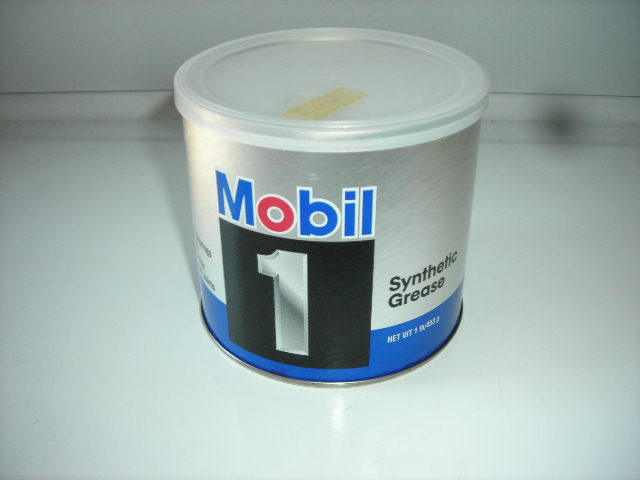 -Grease gun and cartridges -Gloves -Loctite 60905 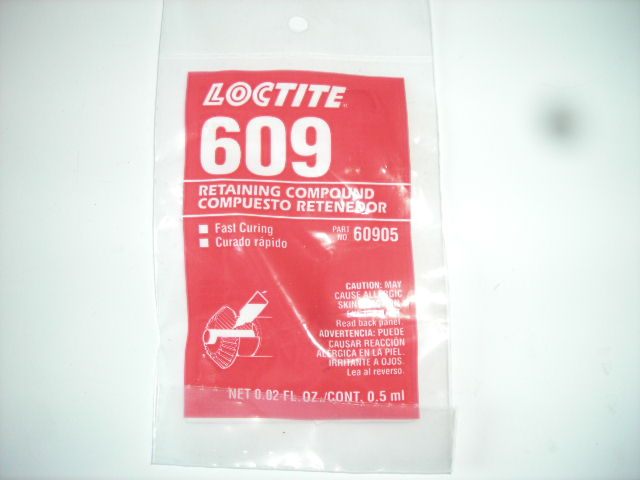 -spray lubricant -degreaser and cleanser -spray paint (optional) Nomenclature: trailing arm = control arm control arm bearing = pivot bracket = cup bearing Housing = cad plated tube = bearing race body ear = tab (inner pivot) 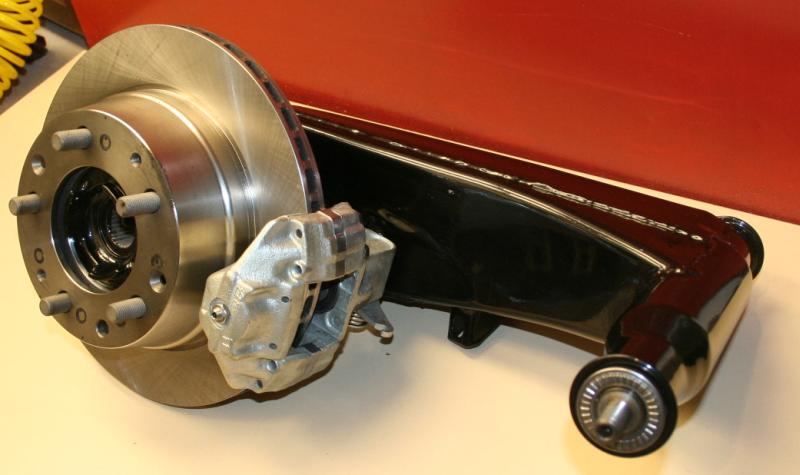 I had both Shine Racing (from a group buy) and Mueller's Design Werks rear bearings but used Mikes because he already sold me his last set and was also fitting the PMB v-calipers to my trailing arms. I sold the SRS rear bearings to (iamchappy) for his turbo 914. Jim (roadster fan) disassembled, powdercoated, and rebuilt these arms with new hub bearings and initially rubber bushings last year as a contribution to my neo914 project. FYI, I'm removing arms with Rich Johnson 5 lug hubs and I'm replacing them with arms I originally bought for my V8 914 on eBay. They are equipped with what appears to be 944 hubs to accept larger 944/911 CV's. At this time you may also consider upgrading to 5 lug. |
  |
Replies
| neo914-6 |
 Jul 23 2007, 02:58 AM Jul 23 2007, 02:58 AM
Post
#2
|
|
neo life      Group: Members Posts: 5,086 Joined: 16-January 03 From: Willow Glen (San Jose) Member No.: 159 |
Install the rod and needle bearing. I used a large socket and gently tapped the bearing into the tube race
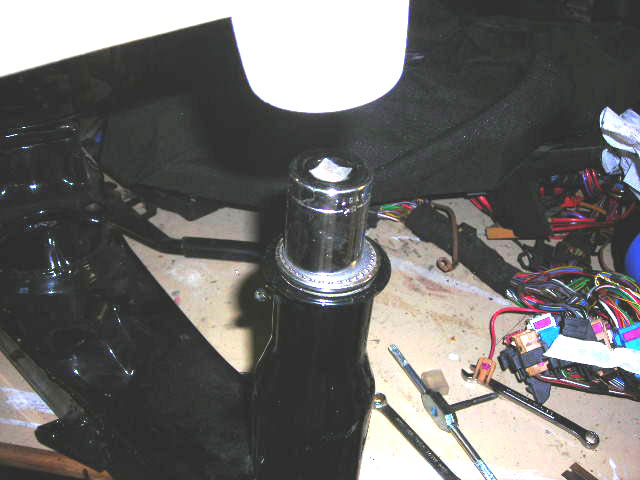 Install the thrust washer with o-ring and silicone 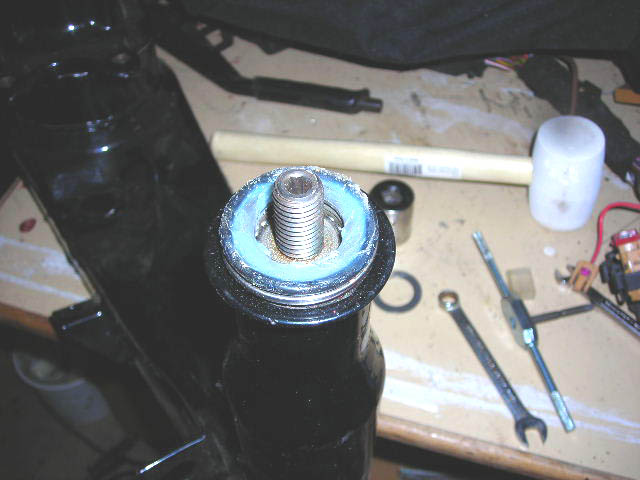 Install the end cap 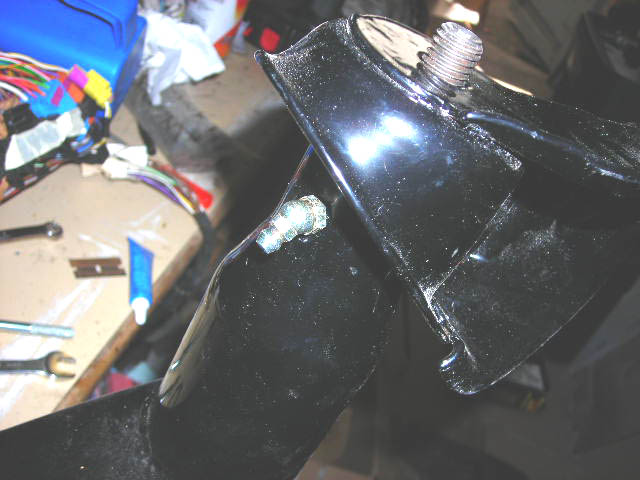 Check the shock mount bolt fit, you may need to hone the hole 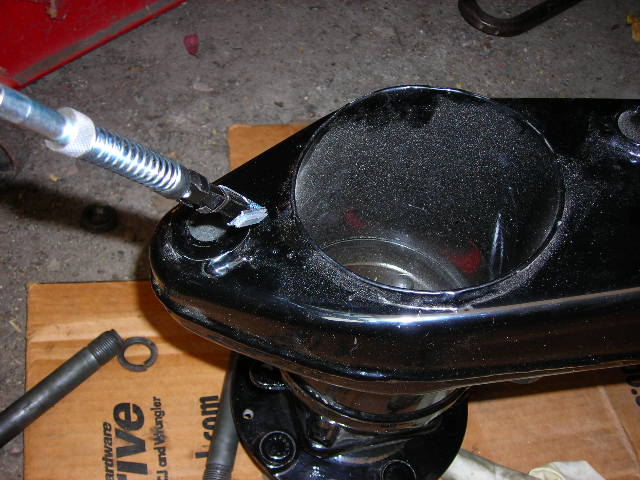 |
Posts in this topic
 neo914-6 Installing needle bearings on rear trailing (radius) control arms Jul 16 2007, 02:10 AM
 neo914-6 Trailing arm removal:
1. Remove the axles, the nu... Jul 16 2007, 02:35 AM
 neo914-6 With trailing arms removed from car, now is a good... Jul 16 2007, 02:54 AM
 neo914-6 Installing the bearings in the trailing arms
Here... Jul 23 2007, 02:23 AM
 neo914-6 1. Once the arms and bearings are assembled, use t... Sep 7 2007, 03:13 PM
 Twystd1 This has to be one of the best articles I have eve... Sep 7 2007, 04:08 PM
  |
1 User(s) are reading this topic (1 Guests and 0 Anonymous Users)
0 Members:

|
Lo-Fi Version | Time is now: 29th April 2025 - 06:24 PM |
Invision Power Board
v9.1.4 © 2025 IPS, Inc.


