|
|

|
Porsche, and the Porsche crest are registered trademarks of Dr. Ing. h.c. F. Porsche AG.
This site is not affiliated with Porsche in any way. Its only purpose is to provide an online forum for car enthusiasts. All other trademarks are property of their respective owners. |
|
|
| racunniff |
 Aug 5 2007, 11:48 PM Aug 5 2007, 11:48 PM
Post
#1
|
|
volt914   Group: Members Posts: 172 Joined: 21-August 06 From: Fort Collins, CO Member No.: 6,705 Region Association: Rocky Mountains |
Spent the day installing my windshield. Started with new windshield clips from Pelican Parts (you will need 19 of them):
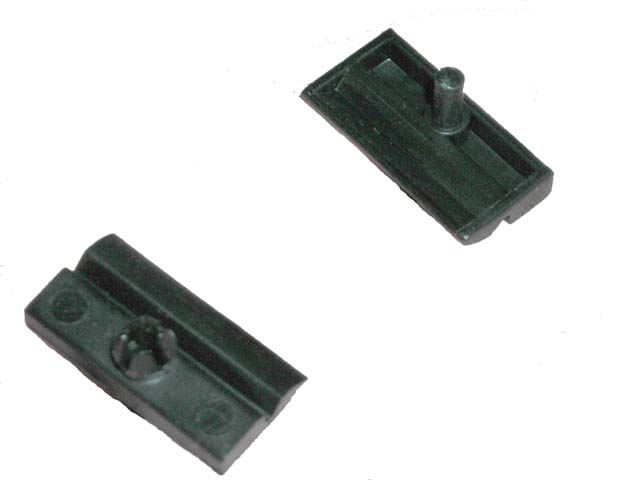 This picture shows the "top" and "bottom" of the clip. The "bottom" of the clip pushes into the windshield frame and also has the notch to capture the trim (see picture below for how this works). The "top" of the clip has the rivet that you'll need to drive in to permanently attach the clip. You'll also need some of this, Butyl Tape (I got mine at NAPA) - 1/4 inch is the recommended size: 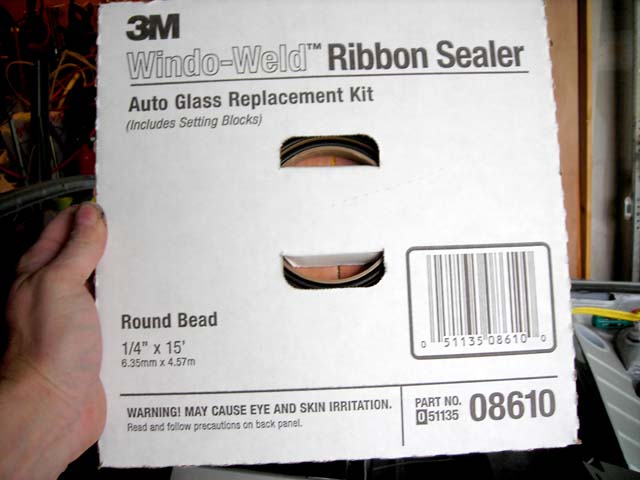 Note the warning about eye and skin irritation. I don't know if it's true, but I did the final cleaning and install wearing gloves, so I would not know. I do know that it is extremely sticky, and would likely be a lot of fun to get off your skin without evil chemicals like acetone. You'll also need these - window spacers (also available from Pelican Parts - you need 2): 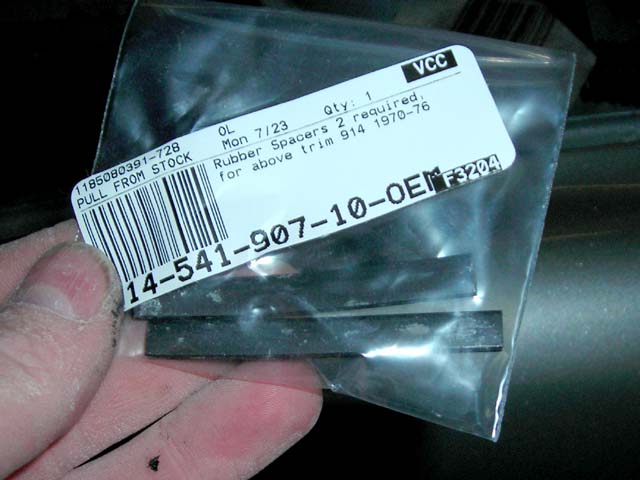 The butyl I bought also came with spacers, but they are not the same shape/size, so I do not trust them. Now for the clips. I dry-fit them on my trim to verify the orientation I wanted when I installed them: 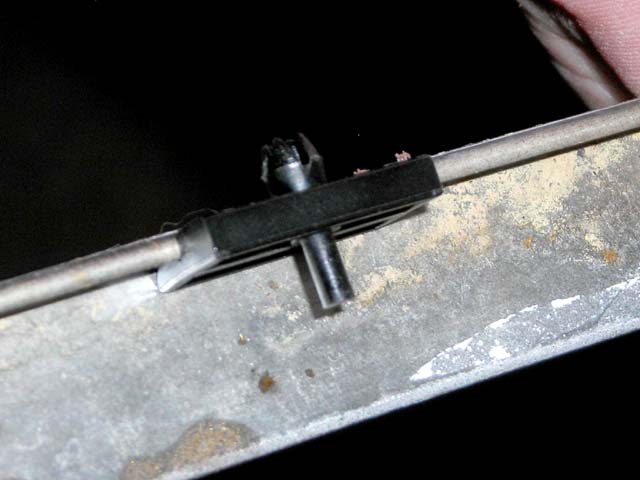 Installing the clips is pretty straightforward. You put a clip in a mounting hole: 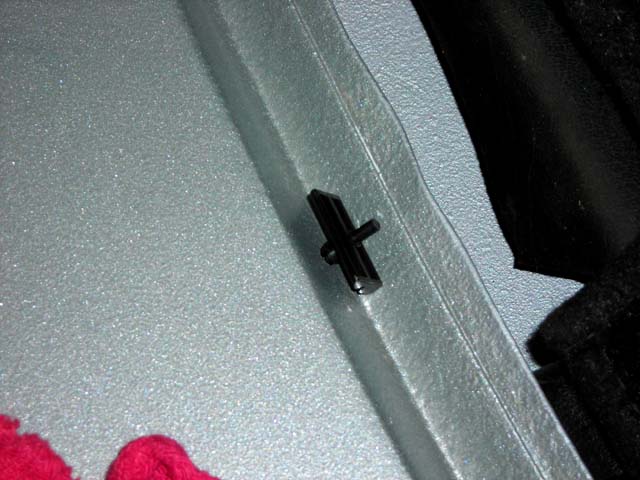 and then you push the clip in with your thumbs as far as you can: 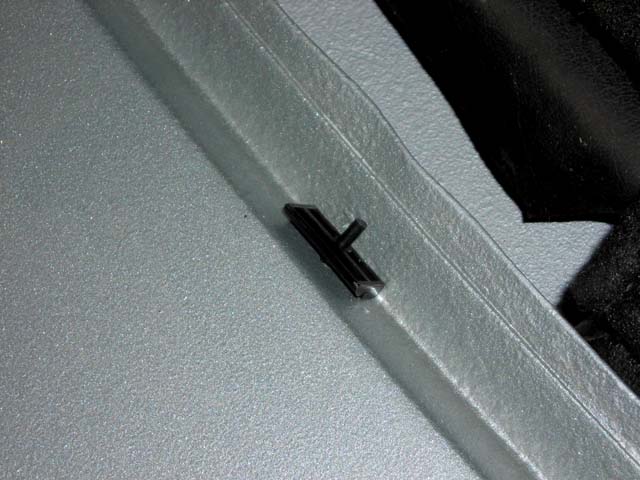 You need to get it very close to flush, because if you don't, when you try to push the rivet in, it will just pop the clip out of the hole (ask me how I know (IMG:style_emoticons/default/dry.gif) ). This is not fatal, though, because you can usually use a pair of pliers to pull the rivet back out and start over (assuming that you have not mashed the rivet as you try to push it in). Part II, coming soon. |
  |
Replies
| racunniff |
 Aug 6 2007, 12:08 AM Aug 6 2007, 12:08 AM
Post
#2
|
|
volt914   Group: Members Posts: 172 Joined: 21-August 06 From: Fort Collins, CO Member No.: 6,705 Region Association: Rocky Mountains |
Part II.
The final step in installing a clip is to push the rivet in. I placed a bolt against the rivet and then hammered it in: 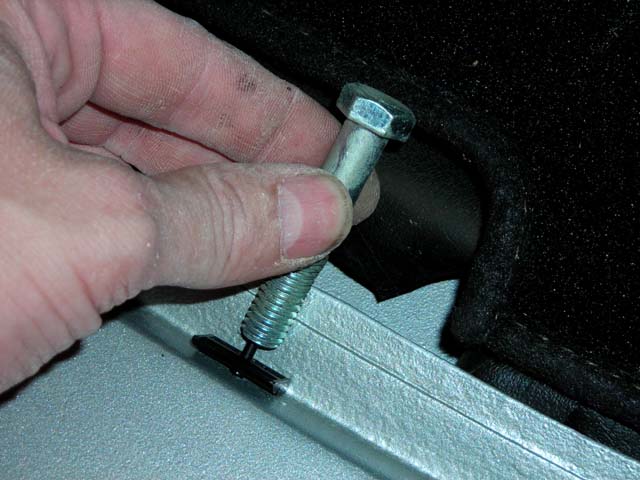 When you are all done, the installed clip will look like this (the rivet head is flush with the clip, so it will not catch the windshield as it gets installed): 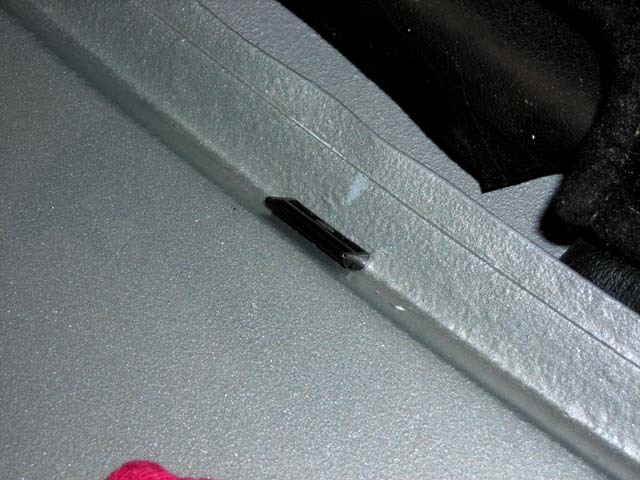 OK, now for the fun part - the butyl tape. Before applying the tape, you need to get your windshield and frame *extremely* clean. On the windshield, I used lacquer thinner to get the remnants of the butyl off the windshield. I then used glass cleaner to make the whole windshield squeaky clean. From this point on, you should always wear gloves whenever you handle your windshield, to keep the oils from your fingers from interfering with the adhesion. Here's the windshield, all prepped and ready to put in: 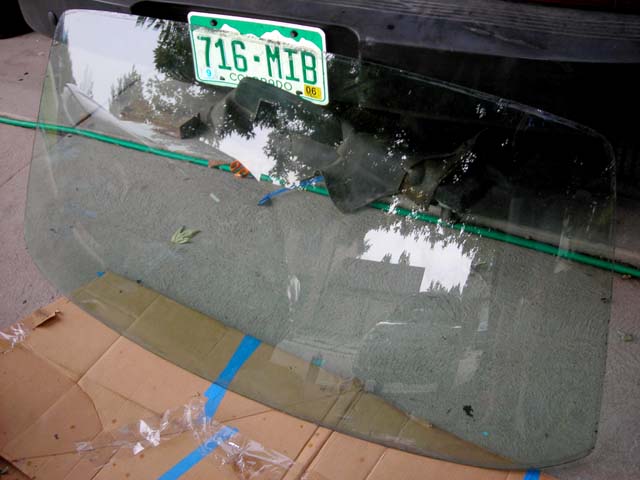 (the smuck you can see near the edge is the remnant of silicone that the PO put under the windshield trim - it is on the outside of the windshield and will not interfere with the butyl...). I installed the tape starting at the passenger's upper corner, and ran it all the way around while keeping the backing on it (makes it easier to handle): 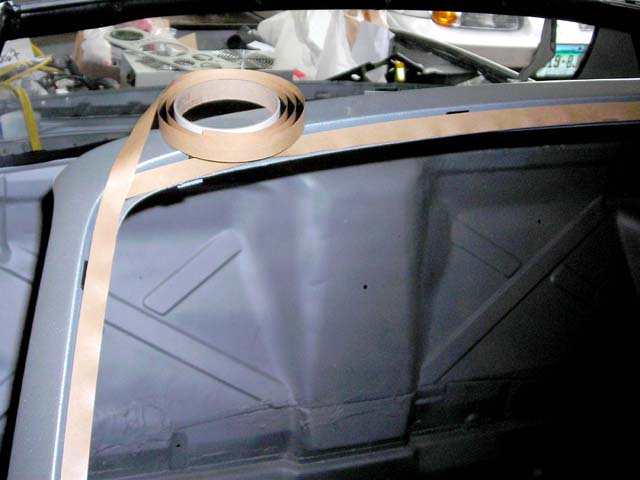 I butted the butyl together rather than overlapping (overlapping can lead to a bump which is very hard to level out, even if you try to taper the butyl). Some people swear by overlapping; it felt simpler to me just to butt it together and make sure there was no gap. Here is the butyl in the driver's lower corner. You want it to be well positioned on the frame - you want the edge of the windshield to be just outside the butyl when you are all done: 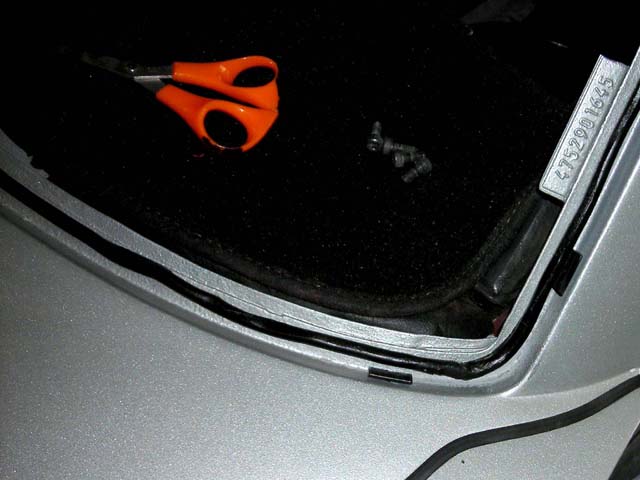 What you want to avoid, if you can, is touching the butyl to the clips or the outside edge of the frame - it is very sticky, and hard to adjust (but not impossible if you are patient). Finally, you install the spacers (the location is not critical - you just want them positioned conveniently to support the windshield while you get ready to press it against the butyl). I forgot to take a picture... Finally, you center the windshield in the frame. This is, by far, the trickiest part of the process. The butyl is sticky, and if you accidentally touch the windshield to it before it is well positioned, you may have to restart all the way back at the cleaning process, since you will thin the tape if you try to pry the windshield off of it. I did it by standing *inside* the cabin (no seats or shifter installed, I could step anywhere), where I could easily reach the entire windshield, and could also easily check to see whether it was well-centered). Because both hands were busy, I did not get any pictures of this part of the process, sorry. Finally, once you have the windshield centered *exactly* where it should go, you lay it against the butyl. The last step is to firmly press the windshield into the butyl so that a seal is formed around the entire window. Be very careful not to stress the window while you do this - I thought I was being careful, but I ended up extending a minor crack several inches (IMG:style_emoticons/default/headbang.gif) I think it will epoxy up, though, so I'm not about to start over. Part II, coming soon. |
Posts in this topic
 racunniff Windshield install Aug 5 2007, 11:48 PM
 racunniff Part III
Not much in this part - I have yet to ac... Aug 6 2007, 12:12 AM
 watsonrx13 Excellent write up, definately a classic how-to on... Aug 6 2007, 05:21 AM

 racunniff
Excellent write up, definately a classic how-to o... Aug 6 2007, 11:22 PM
 9146986 One thing that I recommend is painting the windshi... Aug 6 2007, 08:01 AM

 racunniff
One thing that I recommend is painting the windsh... Aug 6 2007, 11:23 PM

 jmitro
One thing that I recommend is painting the windsh... Sep 28 2018, 06:36 AM
 rhodyguy great write up. first ever for a windshield i thin... Aug 6 2007, 09:31 AM

 racunniff
great write up. first ever for a windshield i thi... Aug 6 2007, 11:27 PM
 KELTY360 Can't believe you did this alone....very impre... Aug 6 2007, 11:39 PM
 racunniff Part IV
Finished it off this weekend. First orde... Aug 13 2007, 09:39 PM

 mcbrems Pretty amazing that you didn't overspray onto ... May 19 2011, 03:50 PM
 racunniff Part V
One thing I discovered after I sanded the ... Aug 13 2007, 09:48 PM
 racunniff Part VI
Clip the lower piece in, then work your w... Aug 13 2007, 09:54 PM
 Gint We'll move this to the Lapuwali Classic Thread... Aug 13 2007, 10:31 PM

 racunniff
We'll move this to the Lapuwali Classic Threa... Aug 13 2007, 10:42 PM
 iamchappy I am surprised the left and right are marked oppos... Aug 14 2007, 08:24 AM

 racunniff
I am surprised the left and right are marked oppo... Aug 14 2007, 09:44 AM

 theer
I am surprised the left and right are marked opp... Sep 28 2018, 07:57 AM
 aircooledboy A nice install. Good Work. :beer2:
A few detail... Aug 14 2007, 11:21 AM

 racunniff
A nice install. Good Work. :beer2:
A few detai... Aug 14 2007, 11:17 PM

 aircooledboy
Thanks for the tips! I am obviously not a p... Aug 15 2007, 07:35 PM

 buhs914
No hazard beyond the potential reduction in the ... Jun 5 2010, 10:58 PM
 rhodyguy i'm in the middle of pulling one and this may ... Aug 17 2007, 01:15 PM
 bandjoey I changed my windshield in the cooler weather at p... Jun 6 2010, 09:23 PM
 PRS914-6 I really admire people who jump in and do their ow... Jun 6 2010, 10:02 PM
 ConeDodger For any of you Northern California guys who are do... May 19 2011, 06:16 PM
 mcbrems I humbly offer my windshield install post from my ... Jun 3 2011, 03:57 PM
 avidfanjpl Dumb question
Where do the 2 spacers go?
I have ... Jun 3 2011, 04:23 PM
 sfrenck Just did an install last week. My 2 cents - my fr... Jun 3 2011, 07:23 PM

 mcbrems
...One thing I wish I had done while the window w... Jun 6 2011, 06:04 PM
 Mikey914 I came across these while looking at a maintence m... Jun 4 2011, 01:19 AM
 majkos I love it!
I'm gonna try to make a few.
I... Jun 5 2011, 11:48 AM

 jaxdream
I love it!
I'm gonna try to make a few.
I... Jun 6 2011, 08:23 AM
 JawjaPorsche Thanks for an excellent write up. Sep 28 2018, 01:47 PM
  |
1 User(s) are reading this topic (1 Guests and 0 Anonymous Users)
0 Members:

|
Lo-Fi Version | Time is now: 3rd April 2025 - 05:21 AM |
Invision Power Board
v9.1.4 © 2025 IPS, Inc.


