|
|

|
Porsche, and the Porsche crest are registered trademarks of Dr. Ing. h.c. F. Porsche AG.
This site is not affiliated with Porsche in any way. Its only purpose is to provide an online forum for car enthusiasts. All other trademarks are property of their respective owners. |
|
|
  |
| saigon71 |
 May 1 2012, 07:52 AM May 1 2012, 07:52 AM
Post
#181
|
|
Advanced Member     Group: Members Posts: 2,006 Joined: 1-June 09 From: Dillsburg, PA Member No.: 10,428 Region Association: MidAtlantic Region 

|
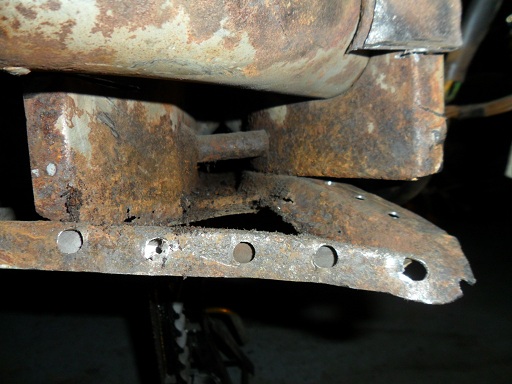
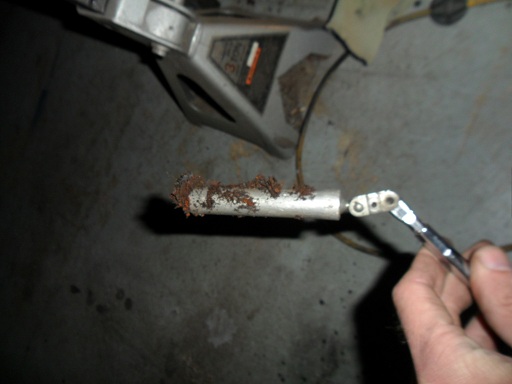
Started cleaning between the inner & outer firewall on the drivers side. I pulled out a lot of scale with an extension magnet:
  Treated rusty areas of the door jamb and painted. I wanted to knock this out early so I don't have to remove the door again: 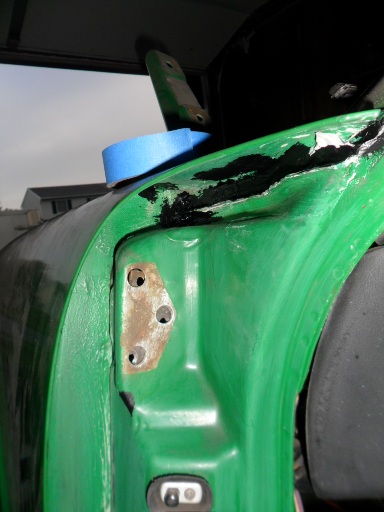 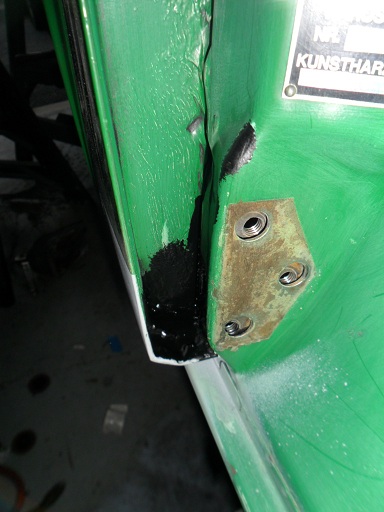 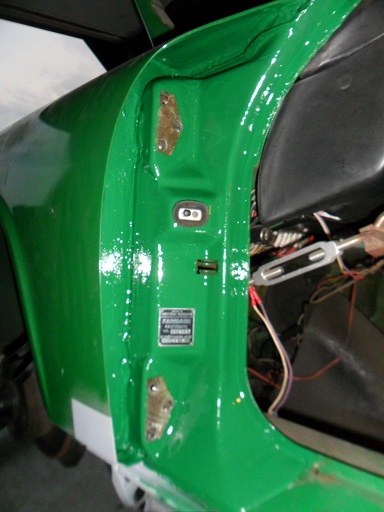 There was some more rust up in the long that has to be removed. The only way I could reach it was with a Dremel tool and a cutting wheel...very tedious: 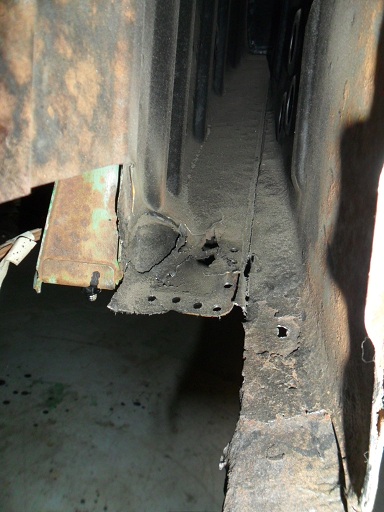 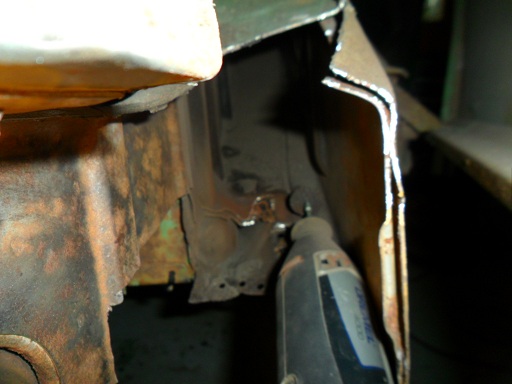 |
| saigon71 |
 May 1 2012, 07:55 AM May 1 2012, 07:55 AM
Post
#182
|
|
Advanced Member     Group: Members Posts: 2,006 Joined: 1-June 09 From: Dillsburg, PA Member No.: 10,428 Region Association: MidAtlantic Region 

|
Ospho'd, primed and painted the air channel in the rear door jamb:
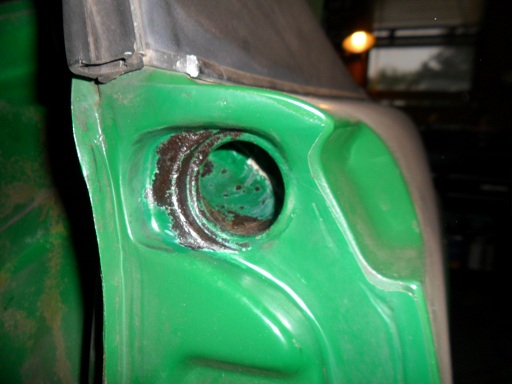 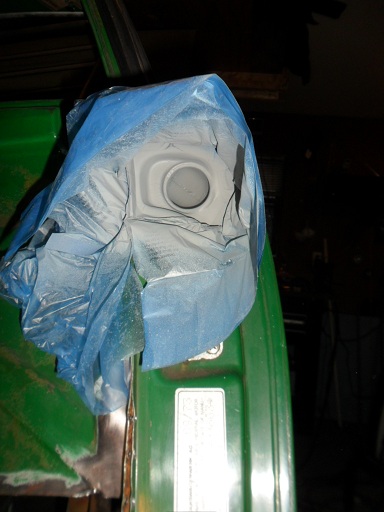 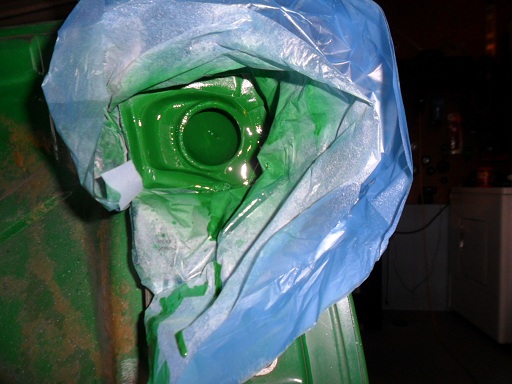 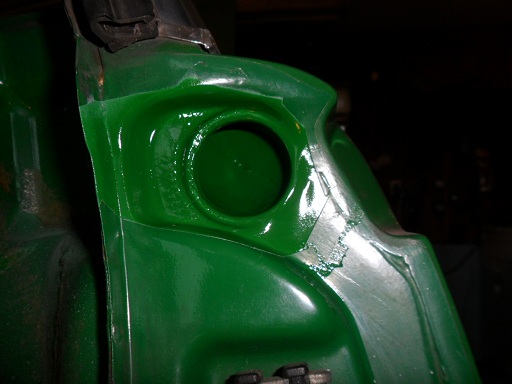 Did the same with surface rust in the inner fender well: 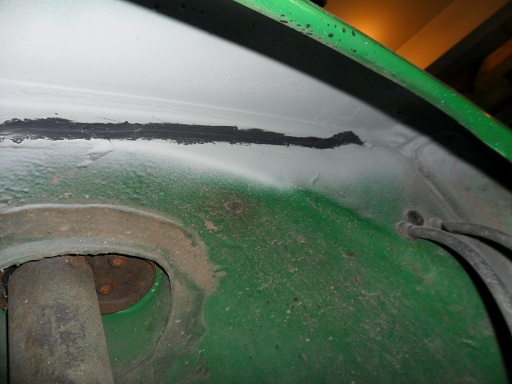 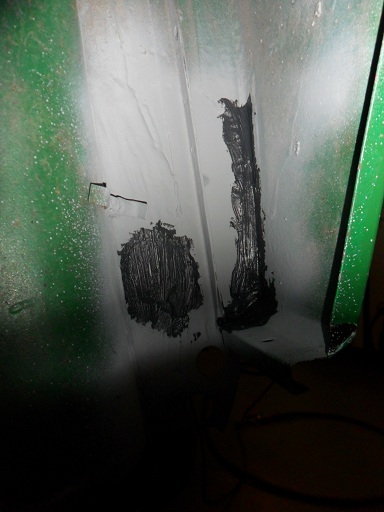 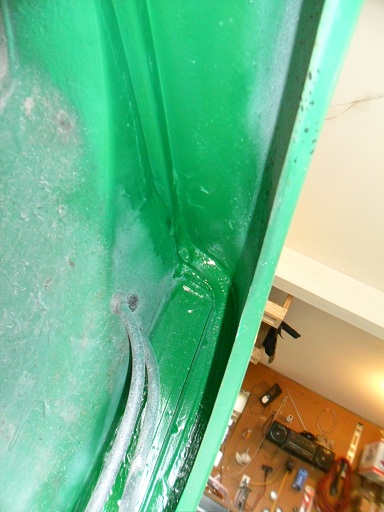 |
| saigon71 |
 May 1 2012, 08:03 AM May 1 2012, 08:03 AM
Post
#183
|
|
Advanced Member     Group: Members Posts: 2,006 Joined: 1-June 09 From: Dillsburg, PA Member No.: 10,428 Region Association: MidAtlantic Region 

|
Fantastic thread!...discovered it just in time before I start some major hell hole repairs of my own. Meticulous work Bob, nice one! Cheers, Ollie. Thanks Ollie! Good luck with your hell hole repairs. Be sure to brace the body, measure and re-measure before welding and above all...take your time! Bob |
| Eric_Shea |
 May 1 2012, 08:33 AM May 1 2012, 08:33 AM
Post
#184
|
|
PMB Performance                Group: Admin Posts: 19,289 Joined: 3-September 03 From: Salt Lake City, UT Member No.: 1,110 Region Association: Rocky Mountains  |
Looking good Bob. Great to meet you at Hershey!
|
| saigon71 |
 May 29 2012, 07:14 PM May 29 2012, 07:14 PM
Post
#185
|
|
Advanced Member     Group: Members Posts: 2,006 Joined: 1-June 09 From: Dillsburg, PA Member No.: 10,428 Region Association: MidAtlantic Region 

|
Had to cut out some more rust on the inner firewall:
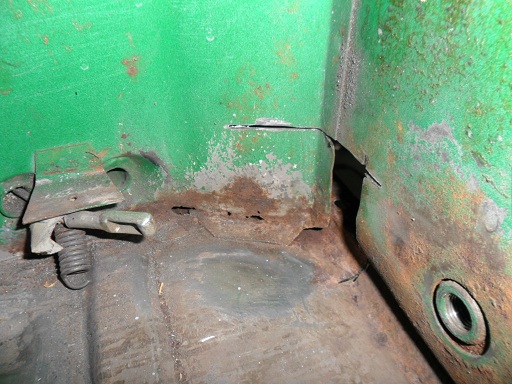 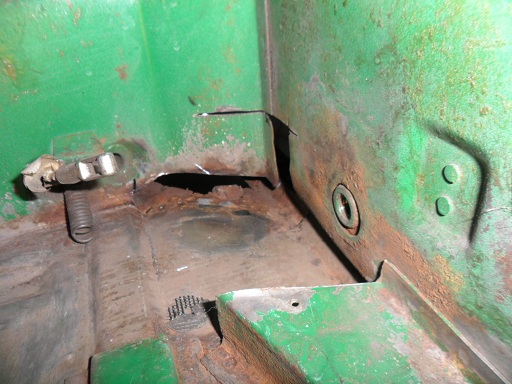 A small section of the rear pan was shot. I couldn't justify buying a full replacement panel: 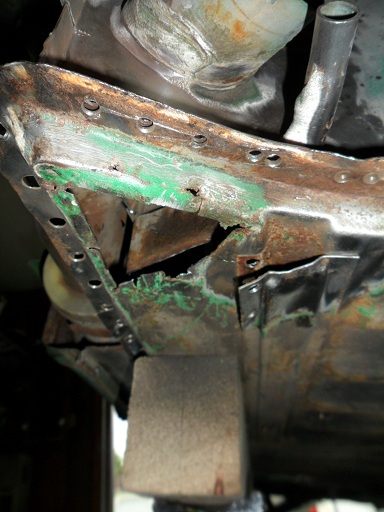 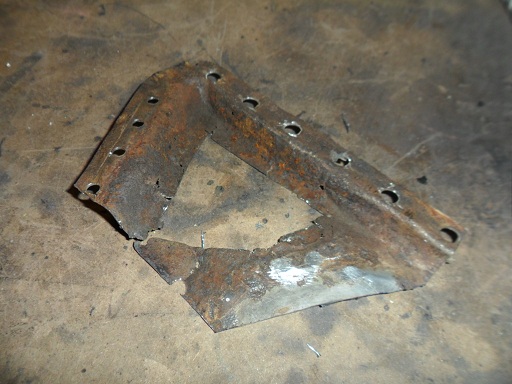 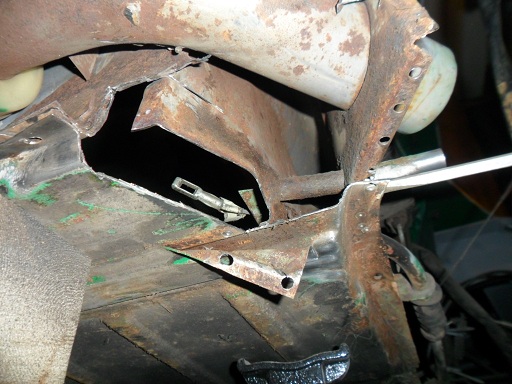 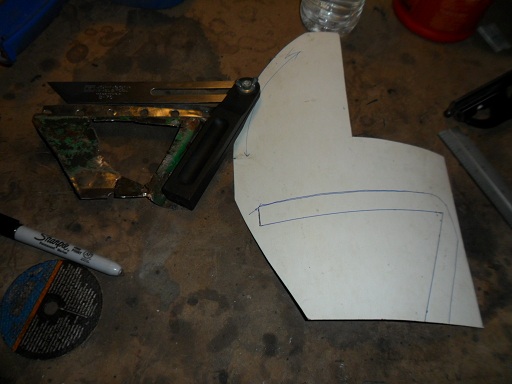 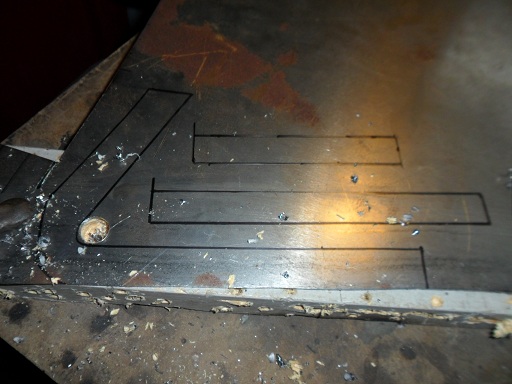 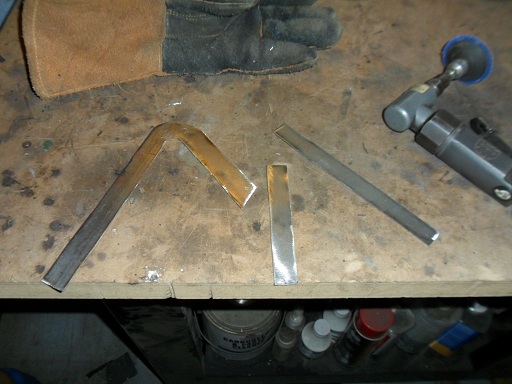 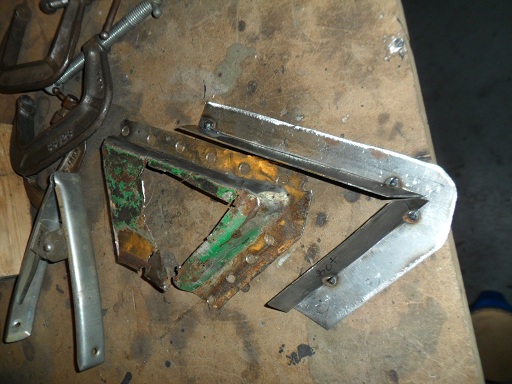 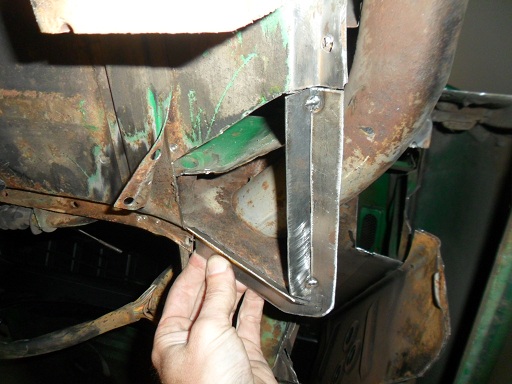 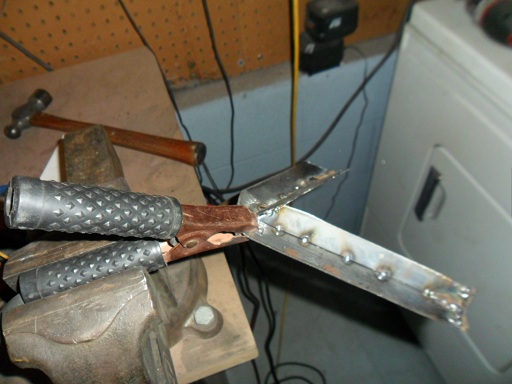 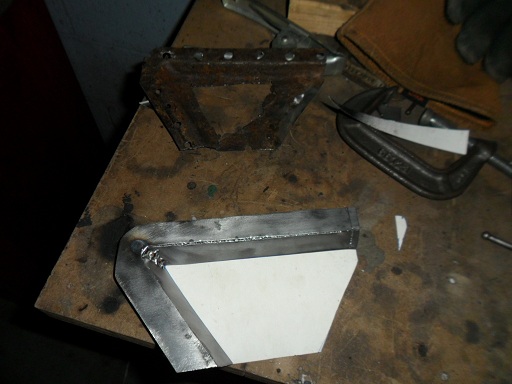 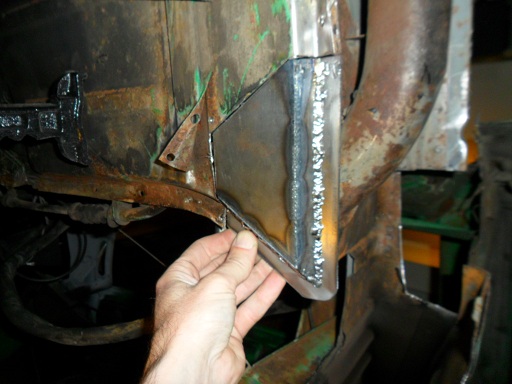 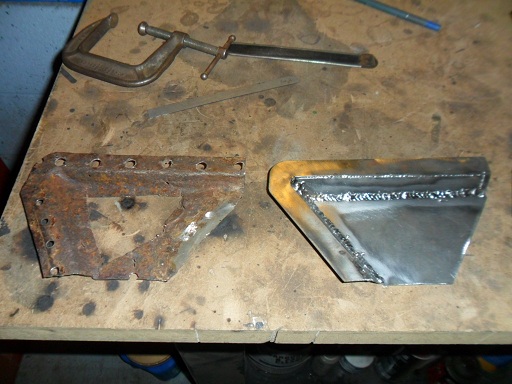 |
| saigon71 |
 May 29 2012, 07:20 PM May 29 2012, 07:20 PM
Post
#186
|
|
Advanced Member     Group: Members Posts: 2,006 Joined: 1-June 09 From: Dillsburg, PA Member No.: 10,428 Region Association: MidAtlantic Region 

|
The rust from the boxed section crept into the bottom of the front sill triangle. Fabricated and installed a replacement:
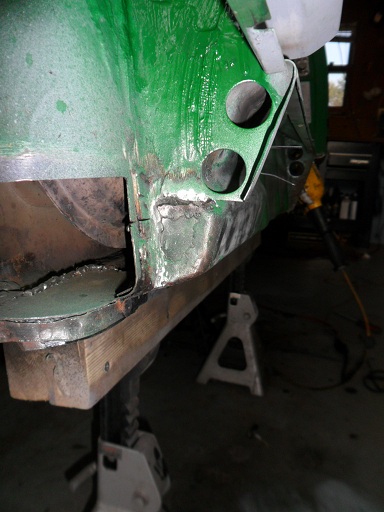 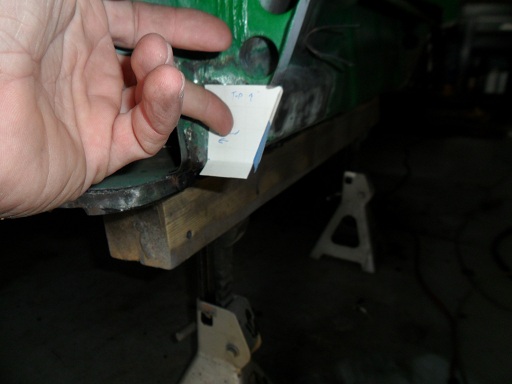 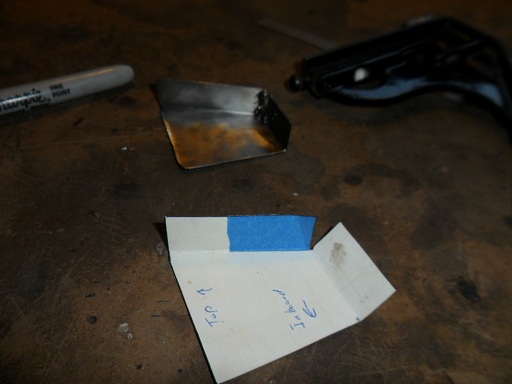 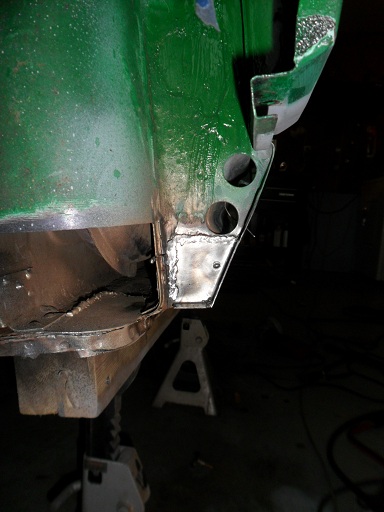 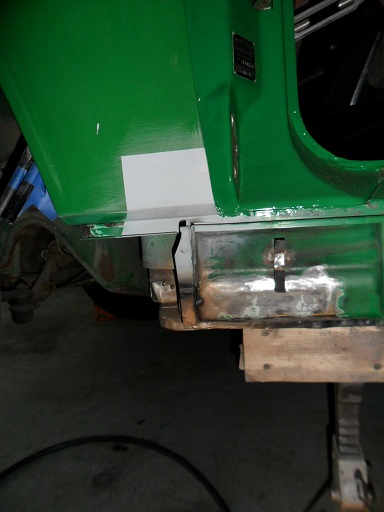 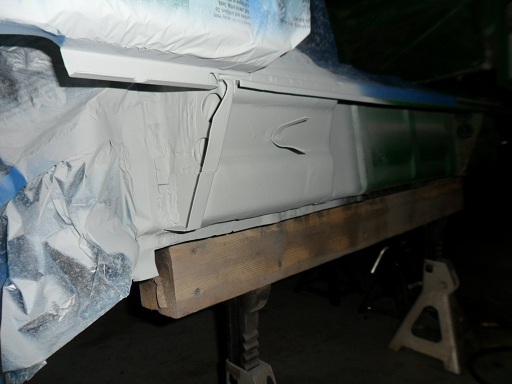 |
| saigon71 |
 May 29 2012, 07:51 PM May 29 2012, 07:51 PM
Post
#187
|
|
Advanced Member     Group: Members Posts: 2,006 Joined: 1-June 09 From: Dillsburg, PA Member No.: 10,428 Region Association: MidAtlantic Region 

|
Wedged a wire brush in a chunk of copper tubing so I could reach in between the inner & outer firewalls to remove some scale, then welded the new floor piece in:
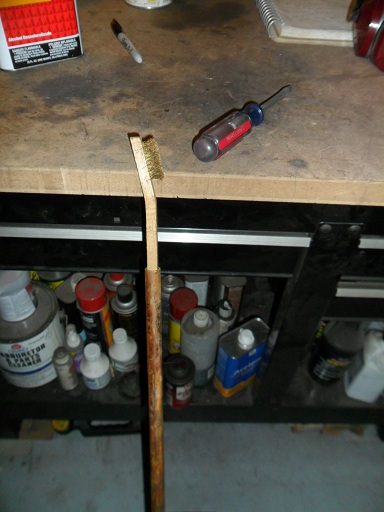 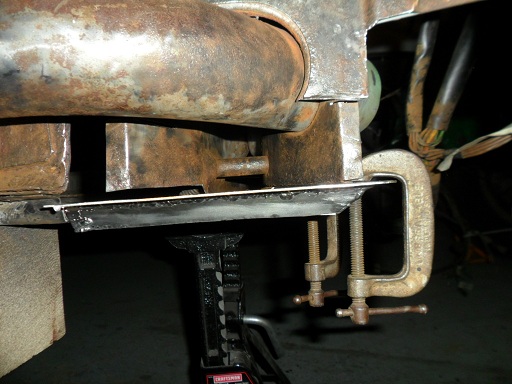 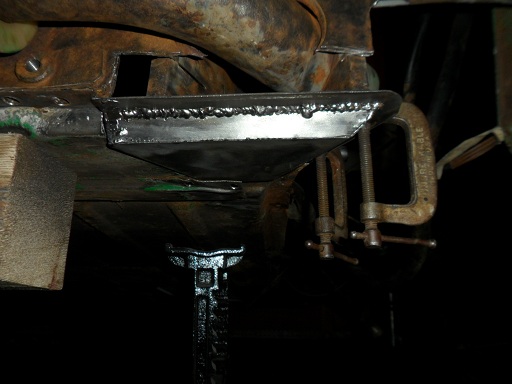 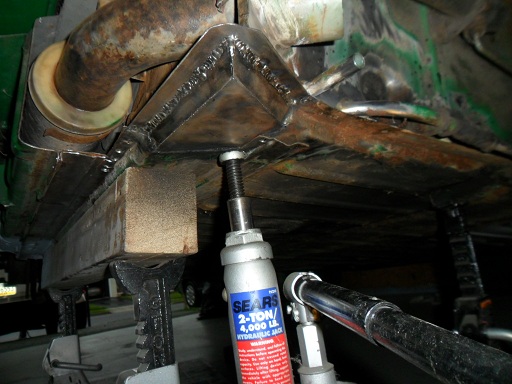 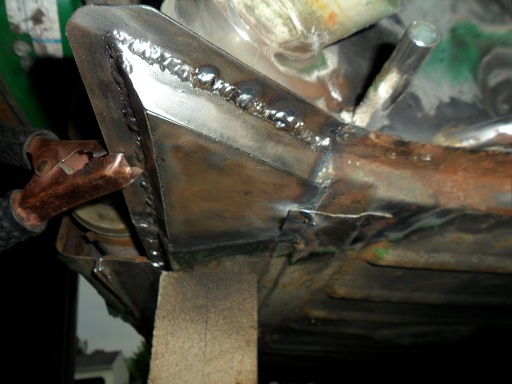 Started rebuilding the inner long hand forming pieces in a vice. Pine 2 X 4's provided a near perfect curve at the bottom where it meets the floor. I forgot to drill holes for rosette welds on the bottom before tacking it in so I wedged a screwdriver in between the pieces and used a spot weld cutter: 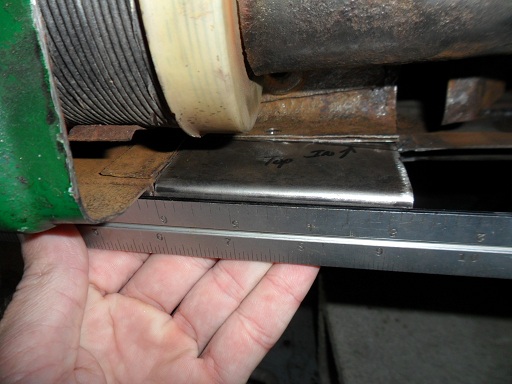 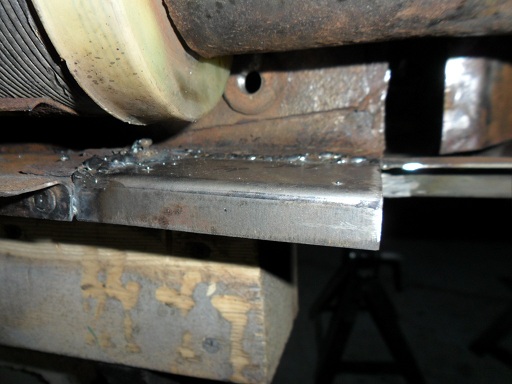 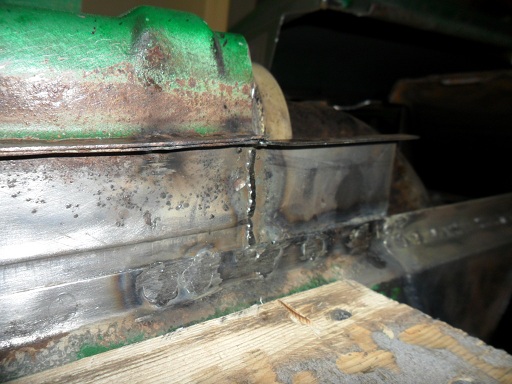 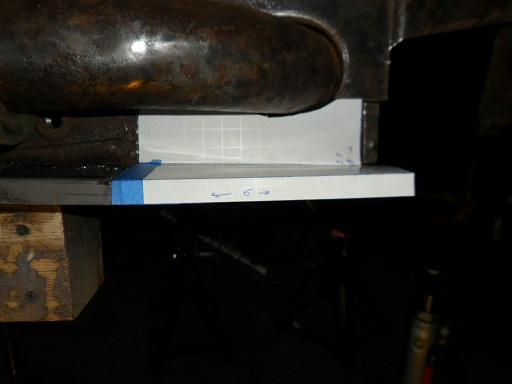 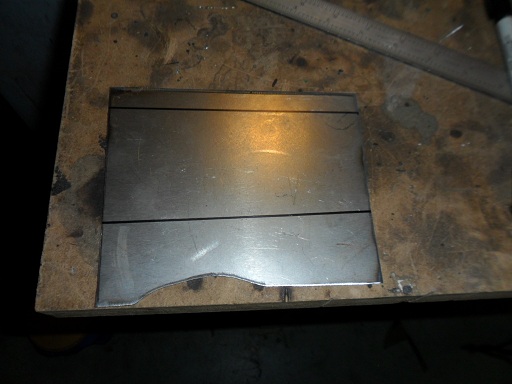 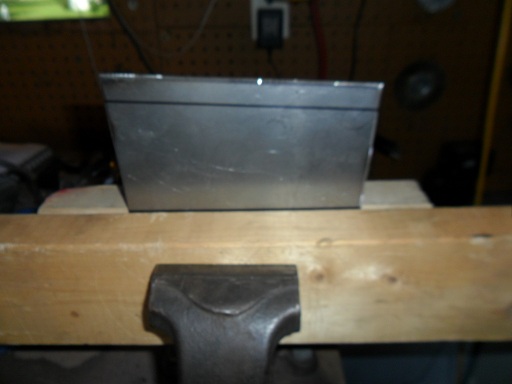 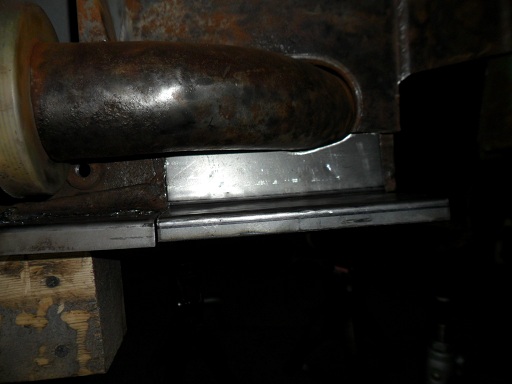 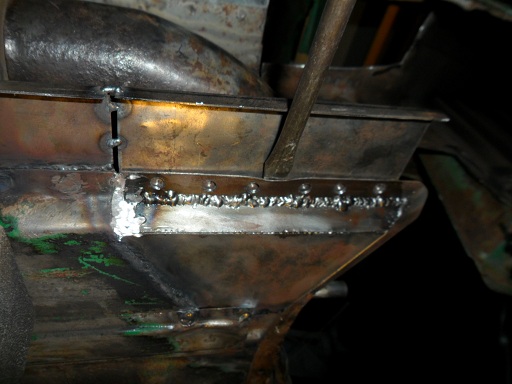 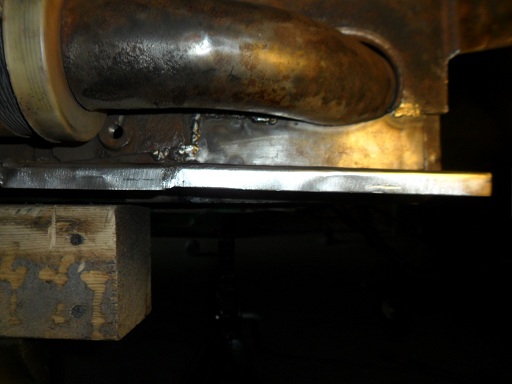 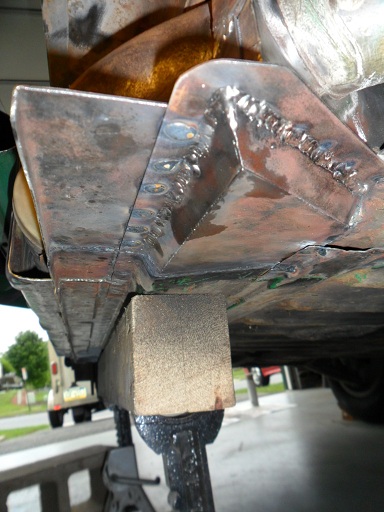 |
| saigon71 |
 May 29 2012, 08:33 PM May 29 2012, 08:33 PM
Post
#188
|
|
Advanced Member     Group: Members Posts: 2,006 Joined: 1-June 09 From: Dillsburg, PA Member No.: 10,428 Region Association: MidAtlantic Region 

|
Looking good Bob. Great to meet you at Hershey! You too Eric...thanks for the education on brake systems that have been sitting for 10 years. (IMG:style_emoticons/default/beerchug.gif) |
| saigon71 |
 Jun 21 2012, 09:13 AM Jun 21 2012, 09:13 AM
Post
#189
|
|
Advanced Member     Group: Members Posts: 2,006 Joined: 1-June 09 From: Dillsburg, PA Member No.: 10,428 Region Association: MidAtlantic Region 

|
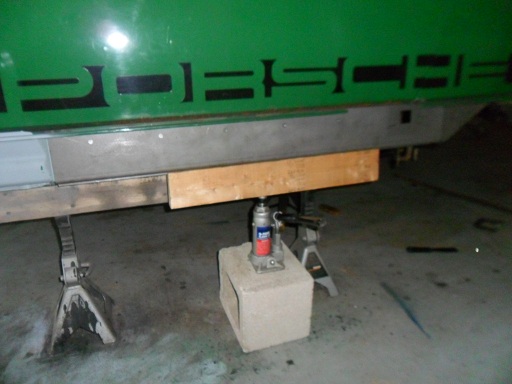
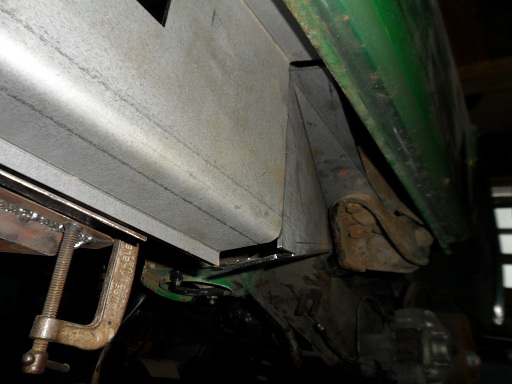
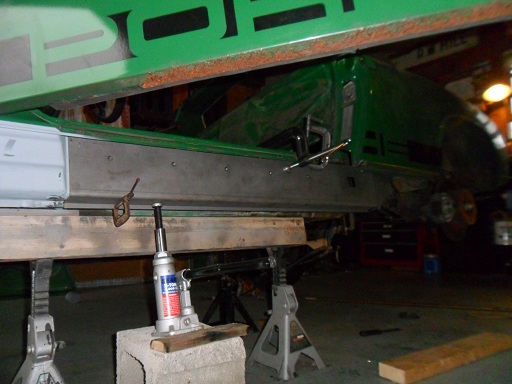
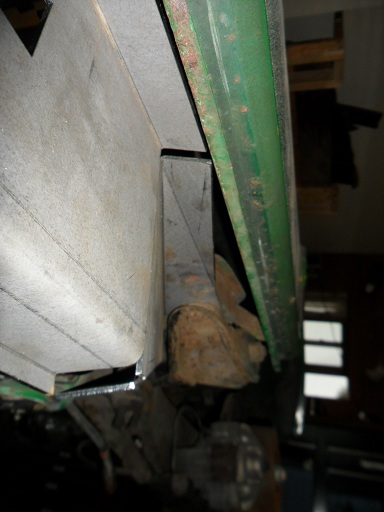
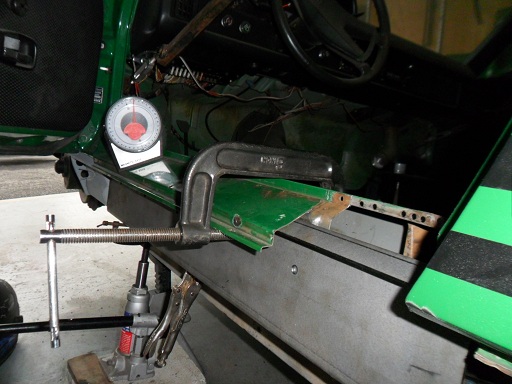
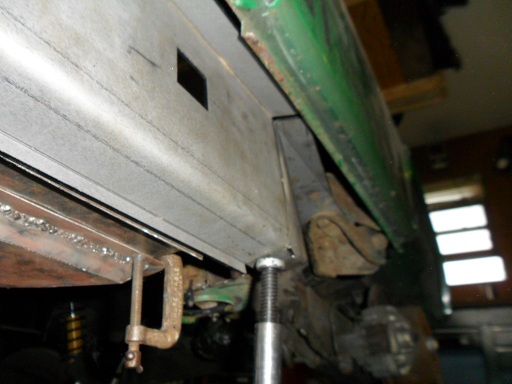
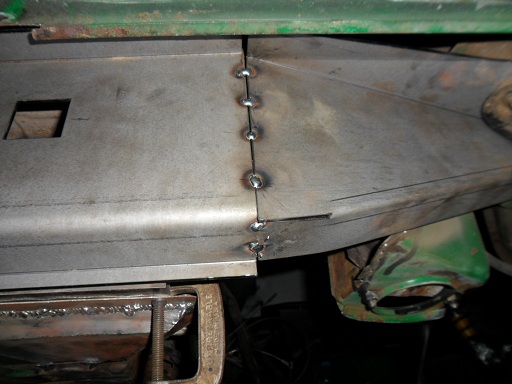
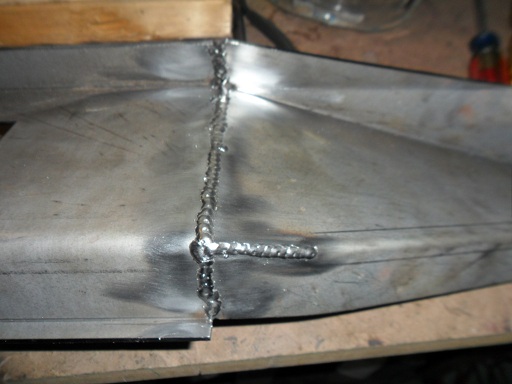
After the dust settled, I was left with about a three inch strip of the original drivers side long at the top. Luckily, there was a bend in the good remaining metal to keep the car relatively stable. I didn't want to buy a used longitudinal from a donor car. With new replacement panels not being available for this side, I bought the Brad Mayner longitudinal reinforcement/repair kit at Hershey. The plan is to weld in a section of 1/8" steel bar on the inside (both vertical and horizontal) for strength on the inside, use the Mayner kit for strength on the outside, and fill the rest in with a single layer of sheet metal.
Started fitting the Mayner kit: 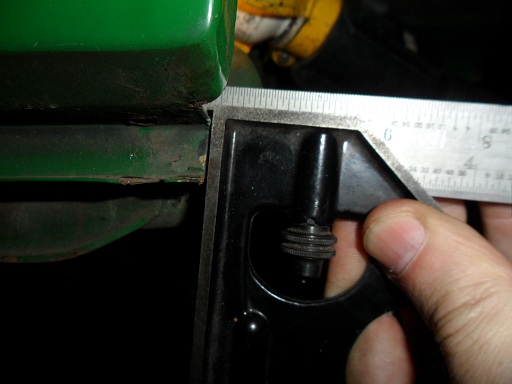 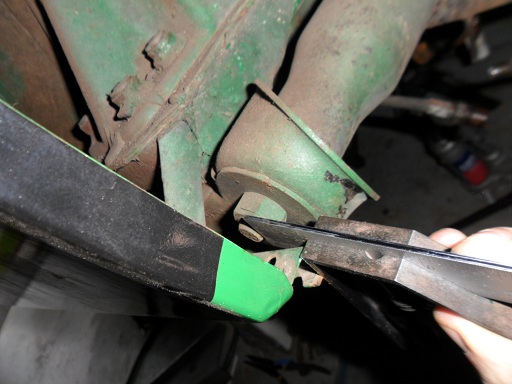 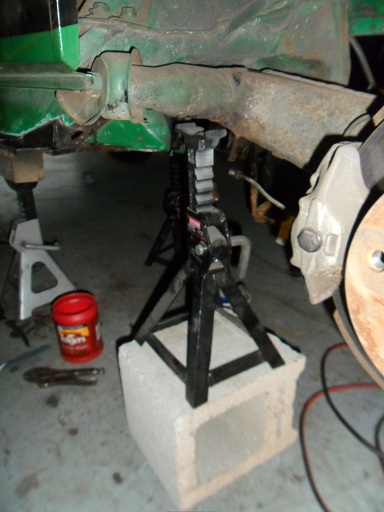 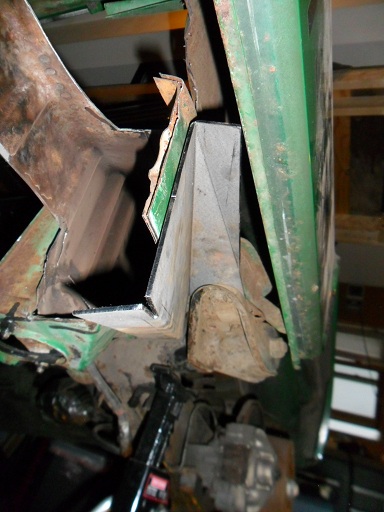 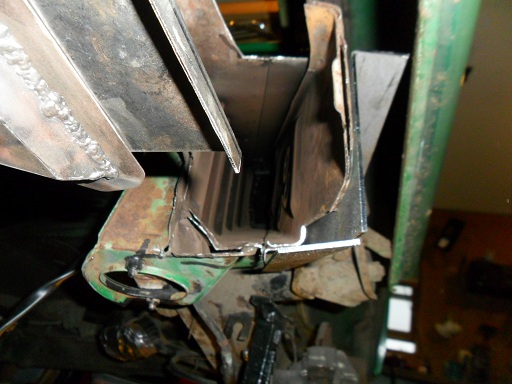 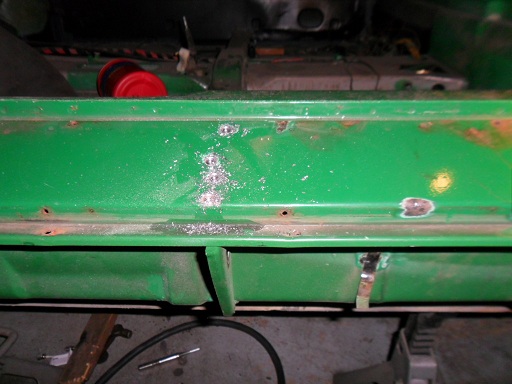 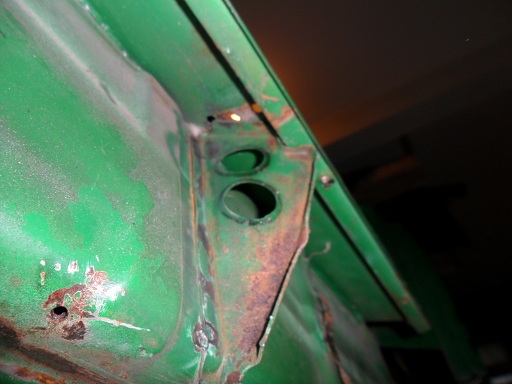 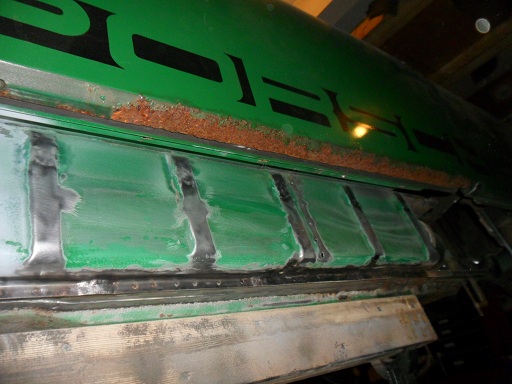 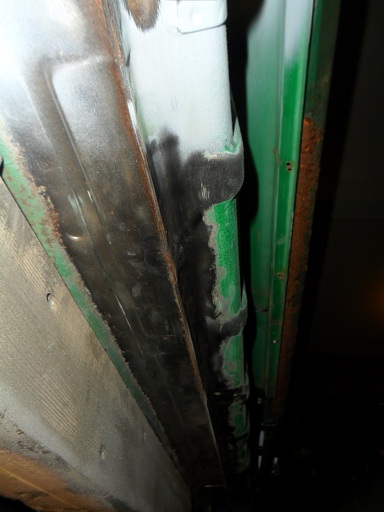 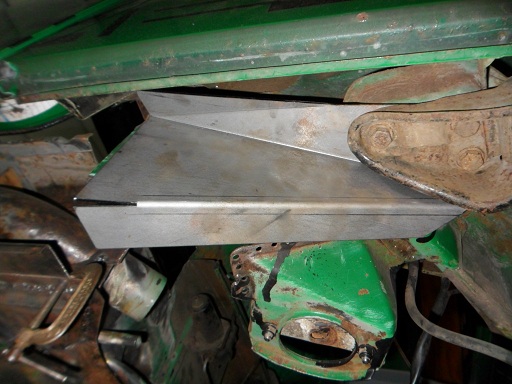 |
| saigon71 |
 Jun 21 2012, 09:16 AM Jun 21 2012, 09:16 AM
Post
#190
|
|
Advanced Member     Group: Members Posts: 2,006 Joined: 1-June 09 From: Dillsburg, PA Member No.: 10,428 Region Association: MidAtlantic Region 

|
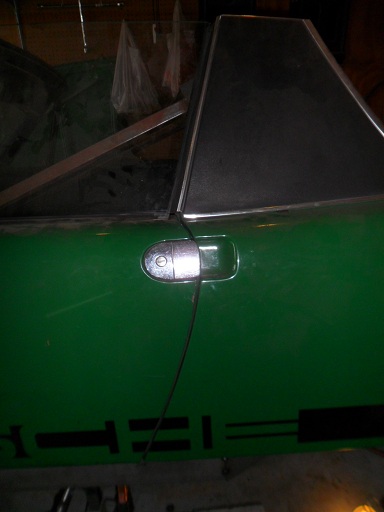
Mayner kit fitting continued:
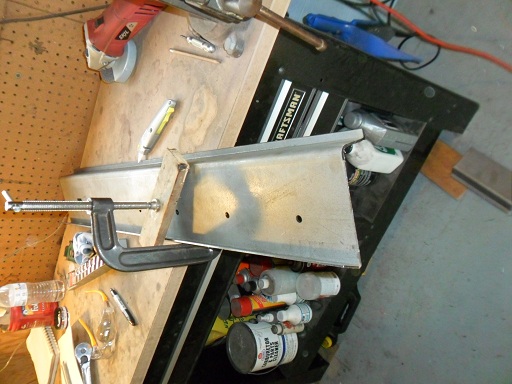          |
| saigon71 |
 Jun 21 2012, 09:44 AM Jun 21 2012, 09:44 AM
Post
#191
|
|
Advanced Member     Group: Members Posts: 2,006 Joined: 1-June 09 From: Dillsburg, PA Member No.: 10,428 Region Association: MidAtlantic Region 

|
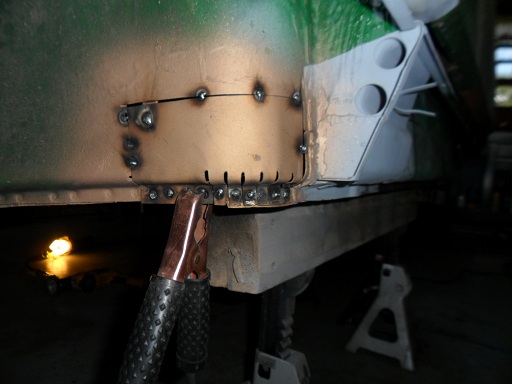
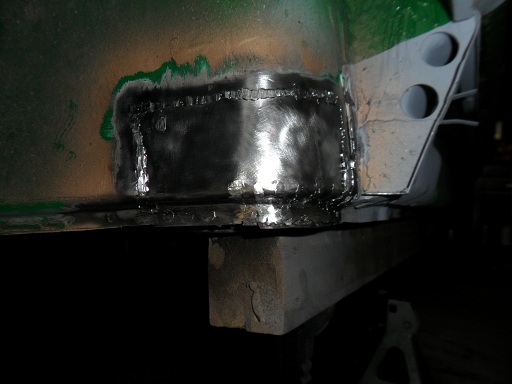
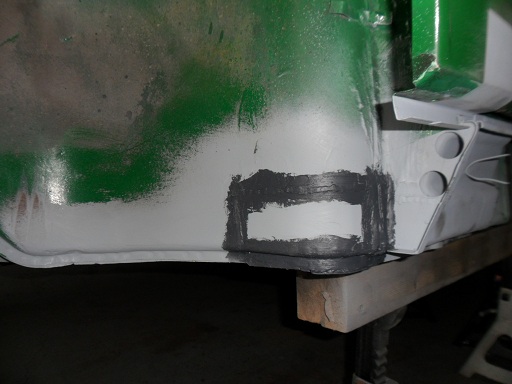
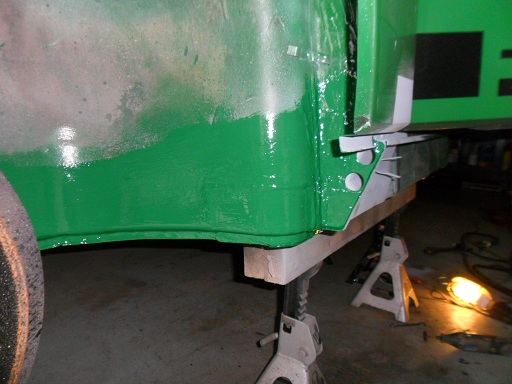
Welded in the front wheel well piece and finished this area off:
    Fabricated and installed the final inner flat piece on the long. I was able to take measurements off the passenger side to determine where it begins to curve up: 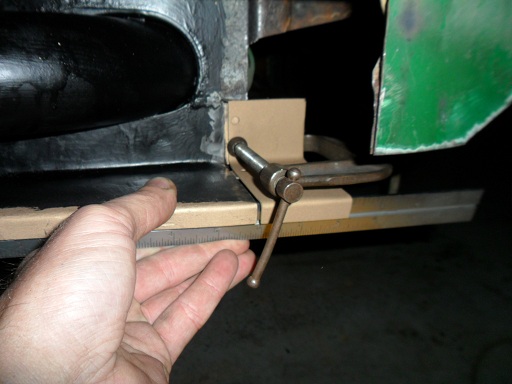 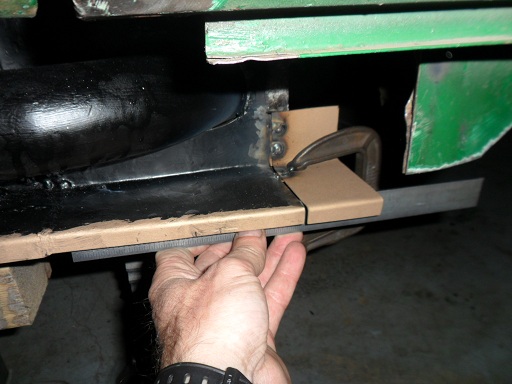 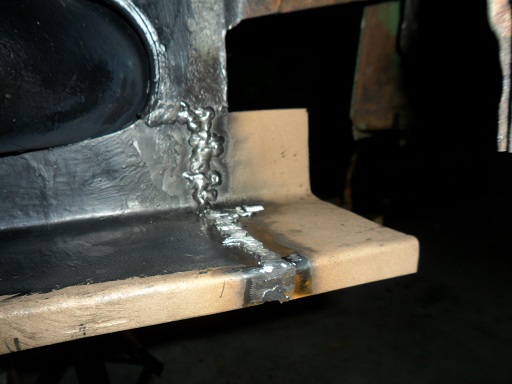 |
| saigon71 |
 Jun 21 2012, 09:57 AM Jun 21 2012, 09:57 AM
Post
#192
|
|
Advanced Member     Group: Members Posts: 2,006 Joined: 1-June 09 From: Dillsburg, PA Member No.: 10,428 Region Association: MidAtlantic Region 

|
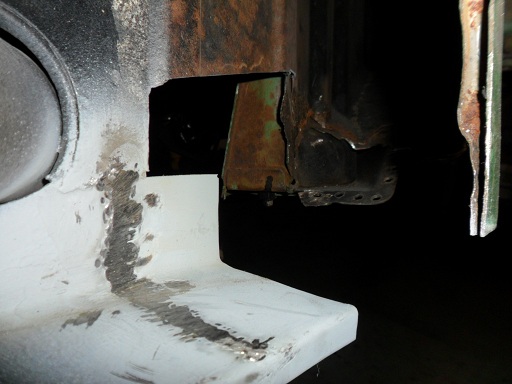
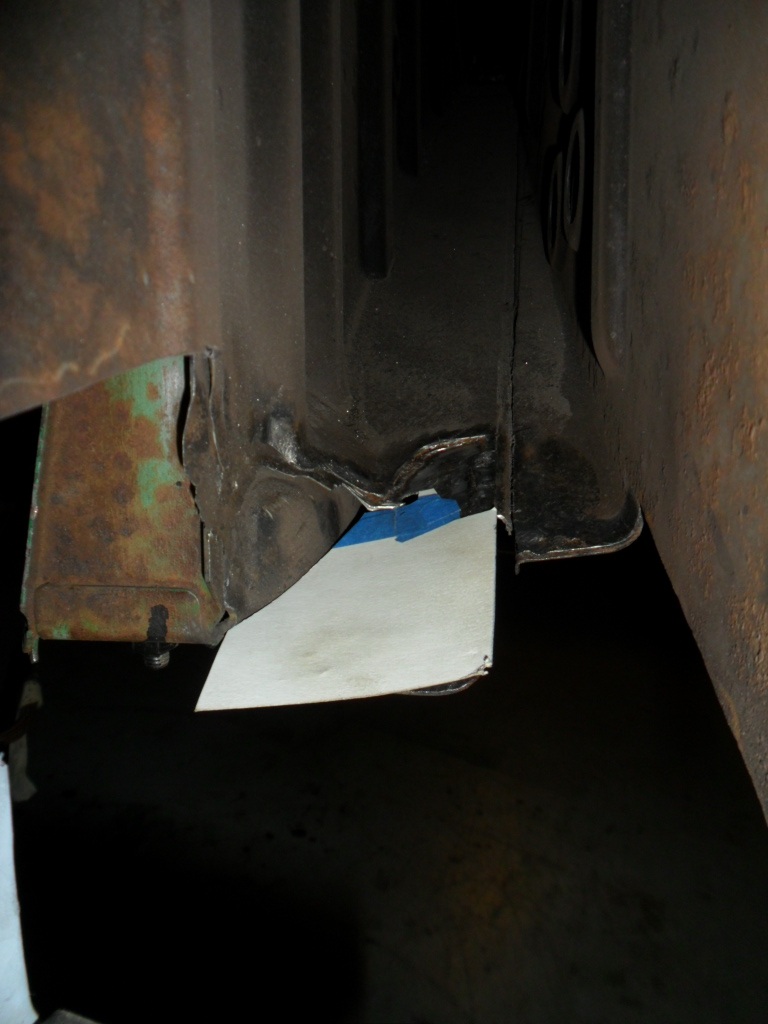
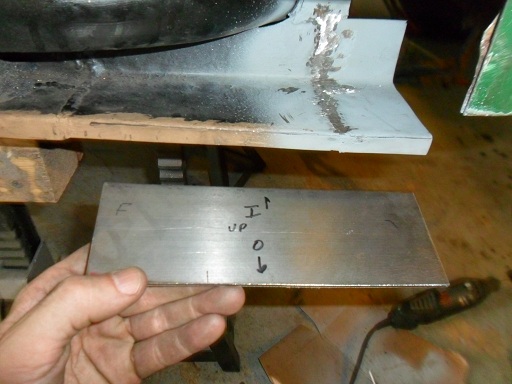
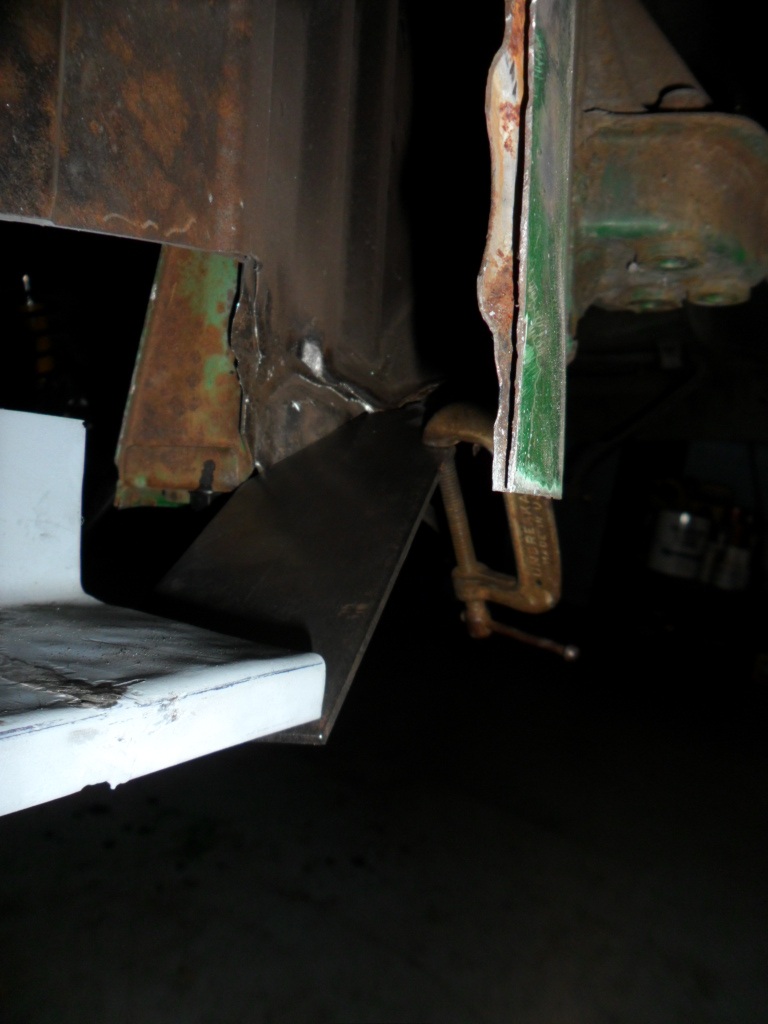
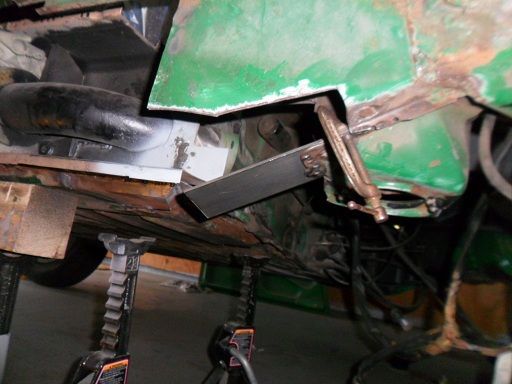
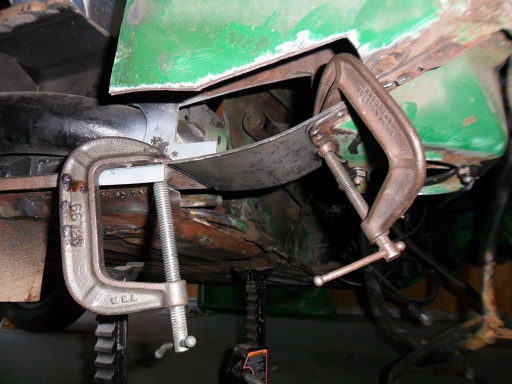
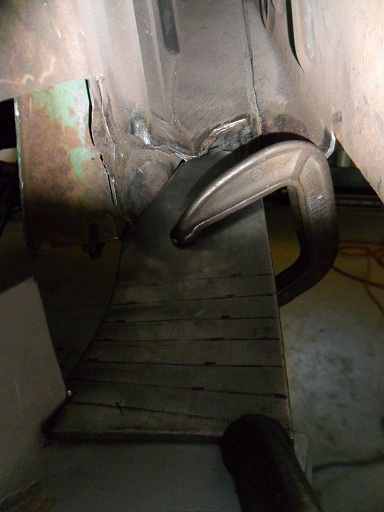
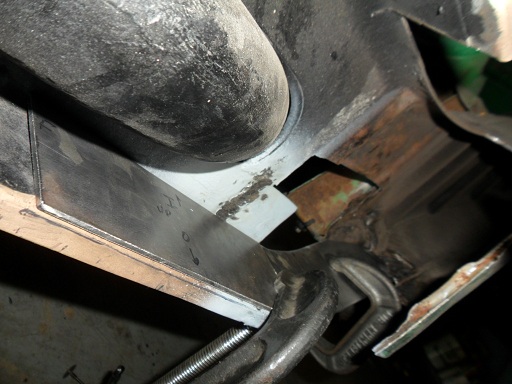
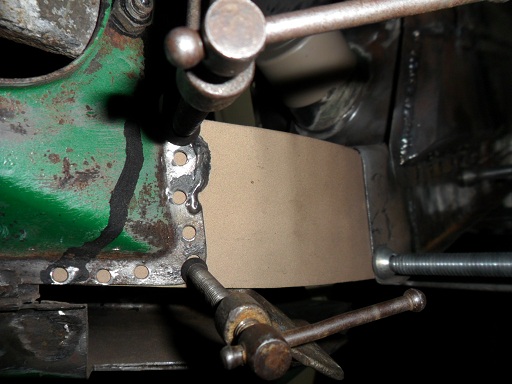
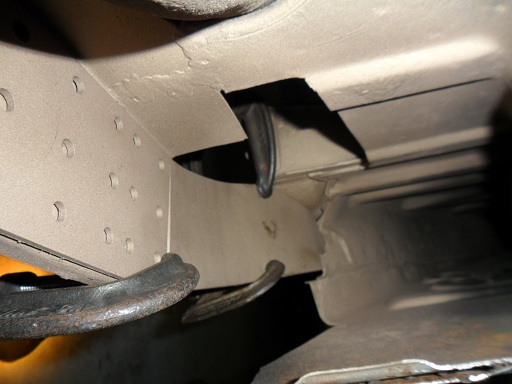
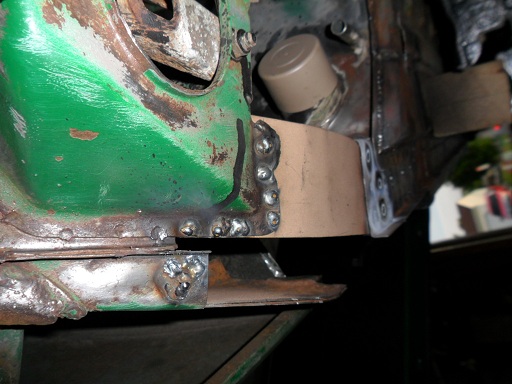
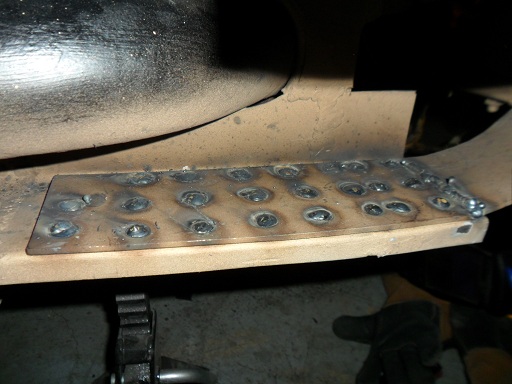
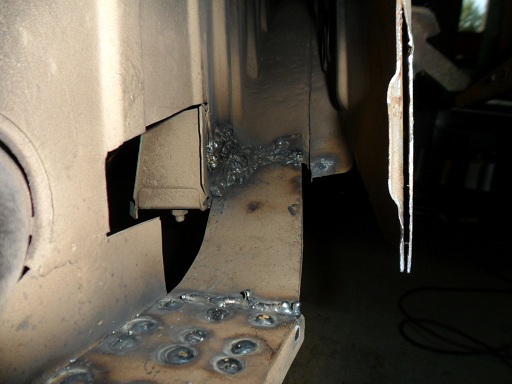
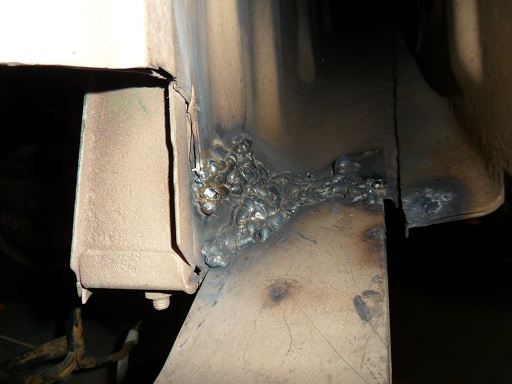
For extra strength on the inside of the long, I picked up a strip of 1/8" steel plate, 3" wide and started fabricating the horizantal section (a vertical section will be added). It was welded to both the egnine mount and long at the rear and tied into the long at the front with rosette welds. It was tight welding in the rear section...I have a lot of grinding to do back there to make sure the weld is solid all the way around:
              |
| FourBlades |
 Jun 21 2012, 01:07 PM Jun 21 2012, 01:07 PM
Post
#193
|
|
From Wreck to Rockin     Group: Members Posts: 2,056 Joined: 3-December 07 From: Brevard, FL Member No.: 8,414 Region Association: South East States 
|
That is some rocking metal working and welding! (IMG:style_emoticons/default/first.gif) I know how time consuming this stuff is... That will be one solid car when you are done. John |
| jsayre914 |
 Jun 21 2012, 02:53 PM Jun 21 2012, 02:53 PM
Post
#194
|
|
Speed Up !!!     Group: Members Posts: 3,206 Joined: 10-February 08 From: Timonium MD 21093 Member No.: 8,696 Region Association: MidAtlantic Region |
Yes, we are still waiting for you to finish !!!
as always (IMG:style_emoticons/default/beerchug.gif) p.s. Looks great, nice job! |
| hot_shoe914 |
 Jun 21 2012, 08:17 PM Jun 21 2012, 08:17 PM
Post
#195
|
|
on ramp passer     Group: Members Posts: 3,806 Joined: 20-November 07 From: Earle, Ar. Member No.: 8,354 Region Association: None |
Mayeur Mayeur Mayeur Mayeur Mayeur Mayeur Mayeur Mayeur Mayeur Mayeur Mayeur Mayeur Mayeur Mayeur Mayeur Mayeur Mayeur Mayeur
(IMG:style_emoticons/default/poke.gif) (IMG:style_emoticons/default/slap.gif) |
| OllieG |
 Jun 22 2012, 02:46 AM Jun 22 2012, 02:46 AM
Post
#196
|
|
OllieG   Group: Members Posts: 212 Joined: 6-July 11 From: UK Member No.: 13,282 Region Association: England |
Great stuff!...brilliant fabrication..very impressive.
Ollie. |
| saigon71 |
 Jun 22 2012, 07:21 AM Jun 22 2012, 07:21 AM
Post
#197
|
|
Advanced Member     Group: Members Posts: 2,006 Joined: 1-June 09 From: Dillsburg, PA Member No.: 10,428 Region Association: MidAtlantic Region 

|
Mayeur Mayeur Mayeur Mayeur Mayeur Mayeur Mayeur Mayeur Mayeur Mayeur Mayeur Mayeur Mayeur Mayeur Mayeur Mayeur Mayeur Mayeur (IMG:style_emoticons/default/poke.gif) (IMG:style_emoticons/default/slap.gif) Thanks for the subtle hint Shoe. (IMG:style_emoticons/default/biggrin.gif) My apologies to Brad for continually mis-spelling his last name. (IMG:style_emoticons/default/bye1.gif) |
| saigon71 |
 Jun 22 2012, 07:26 AM Jun 22 2012, 07:26 AM
Post
#198
|
|
Advanced Member     Group: Members Posts: 2,006 Joined: 1-June 09 From: Dillsburg, PA Member No.: 10,428 Region Association: MidAtlantic Region 

|
Thanks to all for the props on the metal work, I am learning as I go. John (fourblades) is right...this stuff is extremely tedious.
|
| jsayre914 |
 Jul 12 2012, 03:15 PM Jul 12 2012, 03:15 PM
Post
#199
|
|
Speed Up !!!     Group: Members Posts: 3,206 Joined: 10-February 08 From: Timonium MD 21093 Member No.: 8,696 Region Association: MidAtlantic Region |
Its time to get this thing ready. Dont make me drive up there and finish it (IMG:style_emoticons/default/biggrin.gif)
Updates ?? (IMG:style_emoticons/default/popcorn[1].gif) |
| saigon71 |
 Jul 24 2012, 06:55 PM Jul 24 2012, 06:55 PM
Post
#200
|
|
Advanced Member     Group: Members Posts: 2,006 Joined: 1-June 09 From: Dillsburg, PA Member No.: 10,428 Region Association: MidAtlantic Region 

|
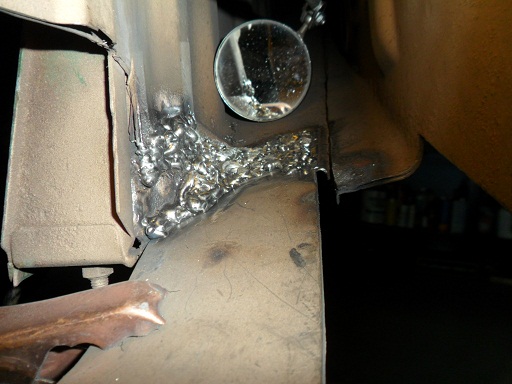
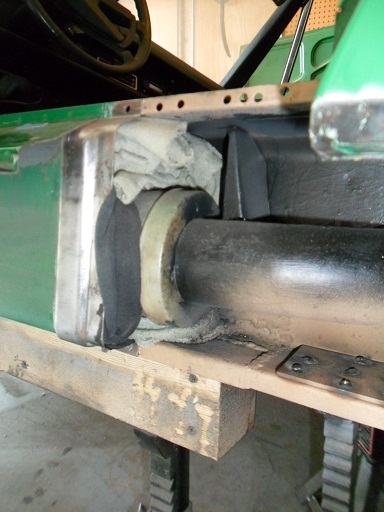
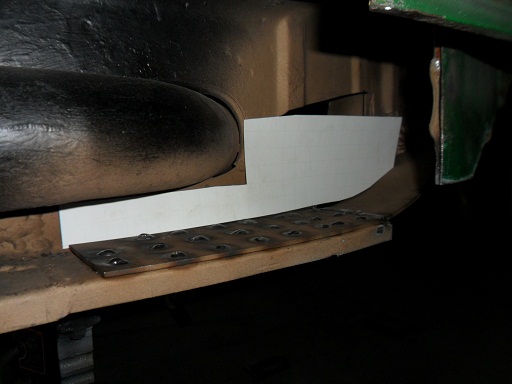
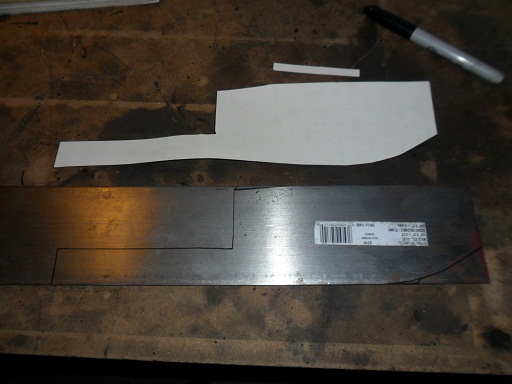
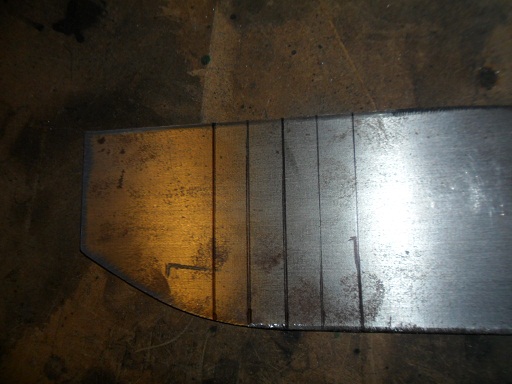
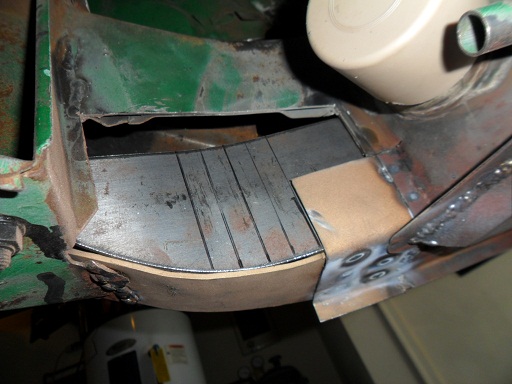
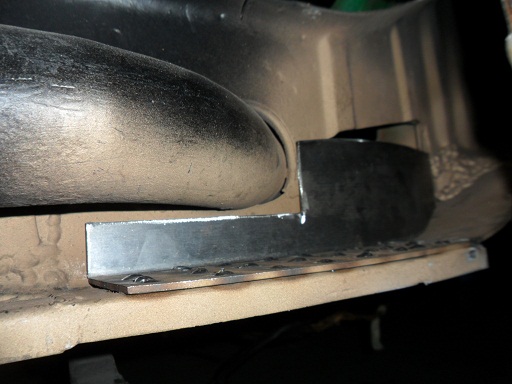
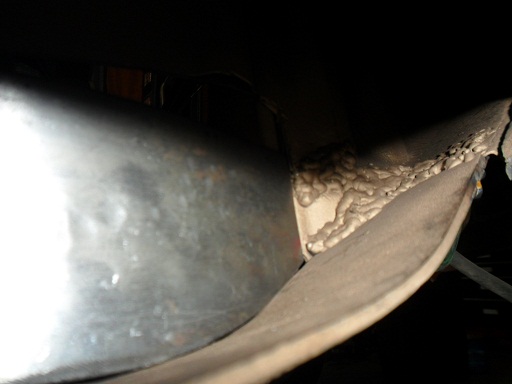
Business expansion got in the way of my shop time there for a while. Went back to work today. I had some touch up welding to do inside the long on the horizontal reinforcement piece. It was tight working in there - at one point, I used an inspection mirror while welding so I could see where I was at. Stuffed some rags into the "completed" portion of the long to keep scale and grinding dust out. Started fabricating the vertical portion of this support piece out of 1/8" steel. The toughest part on the vertical was matching bend of the original long:
        |
  |
1 User(s) are reading this topic (1 Guests and 0 Anonymous Users)
0 Members:

|
Lo-Fi Version | Time is now: 1st January 2025 - 09:38 AM |
Invision Power Board
v9.1.4 © 2025 IPS, Inc.


