|
|
|
Porsche, and the Porsche crest are registered trademarks of Dr. Ing. h.c. F. Porsche AG.
This site is not affiliated with Porsche in any way. Its only purpose is to provide an online forum for car enthusiasts. All other trademarks are property of their respective owners. |
|
|

  |

| saigon71 |
 Sep 6 2012, 02:13 PM Sep 6 2012, 02:13 PM
Post
#221
|
|
Advanced Member  Group: Members Posts: 2,006 Joined: 1-June 09 From: Dillsburg, PA Member No.: 10,428 Region Association: MidAtlantic Region |
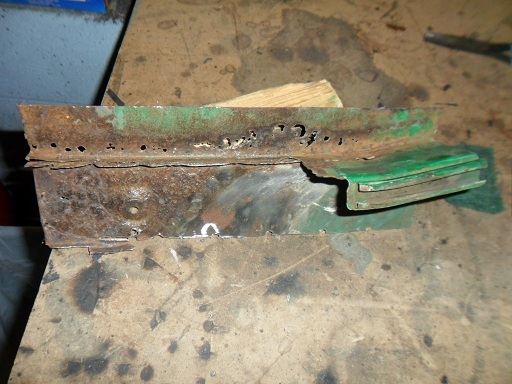
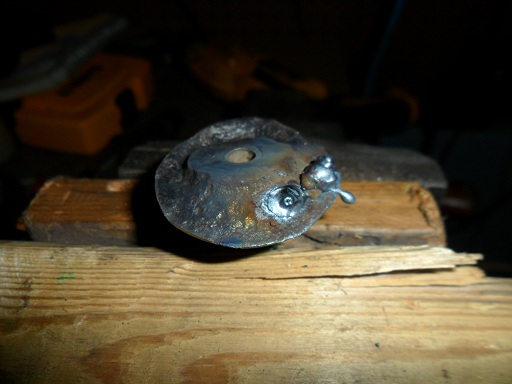
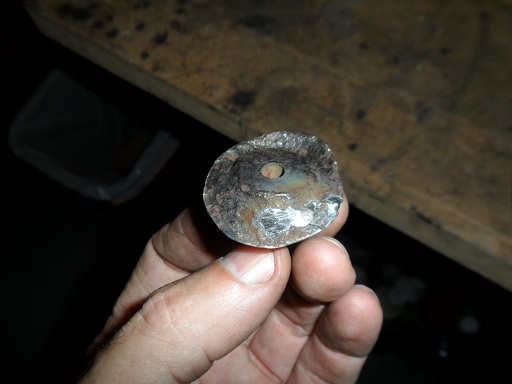
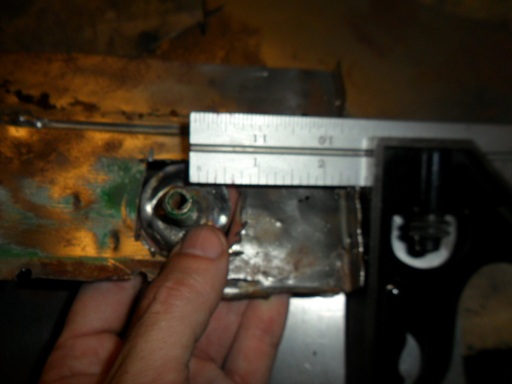
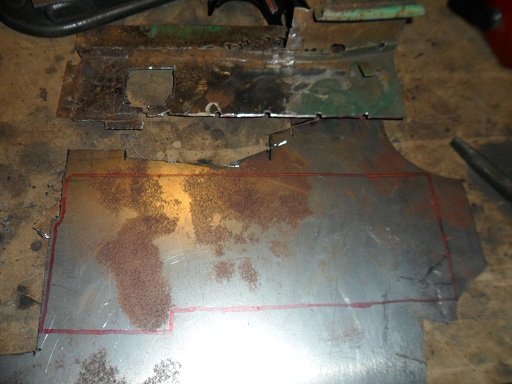
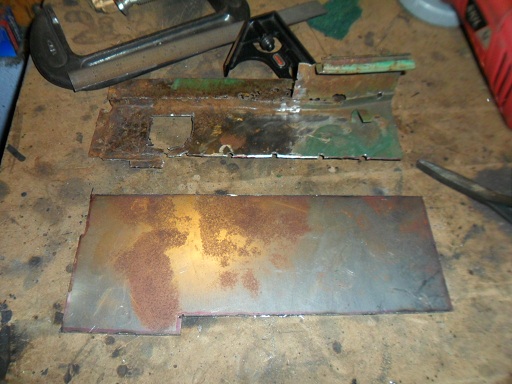
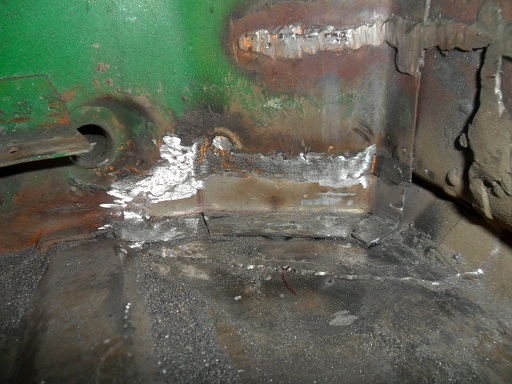
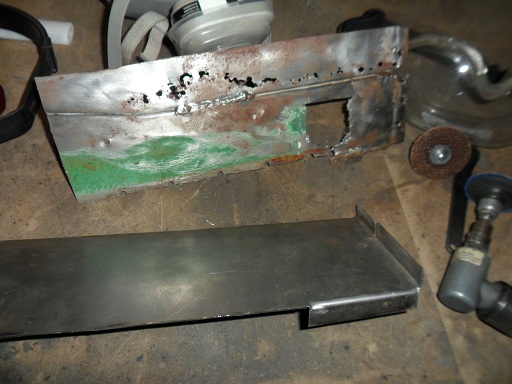
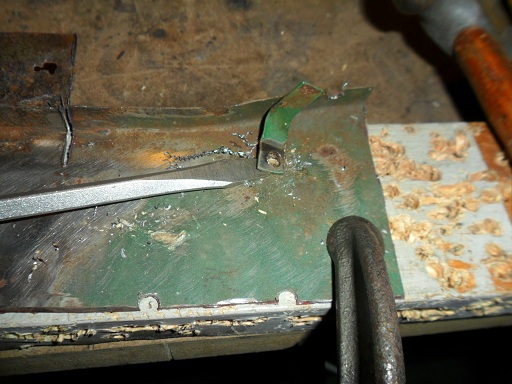
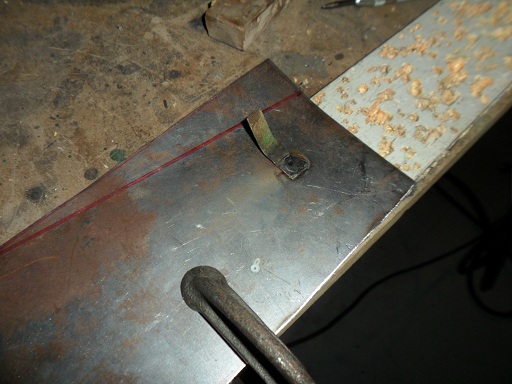
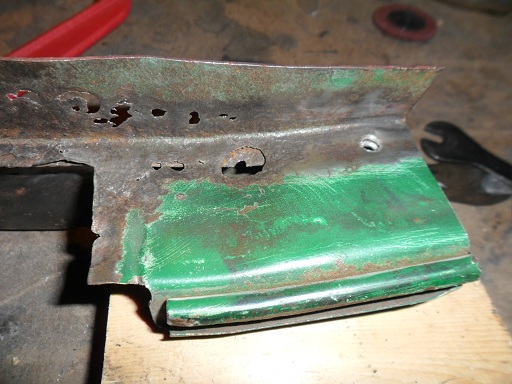
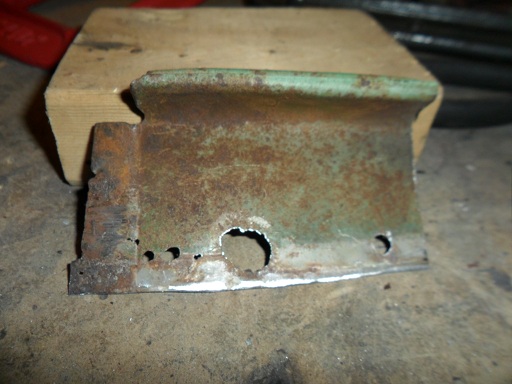
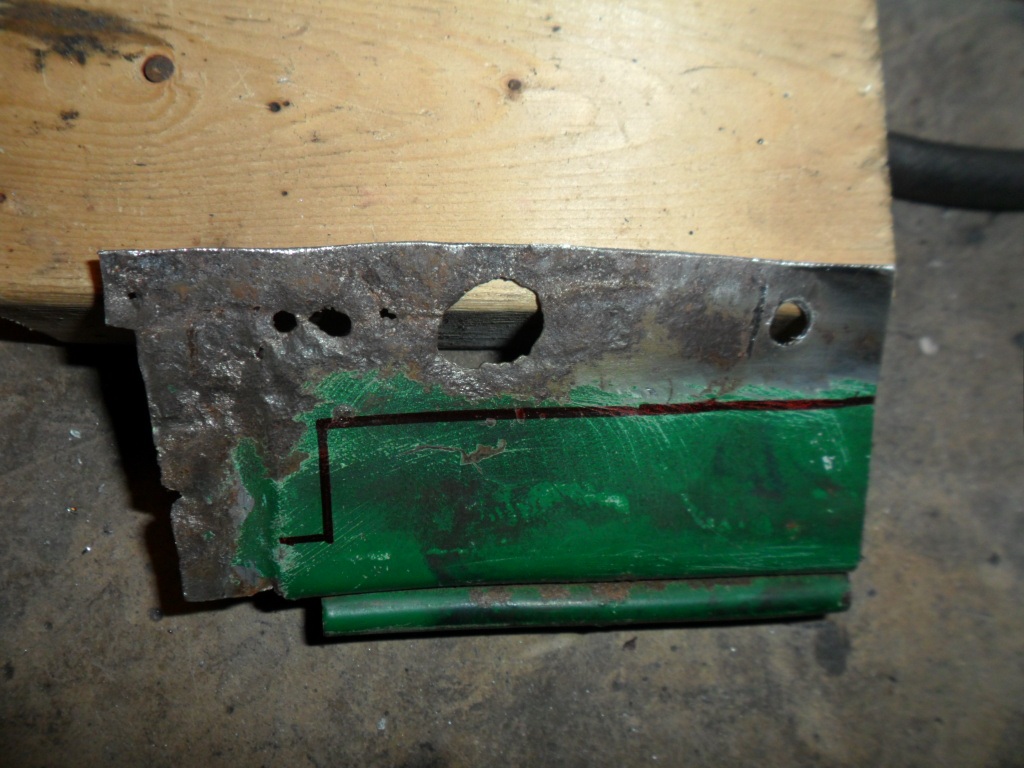
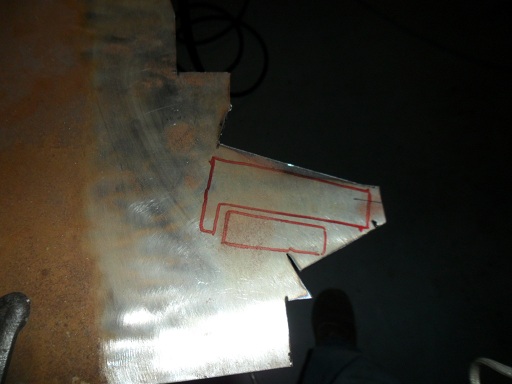
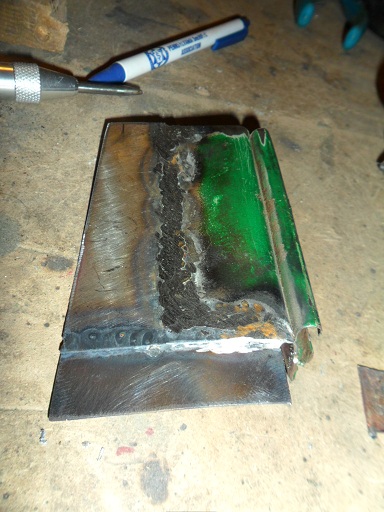
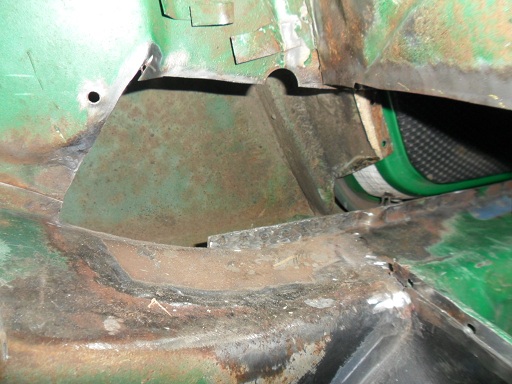
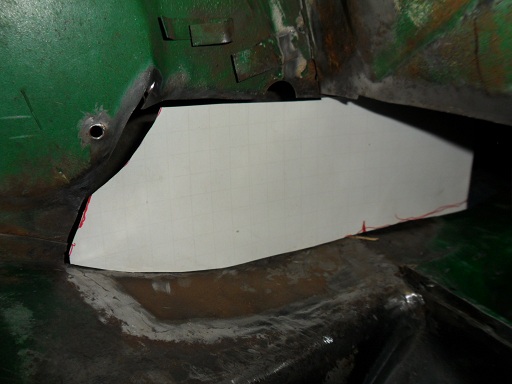
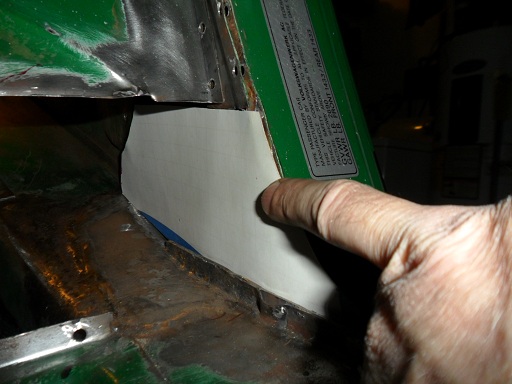
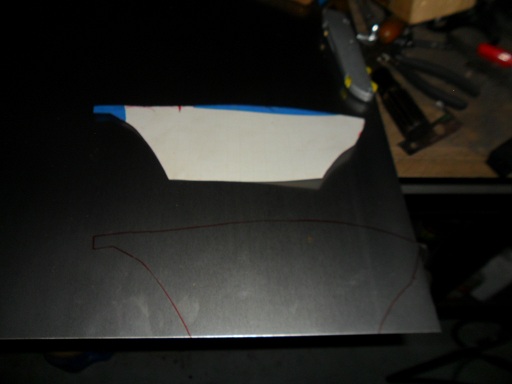
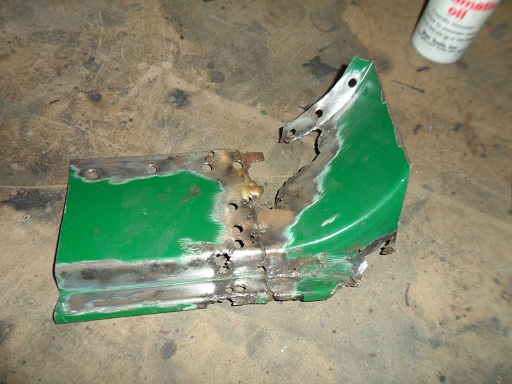
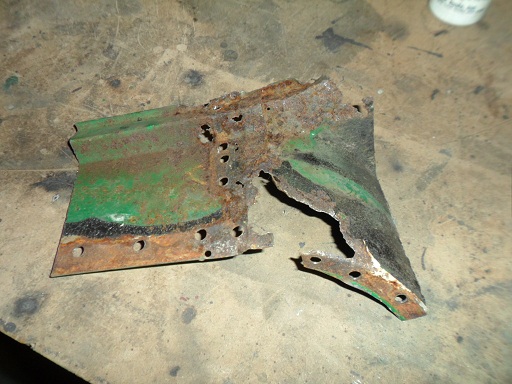
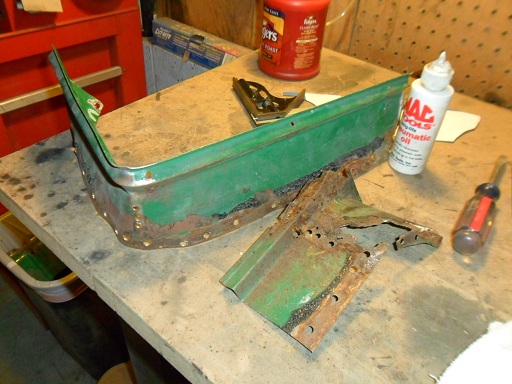
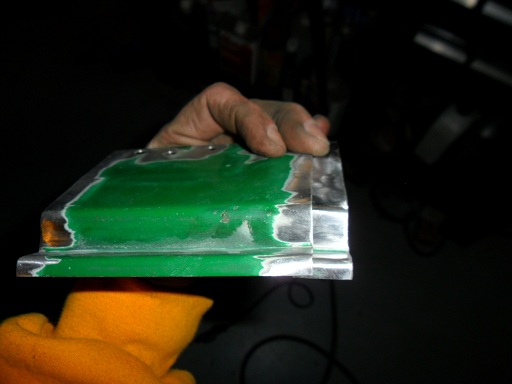
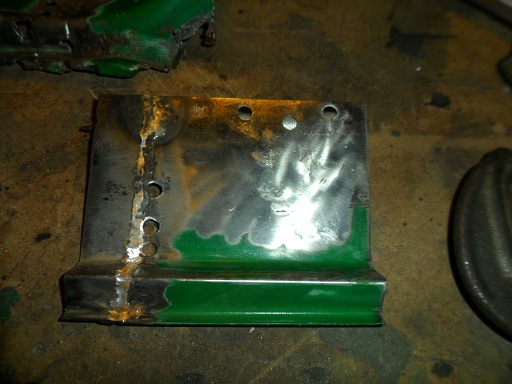
Need to fabricate a rather large panel to fix the drivers side rear firewall. The plan is to make this with one piece and weld it in. The reinforced area for the engine deck lid cable was still pretty solid, so I opted to cut it out of the old panel and re-use it. I had to add a little weld to it to fill some holes. Measured from the outer edge of the panel so I know where to install it in the new panel. Traced the old panel on new metal to get the rough shape:
          |
   |

 
|
| dale73914 |
Sep 7 2012, 10:35 PM
Post
#222
|
|
Member Group: Members Posts: 209 Joined: 15-September 11 From: Victoria, Australia Member No.: 13,562 Region Association: Australia and New Zealand |
i've just spent the morning reading through this thread.
You really should be very proud of the work you have done in saving this car. Bloody fantastic. No it wont be concours , but it will be one hell of a good strong resto, and something you'll be driving for years by the looks of it. Well done, Cheers Dale |
|
|
|
| saigon71 |
Sep 18 2012, 04:01 PM
Post
#223
|
|
Advanced Member Group: Members Posts: 2,006 Joined: 1-June 09 From: Dillsburg, PA Member No.: 10,428 Region Association: MidAtlantic Region |
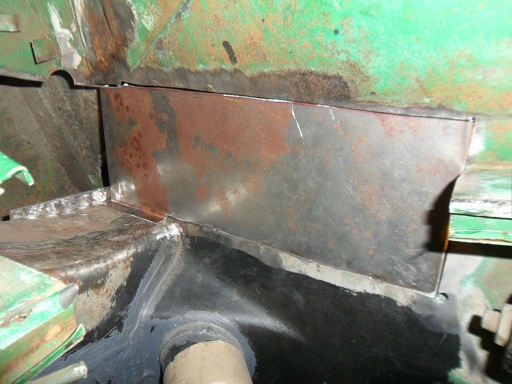
Seam sealed the clam shell jack post section & prepped for welding:
  Did one final alignment check on both pieces. I needed to shave a little off in two places for the best fit. Ran a long level accross the bottom ridges of the existing clam shell to check how true this new section was vertically. It was within 1/16" with everything else lining up well, I decided to roll with it: 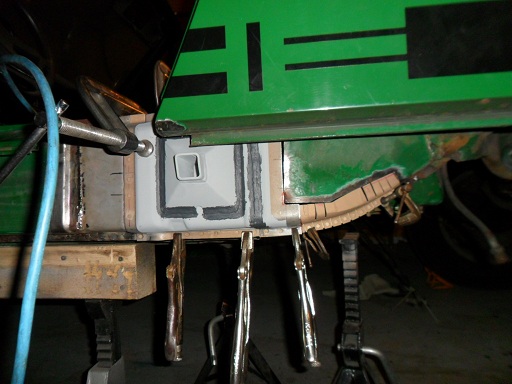 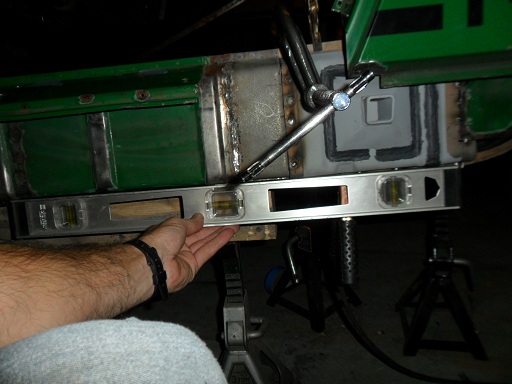 Welded the final two lower long pieces in place. Took my time and cooled with compressed air regularly. I tried to remove as little of the fender as possible, so there was some tight welding at the top seam behind the fender. The door opens and closes well and the gaps look pretty good (IMG:style_emoticons/default/aktion035.gif) : 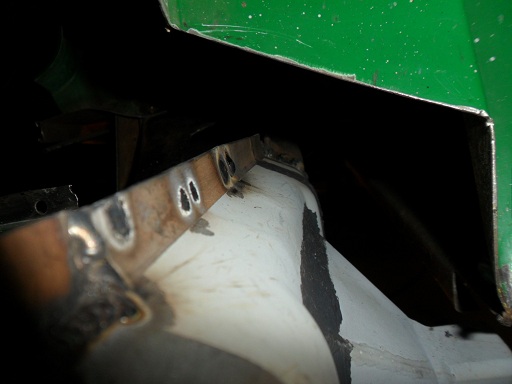 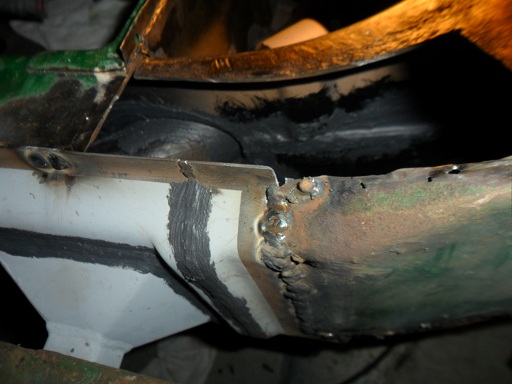 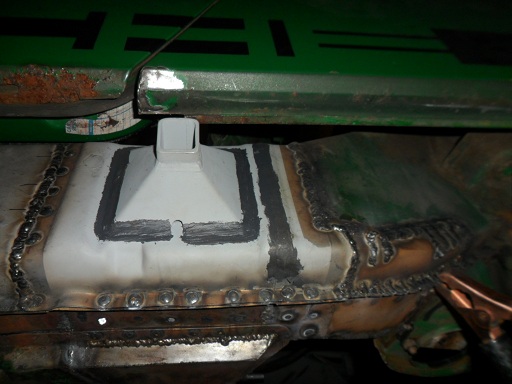 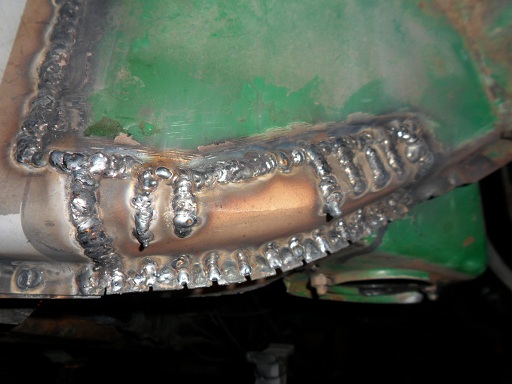 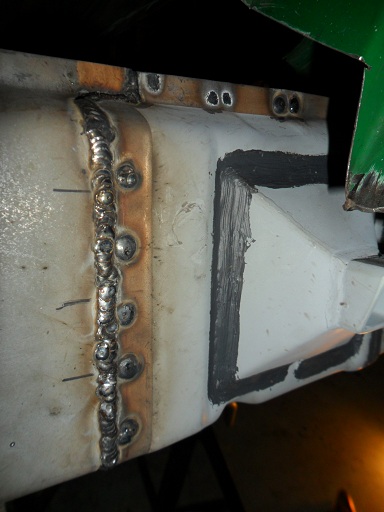 |
|
|
|
| saigon71 |
Sep 18 2012, 04:27 PM
Post
#224
|
|
Advanced Member Group: Members Posts: 2,006 Joined: 1-June 09 From: Dillsburg, PA Member No.: 10,428 Region Association: MidAtlantic Region |
QUOTE(dale73914 @ Sep 8 2012, 12:35 AM)  i've just spent the morning reading through this thread. You really should be very proud of the work you have done in saving this car. Bloody fantastic. No it wont be concours , but it will be one hell of a good strong resto, and something you'll be driving for years by the looks of it. Well done, Cheers Dale Thanks Dale. The plan is to take the time required to do it right once, then enjoy the car for a good long time. |
|
|
|
| Nürburg Nomad |
Sep 19 2012, 08:58 AM
Post
#225
|
|
914Rubber.com! Group: Members Posts: 296 Joined: 30-March 10 From: Buckeye State Member No.: 11,536 Region Association: Upper MidWest |
This is an awesome thread for the fabrication, welding, and thorough documentation shown alone... but even better knowing it's all going towards the restoration of a 914! Keep up the good work, I am impressed!
|
|
|
|
| saigon71 |
Sep 26 2012, 07:44 PM
Post
#226
|
|
Advanced Member Group: Members Posts: 2,006 Joined: 1-June 09 From: Dillsburg, PA Member No.: 10,428 Region Association: MidAtlantic Region |
Spent a few hours grinding down the welds on the jack post area. Had to go back and touch a few areas up, but overall, I am pleased with how it turned out:
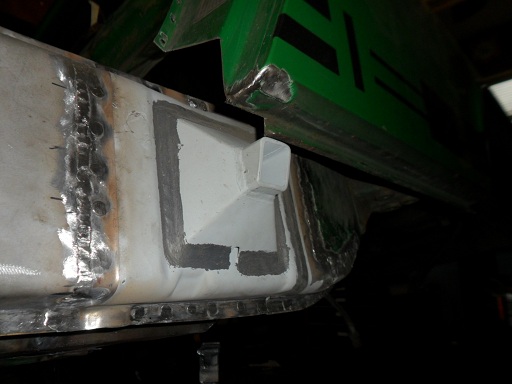   (IMG:style_emoticons/default/smash.gif) (IMG:style_emoticons/default/sawzall-smiley.gif) Made a poster board template for the final patch needed to close up the drivers side long. There is about a 3" section at the back that is missing the vertical lip to rosette weld. I opted to leave that section flat and rostette weld it to the top of the old long to button it up. Whenever possible, I use leftover steel from Restoration Design panels because they are galvanealed: 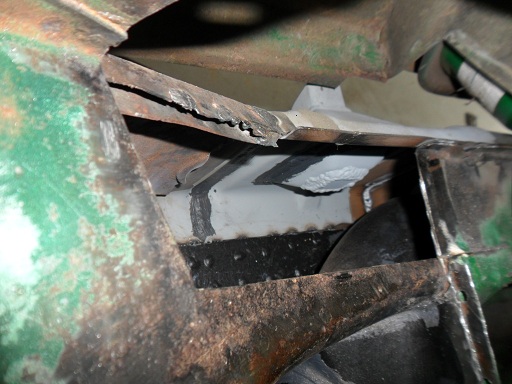 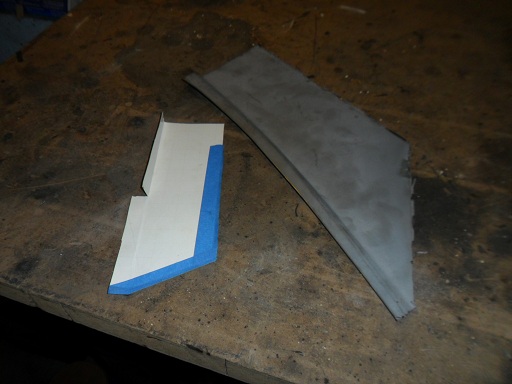 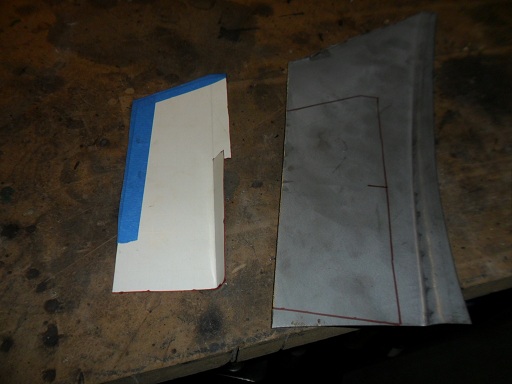 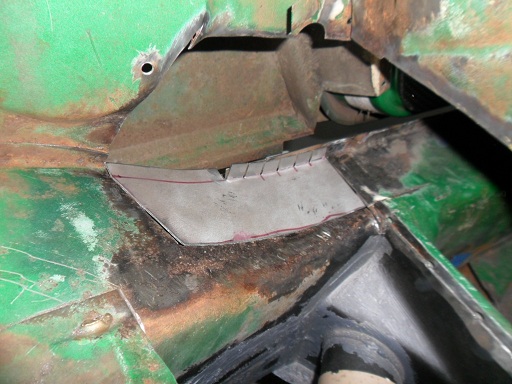 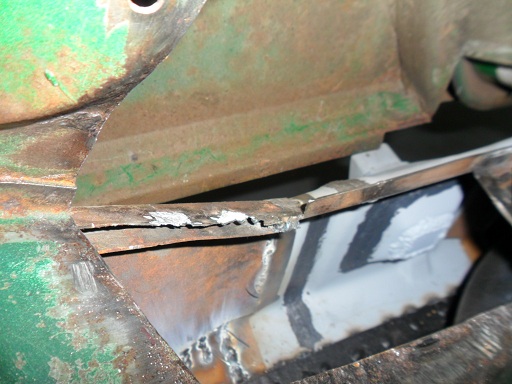 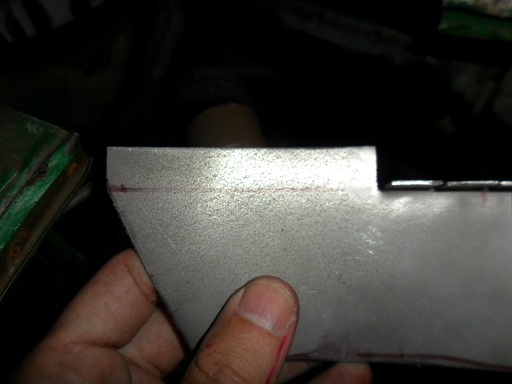 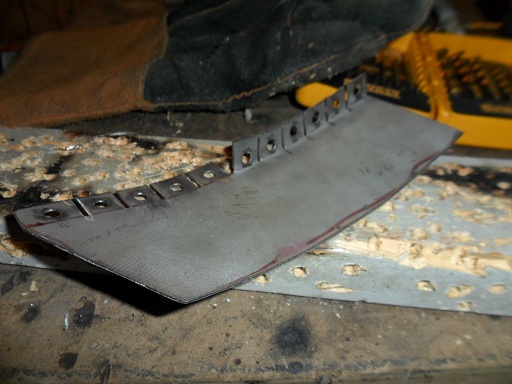 Gave the long a final cleaning with the shop vac before spraying a liberal coating of rust encapsulator into the long using the extension nozzle: 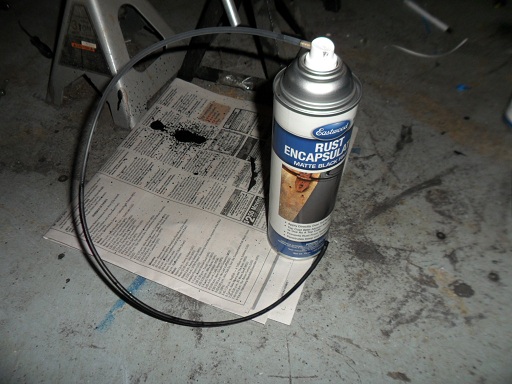 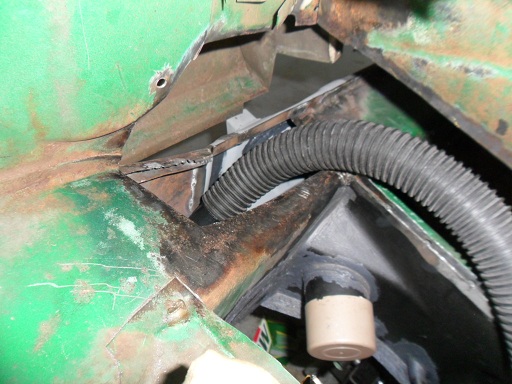 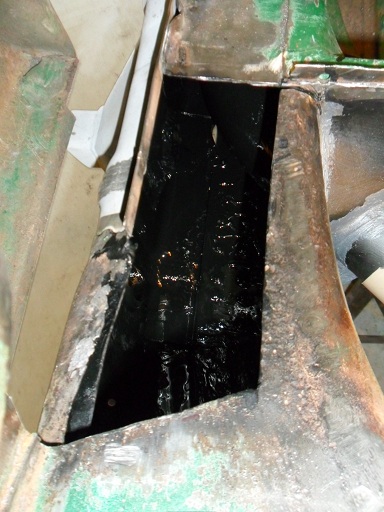 |
|
|
|
| saigon71 |
Oct 2 2012, 08:12 PM
Post
#227
|
|
Advanced Member Group: Members Posts: 2,006 Joined: 1-June 09 From: Dillsburg, PA Member No.: 10,428 Region Association: MidAtlantic Region |
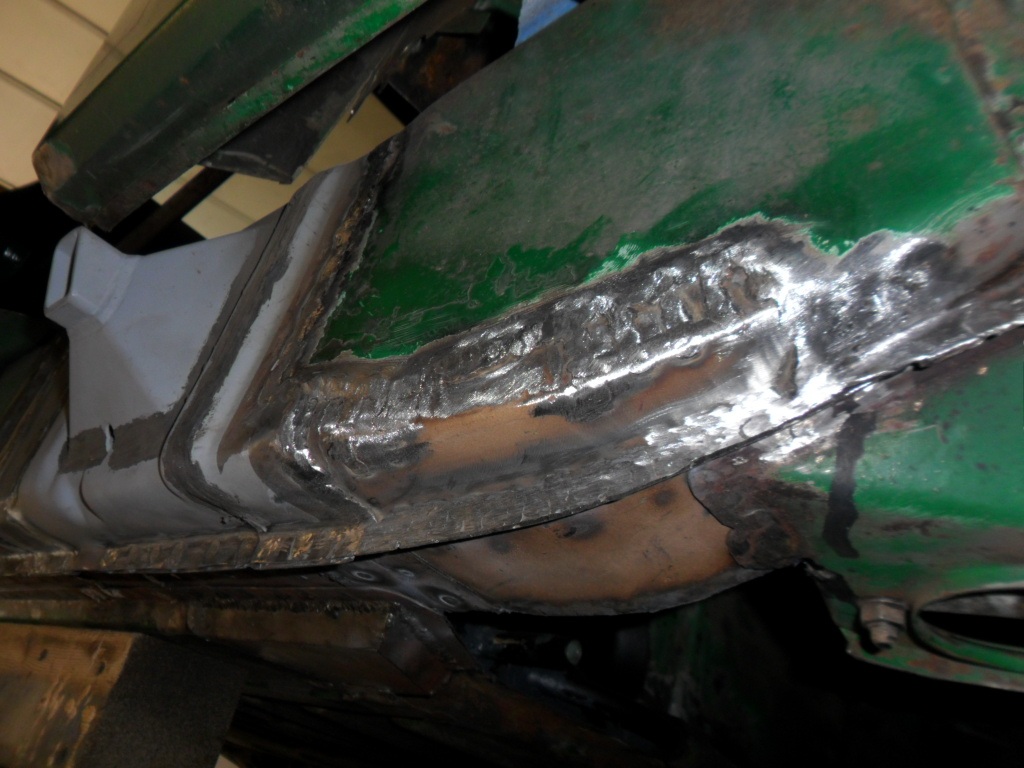
Spent the evening welding/grinding the final patch piece of the drivers side long:
  Fired up a template and banged out the final piece of the inner firewall that joins the firewall and floor pan: 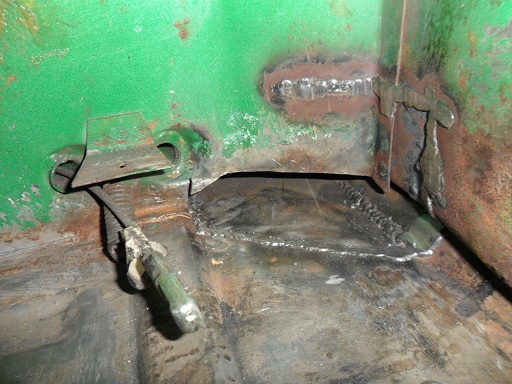  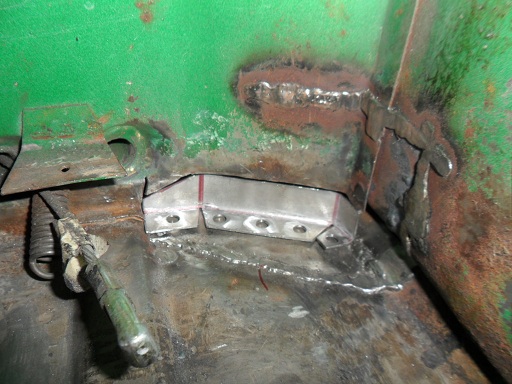 |
|
|
|
| saigon71 |
Oct 5 2012, 06:25 AM
Post
#228
|
|
Advanced Member Group: Members Posts: 2,006 Joined: 1-June 09 From: Dillsburg, PA Member No.: 10,428 Region Association: MidAtlantic Region |
Welded in the lower inner firewall patch on the drivers side. The angle of my bend was slightly off, so I tack welded the vertical section, then used a hammer and drift to beat down the piece that meets the floor:
  |
|
|
|
| wingnut86 |
Oct 20 2012, 07:25 PM
Post
#229
|
|
...boola la boo boola boo... Group: Members Posts: 1,053 Joined: 22-April 10 From: South Carolina Member No.: 11,645 Region Association: South East States |
Man, this is almost like watching Chip Foose (IMG:style_emoticons/default/beer.gif)
I like your work and admire your fortitude (IMG:style_emoticons/default/first.gif) |
|
|
|
| saigon71 |
Oct 24 2012, 07:47 AM
Post
#230
|
|
Advanced Member Group: Members Posts: 2,006 Joined: 1-June 09 From: Dillsburg, PA Member No.: 10,428 Region Association: MidAtlantic Region |
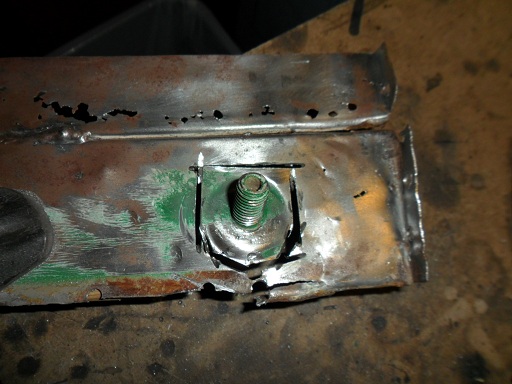
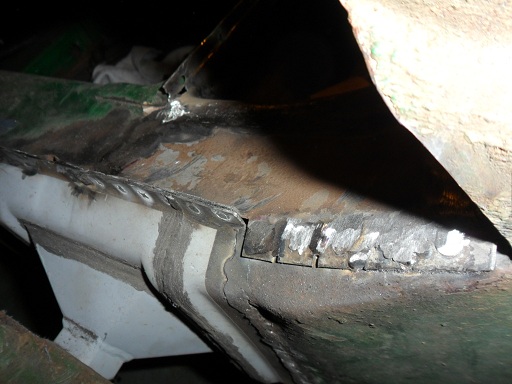
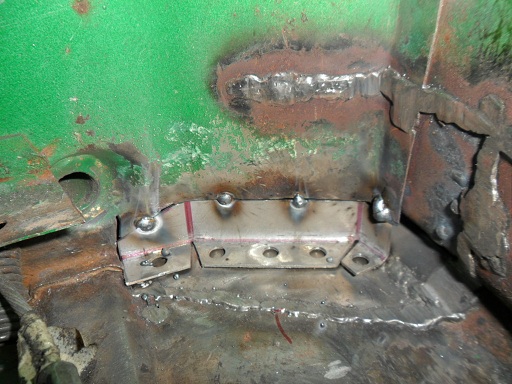
Finished up the firewall patch. I decided to make this a one piece repair for simplicity and had to bend it to match the existing factory firewall. Installed the engine bay release attach point and the tab that holds the brake line:
         |
|
|
|
| saigon71 |
Oct 24 2012, 07:52 AM
Post
#231
|
|
Advanced Member Group: Members Posts: 2,006 Joined: 1-June 09 From: Dillsburg, PA Member No.: 10,428 Region Association: MidAtlantic Region |
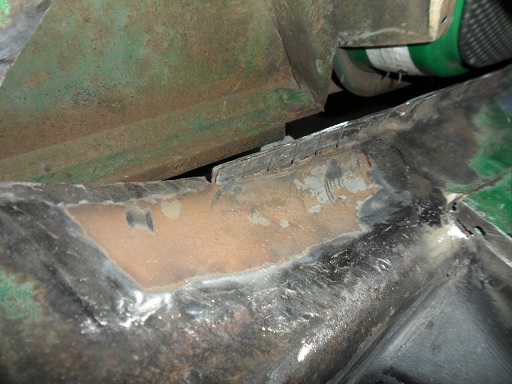
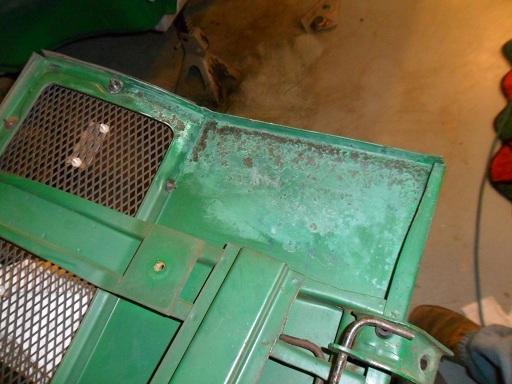
Naturally, the edge of the front firewall shelf had some rust damage, but most of it was isolated to the forward portion. Rather than re-make this entire piece, I cut out the bad areas and welded in new 18GA metal. Brushed a coat of ospho on the surface rust:
       |
|
|
|
| saigon71 |
Oct 24 2012, 07:58 AM
Post
#232
|
|
Advanced Member Group: Members Posts: 2,006 Joined: 1-June 09 From: Dillsburg, PA Member No.: 10,428 Region Association: MidAtlantic Region |
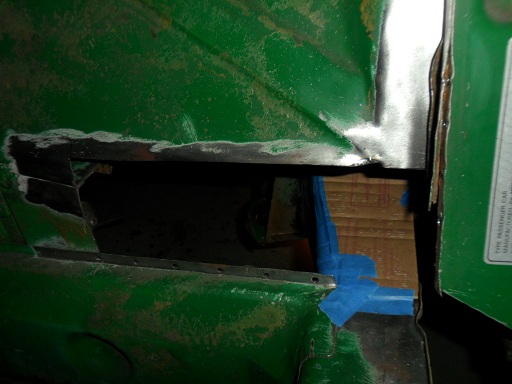
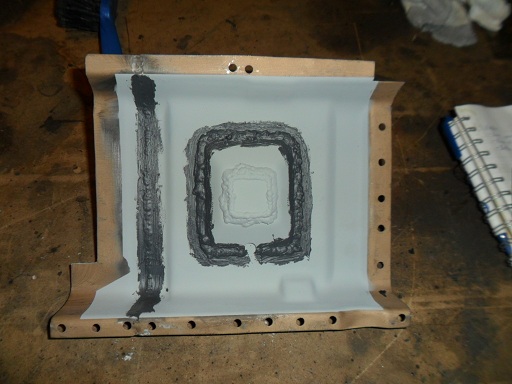
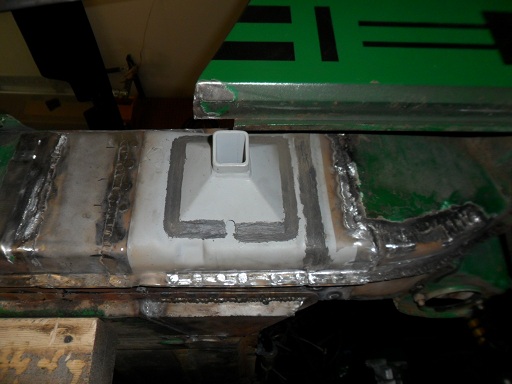
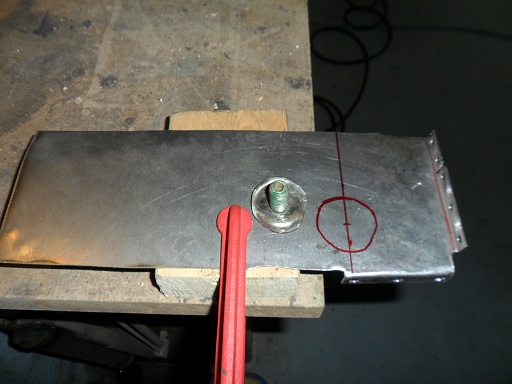
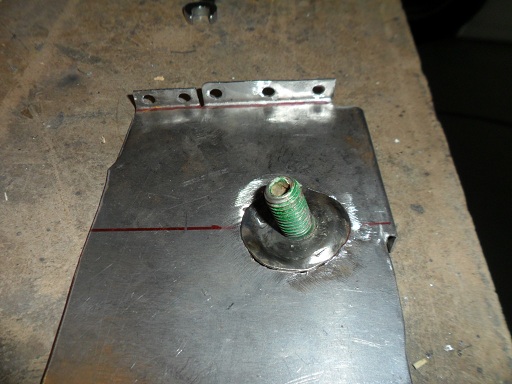
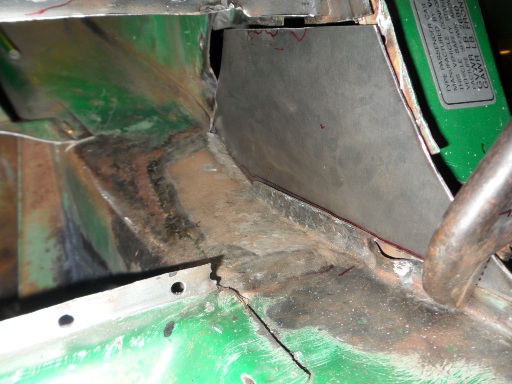
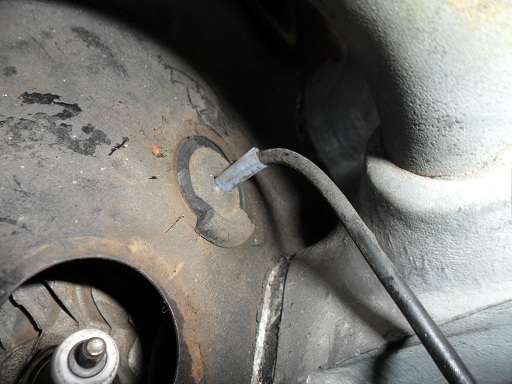
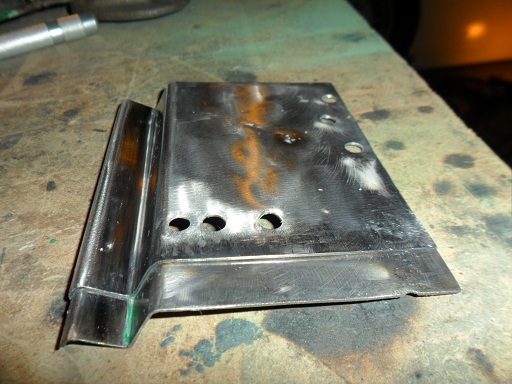
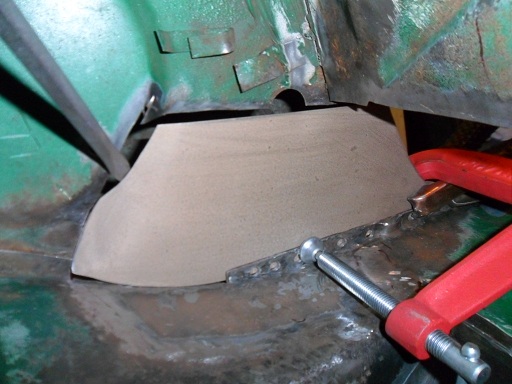
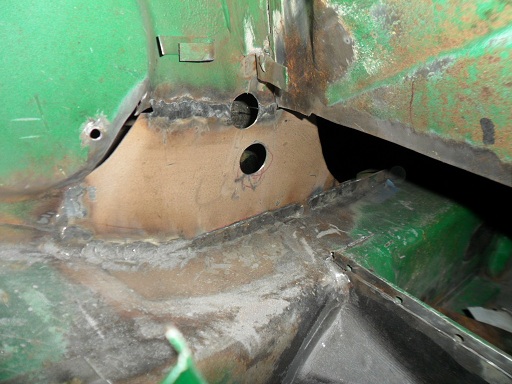
The final section to fabricate is the wheelhouse above the long. I had to cut into the indented circular area behind the blower motor to get rid of all the rust. Went to work making the main piece...I will add a small connection piece after this one is welded in:
      |
|
|
|
| saigon71 |
Oct 24 2012, 08:06 AM
Post
#233
|
|
Advanced Member Group: Members Posts: 2,006 Joined: 1-June 09 From: Dillsburg, PA Member No.: 10,428 Region Association: MidAtlantic Region |
QUOTE(wingnut86 @ Oct 20 2012, 09:25 PM) Man, this is almost like watching Chip Foose (IMG:style_emoticons/default/beer.gif) I like your work and admire your fortitude (IMG:style_emoticons/default/first.gif) Thanks wingnut...it's a sickness. (IMG:style_emoticons/default/blink.gif) |
|
|
|
| saigon71 |
Nov 1 2012, 07:04 PM
Post
#234
|
|
Advanced Member Group: Members Posts: 2,006 Joined: 1-June 09 From: Dillsburg, PA Member No.: 10,428 Region Association: MidAtlantic Region |
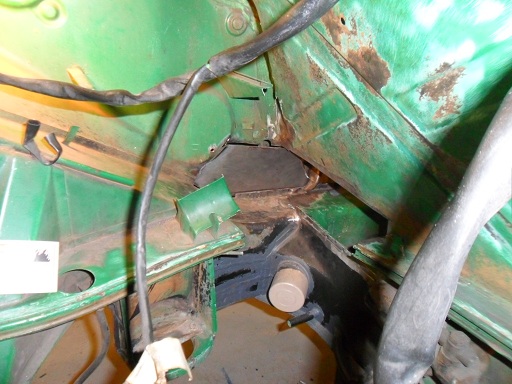
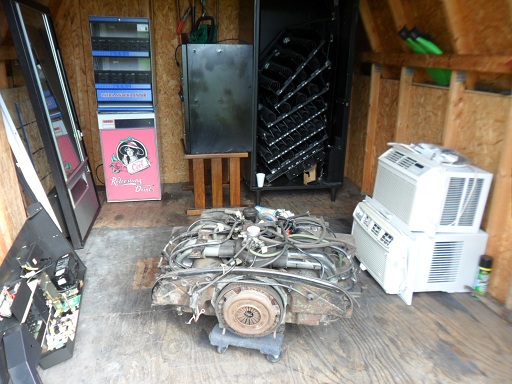
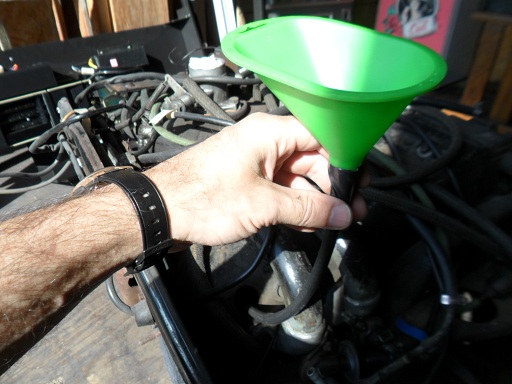
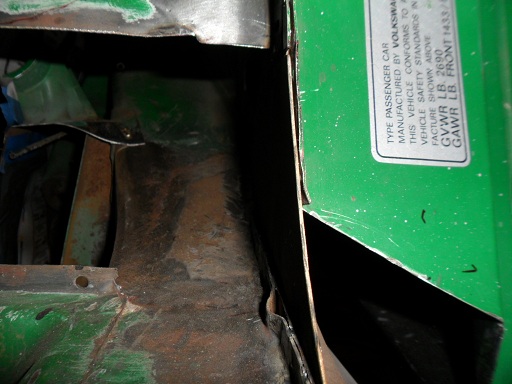
As many of us have experienced during a restoration, my engine ended up out much longer than expected. (IMG:style_emoticons/default/mad.gif) The engine will be sitting in my shed for another winter & I had never done any type of preservation to make sure it stays free and will fire up without a lot of hassle when the car is finally done. Poured oil in the cylinders and rotated the engine, stuffed rags in the exhaust ports and duct-taped the throttle body. Swapped out the CHT sensor as well, in hopes that the engine will be "plug & play" when the time comes. Under advice from the world, I used a dab of superglue to hold the CHT washer on during installation. Used an inspection camera to view the inside of the tin to make sure there were no mouse nests in there...all looked good:
   While I had "easy" access to the inner drivers side rear fender, I hit it with Ospho to halt the surface rust: 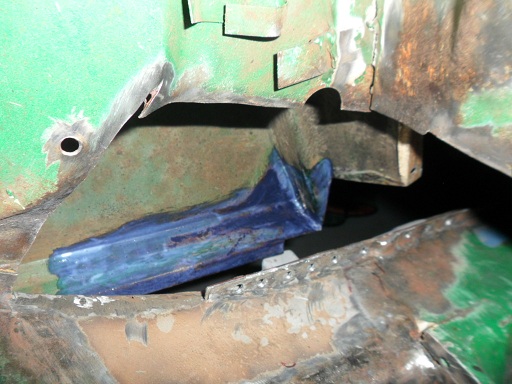 |
|
|
|
| saigon71 |
Nov 1 2012, 07:14 PM
Post
#235
|
|
Advanced Member Group: Members Posts: 2,006 Joined: 1-June 09 From: Dillsburg, PA Member No.: 10,428 Region Association: MidAtlantic Region |
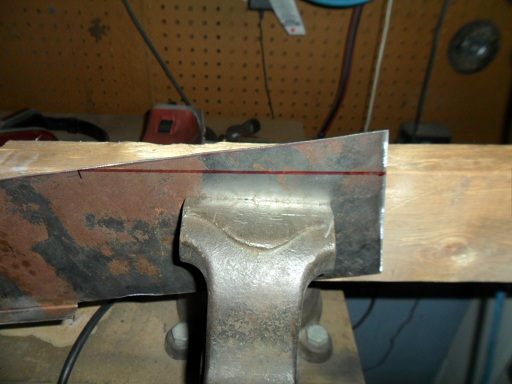
While checking out what I need for what is hopefully my last Restoration Design order, I took a close look at my drivers side door sill. I only needed about 5" at the rear. I had a pretty clean section from the passenger side so I cut out what I needed. The factory piece dips down at the rear (about 1/2") to allow the door jamb to rest on top of it. To re-create this, I cut off an extra 3/4" chunk of the donor jamb and welded it to the bottom:
      |
|
|
|
| mepstein |
Nov 1 2012, 08:02 PM
Post
#236
|
|
914-6 GT in waiting Group: Members Posts: 19,675 Joined: 19-September 09 From: Landenberg, PA/Wilmington, DE Member No.: 10,825 Region Association: MidAtlantic Region |
Way to go Bob. We'll see the car at Hershey 2013 for sure.
|
|
|
|
| saigon71 |
Nov 3 2012, 07:40 PM
Post
#237
|
|
Advanced Member Group: Members Posts: 2,006 Joined: 1-June 09 From: Dillsburg, PA Member No.: 10,428 Region Association: MidAtlantic Region |
Got some light work done on the car the last few days. Brushed two coats of color on part of the underside of the engine decklid (previously ospho'd) where there was some surface rust:
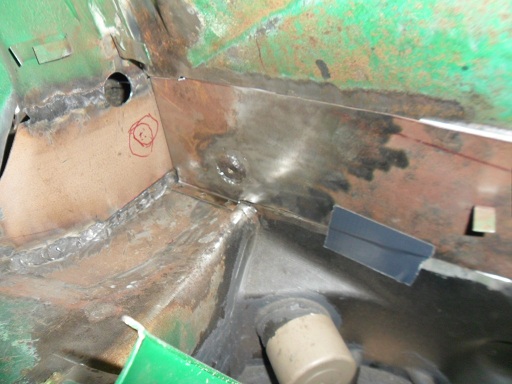
 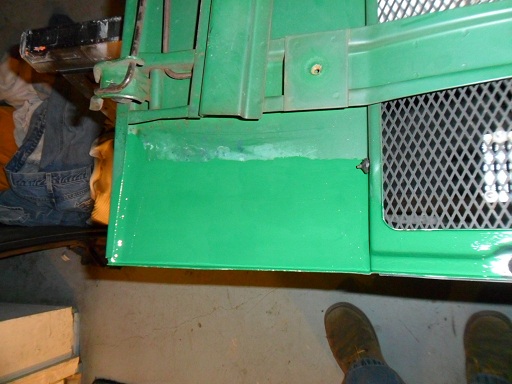 Took a close look at my supply of used sill triangles and found two of them with only minor surface rust. Drilled the welds out of the old passenger side clam shell from the inside. Cleaned and treated with Ospho:  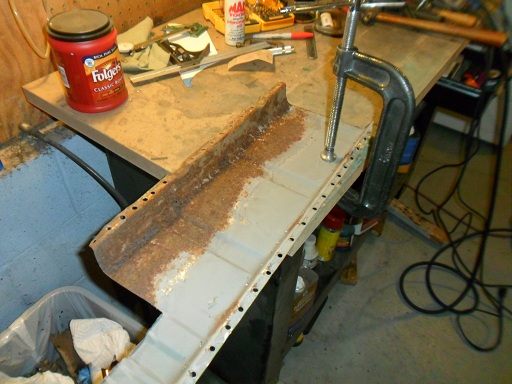 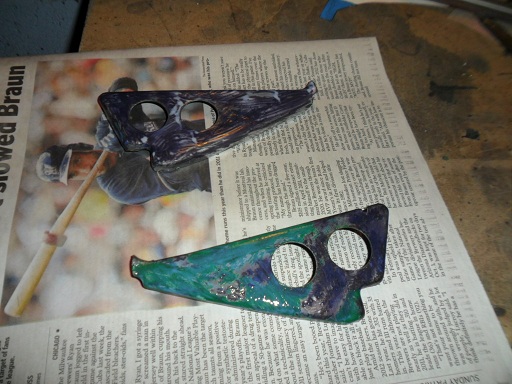 Applied rust encapsulator to the inner portion of the drivers side rear fender before welding in the final wheelhouse piece: 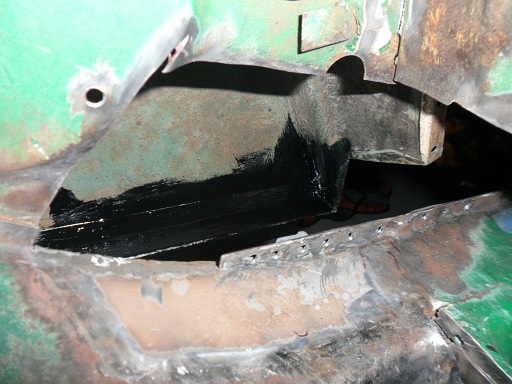 Removed seam sealer from portions of the rear trunk. I was pleased to see surface rust only. Hit rusty areas with a wire wheel and applied ospho. Did the same on the lip under the rear trunk lid: 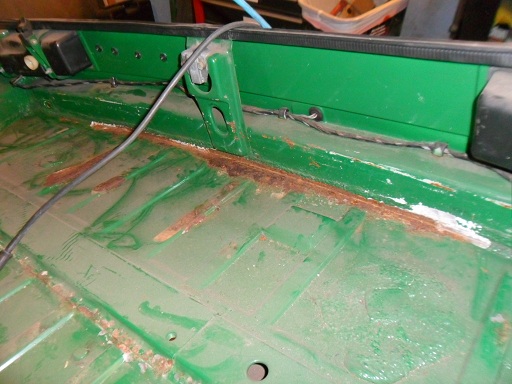 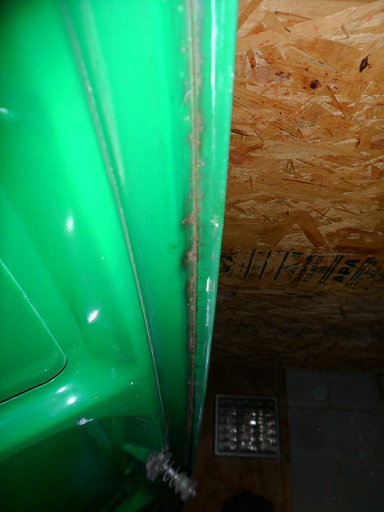  Applied weld-thru primer to the top of the clam shell where the sill will sit: 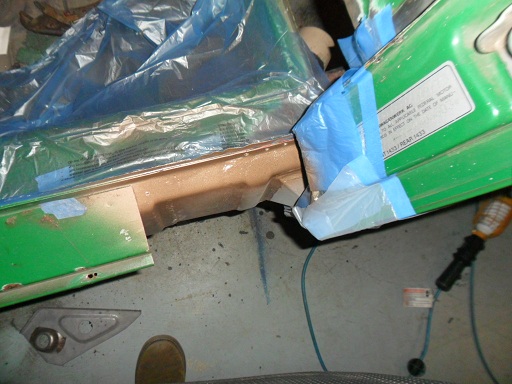 Took a look at the drivers side jacking donut...I need to do a little more grinding on some of the floor and long welds for proper fit, but didn't want to stir up a bunch of dust with paint & opsho drying in the shop: 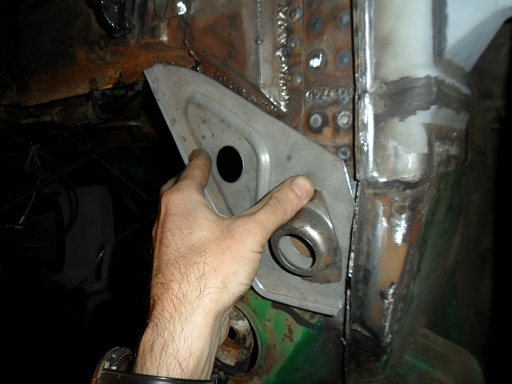 |
|
|
|
| saigon71 |
Nov 10 2012, 12:23 PM
Post
#238
|
|
Advanced Member Group: Members Posts: 2,006 Joined: 1-June 09 From: Dillsburg, PA Member No.: 10,428 Region Association: MidAtlantic Region |
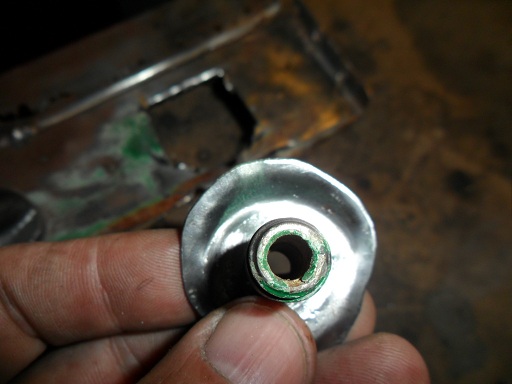
Used a mixed assortment of three grommets from the local ACE hardware held together with permatex to make a new sheet metal plug for the CHT:
 Prepped the jacking donut for installation. I had to trim a little off the piece where it meets the pan and add a little bend: 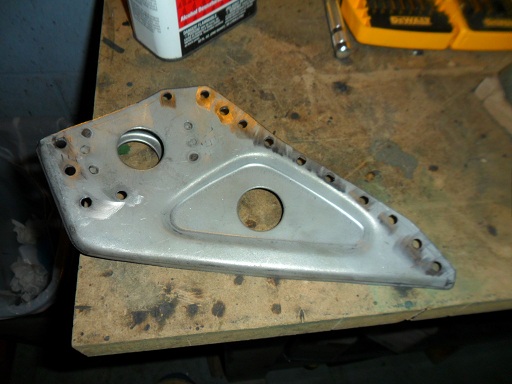 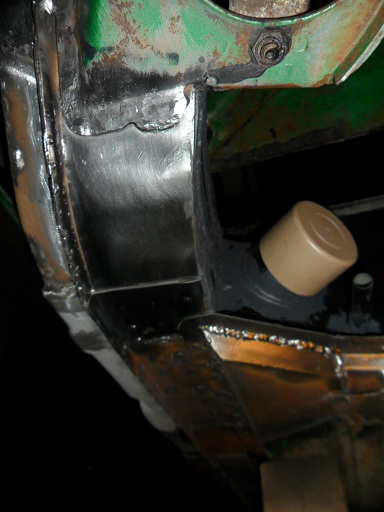 Needed to replace some more engine bay seal channel...removed the bad stuff and sprayed weld-thru primer: 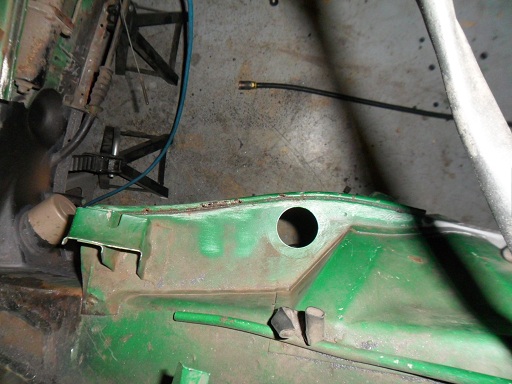 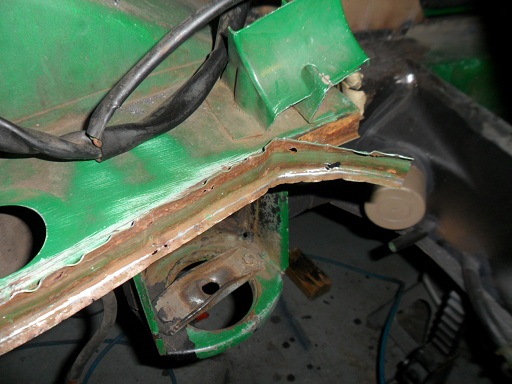 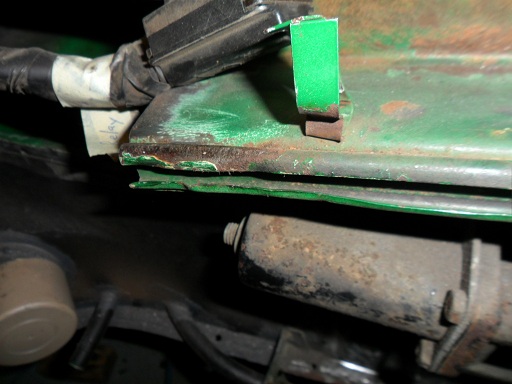 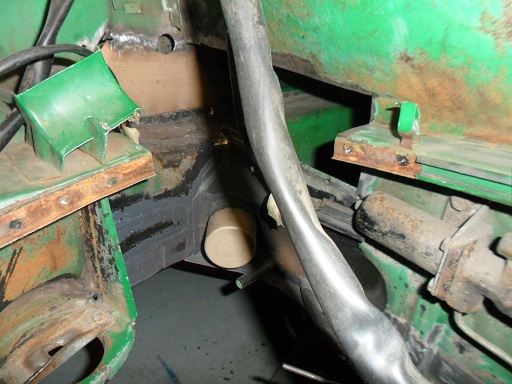 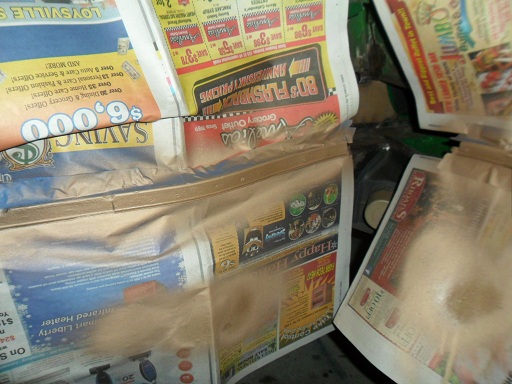 Received what I hope will be my final order from Restoration Design for this project. I only needed a small piece of the door jamb...but I knew it would take me a long time to make it by hand so I just bought one along with some engine bay seal channel: 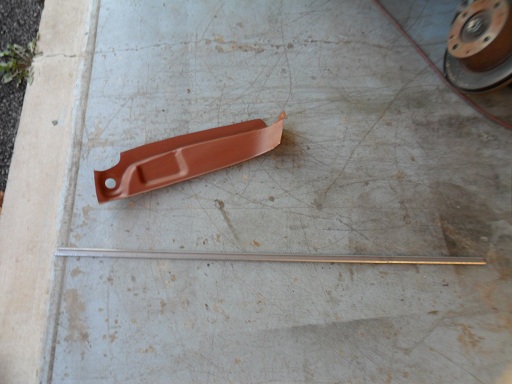 Seam sealed trunk and brushed on two coats of color to the repaired areas: 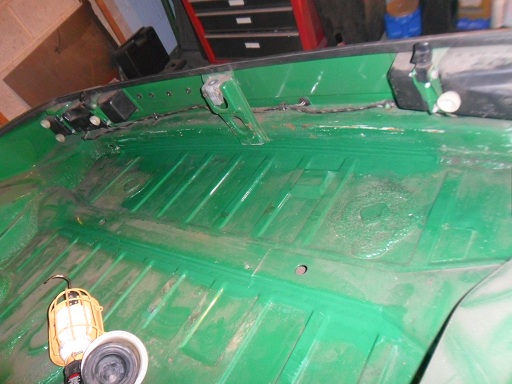 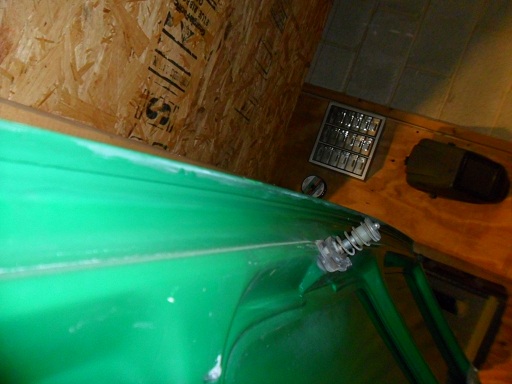 |
|
|
|
| saigon71 |
Nov 10 2012, 12:32 PM
Post
#239
|
|
Advanced Member Group: Members Posts: 2,006 Joined: 1-June 09 From: Dillsburg, PA Member No.: 10,428 Region Association: MidAtlantic Region |
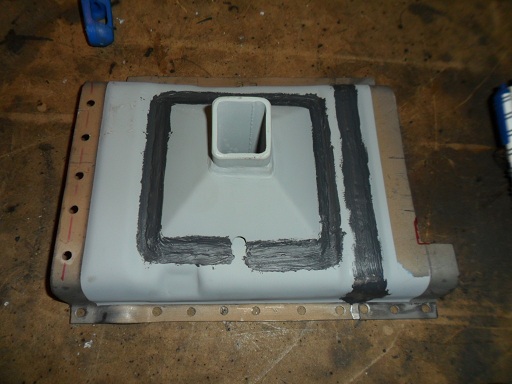
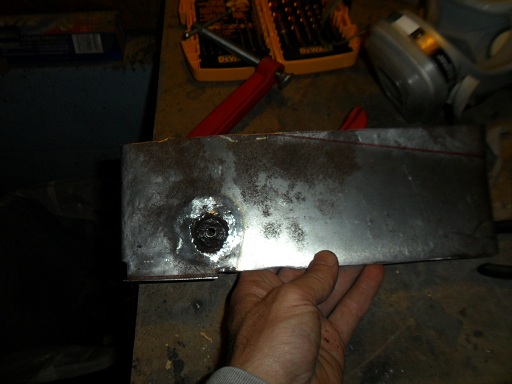
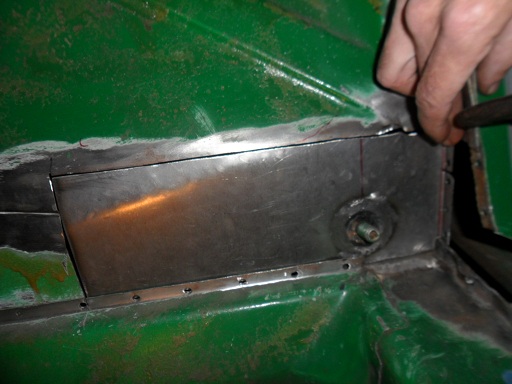
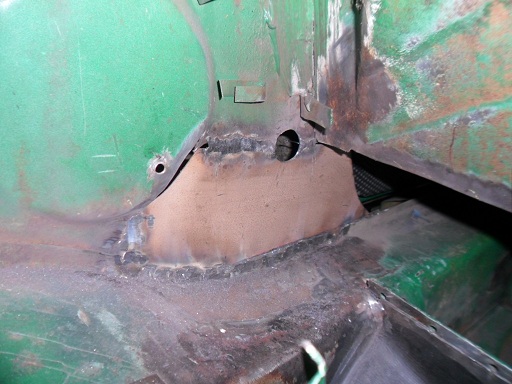
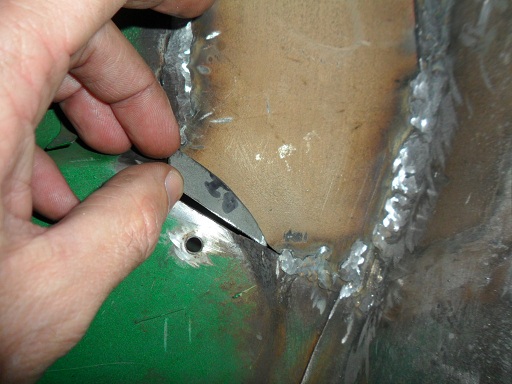
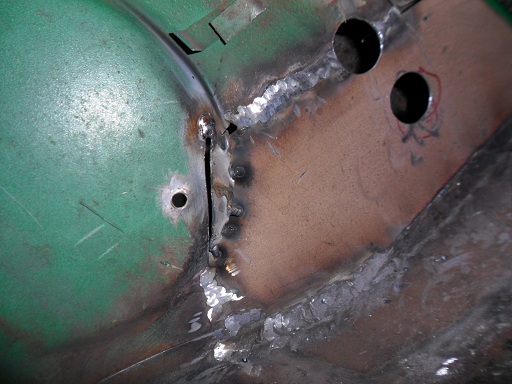
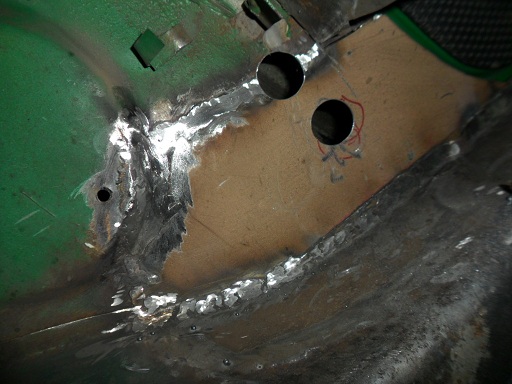
Welded the inner wheelhouse patch in. Using the Dremmel tool to add the holes after installation was a bad idea (IMG:style_emoticons/default/headbang.gif) - I tore through a lot of Dremmel supplies. I only had half a hole to index from, so I got a pic of the layout from a 914world member. Temporarily installed the firewall patch with duct tape to mark the hole. I had to add a small curved piece of metal to match the circle in the remaining wheelhouse. Holding it in place with welding gloves was the biggest challenge:
        |
|
|
|
| wingnut86 |
Nov 10 2012, 12:39 PM
Post
#240
|
|
...boola la boo boola boo... Group: Members Posts: 1,053 Joined: 22-April 10 From: South Carolina Member No.: 11,645 Region Association: South East States |
Very nice work...
|
|
|
|
|
2 User(s) are reading this topic (2 Guests and 0 Anonymous Users)
0 Members:

|
Lo-Fi Version | Time is now: 4th January 2025 - 03:43 AM |
Invision Power Board
v9.1.4 © 2025 IPS, Inc.