|
|
|
Porsche, and the Porsche crest are registered trademarks of Dr. Ing. h.c. F. Porsche AG.
This site is not affiliated with Porsche in any way. Its only purpose is to provide an online forum for car enthusiasts. All other trademarks are property of their respective owners. |
|
|

  |

| saigon71 |
 Feb 24 2013, 06:50 PM Feb 24 2013, 06:50 PM
Post
#321
|
|
Advanced Member  Group: Members Posts: 2,006 Joined: 1-June 09 From: Dillsburg, PA Member No.: 10,428 Region Association: MidAtlantic Region |
I got burned by a set of rear jacking donuts and supports bought from Restoration design. They acknowledged the problem and immediately shipped me a new set. I compared the new ones to old and saw that the donut was installed backwards on the originals (there should be more rise on the rear half to keep the donut parallel to the ground). I realized it would be less work to flip the donuts on the support than to install the new pieces. Drilled out the welds with a dull spot weld cutter (IMG:style_emoticons/default/headbang.gif) and re-welded the donuts:
I think all welding is done on the car now! (IMG:style_emoticons/default/aktion035.gif) 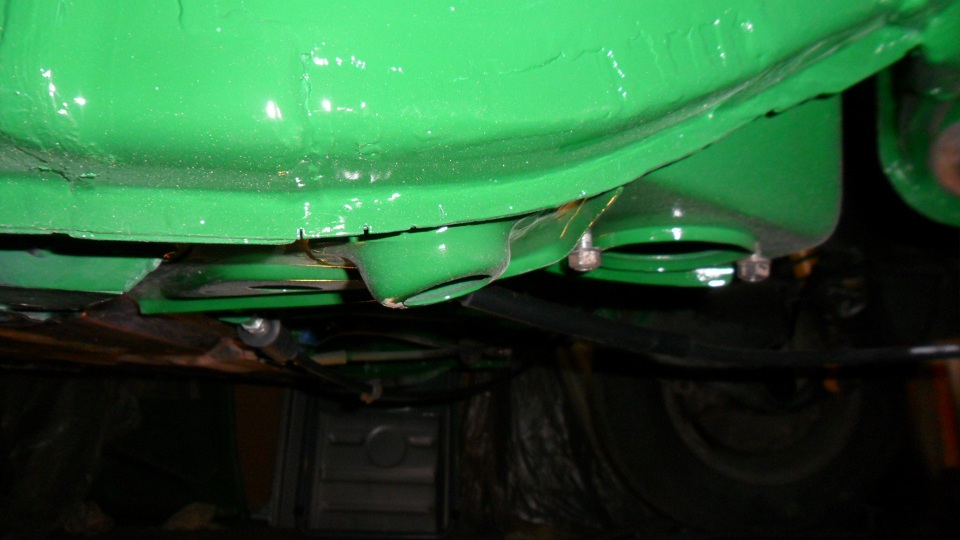 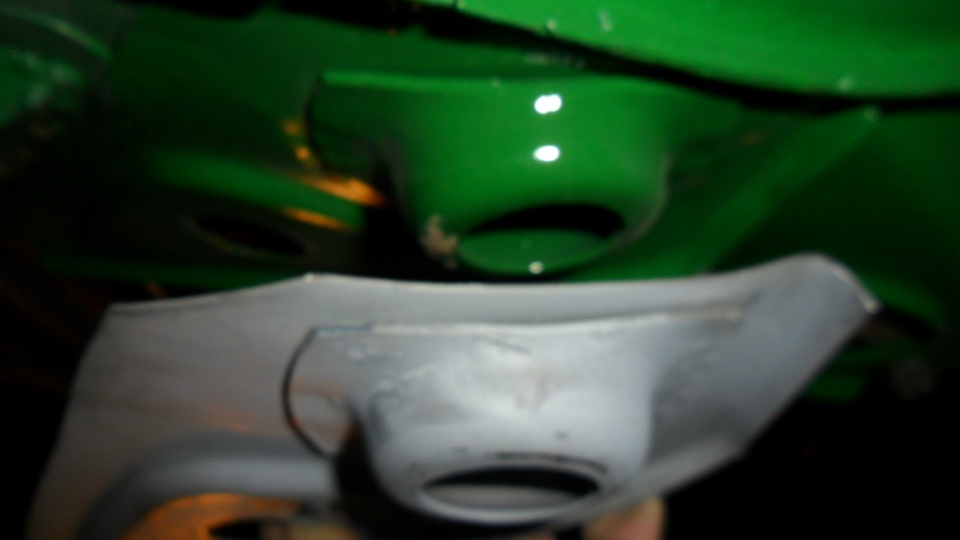 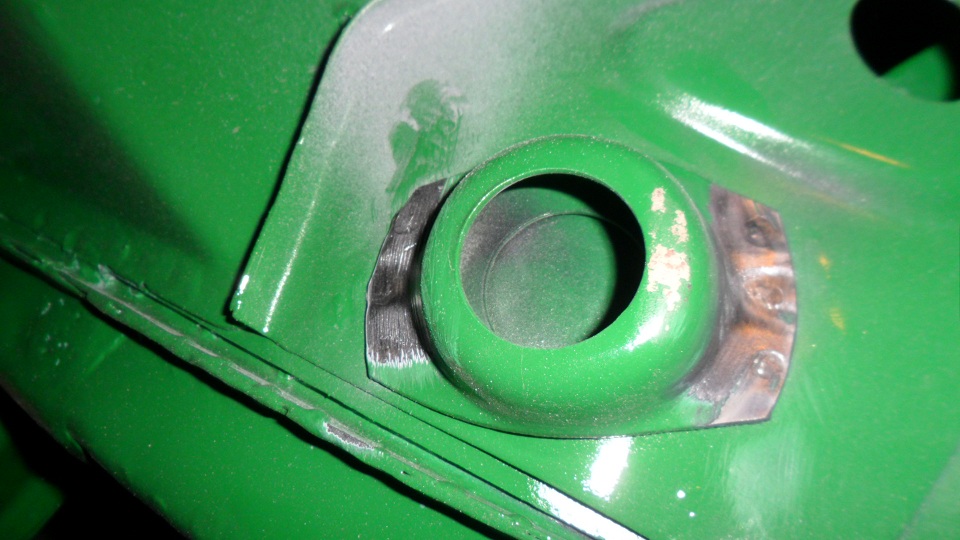 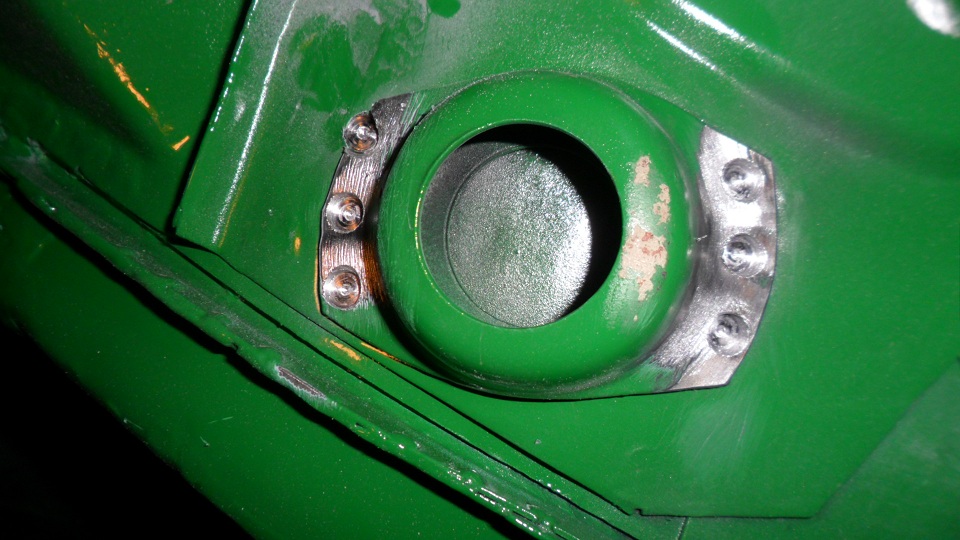 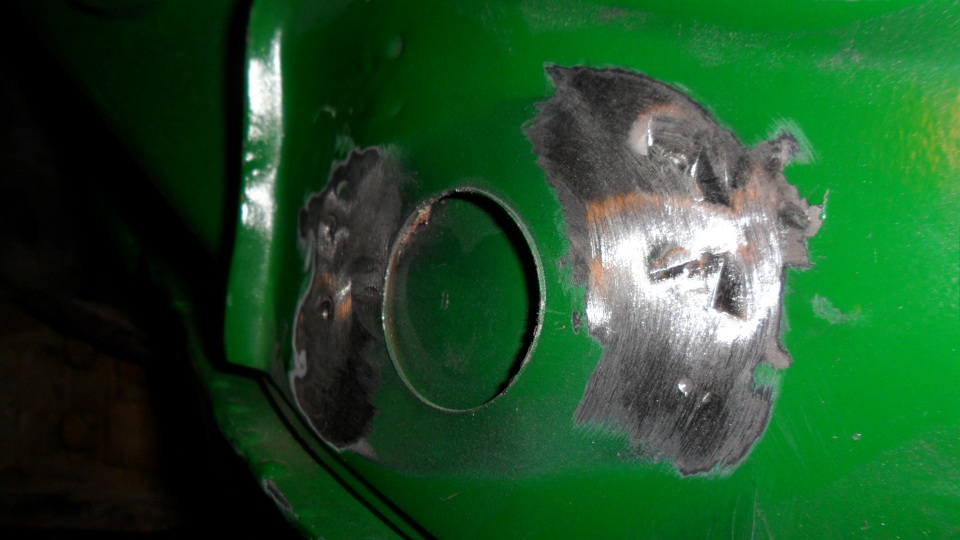  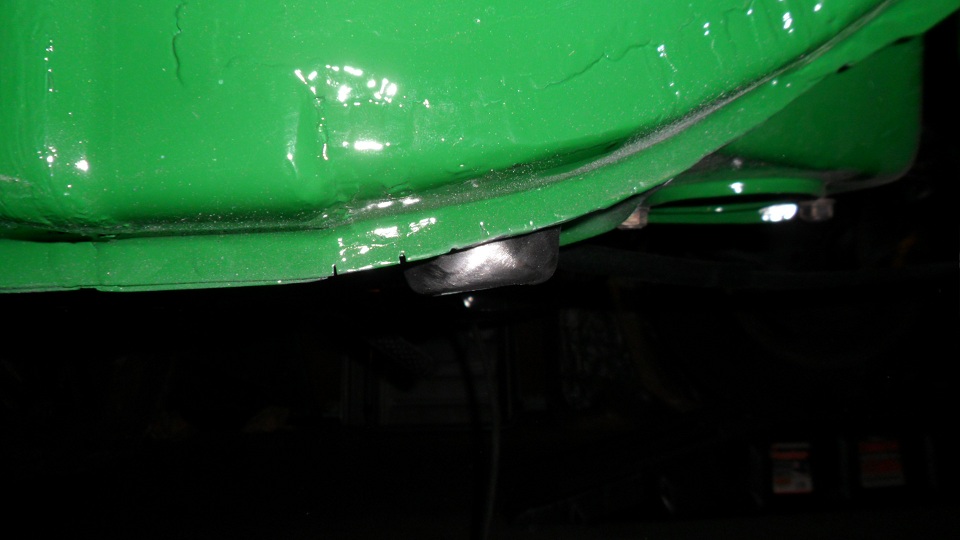 |
   |

 
|
| OllieG |
Feb 25 2013, 03:39 AM
Post
#322
|
|
OllieG Group: Members Posts: 212 Joined: 6-July 11 From: UK Member No.: 13,282 Region Association: England |
Damn I've got a pair of those to weld in...better check to see if they have the same problem. Did RD say it was just a bad batch or what?
|
|
|
|
| saigon71 |
Feb 25 2013, 06:43 AM
Post
#323
|
|
Advanced Member Group: Members Posts: 2,006 Joined: 1-June 09 From: Dillsburg, PA Member No.: 10,428 Region Association: MidAtlantic Region |
QUOTE(OllieG @ Feb 25 2013, 04:39 AM)  Damn I've got a pair of those to weld in...better check to see if they have the same problem. Did RD say it was just a bad batch or what? RD didn't give any explanation...they just sent new ones. Chris mentioned that he had seen the problem before with this part. Yes, absolutely check yours before installation. I should have caught this before welding them on. (IMG:style_emoticons/default/chair.gif) |
|
|
|
| peteyd |
Feb 25 2013, 05:32 PM
Post
#324
|
|
Senior Member Group: Members Posts: 733 Joined: 27-March 08 From: Elora, Ontario, Canada Member No.: 8,858 Region Association: Canada |
Ya there was a batch a while ago that were welded incorrectly. Im not sure how long ago this set was purchased, but if there are anymore sets out there get in contact with us and we will sort it out.
BTW, your car is looking great Bob. Looking forward to seeing it in Hershey this year! Pete |
|
|
|
| saigon71 |
Feb 26 2013, 11:26 PM
Post
#325
|
|
Advanced Member Group: Members Posts: 2,006 Joined: 1-June 09 From: Dillsburg, PA Member No.: 10,428 Region Association: MidAtlantic Region |
"Tented" the lower section of the car and fired two coats of Rustoleum gloss black on the floor pan:
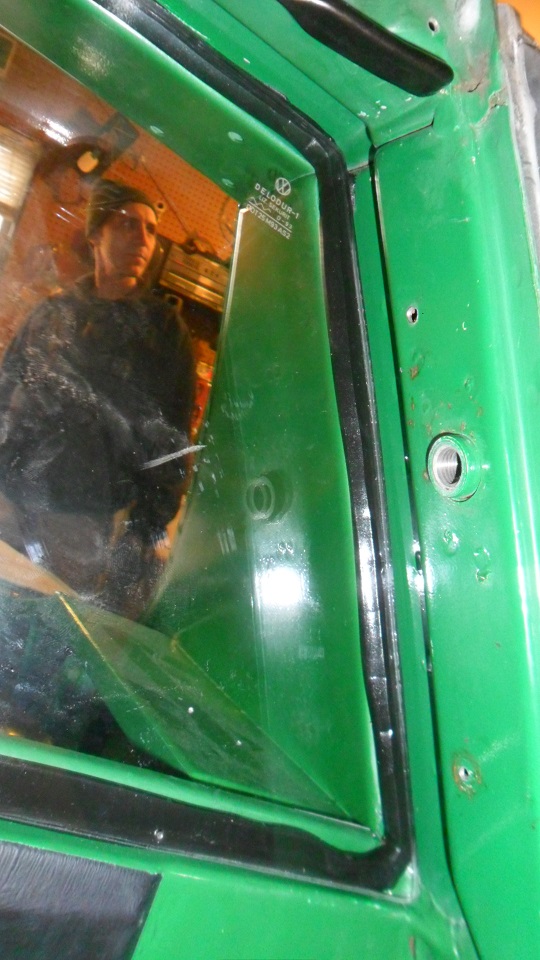
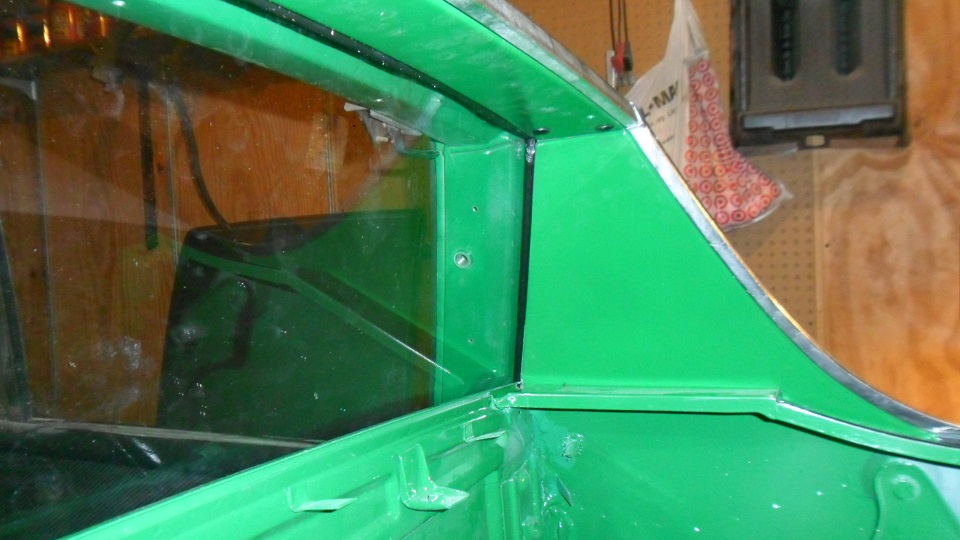
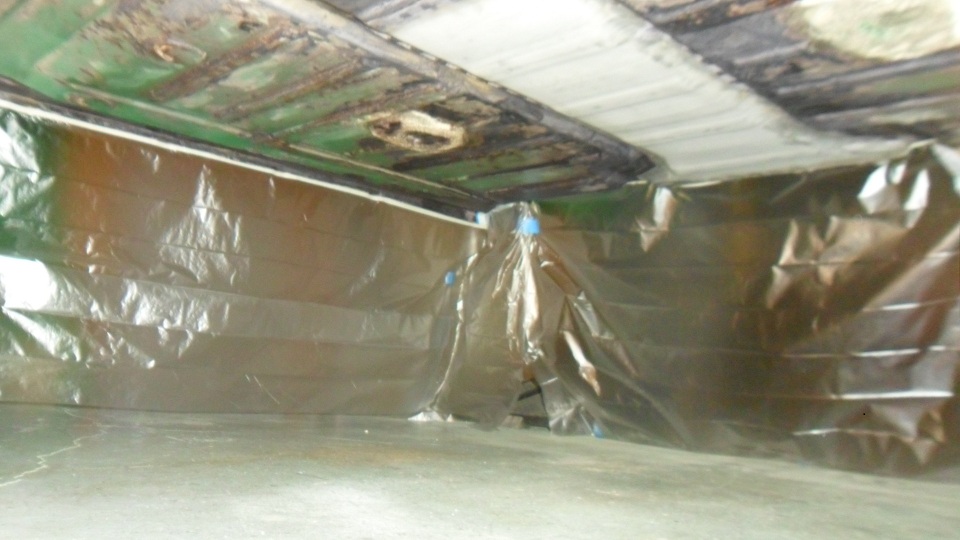   Used the rest of Eastwoods "Internal Frame Coating" on the new section of tunnel just welded in: 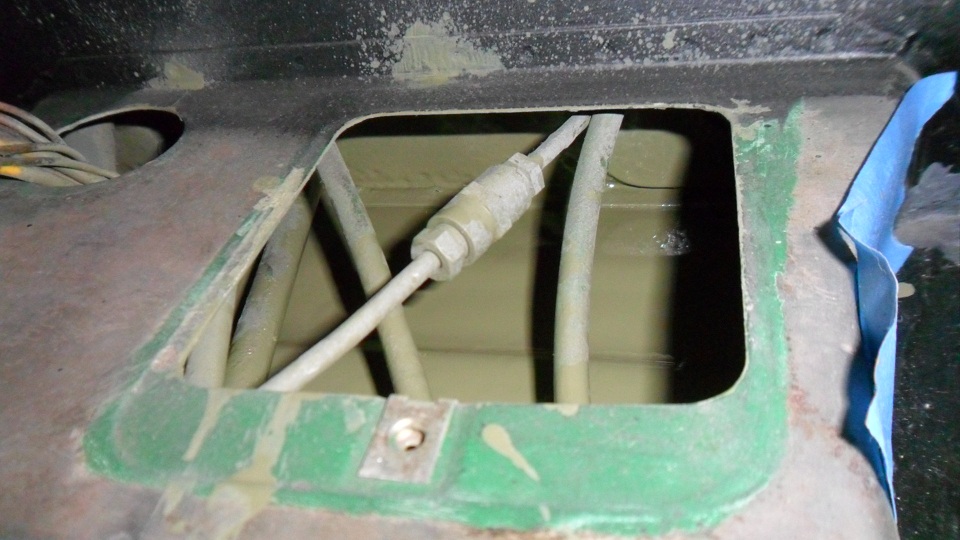 Took a look at the hood...it is in good shape aside from some surface rust. Wire brushed the bad areas and applied a coat of Ospho: 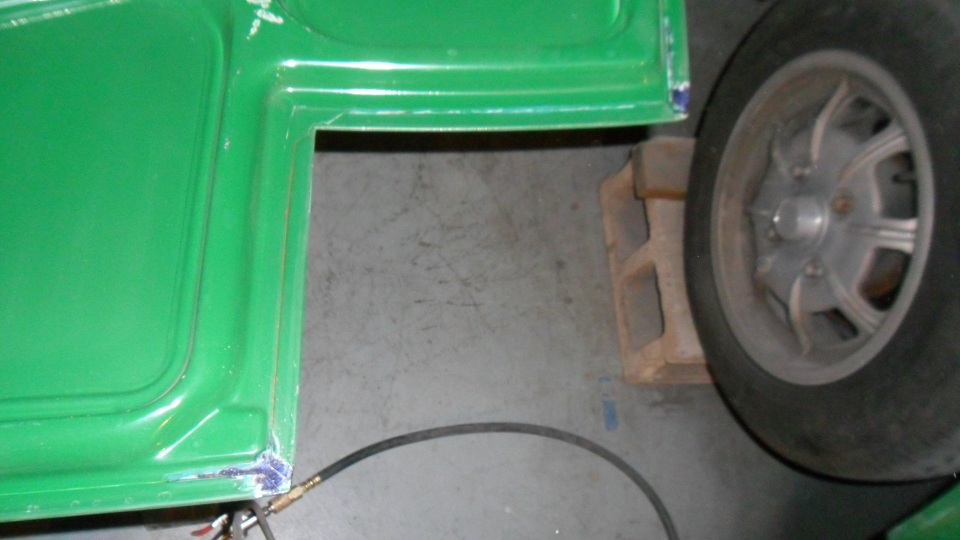 With the car supporting its own weight, I took a look at the door gaps. Overall, I am pleased. The doors open & close well and the windows are snug against the seals. The Drivers side gap is consistent all the way up. The passenger side becomes slightly more narrow at the bottom. I found during restoration that the front right fender was replaced at one point, so the car was hit at some time in its life. I regret not checking the gaps before major structural repairs started: 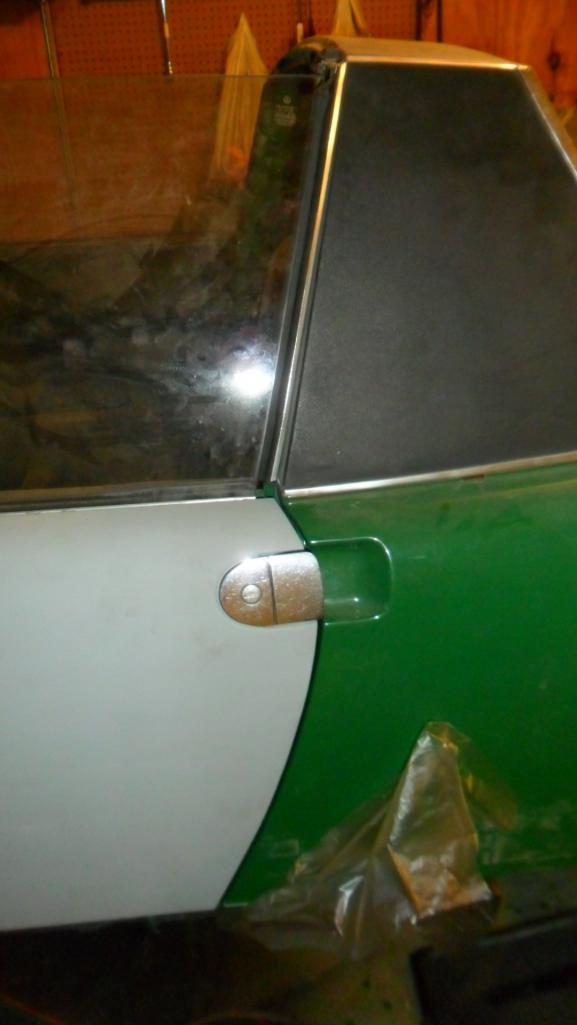  |
|
|
|
| hot_shoe914 |
Feb 27 2013, 12:08 AM
Post
#326
|
|
on ramp passer Group: Members Posts: 3,806 Joined: 20-November 07 From: Earle, Ar. Member No.: 8,354 Region Association: None |
So, are you driving the damn thing to Hershey this year or what? (IMG:style_emoticons/default/confused24.gif)
|
|
|
|
| saigon71 |
Feb 27 2013, 11:03 AM
Post
#327
|
|
Advanced Member Group: Members Posts: 2,006 Joined: 1-June 09 From: Dillsburg, PA Member No.: 10,428 Region Association: MidAtlantic Region |
QUOTE(hot_shoe914 @ Feb 27 2013, 01:08 AM) So, are you driving the damn thing to Hershey this year or what? (IMG:style_emoticons/default/confused24.gif) I hope so...it's gonna be close. (IMG:style_emoticons/default/dry.gif) You driving a teener up this year Shoe? |
|
|
|
| saigon71 |
Feb 28 2013, 09:17 PM
Post
#328
|
|
Advanced Member Group: Members Posts: 2,006 Joined: 1-June 09 From: Dillsburg, PA Member No.: 10,428 Region Association: MidAtlantic Region |
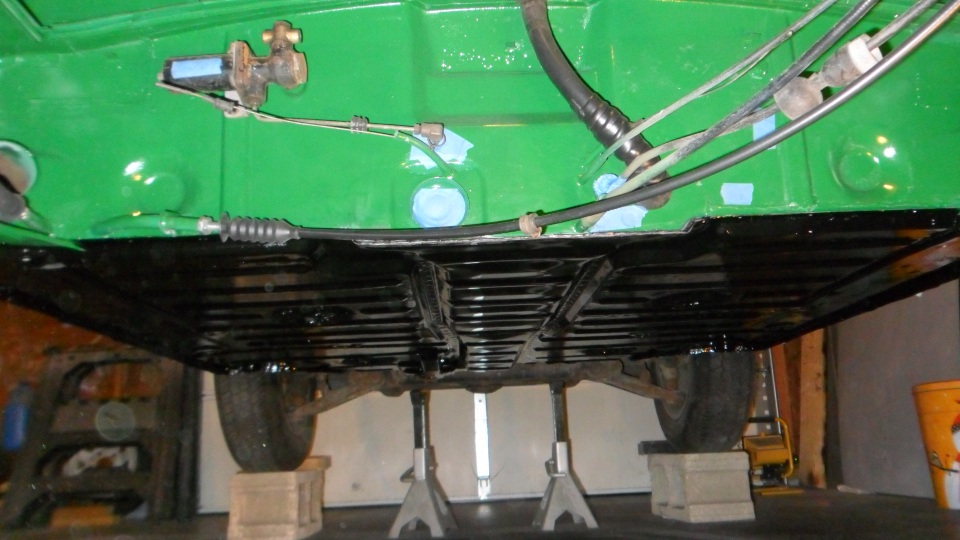
Ran new accelerator & clutch cables:
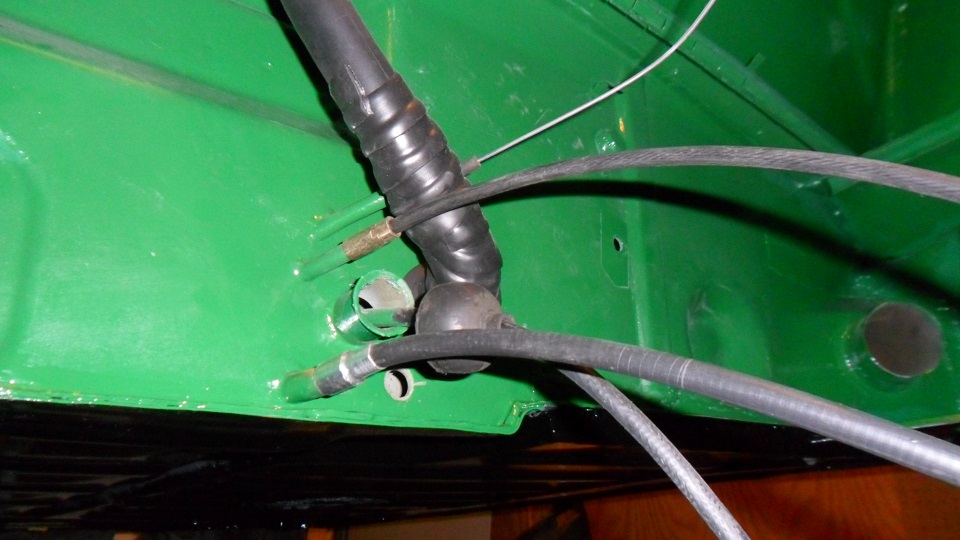 Touched up the underside of the hood with two coats of color: 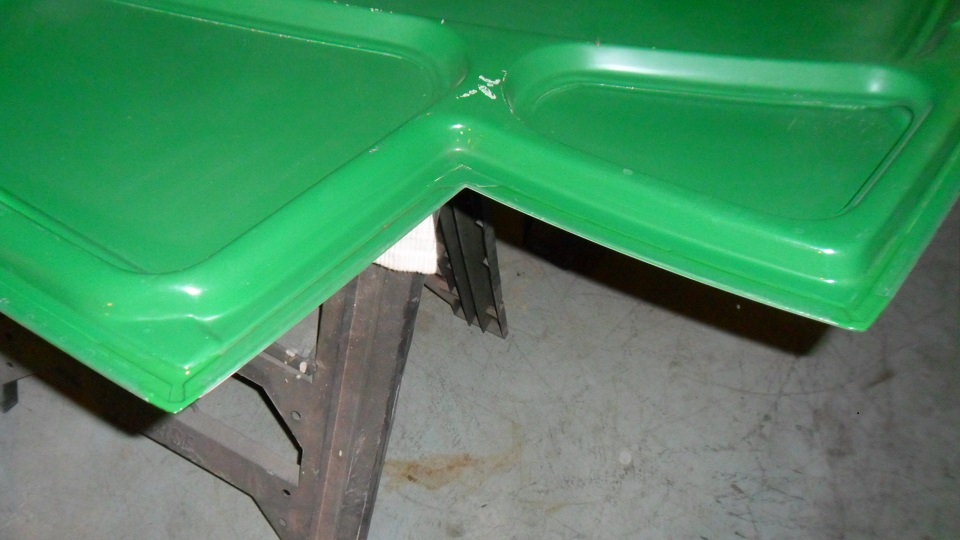 Seam sealed the floor pan: 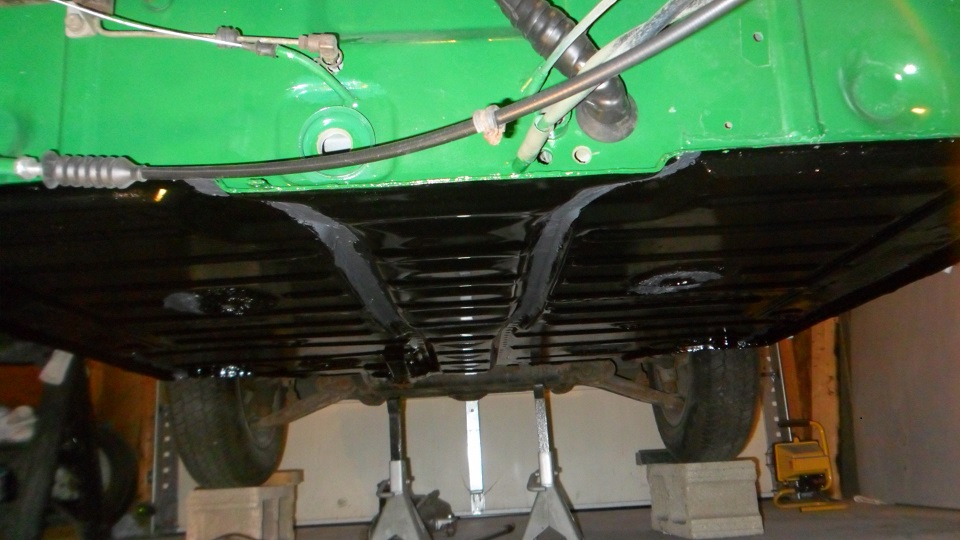 Cleaned the area under the gas tank for SS fuel line and tank installation: 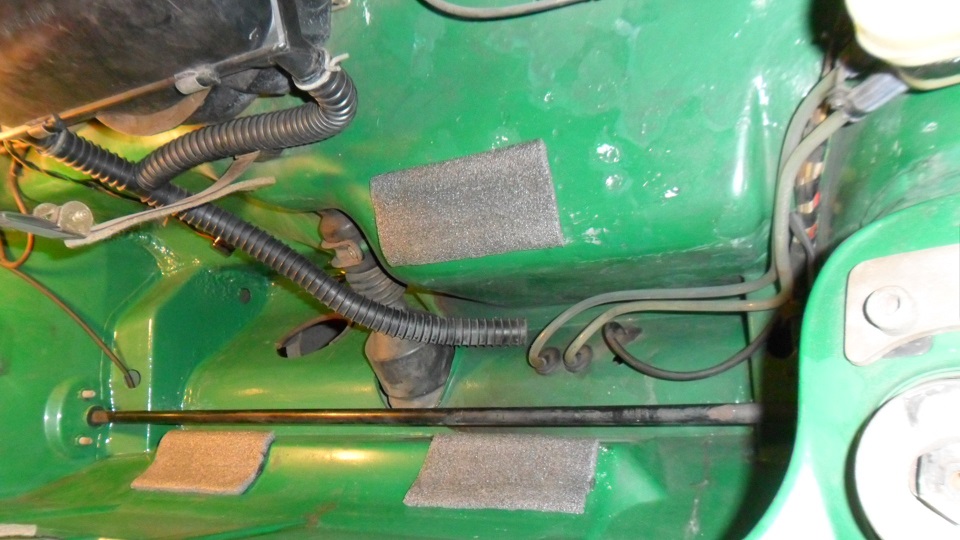 |
|
|
|
| saigon71 |
Mar 3 2013, 09:29 PM
Post
#329
|
|
Advanced Member Group: Members Posts: 2,006 Joined: 1-June 09 From: Dillsburg, PA Member No.: 10,428 Region Association: MidAtlantic Region |
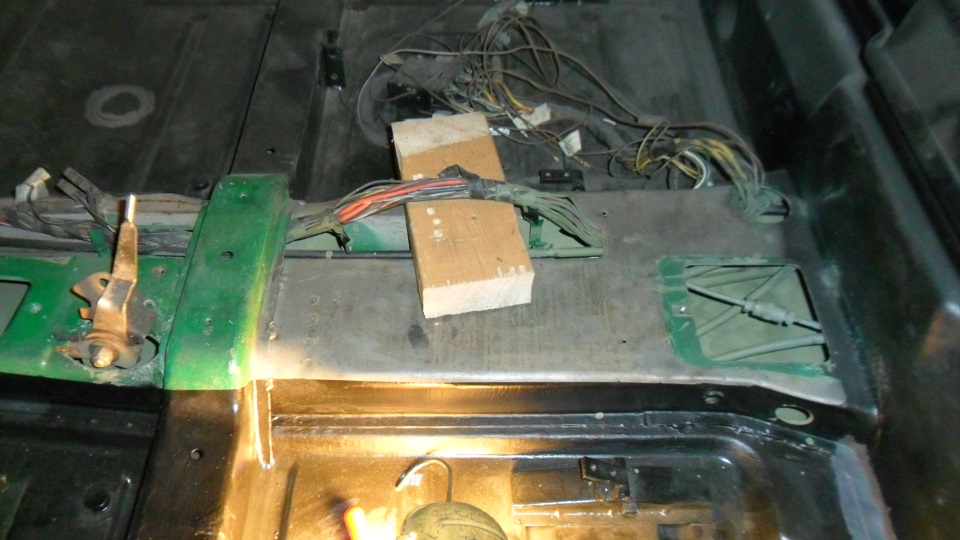
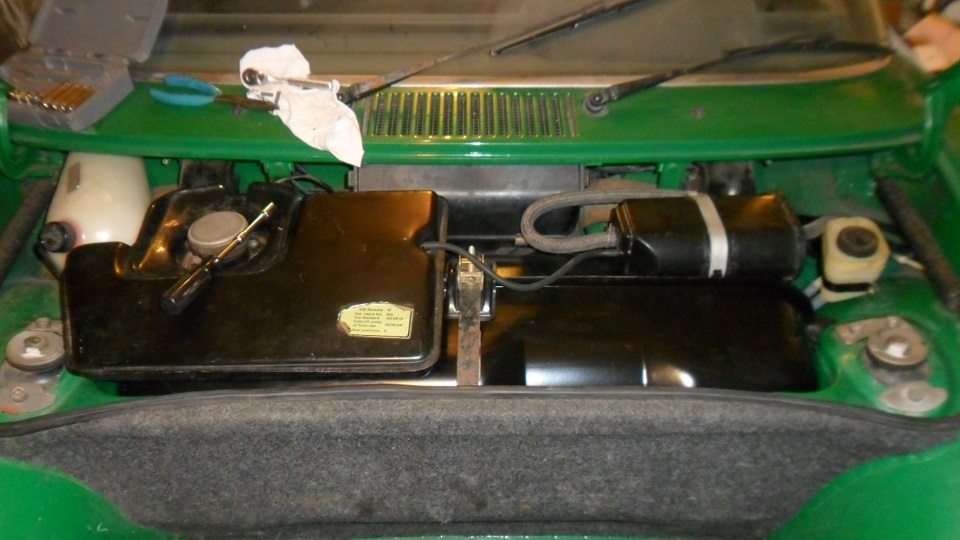
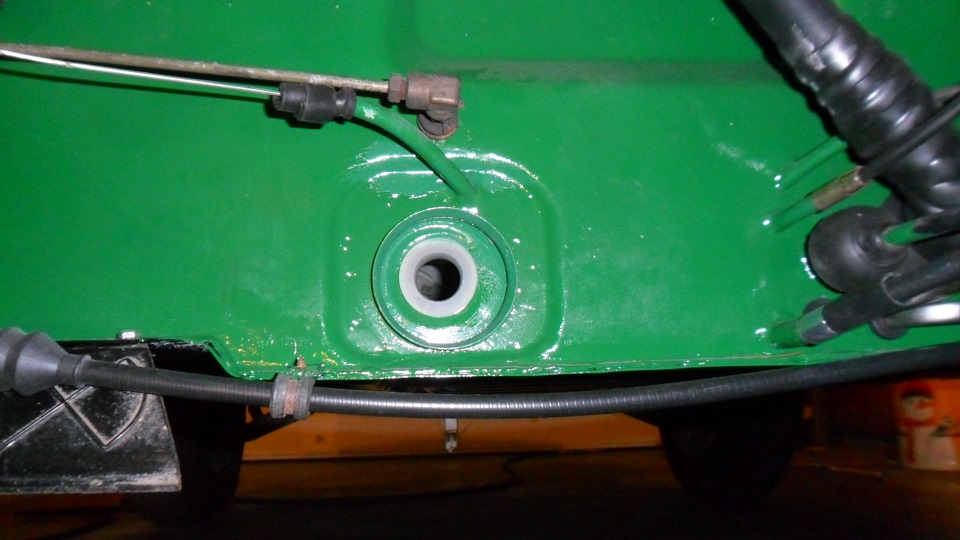
The J-Man came over to help last Friday. Got a lot done. We ran the stainless steel fuel lines & firewall grommets I bought from Chris Foley a few years ago at Hershey. I shoved a 2 X 4 under the wiring harness to avoid getting hung up in it. Jacked up the car and removed the passenger side rear wheel to get the right angle to start them. Installed new fuel line (about 2') on the tank and connected everything. After dropping the tank in, I had a kink in the line that I was able to work out from the access hole in on the bottom of the car:
    Rear trunk lid on...we ended up leaving the bolts a little loose and lining it up with the latch, then raising it slightly and tightining the bolts: 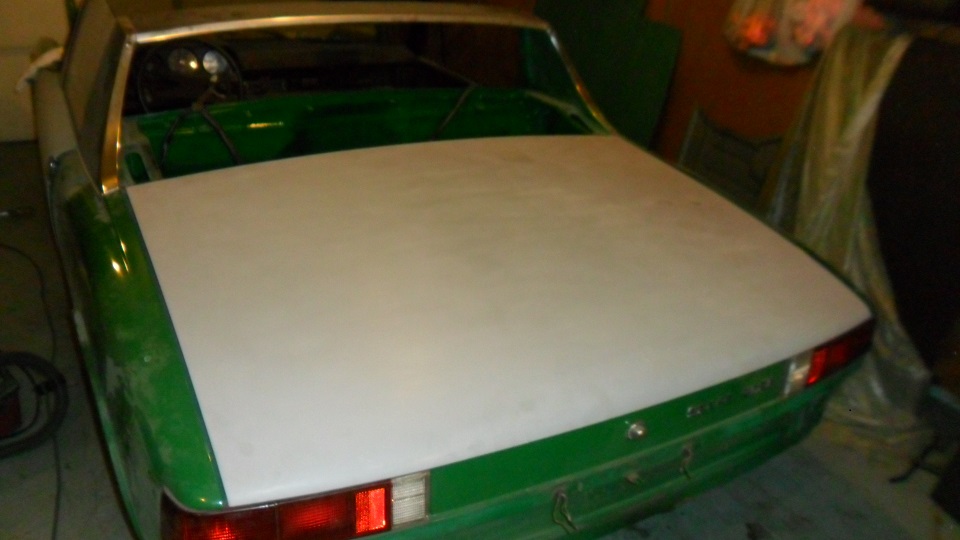 Got a new set of rear sway bar bushings and pressed the last one in the drop link. Installed them on the sway bar: 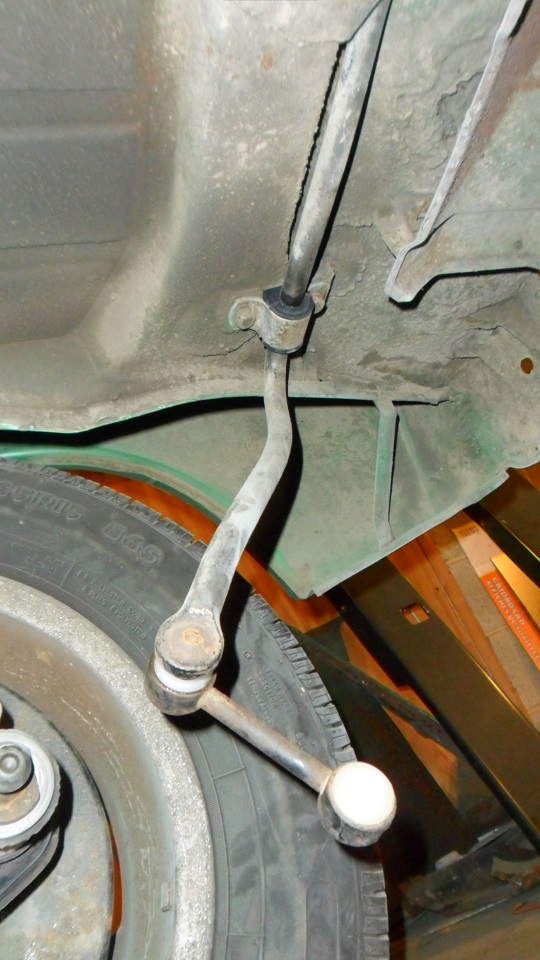 Installed the pedal cluster, being careful to NOT cross the accelerator and clutch cables: 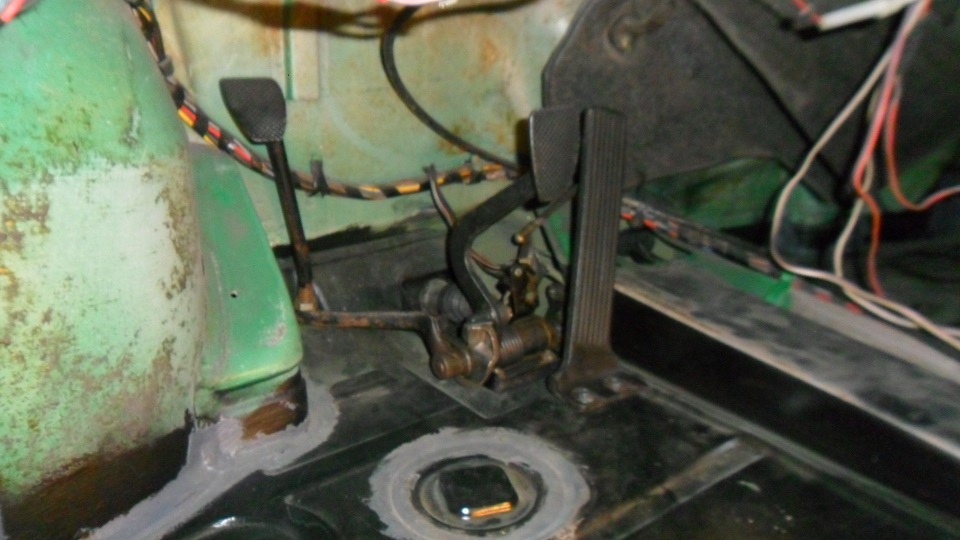 |
|
|
|
| saigon71 |
Mar 11 2013, 09:13 PM
Post
#330
|
|
Advanced Member Group: Members Posts: 2,006 Joined: 1-June 09 From: Dillsburg, PA Member No.: 10,428 Region Association: MidAtlantic Region |
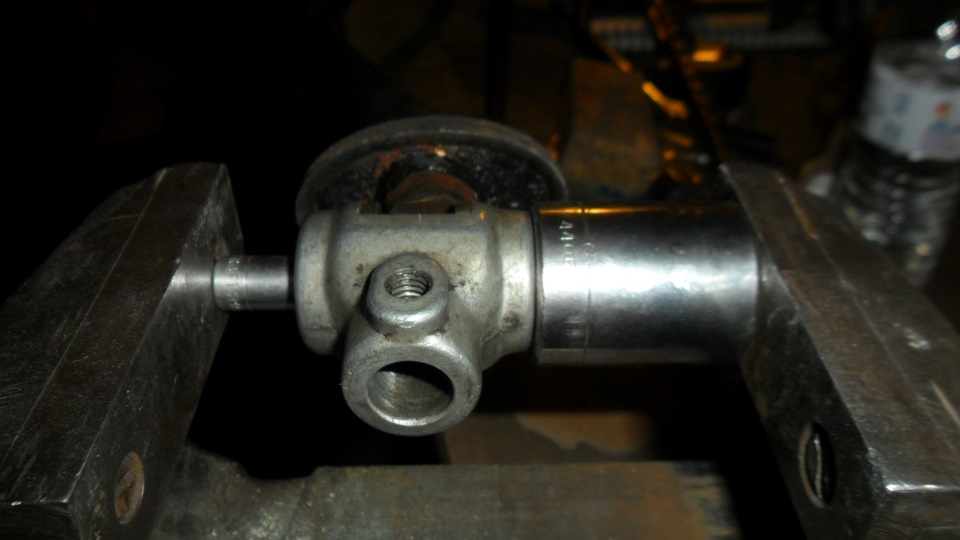
Bought a shifter bushing kit & started replacing all of them. For the one on the firewall, I microwaved it in boiling water to make it pliable. The others I pressed in with a large vice and assortment of sockets:
  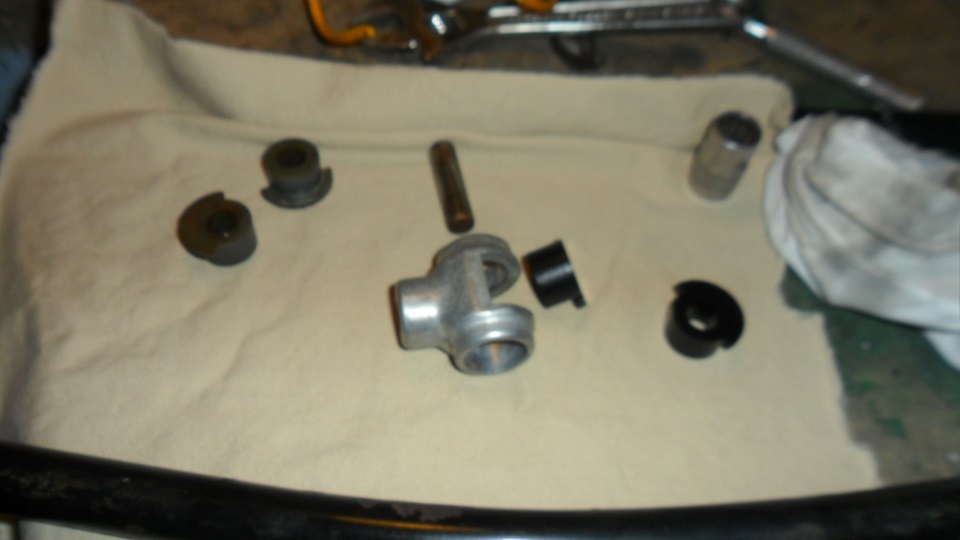 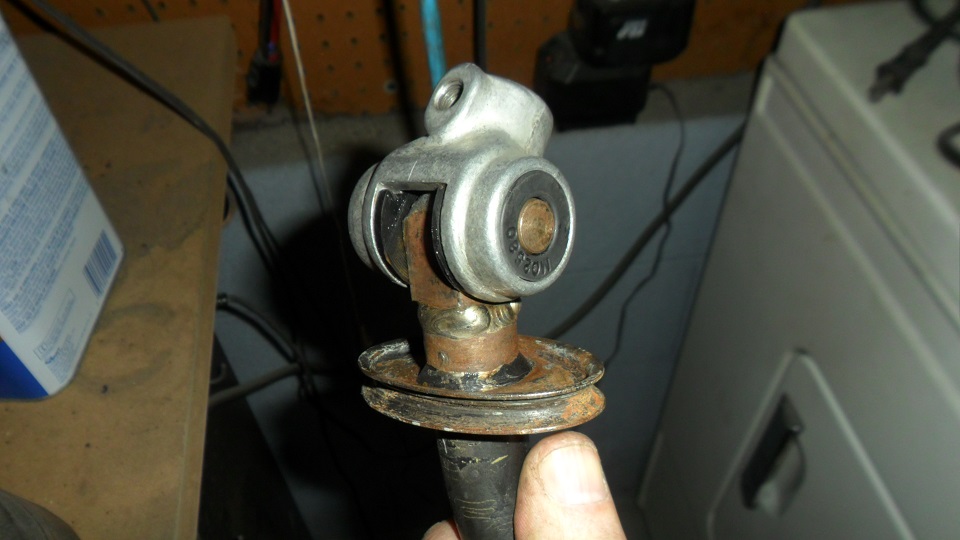 Re-installed the airfoils on the bottom of the floor pan: 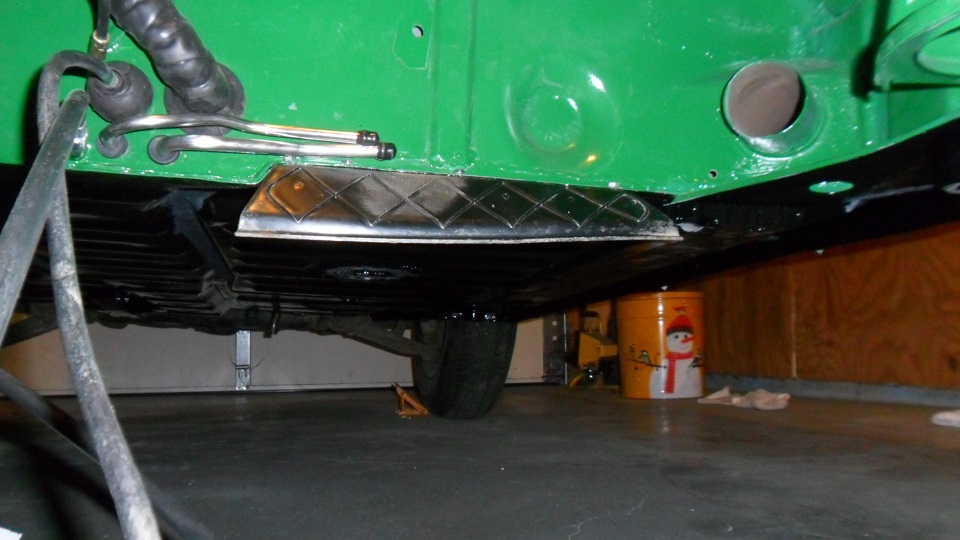 Hollywood stopped over and helped me get the hood on: 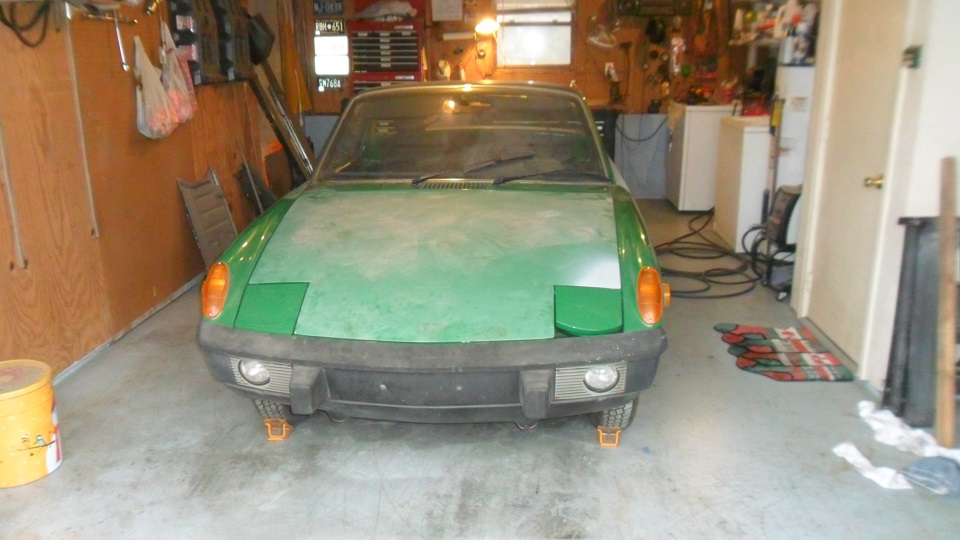 Disassembled, cleaned & re-greased the shifter mechanism. Getting those springs back in was hell. I ended up holding one end with needle nose vice grips while starting the pins:  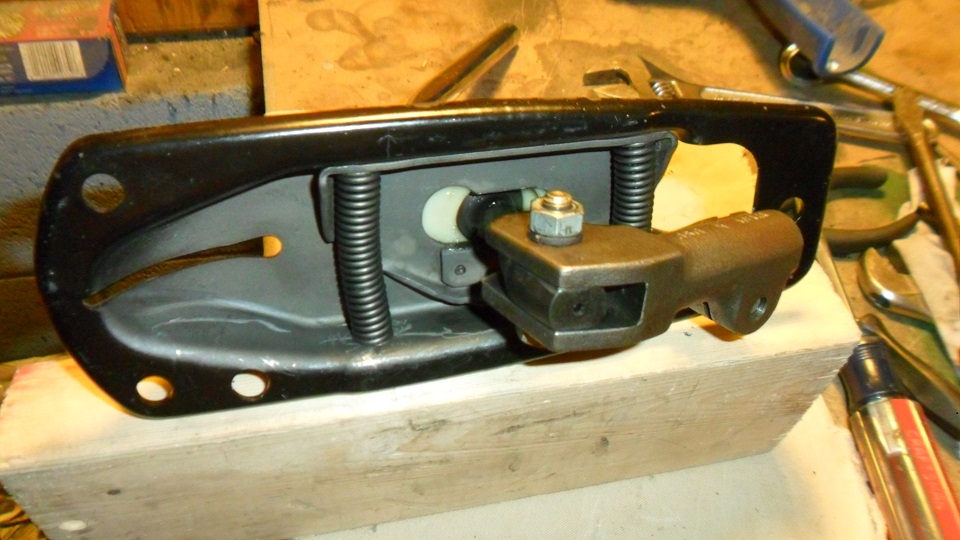 Cleaned the back of the engine bay sticker with mineral spirits, applied double sided tape and reinstalled it: 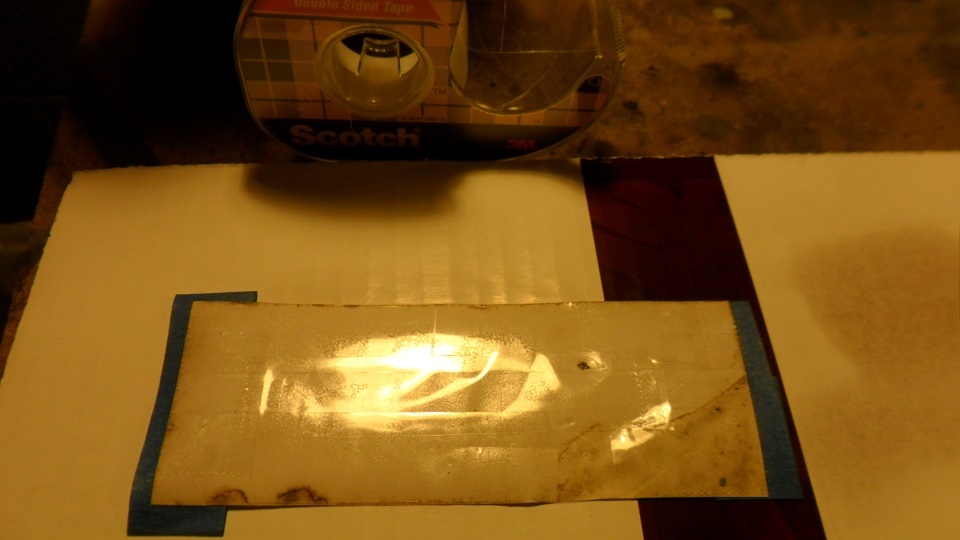 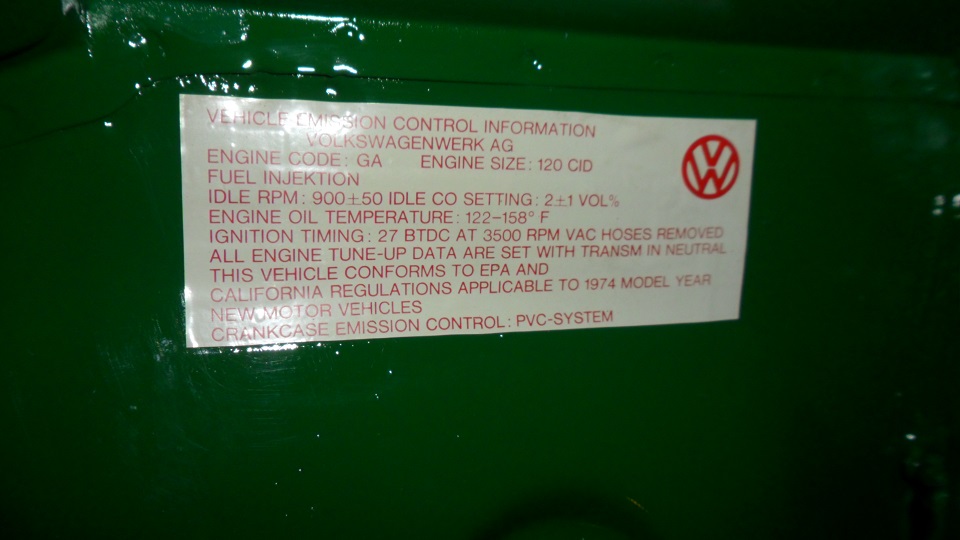 Measured the height from the floor to the rear fender wells and discovered that they was a 1/8" difference between the driver & passenger side. Had to drop the passenger side suspension console and add a washer under the retaining nut. Then installed the seals & buttoned up the rear trunk: 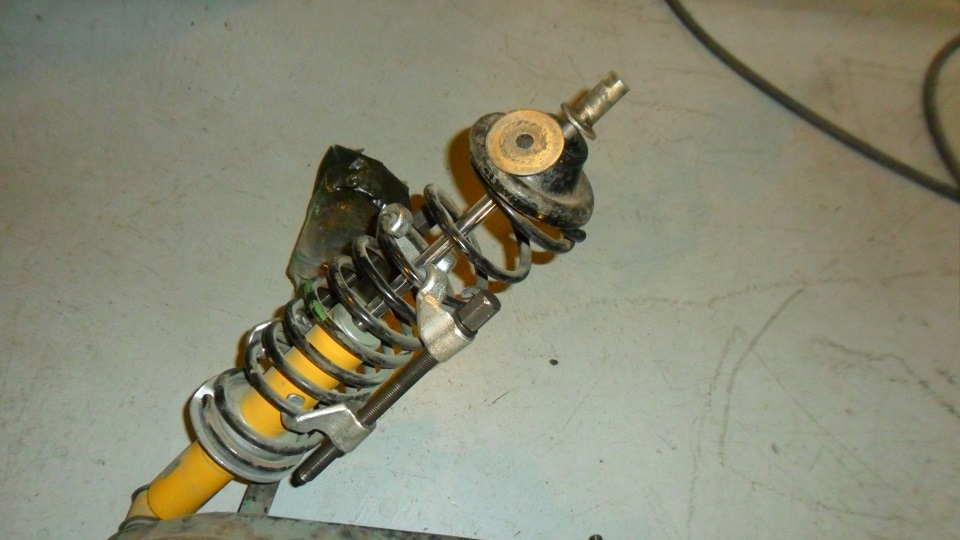 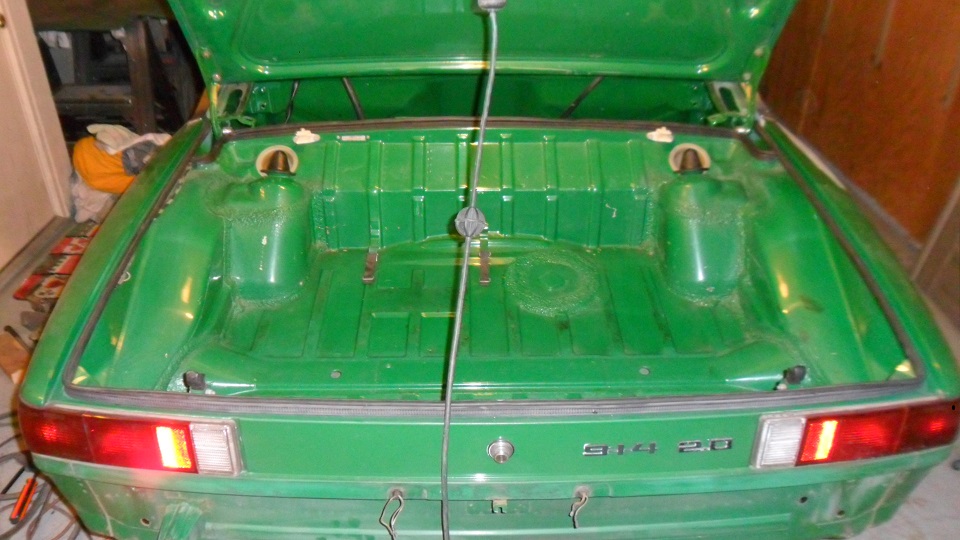 |
|
|
|
| OllieG |
Mar 12 2013, 03:01 AM
Post
#331
|
|
OllieG Group: Members Posts: 212 Joined: 6-July 11 From: UK Member No.: 13,282 Region Association: England |
Great to see it all coming together! Nice one...
|
|
|
|
| saigon71 |
Mar 17 2013, 09:08 PM
Post
#332
|
|
Advanced Member Group: Members Posts: 2,006 Joined: 1-June 09 From: Dillsburg, PA Member No.: 10,428 Region Association: MidAtlantic Region |
Light work on the car over the last few days. Finished scraping out the remnants of the rear window seal:
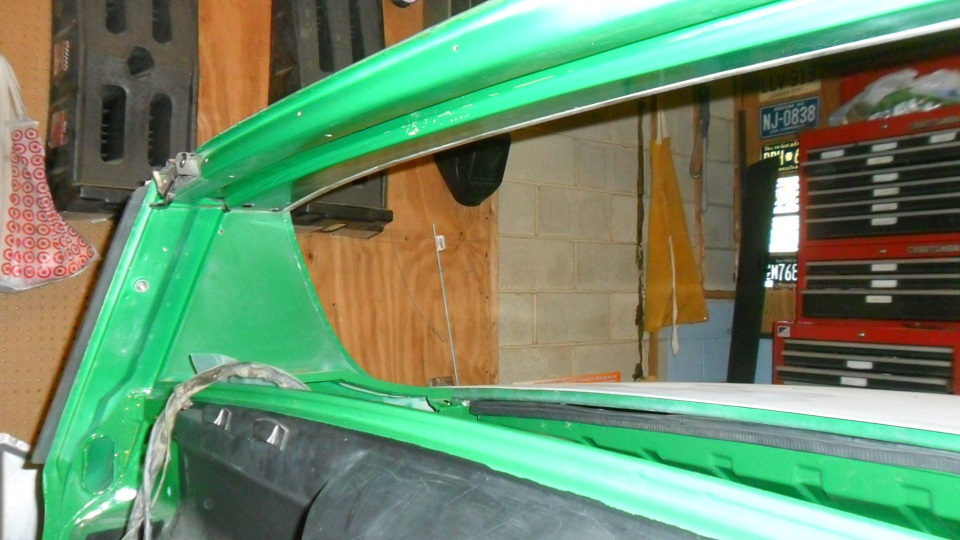 Re-installed the hood seal with 3M adhesive. Applied the adhesive then closed the hood to apply pressure: 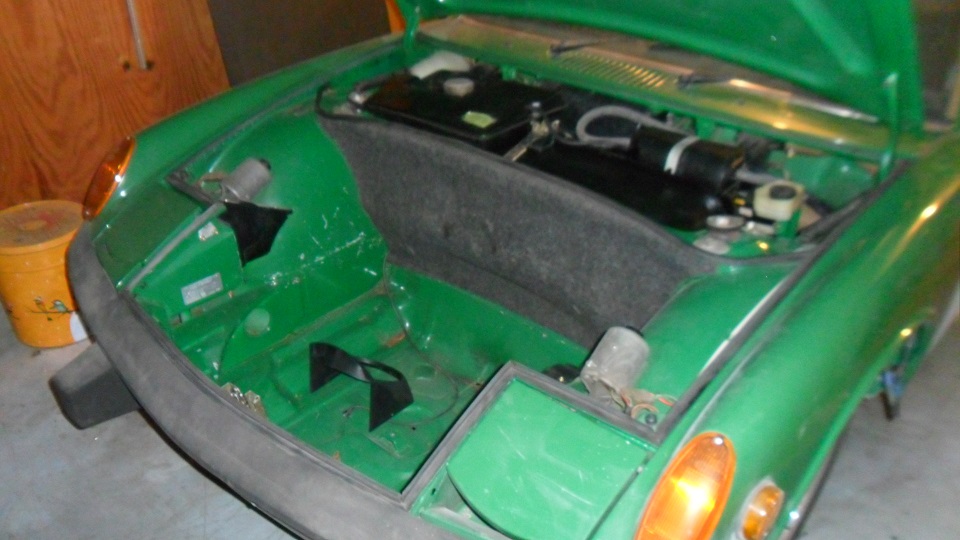 Decided to paint the rear targa area separately from the rest of the car, hitting this area well during the "full" body paint job would have been a hassle. There was some surface rust in the cravaces, so I applied a coat of Oshpo followed by two coats of primer. Not to mention, I want to black out the areas where the engine grills sit. Will follow up with custom fill Zambezi rattle cans. Masking this area was a bitch: 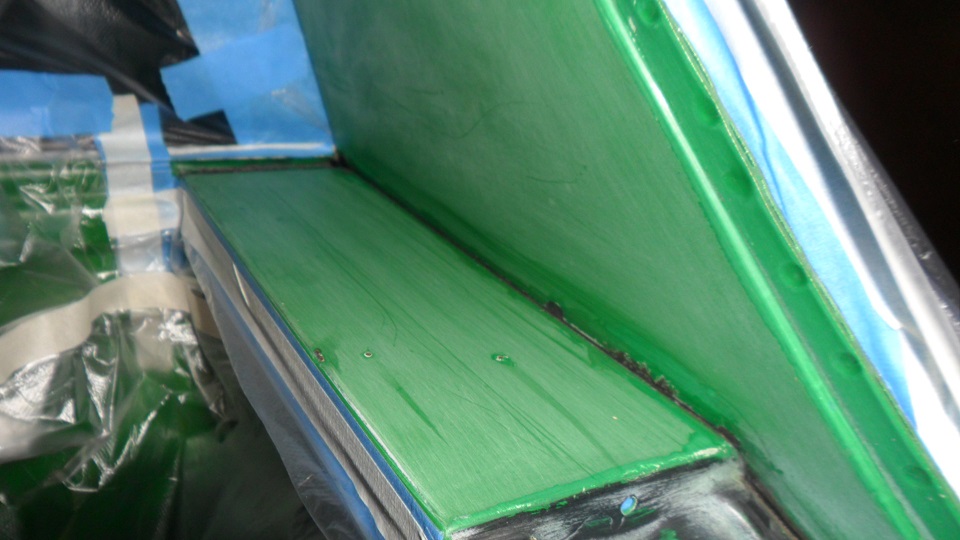 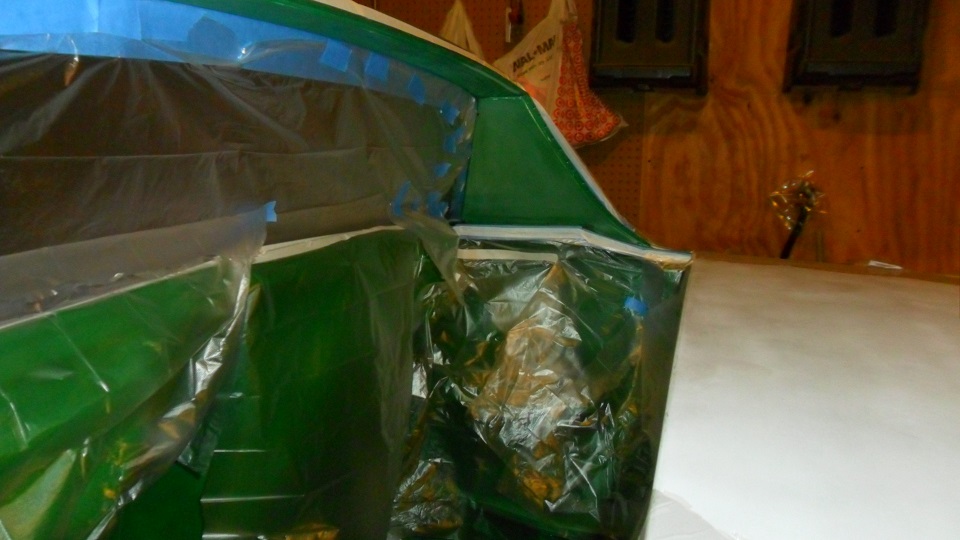 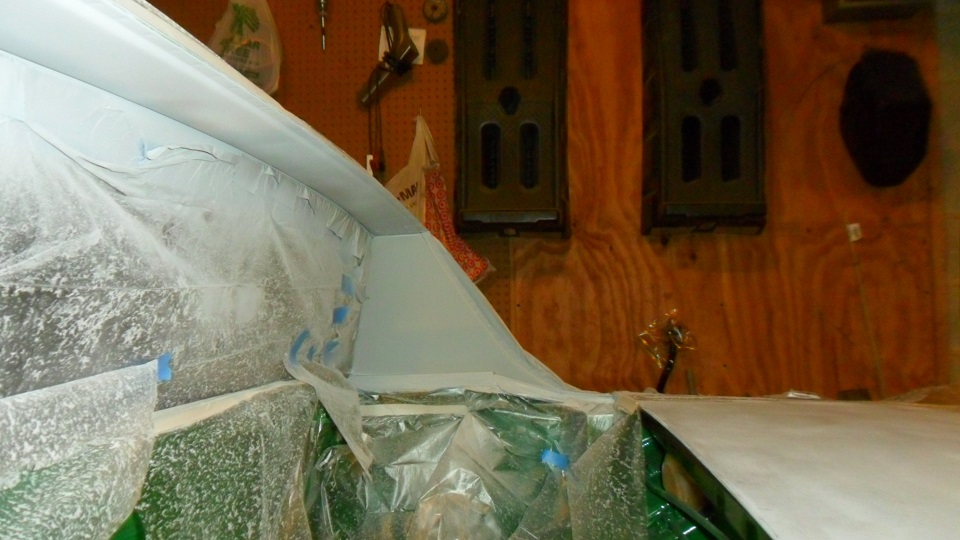 |
|
|
|
| Jeff Hail |
Mar 17 2013, 09:30 PM
Post
#333
|
|
Senior Member Group: Members Posts: 1,141 Joined: 3-May 07 From: LA/ CA Member No.: 7,712 |
QUOTE(saigon71 @ Jun 12 2011, 07:15 AM) Progress continues at a slow, but steady pace. Continued working on the area under the gas tank and the front trunk attachment point. Areas were cleaned, rust treated with ospho, followed by two coats of rust bullet and new seam sealer. Note to self...when working upside down applying opsho with a hollow acid brush, do not hold the brush in your mouth while getting out from under the dash. (IMG:style_emoticons/default/dry.gif) A crazy hail storm interrupted my work on Thursday...it sounded like someone was shooting a machine gun at the house! I'm proud of you! While you are in this area get a mirror and check the underside of the cowl for rust or holes. In my observations if you are getting rust above the hood lock handle water is getting in at the cowl or under the fender press in seal. |
|
|
|
| saigon71 |
Mar 22 2013, 08:00 PM
Post
#334
|
|
Advanced Member Group: Members Posts: 2,006 Joined: 1-June 09 From: Dillsburg, PA Member No.: 10,428 Region Association: MidAtlantic Region |
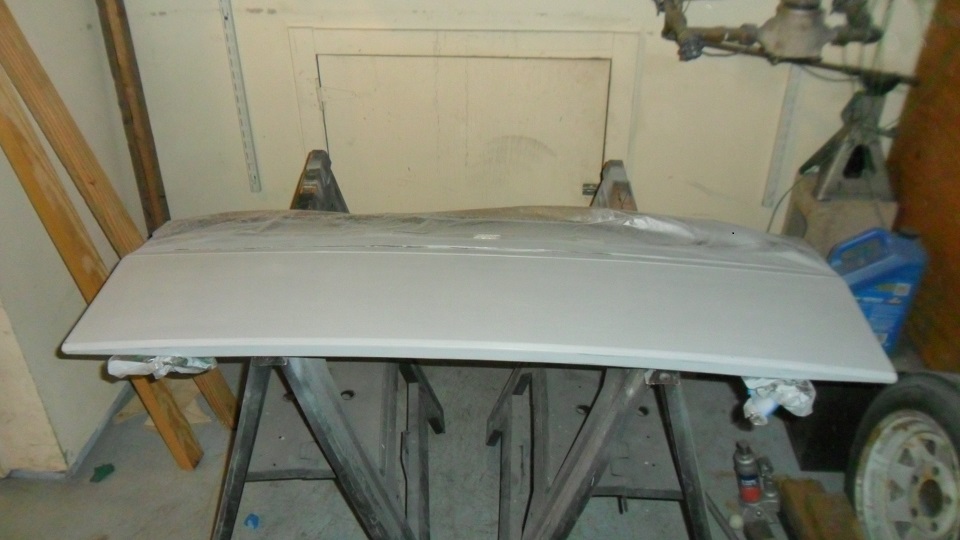
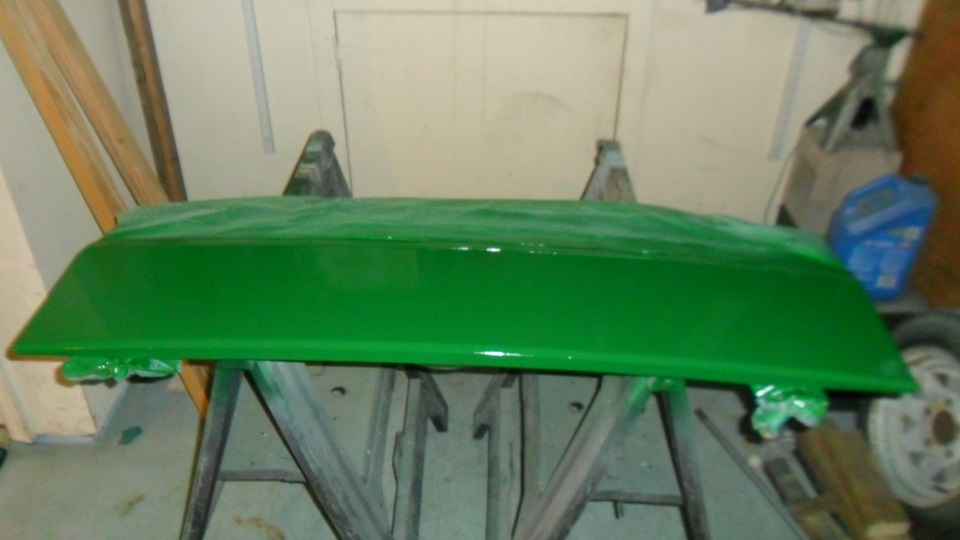
Sanded, primed & painted the engine deck lid:
   Installed the tunnel shift linkage...it was shifting well when I pulled the engine so I set the shift rod at the shifter at the same setting (about 1/4" splines exposed): 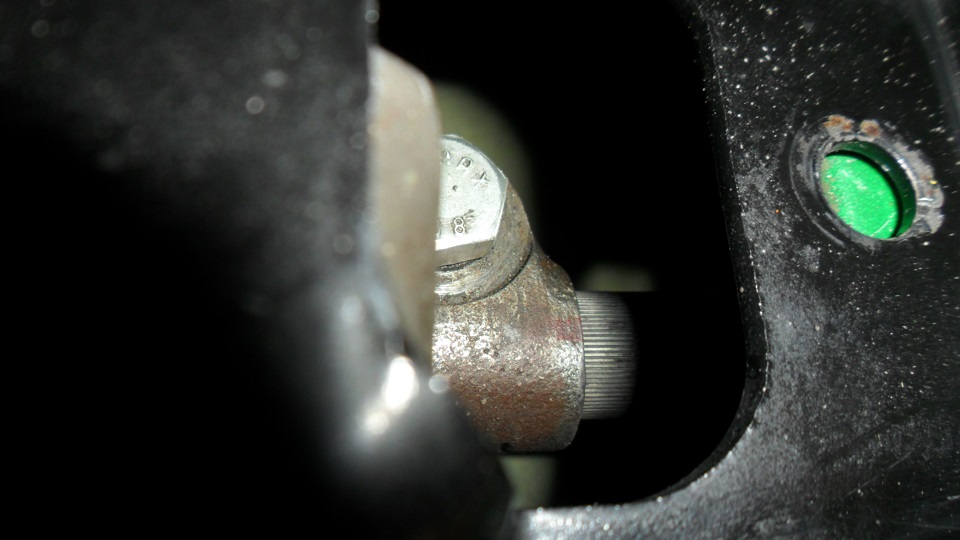 |
|
|
|
| saigon71 |
Mar 22 2013, 08:09 PM
Post
#335
|
|
Advanced Member Group: Members Posts: 2,006 Joined: 1-June 09 From: Dillsburg, PA Member No.: 10,428 Region Association: MidAtlantic Region |
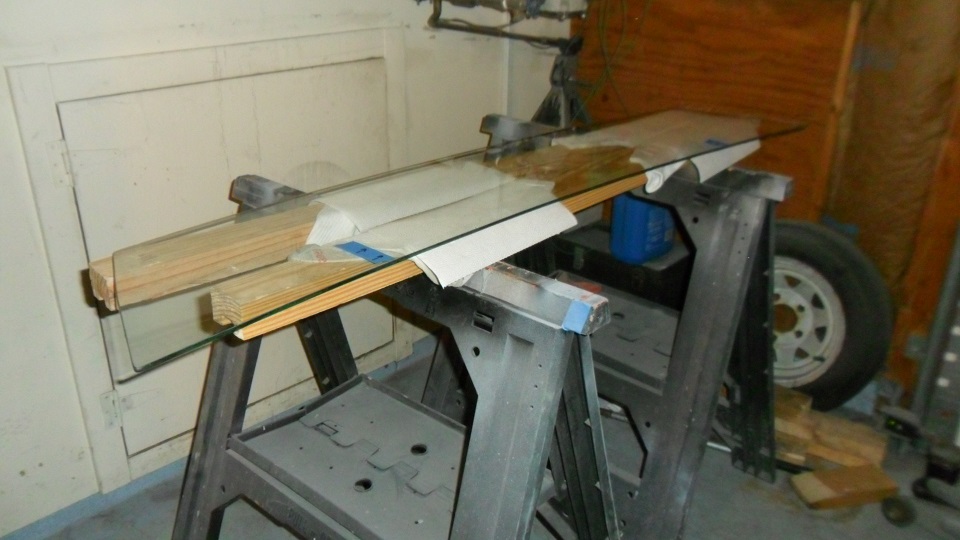
The J-man came over to help install the rear glass. We first tried installing it with 1/4" butyl tape with epic failure...there just wasn't enough meat on the tape to seal properly. I did a search and found Eric Shea's rear window install write up and made a trip to NAPA for their 3'8" butyl. SUCCESS!!!
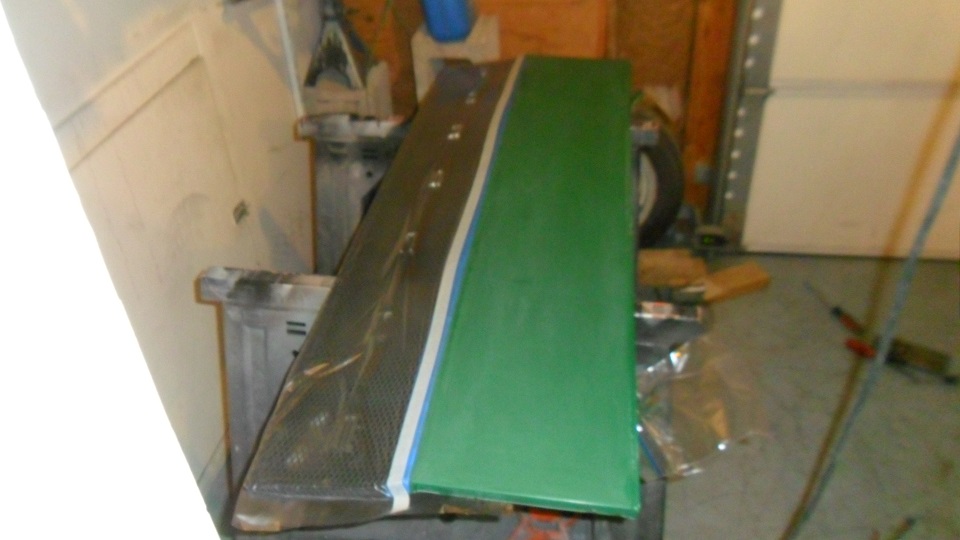
 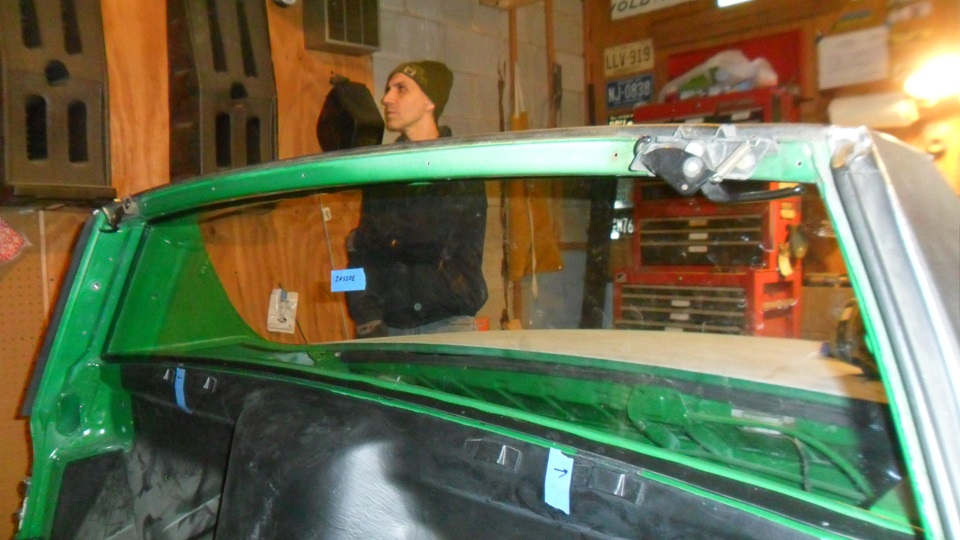   Painted the two tone area below the rear targa: 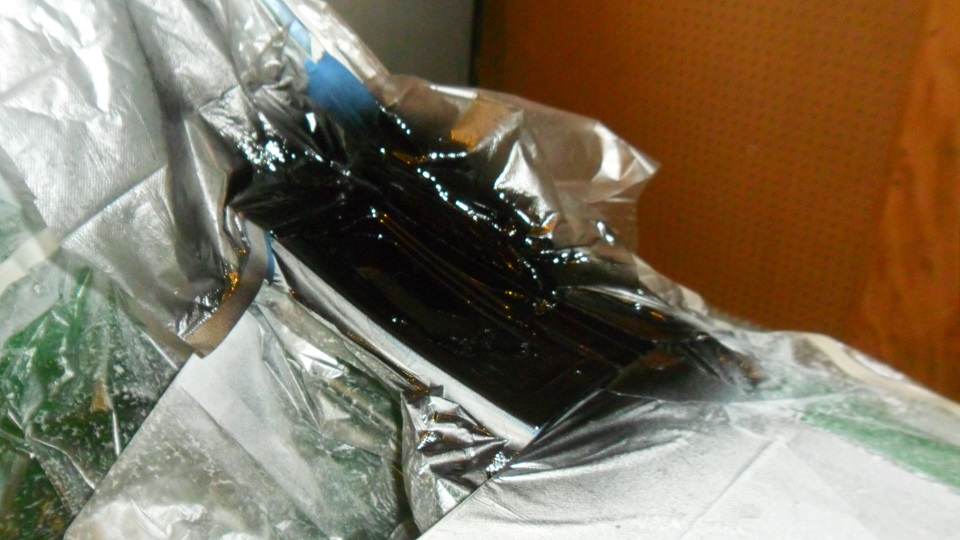 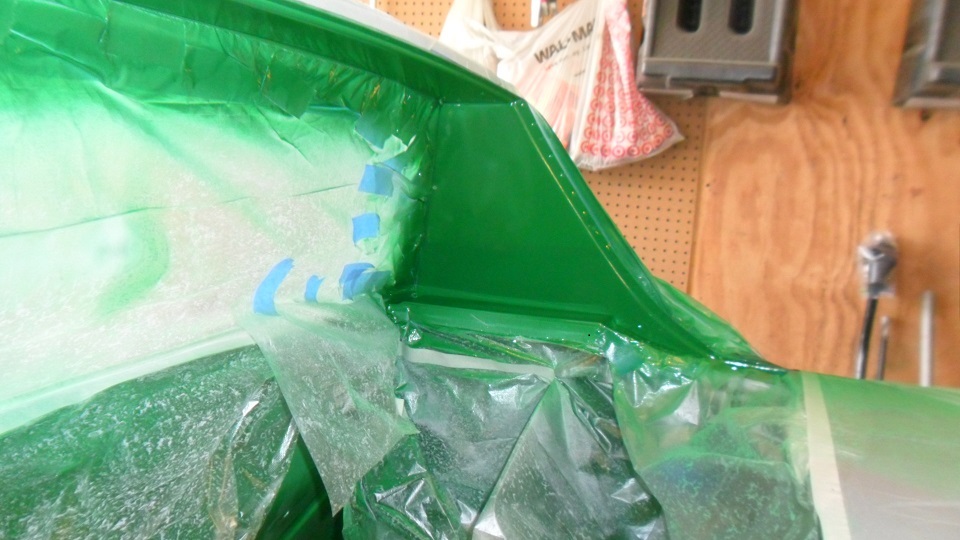 |
|
|
|
| injunmort |
Mar 22 2013, 08:50 PM
Post
#336
|
|
Senior Member Group: Members Posts: 1,024 Joined: 12-April 10 From: sugarloaf ny Member No.: 11,604 Region Association: North East States |
you amaze me outstandinh
|
|
|
|
| scotty b |
Mar 22 2013, 09:06 PM
Post
#337
|
|
rust free you say ? Group: Members Posts: 16,375 Joined: 7-January 05 From: richmond, Va. Member No.: 3,419 Region Association: None |
|
|
|
|
| jsayre914 |
Mar 22 2013, 09:28 PM
Post
#338
|
|
Speed Up !!! Group: Members Posts: 3,208 Joined: 10-February 08 From: Timonium MD 21093 Member No.: 8,696 Region Association: MidAtlantic Region |
|
|
|
|
| saigon71 |
Mar 26 2013, 08:39 PM
Post
#339
|
|
Advanced Member Group: Members Posts: 2,006 Joined: 1-June 09 From: Dillsburg, PA Member No.: 10,428 Region Association: MidAtlantic Region |
Front hood needed more spring tension so I moved the springs to the most forward notch. After reading a few threads on 914world on how to do it, I went with the "Heavy coat hanger/large vice grip" method:
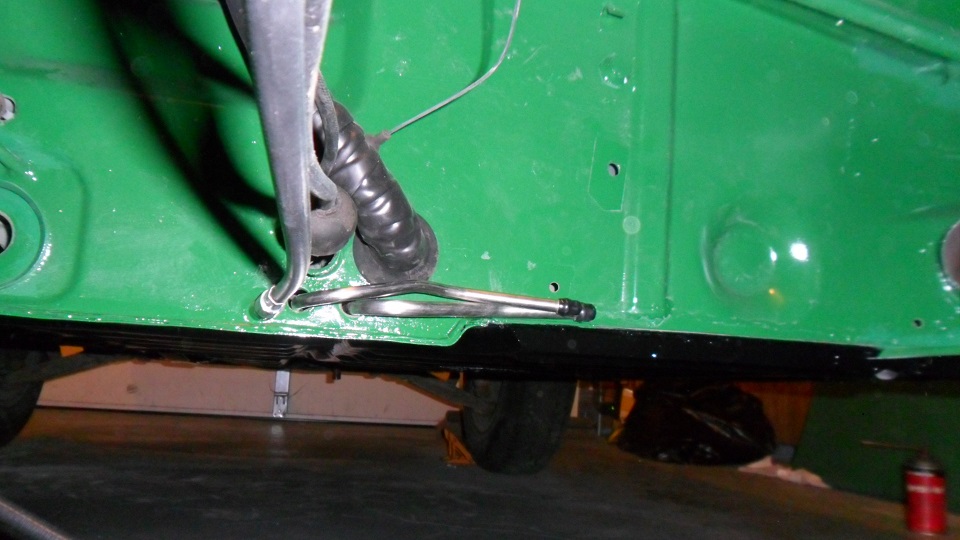
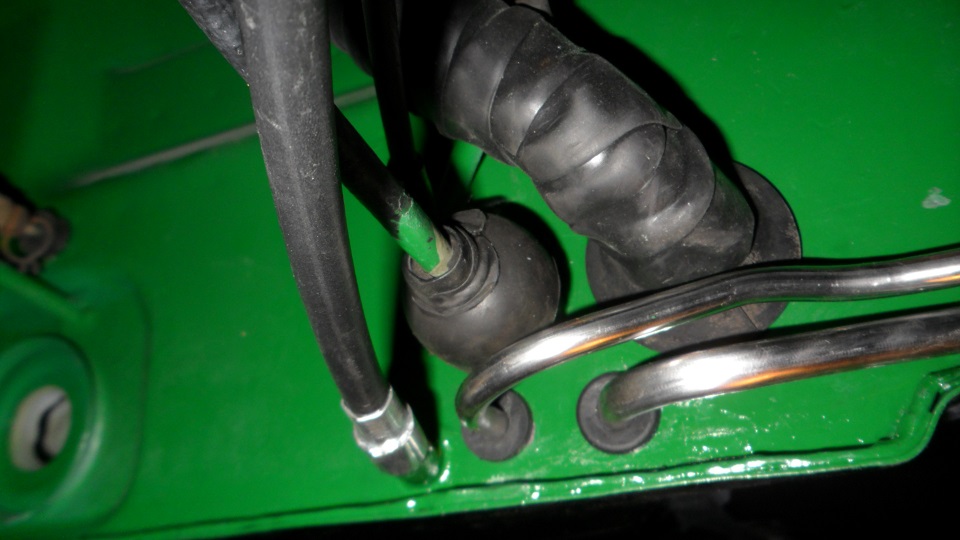
 Picked up some lengths of brake line at the local NAPA to replace the rears that run from the rear controller to the rubber lines. Used an $8 HF brake line bender. Installed new rubber lines from PMB Performance on all four corners. Discovered two of my line retaining clips were so rusty, they lost their spring. Mr. Shea was kind enough to sell me two at a very reasonable price - thanks Eric! 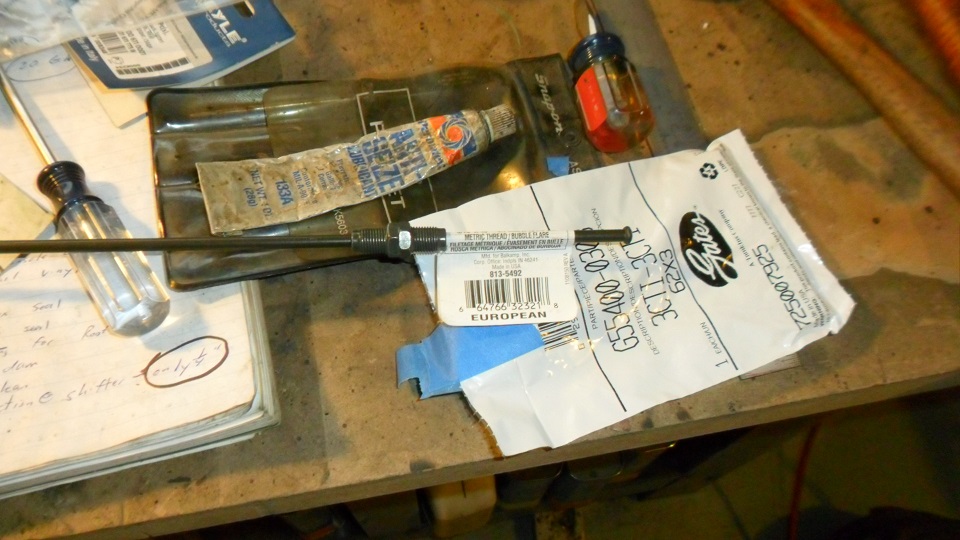 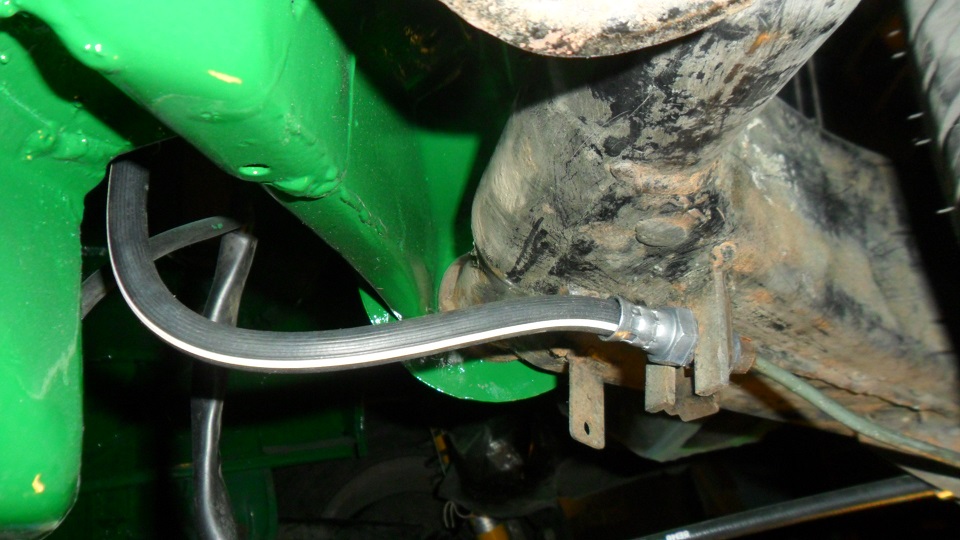 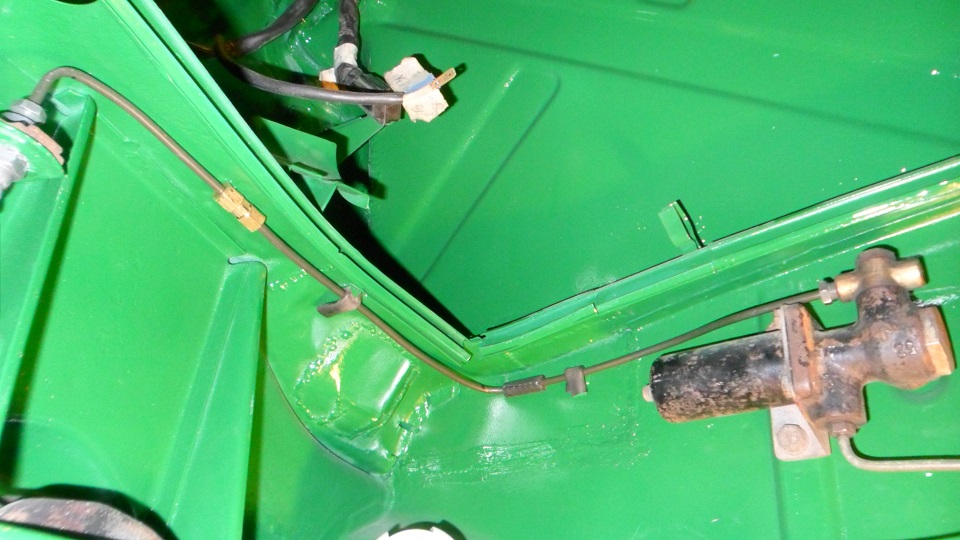 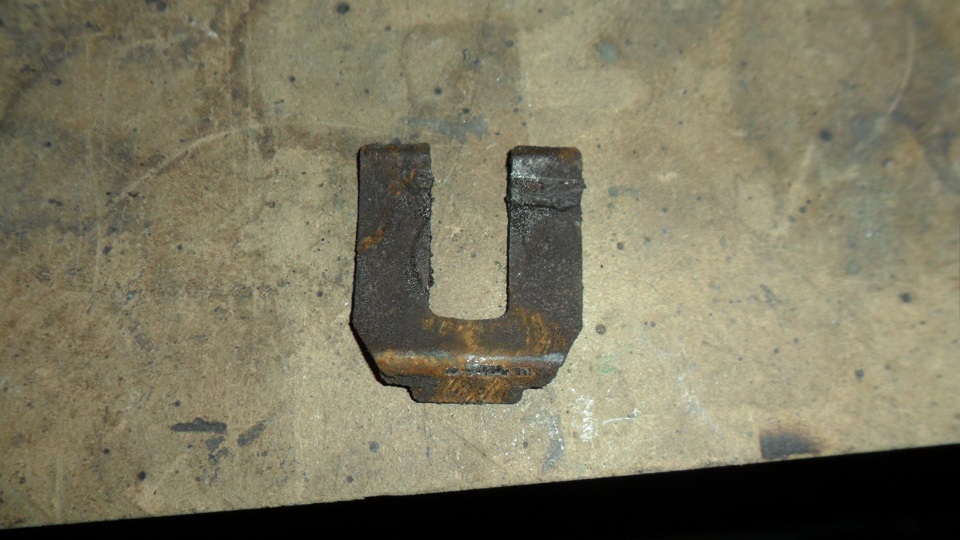 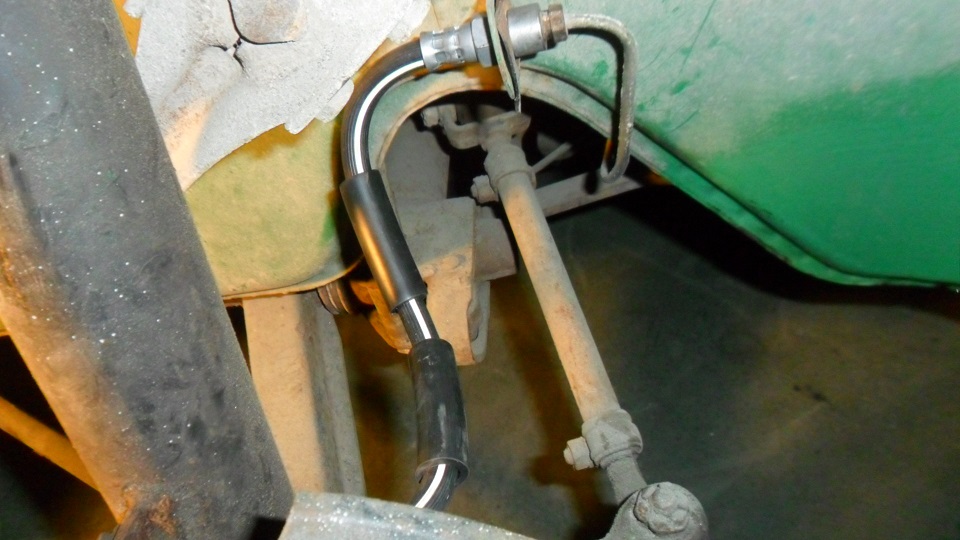  Picked up a pair of 1/4" body plugs at the local ACE hardware store to fill the old fuel line clips on the firewall. New fuel lines were to fat to fit in & will be tie wrapped in place. Added a dab of permatex on the back to make a water tight seal: 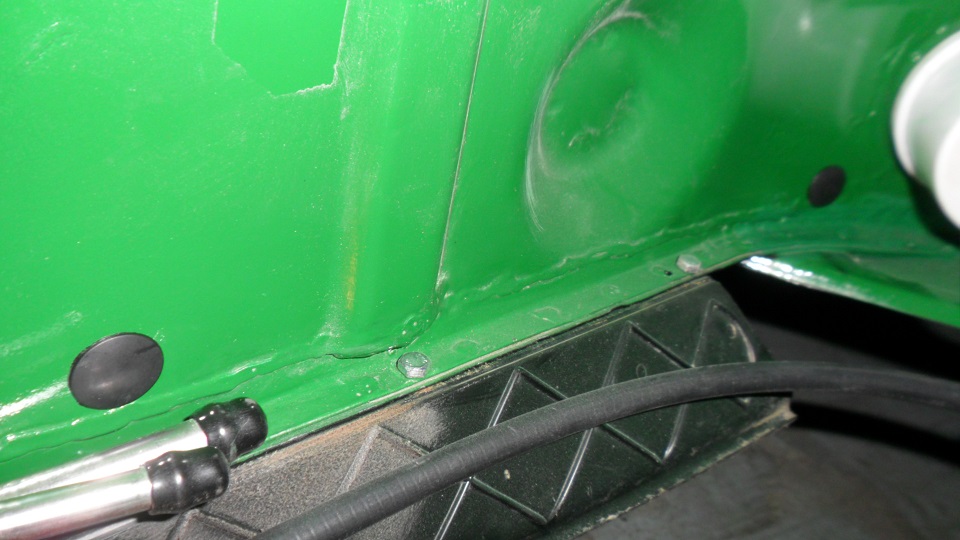 Installed a new rear window to engine decklid seal from 914rubber. Easy install: 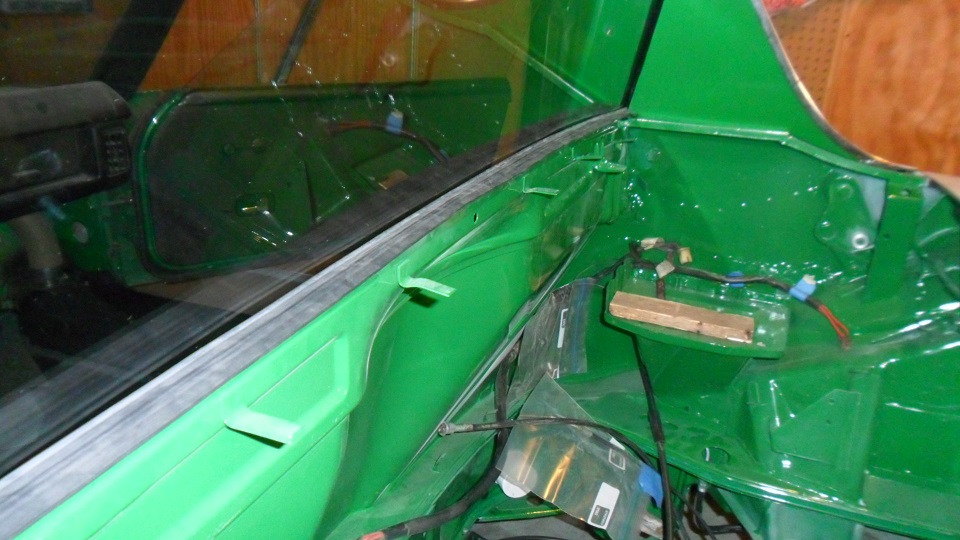 Two-tone targa area: 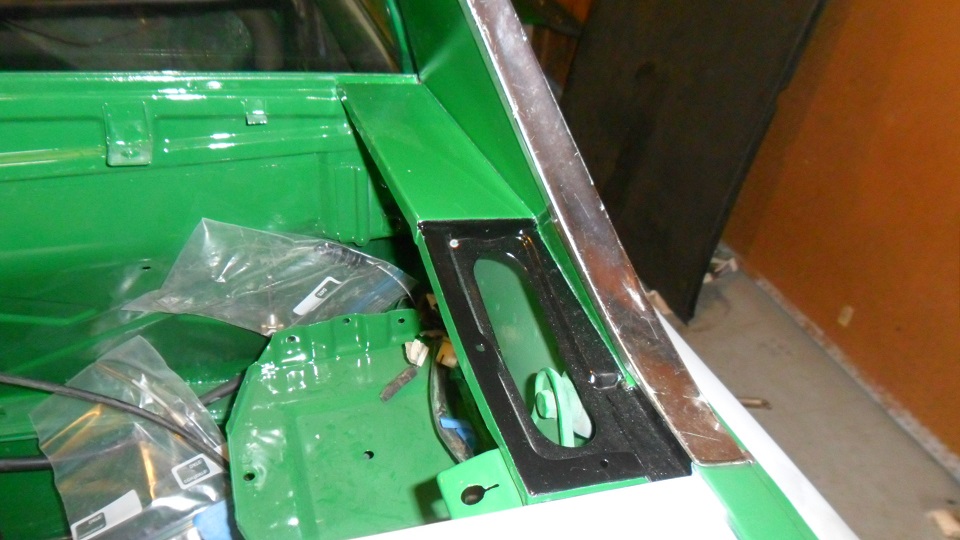 |
|
|
|
| saigon71 |
Mar 31 2013, 08:06 PM
Post
#340
|
|
Advanced Member Group: Members Posts: 2,006 Joined: 1-June 09 From: Dillsburg, PA Member No.: 10,428 Region Association: MidAtlantic Region |
No way this car makes it to Hershey this year. I can say with 90% confidence (it's a teener, come on) that it will make it to the ECC in the fall. I thought about banging enough parts in to make it driveable to get to Hershey 2013, unpainted & all, but decided to not rush and do it right.
Hershey 2014! (IMG:style_emoticons/default/beerchug.gif) Pulled the front bumper. Removed the "tits" and welded the holes shut. There were tiny spots of rust throughout the whole thing, partially covered by at least two paint jobs. I decided to strip the whole thing down to bare metal. Started with chemical stripper and ended with a DA air sander, scoth-brite pads on a die grinder and wire wheels, applied a coat of Ospho to the backside: 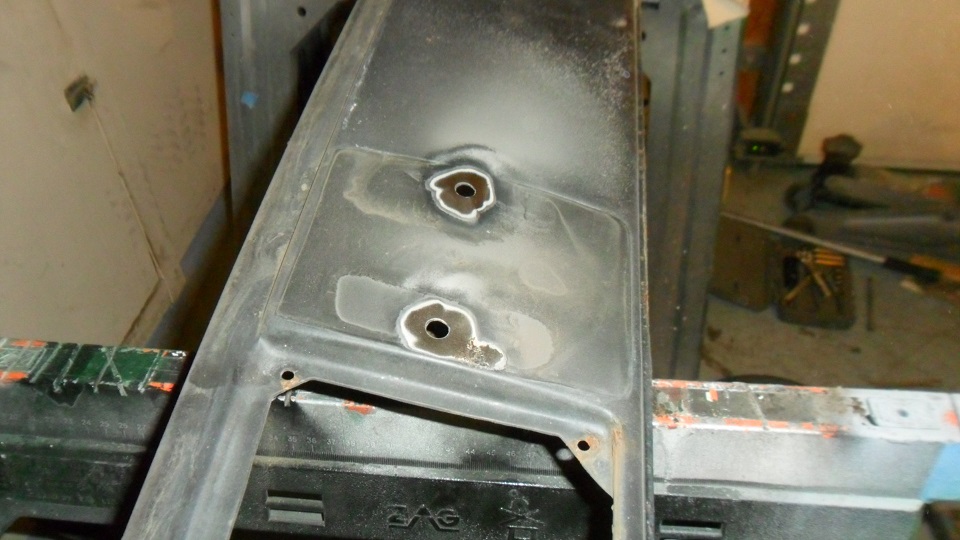 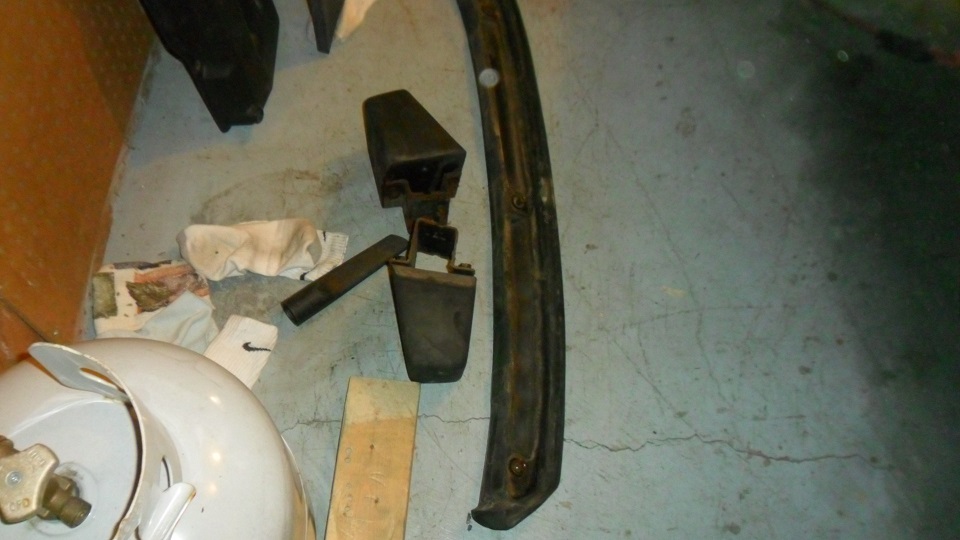 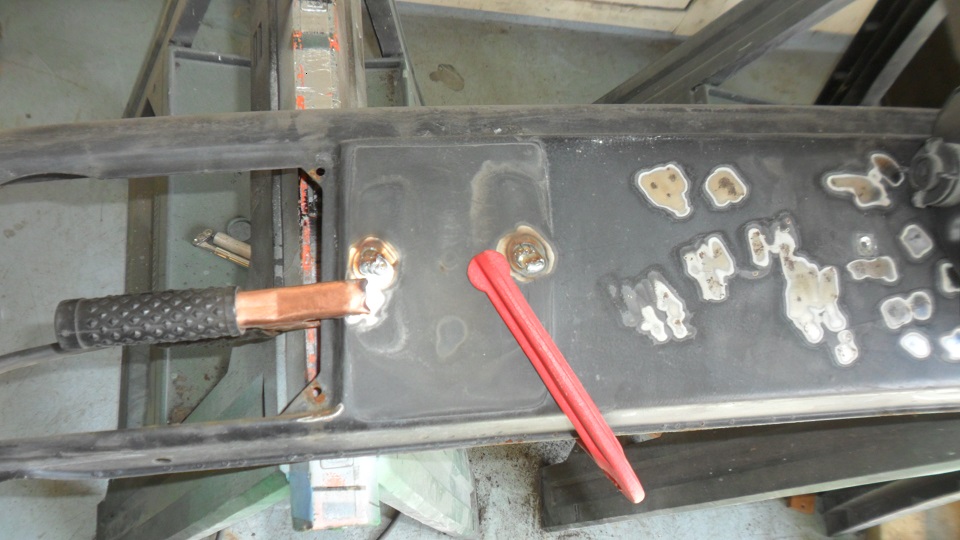  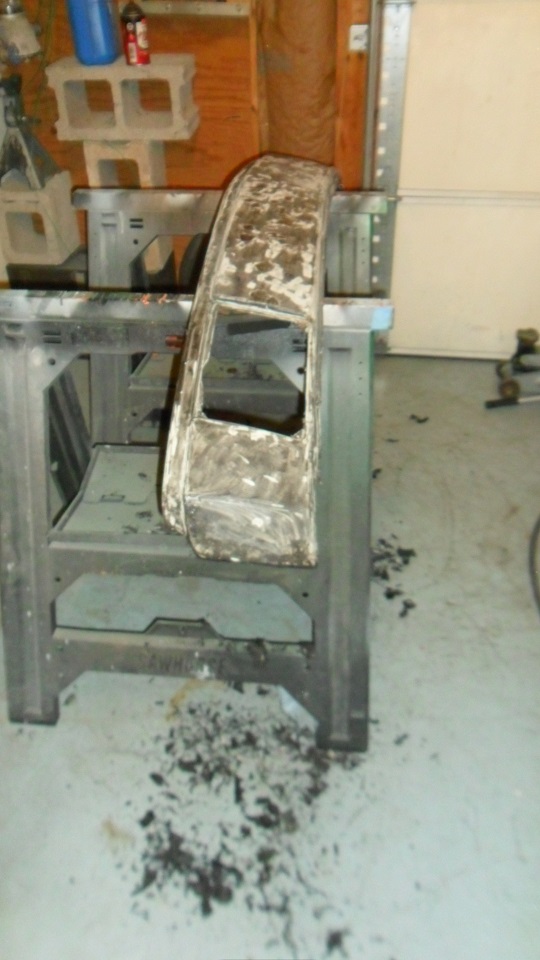 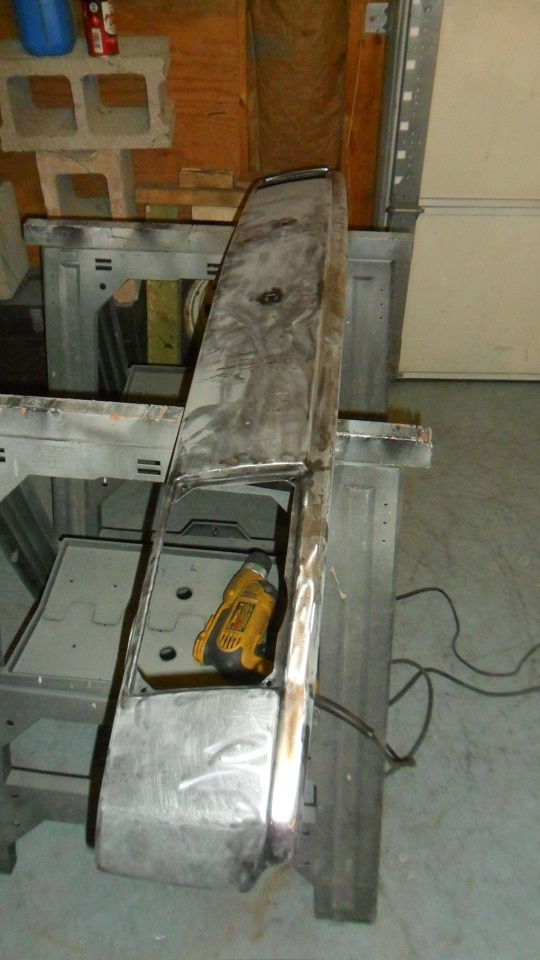 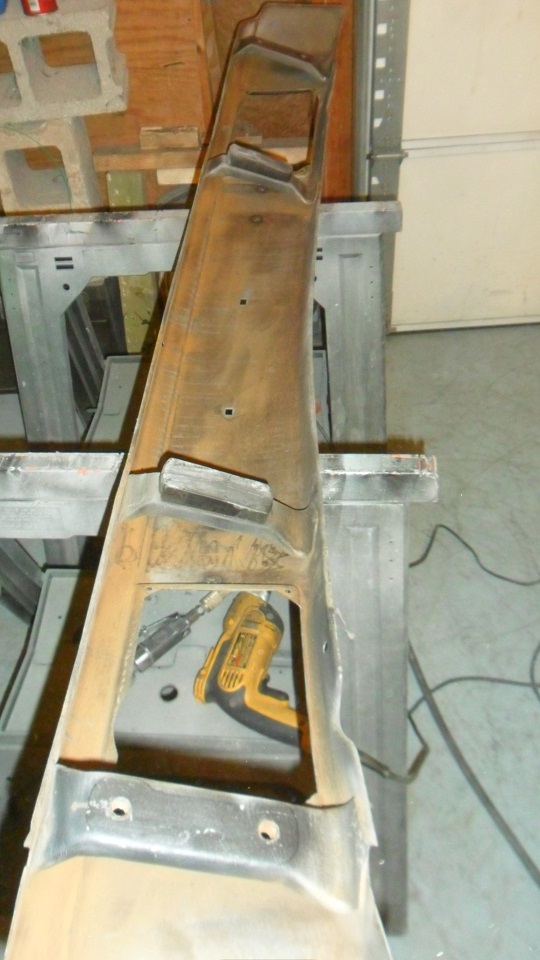 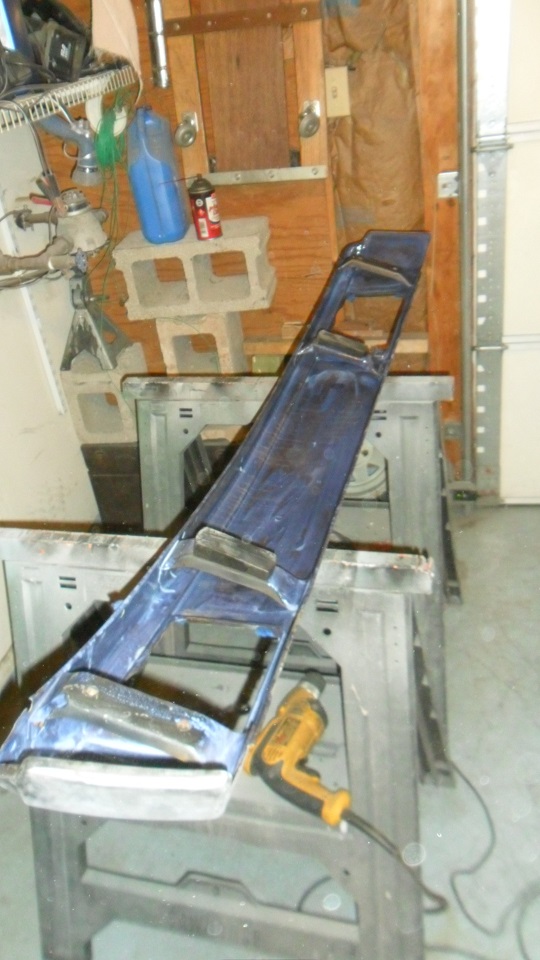 |
|
|
|
|
1 User(s) are reading this topic (1 Guests and 0 Anonymous Users)
0 Members:

|
Lo-Fi Version | Time is now: 4th January 2025 - 12:38 AM |
Invision Power Board
v9.1.4 © 2025 IPS, Inc.