|
|
|
Porsche, and the Porsche crest are registered trademarks of Dr. Ing. h.c. F. Porsche AG.
This site is not affiliated with Porsche in any way. Its only purpose is to provide an online forum for car enthusiasts. All other trademarks are property of their respective owners. |
|
|

  |

| arkitect |
 Apr 1 2013, 11:20 AM Apr 1 2013, 11:20 AM
Post
#341
|
|
Senior Member  Group: Members Posts: 617 Joined: 3-March 10 From: Stockton, CA Member No.: 11,426 Region Association: None |
Bob,
Great work, looks better than new. Let me know if you want to sell the bumperettes or 'tits' as you call them. I'm working on my daughter's car and don't want to fill the holes on the bumper. Dave |
   |

 
|
| saigon71 |
Apr 9 2013, 08:09 PM
Post
#342
|
|
Advanced Member Group: Members Posts: 2,006 Joined: 1-June 09 From: Dillsburg, PA Member No.: 10,428 Region Association: MidAtlantic Region |
Installed a brand new set of engine bay seals that Matt gave to me at the ECC last year - thanks Matt! They were from 914rubber.com and went in easily with a dull screwdriver:
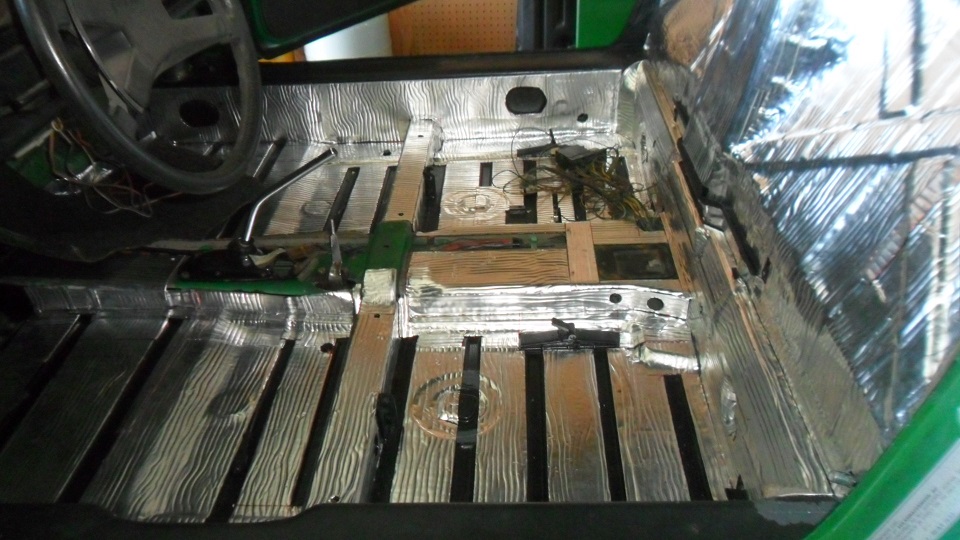
  Finished painting the front bumper. Shot Rustoleum gloss black on the back (over the ospho) and semi-gloss Rustoleum on the front: 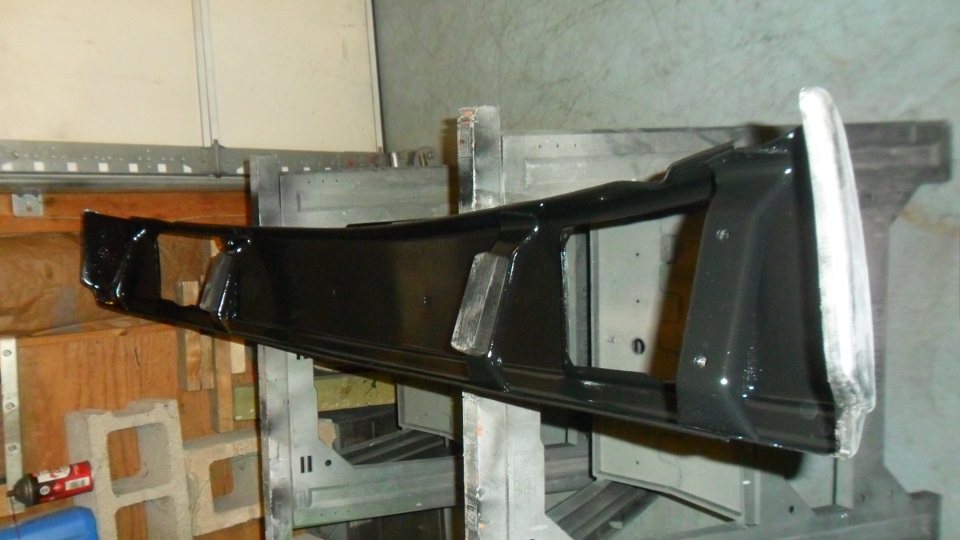 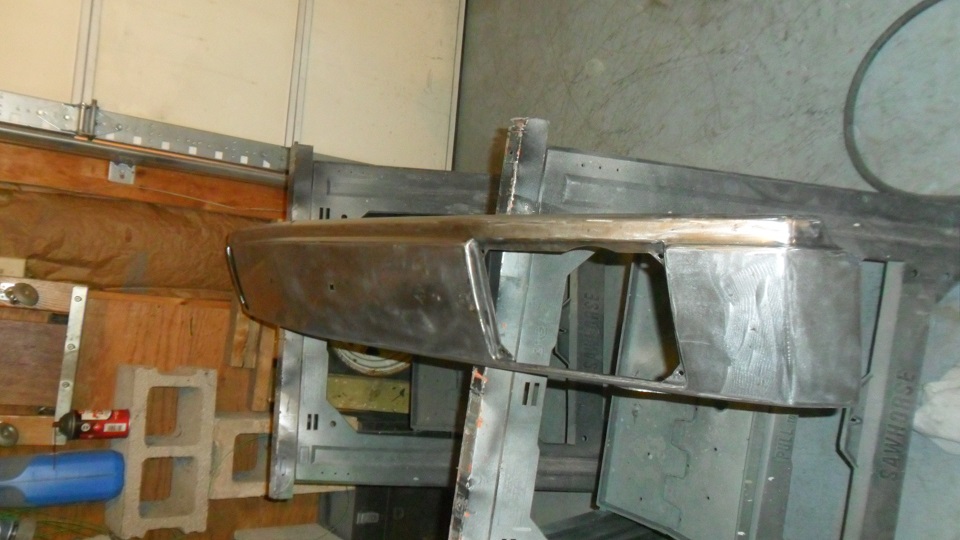 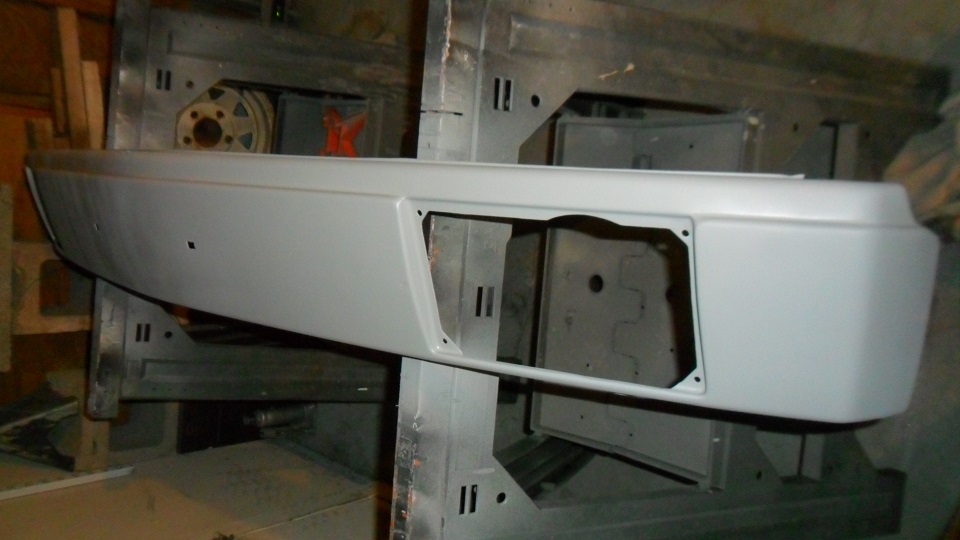 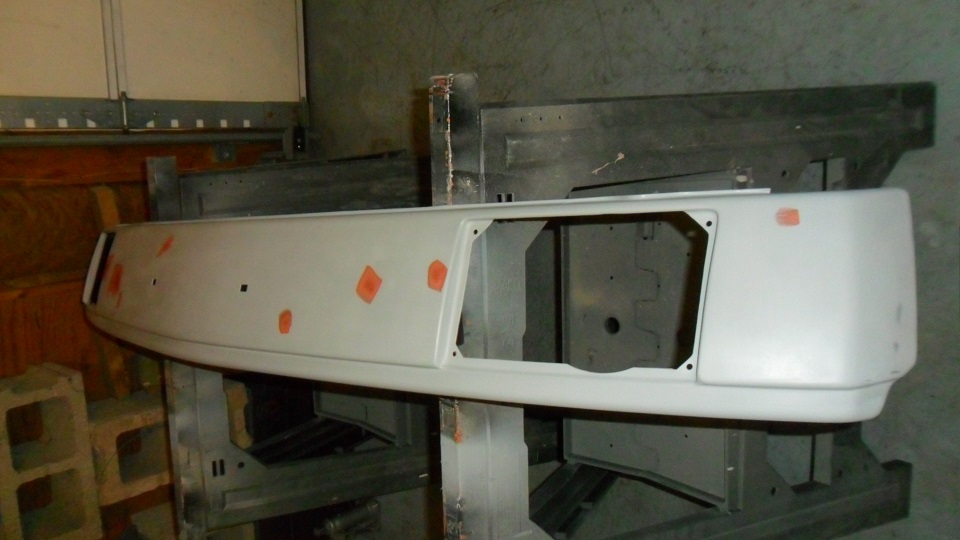 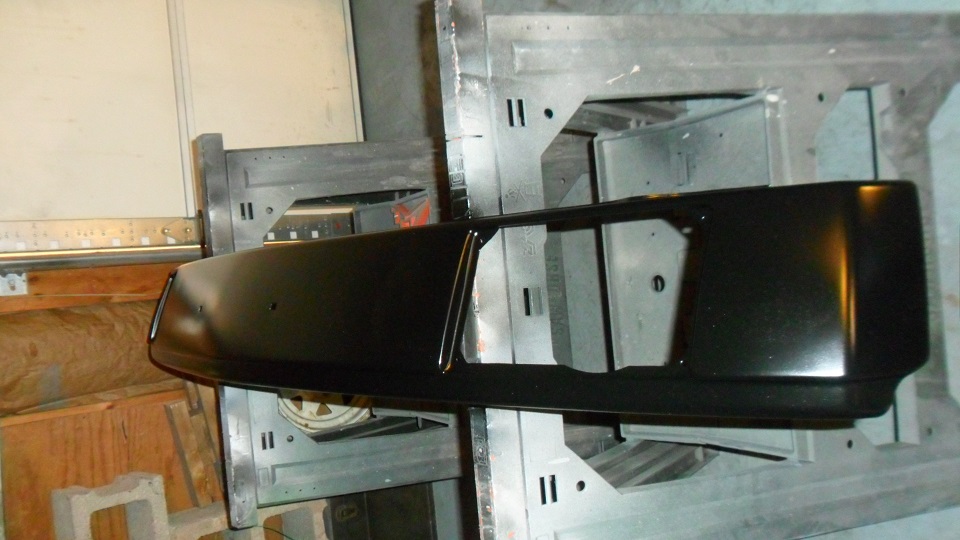 After a lot of research and posts on 914world.com, I pulled the trigger on some sound deadening material. I went with rattle trap, a thicker version of Fat Mat. I would like this car to be my daily driver, so I want it to be reasonably quiet & comfortable inside. Thoroughly cleaned the entire interior, wiped it down with mineral spirits twice, then started installing it, leaving the channels open as recommended by Scotty B. & others. The stuff isn't bad to work with, but the process is a bit tedious: 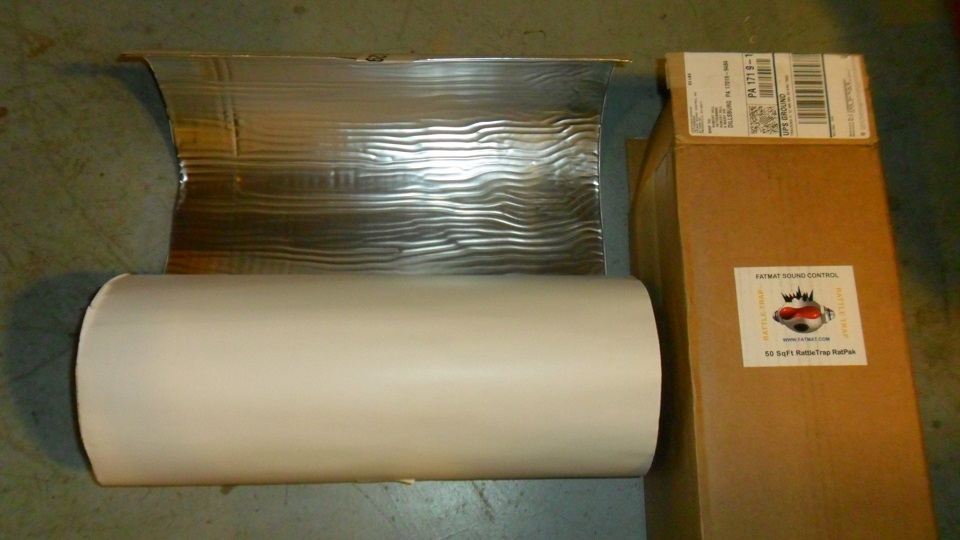 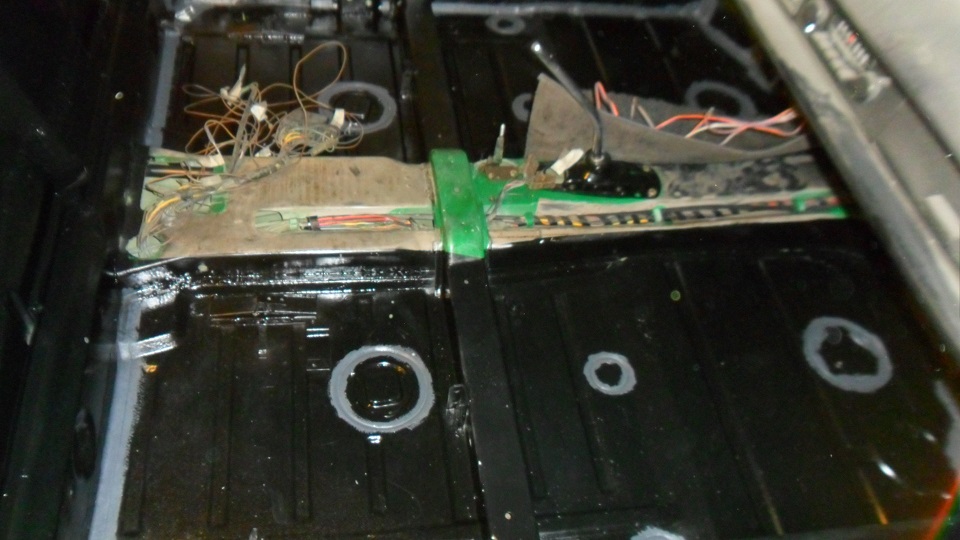 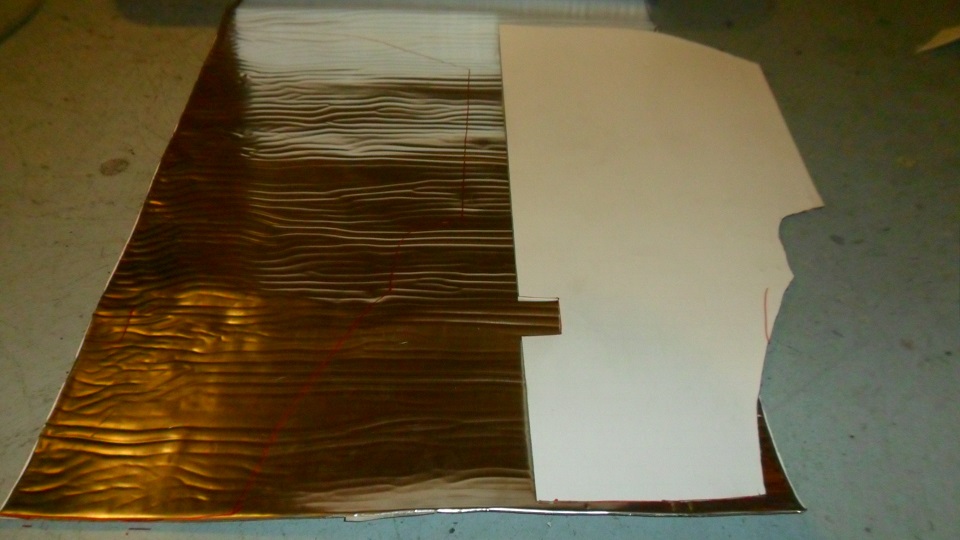 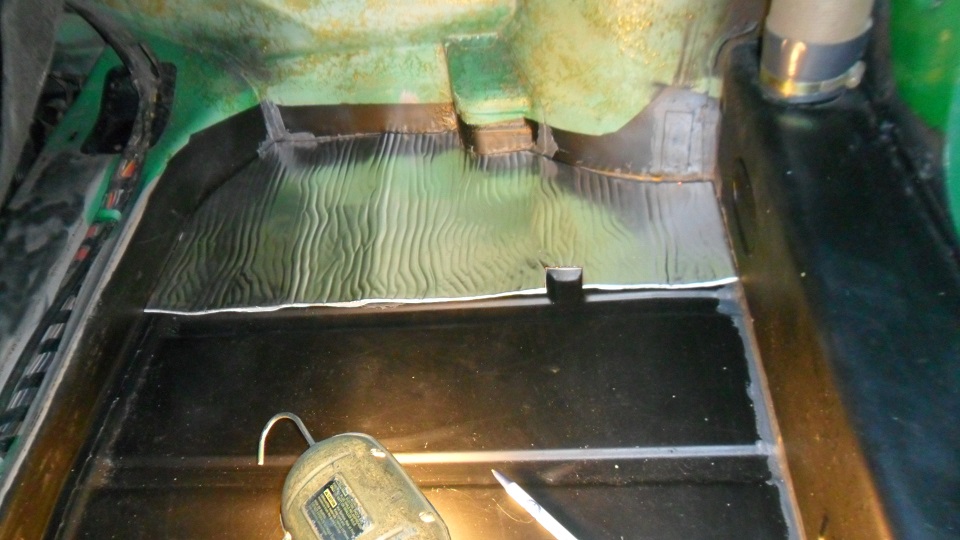  |
|
|
|
| saigon71 |
Apr 11 2013, 08:23 PM
Post
#343
|
|
Advanced Member Group: Members Posts: 2,006 Joined: 1-June 09 From: Dillsburg, PA Member No.: 10,428 Region Association: MidAtlantic Region |
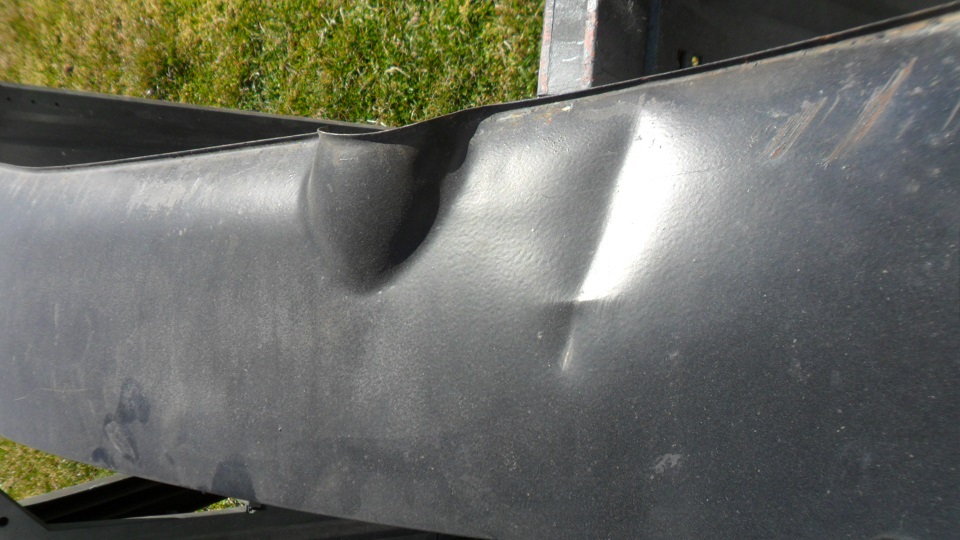
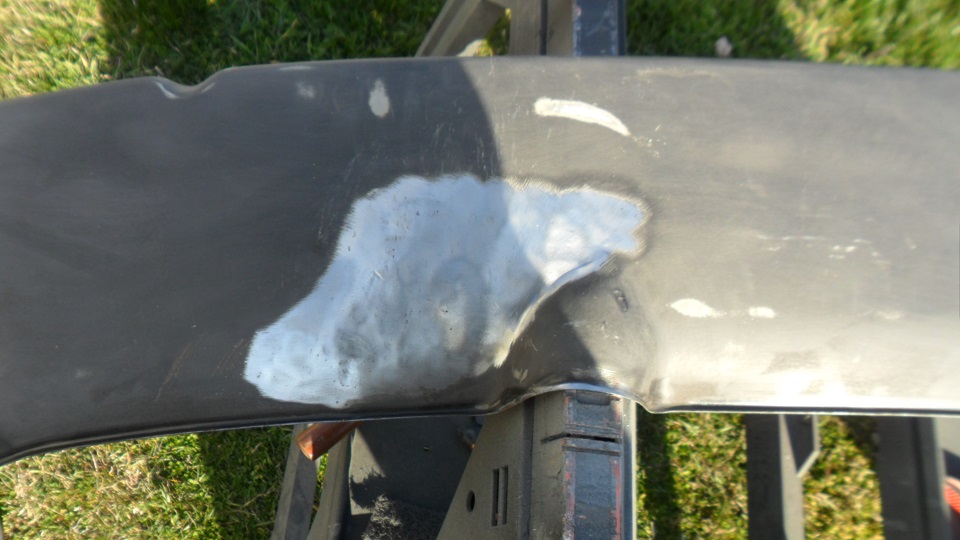
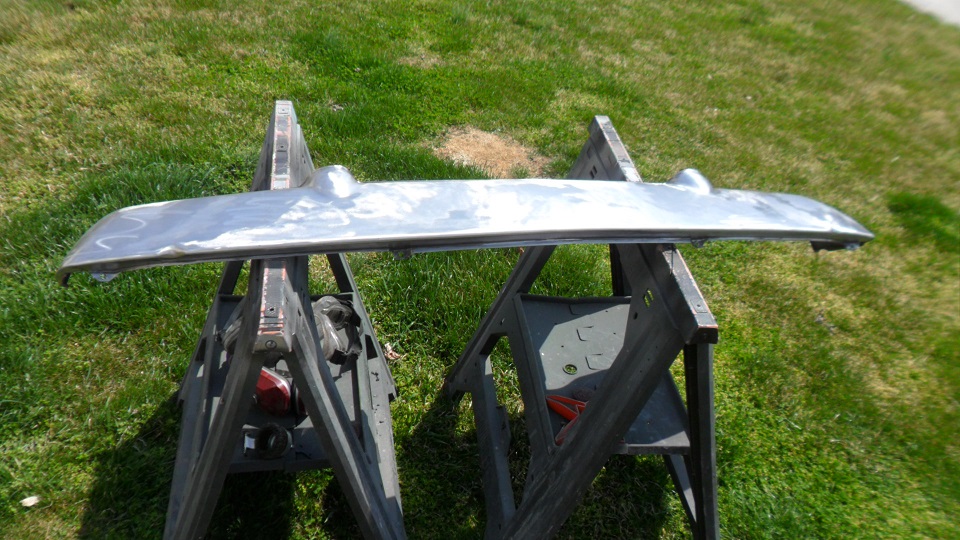
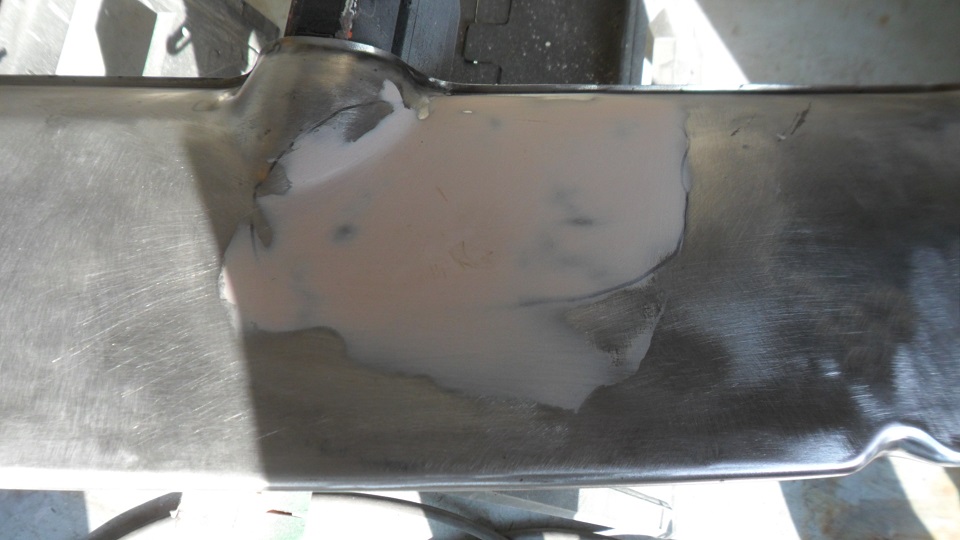
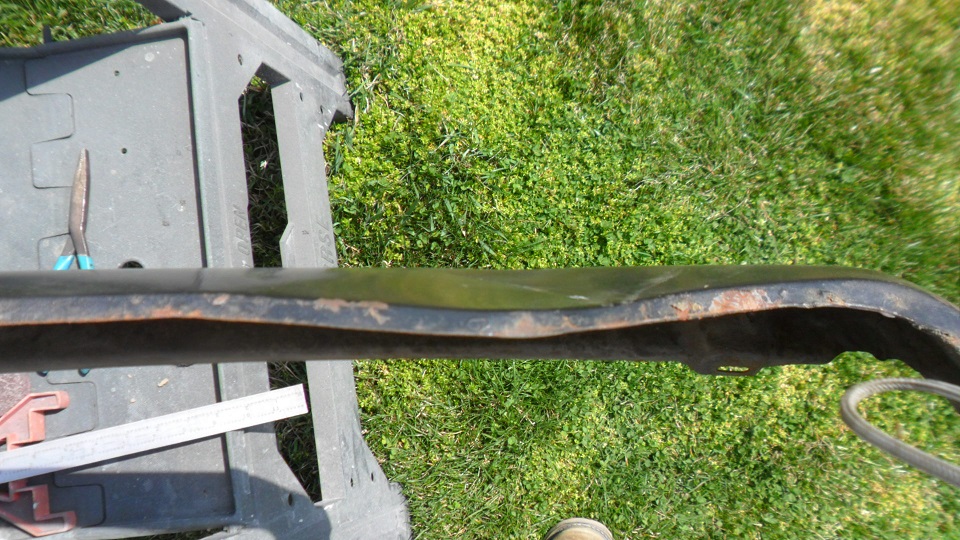
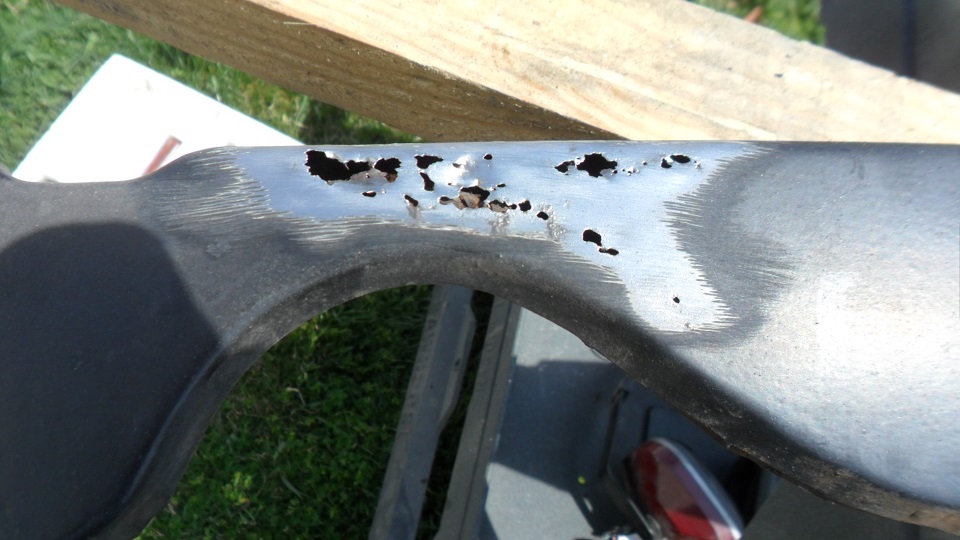
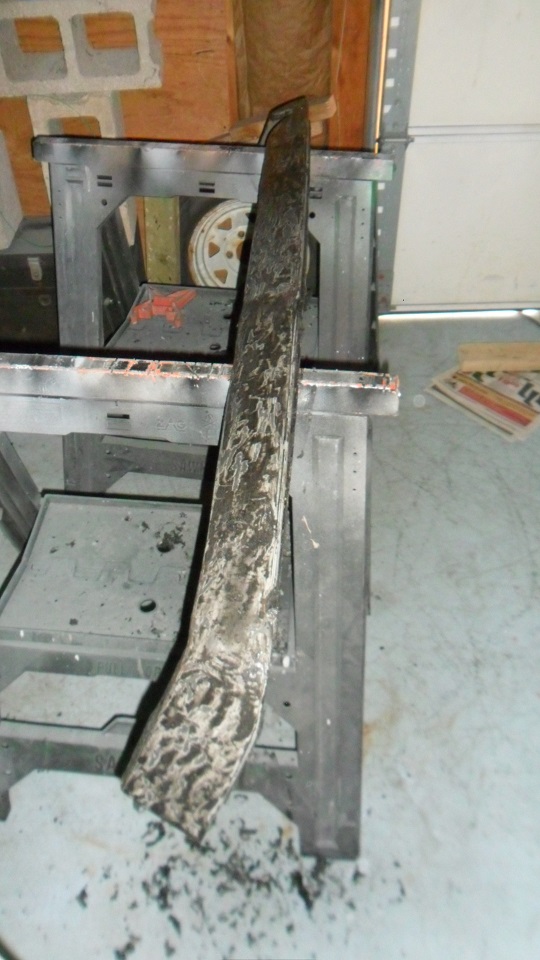
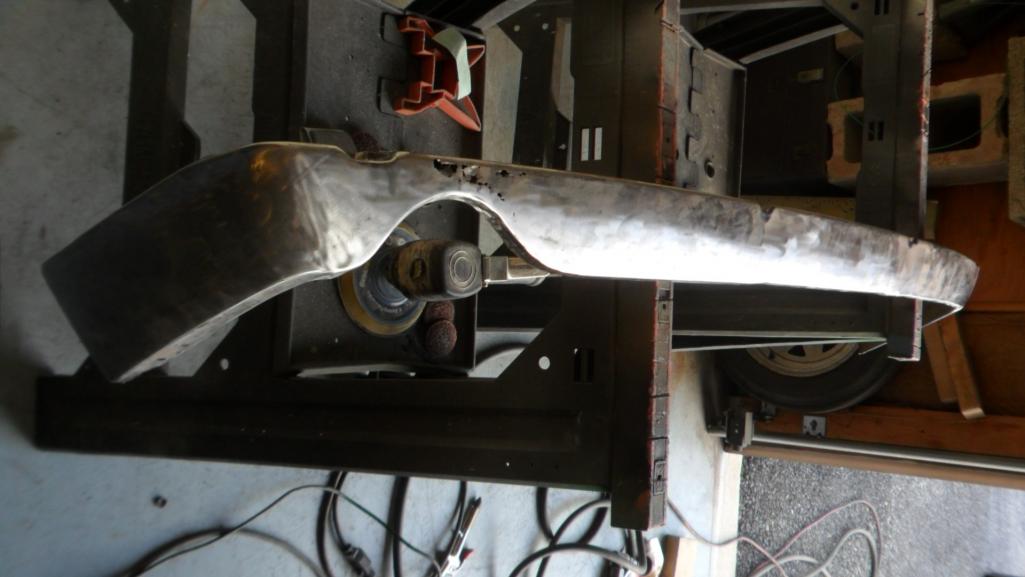
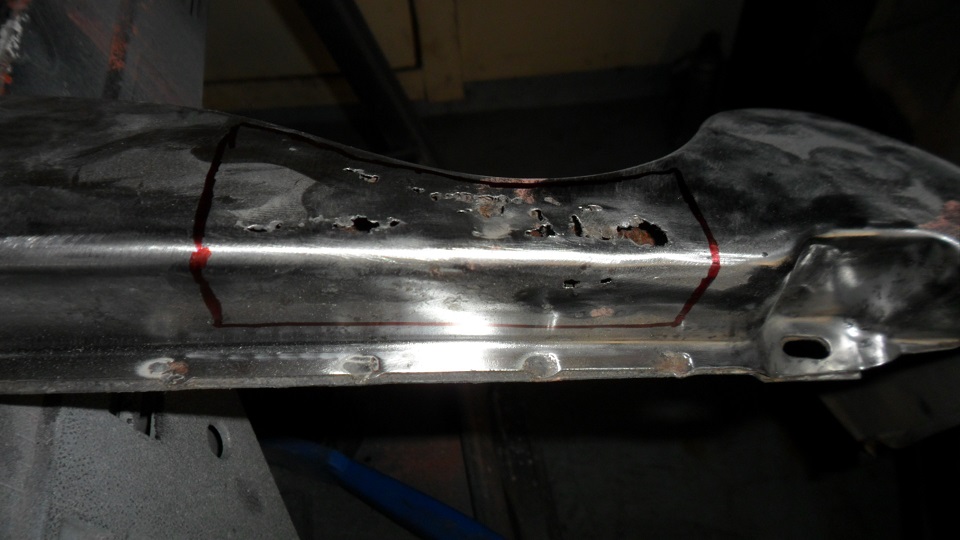
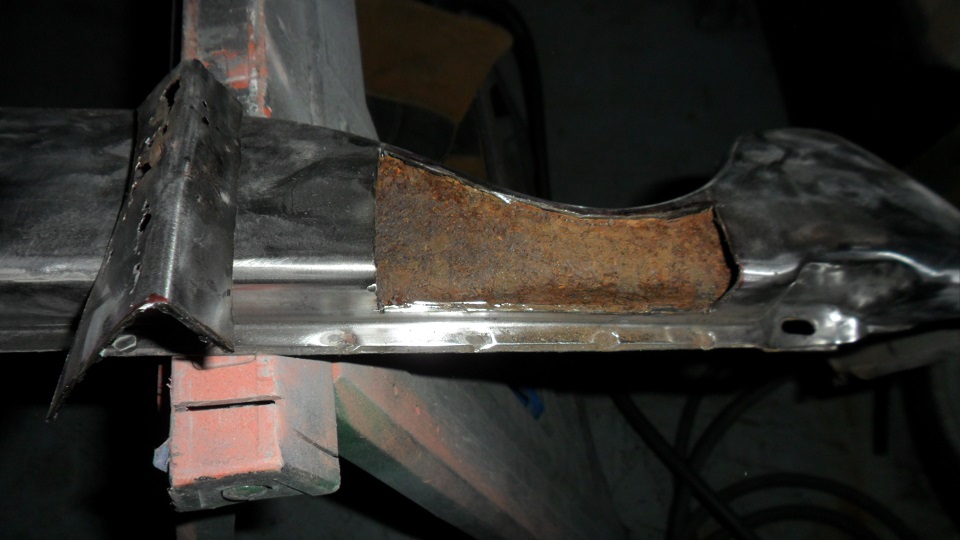
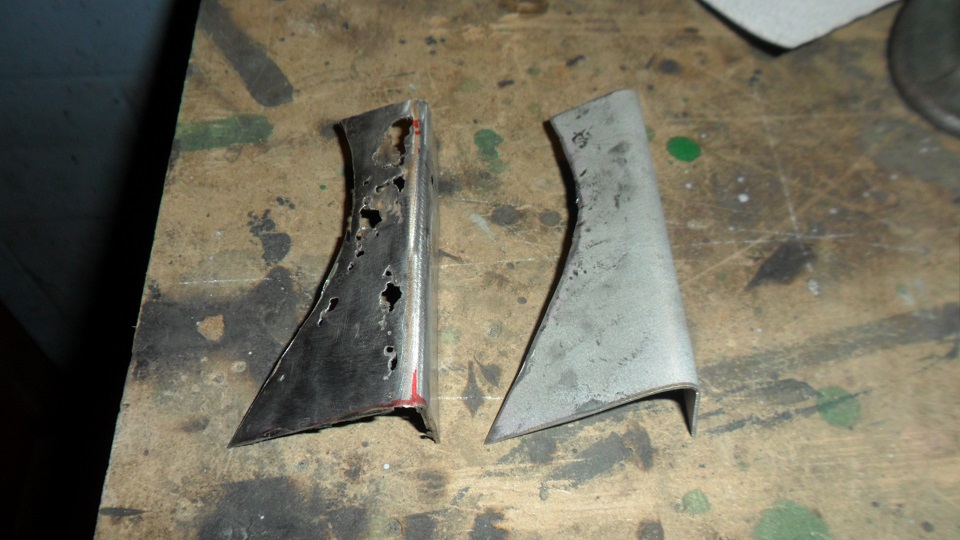
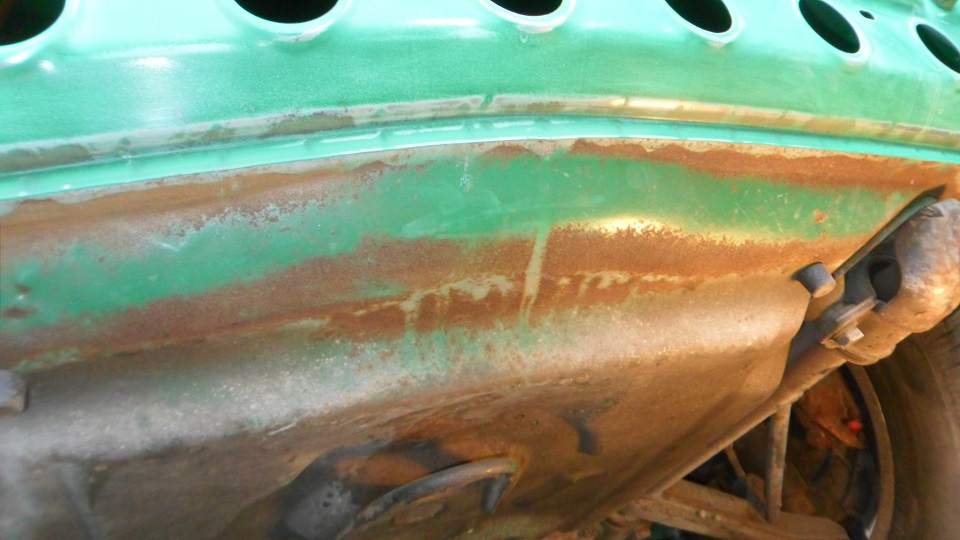
Took a look at both front & rear valences. Both had some damage that had to be bumped out. The rear had some rust-thru on the outer layer above the stock muffler exit. With specks of rust everywhere the only way I could get a decent finish was to strip them to bare metal. Did the front with purely mechanical tools, then went back to three coats of chemical stripper for the rear. Managed to get some paint stripper on my wrist where the gloves didn't cover. Suddenly I have hours invested in these things. Fabricated a patch for the rear. (IMG:style_emoticons/default/mad.gif)
            |
|
|
|
| scotty b |
Apr 11 2013, 08:58 PM
Post
#344
|
|
rust free you say ? Group: Members Posts: 16,375 Joined: 7-January 05 From: richmond, Va. Member No.: 3,419 Region Association: None |
Sweet (IMG:style_emoticons/default/smile.gif) (IMG:style_emoticons/default/beerchug.gif)
|
|
|
|
| saigon71 |
Apr 17 2013, 07:06 AM
Post
#345
|
|
Advanced Member Group: Members Posts: 2,006 Joined: 1-June 09 From: Dillsburg, PA Member No.: 10,428 Region Association: MidAtlantic Region |
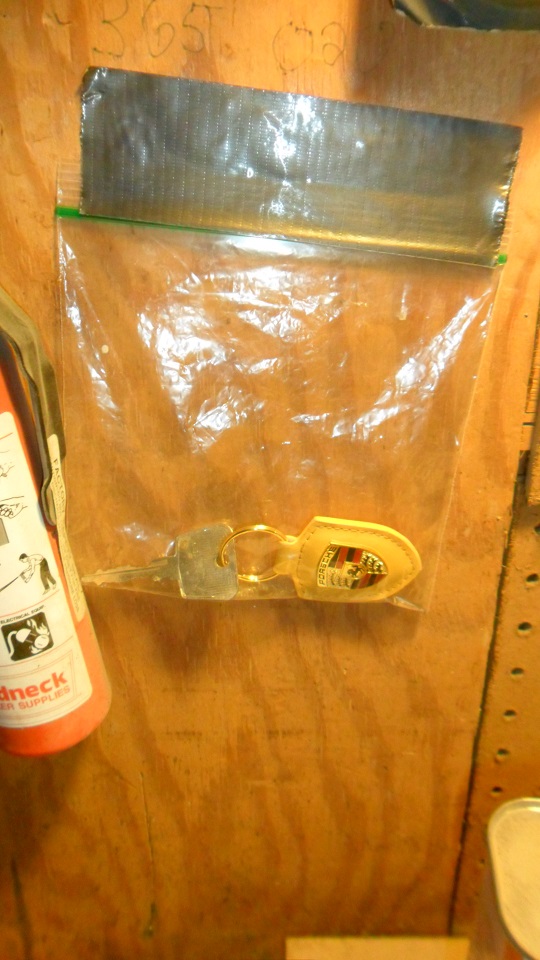
A friend gave me a fine Porsche key ring. Put the key on, sealed it in a zip-loc bag and taped it above the work bench as further motivation:
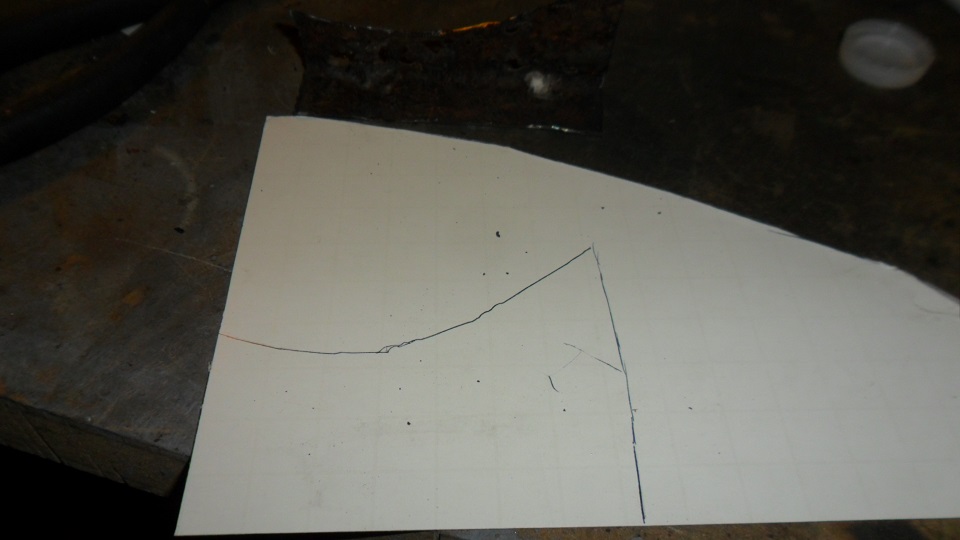
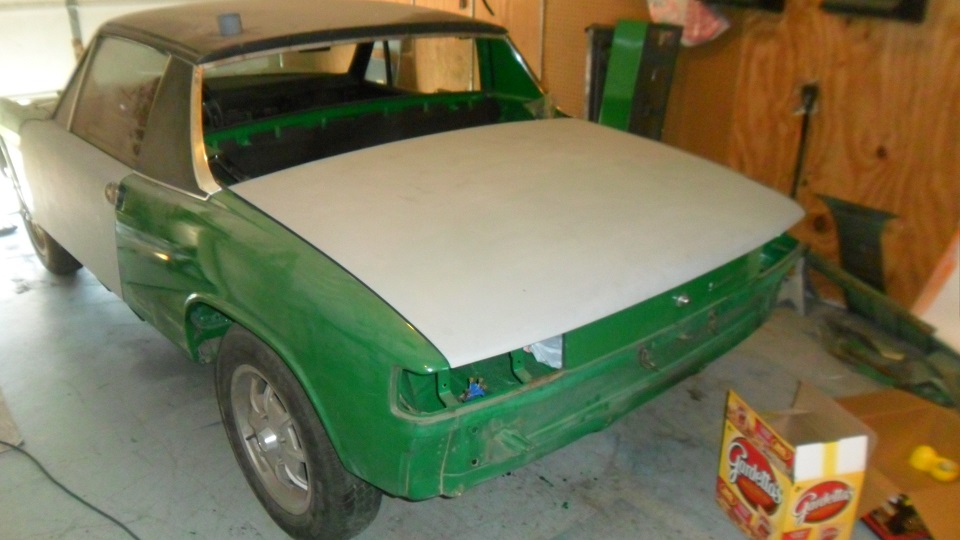
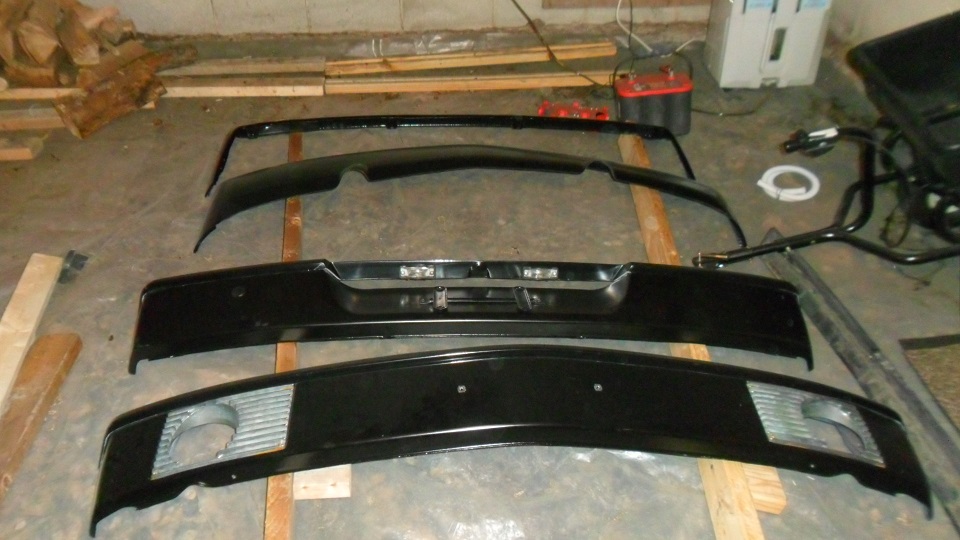
 My rear bumper top was trashed, and I wanted them to match, so I went with a set of fiberglass bumper tops from 914rubber. Installed the front on the bumper - it looks great! 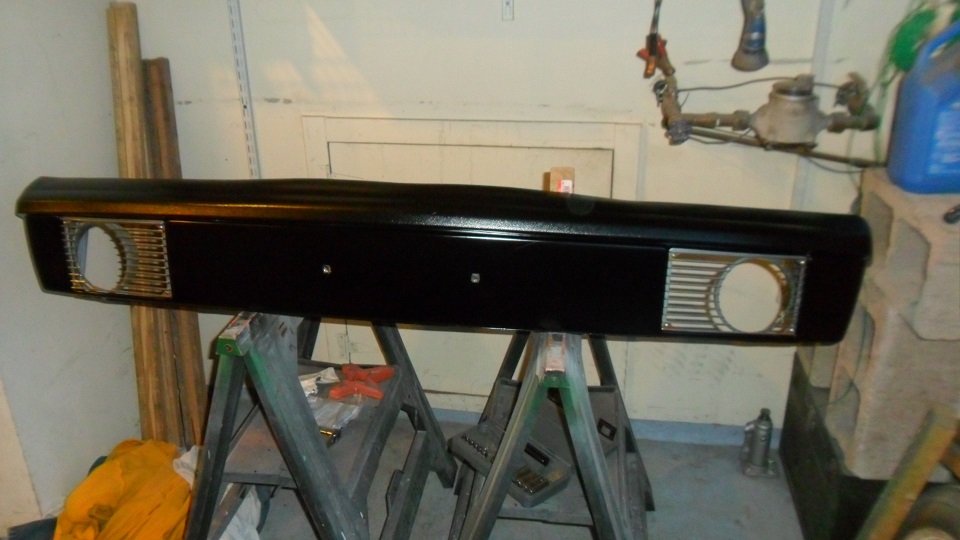 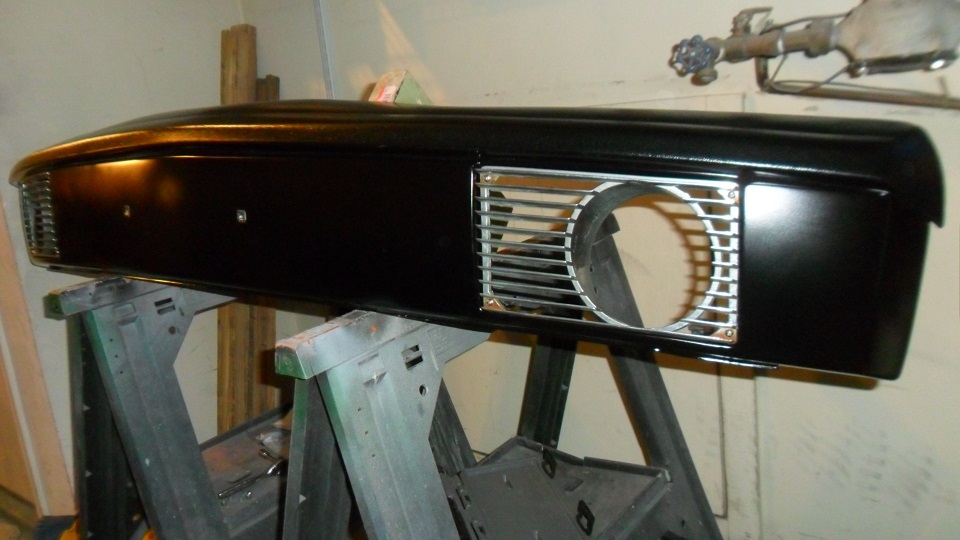 Using the old bumper top as a reference, I started figuring out the cut outs I will need in the rear bumper top to mount the license plate lights (which I can't find) (IMG:style_emoticons/default/headbang.gif) 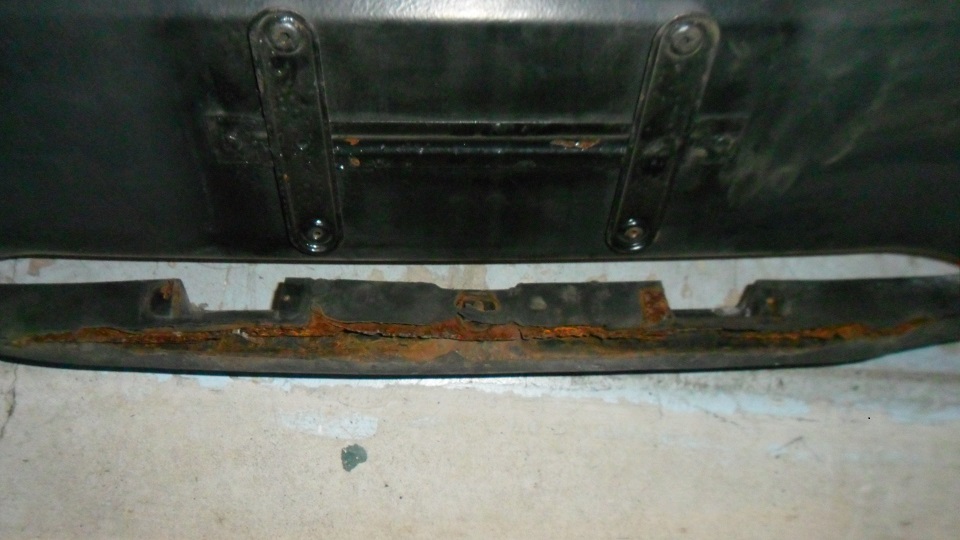  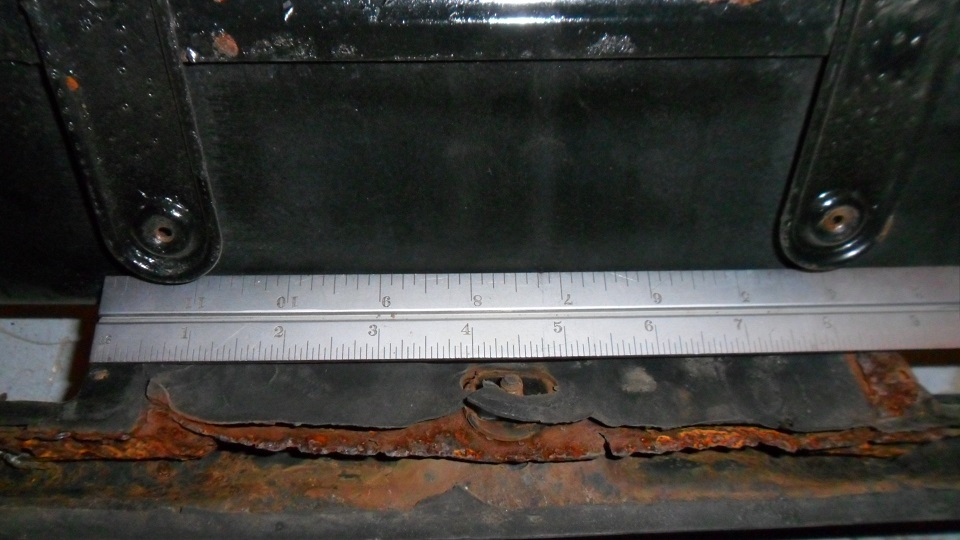 Continued work on both front & rear valences: 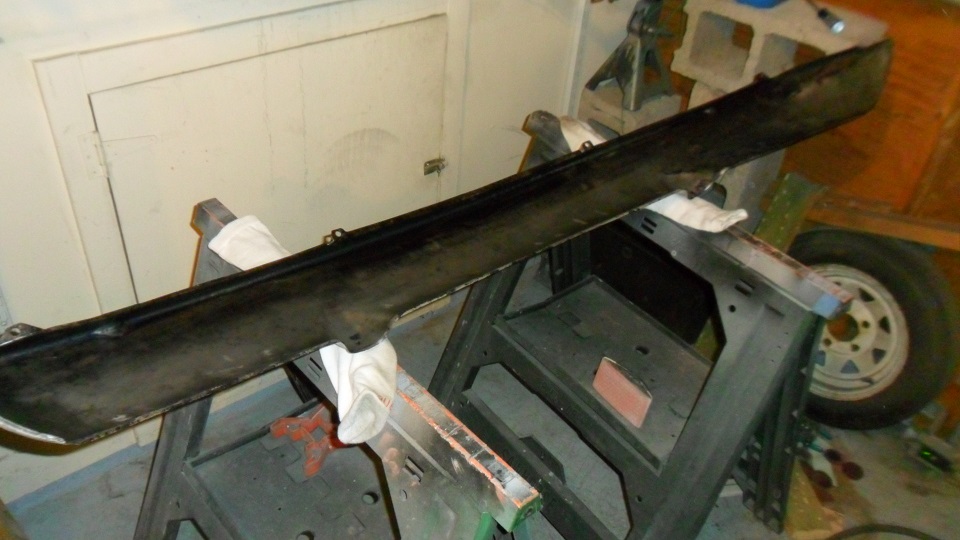 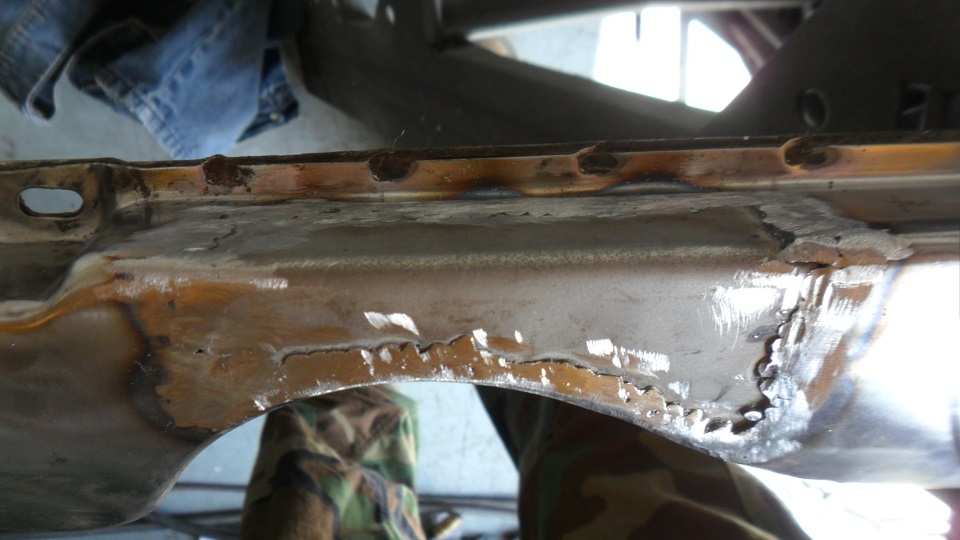 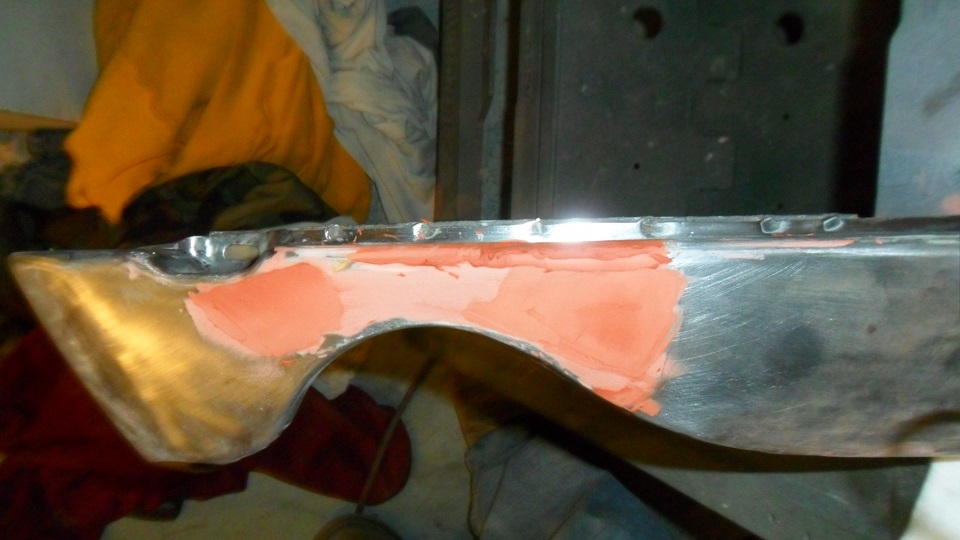 Getting tight in the garage down the home stretch: 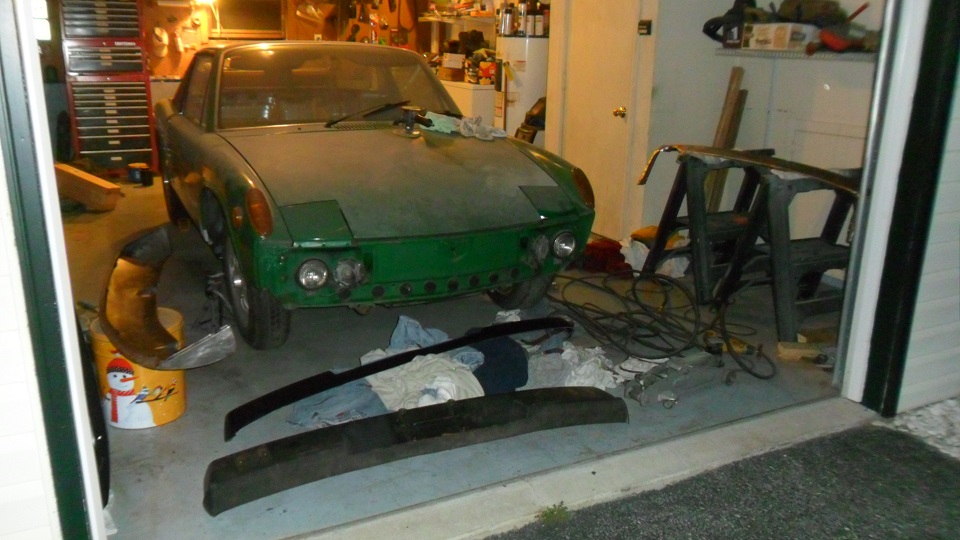 Kept moving on the tedious task of soundproofing. I ran into a some problems installing large pieces over irregular areas, so I started using 3-5" overlapping strips - much easier to work with: 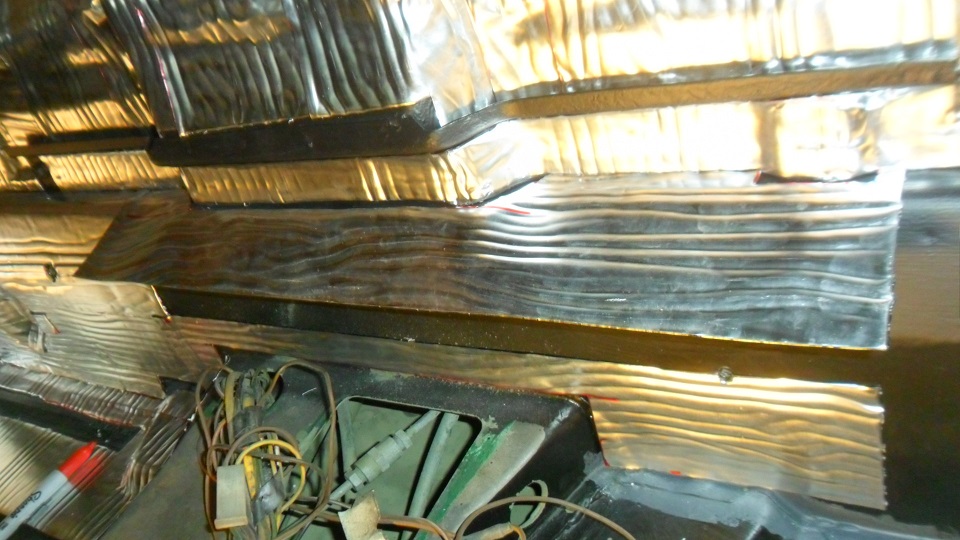 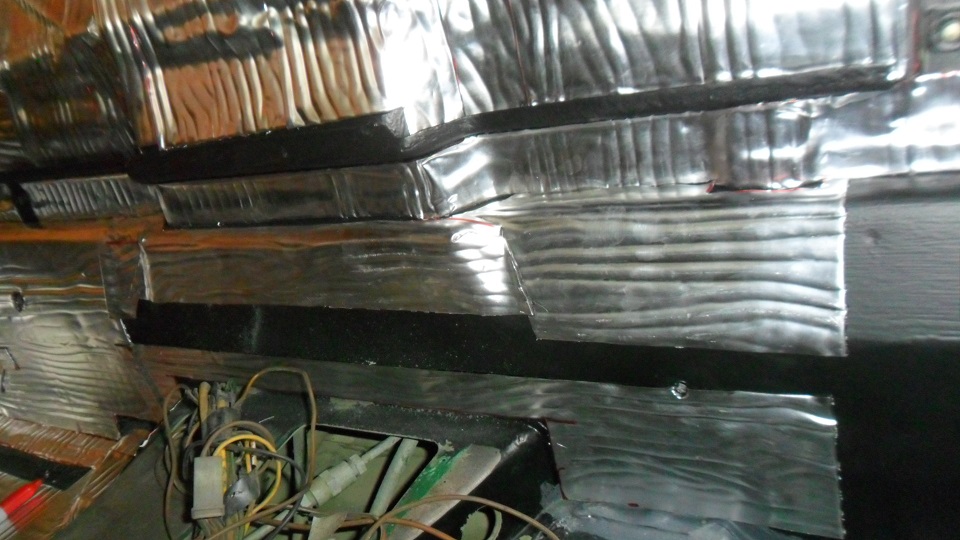 |
|
|
|
| turk22 |
Apr 17 2013, 06:47 PM
Post
#346
|
|
Treetop Flyer Group: Members Posts: 735 Joined: 27-July 12 From: Cincinnati OH Member No.: 14,725 Region Association: Upper MidWest |
Great progress, must feel great to be putting everything back together.
How much would say all the sound deadening stuff weighs? |
|
|
|
| saigon71 |
Apr 25 2013, 06:52 AM
Post
#347
|
|
Advanced Member Group: Members Posts: 2,006 Joined: 1-June 09 From: Dillsburg, PA Member No.: 10,428 Region Association: MidAtlantic Region |
QUOTE(turk22 @ Apr 17 2013, 08:47 PM)  Great progress, must feel great to be putting everything back together. How much would say all the sound deadening stuff weighs? Shipping weight for the roll was 23lbs. Looks like I will end up using about 18 lbs of it. |
|
|
|
| saigon71 |
May 2 2013, 07:56 PM
Post
#348
|
|
Advanced Member Group: Members Posts: 2,006 Joined: 1-June 09 From: Dillsburg, PA Member No.: 10,428 Region Association: MidAtlantic Region |
QUOTE(saigon71 @ Apr 25 2013, 08:52 AM) QUOTE(turk22 @ Apr 17 2013, 08:47 PM) Great progress, must feel great to be putting everything back together. How much would say all the sound deadening stuff weighs? Shipping weight for the roll was 23lbs. Looks like I will end up using about 18 lbs of it. This site is getting to me (IMG:style_emoticons/default/evilgrin.gif) I weighed what was left over - 7 lbs, so I used 16lbs. |
|
|
|
| saigon71 |
May 2 2013, 08:10 PM
Post
#349
|
|
Advanced Member Group: Members Posts: 2,006 Joined: 1-June 09 From: Dillsburg, PA Member No.: 10,428 Region Association: MidAtlantic Region |
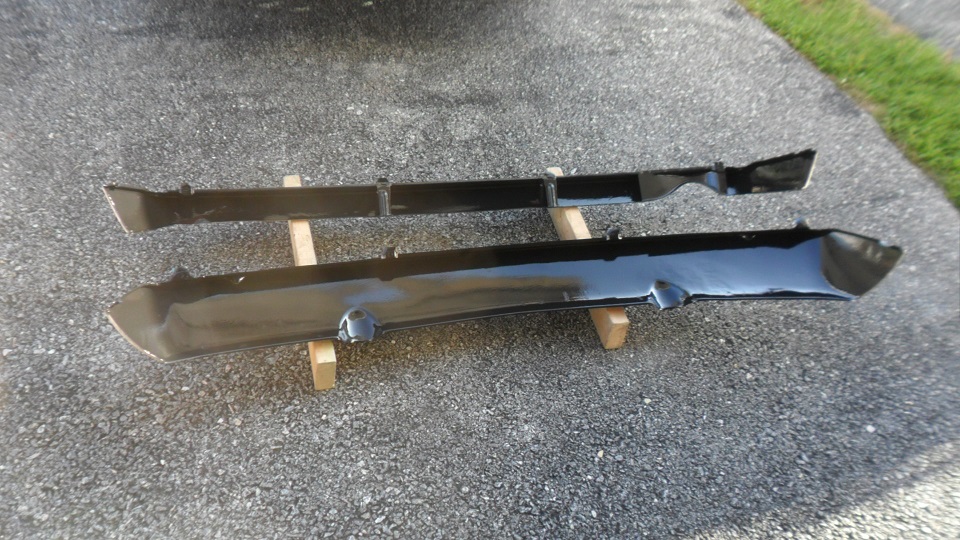
Hit both valences with a coat of ospho & Rustoleum gloss black on the backsides:
  Finally found my license plate lights so I cut the new fiberglass bumper top with a Dremmel tool and a cutoff wheel. Taped the finished side of the fiberglass to keep it from splintering:  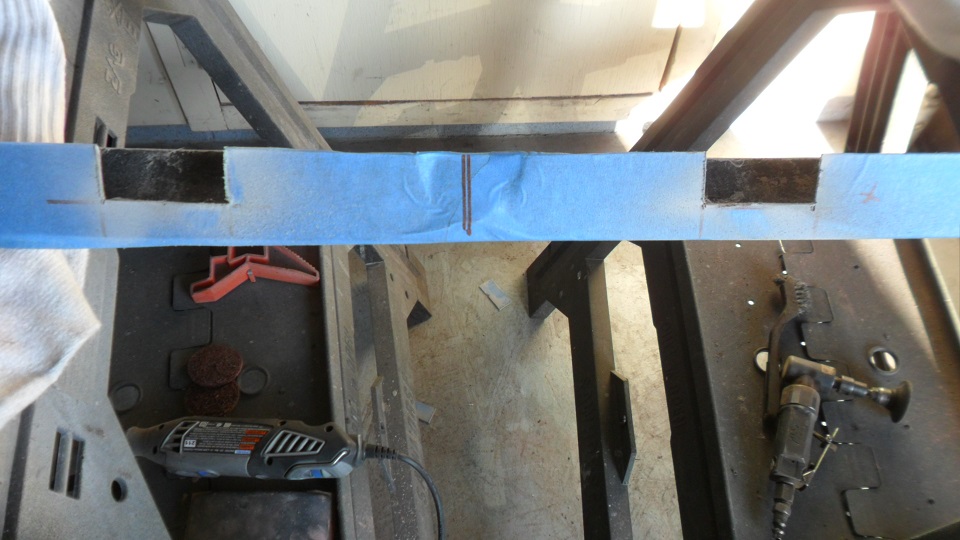 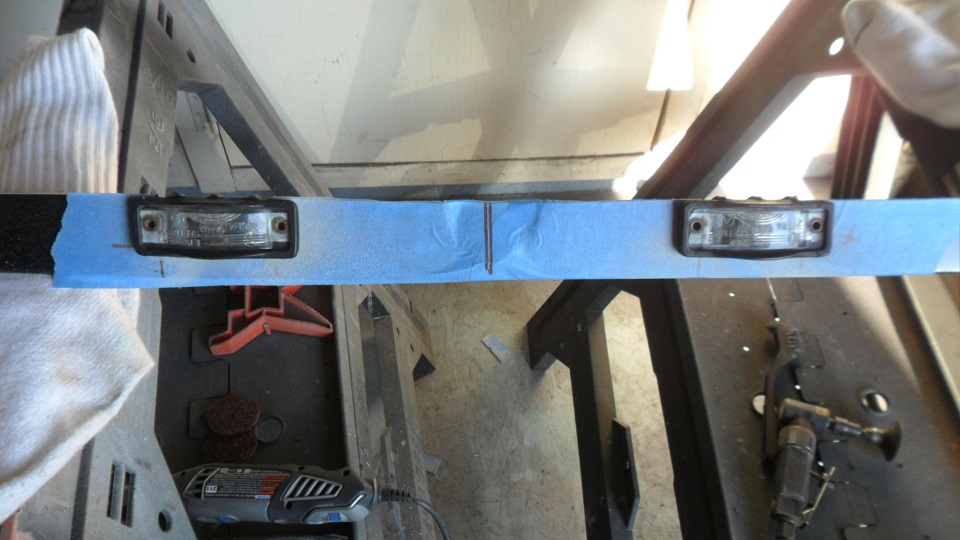 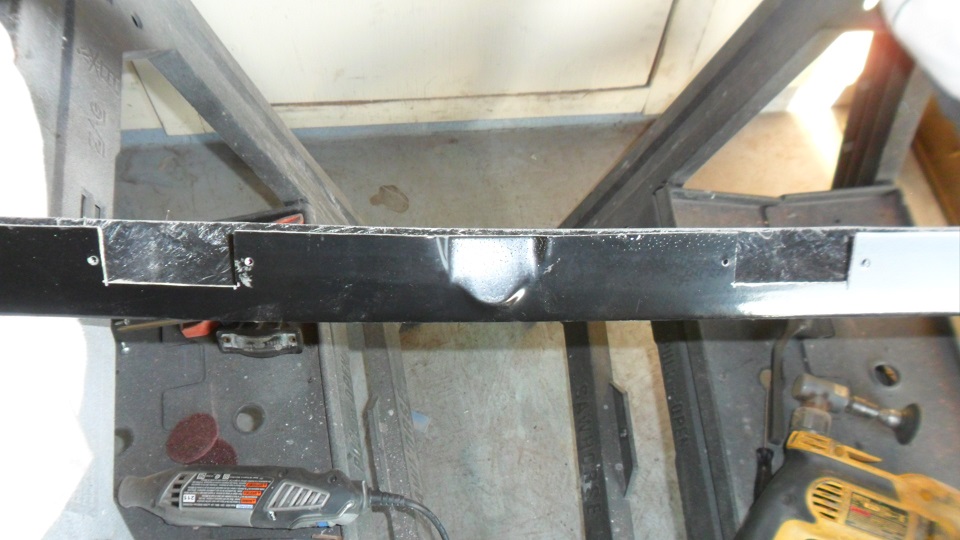 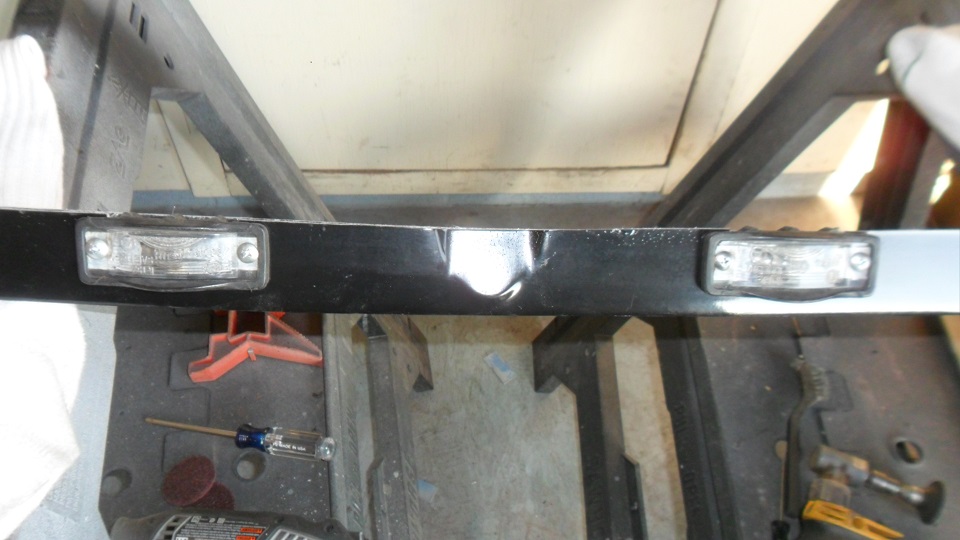 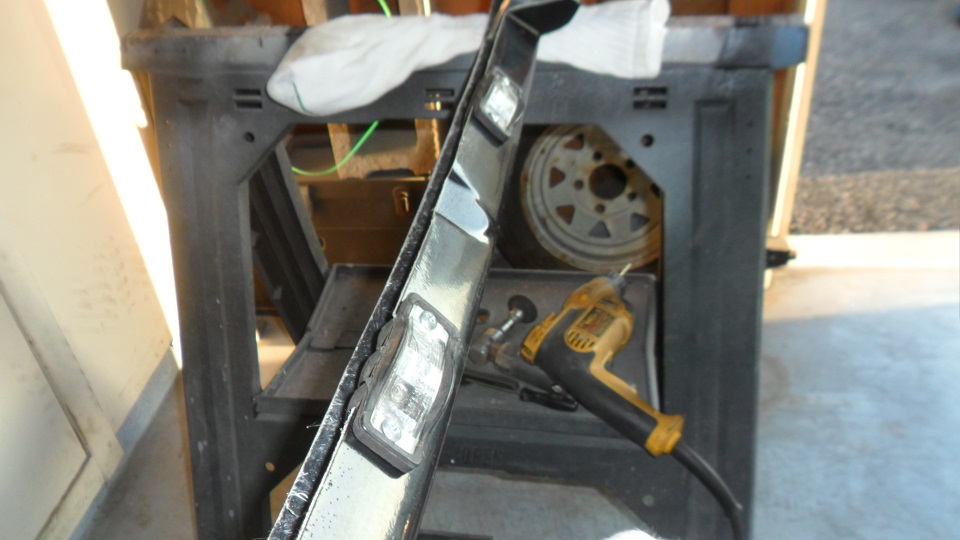 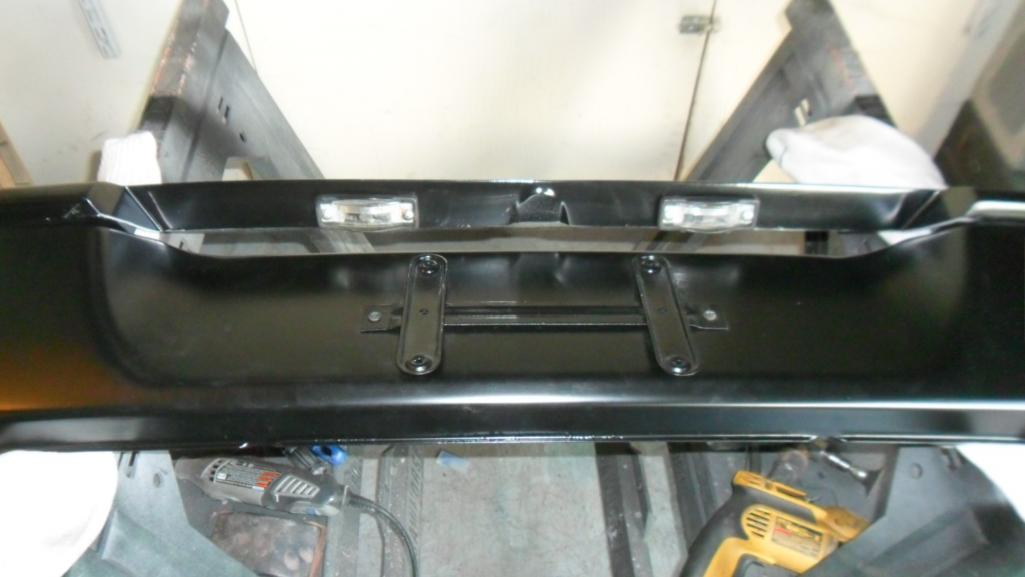 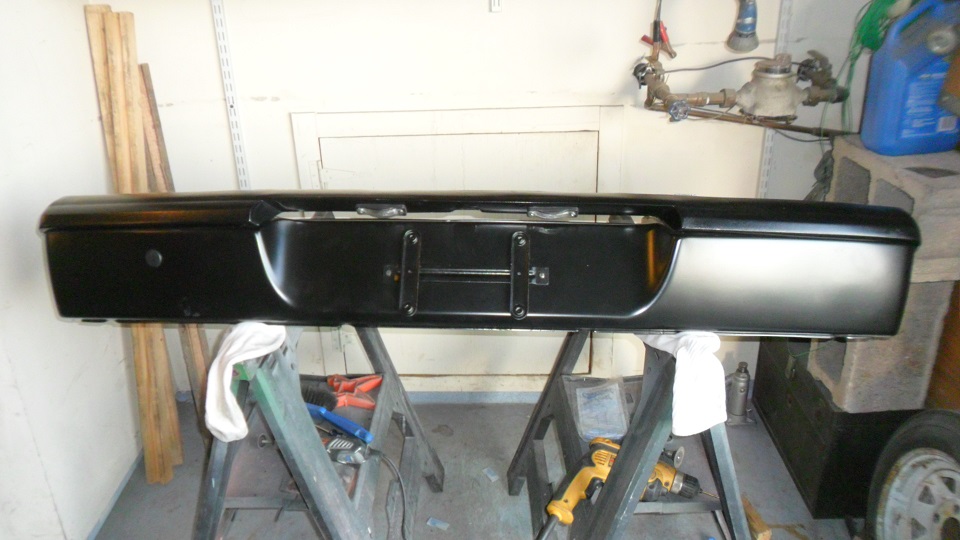 |
|
|
|
| saigon71 |
May 2 2013, 08:44 PM
Post
#350
|
|
Advanced Member Group: Members Posts: 2,006 Joined: 1-June 09 From: Dillsburg, PA Member No.: 10,428 Region Association: MidAtlantic Region |
Removed everything reasonable from the car so I can get sanding:
 Cleaned the rear emblem with scotch brite and shot it with primer: 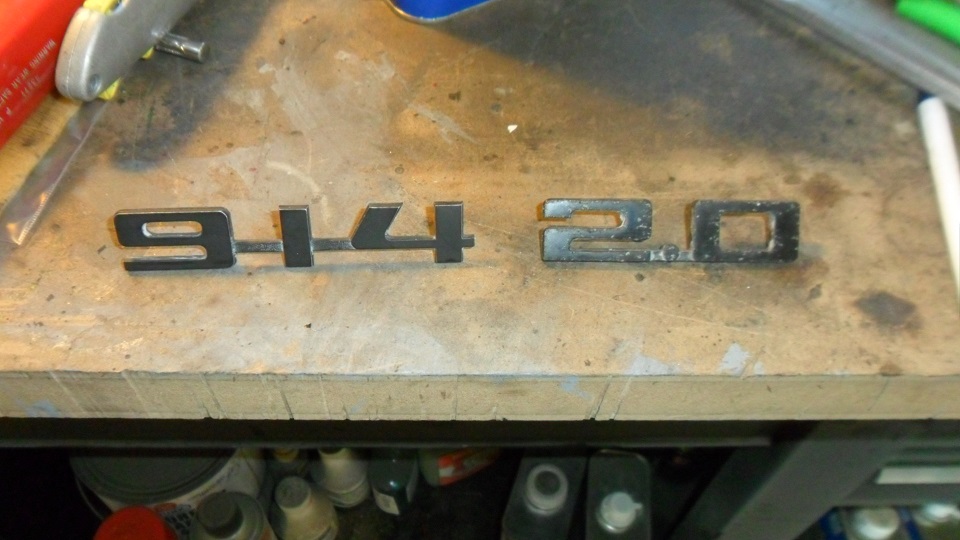 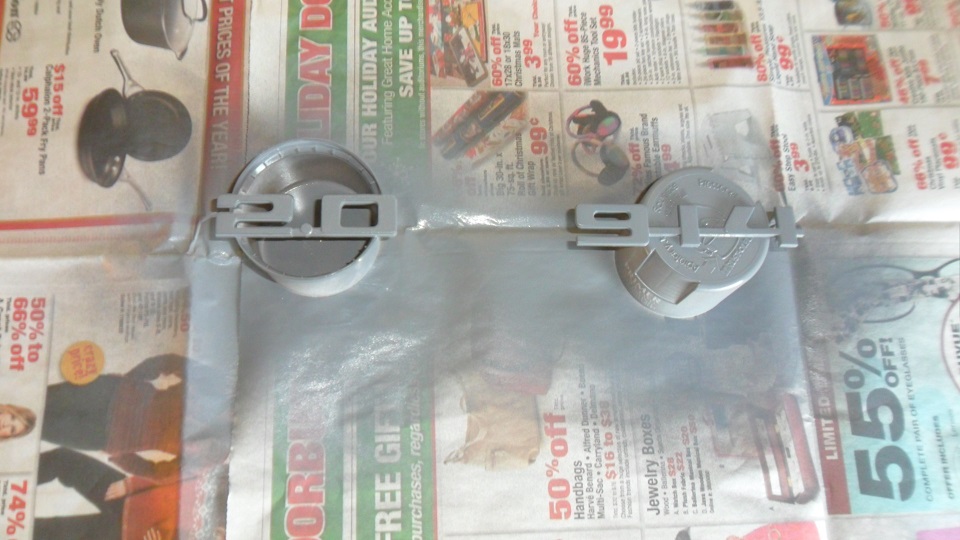 I bought one of the 914rubber.com replacement firewall pads through a group buy a while back. I went with the stock mounting system + velcro. Installed the pad and ran a pick through the pad to guide the plug. Marked anywhere I wanted extra hold with masking tape. Stuck the velcro together on the pad, then starting in the center, removed the adhesive from the velcro so it would stick to the firewall. It turned out nice! (IMG:style_emoticons/default/beerchug.gif) 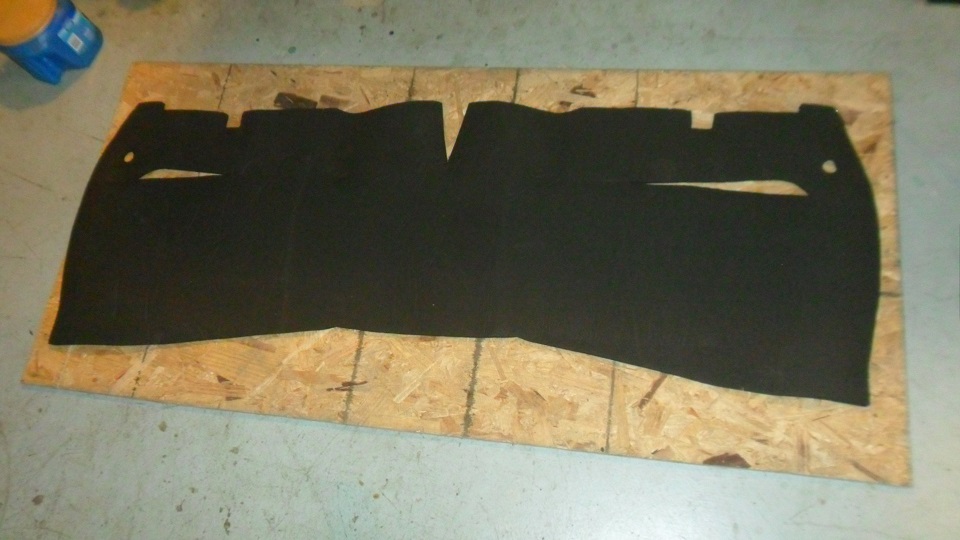 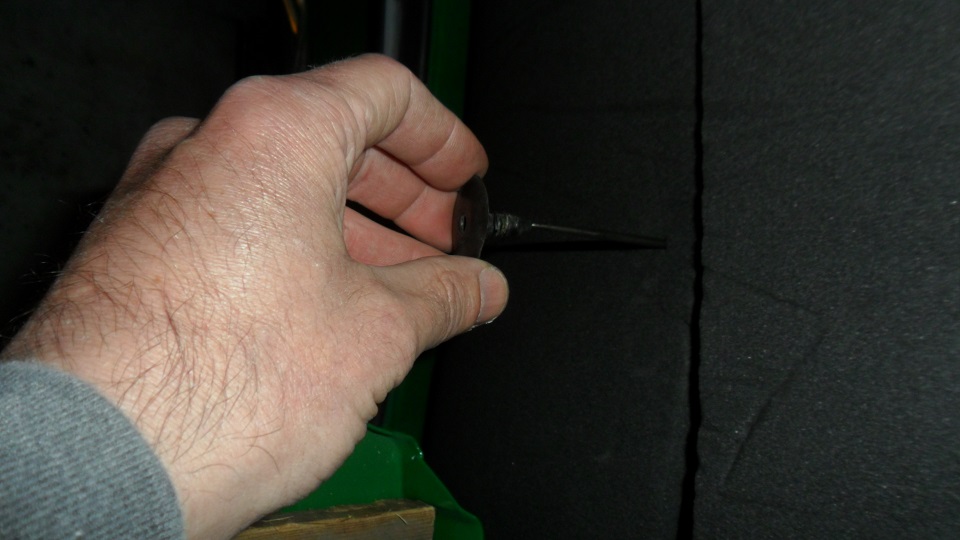 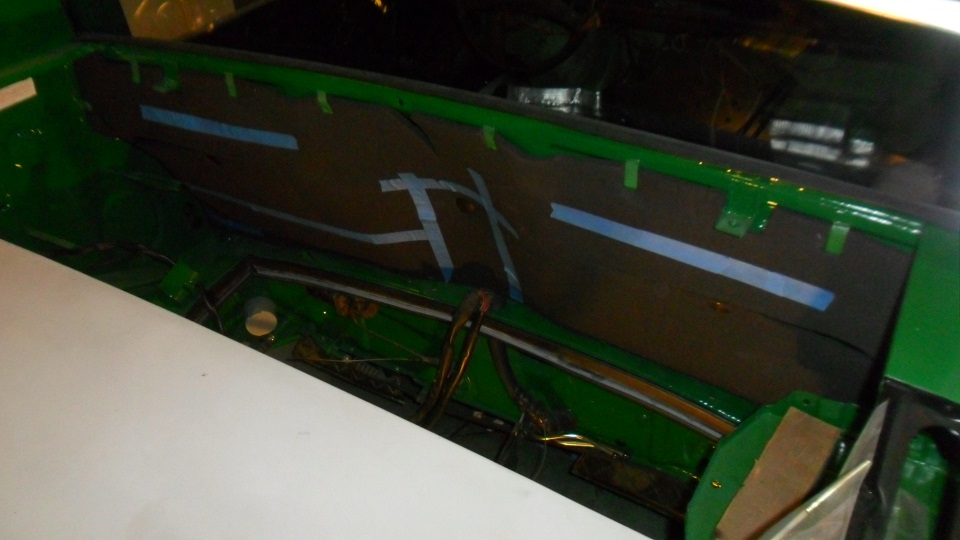 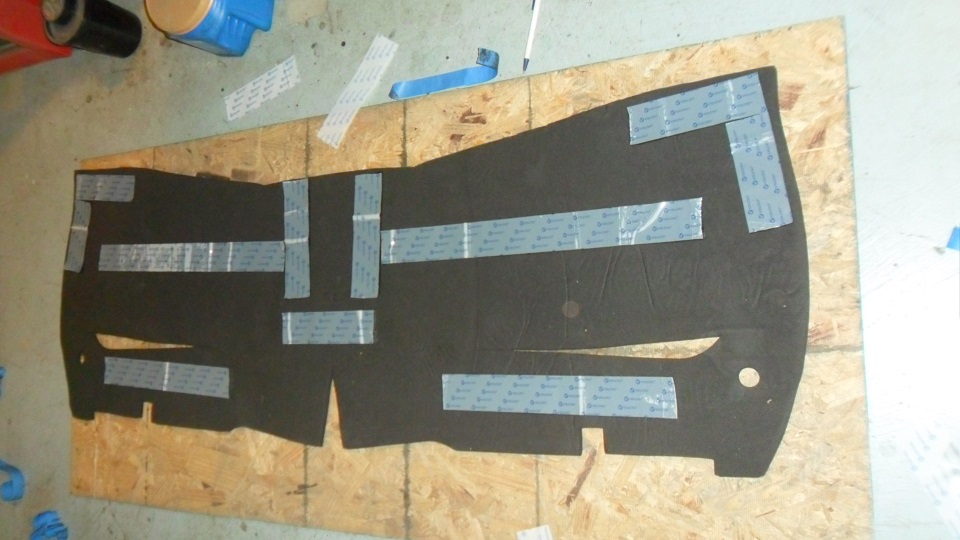 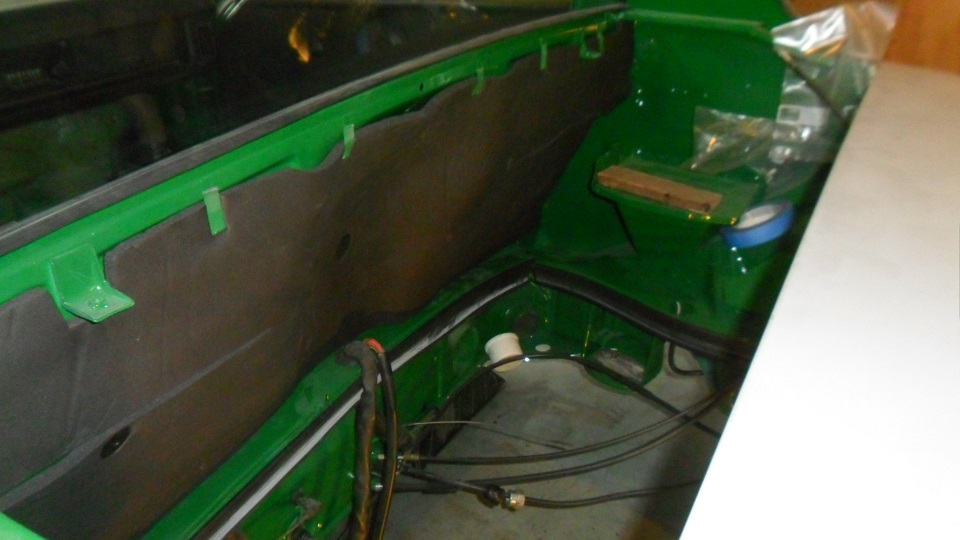  |
|
|
|
| saigon71 |
May 2 2013, 08:46 PM
Post
#351
|
|
Advanced Member Group: Members Posts: 2,006 Joined: 1-June 09 From: Dillsburg, PA Member No.: 10,428 Region Association: MidAtlantic Region |
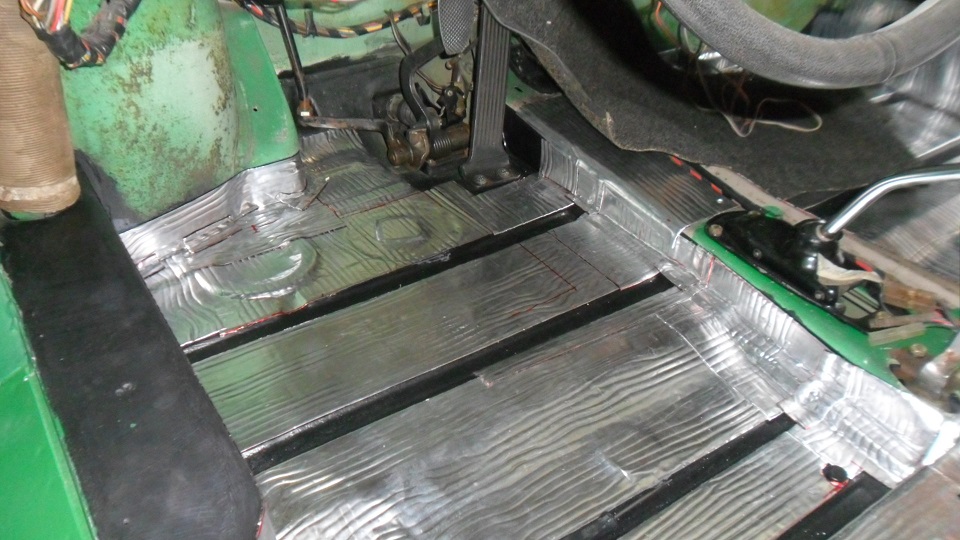
Finished soundproofing the interior:
  |
|
|
|
| Cairo94507 |
May 2 2013, 09:12 PM
Post
#352
|
|
Michael Group: Members Posts: 10,143 Joined: 1-November 08 From: Auburn, CA Member No.: 9,712 Region Association: Northern California |
Nice work - you are making progress.
|
|
|
|
| effutuo101 |
May 5 2013, 11:13 AM
Post
#353
|
|
Advanced Member Group: Members Posts: 2,735 Joined: 10-April 05 From: Lemon Grove Member No.: 3,914 Region Association: Southern California |
Looking great! More pictures please
|
|
|
|
| saigon71 |
May 6 2013, 02:43 PM
Post
#354
|
|
Advanced Member Group: Members Posts: 2,006 Joined: 1-June 09 From: Dillsburg, PA Member No.: 10,428 Region Association: MidAtlantic Region |
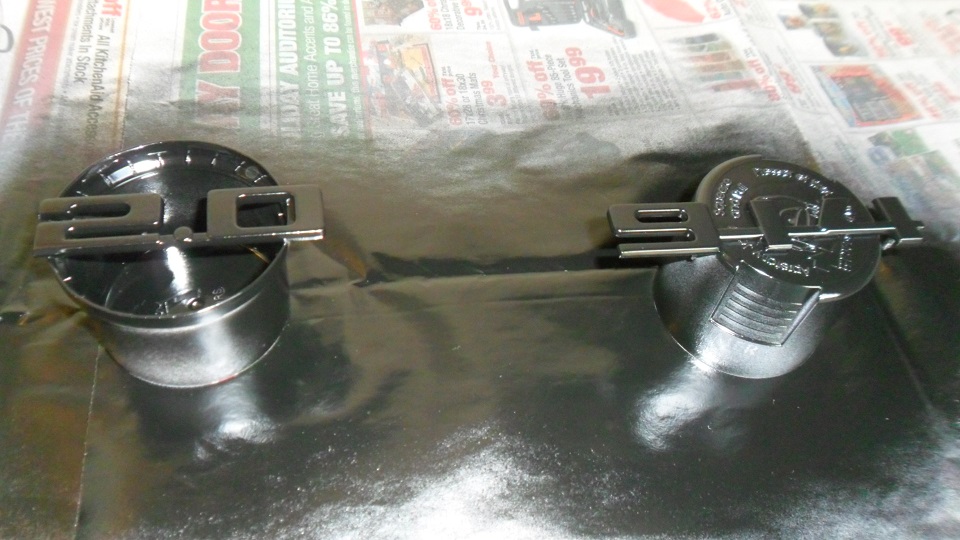
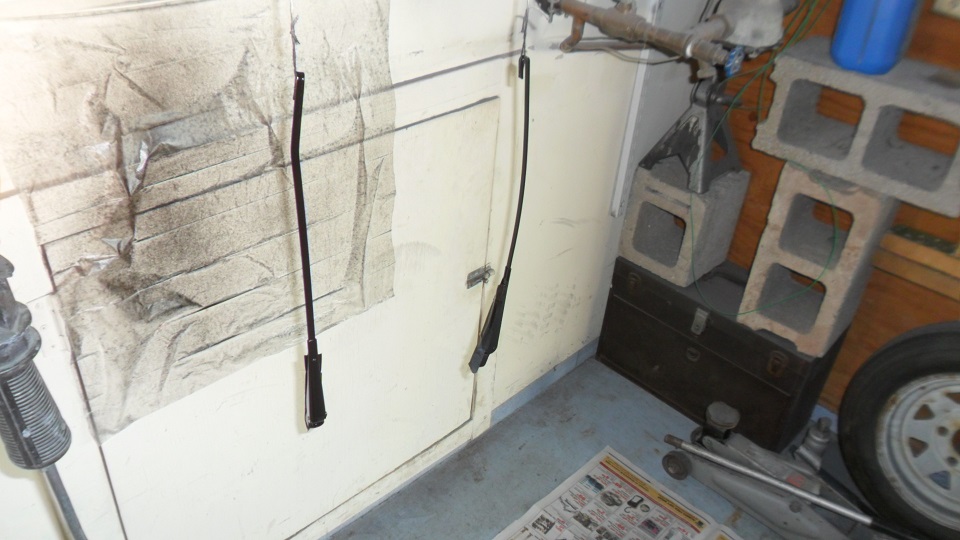
Fired two coats of Rustoleum semi-gloss on the rear emblem & windshield wipers:
  Finished the front & rear valences: 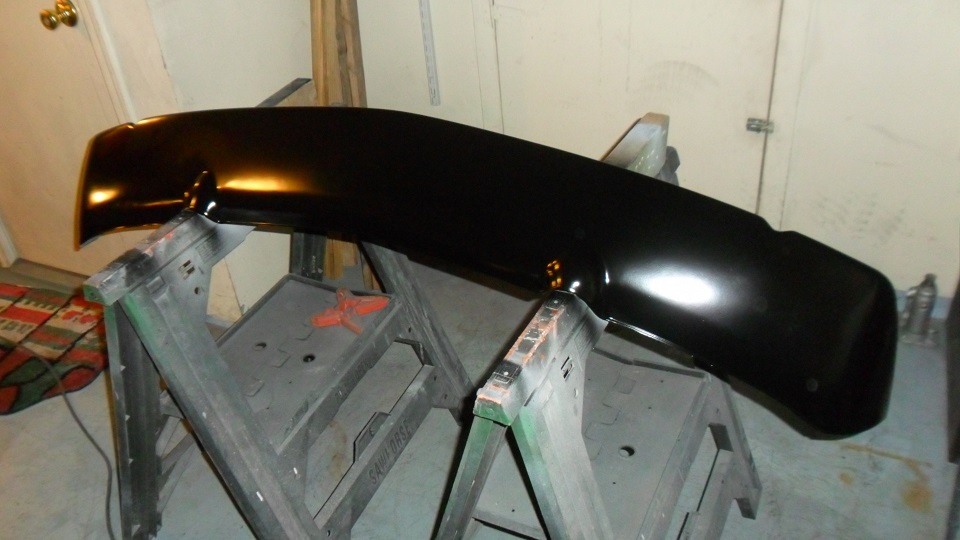 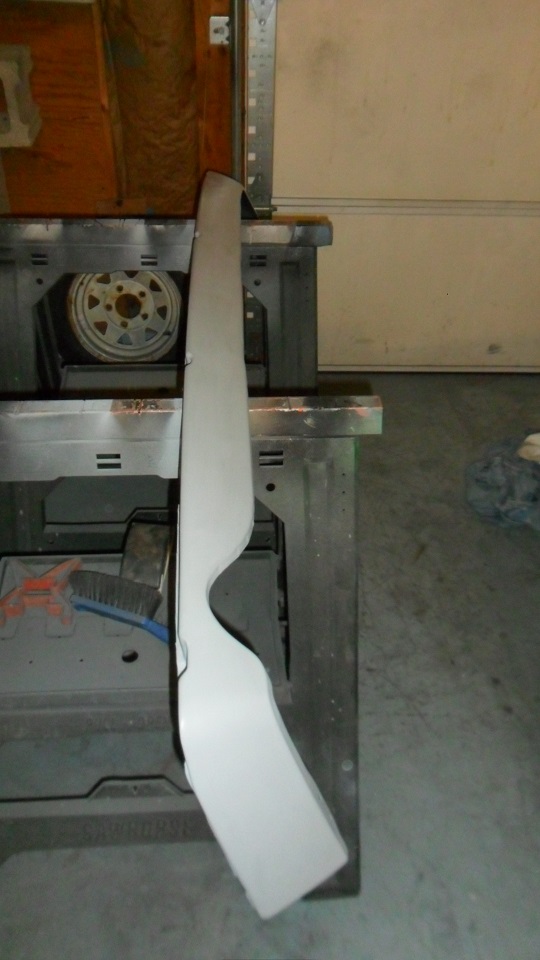  Ran a load of parts through the dishwasher: 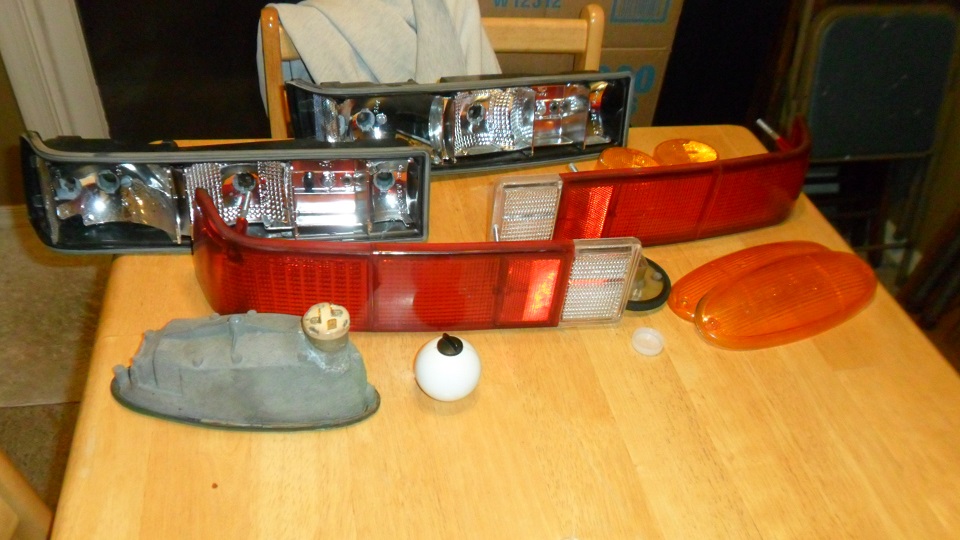 Bumpers, tops and valences everywhere: 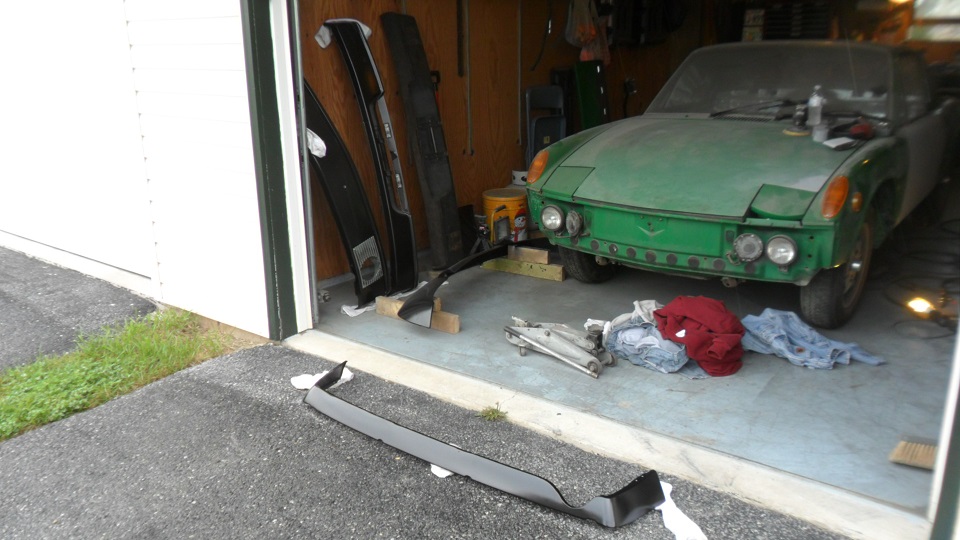 |
|
|
|
| Cairo94507 |
May 6 2013, 02:56 PM
Post
#355
|
|
Michael Group: Members Posts: 10,143 Joined: 1-November 08 From: Auburn, CA Member No.: 9,712 Region Association: Northern California |
You ran the taillight buckets through the dishwasher and they came out that nice????? WOW (IMG:style_emoticons/default/drooley.gif)
|
|
|
|
| saigon71 |
May 6 2013, 08:36 PM
Post
#356
|
|
Advanced Member Group: Members Posts: 2,006 Joined: 1-June 09 From: Dillsburg, PA Member No.: 10,428 Region Association: MidAtlantic Region |
QUOTE(Cairo94507 @ May 6 2013, 04:56 PM) You ran the taillight buckets through the dishwasher and they came out that nice????? WOW (IMG:style_emoticons/default/drooley.gif) Cascade extra action!!! (IMG:style_emoticons/default/beerchug.gif) |
|
|
|
| saigon71 |
May 14 2013, 06:59 AM
Post
#357
|
|
Advanced Member Group: Members Posts: 2,006 Joined: 1-June 09 From: Dillsburg, PA Member No.: 10,428 Region Association: MidAtlantic Region |
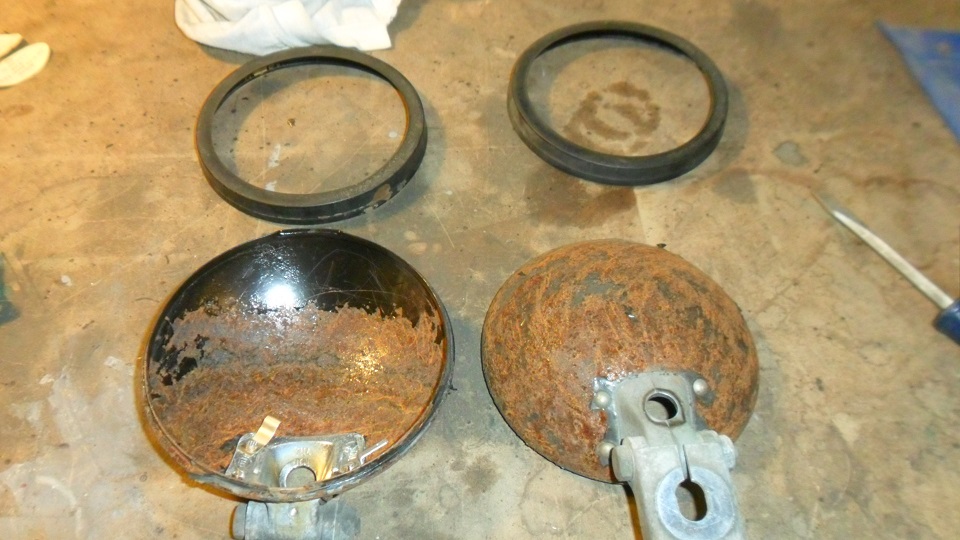
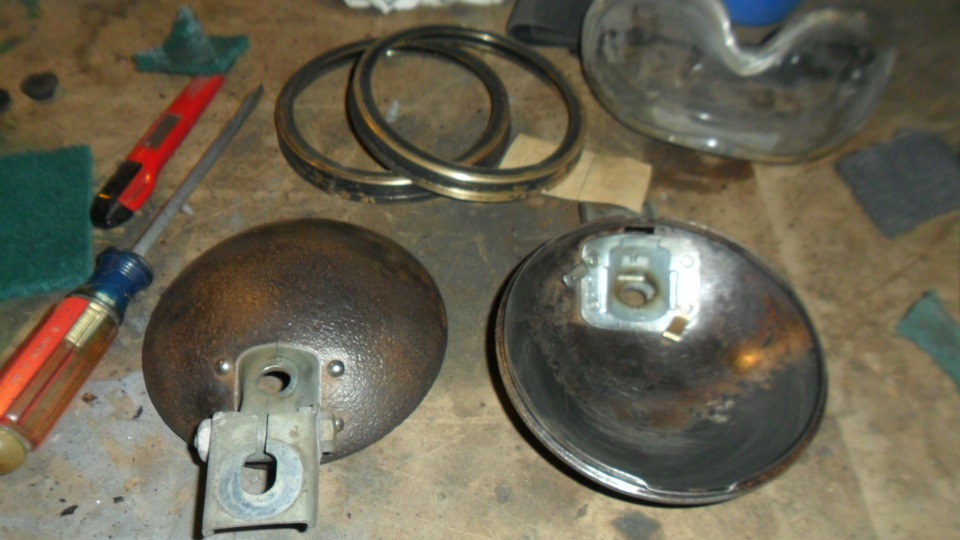
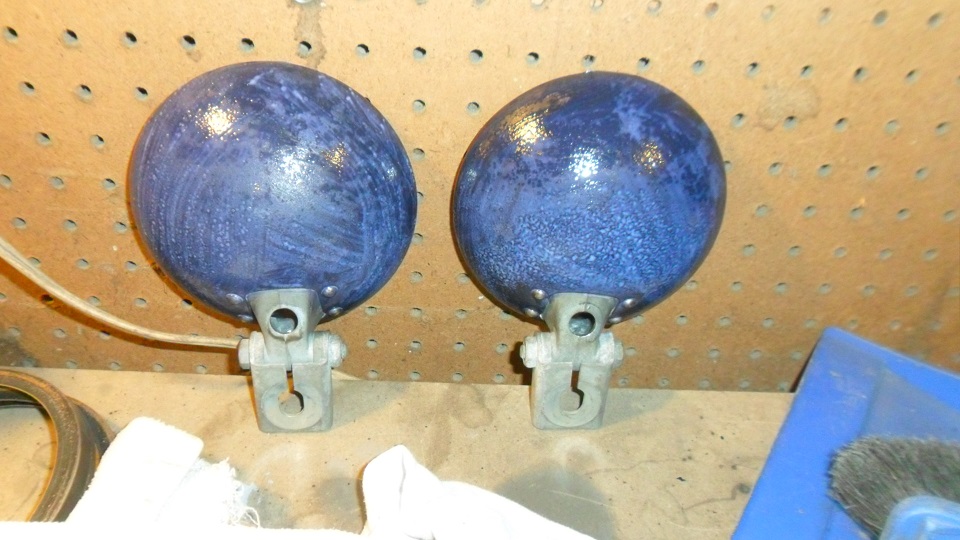
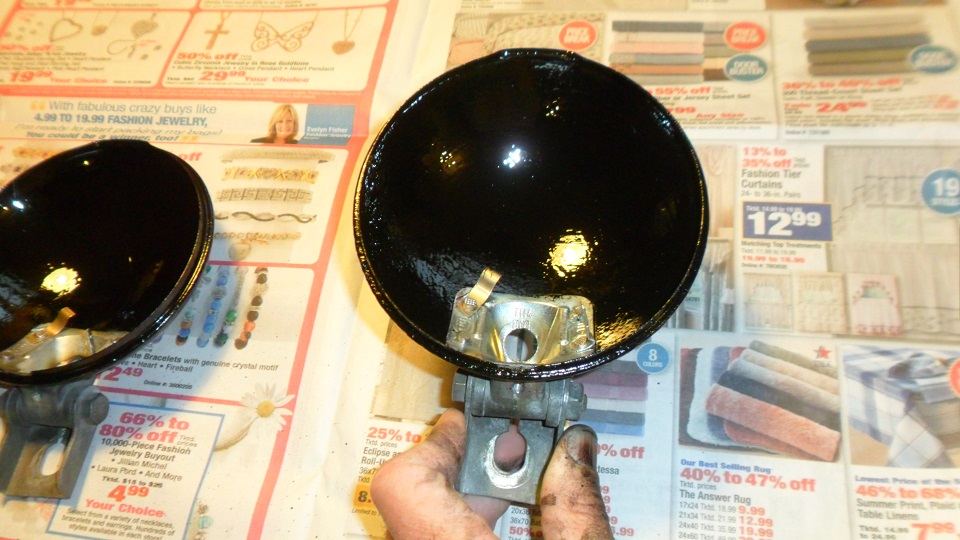
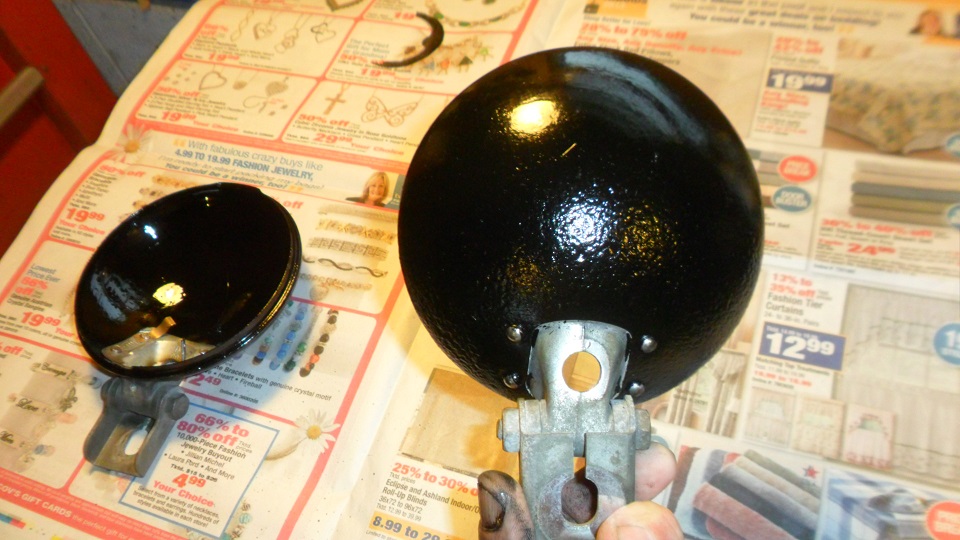
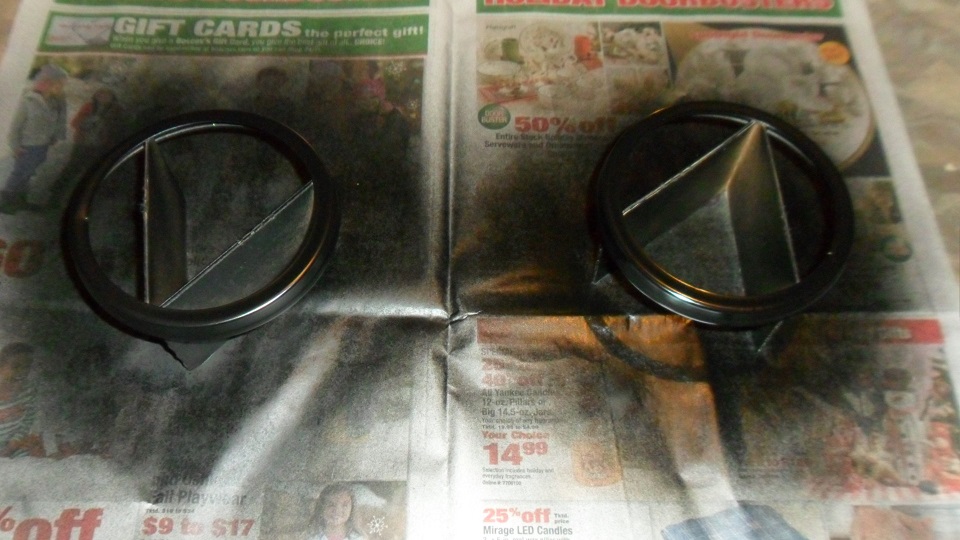
My fog lights were a mess...heavy rust & pitting on the back with surface rust on the inside. Brushed on a coat of ospho, followed by two coats of Rustoleum semi-gloss:
      Picked up some heavy duty electrical tape & ran two rows across the lower edge of the rear window using the seal as a guide following the Shea installation instructions: 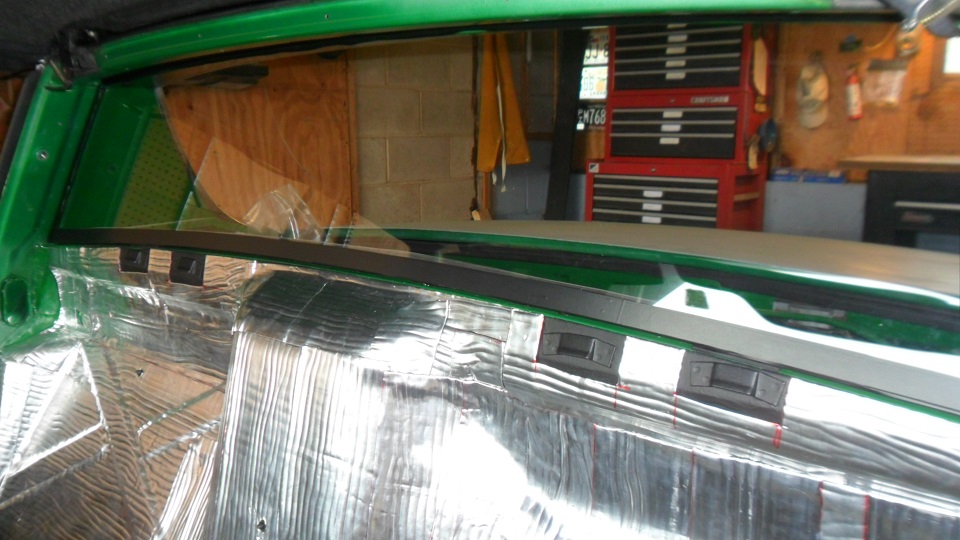 Aside from the airbox and master cylinder, few parts have caused me as much grief as the rear sway bushings during reassembly. After trying a bunch of different methods to install the lower links, I lubed them up with silicone grease, cut a 2 X 4 to length and used a bottle jack on its side to press them on - it worked well: 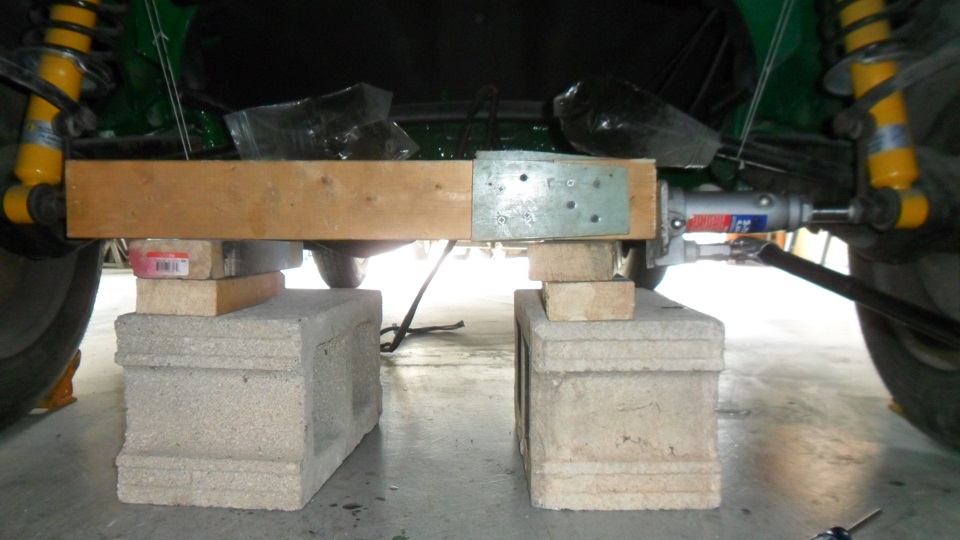 The finish line is in sight! (IMG:style_emoticons/default/biggrin.gif) Started sanding the entire car in preparation for paint. There are a few areas with surface rust that need to be treated. I refused to drop the airbox again, especially with the tank in...wrapped sandpaper around a paint stick to sand the louvers above the box. Masking this area should be fun: 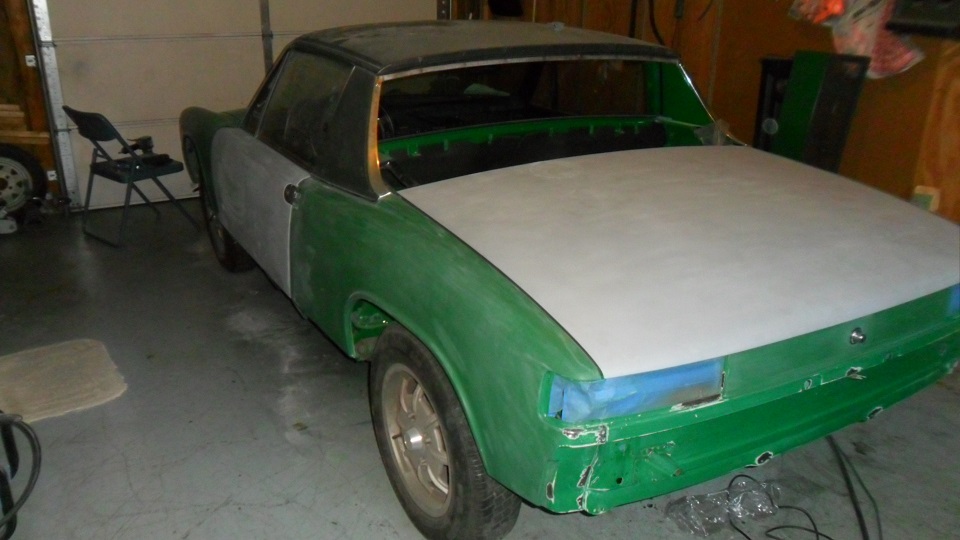 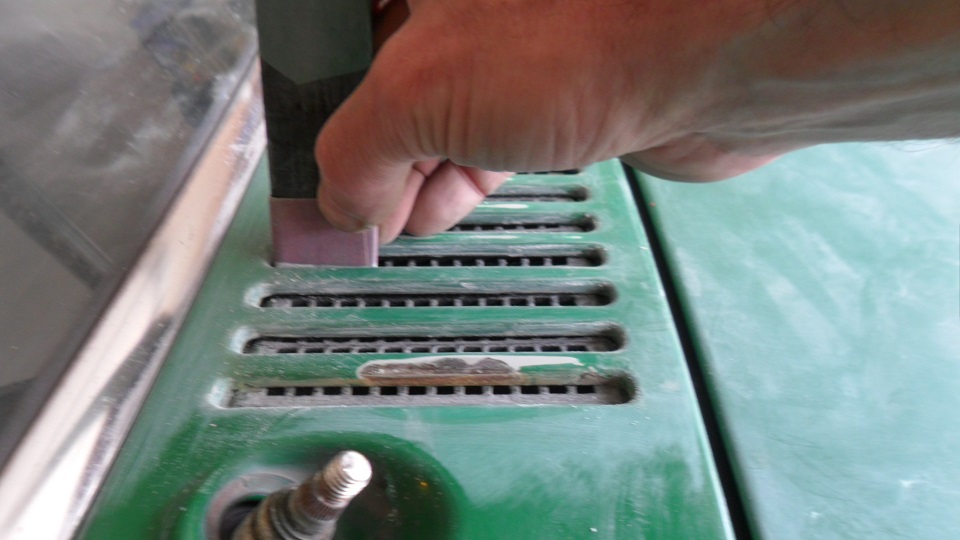 |
|
|
|
| saigon71 |
May 23 2013, 09:29 PM
Post
#358
|
|
Advanced Member Group: Members Posts: 2,006 Joined: 1-June 09 From: Dillsburg, PA Member No.: 10,428 Region Association: MidAtlantic Region |
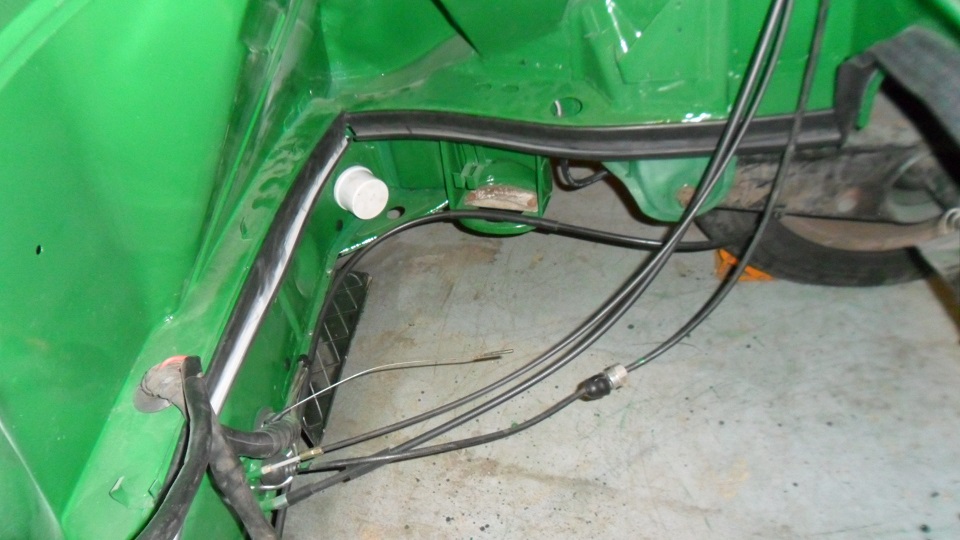
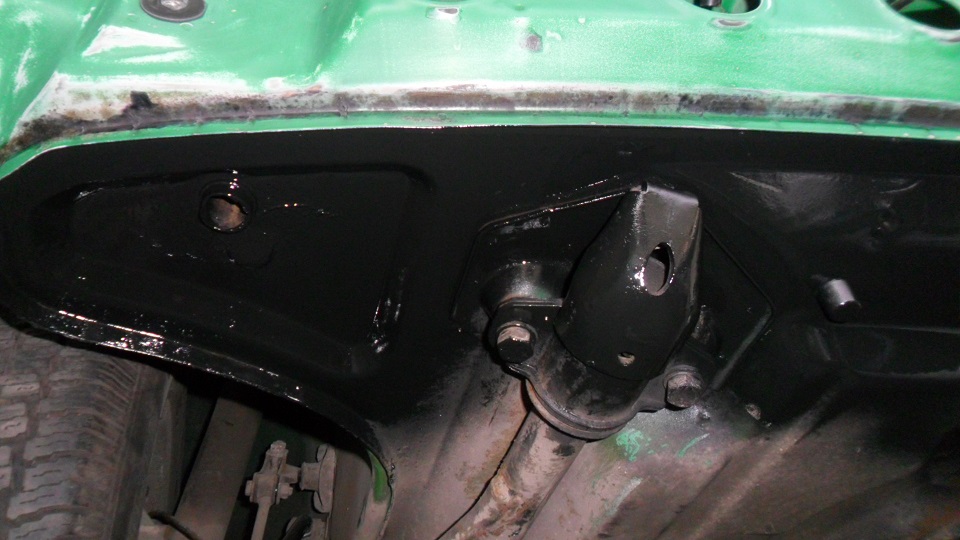
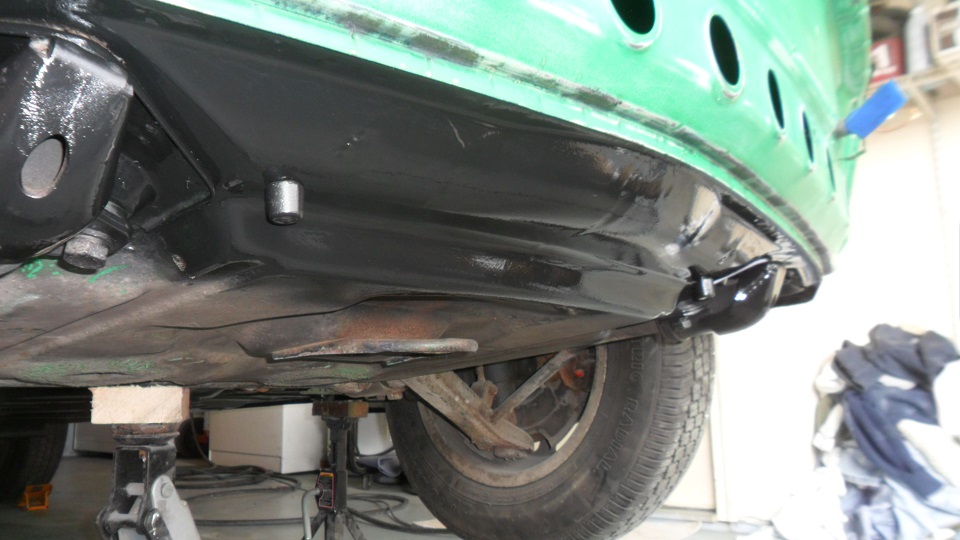
Found some more rust on the underside after removing the front valence. "Tented" the area & sprayed on a coat of ospho & two coats of rustoleum:
    |
|
|
|
| saigon71 |
May 23 2013, 09:41 PM
Post
#359
|
|
Advanced Member Group: Members Posts: 2,006 Joined: 1-June 09 From: Dillsburg, PA Member No.: 10,428 Region Association: MidAtlantic Region |
Car is ready for paint! (IMG:style_emoticons/default/biggrin.gif)
Hit numerous areas with spot putty & re-sanded. There was one high spot on the passenger side where I cut the fender that I couldn't blend. I didn't want to beat on it with a hammer at this point, so I cut a 2 X 3 to length and used a bottle jack against the wall to push it in: 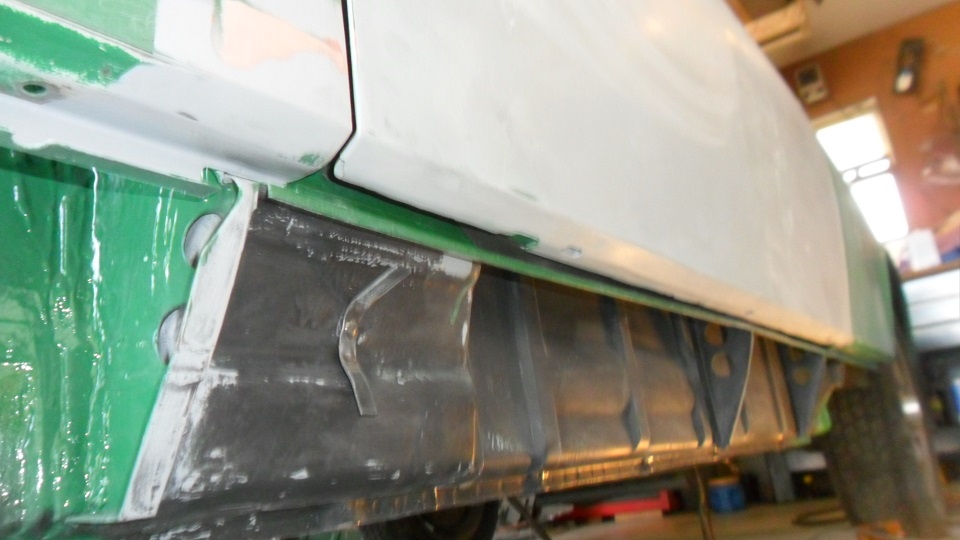 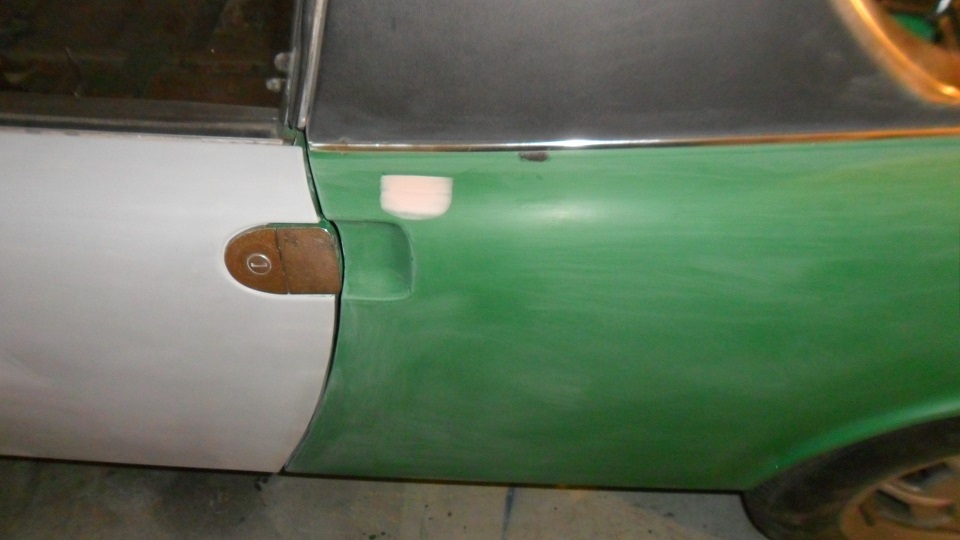 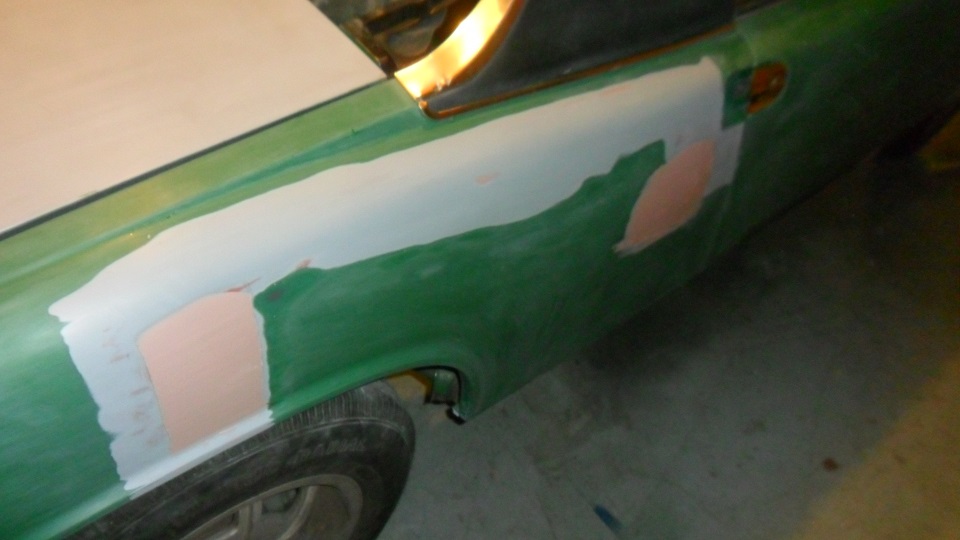 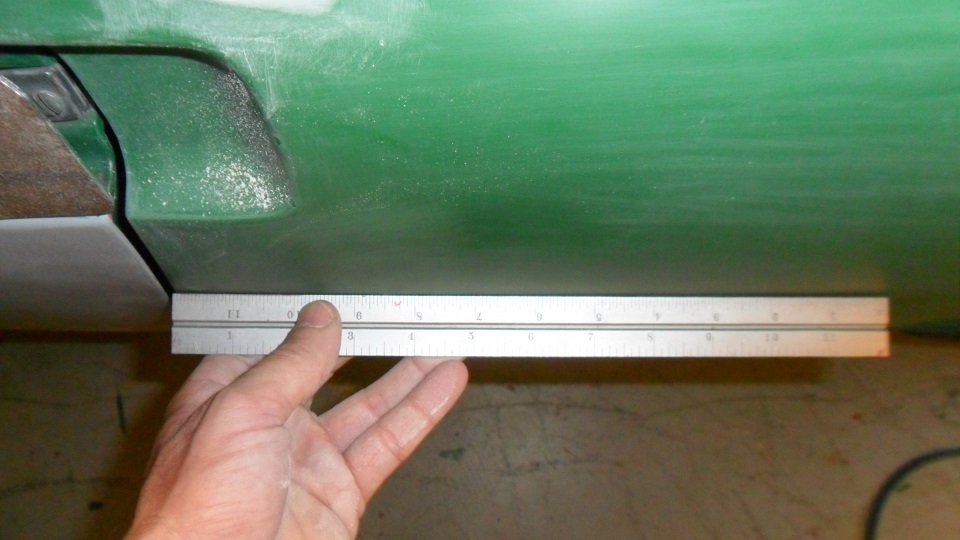  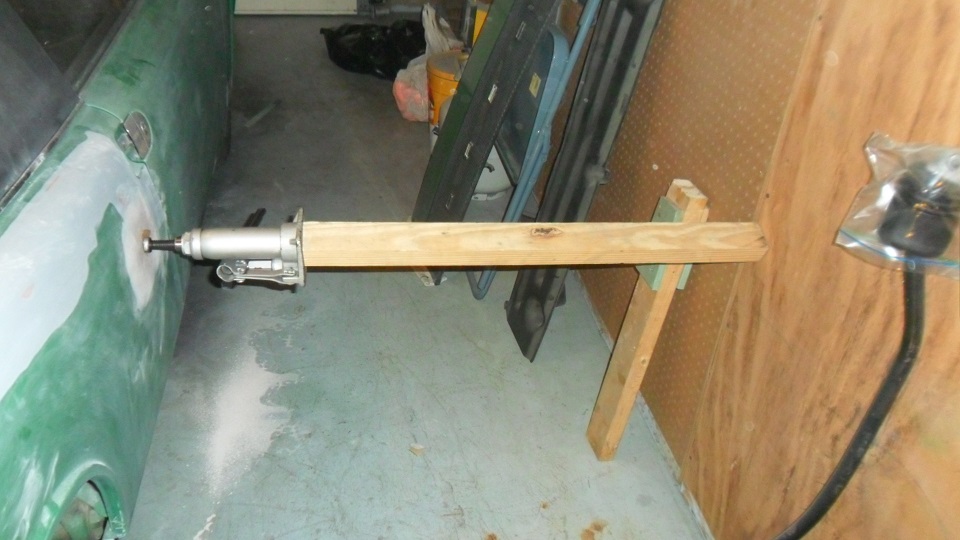 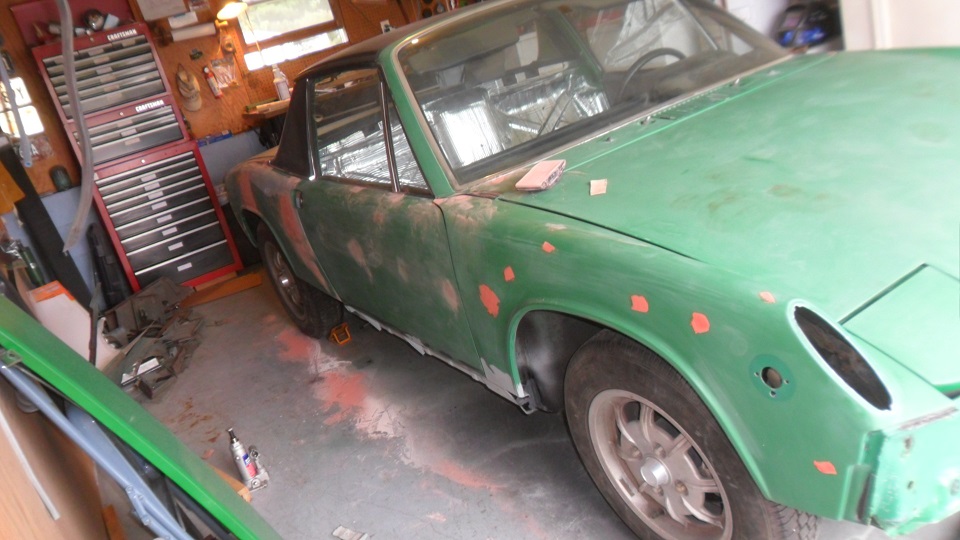 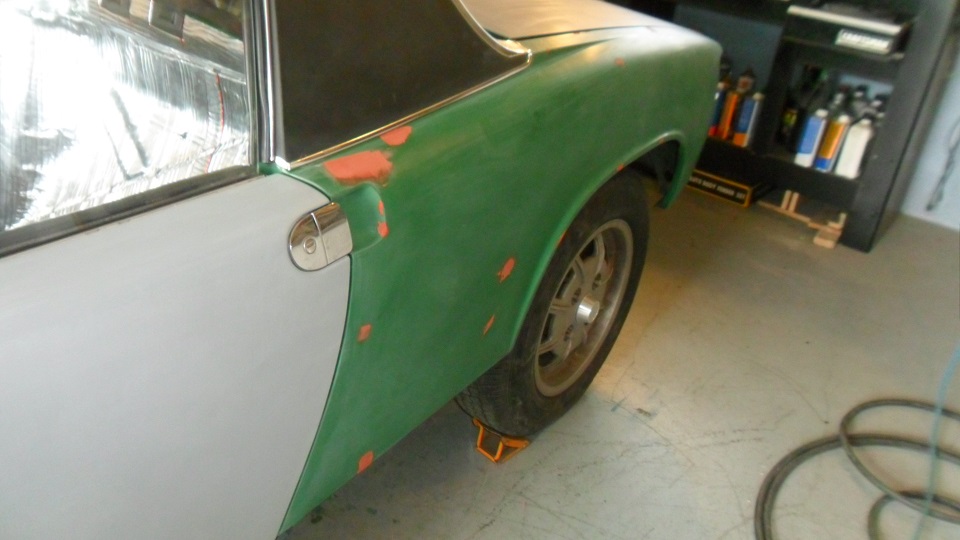 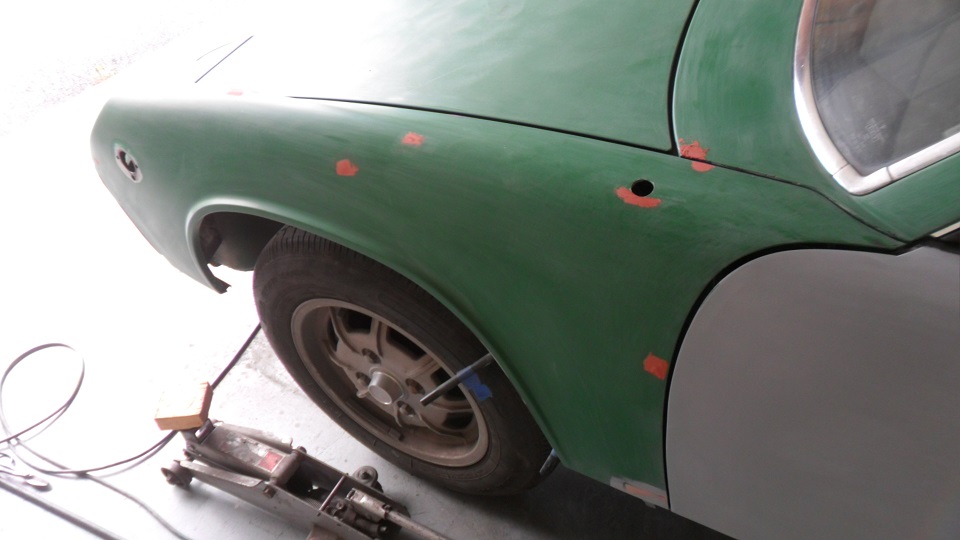 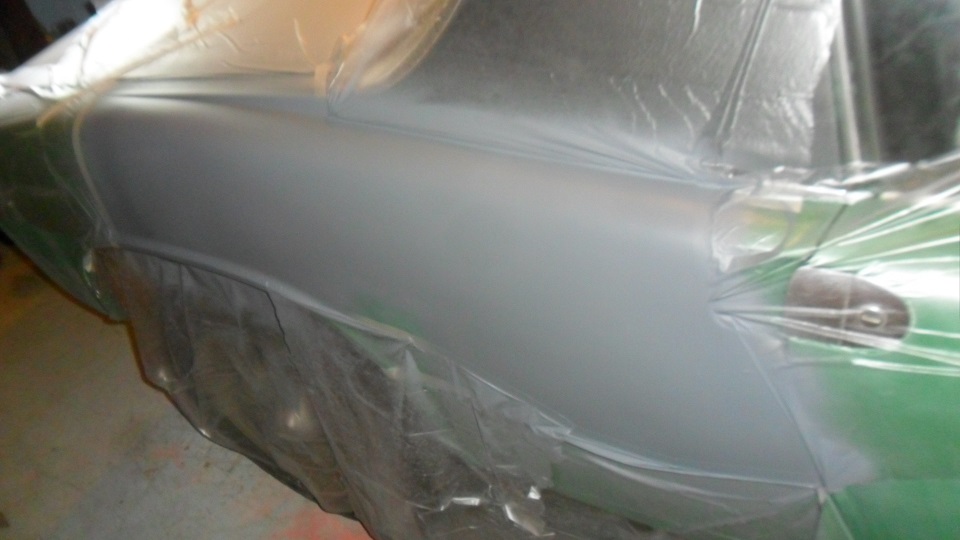 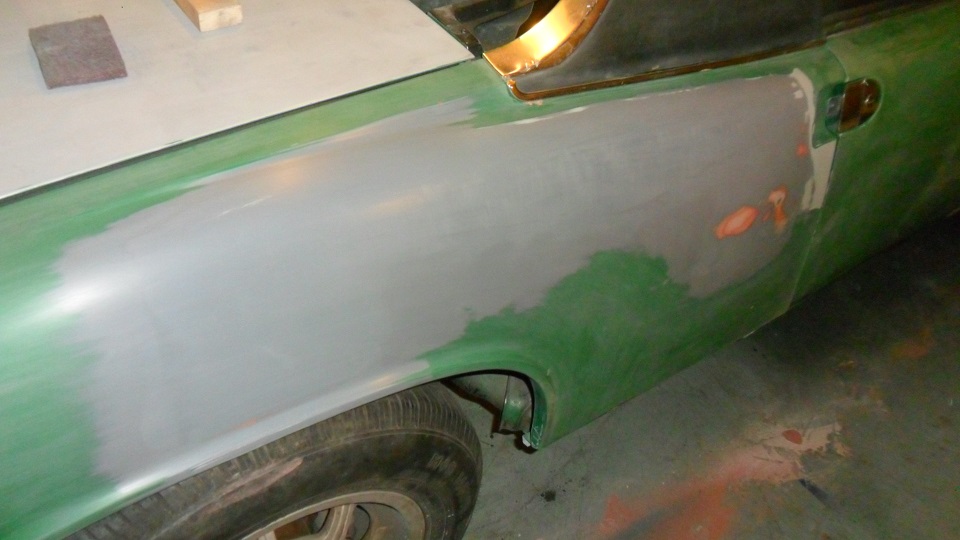 |
|
|
|
| saigon71 |
May 23 2013, 09:59 PM
Post
#360
|
|
Advanced Member Group: Members Posts: 2,006 Joined: 1-June 09 From: Dillsburg, PA Member No.: 10,428 Region Association: MidAtlantic Region |
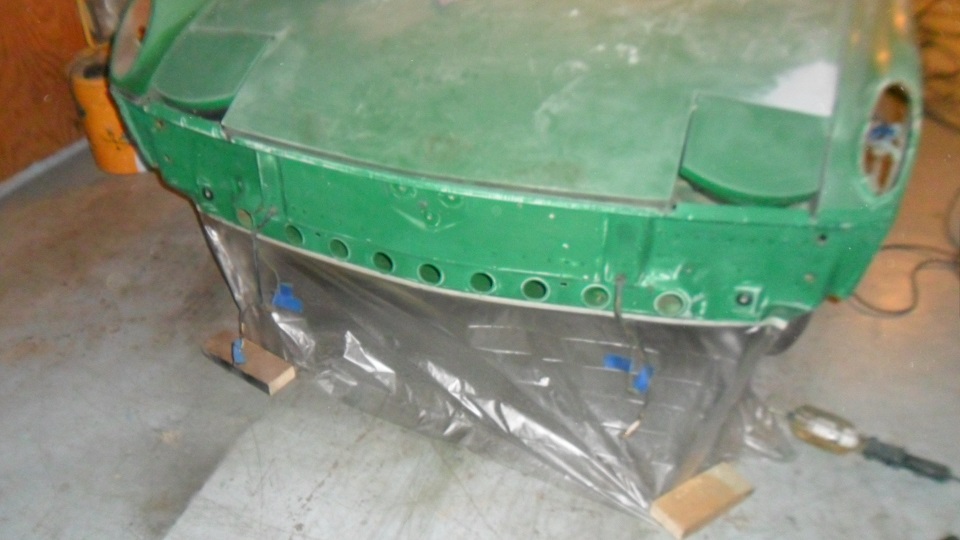
Bumpers, valences & an Optima 34 on a trickle charger ready to go:
 A little nervous about shooting $400 worth of primer and paint with a $12.99 Harbor Freight (on sale) HVLP paint gun, I bought a spare at the same time, tore it apart & cleaned it with laquer thinner today. I don't want to get hung up in the middle of a paint job because of paint gun paint gun problems. I must admit, I was impressed with the job it did in the engine bay: 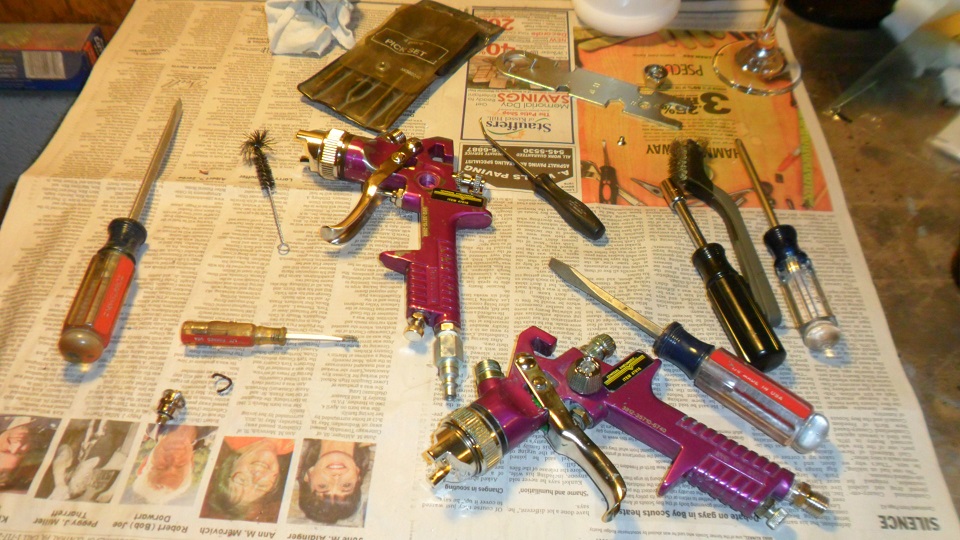 |
|
|
|
|
2 User(s) are reading this topic (2 Guests and 0 Anonymous Users)
0 Members:

|
Lo-Fi Version | Time is now: 4th January 2025 - 12:43 AM |
Invision Power Board
v9.1.4 © 2025 IPS, Inc.