|
|
|
Porsche, and the Porsche crest are registered trademarks of Dr. Ing. h.c. F. Porsche AG.
This site is not affiliated with Porsche in any way. Its only purpose is to provide an online forum for car enthusiasts. All other trademarks are property of their respective owners. |
|
|

  |

| saigon71 |
 Jun 13 2013, 08:46 PM Jun 13 2013, 08:46 PM
Post
#381
|
|
Advanced Member  Group: Members Posts: 2,006 Joined: 1-June 09 From: Dillsburg, PA Member No.: 10,428 Region Association: MidAtlantic Region |
QUOTE(OllieG @ Jun 13 2013, 04:42 AM)  Hah!..with you on that. I get my wife to pick the wire out of my face after using the wire brush on my angle grinder - I call it the hedgehog effect. I guess I got lucky never getting the wire imbedded in my face, great name for the phenomenon! (IMG:style_emoticons/default/biggrin.gif) Yep, my girlfriend became an expert at spotting & extracting coarse wire from my back...it became routine for a while there! |
   |

 
|
| OllieG |
Jun 14 2013, 02:30 AM
Post
#382
|
|
OllieG Group: Members Posts: 212 Joined: 6-July 11 From: UK Member No.: 13,282 Region Association: England |
QUOTE(saigon71 @ Jun 14 2013, 03:46 AM) QUOTE(OllieG @ Jun 13 2013, 04:42 AM) Hah!..with you on that. I get my wife to pick the wire out of my face after using the wire brush on my angle grinder - I call it the hedgehog effect. I guess I got lucky never getting the wire imbedded in my face, great name for the phenomenon! (IMG:style_emoticons/default/biggrin.gif) Yep, my girlfriend became an expert at spotting & extracting coarse wire from my back...it became routine for a while there! Ouch..bet she loved that!! When you do the spray painting are you going to be able to cool the compressed air at all before it reaches the spray gun. I've got a system of copper pipes (about 40ft or so) with bleeder valves to try to cool the air and take some of the water vapour out..there's a bit about it on my blog. It's hard to say if it really works because I haven't done a ton of painting yet. Here's a link I found useful.. Spray Painting page |
|
|
|
| OllieG |
Jun 14 2013, 02:32 AM
Post
#383
|
|
OllieG Group: Members Posts: 212 Joined: 6-July 11 From: UK Member No.: 13,282 Region Association: England |
|
|
|
|
| saigon71 |
Jun 18 2013, 05:55 AM
Post
#384
|
|
Advanced Member Group: Members Posts: 2,006 Joined: 1-June 09 From: Dillsburg, PA Member No.: 10,428 Region Association: MidAtlantic Region |
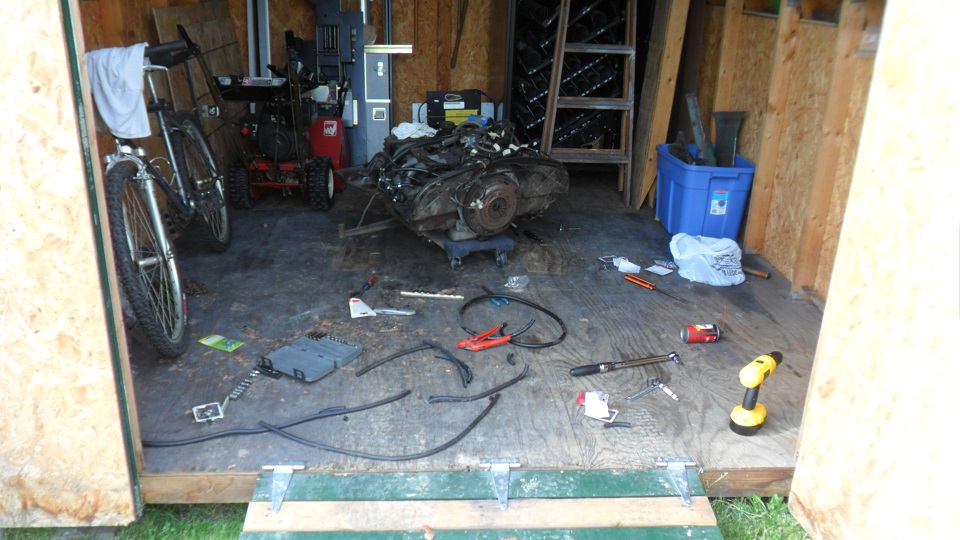
Ran all new J30R9 spec fuel injection line and fuel injection hose clamps on the engine. Working in the shed in the summer is always a good time:
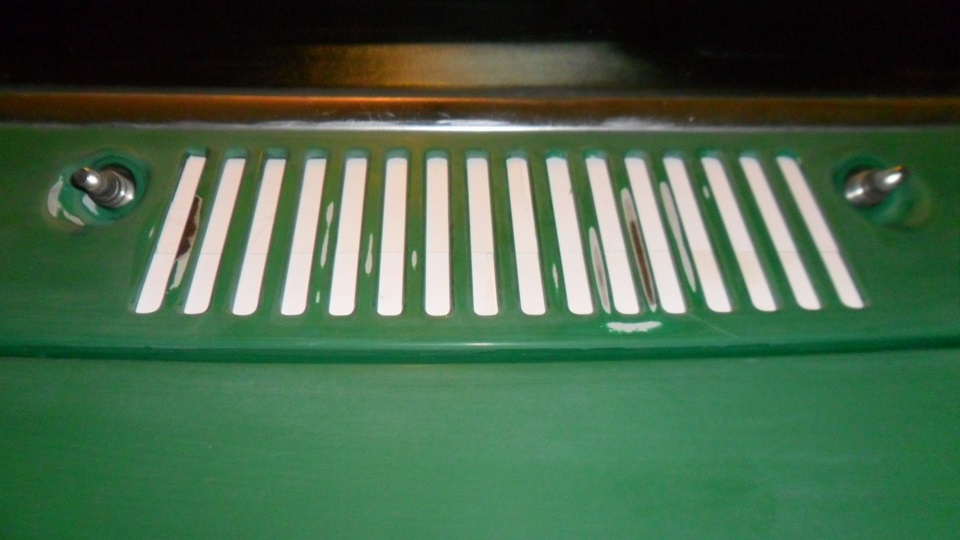
  My rear tin was not aligned correctly. Had to take it off to correct some of the bends. Naturally, half of the cheese head screws were frozen. After breaking off an easy-out, I bent the tin down and used vice grips to break them loose. Used stainless steel screws as replacements: 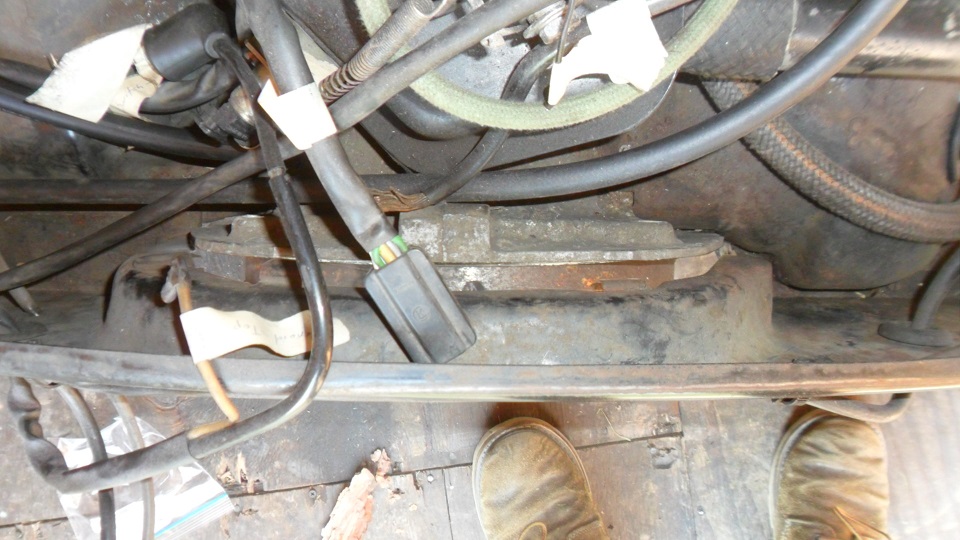 Mounted the ECU and MPS: 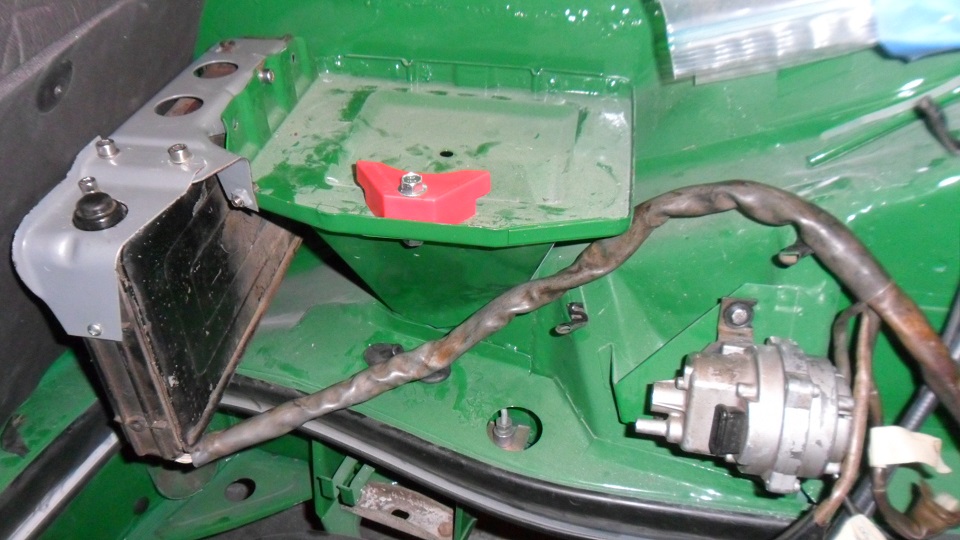 |
|
|
|
| saigon71 |
Jun 18 2013, 06:06 AM
Post
#385
|
|
Advanced Member Group: Members Posts: 2,006 Joined: 1-June 09 From: Dillsburg, PA Member No.: 10,428 Region Association: MidAtlantic Region |
QUOTE(OllieG @ Jun 14 2013, 04:30 AM) QUOTE(saigon71 @ Jun 14 2013, 03:46 AM) QUOTE(OllieG @ Jun 13 2013, 04:42 AM) Hah!..with you on that. I get my wife to pick the wire out of my face after using the wire brush on my angle grinder - I call it the hedgehog effect. I guess I got lucky never getting the wire imbedded in my face, great name for the phenomenon! (IMG:style_emoticons/default/biggrin.gif) Yep, my girlfriend became an expert at spotting & extracting coarse wire from my back...it became routine for a while there! Ouch..bet she loved that!! When you do the spray painting are you going to be able to cool the compressed air at all before it reaches the spray gun. I've got a system of copper pipes (about 40ft or so) with bleeder valves to try to cool the air and take some of the water vapour out..there's a bit about it on my blog. It's hard to say if it really works because I haven't done a ton of painting yet. Here's a link I found useful.. Spray Painting page Thanks for the link Ollie - lots of good info for an amateur. As far as cooling the compressed air, I don't have anything in place to do it. When I shot the engine bay, I drained the compressor tank immediately before spraying and used an in-line water filter. I plan on running the dehumidifier in the garage overnight before I start spraying the car. |
|
|
|
| saigon71 |
Jun 20 2013, 07:31 PM
Post
#386
|
|
Advanced Member Group: Members Posts: 2,006 Joined: 1-June 09 From: Dillsburg, PA Member No.: 10,428 Region Association: MidAtlantic Region |
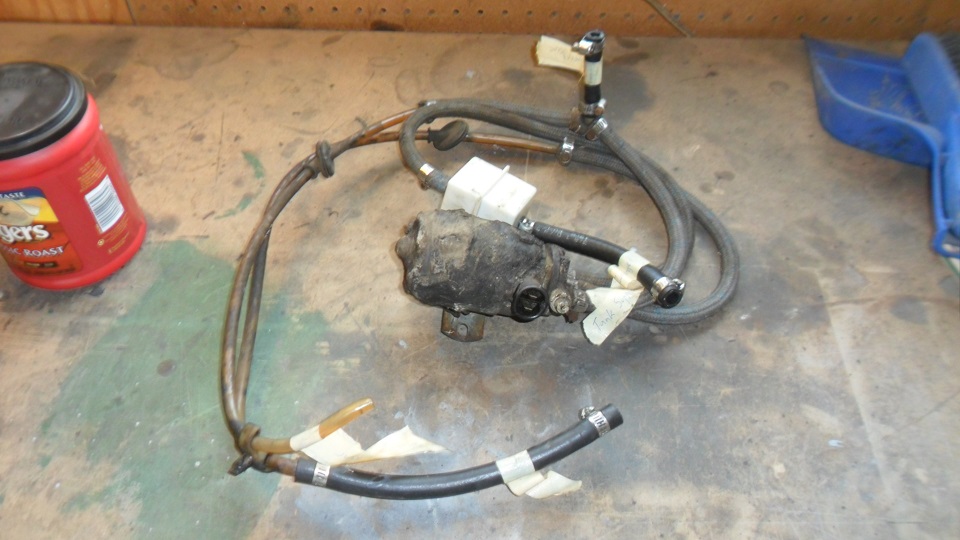
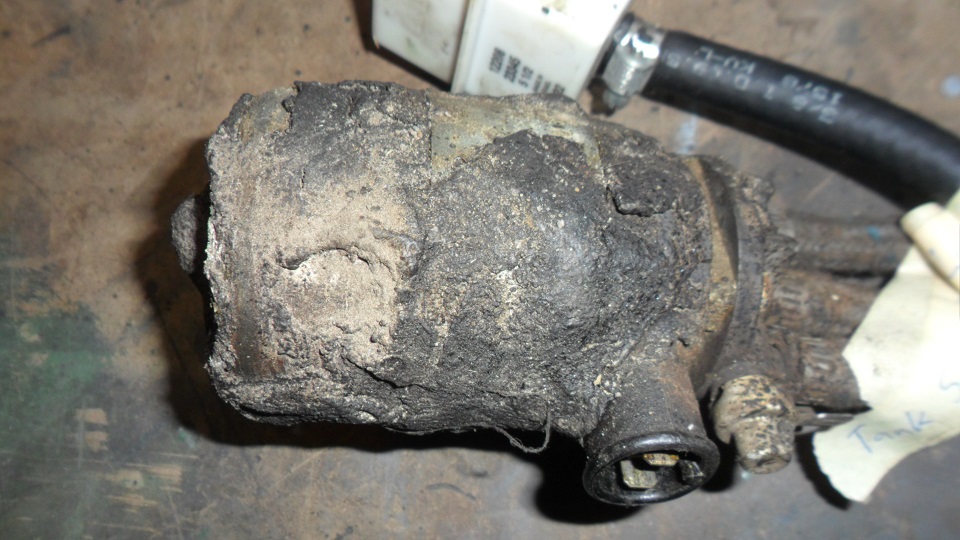
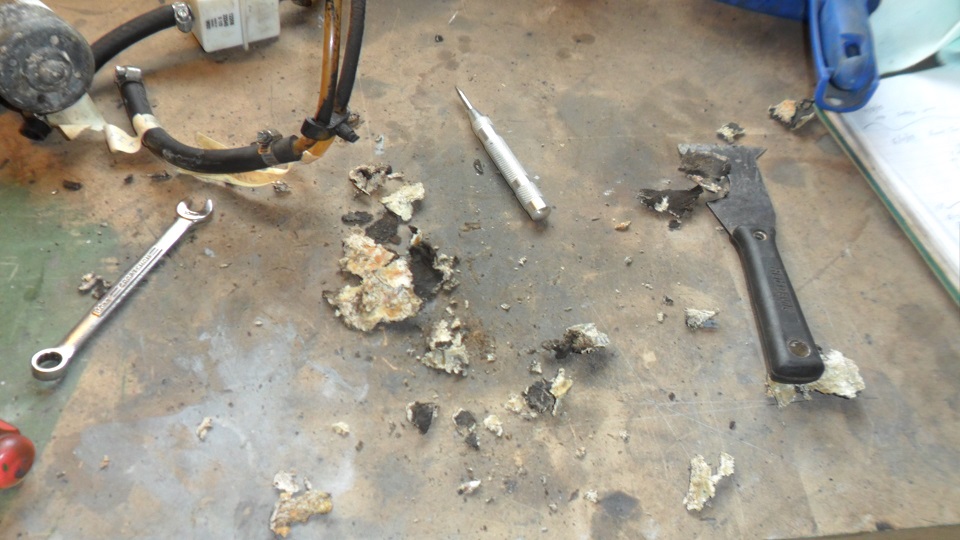
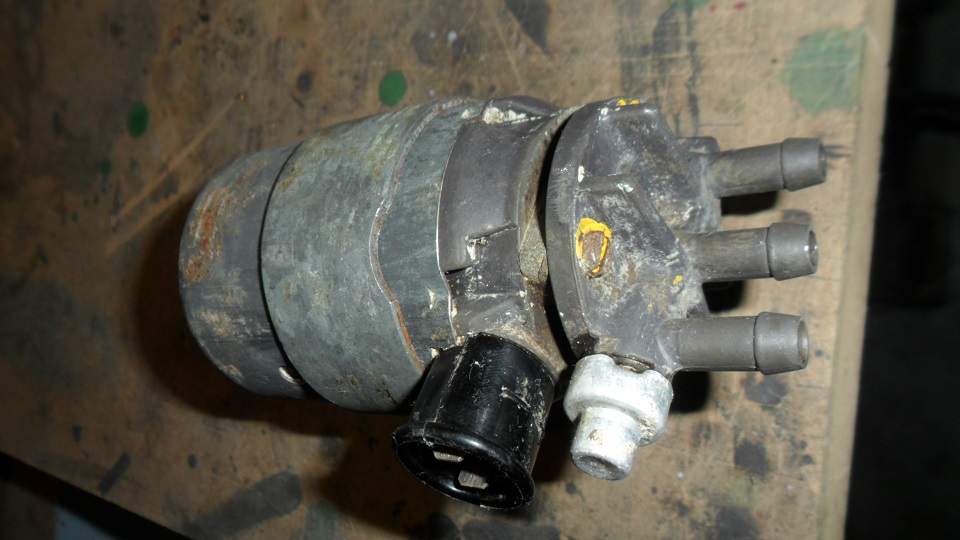
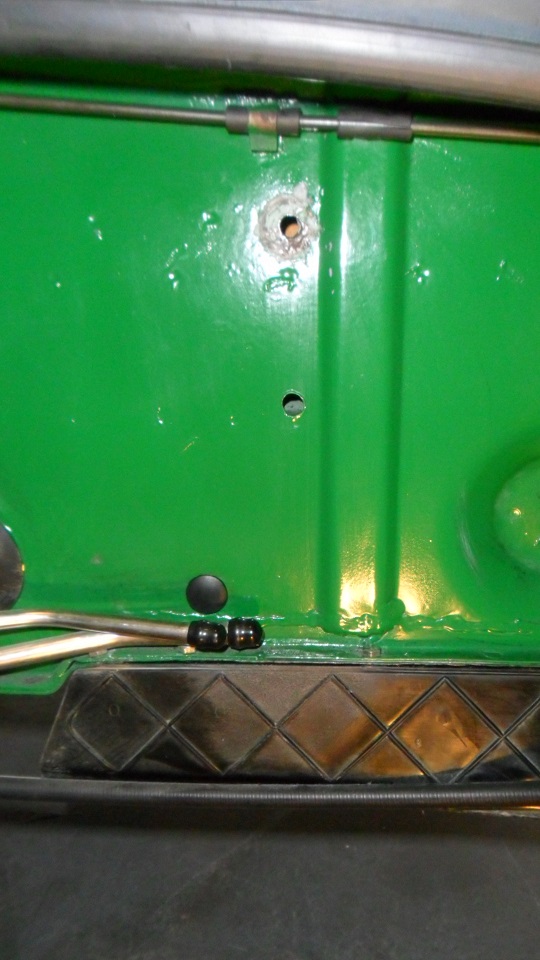
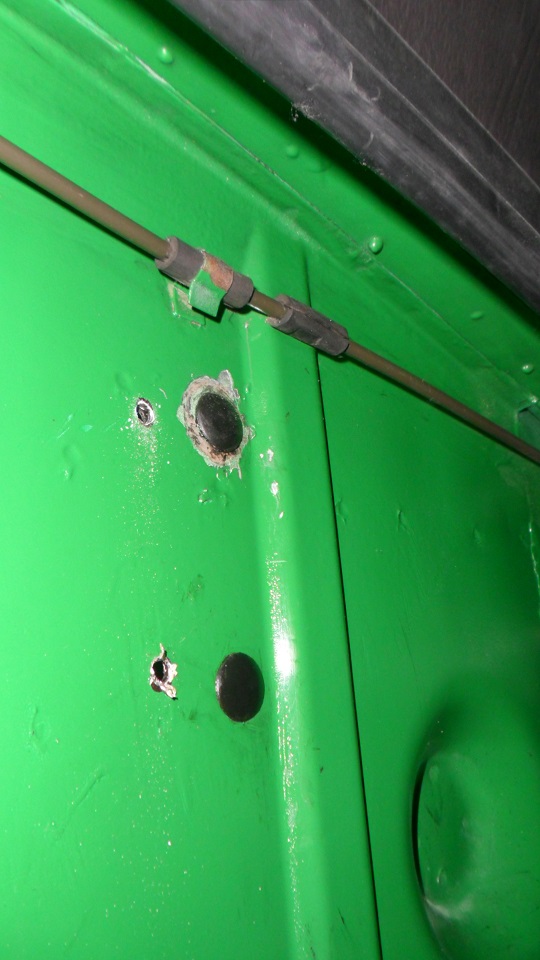
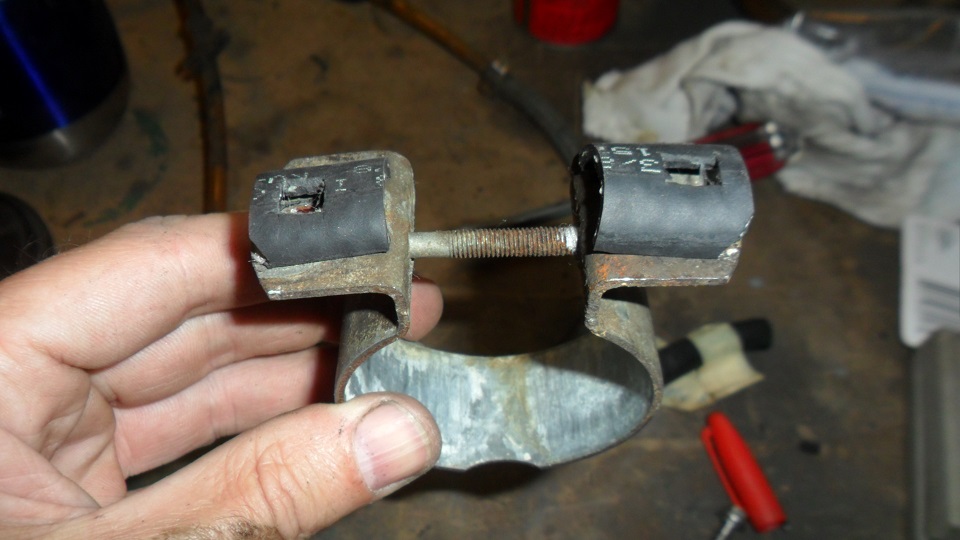
Pulled the fuel pump and hoses out of the crawl space. It was covered in some type of ?sealant/undercoating? Cleaned it up. Consulted the Haynes manual for the original mounting location...not happening. Went with firewall mount. Cut down some 3/8" rubber tubing to mount the pump. Filled some holes with body plugs & permatex:
       |
|
|
|
| saigon71 |
Jun 20 2013, 08:10 PM
Post
#387
|
|
Advanced Member Group: Members Posts: 2,006 Joined: 1-June 09 From: Dillsburg, PA Member No.: 10,428 Region Association: MidAtlantic Region |
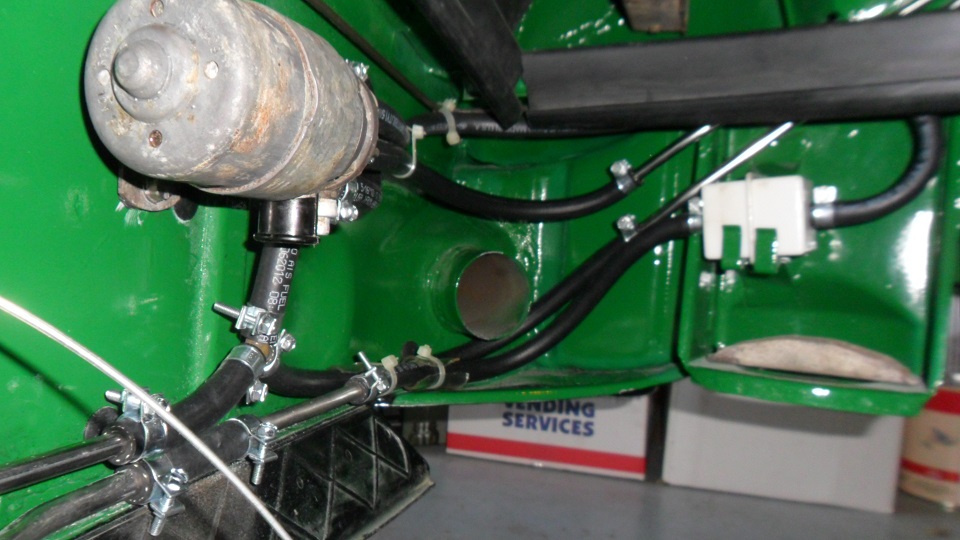
Still waiting on additional paint tip sets for the paint gun, I mounted the fuel pump to the firewall and ran all new FI fuel hose and new FI hose clamps:
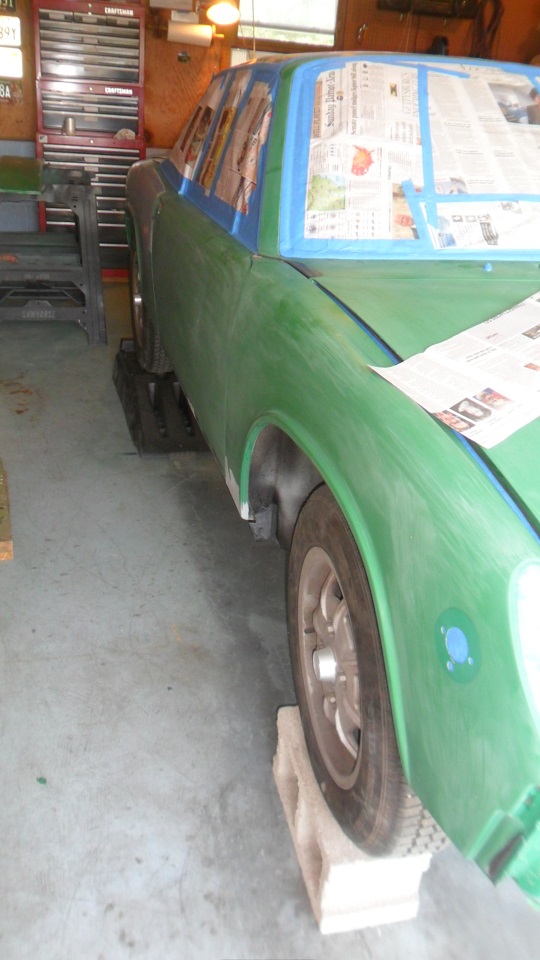
 Fitted the fiberglass rocker panels. Picked up all new stainless mounting hardware at my local ACE Hardware. I had a lot of holes to drill due to the replacement panels installed. I had fitment issues on the passenger side...the new sill triangels hung down further than the originals and kept the rocker cover from fitting properly. Measured the drivers side (with original sill triangles) to determine clam shell seam distance to edge of rocker cover, then cut the bottoms off with a die grinder and cutting wheel on the passenger side. Passenger side came in almost exactly the same: 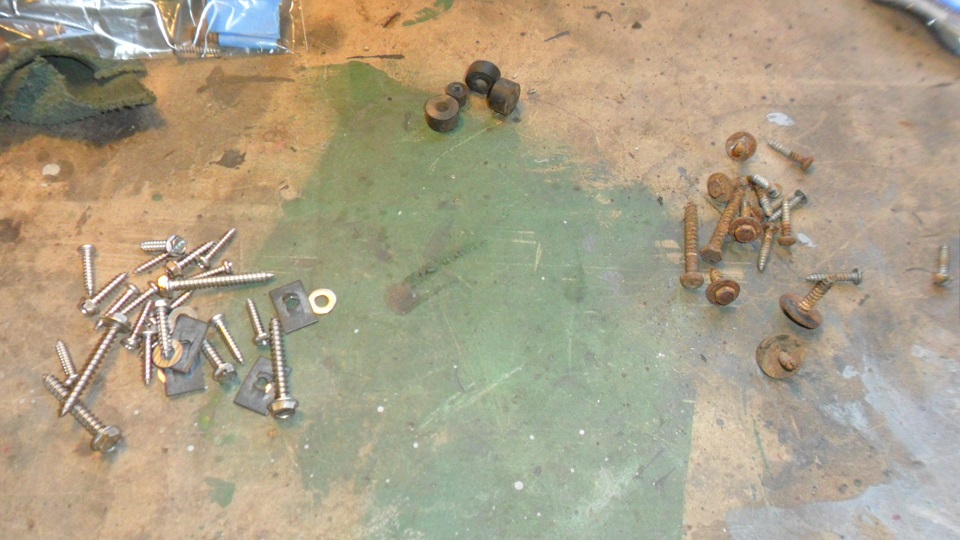 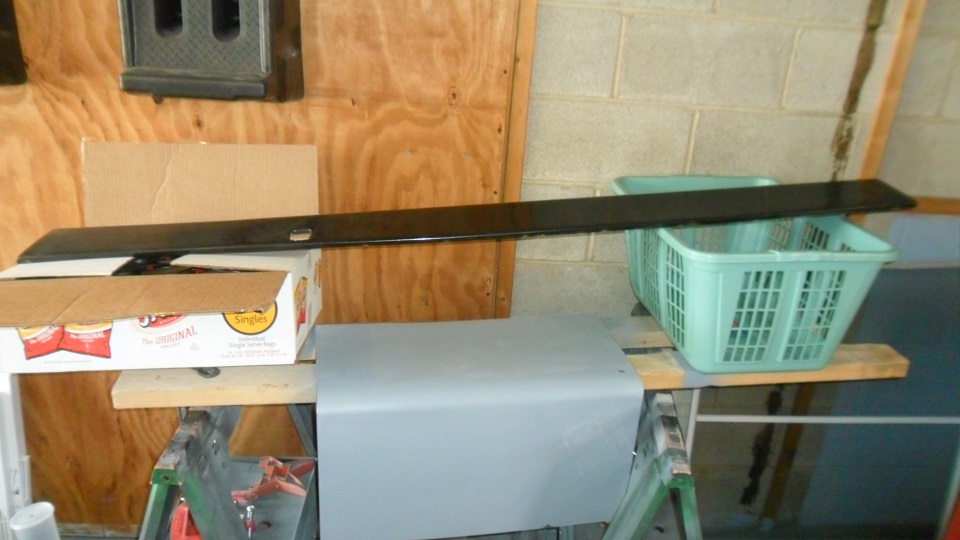 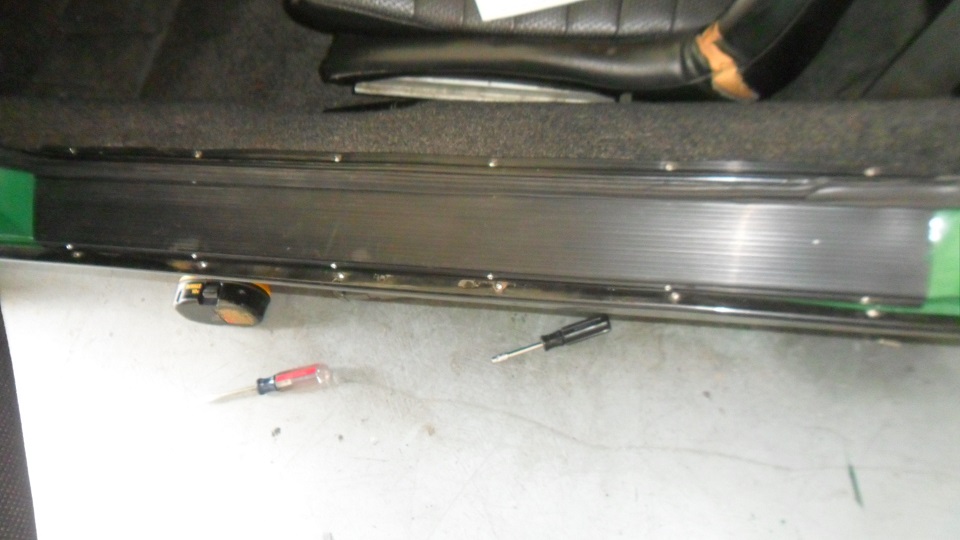 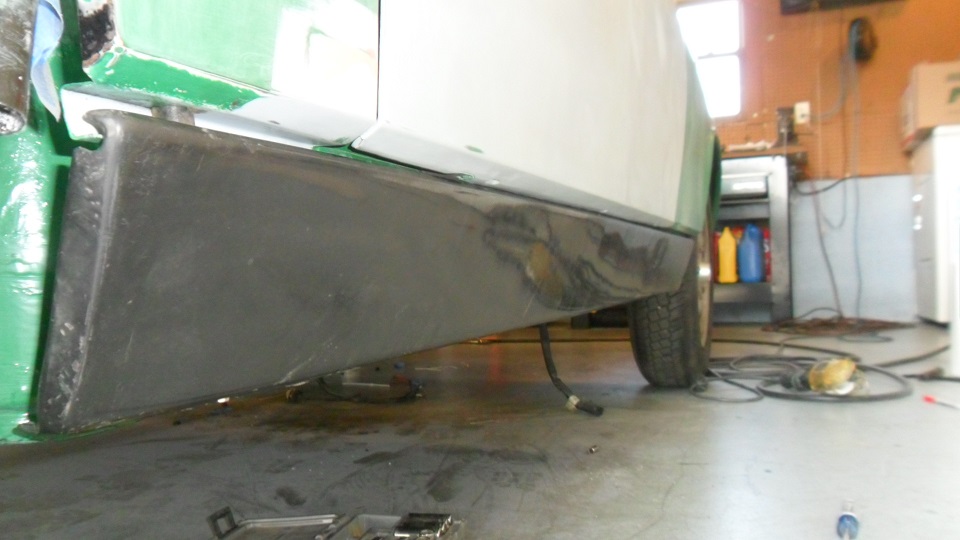 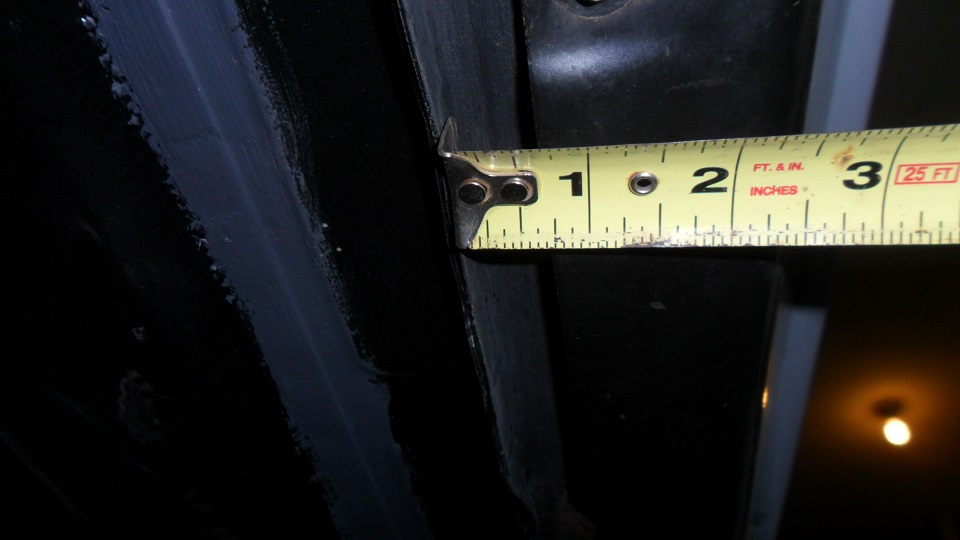 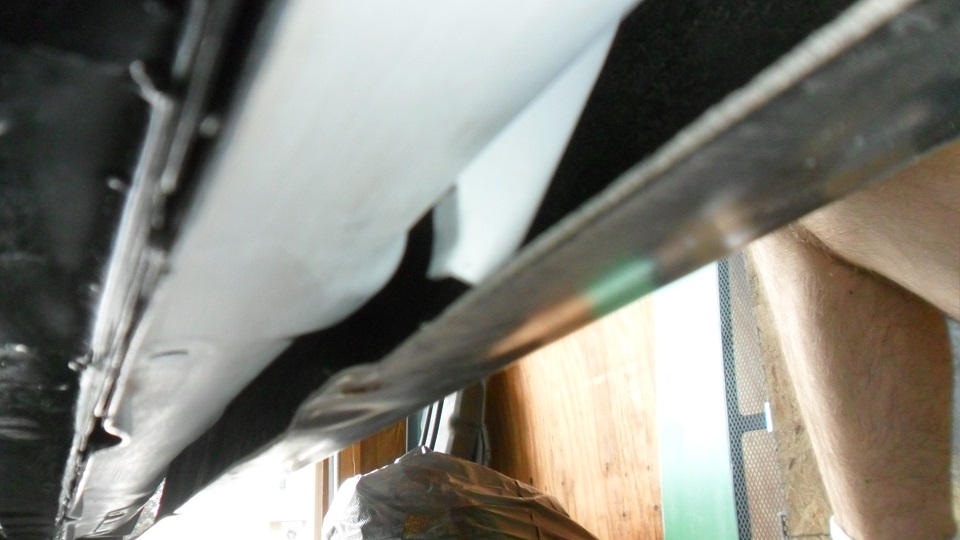 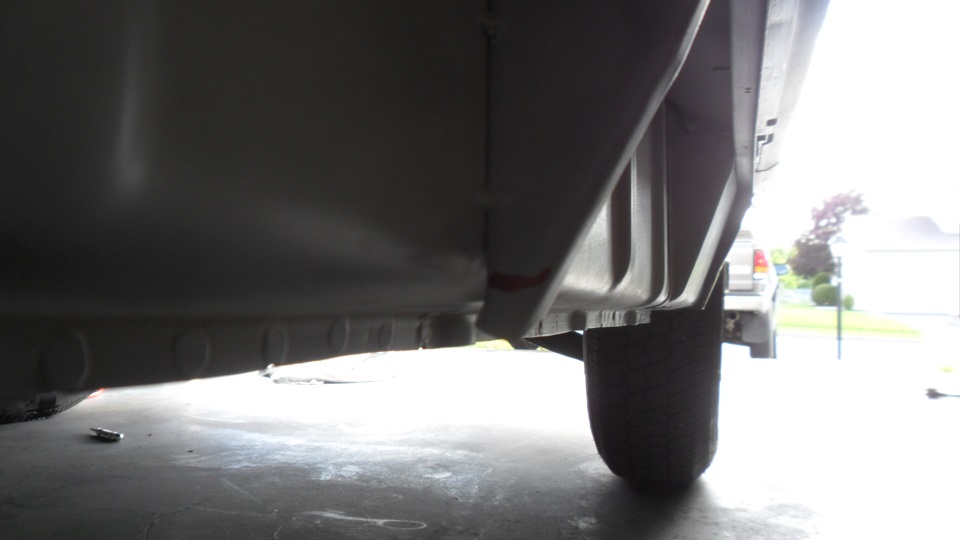 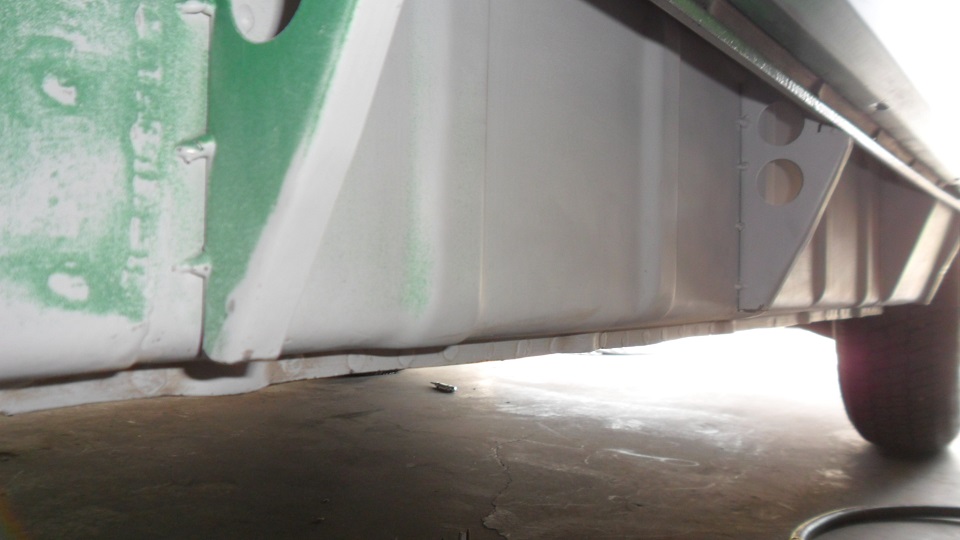 Banged a coat of ospho into the drivers side cowl channel: 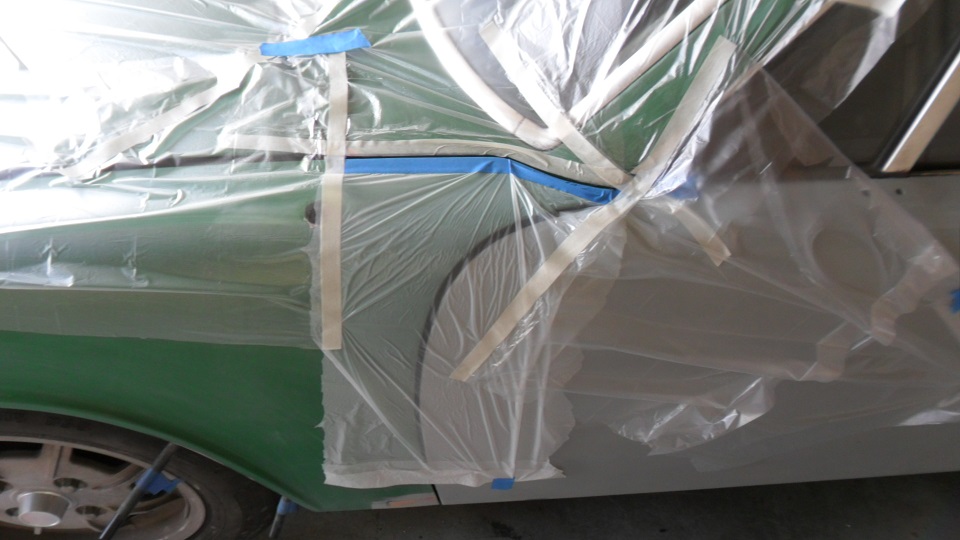 |
|
|
|
| type47 |
Jun 21 2013, 07:33 AM
Post
#388
|
|
Viermeister Group: Members Posts: 4,254 Joined: 7-August 03 From: Vienna, VA Member No.: 994 Region Association: MidAtlantic Region |
Time to send that engine tin, intake runners and air cleaner to the powdercoaters. Needs to look as good as the rest of the car... (IMG:style_emoticons/default/smilie_pokal.gif)
|
|
|
|
| saigon71 |
Jun 21 2013, 06:52 PM
Post
#389
|
|
Advanced Member Group: Members Posts: 2,006 Joined: 1-June 09 From: Dillsburg, PA Member No.: 10,428 Region Association: MidAtlantic Region |
Got some more small stuff done on the car. I am pretty much out of work now until I get the other tips for the paint gun.
Found some left over Rustoleum appliance epoxy from another project. Sprayed two coats into the drivers side suspension console. I'm glad I remembered to wear gloves: 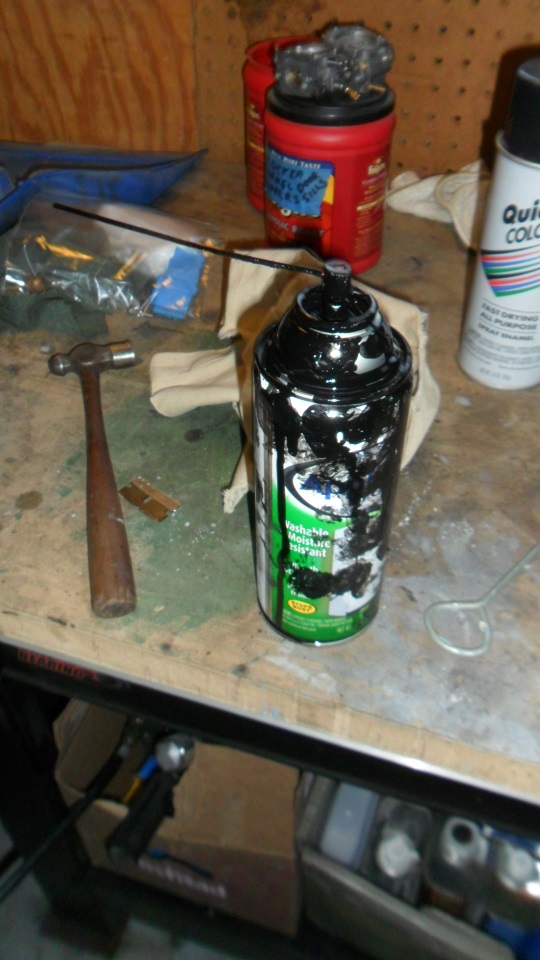 Had to cut back the wiring harness to gain more wire for the fuel pump connection. I am running the wire through part of the front of the engine bay seal. Used a combination of heat shrink & mastic rubber electrical tape to re-do this section of the harness: 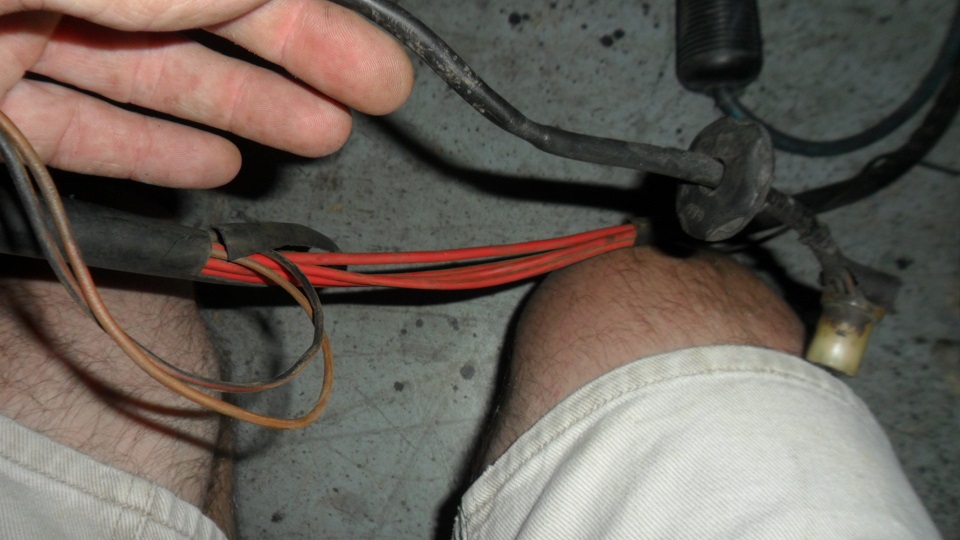 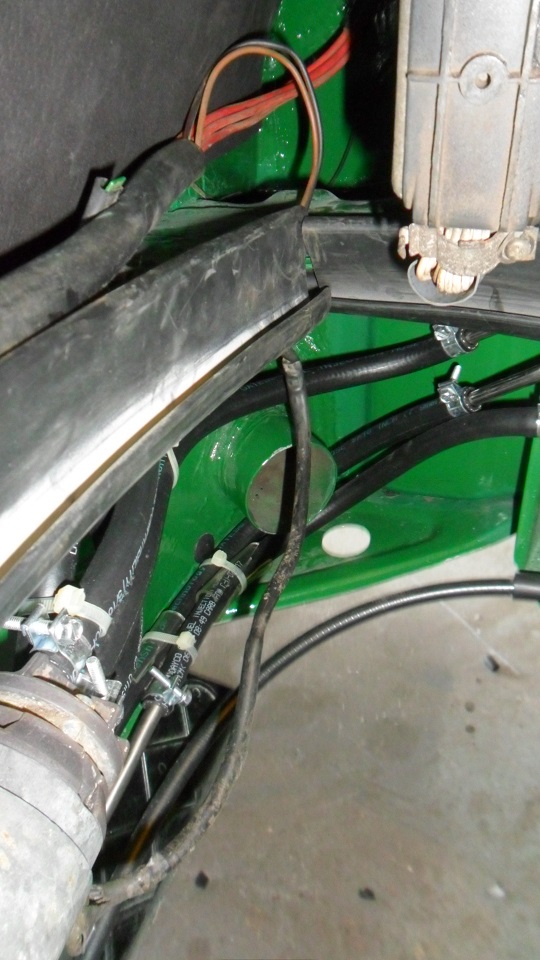 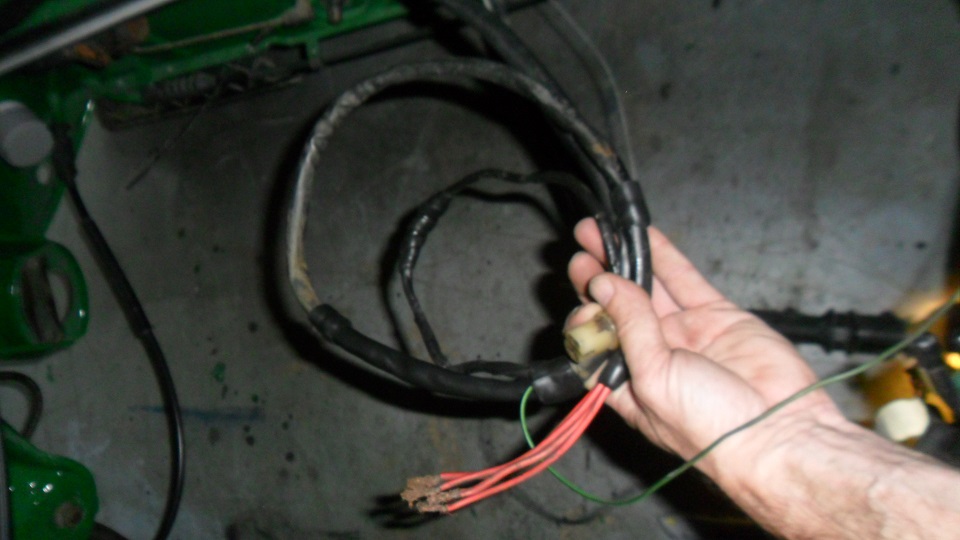 Ran as much of the engine bay wiring harness as possible: 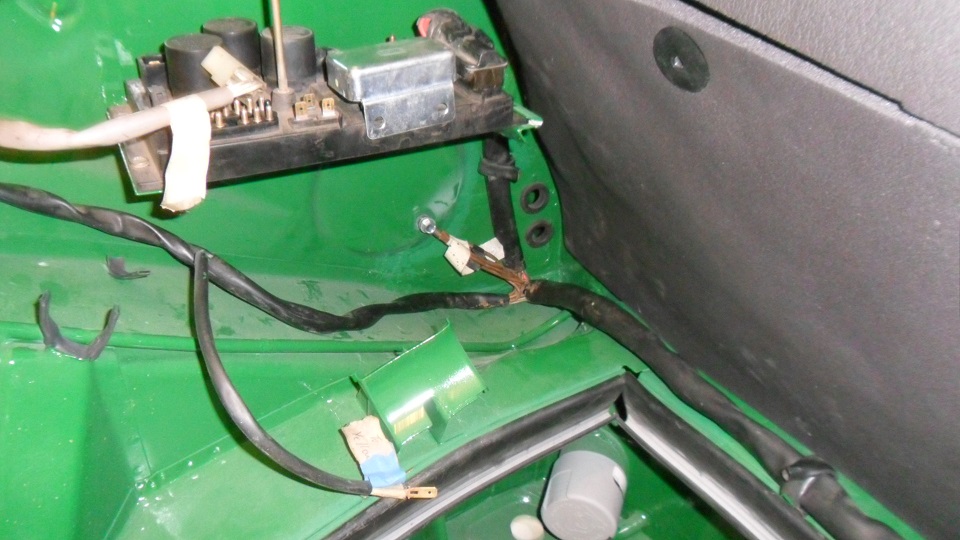 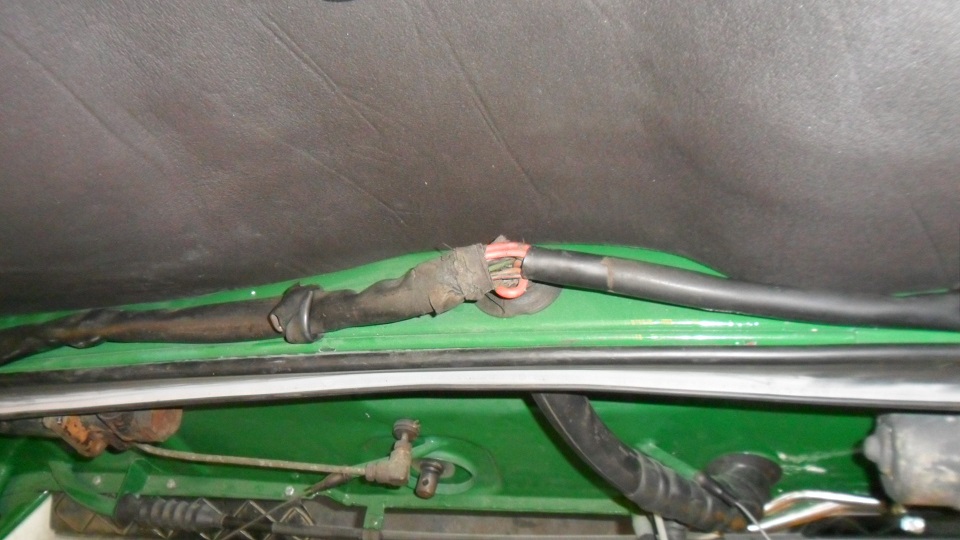 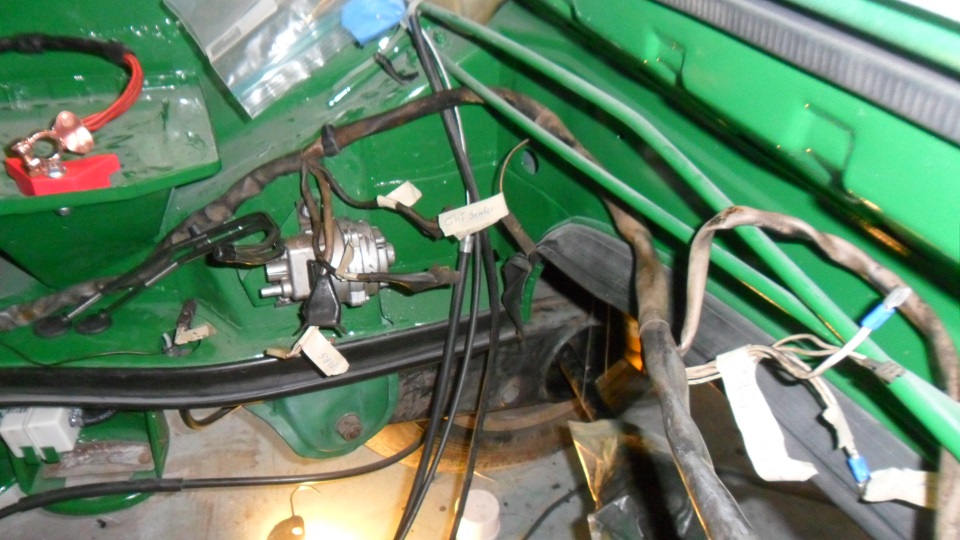 Got the battery cables ready for action: 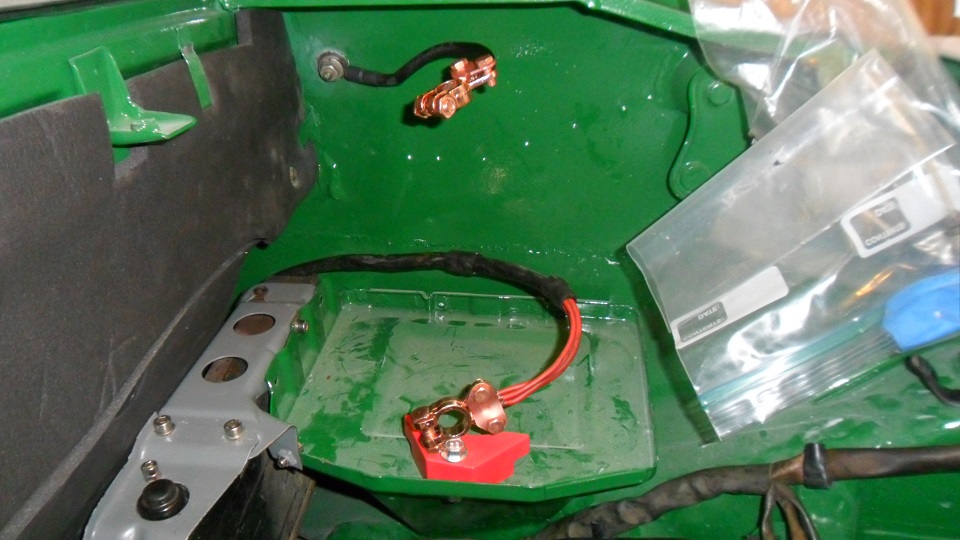 |
|
|
|
| saigon71 |
Jun 21 2013, 06:59 PM
Post
#390
|
|
Advanced Member Group: Members Posts: 2,006 Joined: 1-June 09 From: Dillsburg, PA Member No.: 10,428 Region Association: MidAtlantic Region |
QUOTE(type47 @ Jun 21 2013, 09:33 AM) Time to send that engine tin, intake runners and air cleaner to the powdercoaters. Needs to look as good as the rest of the car... (IMG:style_emoticons/default/smilie_pokal.gif) Thanks Jim. It has to stop. (IMG:style_emoticons/default/biggrin.gif) Engine was running strong when pulled out...it will go in as it sits and I will be (IMG:style_emoticons/default/driving.gif) it until it dies. Tins and other engine items will be addressed when the engine gets rebuilt (hopefully years down the road). |
|
|
|
| r_towle |
Jun 21 2013, 07:31 PM
Post
#391
|
|
Custom Member Group: Members Posts: 24,679 Joined: 9-January 03 From: Taxachusetts Member No.: 124 Region Association: North East States |
Place rubber spacers between the bottom of the rocker covers and the long.
If you do that, the rocks and sand will have a way to escape and you won't start the rotting process all over again. Rich |
|
|
|
| type47 |
Jun 21 2013, 07:42 PM
Post
#392
|
|
Viermeister Group: Members Posts: 4,254 Joined: 7-August 03 From: Vienna, VA Member No.: 994 Region Association: MidAtlantic Region |
QUOTE(saigon71 @ Jun 21 2013, 04:59 PM) Tins and other engine items will be addressed when the engine gets rebuilt (hopefully years down the road). Nah, fit it in the budget now or you'll kick yourself later when your not so great lookin' engine is in a bright shiny newly painted engine bay (ask me how I know). I'm warnin' you, no COTM nomination unless the whole car is done (IMG:style_emoticons/default/biggrin.gif) |
|
|
|
| saigon71 |
Jun 22 2013, 06:02 AM
Post
#393
|
|
Advanced Member Group: Members Posts: 2,006 Joined: 1-June 09 From: Dillsburg, PA Member No.: 10,428 Region Association: MidAtlantic Region |
QUOTE(type47 @ Jun 21 2013, 09:42 PM) QUOTE(saigon71 @ Jun 21 2013, 04:59 PM) Tins and other engine items will be addressed when the engine gets rebuilt (hopefully years down the road). Nah, fit it in the budget now or you'll kick yourself later when your not so great lookin' engine is in a bright shiny newly painted engine bay (ask me how I know). I'm warnin' you, no COTM nomination unless the whole car is done (IMG:style_emoticons/default/biggrin.gif) It is a mistake I have to make...it's just been too damn long since (IMG:style_emoticons/default/driving.gif) There is a list of small projects forming that need to be completed when the road salt fairy appears in the Northeast. I will have a couple months of driving before then. (IMG:style_emoticons/default/biggrin.gif) |
|
|
|
| saigon71 |
Jun 22 2013, 06:02 AM
Post
#394
|
|
Advanced Member Group: Members Posts: 2,006 Joined: 1-June 09 From: Dillsburg, PA Member No.: 10,428 Region Association: MidAtlantic Region |
QUOTE(r_towle @ Jun 21 2013, 09:31 PM) Place rubber spacers between the bottom of the rocker covers and the long. If you do that, the rocks and sand will have a way to escape and you won't start the rotting process all over again. Rich Good idea Rich. Thanks for the tip! (IMG:style_emoticons/default/beerchug.gif) |
|
|
|
| saigon71 |
Jun 23 2013, 02:28 PM
Post
#395
|
|
Advanced Member Group: Members Posts: 2,006 Joined: 1-June 09 From: Dillsburg, PA Member No.: 10,428 Region Association: MidAtlantic Region |
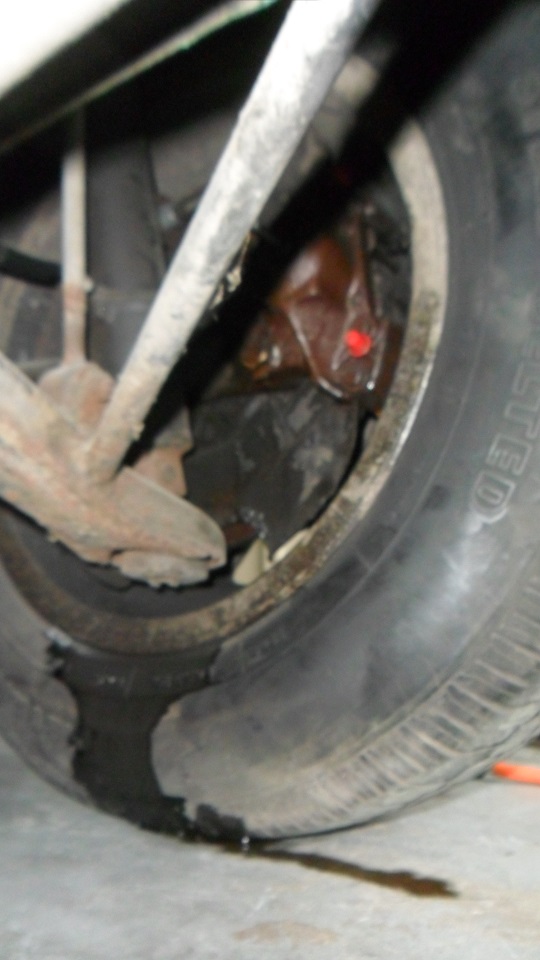
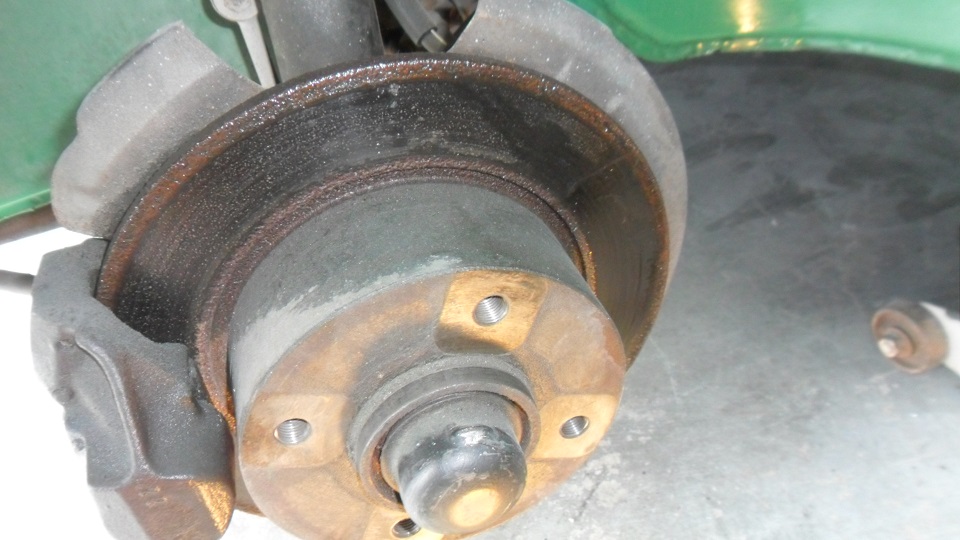
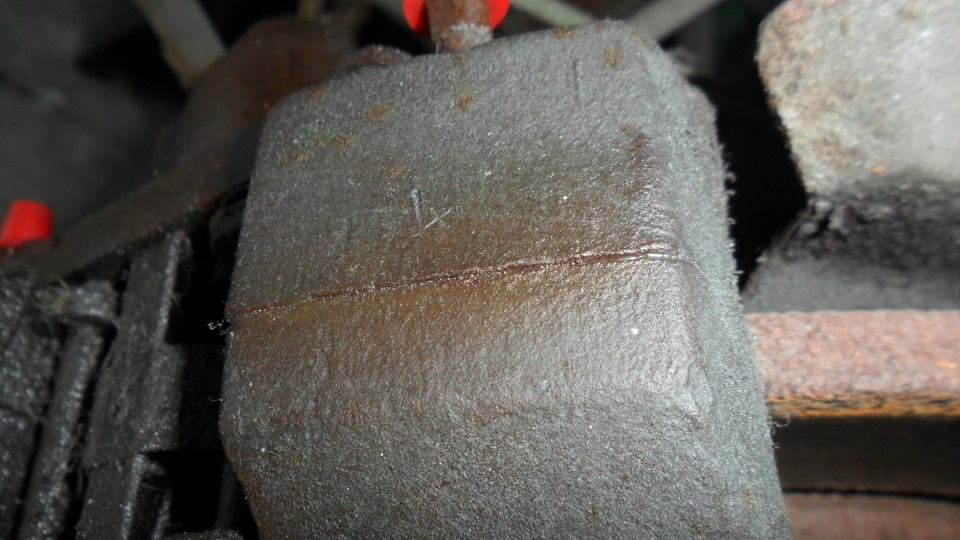
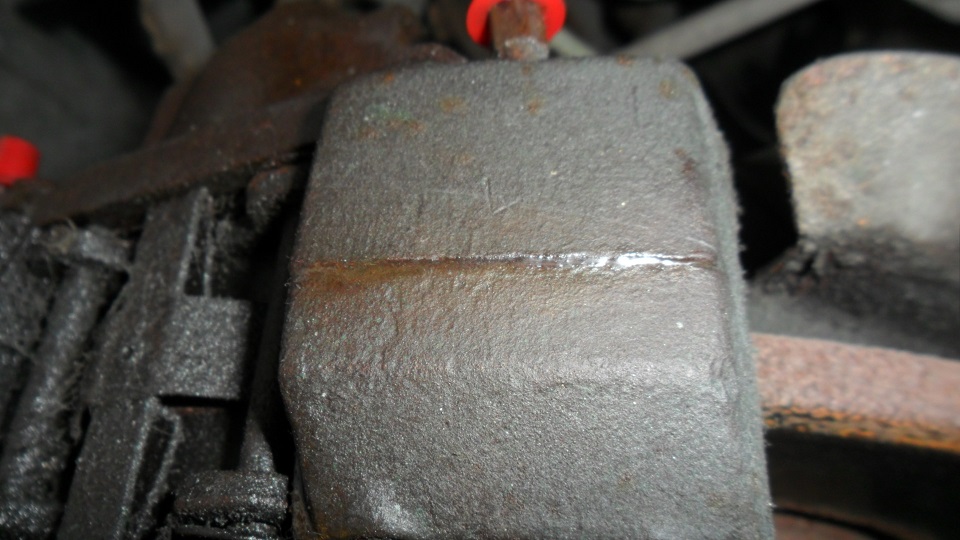
JZ stopped over last week to help me bleed the brakes using the old fashion pump, hold method - everything looked good. Car continues to fight me every step of the way. Coming in from mowing the grass, I saw some fluid on the garage floor near the drivers side wheel. There is brake fluid all over the caliper, disc and pads. Checked all connections and bleeder valves and found everything to be tight. I found it leaking at the top seam of the caliper. Wiped it off with a rag and saw more fluid weeping in a matter of minutes. Just placed an order with PMB Performance for front rebuild kits and new Porterfield pads:
    |
|
|
|
| ChrisFoley |
Jun 24 2013, 08:45 AM
Post
#396
|
|
I am Tangerine Racing Group: Members Posts: 7,969 Joined: 29-January 03 From: Bolton, CT Member No.: 209 Region Association: None |
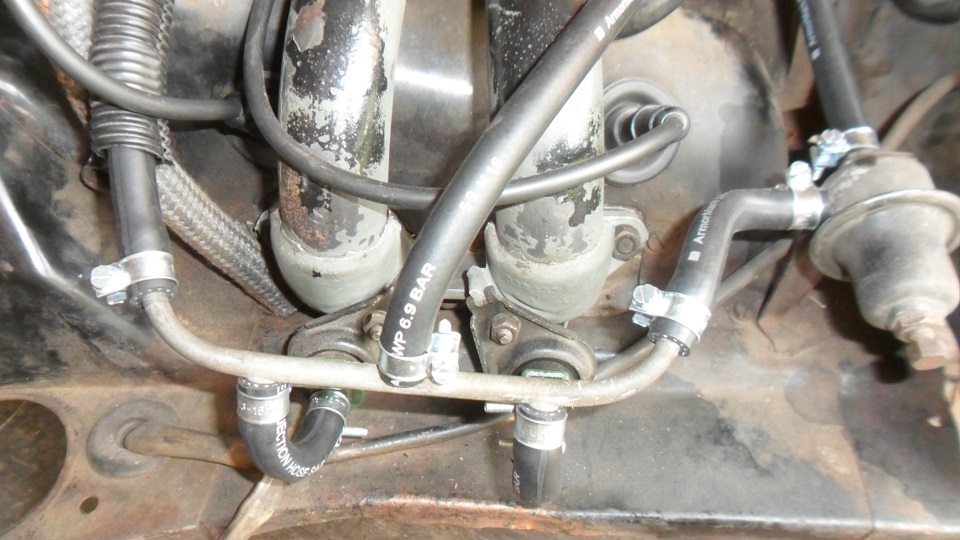
Your engine compartment lines are installed incorrectly Bob.
 |
|
|
|
| saigon71 |
Jul 7 2013, 06:09 PM
Post
#397
|
|
Advanced Member Group: Members Posts: 2,006 Joined: 1-June 09 From: Dillsburg, PA Member No.: 10,428 Region Association: MidAtlantic Region |
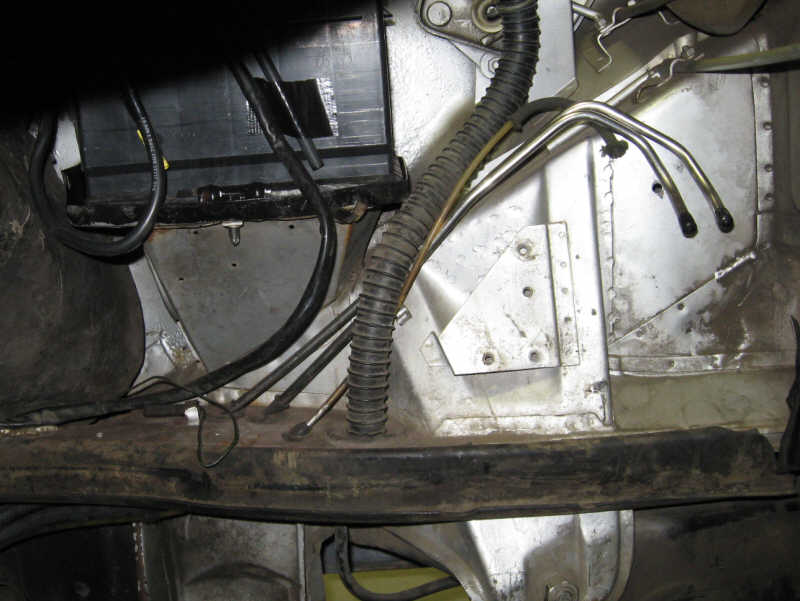
QUOTE(Racer Chris @ Jun 24 2013, 10:45 AM) Your engine compartment lines are installed incorrectly Bob. Thanks Chris, made some adjustments: 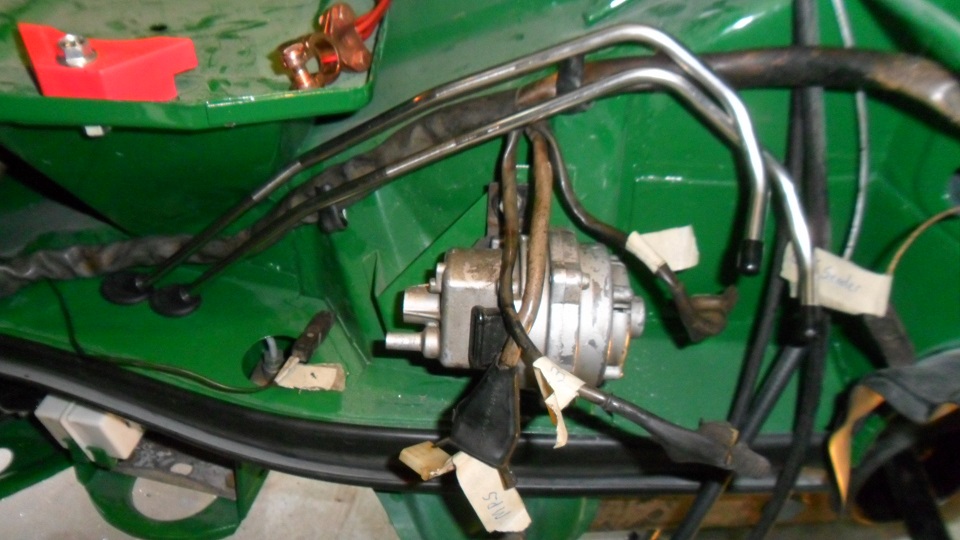 |
|
|
|
| saigon71 |
Jul 7 2013, 06:28 PM
Post
#398
|
|
Advanced Member Group: Members Posts: 2,006 Joined: 1-June 09 From: Dillsburg, PA Member No.: 10,428 Region Association: MidAtlantic Region |
Screwed around for a few weeks with the $12.99 HF HVLP paint gun. Took my test panel down to bare metal multiple times. Could get a good finish, but always had fish-eye problems, cleaned guns multiple times and installed two water separators in the compressor line and started using a new air hose after talking to Zach...got the same result:
 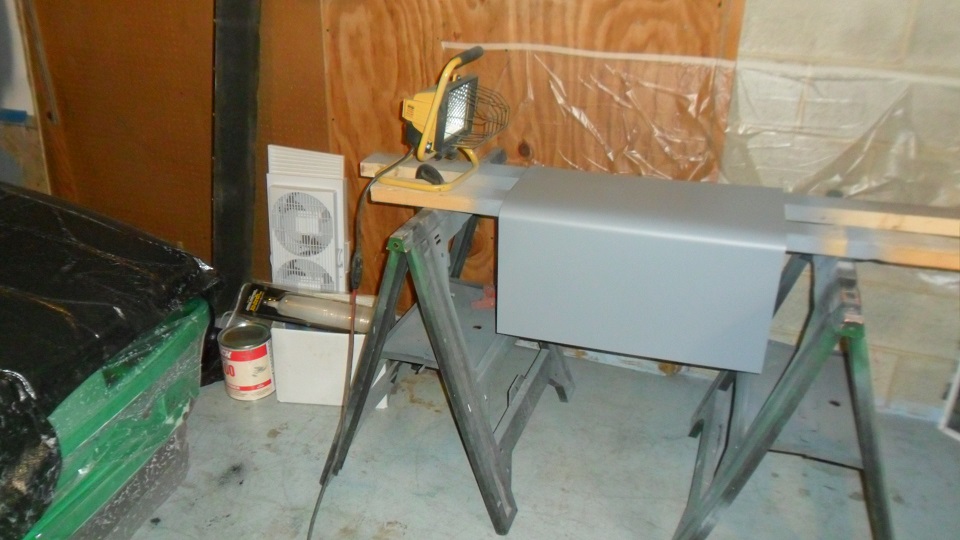 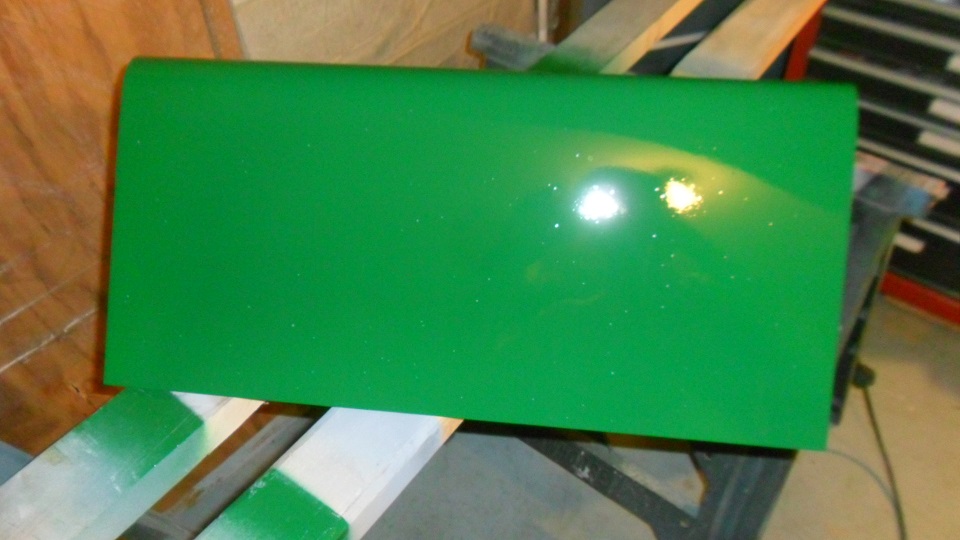  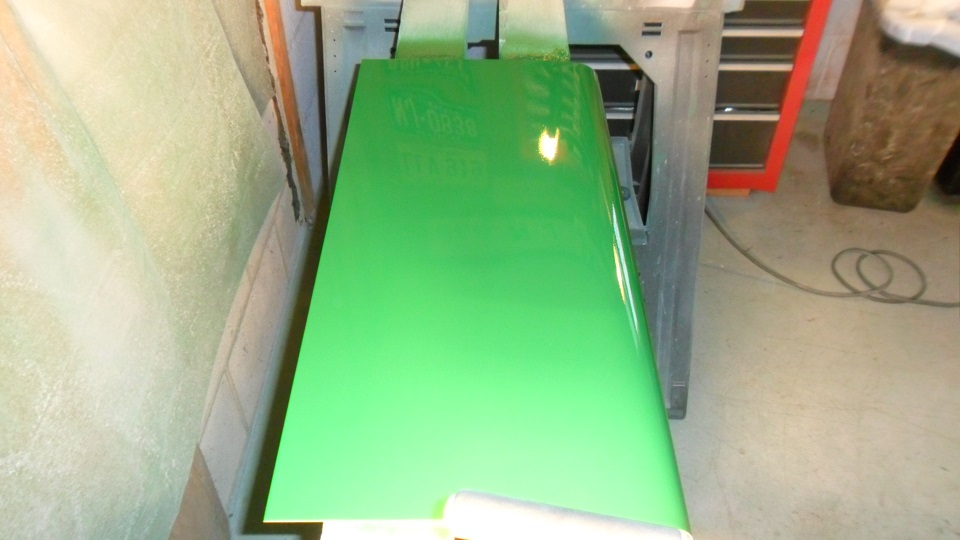 I got myself priced in on painting this thing myself. Chatted with a few folks (including scottyb) about how much it would cost to have someone shoot the paint that I already bought - not cheap! My low compressor SCFM output limited my choices in paint guns. So I went with a low SCFM Eastwood setup for about $200. Results yielded a finish I am happy with. I found one tiny fish-eye in a 2' X 2' test panel: 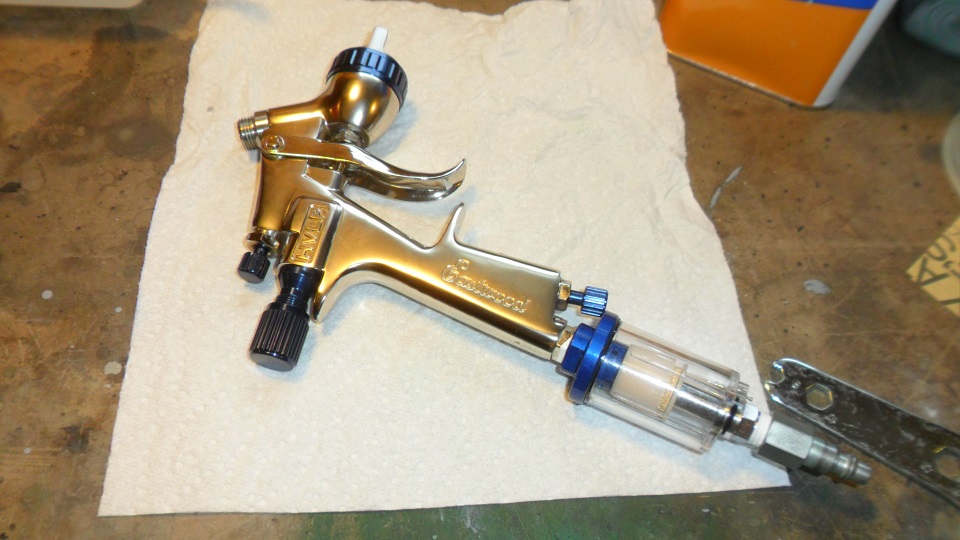 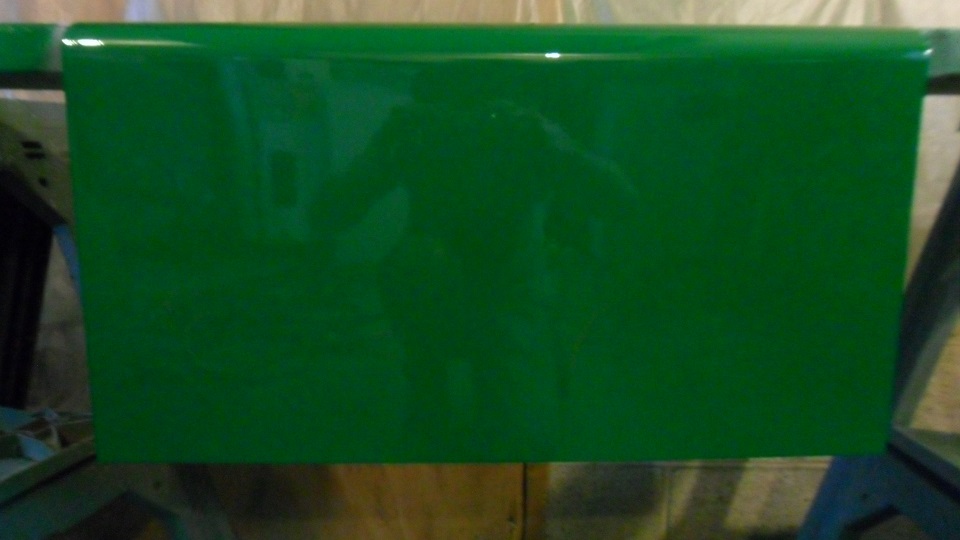 I hope to paint the car this week. |
|
|
|
| saigon71 |
Jul 21 2013, 06:29 PM
Post
#399
|
|
Advanced Member Group: Members Posts: 2,006 Joined: 1-June 09 From: Dillsburg, PA Member No.: 10,428 Region Association: MidAtlantic Region |
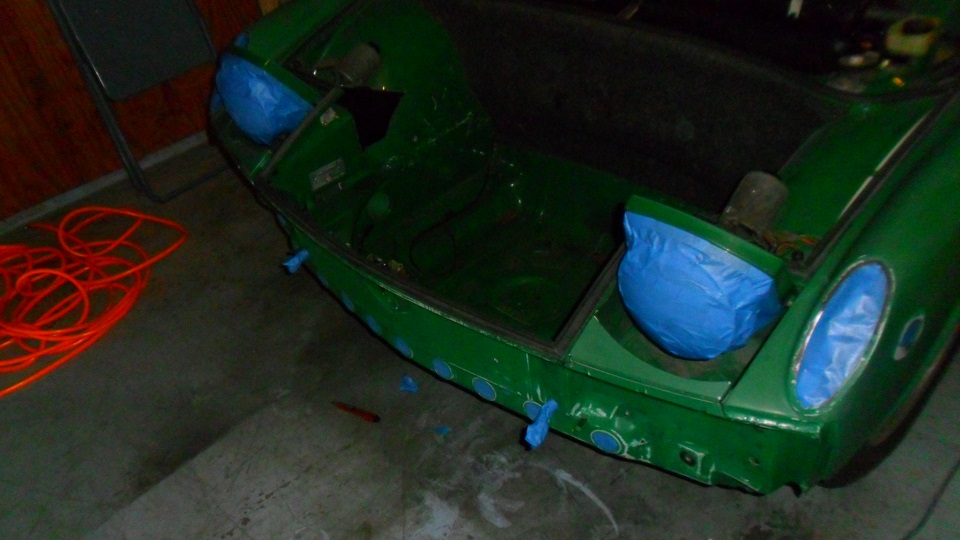
Checked the weather around July 10th. Saw the heat wave rolling in for the next week. I had a few days of reasonable summer weather to get the car primed and painted. Carefully masked the car:
    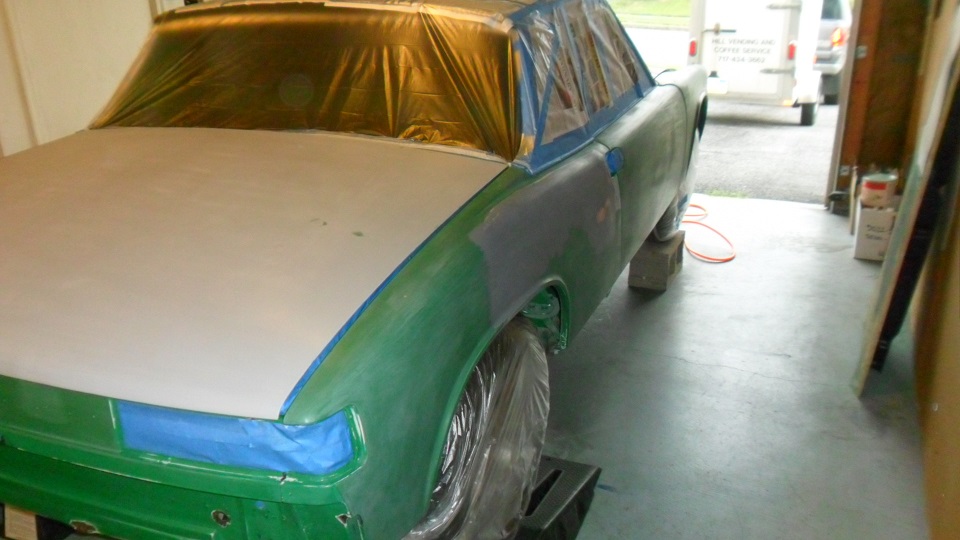 Had some old floor lamps around so I could get better lighting near the front of the garage: 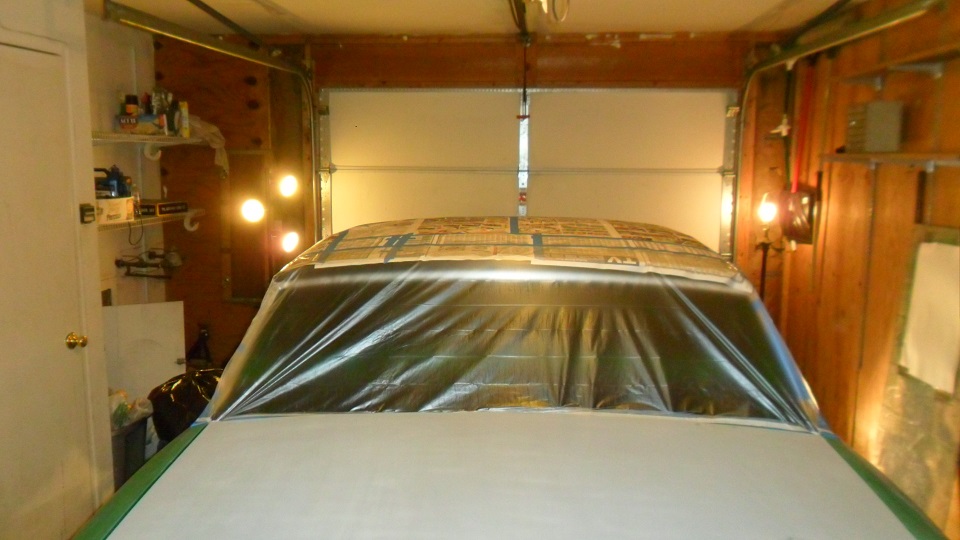 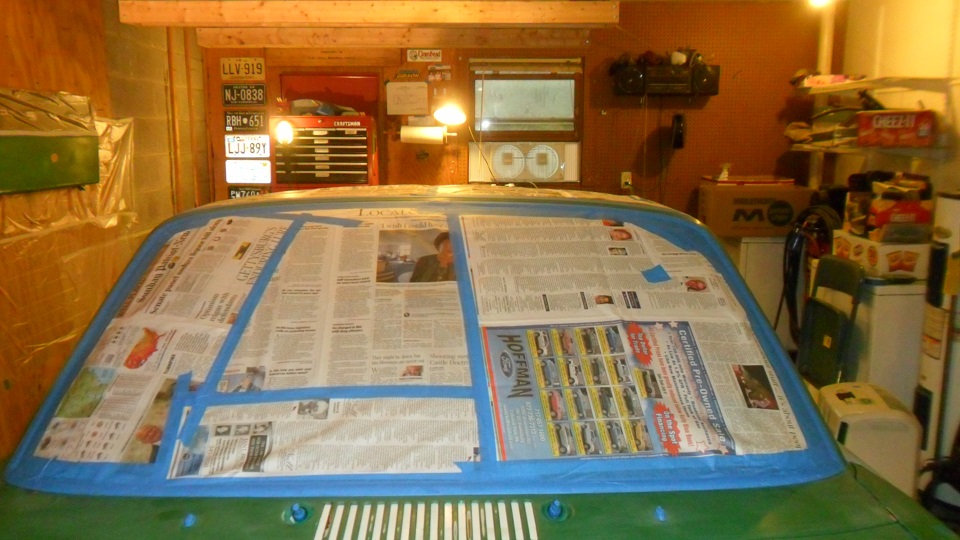 After laying down a very nice finish on a test panel, I was finally ready to paint. Working with Eastwoods Concours low SCFM HVLP paint gun, two water separators and a new air line. Car cleaned with compressed air, two wipe downs of wax & grease remover (using a new rag for 2nd pass). Followed up with a tack cloth immediately before painting. Shot two coats of primer using the 2.0 paint nozzle. Primer went on relatively smooth and thick with no defects. Sanded entire car smooth with 400 grit to prep for paint after priming. I was very happy with the results: 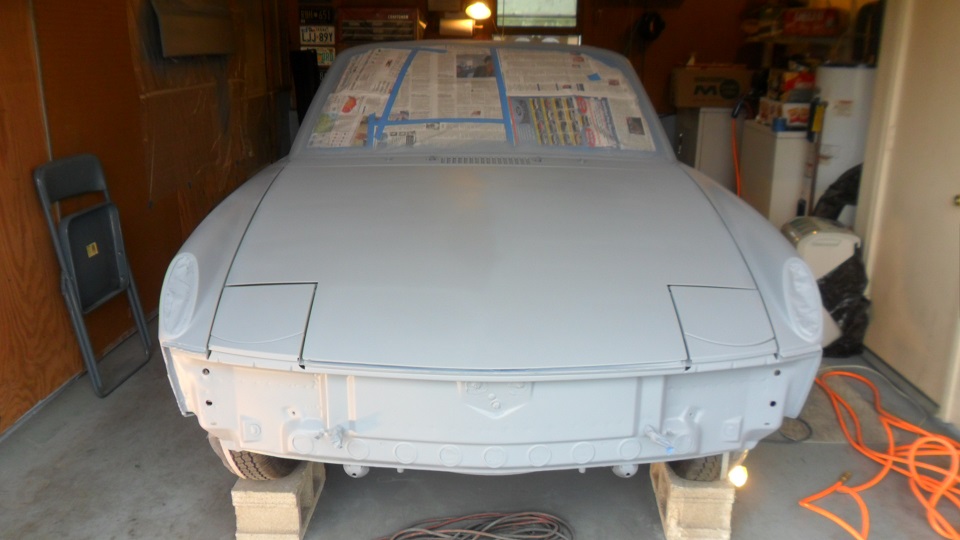 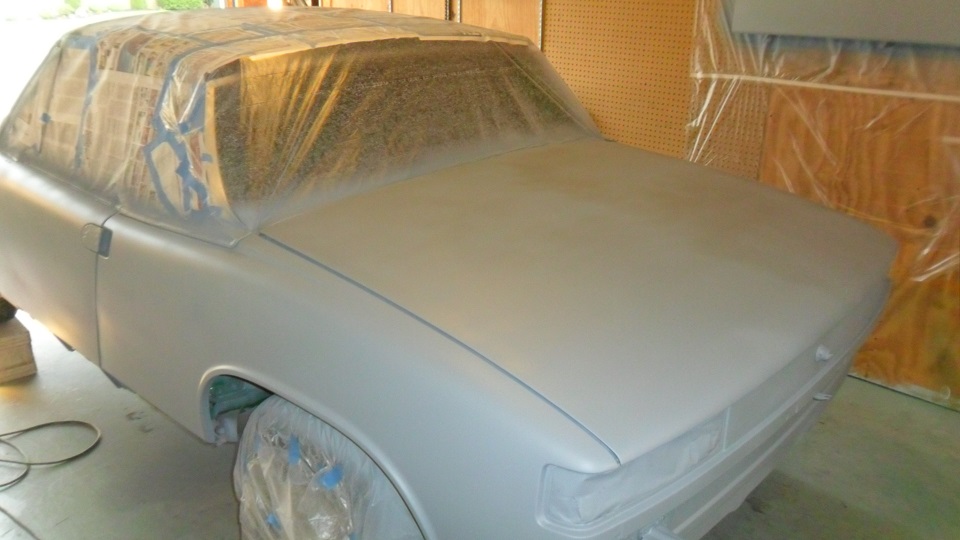 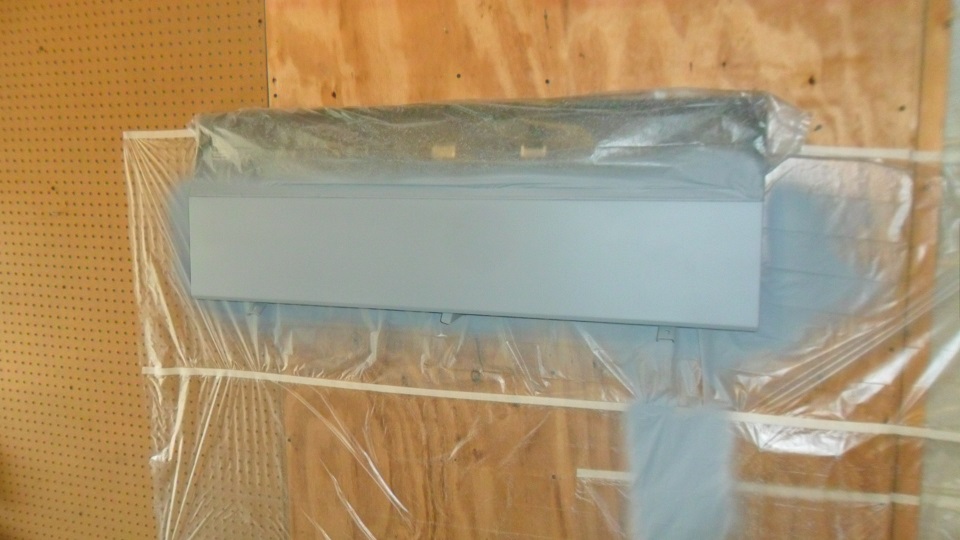 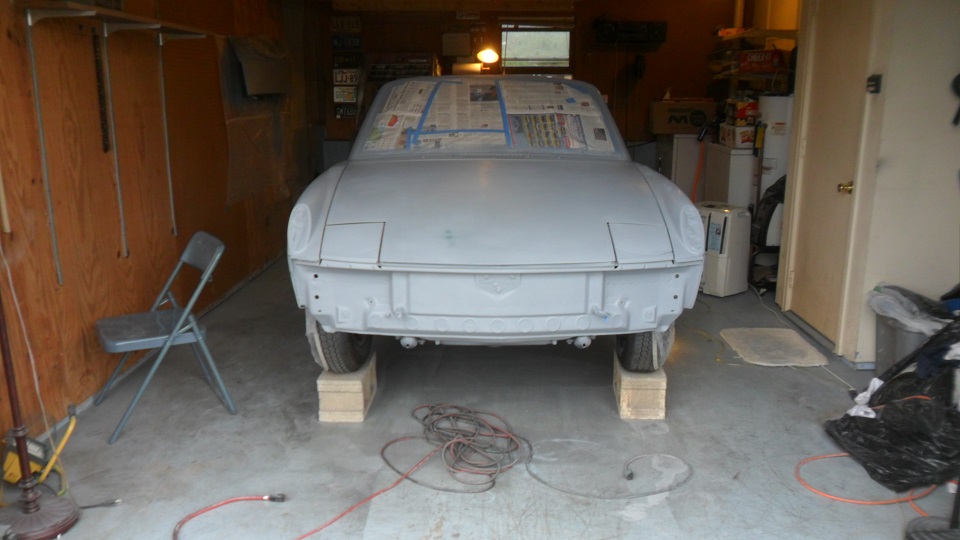 |
|
|
|
| saigon71 |
Jul 21 2013, 06:55 PM
Post
#400
|
|
Advanced Member Group: Members Posts: 2,006 Joined: 1-June 09 From: Dillsburg, PA Member No.: 10,428 Region Association: MidAtlantic Region |
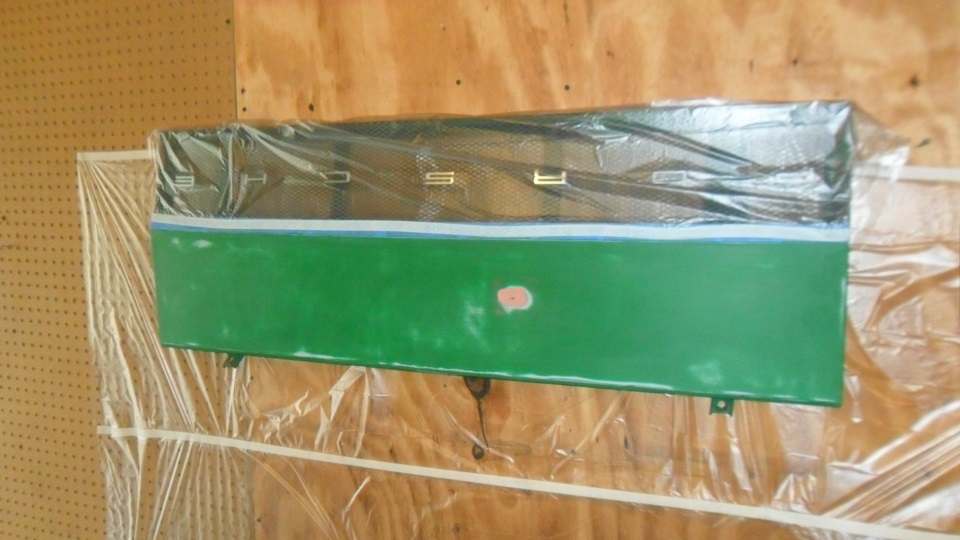
It got ugly two days after spraying primer...
Finished sanding the car, cleaned the garage, wiped car down twice with wax & grease remover and followed up with a tack cloth right before shooting color with the 1.4mm tip. About 3/4 of the way into the first coat, I noticed a few fish eyes forming in the paint. Tried applying less paint to bridge them closed, but nothing worked. Not completely realizing how bad it was getting, I shot the 2nd coat of single stage acrylic enamel: 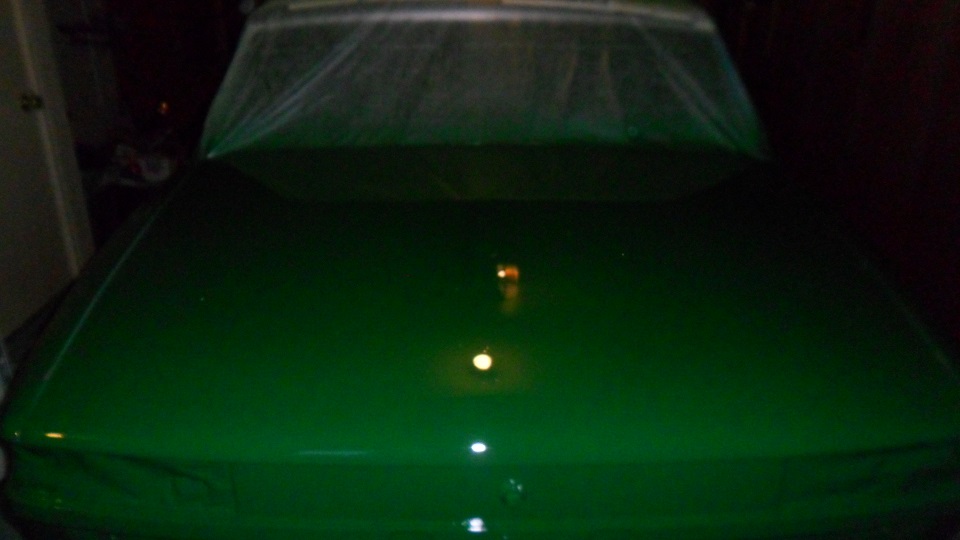 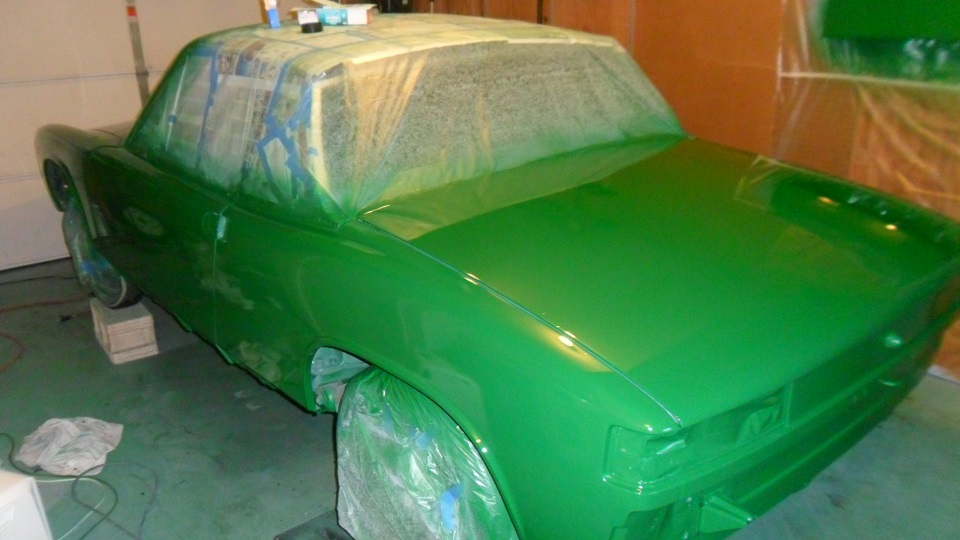  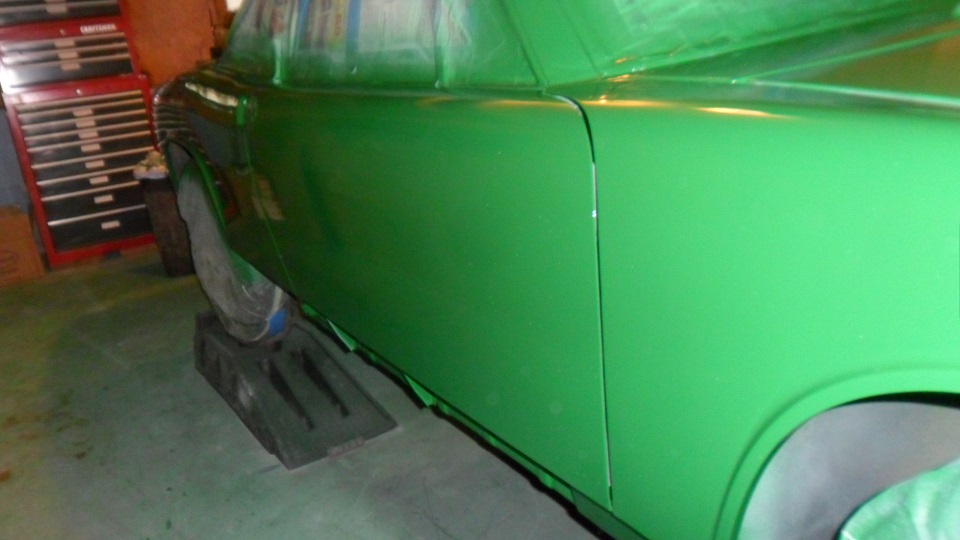 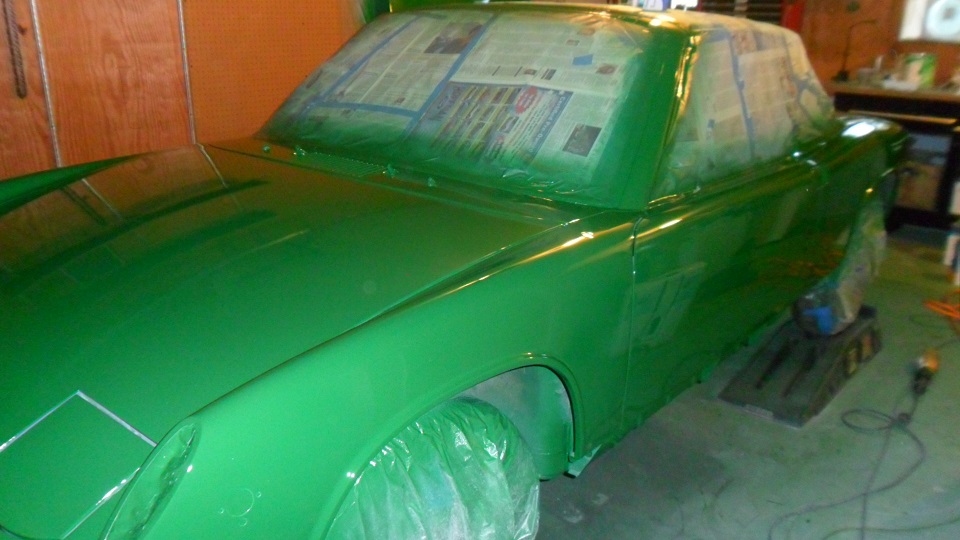 Cleared out of the house for the evening due to the paint fumes. Came back the next day to inspect the paint job. There were fisheyes everywhere in the paint! (IMG:style_emoticons/default/evilgrin.gif). The worst part about it was that aside from the fish-eyes the paint job was decent. Devastated, I tried filling all fish-eyes with a small tiny paint brush...made two passes over the car filling holes. Started color sanding with 1500 grit, hoping to save the paint job. Started rubbing thought the color down to primer while trying to get a good finish. I need to sand the car down to primer. Frustrated as hell, I need to find someone to shoot color for me. I am 90% certain that it is water getting through the air line of the compressor causing the fish eyes. I don't plan on painting a lot of cars. If I do, I will invest in, or build an air dryer system. What I don't get is why I didn't have problems shooting primer in similar conditions two days prior: 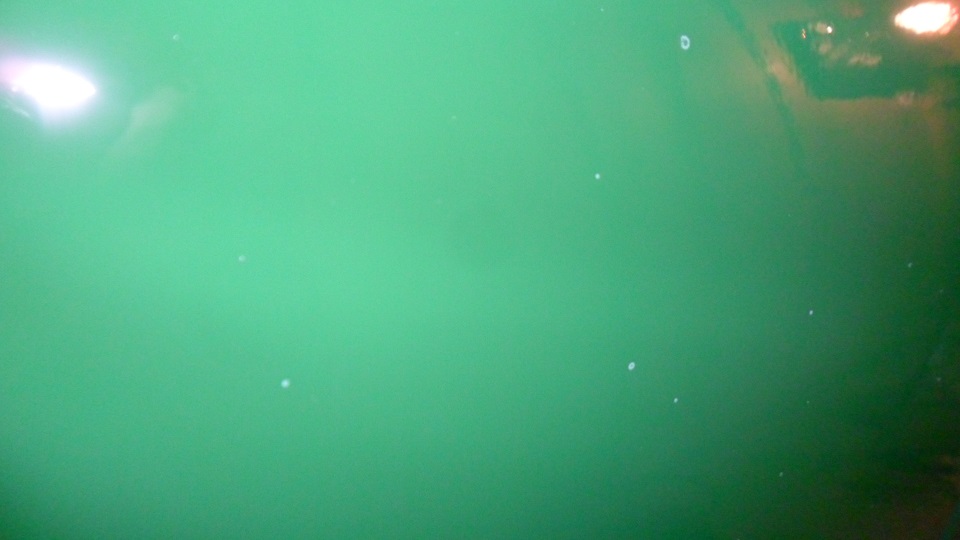  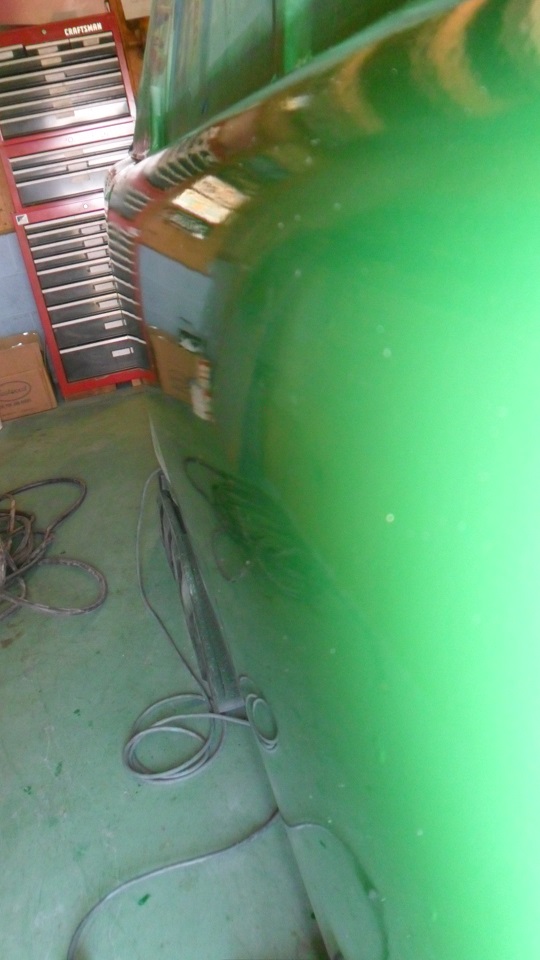  |
|
|
|
|
2 User(s) are reading this topic (2 Guests and 0 Anonymous Users)
0 Members:

|
Lo-Fi Version | Time is now: 1st January 2025 - 07:00 AM |
Invision Power Board
v9.1.4 © 2025 IPS, Inc.