|
|

|
Porsche, and the Porsche crest are registered trademarks of Dr. Ing. h.c. F. Porsche AG.
This site is not affiliated with Porsche in any way. Its only purpose is to provide an online forum for car enthusiasts. All other trademarks are property of their respective owners. |
|
|
  |
| saigon71 |
 Apr 13 2014, 04:38 PM Apr 13 2014, 04:38 PM
Post
#501
|
|
Advanced Member     Group: Members Posts: 2,006 Joined: 1-June 09 From: Dillsburg, PA Member No.: 10,428 Region Association: MidAtlantic Region 

|
I noticed some rust in the passenger side front fender well. Additionally, there was some substandard work performed by me early on in the restoration that I wanted to fix. My right front fender was replaced at some point and there were two gaps that I didn't think seam sealer would fill properly, so I cut down small pieces of polyethylene pipe wrap to fill the gaps. Cleaned the whole area with a wire brush, banged on two coats of rust bullet & a coat of seam sealer.
I couldn't handle getting jacked for big $ for another custom fill Zambezi green spray can, so I found something very close at Lowes for the topcoat: 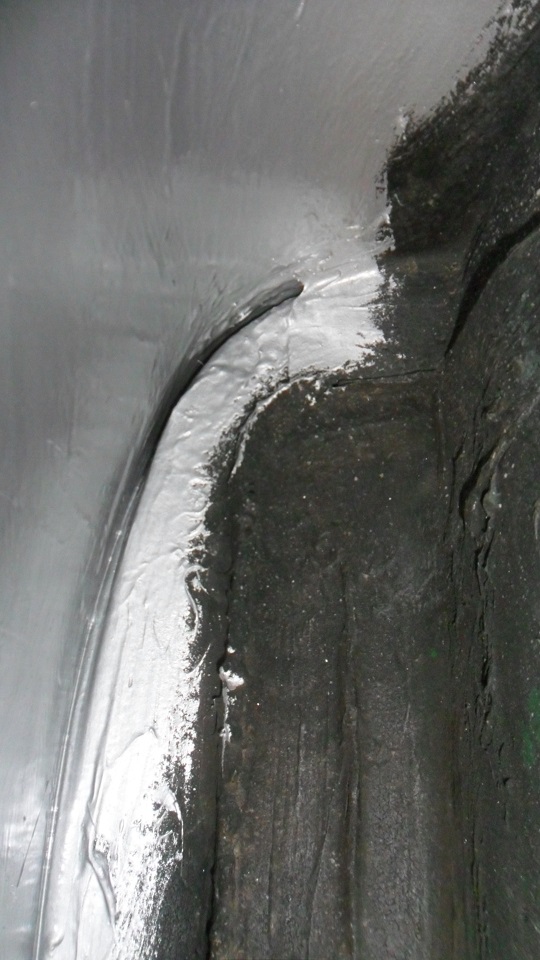 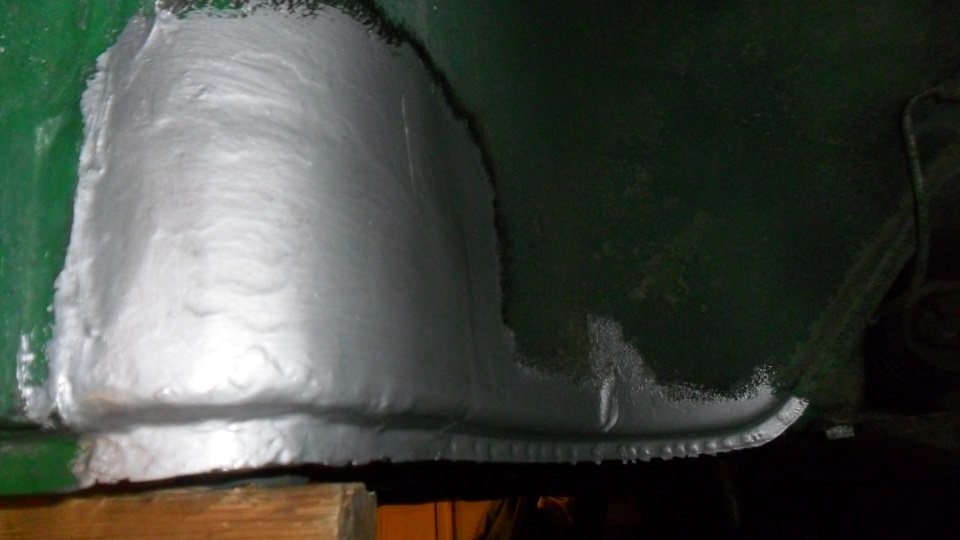 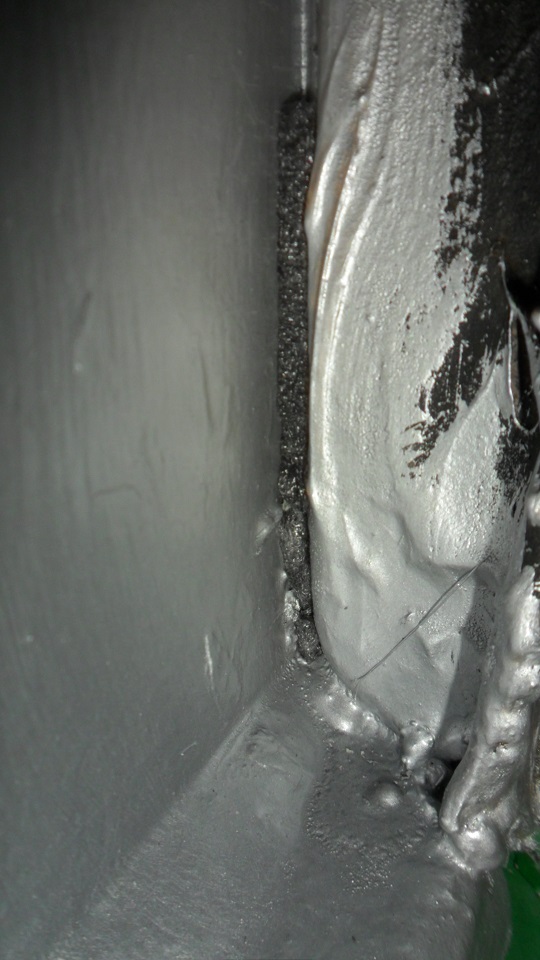 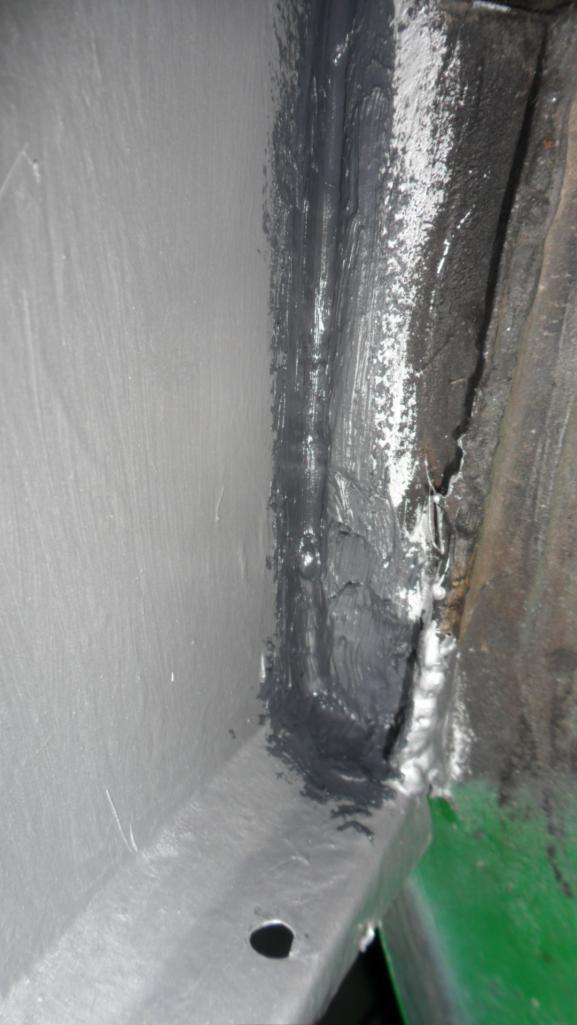 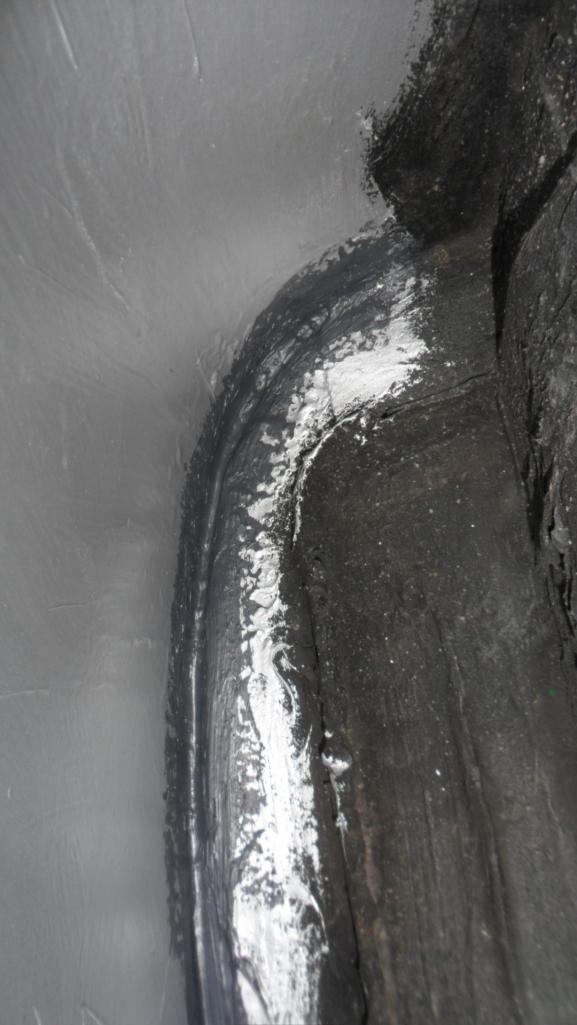 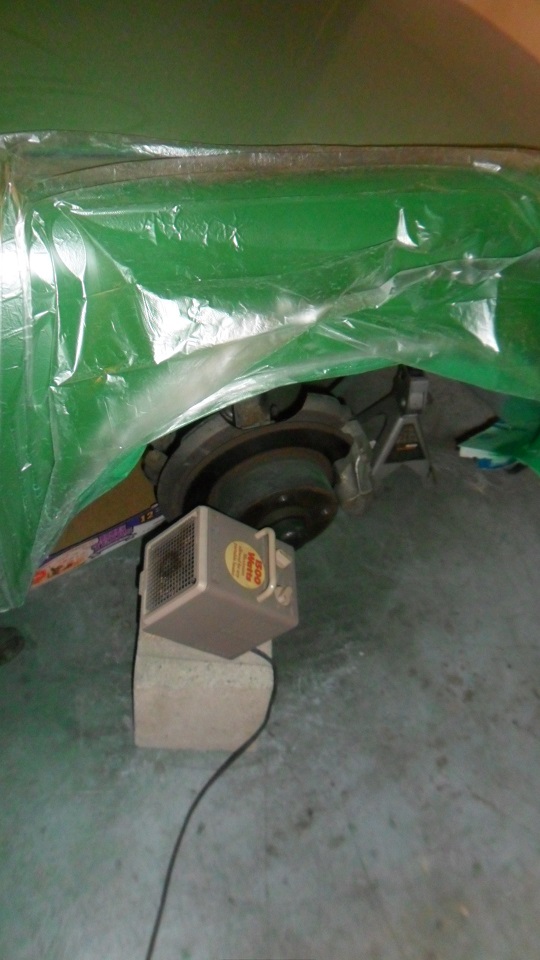 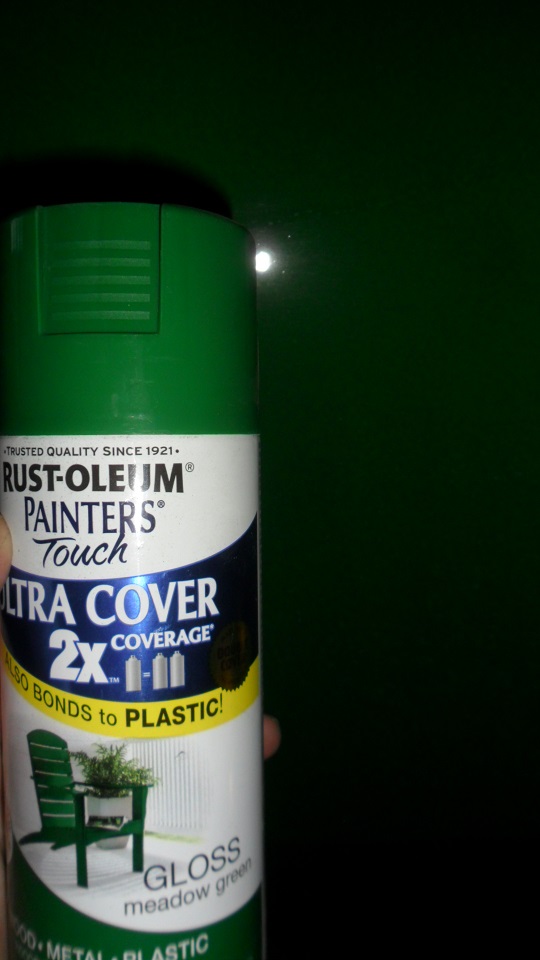 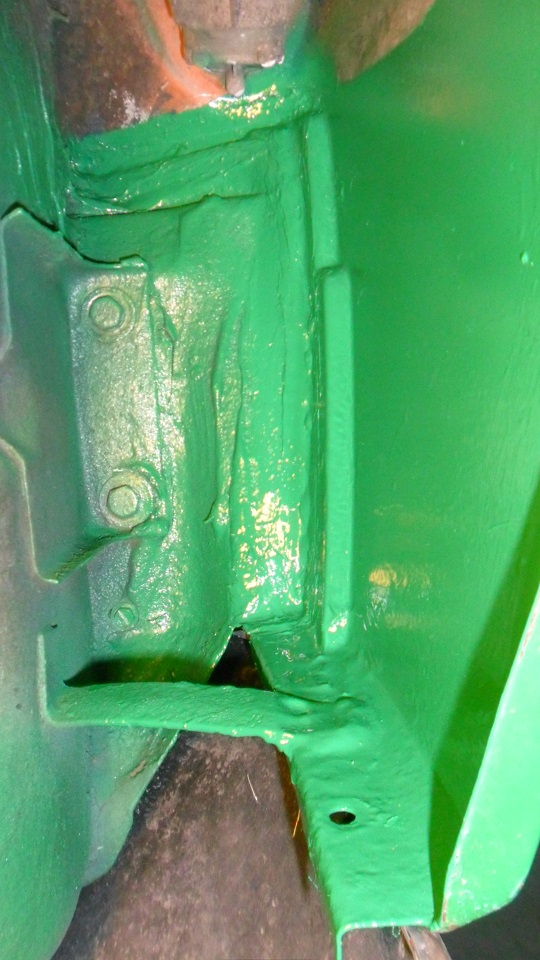 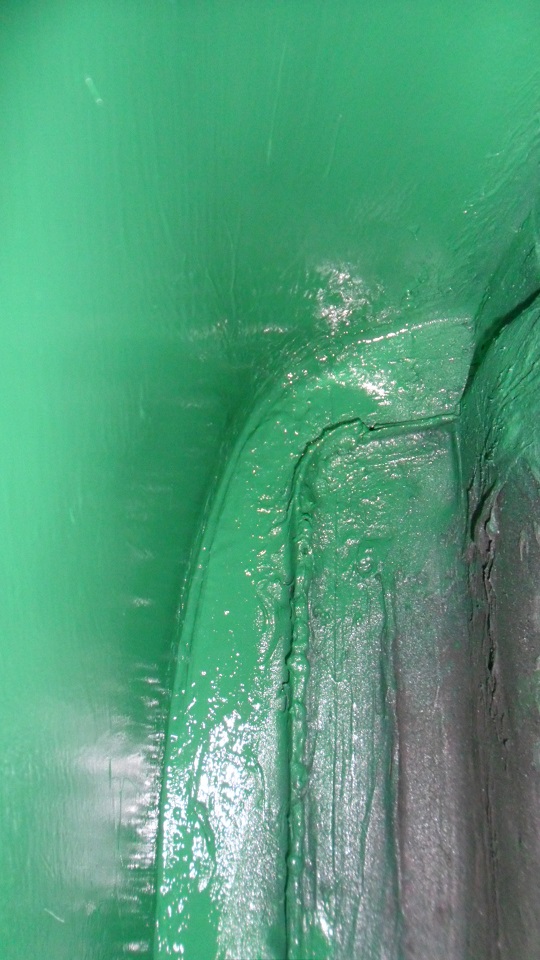 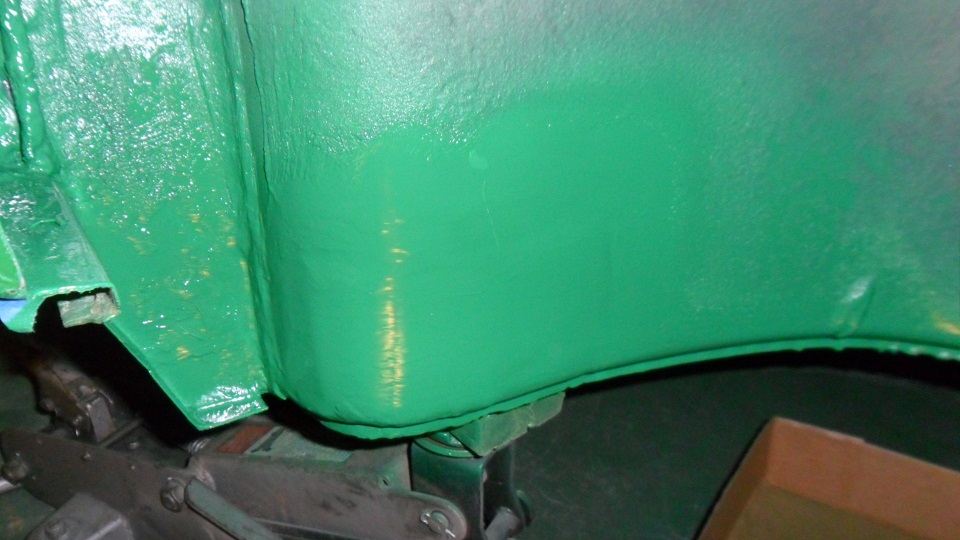 Attached thumbnail(s) 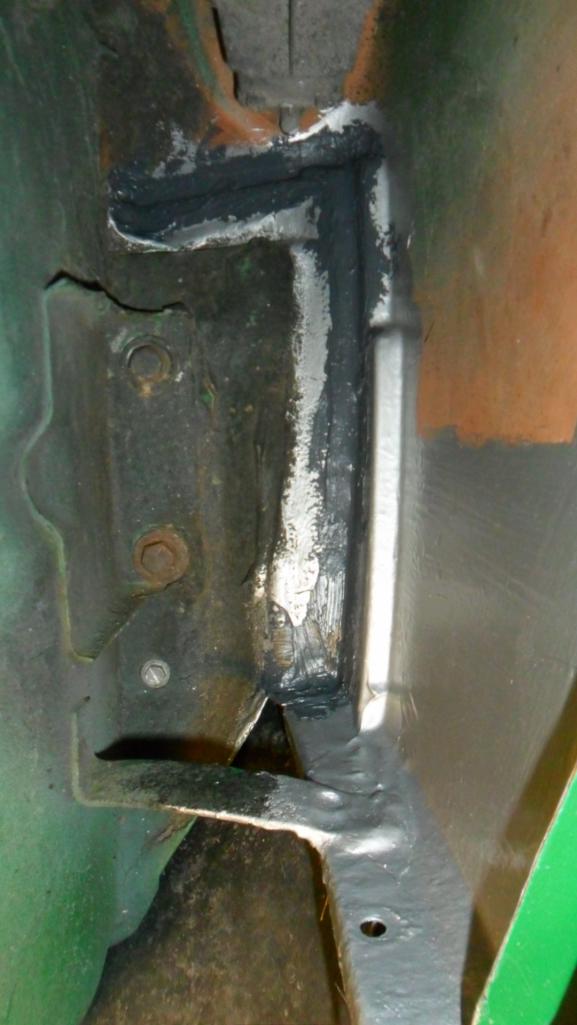
|
| saigon71 |
 Apr 13 2014, 04:48 PM Apr 13 2014, 04:48 PM
Post
#502
|
|
Advanced Member     Group: Members Posts: 2,006 Joined: 1-June 09 From: Dillsburg, PA Member No.: 10,428 Region Association: MidAtlantic Region 

|
I bought a replacement TPS from Dave Sprinkle a few years back as part of a group buy. It solved my idle hunting problem immediately. The car now idles perfectly through the entire warm-up sequence. The instructions supplied with the board were excellent. I used the Pelican article to test the old TPS and calibrate the new one.
Trying to hold the VOM leads while rotating the TPS body proved to be difficult for me, so I used some solderless handshake connectors and wire to make it a little easier. Unfortunately, I broke one of three plastic fingers off the TPS trying to remove the circlip. When I reinstalled the clip I didn't notice any problems just using two of the fingers so I rolled with it. I messed up my old throttle body gasket & made a new one. Soaked the throttle body in carb cleaner while it was off: 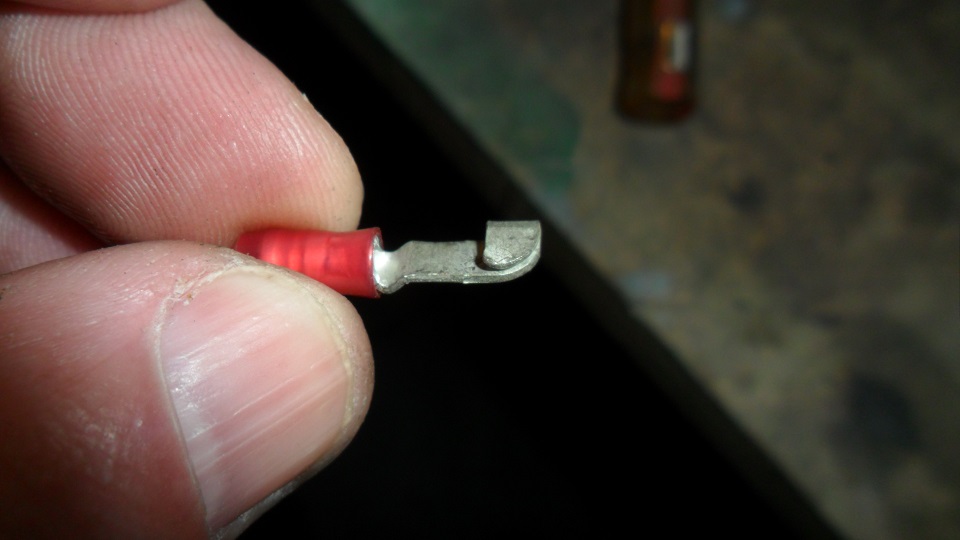 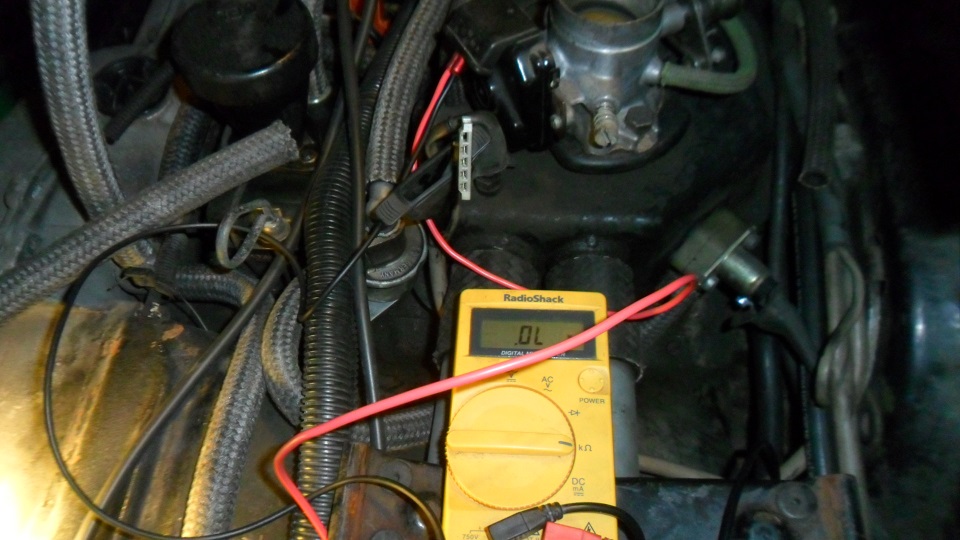 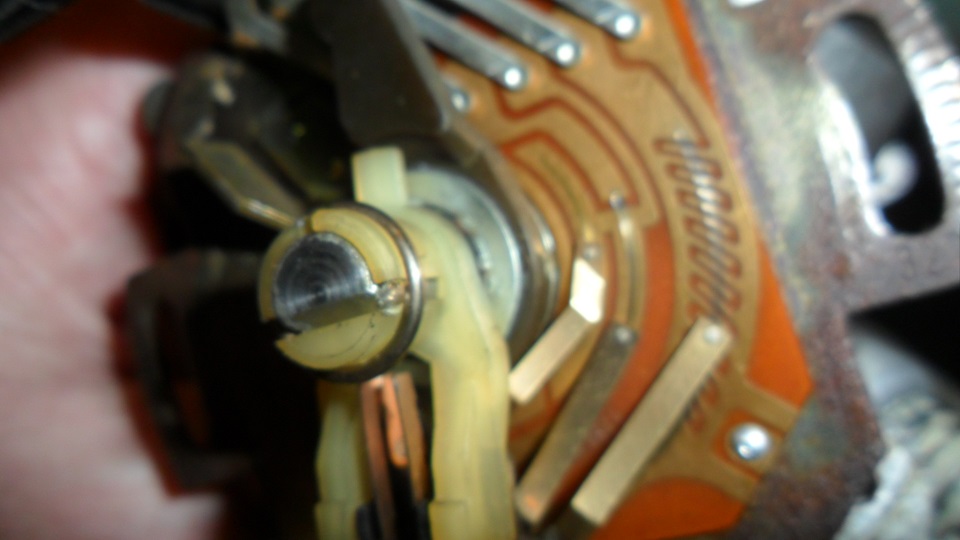 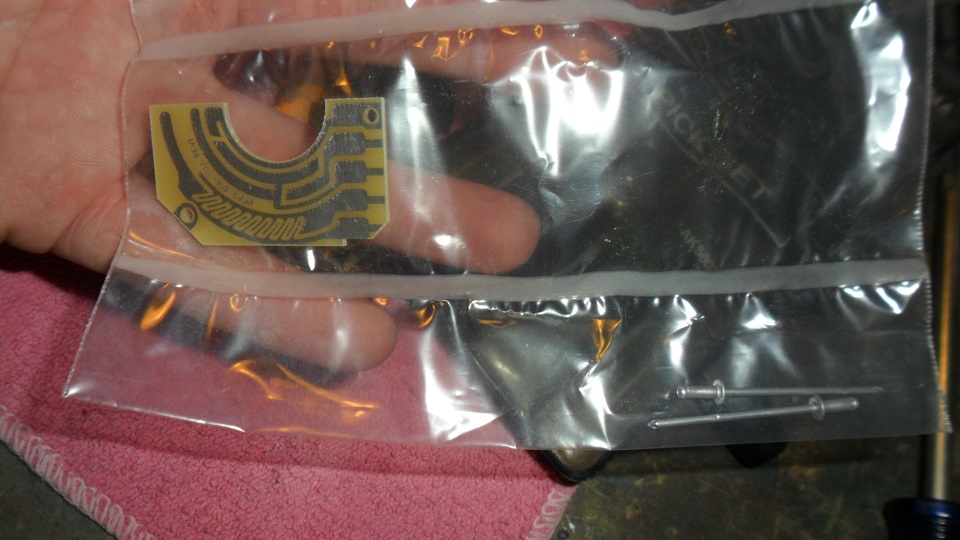 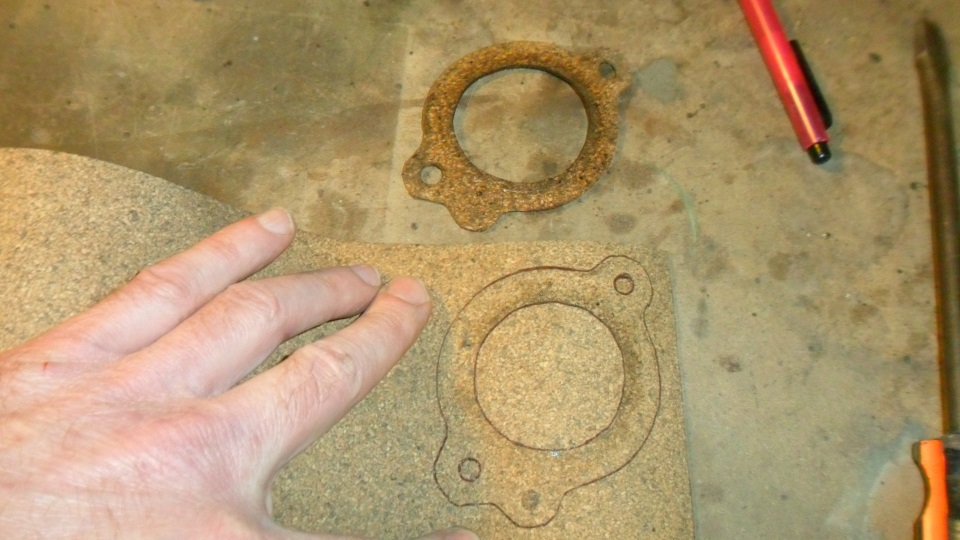 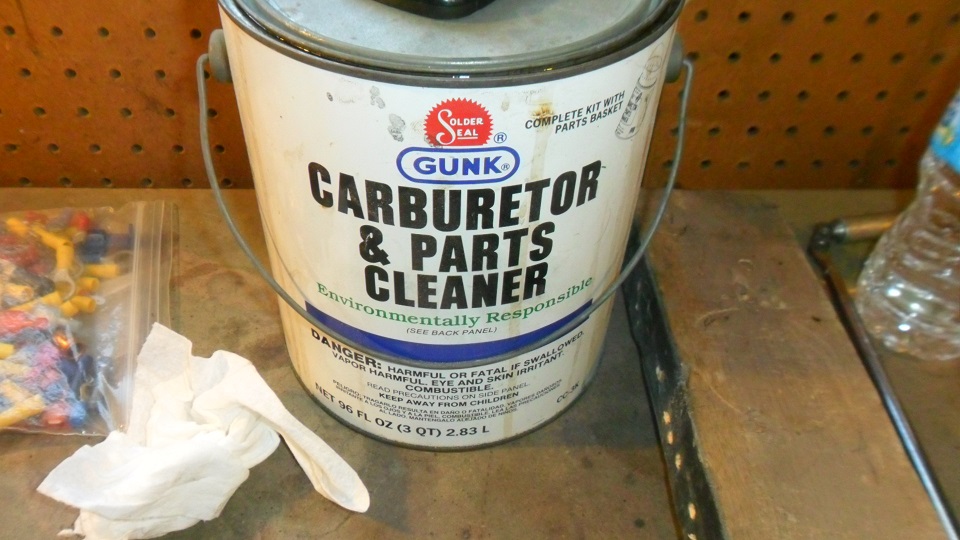 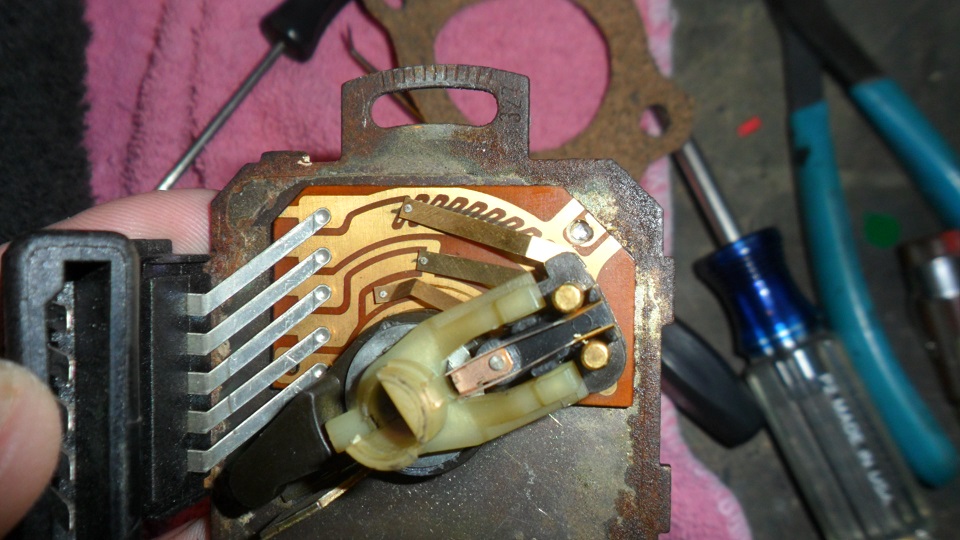 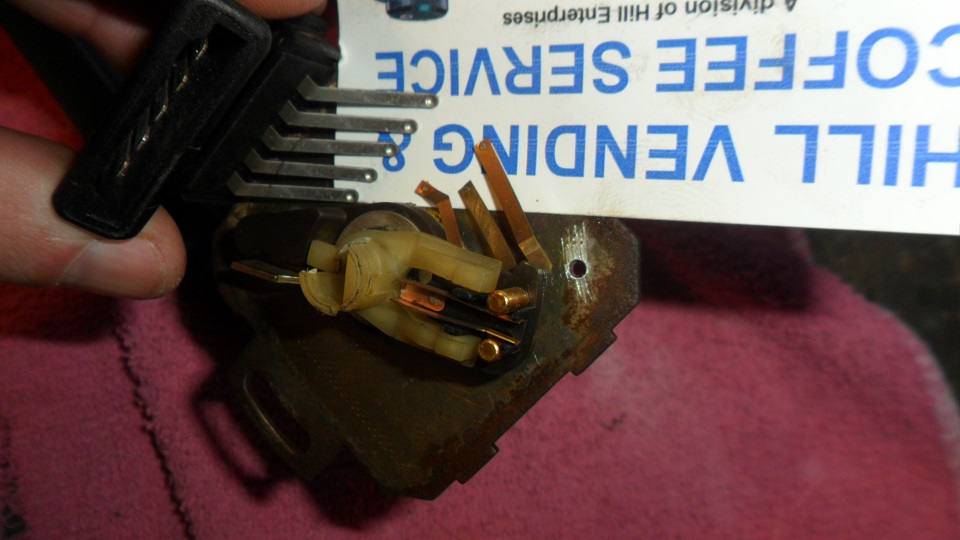 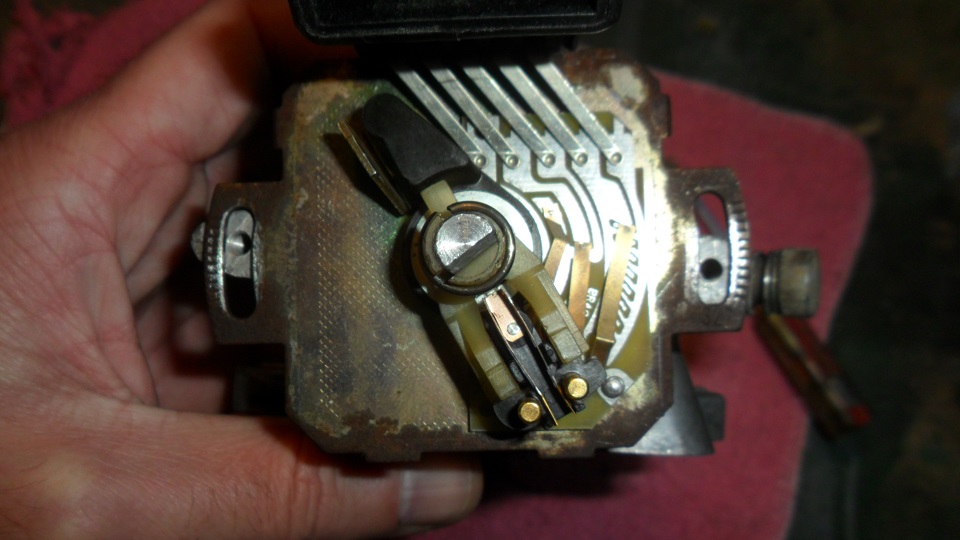 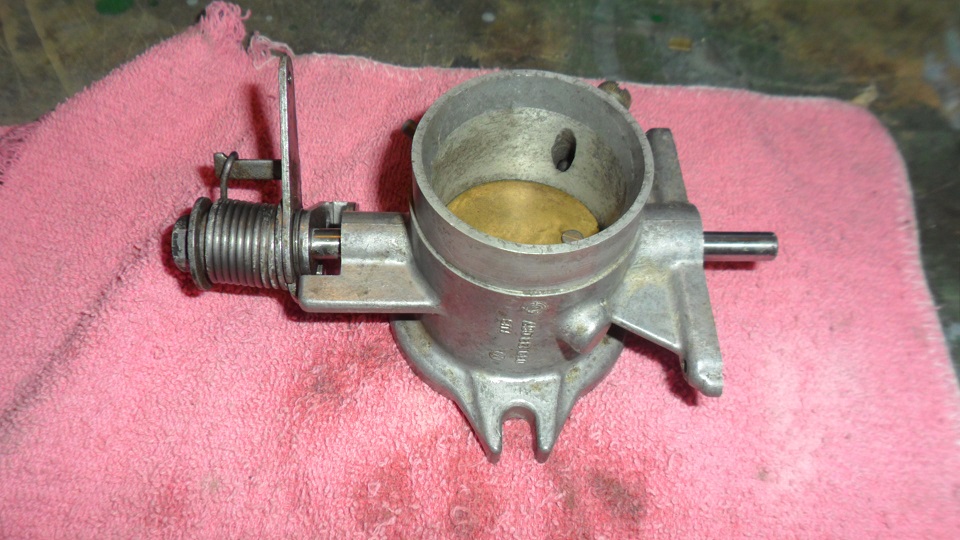 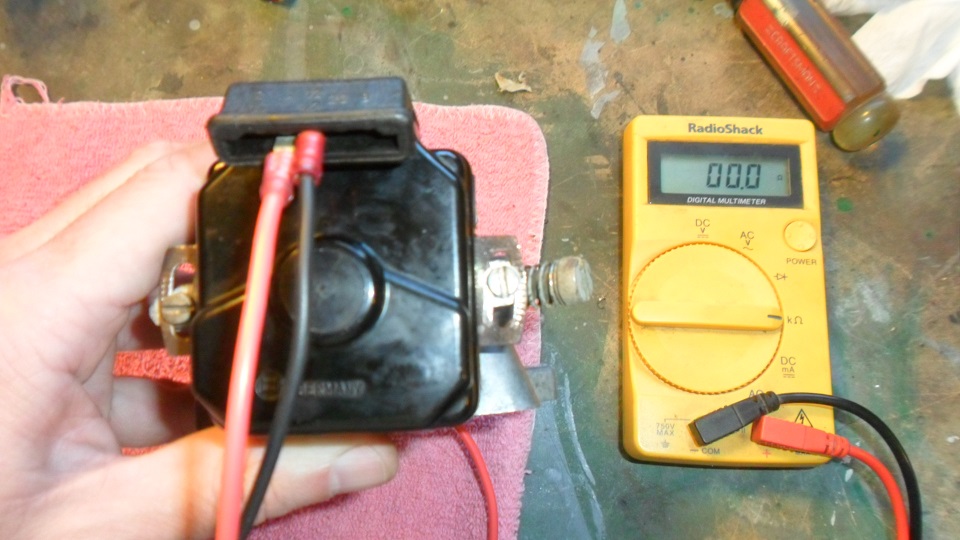 |
| saigon71 |
 May 6 2014, 03:47 PM May 6 2014, 03:47 PM
Post
#503
|
|
Advanced Member     Group: Members Posts: 2,006 Joined: 1-June 09 From: Dillsburg, PA Member No.: 10,428 Region Association: MidAtlantic Region 

|
Bought a set of negative side stripes from Van. Nice decals with great instructions - thanks Van! (IMG:style_emoticons/default/beerchug.gif)
For prep, I sprayed and dried the lower part of the car with water twice, including the wrap-around areas, then followed up with two wipe downs of denatured alcohol. Trimmed down the bottom of the decal to the edge of the vinyl. Ran a strip of 3/4" masking tape across the bottom of the door for up-down placement then adjusted the fore-aft with a few pieces of tape on top of the decal. Evened up the excess on both ends. 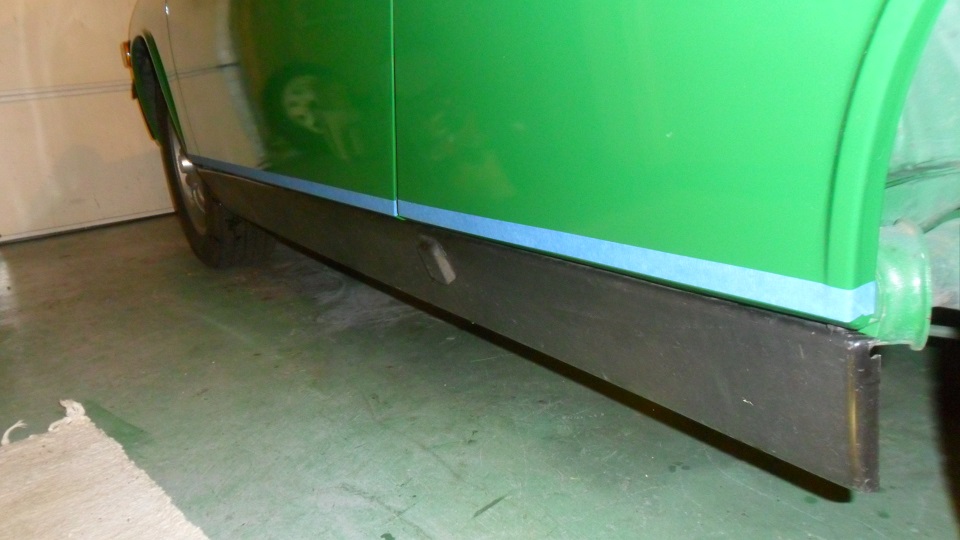 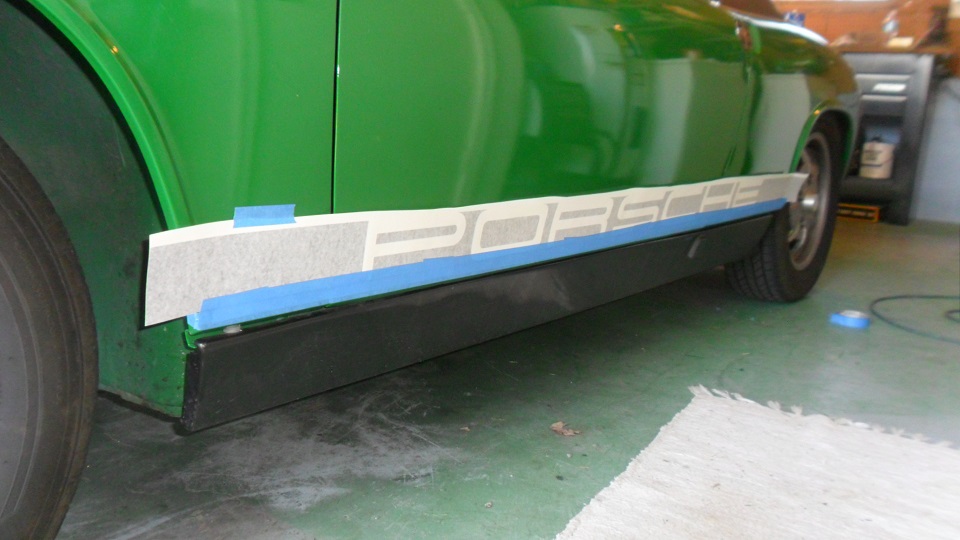 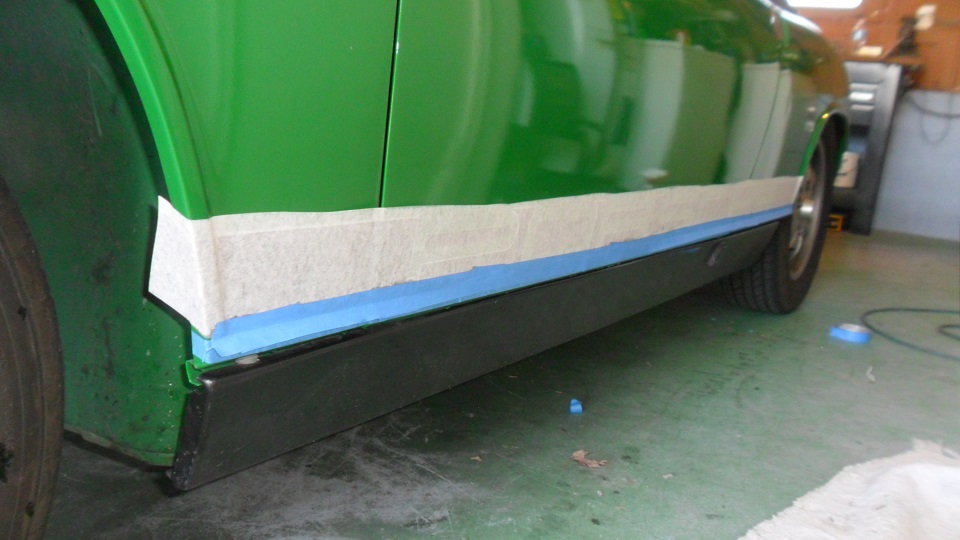 Per the instructions, I made a hinge with masking tape on the bottom. Sprayed everything down with 2 drops of dish liquid and 1 qt water, then applied the decal using a bondo spreader as a squeegee. Ran a utility knife through the seams and worked the vinyl around the corners. Turned out nice! 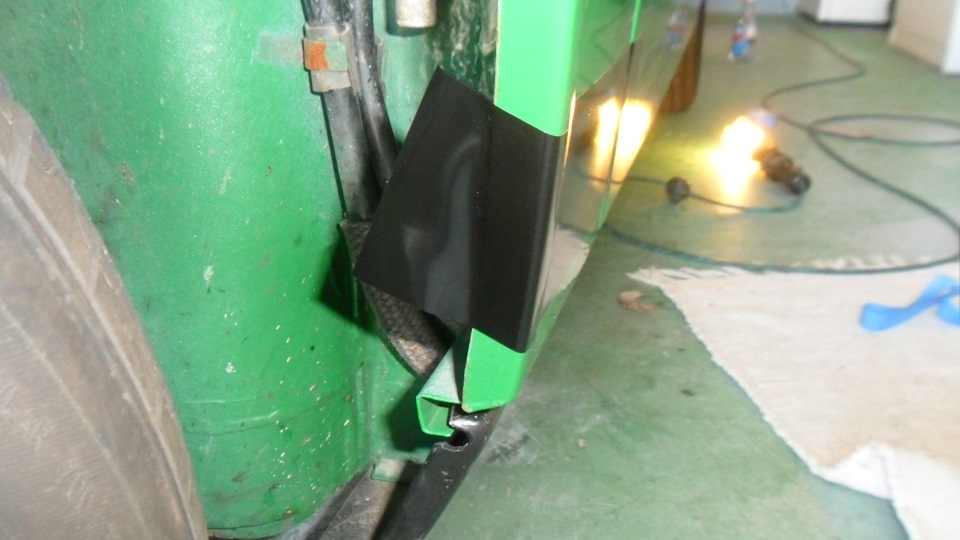 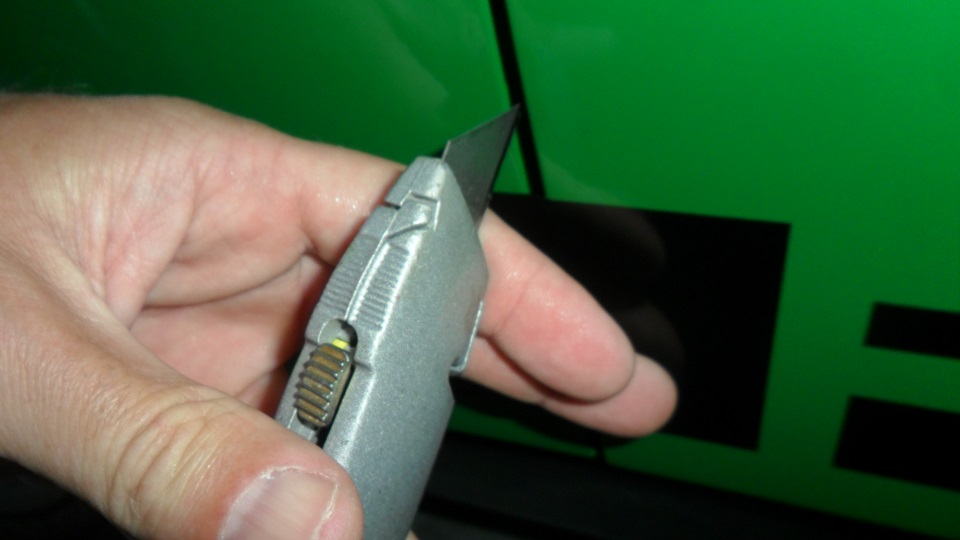 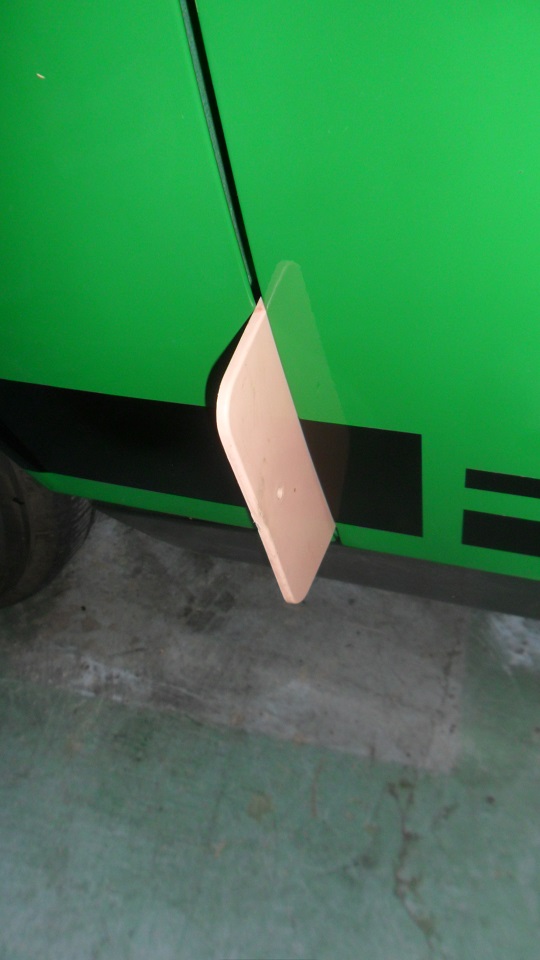 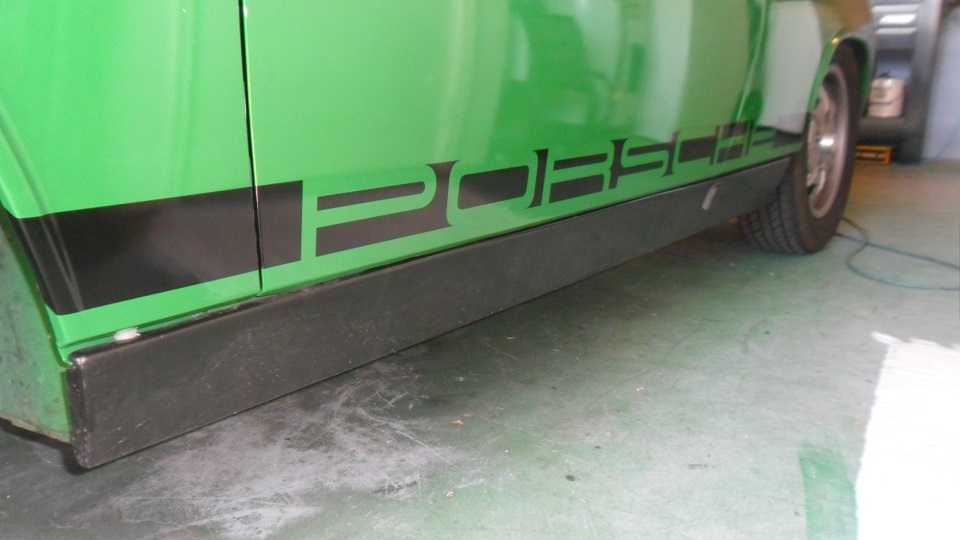 |
| bulitt |
 May 6 2014, 05:41 PM May 6 2014, 05:41 PM
Post
#504
|
|
Achtzylinder     Group: Members Posts: 4,188 Joined: 2-October 11 Member No.: 13,632 Region Association: South East States |
|
| saigon71 |
 Jul 6 2014, 06:31 PM Jul 6 2014, 06:31 PM
Post
#505
|
|
Advanced Member     Group: Members Posts: 2,006 Joined: 1-June 09 From: Dillsburg, PA Member No.: 10,428 Region Association: MidAtlantic Region 

|
My first odometer repair failed last year. I tore back into it last week. Carefully pryed the ring off with a pick and screwdriver. I used the Pelican article as a guide. Taped the gears, removed the shaft and pinched the pot metal gear with vice grips. I wanted to add some Loctite, but I was nervous about getting it where didn't belong.
Something kept slipping in the odometer mechanism upon reassembly, causing the numbers to be half visible as the ODO rolled forward. 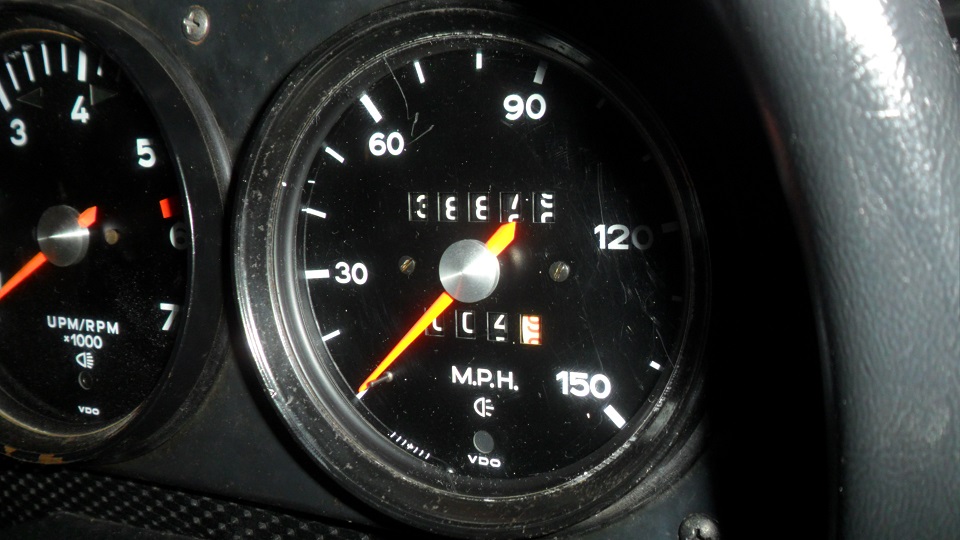 I ended up re-aligning all the gears. Took me multiple tries to get it right. What a PITA. (IMG:style_emoticons/default/evilgrin.gif) After having it apart twice, I got smart and tested it with a drill and a square bit before reinstalling the ring. Lubed the gears with some new grease. 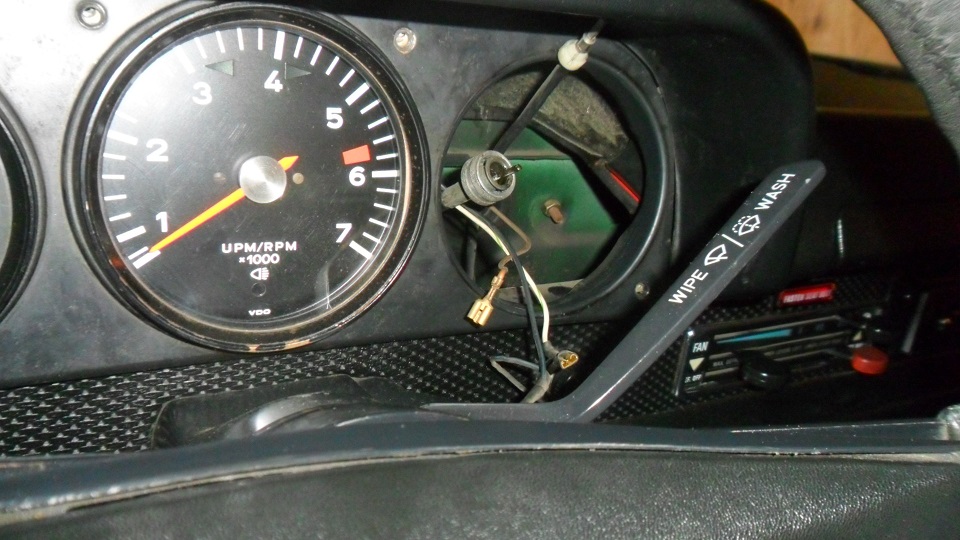 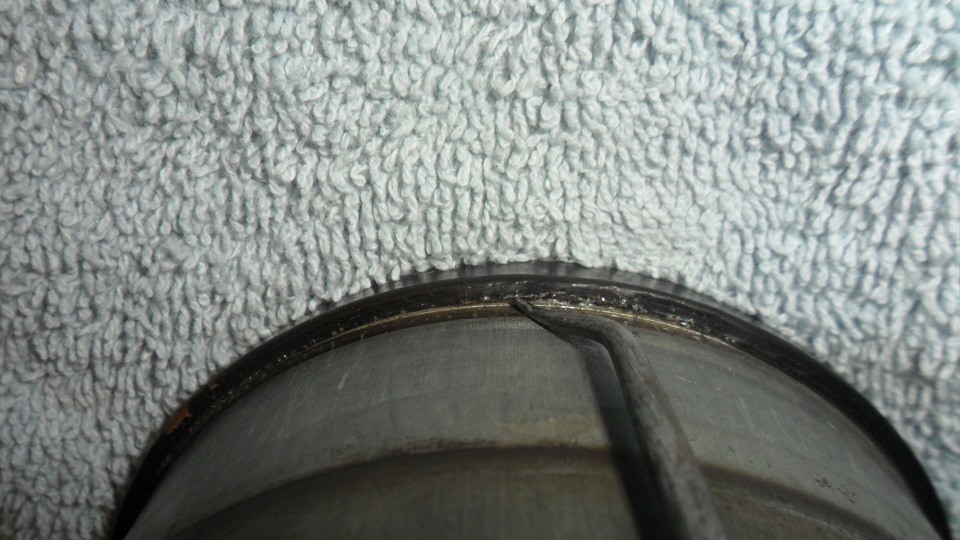 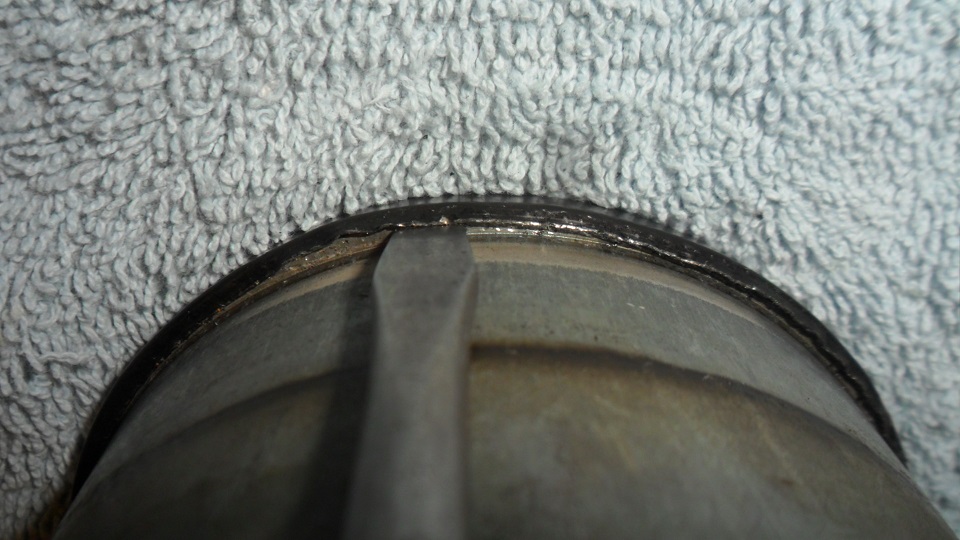 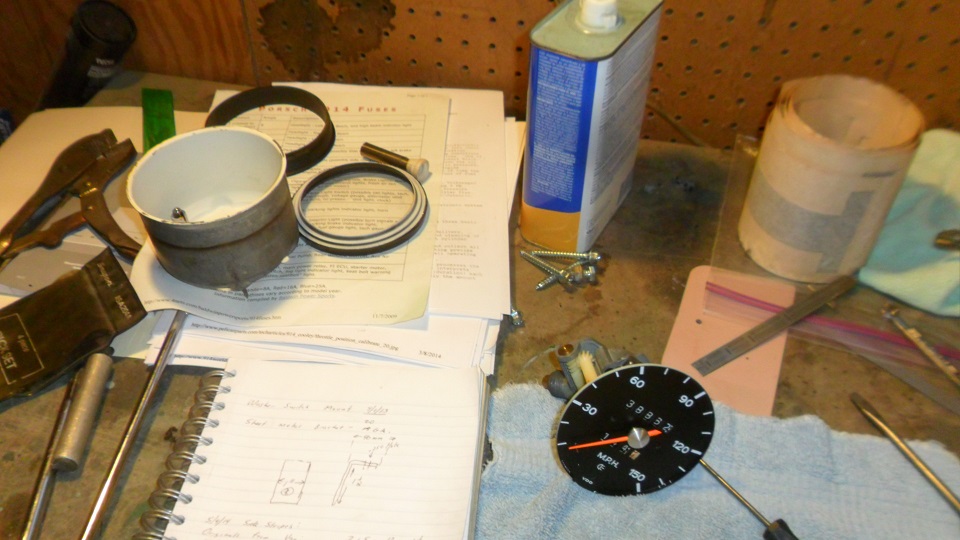 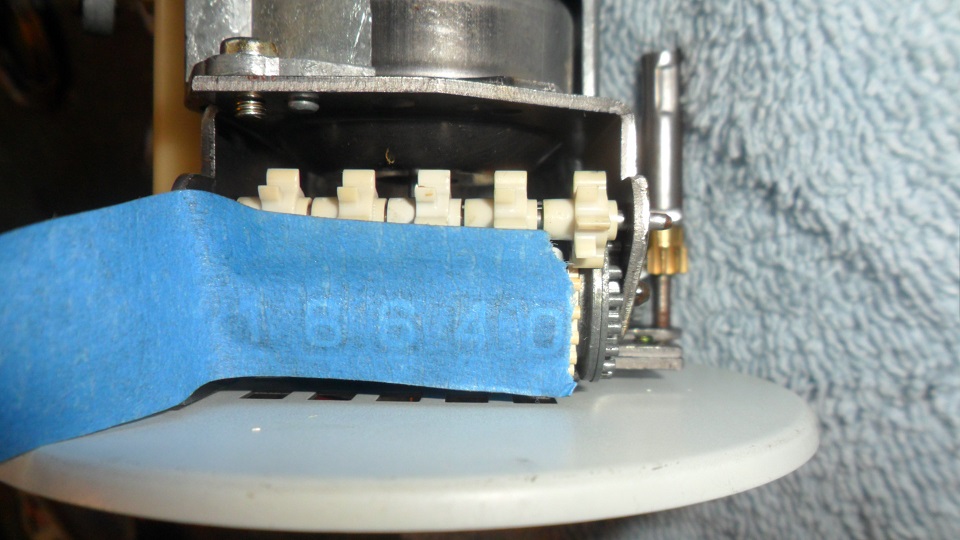 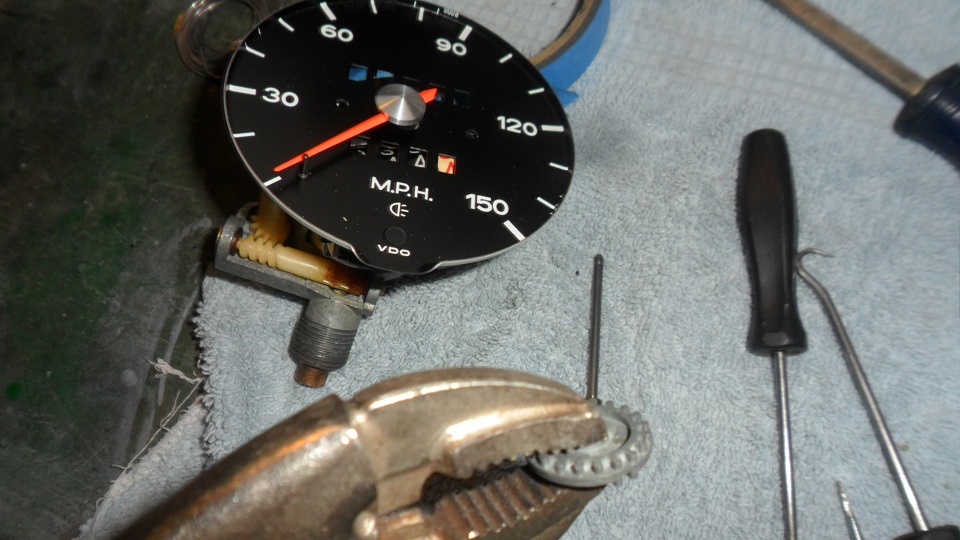 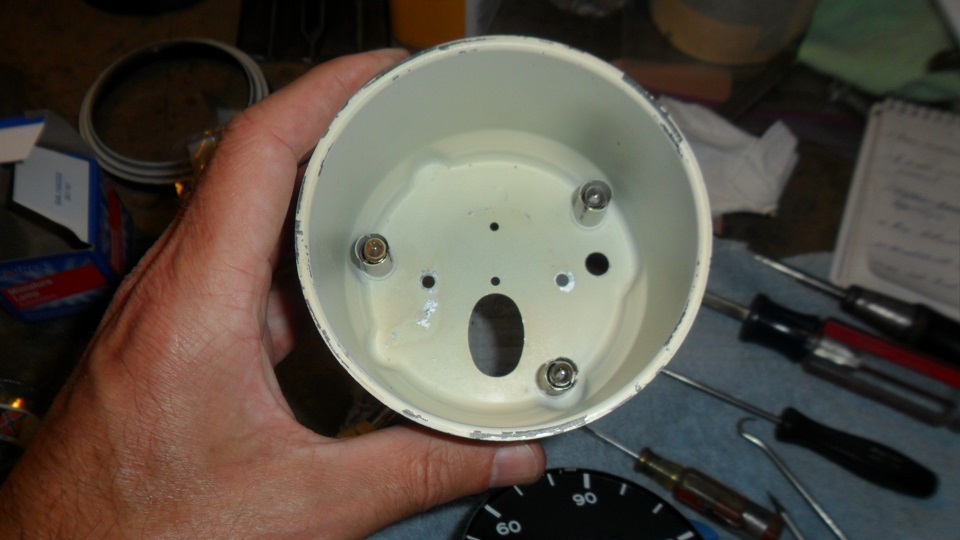 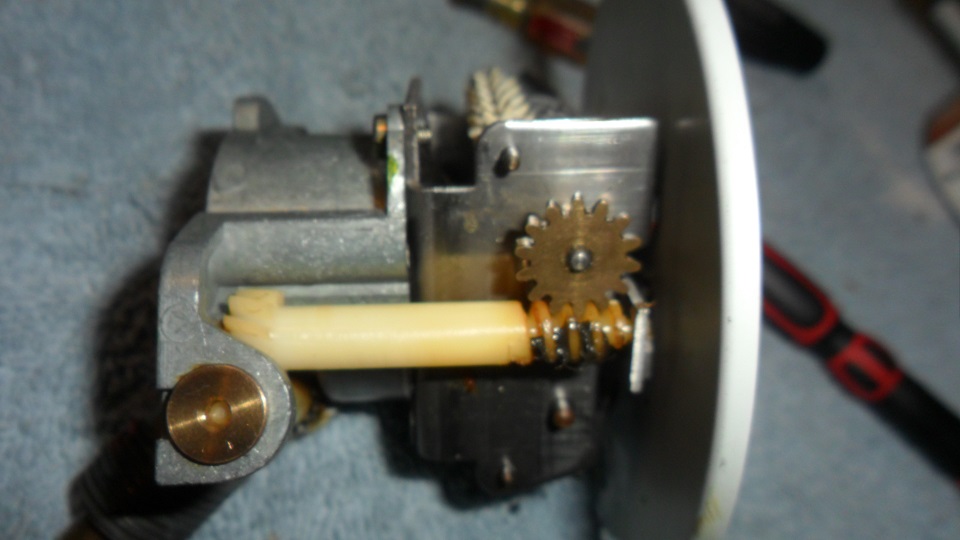 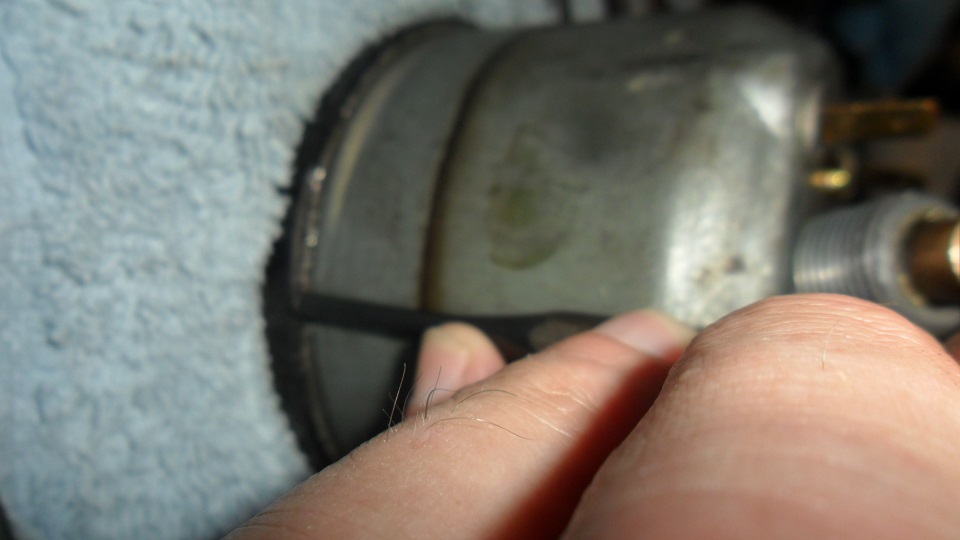 |
| turk22 |
 Jul 8 2014, 05:42 PM Jul 8 2014, 05:42 PM
Post
#506
|
|
Treetop Flyer    Group: Members Posts: 735 Joined: 27-July 12 From: Cincinnati OH Member No.: 14,725 Region Association: Upper MidWest |
Nice, good to see the inside of that thing. Something I'm a little too chicken shit to dig into at this point...
|
| saigon71 |
 Jul 27 2014, 06:00 PM Jul 27 2014, 06:00 PM
Post
#507
|
|
Advanced Member     Group: Members Posts: 2,006 Joined: 1-June 09 From: Dillsburg, PA Member No.: 10,428 Region Association: MidAtlantic Region 

|
Car is doing great overall and has been my daily driver since late Spring. It's been a lot of fun! My winter project list keeps growing and I've got an oil leak. Clutch needs to be adjusted. Still have a hesitation around 3000 rpm & need to clean the distributor. As long as nothing too bad happens, I'll keep driving it.
Passed state inspection, but I've had some intermittent problems with my right rear brake light. It just goes out on its own and stays out until I pull the bulb out and re-seat it. Cleaned everything up today with 220 grit sandpaper, bent the tabs tighter in the housing with a pick and reinstalled the bulb with dielectric grease. It was to bright to see the brake lights on the garage door, so I pulled into the garage and broke out the special tools. I'm in the process of adding up the receipts and will post the whole truth so folks know what they are in for before closing this thread. Regardless of the total, it was all worth it. (IMG:style_emoticons/default/driving.gif) 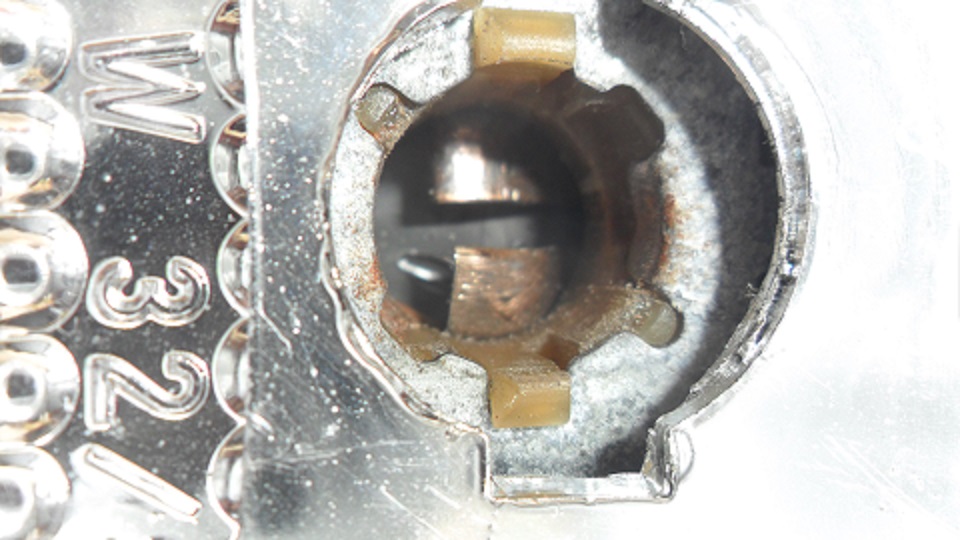 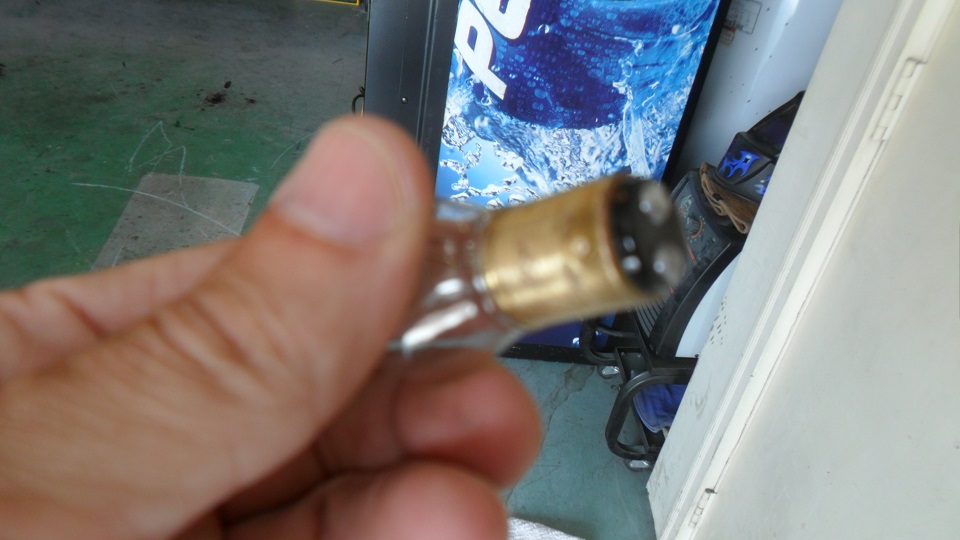 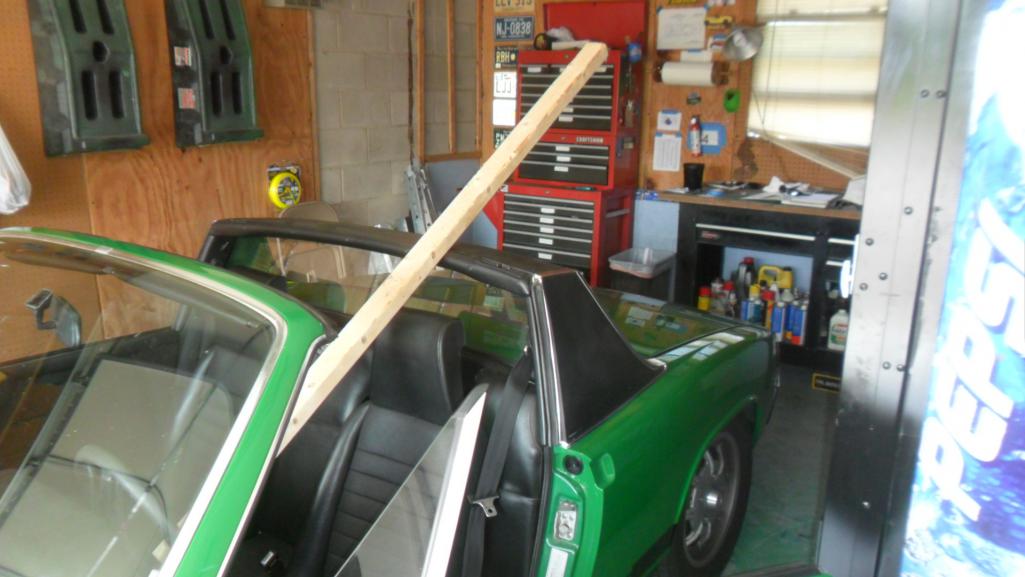 |
| Porschef |
 Jul 27 2014, 06:20 PM Jul 27 2014, 06:20 PM
Post
#508
|
|
How you doin'     Group: Members Posts: 2,180 Joined: 7-September 10 From: LawnGuyland Member No.: 12,152 Region Association: North East States 
|
The hemlock 2x3 is indeed, a very special tool...
|
| saigon71 |
 Sep 12 2014, 06:49 AM Sep 12 2014, 06:49 AM
Post
#509
|
|
Advanced Member     Group: Members Posts: 2,006 Joined: 1-June 09 From: Dillsburg, PA Member No.: 10,428 Region Association: MidAtlantic Region 

|
Added up the thick folder of receipts for my project...came out a little more expensive than estimated and I know I missed a few things. I post this for 914world so folks know what they are getting in for financially when taking on an amateur restoration. Bear in mind that the only labor charge was to shoot the car with paint ($350).
The car is serving me well as my daily driver. (IMG:style_emoticons/default/biggrin.gif) Here we go: Purchase price of car: $3,075. Yes, I know I paid too much. Like many who buy their first 914, I didn't know where and how these things rusted. However, I was fortunate that I ended up with a complete and unmolested car with a strong running 2.0 D-jet. Engine was free but not running when I bought it. Body/Appearance: $670.57 - mostly stuff from 914rubber.com Brakes: $418.49 - Rebuilt front calipers using a kit from PMB. Porterfields up front. Back brakes untouched, will rebuild this winter. Electrical: $333.52 - new Optima 34 was a big chunk of this. Engine/Transmission: $718.18 - vac lines, seals, gaskets, stuff for new oil temps setup, oil & tranny fluids. Fuel system: $437.32 - 2 port fuel pump, FI hose clamps, FI hose. Interior: $232.40 - overall, interior was very nice. Misc parts: $173.70 Paint: $1405.16 - includes primer, paint, sandpaper, masking supplies and charge to shoot the car with single stage acrylic enamel. Good driver quality paint job. Rust repair: $2656.88 - Repair panels from Restoration Design, welding wire, shielding gas, weld-thru primer, rust converter, sheet metal to make other parts. Sound system: $349.87 Supplies: $1,102.06 - expendable materials used in the restoration - wire wheels, sanding & grinding discs, etc. Suspension: $489.23 - New rear billsteins, uninstalled front billsteins, stock springs, new sway bar bushings. Tools: $1,757.65 - includes anything I had to buy to continue the project. I had a lot of tools before starting. The bulk of this is a beefier compressor and mig welding equipment. Wheels/Tires: $399.90 - 195/65-15 Hankook Optimo Tires For a grand total of $14,194.53 I was shocked that it got this out of hand. Agreed upon value with the insurance company is $12,500. |
| ChrisFoley |
 Sep 12 2014, 07:17 AM Sep 12 2014, 07:17 AM
Post
#510
|
|
I am Tangerine Racing      Group: Members Posts: 7,968 Joined: 29-January 03 From: Bolton, CT Member No.: 209 Region Association: None 
|
So, not counting the car purchase, the tools and consumables, and the paint labor -
you spent $7909.82 on parts and materials for your restoration. That's not a lot, all things considered. Heck, I've charged that much labor for rust repair on a 914 before. |
| Porschef |
 Sep 12 2014, 07:56 PM Sep 12 2014, 07:56 PM
Post
#511
|
|
How you doin'     Group: Members Posts: 2,180 Joined: 7-September 10 From: LawnGuyland Member No.: 12,152 Region Association: North East States 
|
Bob, good on you for keeping such good records. I haven't got the discipline to even consider keeping records like that as i consider the car to be my therapy...it's not so complicated that I wouldn't consider doing any repair by myself or with the help of so many of the members of this community. What a fantastic resource.
So now, do yourself a favor. Take all those receipts and put 'em in a small brown paper bag. Pour yourself a beer, or a nice single malt, and take the bag outside. Prop open a lawn chair, sit down, and nearly finish your beverage. Take a deep breath of this cool, late summer night breeze. Lay the bag on the ground. Light it on fire. Let it go out. Finish your beverage. Allow yourself to acknowledge that you can't put a price on what you've done, so let it be. Take it for a drive tomorrow knowing that whatever it cost, it was worth it. Your car looks great. At least that's how I look at it... (IMG:style_emoticons/default/beer.gif) |
| OllieG |
 Sep 13 2014, 02:43 PM Sep 13 2014, 02:43 PM
Post
#512
|
|
OllieG   Group: Members Posts: 212 Joined: 6-July 11 From: UK Member No.: 13,282 Region Association: England |
If you lived in the UK Bob, you could probably double that!!…you are on the right side of the pond for affordable 914 ownership! Anyway, it's not about the money right?! (IMG:style_emoticons/default/sad.gif) (IMG:style_emoticons/default/driving.gif)
|
| saigon71 |
 Sep 15 2014, 04:10 PM Sep 15 2014, 04:10 PM
Post
#513
|
|
Advanced Member     Group: Members Posts: 2,006 Joined: 1-June 09 From: Dillsburg, PA Member No.: 10,428 Region Association: MidAtlantic Region 

|
Bob, good on you for keeping such good records. I haven't got the discipline to even consider keeping records like that as i consider the car to be my therapy...it's not so complicated that I wouldn't consider doing any repair by myself or with the help of so many of the members of this community. What a fantastic resource. So now, do yourself a favor. Take all those receipts and put 'em in a small brown paper bag. Pour yourself a beer, or a nice single malt, and take the bag outside. Prop open a lawn chair, sit down, and nearly finish your beverage. Take a deep breath of this cool, late summer night breeze. Lay the bag on the ground. Light it on fire. Let it go out. Finish your beverage. Allow yourself to acknowledge that you can't put a price on what you've done, so let it be. Take it for a drive tomorrow knowing that whatever it cost, it was worth it. Your car looks great. At least that's how I look at it... (IMG:style_emoticons/default/beer.gif) LOL! I agree, it was never about the money...I just needed to know. I've gotten so much enjoyment out of using the teener as a daily driver - it really was worth it! Can your soul mate be a car? (IMG:style_emoticons/default/biggrin.gif) (IMG:style_emoticons/default/driving.gif) (IMG:style_emoticons/default/driving.gif) (IMG:style_emoticons/default/driving.gif) (IMG:style_emoticons/default/driving.gif) (IMG:style_emoticons/default/driving.gif) (IMG:style_emoticons/default/driving.gif) (IMG:style_emoticons/default/driving.gif) (IMG:style_emoticons/default/driving.gif) |
| OllieG |
 Sep 16 2014, 02:26 AM Sep 16 2014, 02:26 AM
Post
#514
|
|
OllieG   Group: Members Posts: 212 Joined: 6-July 11 From: UK Member No.: 13,282 Region Association: England |
(IMG:style_emoticons/default/huh.gif) Bob, I think you need to go and spend a little while flicking thru the pics over on the sandbox!! (IMG:style_emoticons/default/drooley.gif) |
| Big Len |
 Sep 16 2014, 05:54 AM Sep 16 2014, 05:54 AM
Post
#515
|
|
Senior Member    Group: Members Posts: 1,762 Joined: 16-July 13 From: Edgewood, New Mexico Member No.: 16,126 Region Association: Southwest Region |
Bob,
You did a great job. The car looks great. Now go get laid. |
  |
1 User(s) are reading this topic (1 Guests and 0 Anonymous Users)
0 Members:

|
Lo-Fi Version | Time is now: 27th December 2024 - 10:00 AM |
Invision Power Board
v9.1.4 © 2024 IPS, Inc.


