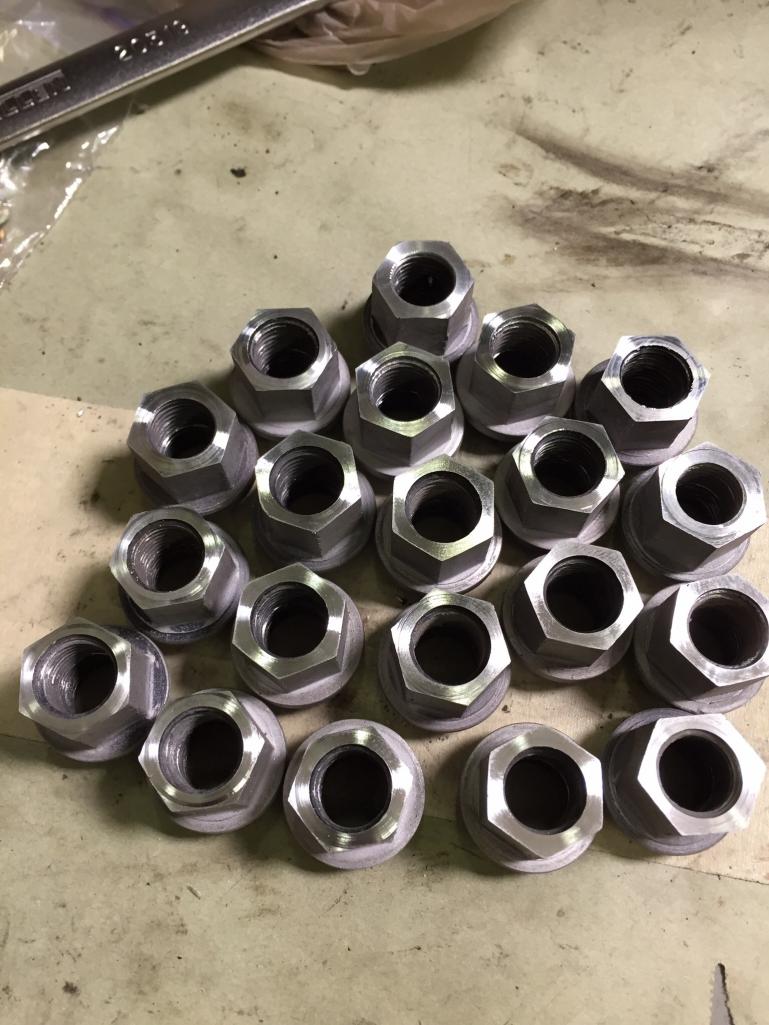
|
|

|
Porsche, and the Porsche crest are registered trademarks of Dr. Ing. h.c. F. Porsche AG.
This site is not affiliated with Porsche in any way. Its only purpose is to provide an online forum for car enthusiasts. All other trademarks are property of their respective owners. |
|
|
  |
| 7TPorsh |
 Aug 14 2015, 09:49 AM Aug 14 2015, 09:49 AM
Post
#6441
|
|
7T Porsh     Group: Members Posts: 2,691 Joined: 27-March 06 From: Glendale Ca Member No.: 5,782 Region Association: Southern California 
|
(IMG:style_emoticons/default/headbang.gif) tried my hand with body work. I think I am going to leave this to the pros LOL That's not bad. Get a foam block or two and wrap the sandpaper around it. Sand in a cross hatch pattern. It will block out the waves. |
| SirAndy |
 Aug 14 2015, 10:53 AM Aug 14 2015, 10:53 AM
Post
#6442
|
|
Resident German                          Group: Admin Posts: 41,933 Joined: 21-January 03 From: Oakland, Kalifornia Member No.: 179 Region Association: Northern California |
|
| Andyrew |
 Aug 14 2015, 11:14 AM Aug 14 2015, 11:14 AM
Post
#6443
|
|
Spooling.... Please wait           Group: Members Posts: 13,377 Joined: 20-January 03 From: Riverbank, Ca Member No.: 172 Region Association: Northern California 
|
(IMG:style_emoticons/default/headbang.gif) tried my hand with body work. I think I am going to leave this to the pros LOL Get a flexible longboard, some 120 grit sticky back paper, some black aerosol, and some glazing putty. Foam block will not work. Spray the area from 2' away with a mist of aerosol paint. Sand with the board perpendicular to these lines and sand in the direction of the direction of the lines. When you feel you have the basic shape down, grab the glazing putty, mix it per directions, and lay it 1/8" thick 3" past the low spot areas. Spray some more "guide coat" (thin mist of aerosol paint), resand and reapply glaze till happy with desired shape and are simply left with 120 grit scratches. Go up to 220 grit then 320 grit, You will need primer filler between as you will likely hit metal. Good luck (IMG:style_emoticons/default/smile.gif) PS Good quality sandpaper makes this job so much more relaxing. Have a wire brush to knock off the sticky stuff off your sandpaper every couple minutes, then replace the sandpaper every 10 minutes or so. You need Attached image(s) 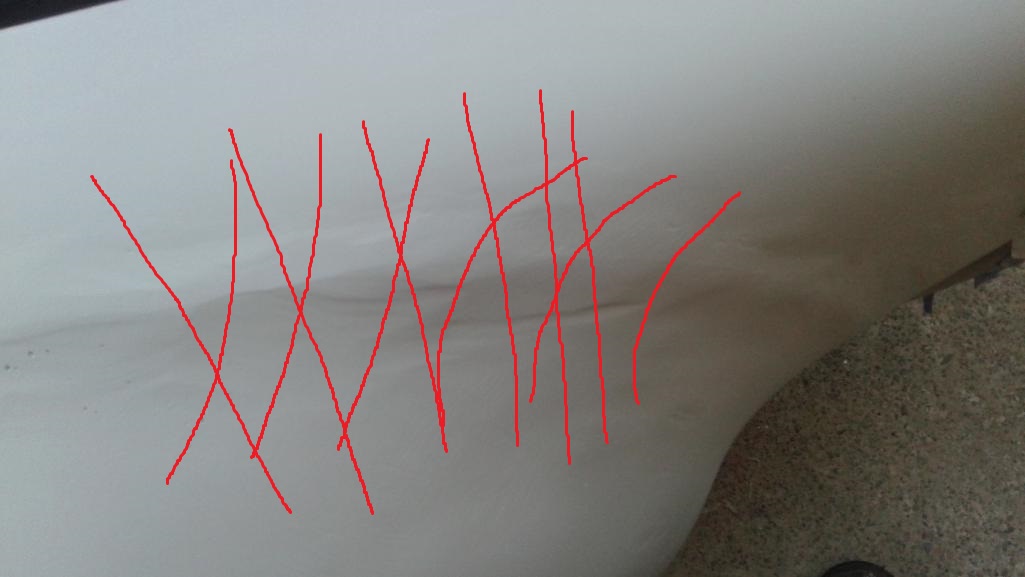
|
| Andyrew |
 Aug 14 2015, 11:16 AM Aug 14 2015, 11:16 AM
Post
#6444
|
|
Spooling.... Please wait           Group: Members Posts: 13,377 Joined: 20-January 03 From: Riverbank, Ca Member No.: 172 Region Association: Northern California 
|
Also I use the edge of my board for most of this round stuff. Some people use rounded boards but I find the edge works just as well when you get the hang of it.
|
| Andyrew |
 Aug 14 2015, 11:26 AM Aug 14 2015, 11:26 AM
Post
#6445
|
|
Spooling.... Please wait           Group: Members Posts: 13,377 Joined: 20-January 03 From: Riverbank, Ca Member No.: 172 Region Association: Northern California 
|
This is a good board to use for 90% of the flatter work.
http://www.harborfreight.com/17-inch-auto-...ander-1727.html They use to carry a long yellow sanding block that was flexible.. sadly they dont anymore. This kit looks pretty good.. http://www.amazon.com/Style-Line-Automotiv...s=sanding+block |
| abes914 |
 Aug 14 2015, 02:57 PM Aug 14 2015, 02:57 PM
Post
#6446
|
|
Member   Group: Members Posts: 366 Joined: 30-March 11 From: Long Beach Member No.: 12,880 Region Association: Southern California 
|
Tic-Tac-Toe...drove the car 3 days in a row! (IMG:style_emoticons/default/driving.gif)
(IMG:style_emoticons/default/cheer.gif) (IMG:style_emoticons/default/aktion035.gif) 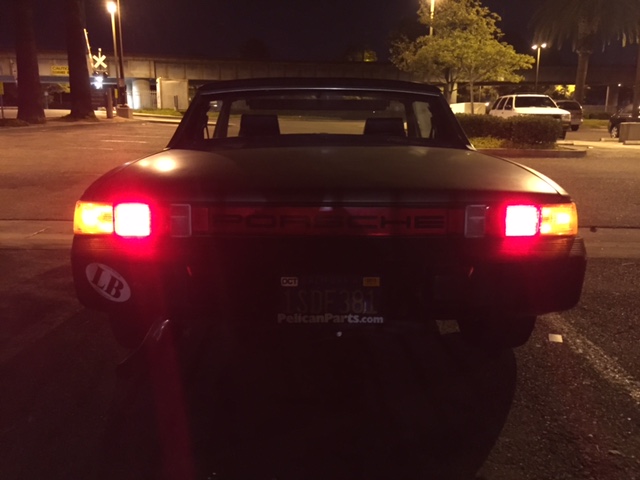 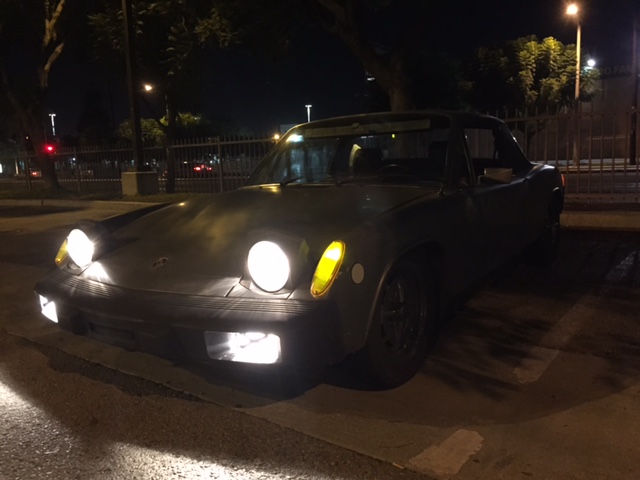 |
| Michael N |
 Aug 14 2015, 10:29 PM Aug 14 2015, 10:29 PM
Post
#6447
|
|
Certifiable    Group: Members Posts: 1,426 Joined: 6-June 04 From: San Jose, Ca Member No.: 2,164 Region Association: Northern California |
Werks Reunion today. Would have preferred a group drive on backroad somewhere rather than hanging around all day. Awesome cars but too much water cooled. Snuck into the end of The Quail Gathering today as well. Lots of ultra cool cars etc, but I wiould never buy a ridiculously priced ticket for it. Free was good for me today.
Driving back into downtown Carmel I get a nice car from a guy walking into the main downtown area. That guy was Patrick Long. I pulled over and Nolan got another selfie taken. Nolan once again was stoked. 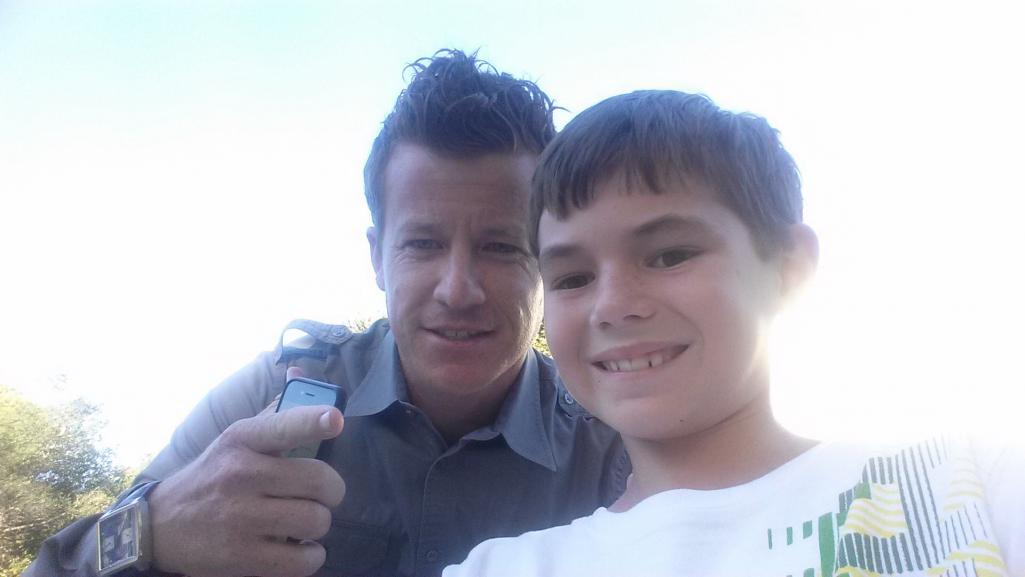 |
| mgp4591 |
 Aug 14 2015, 10:37 PM Aug 14 2015, 10:37 PM
Post
#6448
|
|
914 Guru      Group: Members Posts: 5,499 Joined: 1-August 12 From: Salt Lake City Ut Member No.: 14,748 Region Association: Intermountain Region 
|
Werks Reunion today. Would have preferred a group drive on backroad somewhere rather than hanging around all day. Awesome cars but too much water cooled. Snuck into the end of The Quail Gathering today as well. Lots of ultra cool cars etc, but I wiould never buy a ridiculously priced ticket for it. Free was good for me today. Driving back into downtown Carmel I get a nice car from a guy walking into the main downtown area. That guy was Patrick Long. I pulled over and Nolan got another selfie taken. Nolan once again was stoked.  We've seen lots of encounters with Mr. Long from members on the World lately- he must be a helluva nice guy and LOVE 914s! (IMG:style_emoticons/default/biggrin.gif) |
| euro911 |
 Aug 15 2015, 03:25 AM Aug 15 2015, 03:25 AM
Post
#6449
|
|
Retired & living the dream. God help me if I wake up!      Group: Members Posts: 8,859 Joined: 2-December 06 From: So.Cal. & No.AZ (USA) Member No.: 7,300 Region Association: Southern California 
|
More grease-monkey stuff Friday evening. I have to wait until the shop cools off else I just cook myself to death, so don't get in a full day's work (IMG:style_emoticons/default/dry.gif)
De-greased a little more on my wife's 1.7L, the 1~2 side. I like motors to be somewhat clean before I take 'em apart and as you can see, this motor was definitely GREASY! 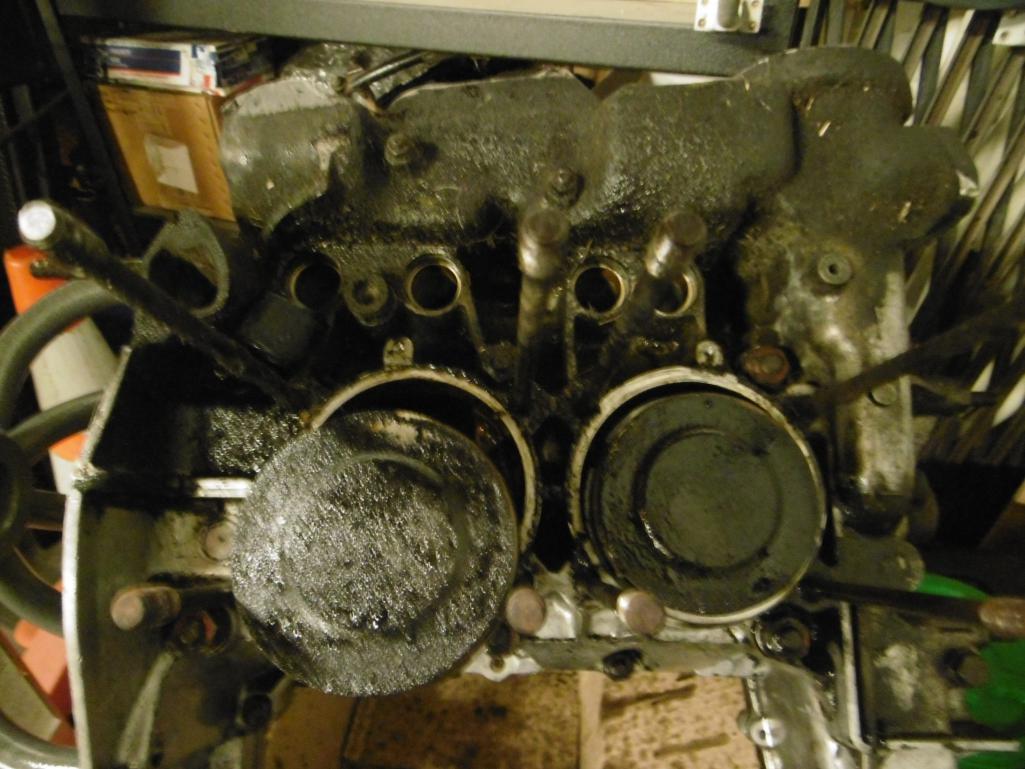 This is where I left off. Still have the front end and bottom to clean up. 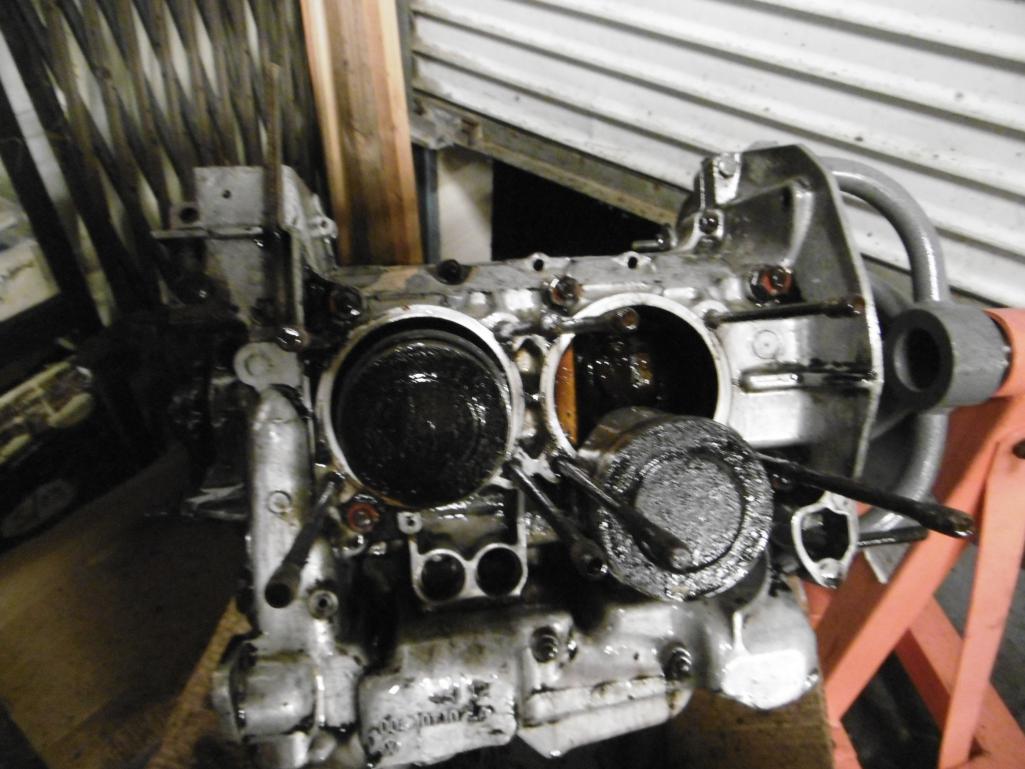 Then went back to work on the 912 motor. Greased the valve cover gasket 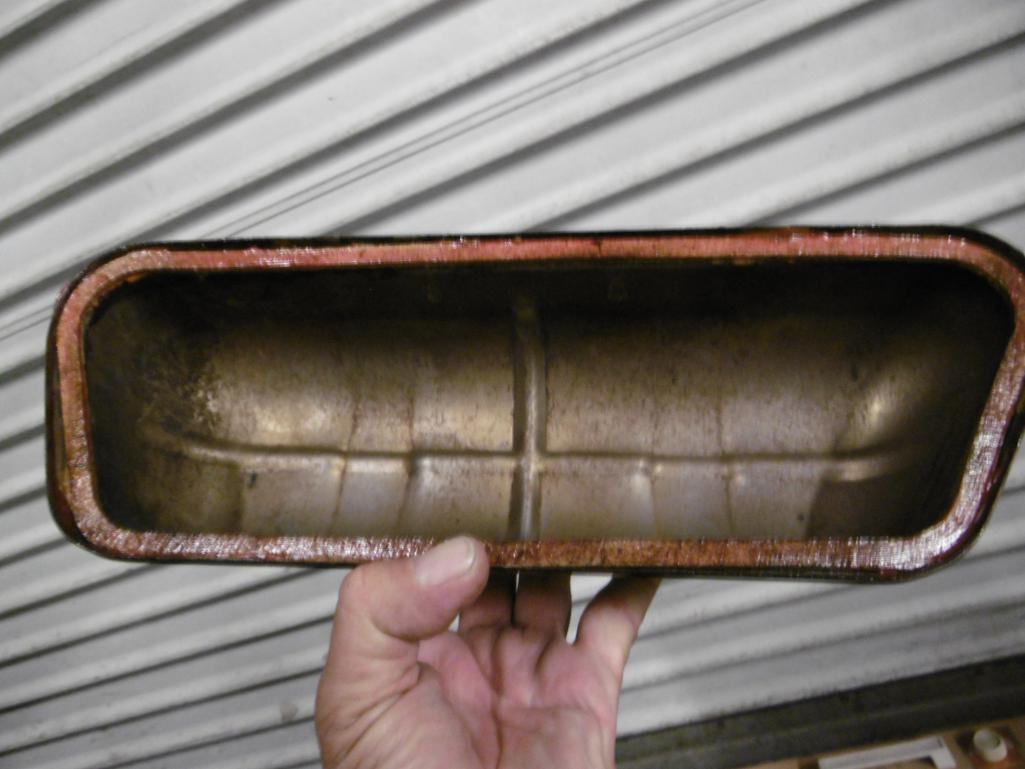 and buttoned up the 1~2 side ... 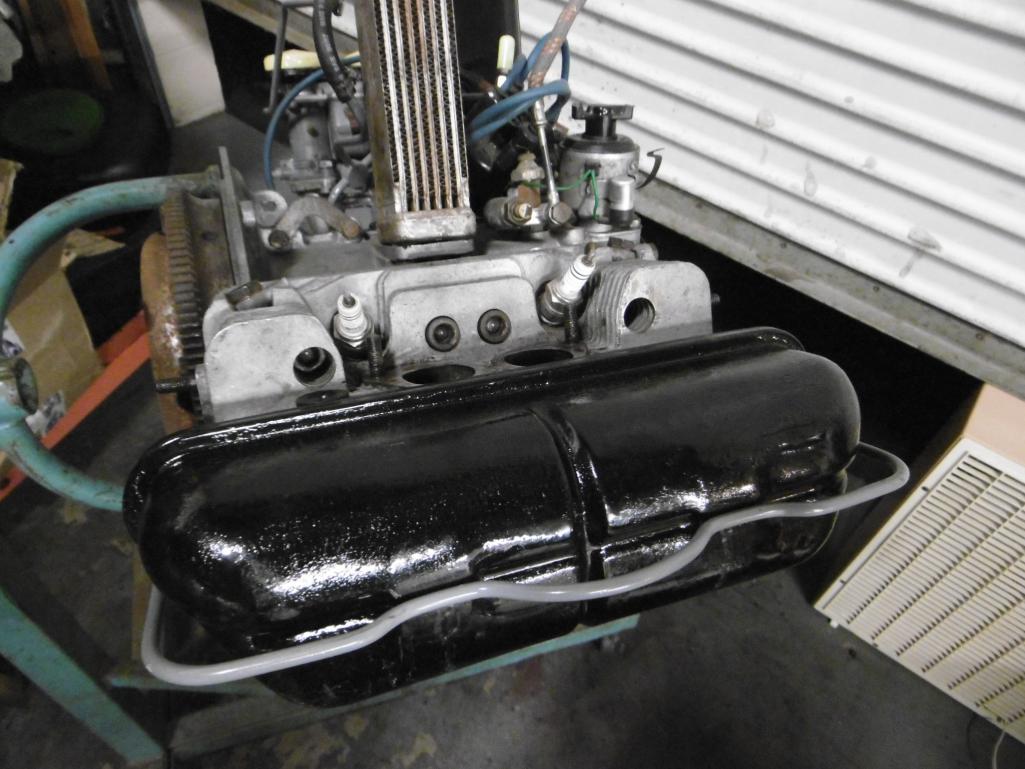 Then I moved over to the 3~4 side and started to remove the intake manifold. The nuts were easy, but it felt like the middle bolt was going to break off, so I saturated the shank with PB and let it sit for a while. Finally got it out and the threads looked galled. Chased the threaded holes in both heads and will buy new bolts for both sides. Removed the rocker arm assembly and push rods - no issues, except there were (7) wave washers missing, just like the other side (IMG:style_emoticons/default/mad.gif) I started to remove the head nuts and ran into another problem. The Allen socket bit won't catch two of the top-side nuts. How the PO got them on this far is anyone's guess. They are screwed down so far the ends of the studs are only a 1/4" in. I'll bet the PO installed the wrong length studs when I get the heads off to check it all out (IMG:style_emoticons/default/screwy.gif) 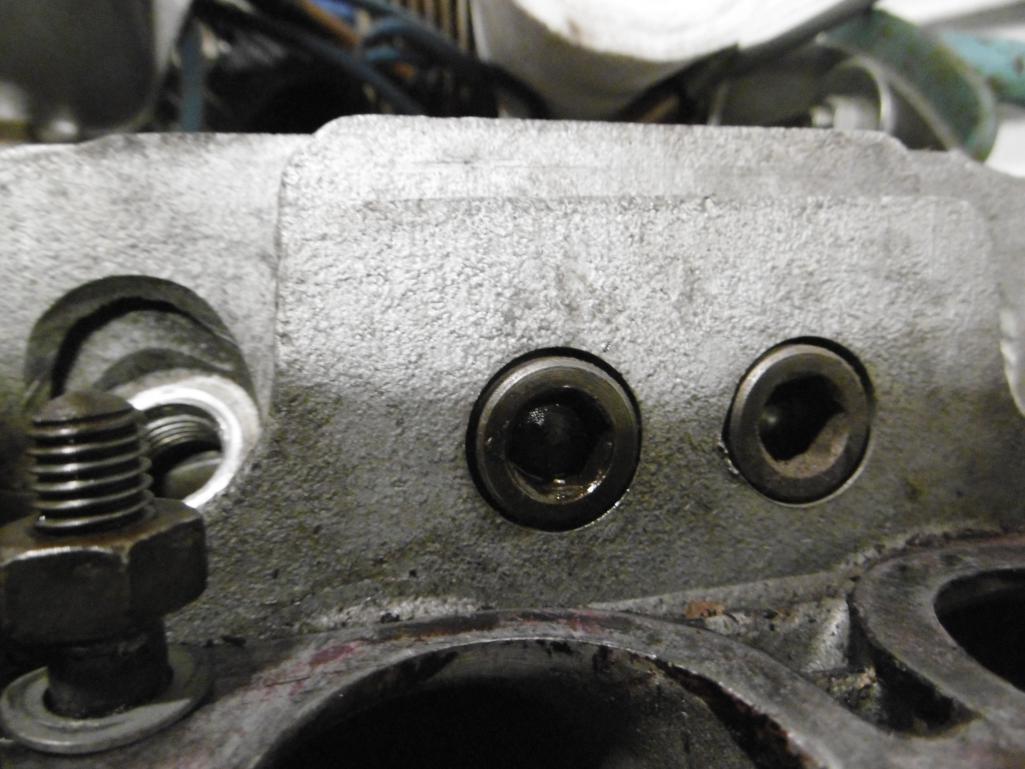 I guess I can try grinding the tip of the bit to square it off, but I doubt even that will do the trick. I may need to chisel them off (IMG:style_emoticons/default/confused24.gif) More in next post ... |
| euro911 |
 Aug 15 2015, 03:28 AM Aug 15 2015, 03:28 AM
Post
#6450
|
|
Retired & living the dream. God help me if I wake up!      Group: Members Posts: 8,859 Joined: 2-December 06 From: So.Cal. & No.AZ (USA) Member No.: 7,300 Region Association: Southern California 
|
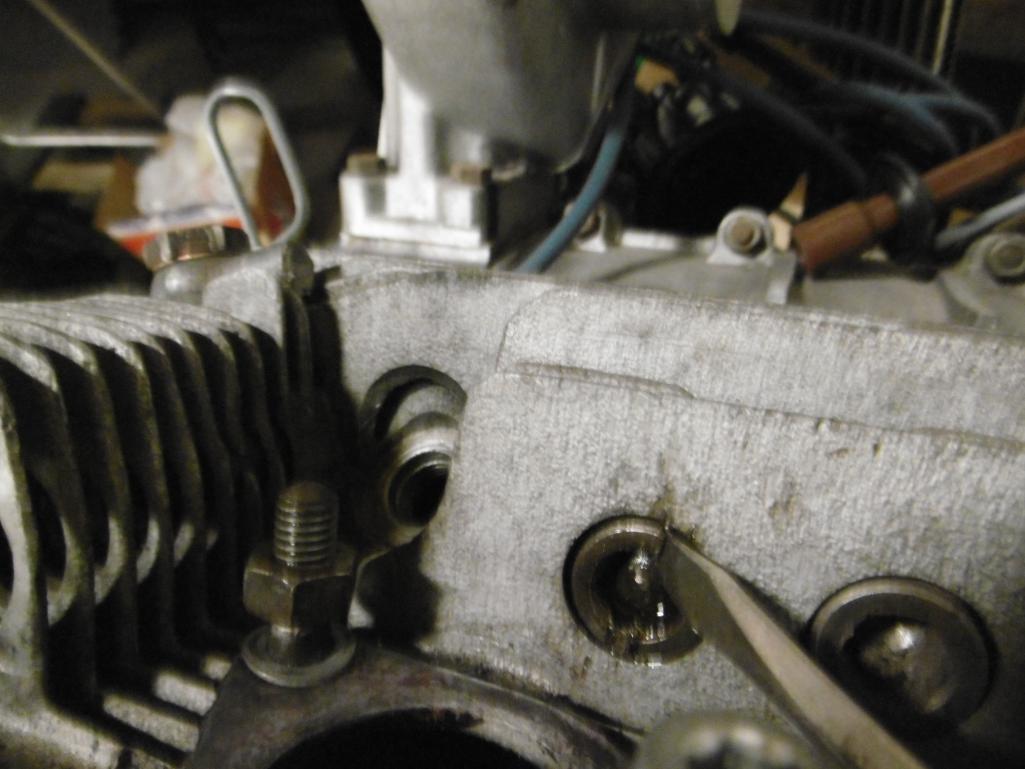
This one will be the easier of the two and I already pounded some grooves in the nut ... it's soaking in PB right now too.
 The other one is going to be tougher because it's recessed. I may need to drill some holes in the nut on each side of the stud, then carefully chisel it apart ... 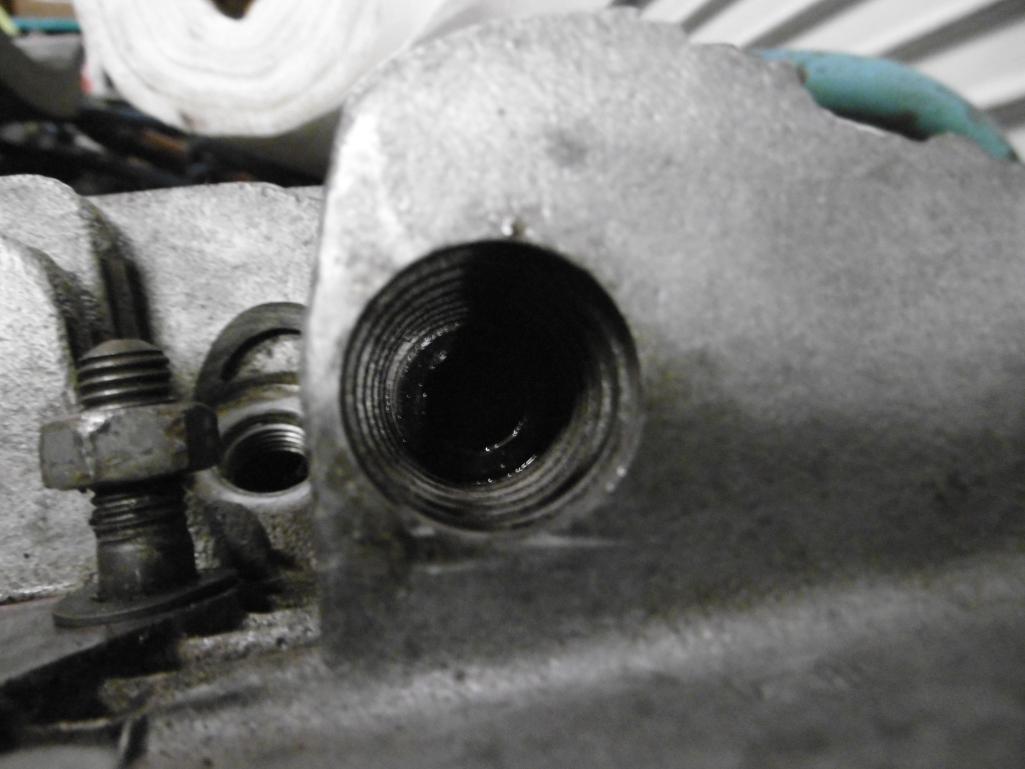 ... hoping I don't bugger the stud threads in the process (IMG:style_emoticons/default/sad.gif) At this point, I can almost guarantee the PO didn't install washers under these nuts too (IMG:style_emoticons/default/mad.gif) More to come on Saturday ... |
| JawjaPorsche |
 Aug 15 2015, 12:49 PM Aug 15 2015, 12:49 PM
Post
#6451
|
|
Advanced Member     Group: Members Posts: 3,463 Joined: 23-July 11 From: Clayton, Georgia Member No.: 13,351 Region Association: South East States |
Went to a cars and coffee this morning with my friend, Rusty, who has FOUR 911's! One is a 1970 911S ground up restoration that is insured for $250K.
Attached image(s) 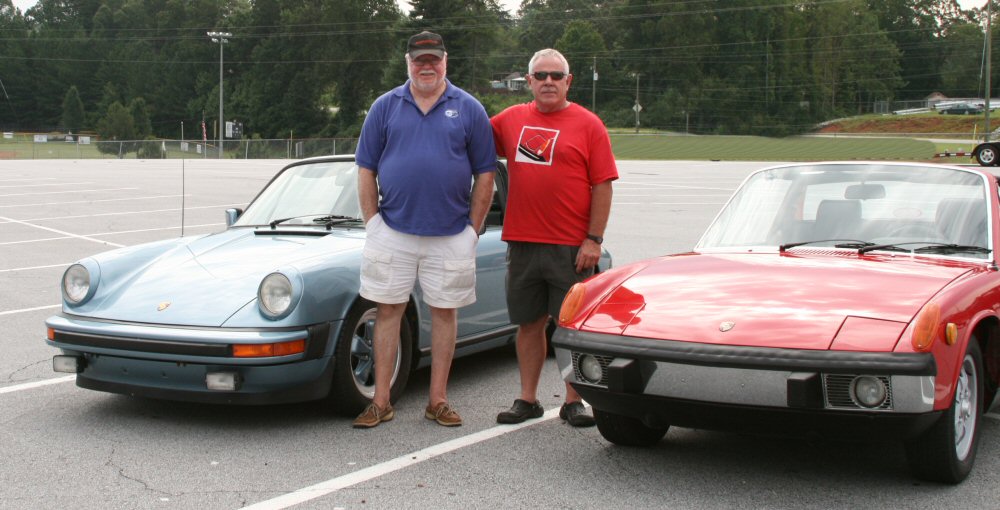 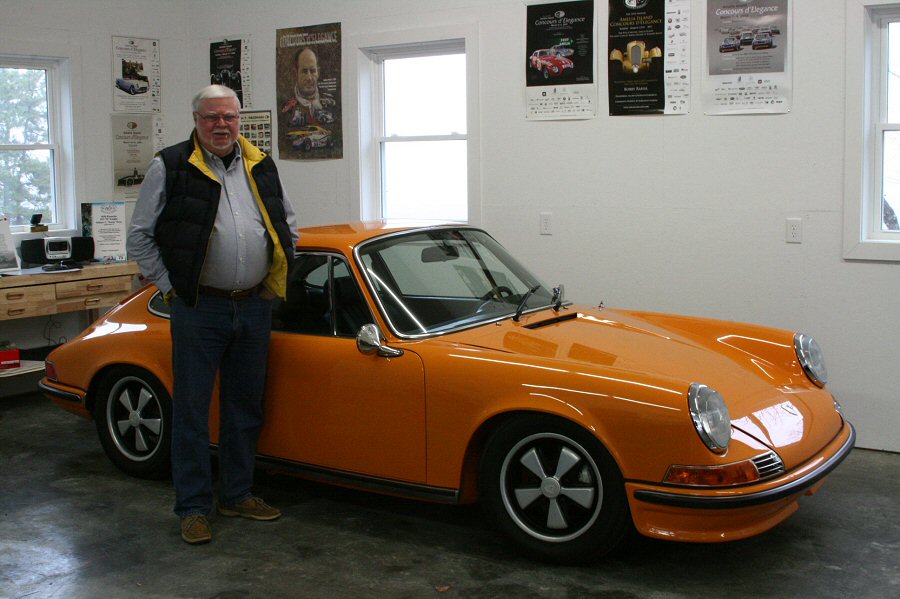
|
| euro911 |
 Aug 15 2015, 01:15 PM Aug 15 2015, 01:15 PM
Post
#6452
|
|
Retired & living the dream. God help me if I wake up!      Group: Members Posts: 8,859 Joined: 2-December 06 From: So.Cal. & No.AZ (USA) Member No.: 7,300 Region Association: Southern California 
|
|
| Phoenix914 |
 Aug 15 2015, 01:47 PM Aug 15 2015, 01:47 PM
Post
#6453
|
|
Member   Group: Members Posts: 389 Joined: 6-December 06 From: Oviedo, FL Member No.: 7,322 Region Association: South East States 
|
More grease-monkey stuff Friday evening. I have to wait until the shop cools off else I just cook myself to death, so don't get in a full day's work (IMG:style_emoticons/default/dry.gif) De-greased a little more on my wife's 1.7L, the 1~2 side. I like motors to be somewhat clean before I take 'em apart and as you can see, this motor was definitely GREASY! How did you degrease the engine without getting junk inside? Just spray and wipe with a rag? I have the same job to do, but no experience yet! 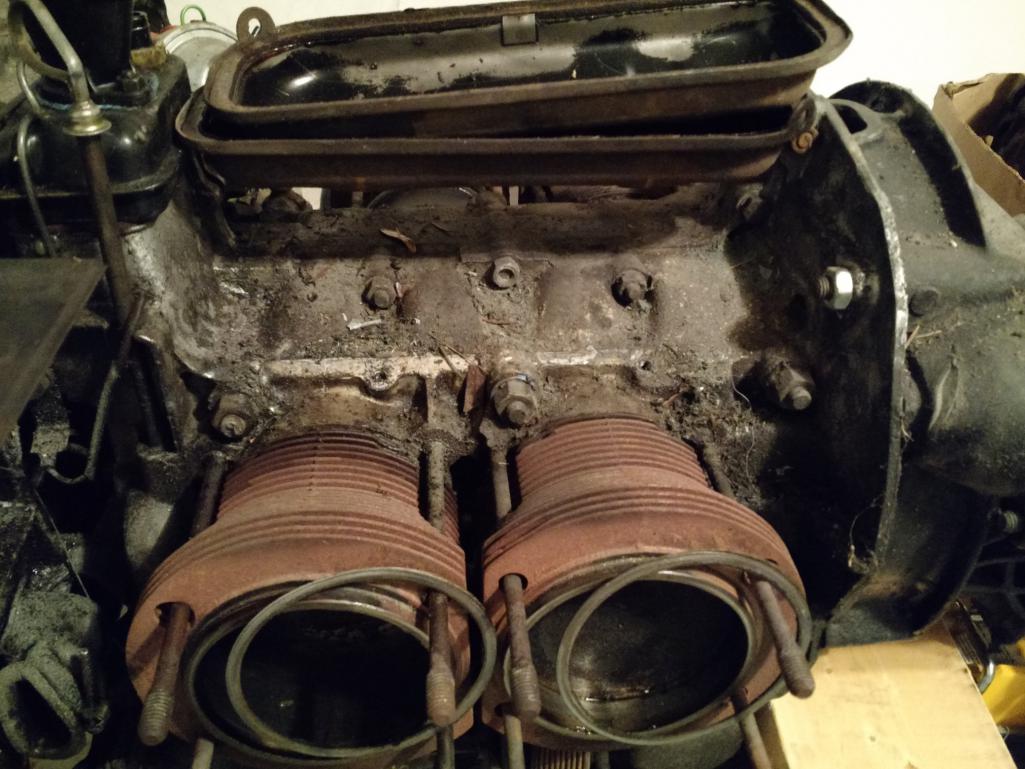 |
| euro911 |
 Aug 15 2015, 03:17 PM Aug 15 2015, 03:17 PM
Post
#6454
|
|
Retired & living the dream. God help me if I wake up!      Group: Members Posts: 8,859 Joined: 2-December 06 From: So.Cal. & No.AZ (USA) Member No.: 7,300 Region Association: Southern California 
|
How did you degrease the engine without getting junk inside? Just spray and wipe with a rag? I have the same job to do, but no experience yet! Bryan, I rotated the motor with the pistons pointed down on the side I was cleaning at the time. Placed a large cardboard box underneath, sprayed small areas and used a plastic putty knife and paper towels. Doesn't matter too much if stuff gets inside though, it's all coming apart anyway. Just wanted it to be fairly clean before splitting the case. |
| Phoenix914 |
 Aug 15 2015, 04:47 PM Aug 15 2015, 04:47 PM
Post
#6455
|
|
Member   Group: Members Posts: 389 Joined: 6-December 06 From: Oviedo, FL Member No.: 7,322 Region Association: South East States 
|
Bryan, I rotated the motor with the pistons pointed down on the side I was cleaning at the time. Placed a large cardboard box underneath, sprayed small areas and used a plastic putty knife and paper towels. Doesn't matter too much if stuff gets inside though, it's all coming apart anyway. Just wanted it to be fairly clean before splitting the case. That makes sense. I don't have a stand right now, but maybe I can pick one up shortly and clean it like you did. I wanted to pull the cylinders off and clean them up too, but wasn't planing to take anything else apart. (famous last words) |
| euro911 |
 Aug 15 2015, 07:31 PM Aug 15 2015, 07:31 PM
Post
#6456
|
|
Retired & living the dream. God help me if I wake up!      Group: Members Posts: 8,859 Joined: 2-December 06 From: So.Cal. & No.AZ (USA) Member No.: 7,300 Region Association: Southern California 
|
That makes sense. I don't have a stand right now, but maybe I can pick one up shortly and clean it like you did. I wanted to pull the cylinders off and clean them up too, but wasn't planing to take anything else apart. (famous last words) The motor actually ran pretty good considering what's wrong with it. It won't keep a valve adjustment ... meaning - I would adjust one side, then the other, but go back to the first side and the clearances changed. I suspect worn cam bearings, so it needs to come completely apart to mic everything. The ODO stopped at 108k miles and who knows when (IMG:style_emoticons/default/confused24.gif) ... so a total refresh was in order.You don't really need one, but having a good stand is much nicer (IMG:style_emoticons/default/shades.gif) |
| euro911 |
 Aug 15 2015, 08:58 PM Aug 15 2015, 08:58 PM
Post
#6457
|
|
Retired & living the dream. God help me if I wake up!      Group: Members Posts: 8,859 Joined: 2-December 06 From: So.Cal. & No.AZ (USA) Member No.: 7,300 Region Association: Southern California 
|
It's cooled off a bit so heading to the shop again this evening ...
Film at 11 (IMG:style_emoticons/default/rolleyes.gif) - - - - - - - - - - - - - - EDIT: Well, 11 came and went, and I didn't finish up until about 2am Sunday morning ... but in any event, here's what transpired: Cleaned up the rest of the 1.7L case, using a heavy-duty foamy engine degreaser spray, a plastic putty knife and paper towels ... then an application of brake cleaner spray as a rinse (IMG:style_emoticons/default/FERG.gif) 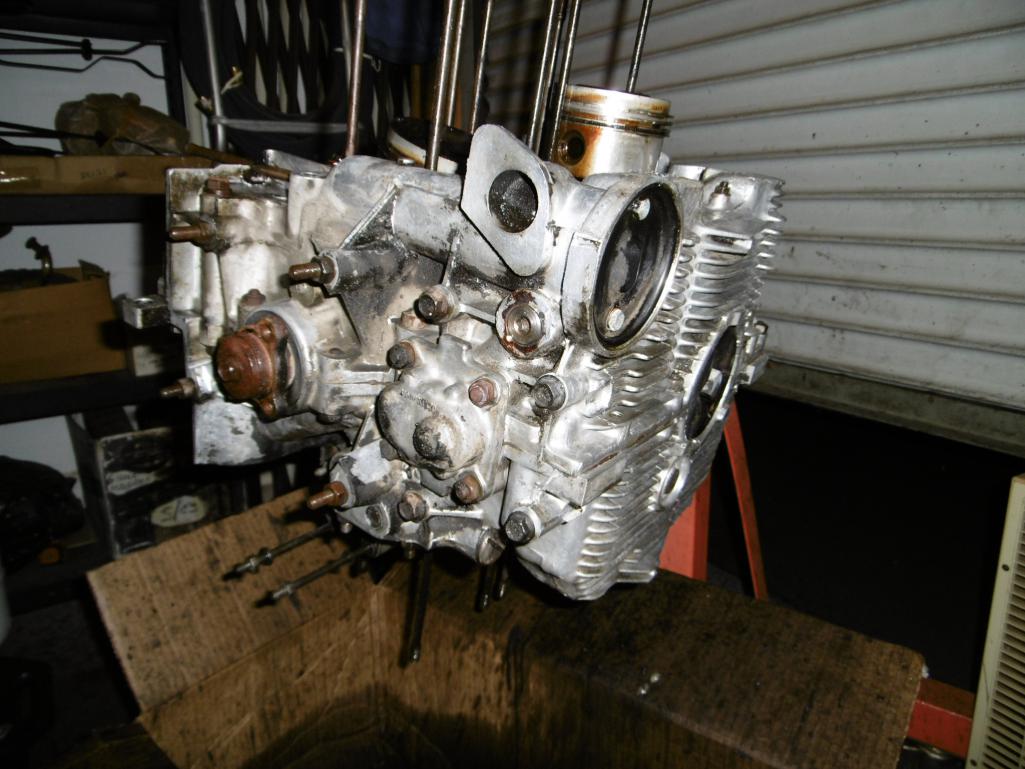 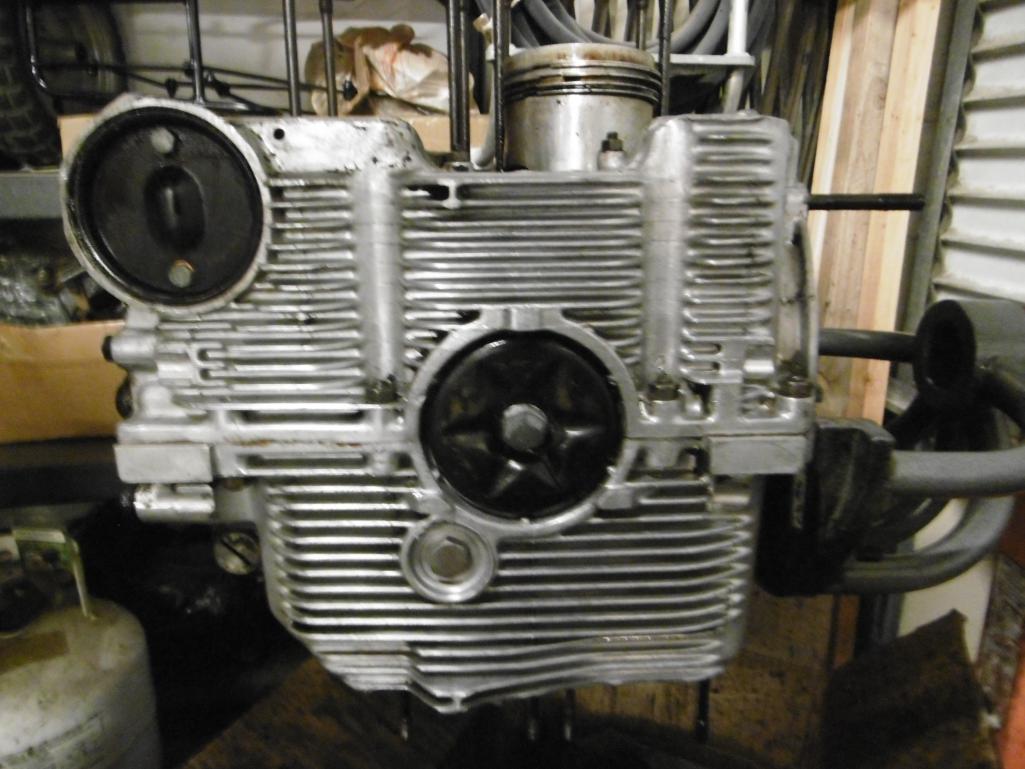 Next, I removed pistons 1, 2 & 4. I wasn't able to remove piston #3s wrist pin so this was pretty much the stopping point. Richard has a neat little device he made up for doing this task, so I'll be asking to borrow it, or to let me know how to make one for myself (IMG:style_emoticons/default/popcorn[1].gif) ... otherwise, I'm almost ready to split the case open. 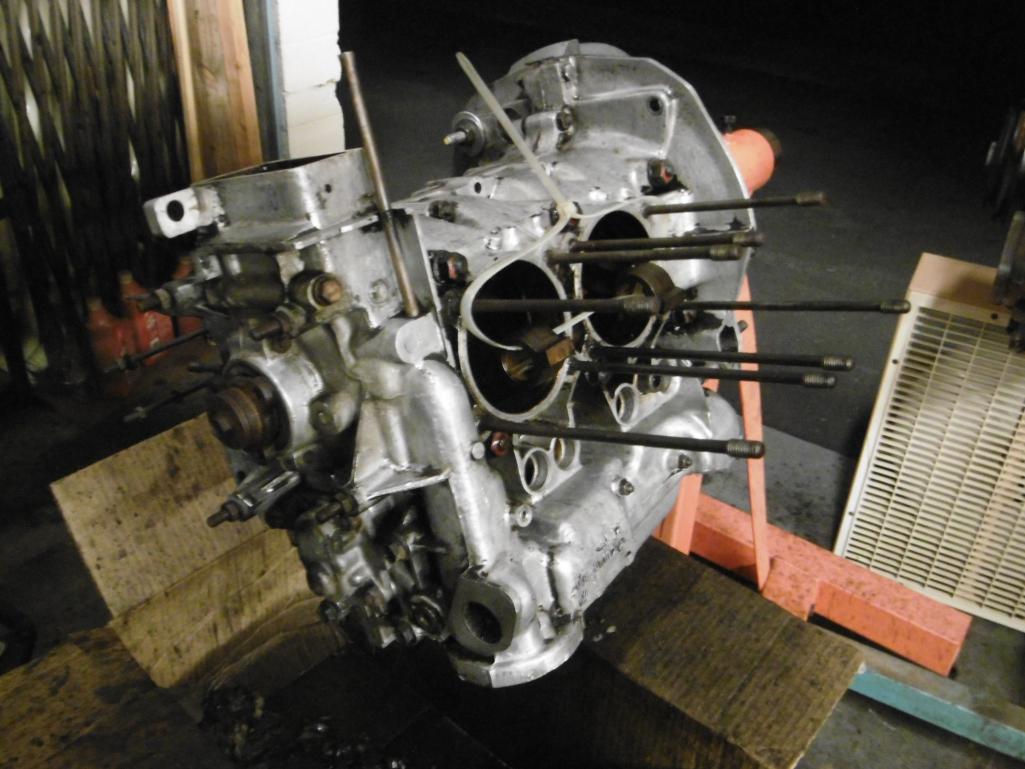 So, with that out of the way, I moved back to the 912 motor to tackle the trapped head nuts issue. Was able to pound one of them CCW enough to get the Allen bit to grab ... 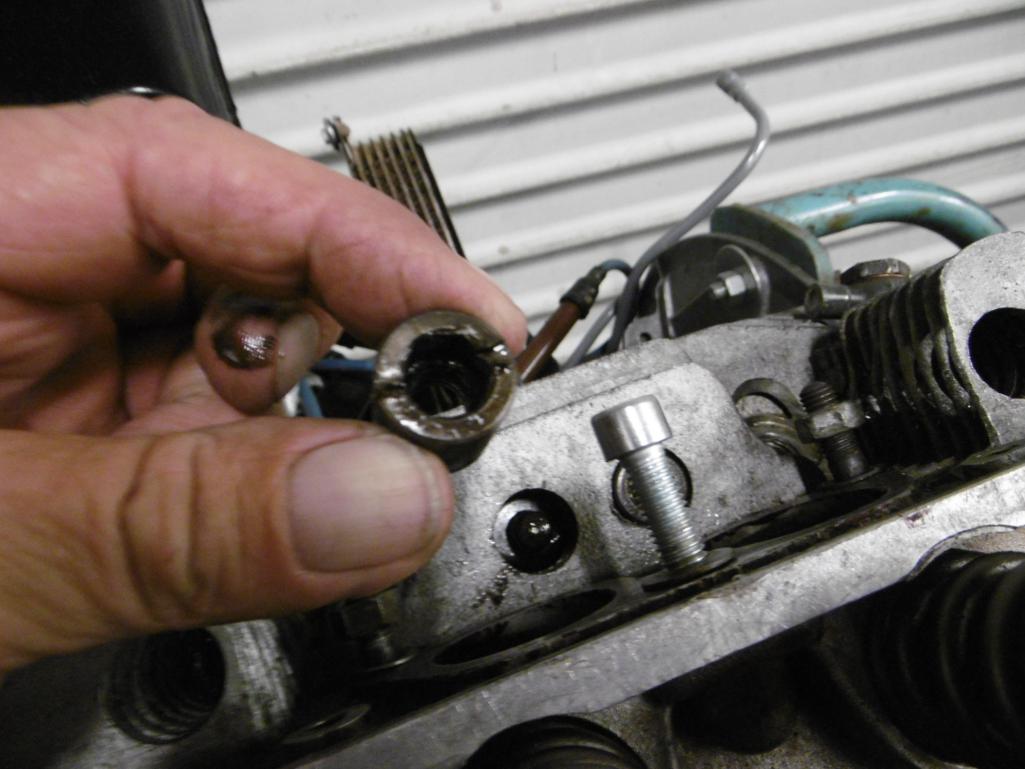 ... so on to the other [more stubborn] one. I drilled a small hole through the length of the nut along the edge, then drove a wedge (old screwdriver) into the hole, attempting to spread the nut apart. 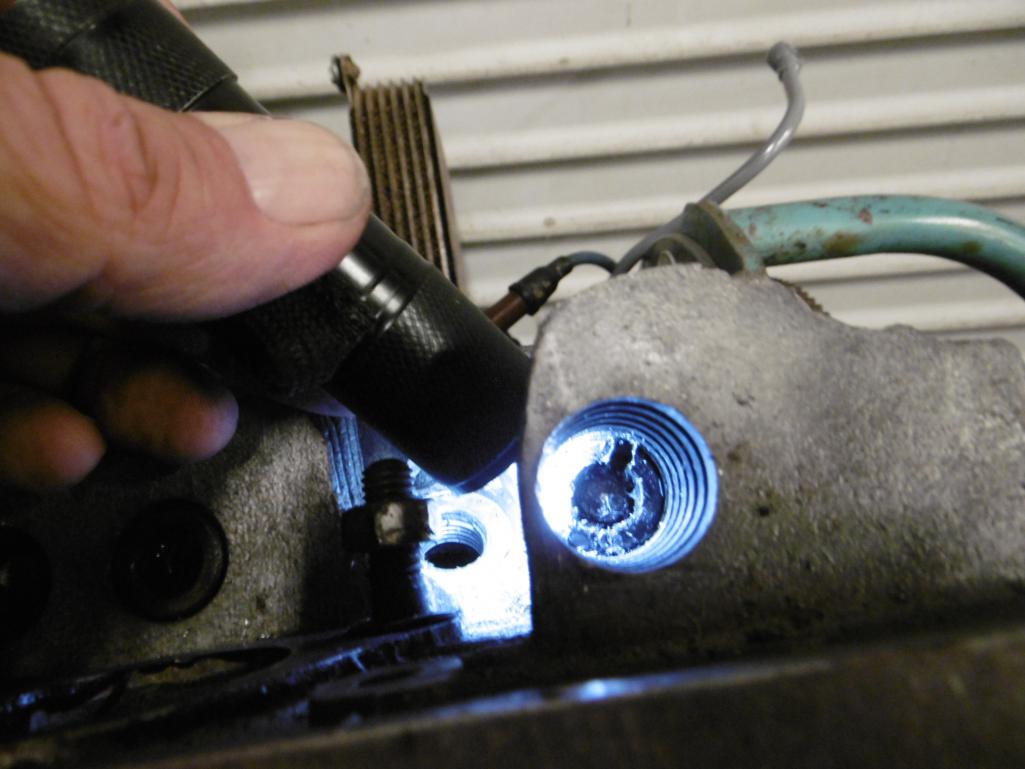 It still wasn't enough to allow me to turn it, so I'll have to drill another hole in another area. I think one 180° would be the best thing (IMG:style_emoticons/default/idea.gif) ... |
| infraredcalvin |
 Aug 16 2015, 09:33 AM Aug 16 2015, 09:33 AM
Post
#6458
|
|
Distracted Member    Group: Members Posts: 1,574 Joined: 25-August 08 From: Ladera Ranch, CA Member No.: 9,463 Region Association: Southern California 
|
I know the horror stories, but why not use an EZout?
|
| infraredcalvin |
 Aug 16 2015, 09:37 AM Aug 16 2015, 09:37 AM
Post
#6459
|
|
Distracted Member    Group: Members Posts: 1,574 Joined: 25-August 08 From: Ladera Ranch, CA Member No.: 9,463 Region Association: Southern California 
|
|
| Johny Blackstain |
 Aug 16 2015, 12:31 PM Aug 16 2015, 12:31 PM
Post
#6460
|
|
Walnut Elite Stratocaster player     Group: Members Posts: 3,434 Joined: 5-December 06 From: The Shenandoah River Member No.: 7,318 Region Association: MidAtlantic Region 
|
Put another 16 miles on the LE's odometer today. Odometer now reads 48,583 original miles. The dreaded 50k is fast approaching! (IMG:style_emoticons/default/sad.gif)
(IMG:style_emoticons/default/creamsicle914.jpg) |
  |
2 User(s) are reading this topic (1 Guests and 0 Anonymous Users)
1 Members: Jeff_72

|
Lo-Fi Version | Time is now: 18th December 2024 - 02:08 PM |
Invision Power Board
v9.1.4 © 2024 IPS, Inc.


