|
|

|
Porsche, and the Porsche crest are registered trademarks of Dr. Ing. h.c. F. Porsche AG.
This site is not affiliated with Porsche in any way. Its only purpose is to provide an online forum for car enthusiasts. All other trademarks are property of their respective owners. |
|
|
  |
| rick 918-S |
 Mar 18 2012, 11:16 PM Mar 18 2012, 11:16 PM
Post
#21
|
|
Hey nice rack! -Celette                Group: Members Posts: 20,841 Joined: 30-December 02 From: Now in Superior WI Member No.: 43 Region Association: Northstar Region 

|
Rear catches are out, front quarter windows & caps are out too. door panels tomorrow and let the cutting begin. one last question, i will put the porta power at the base of the long and the rear firewall, the front, I presume that i will push on the panel flange at the upper hinge height (or should it be higher?) Stay about the upper hinge height. Use blocks of wood or thick rubber pads and watch to see that your not crushing the pressure points where the port-o-power cintacts the body. The windsheild frame should be in the right place. Don't tweek that unless your vent window is binding. It shouldn't be.. |
| FourBlades |
 Mar 19 2012, 08:05 AM Mar 19 2012, 08:05 AM
Post
#22
|
|
From Wreck to Rockin     Group: Members Posts: 2,056 Joined: 3-December 07 From: Brevard, FL Member No.: 8,414 Region Association: South East States 
|
I'd like to see a lot of pictures of how this works. I did the same thing to my passenger side when I welded in my Engman. The door closes fine but the gap is really small. (IMG:style_emoticons/default/popcorn[1].gif) (IMG:style_emoticons/default/popcorn[1].gif) (IMG:style_emoticons/default/popcorn[1].gif) John |
| TravisNeff |
 Mar 19 2012, 08:57 AM Mar 19 2012, 08:57 AM
Post
#23
|
|
914 Guru      Group: Members Posts: 5,082 Joined: 20-March 03 From: Mesa, AZ Member No.: 447 Region Association: Southwest Region 
|
I will be documenting this all the way through, good, bad or indifferent. i know there are a lot of people on here that have run into an issue with a bent tub
|
| TravisNeff |
 Mar 19 2012, 07:38 PM Mar 19 2012, 07:38 PM
Post
#24
|
|
914 Guru      Group: Members Posts: 5,082 Joined: 20-March 03 From: Mesa, AZ Member No.: 447 Region Association: Southwest Region 
|
I did my cuts like I showed you before, only cutting through the stiffening kit. I pushed out the passenger cowl - going very slowly, rechecking the door fit and top. the passenger side might need a little more, but I decided to do the drivers side a push and looks like I am going in the right direction.
heading back out to take some measurements and snap y'all a couple of pics. |
| TravisNeff |
 Mar 19 2012, 09:11 PM Mar 19 2012, 09:11 PM
Post
#25
|
|
914 Guru      Group: Members Posts: 5,082 Joined: 20-March 03 From: Mesa, AZ Member No.: 447 Region Association: Southwest Region 
|
the car on jackstands, notice that i have the jackstands behind the cowl, this will give me a little more leverage
Attached thumbnail(s) 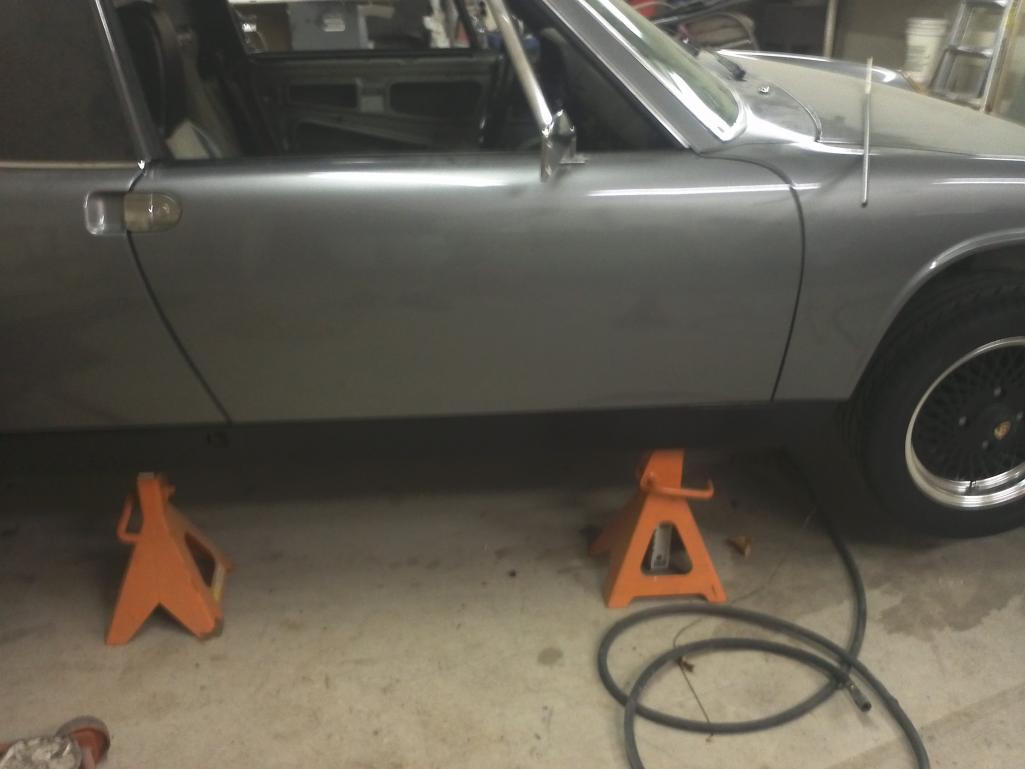
|
| TravisNeff |
 Mar 19 2012, 09:12 PM Mar 19 2012, 09:12 PM
Post
#26
|
|
914 Guru      Group: Members Posts: 5,082 Joined: 20-March 03 From: Mesa, AZ Member No.: 447 Region Association: Southwest Region 
|
here's how i was positioning the porta power
Attached thumbnail(s) 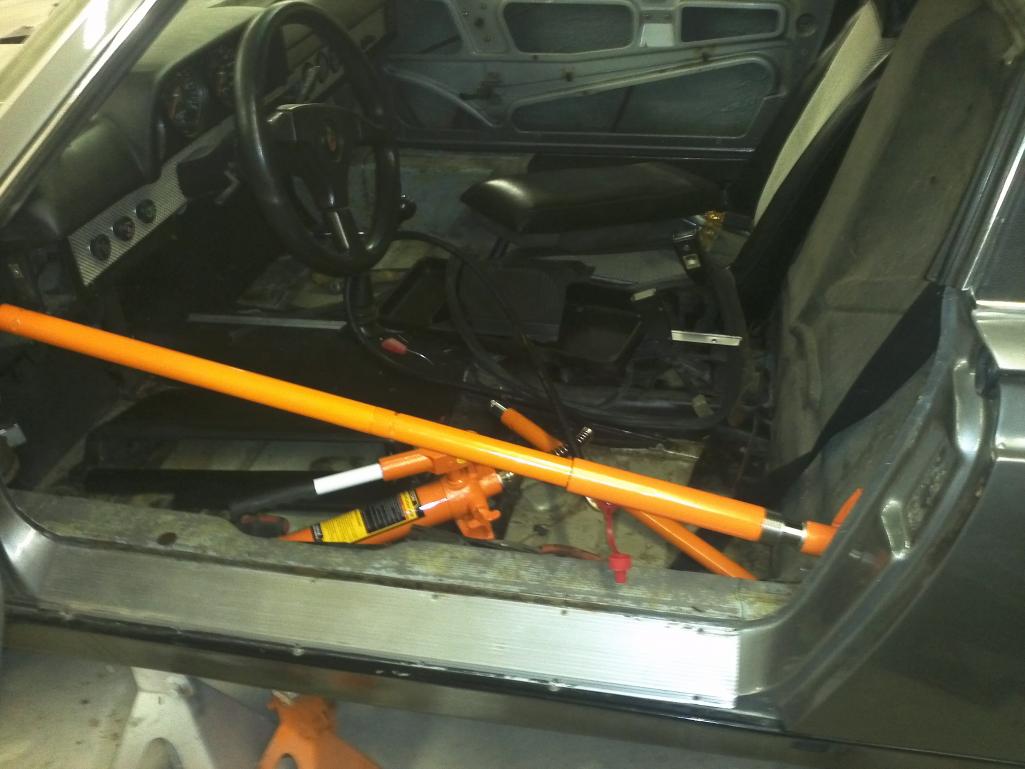 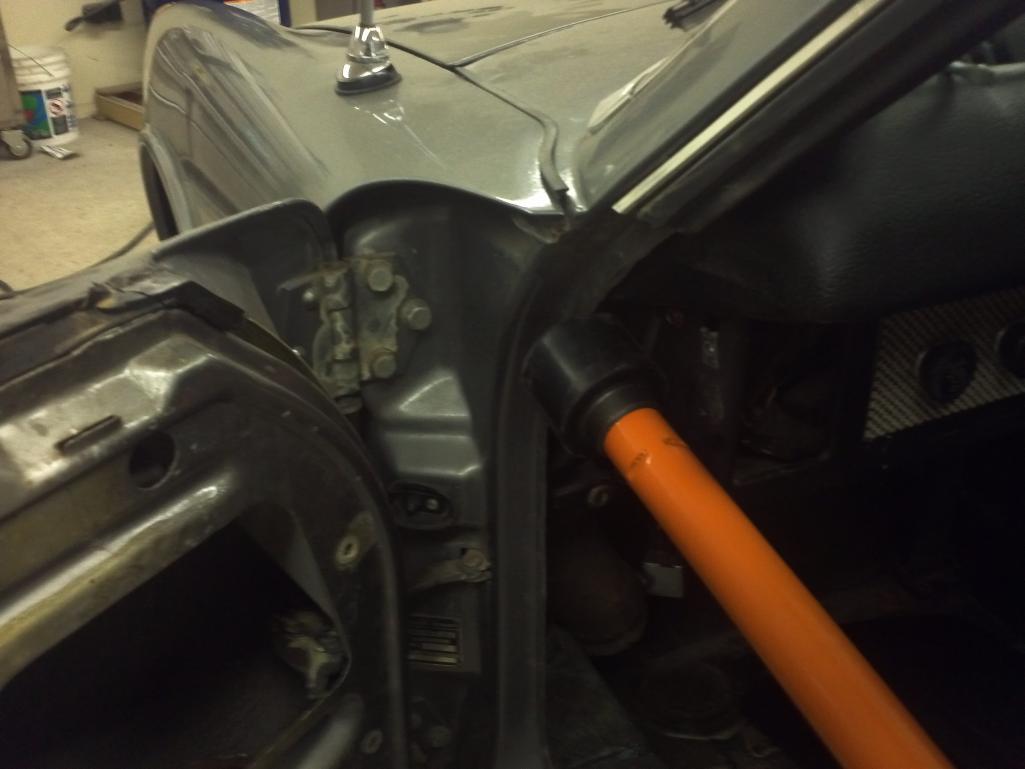
|
| TravisNeff |
 Mar 19 2012, 09:14 PM Mar 19 2012, 09:14 PM
Post
#27
|
|
914 Guru      Group: Members Posts: 5,082 Joined: 20-March 03 From: Mesa, AZ Member No.: 447 Region Association: Southwest Region 
|
here's the gaps after the push, looking a lot better in the front. the rear has an even gap, but it's big. the passenger side quarter panel was replaced at some point and it was put in a little screwy - more on that later.
Attached thumbnail(s) 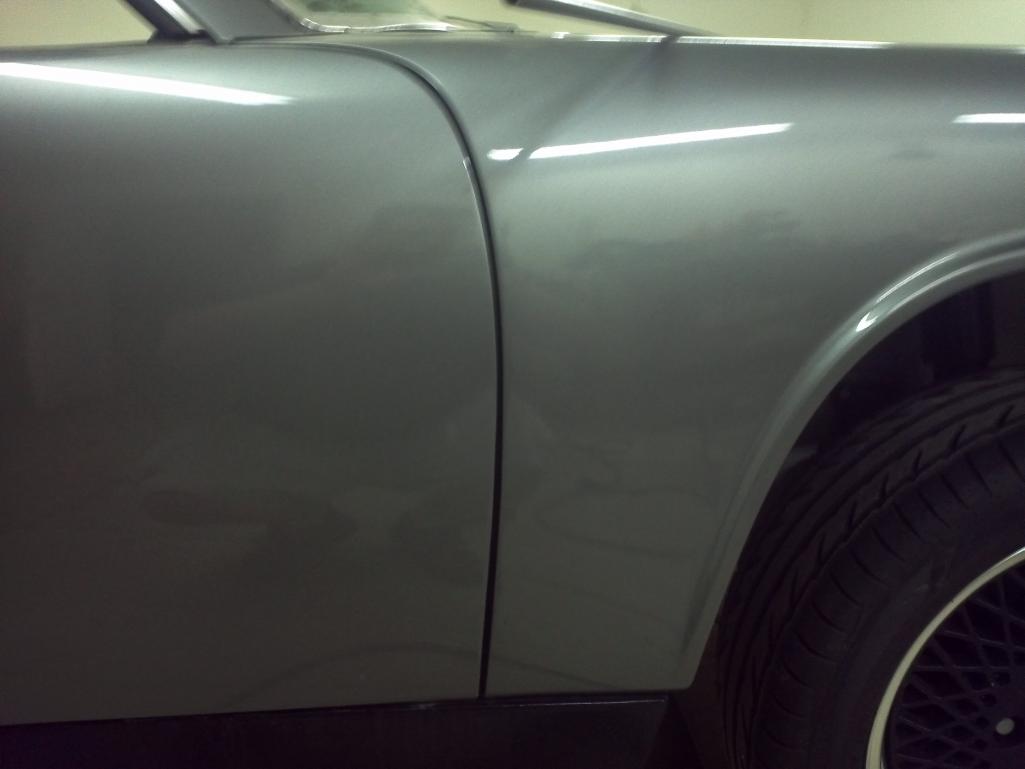 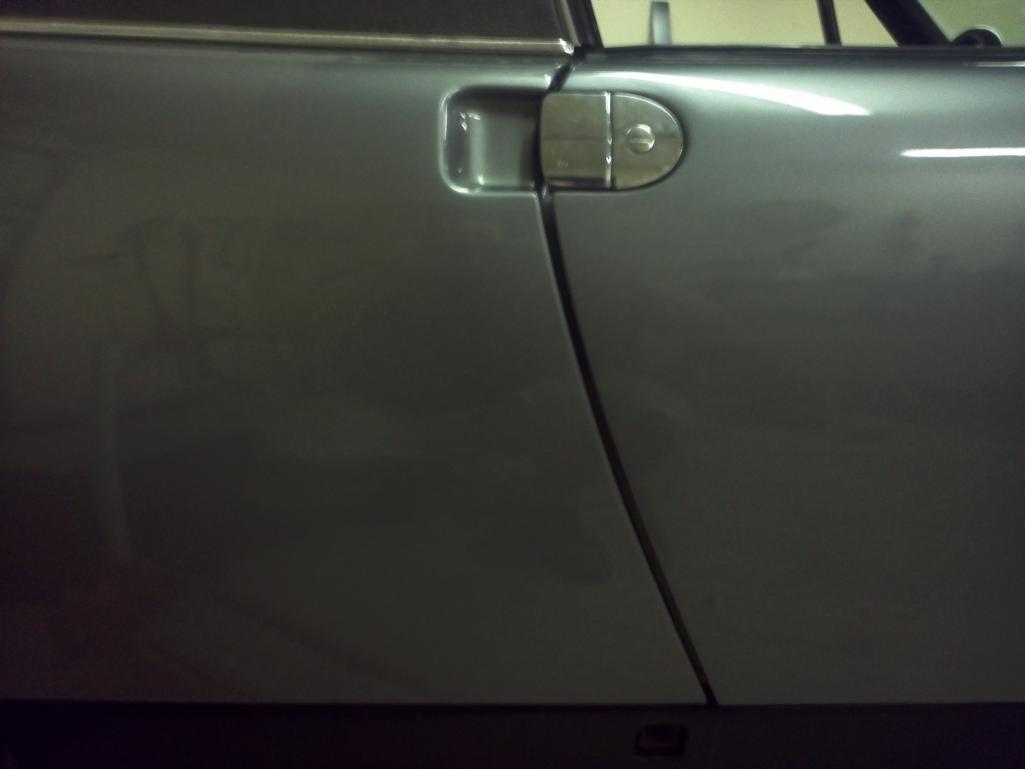
|
| TravisNeff |
 Mar 19 2012, 09:15 PM Mar 19 2012, 09:15 PM
Post
#28
|
|
914 Guru      Group: Members Posts: 5,082 Joined: 20-March 03 From: Mesa, AZ Member No.: 447 Region Association: Southwest Region 
|
tomorrow i will push back the driver's side of the targa bar.
|
| 76-914 |
 Mar 19 2012, 09:54 PM Mar 19 2012, 09:54 PM
Post
#29
|
|
Repeat Offender & Resident Subaru Antagonist           Group: Members Posts: 13,655 Joined: 23-January 09 From: Temecula, CA Member No.: 9,964 Region Association: Southern California 
|
|
| rick 918-S |
 Mar 19 2012, 10:26 PM Mar 19 2012, 10:26 PM
Post
#30
|
|
Hey nice rack! -Celette                Group: Members Posts: 20,841 Joined: 30-December 02 From: Now in Superior WI Member No.: 43 Region Association: Northstar Region 

|
Good idea with the stands. Be sure to check your targa bar to windsheild measurements. It would be easy to get ahead of yourself and end up wide at the top now. Good job so far! (IMG:style_emoticons/default/first.gif)
|
| TravisNeff |
 Mar 21 2012, 09:31 PM Mar 21 2012, 09:31 PM
Post
#31
|
|
914 Guru      Group: Members Posts: 5,082 Joined: 20-March 03 From: Mesa, AZ Member No.: 447 Region Association: Southwest Region 
|
a couple days ago i pushed out the drivers front cowl a bit, mostly there..
today I cut the drivers side door opening at the rear of the door. A litle pushing to from the front wheelwell (right behind where the heater tubes are) up to the seat belt recoil mechanism - removing the seat belt mech first of course). anyways - this side is done!!! just need to weld it back up. Attached thumbnail(s) 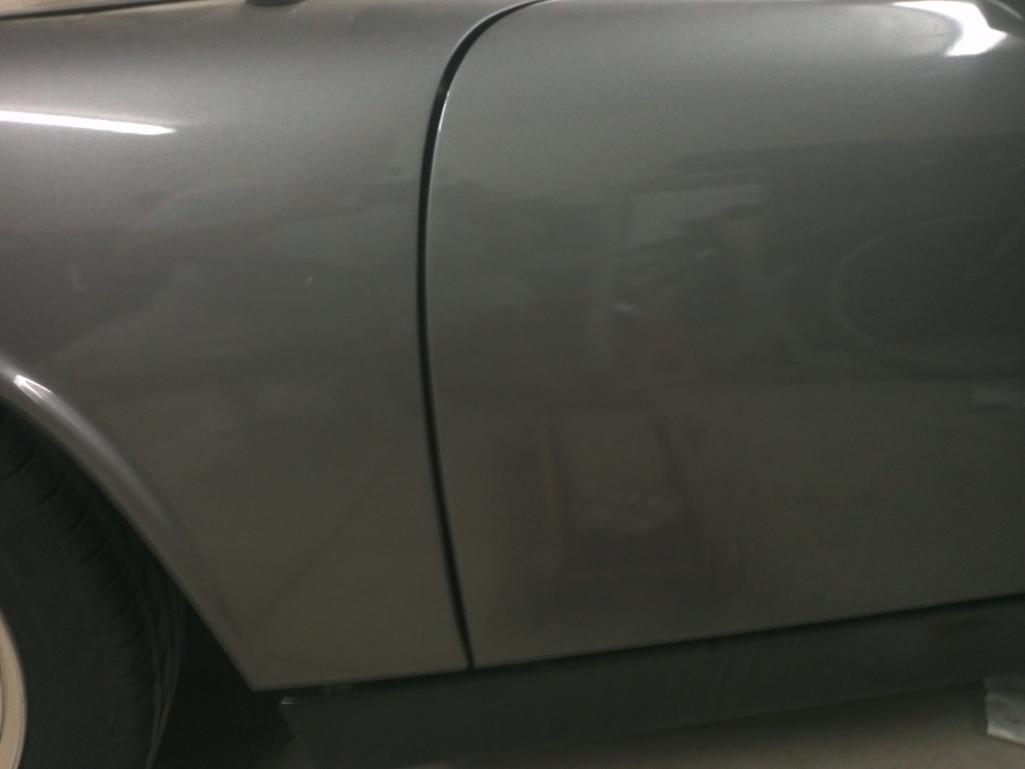 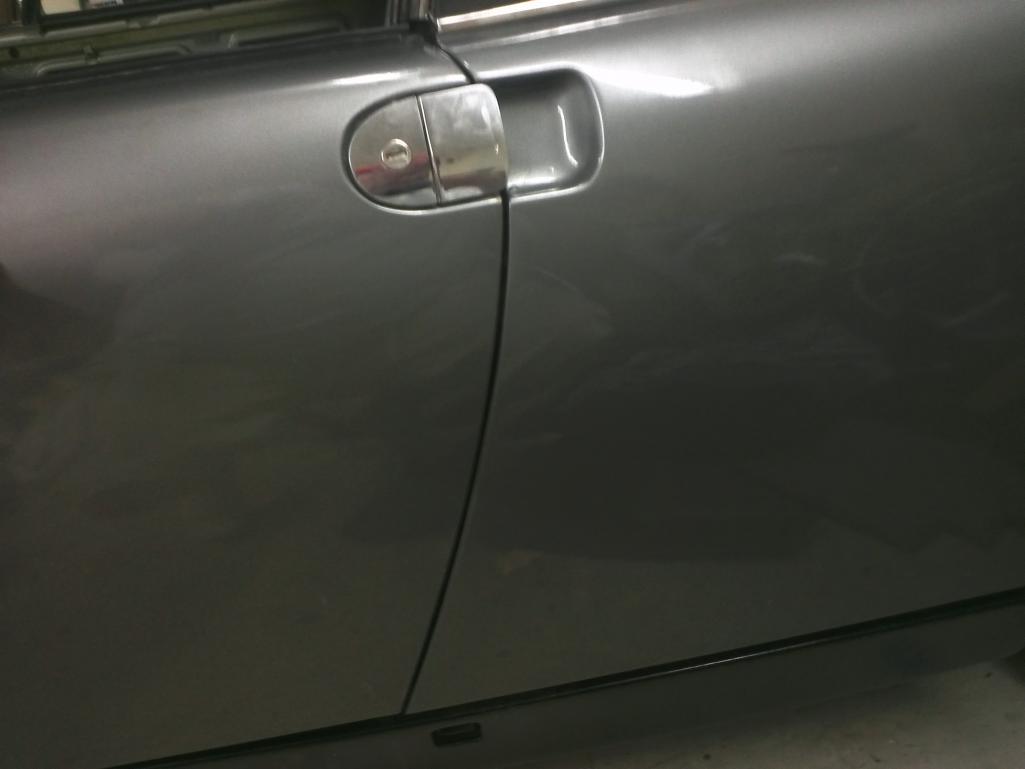
|
| TravisNeff |
 Mar 21 2012, 09:32 PM Mar 21 2012, 09:32 PM
Post
#32
|
|
914 Guru      Group: Members Posts: 5,082 Joined: 20-March 03 From: Mesa, AZ Member No.: 447 Region Association: Southwest Region 
|
and a before pic - just for comparison. the drivers side is no longer a door slammer!
Attached thumbnail(s) 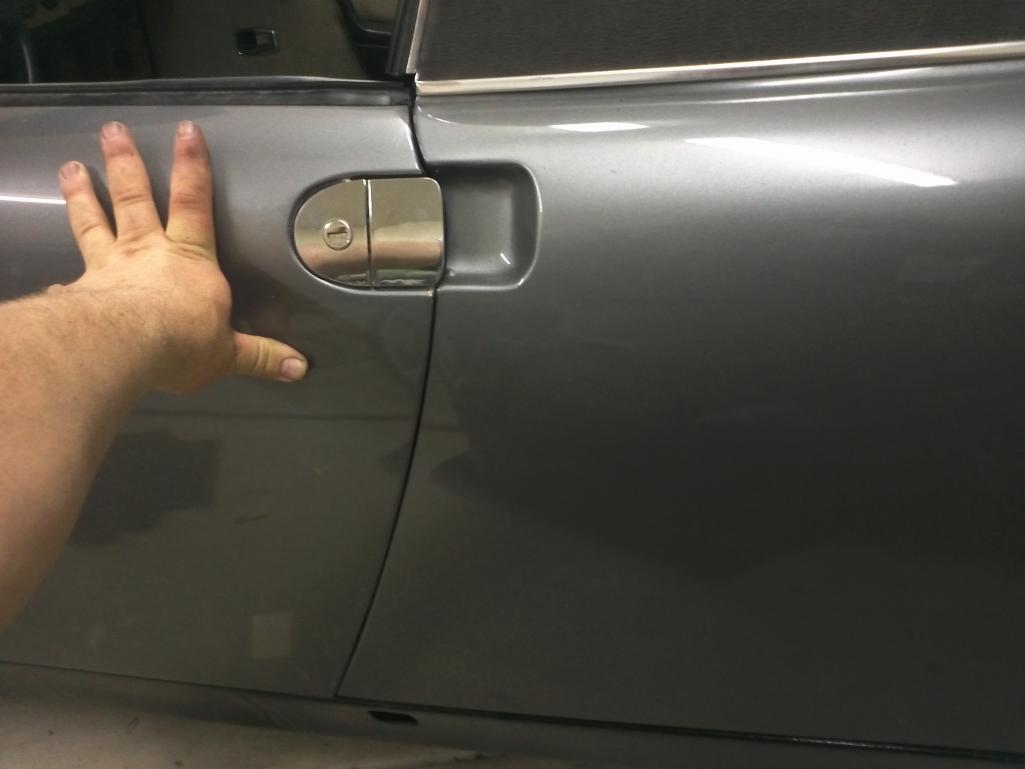
|
| MoveQik |
 Mar 22 2012, 08:01 AM Mar 22 2012, 08:01 AM
Post
#33
|
|
What size wheels can I fit?     Group: Members Posts: 4,654 Joined: 5-April 05 From: Scottsdale, AZ Member No.: 3,881 Region Association: Southwest Region  |
Looks good Travis. We leave at 1:30 tomorrow so hurry up!
|
| TravisNeff |
 Mar 22 2012, 08:42 AM Mar 22 2012, 08:42 AM
Post
#34
|
|
914 Guru      Group: Members Posts: 5,082 Joined: 20-March 03 From: Mesa, AZ Member No.: 447 Region Association: Southwest Region 
|
I am trying, but I am not holding my breath
|
| rick 918-S |
 Mar 22 2012, 09:05 AM Mar 22 2012, 09:05 AM
Post
#35
|
|
Hey nice rack! -Celette                Group: Members Posts: 20,841 Joined: 30-December 02 From: Now in Superior WI Member No.: 43 Region Association: Northstar Region 

|
Looking good Travis!
|
| sofi2t81 |
 Mar 23 2012, 11:33 AM Mar 23 2012, 11:33 AM
Post
#36
|
|
Member   Group: Members Posts: 85 Joined: 6-December 10 From: Meine, Germany Member No.: 12,458 Region Association: Germany |
Good to follow that thread.
I have the problem that the PO messed up my passenger door gap when restoring the hell hole. He welded in the inner wheel house without supporting the longs, so my door gap is 1mm at the top. My plan is to but the car on jack stands. Push the door gap open like you did and then weld in the Engman kit with little heat as possible. (IMG:style_emoticons/default/welder.gif) Do you think that would work, or do I have to cut the longs? (I don’t like that idea (IMG:style_emoticons/default/unsure.gif) ) Peter |
| TravisNeff |
 Mar 23 2012, 12:09 PM Mar 23 2012, 12:09 PM
Post
#37
|
|
914 Guru      Group: Members Posts: 5,082 Joined: 20-March 03 From: Mesa, AZ Member No.: 447 Region Association: Southwest Region 
|
Dont cut your longs!!!! I just cut through the stiffening kit only which was already installed
|
| rick 918-S |
 Mar 23 2012, 12:10 PM Mar 23 2012, 12:10 PM
Post
#38
|
|
Hey nice rack! -Celette                Group: Members Posts: 20,841 Joined: 30-December 02 From: Now in Superior WI Member No.: 43 Region Association: Northstar Region 

|
Good to follow that thread. I have the problem that the PO messed up my passenger door gap when restoring the hell hole. He welded in the inner wheel house without supporting the longs, so my door gap is 1mm at the top. My plan is to but the car on jack stands. Push the door gap open like you did and then weld in the Engman kit with little heat as possible. (IMG:style_emoticons/default/welder.gif) Do you think that would work, or do I have to cut the longs? (I don’t like that idea (IMG:style_emoticons/default/unsure.gif) ) Peter If there was no chassis stiffening done yet you should be able to move the gap. Once there, be sure to brace it before welding. Don't forget to check the targa top opening as you go. |
| TravisNeff |
 Mar 23 2012, 12:43 PM Mar 23 2012, 12:43 PM
Post
#39
|
|
914 Guru      Group: Members Posts: 5,082 Joined: 20-March 03 From: Mesa, AZ Member No.: 447 Region Association: Southwest Region 
|
Show us a pic of where you are at
|
| rick 918-S |
 Mar 23 2012, 10:52 PM Mar 23 2012, 10:52 PM
Post
#40
|
|
Hey nice rack! -Celette                Group: Members Posts: 20,841 Joined: 30-December 02 From: Now in Superior WI Member No.: 43 Region Association: Northstar Region 

|
Show us a pic of where you are at (IMG:style_emoticons/default/agree.gif) (IMG:style_emoticons/default/thisthreadisworthlesswithoutpics.gif) |
  |
3 User(s) are reading this topic (3 Guests and 0 Anonymous Users)
0 Members:

|
Lo-Fi Version | Time is now: 16th January 2025 - 11:49 PM |
Invision Power Board
v9.1.4 © 2025 IPS, Inc.


