|
|

|
Porsche, and the Porsche crest are registered trademarks of Dr. Ing. h.c. F. Porsche AG.
This site is not affiliated with Porsche in any way. Its only purpose is to provide an online forum for car enthusiasts. All other trademarks are property of their respective owners. |
|
|
  |
| cary |
 Mar 4 2013, 11:31 PM Mar 4 2013, 11:31 PM
Post
#166
|
|
Advanced Member     Group: Members Posts: 3,900 Joined: 26-January 04 From: Sherwood Oregon Member No.: 1,608 Region Association: Pacific Northwest 
|
Here's the motor mounts that where sent by Worn.
Thank You ................ 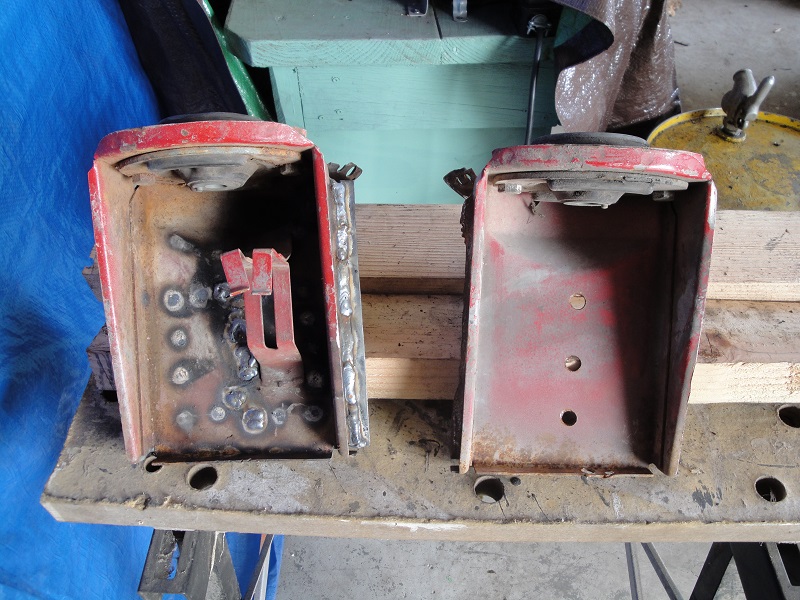 |
| cary |
 Mar 4 2013, 11:35 PM Mar 4 2013, 11:35 PM
Post
#167
|
|
Advanced Member     Group: Members Posts: 3,900 Joined: 26-January 04 From: Sherwood Oregon Member No.: 1,608 Region Association: Pacific Northwest 
|
Taking a time out to get the other car ready for season opening AX on 3/15-16.
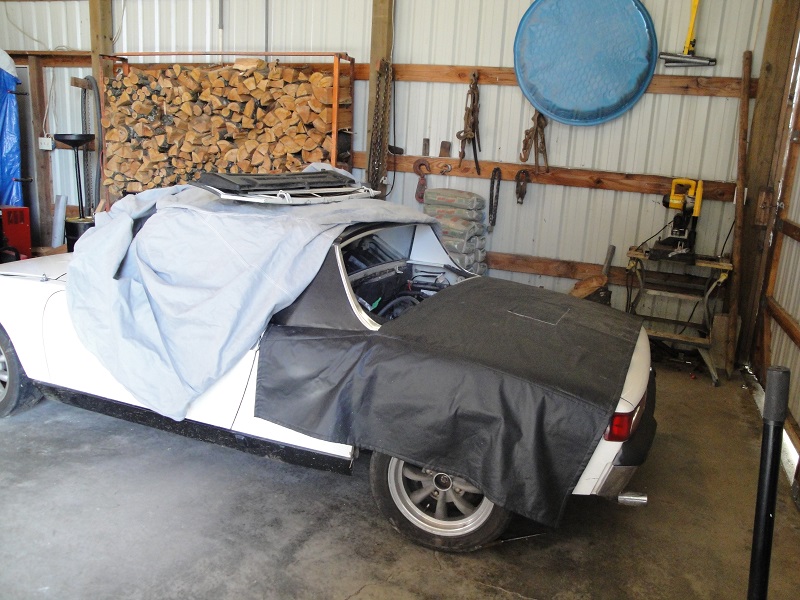 New front trunk seal with a little rust repair. And welded the engine lid hinge bracket solid to the firewall. 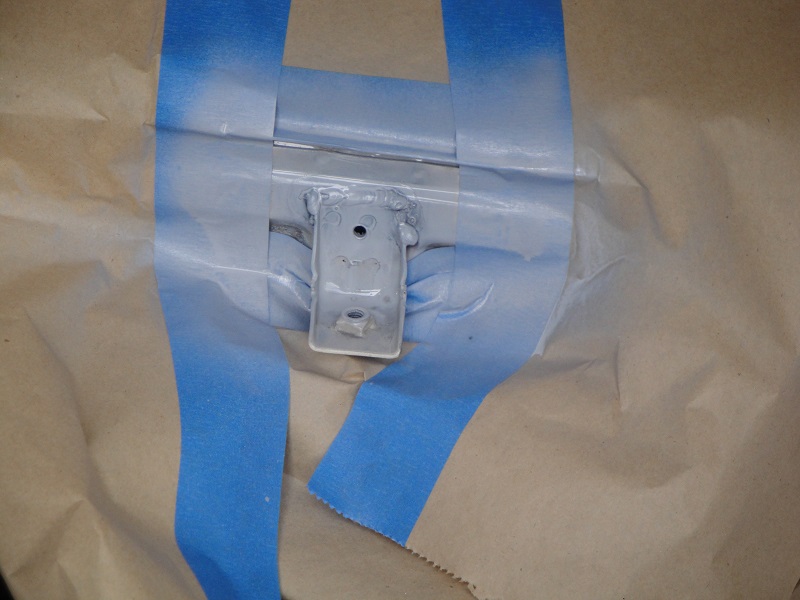 |
| cary |
 Mar 11 2013, 10:33 PM Mar 11 2013, 10:33 PM
Post
#168
|
|
Advanced Member     Group: Members Posts: 3,900 Joined: 26-January 04 From: Sherwood Oregon Member No.: 1,608 Region Association: Pacific Northwest 
|
Back to work. Super In Law (82) back working on the inner fender patch.
Its our first use of the Millermatic 180. 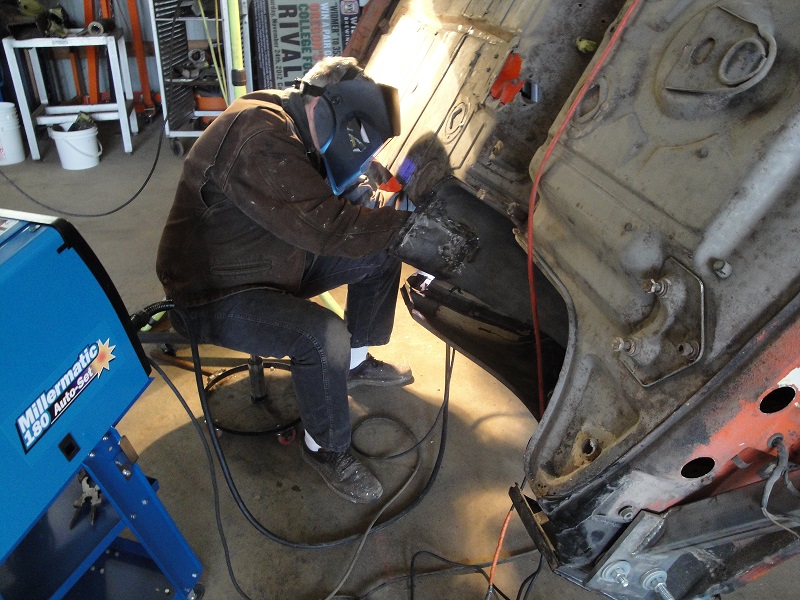 |
| cary |
 Mar 11 2013, 10:43 PM Mar 11 2013, 10:43 PM
Post
#169
|
|
Advanced Member     Group: Members Posts: 3,900 Joined: 26-January 04 From: Sherwood Oregon Member No.: 1,608 Region Association: Pacific Northwest 
|
Me, I'm getting the other car ready for this weekends Drivers Skills Clinic and AX.
Just ordered a new set of Falken Azenis RT-615Ks. 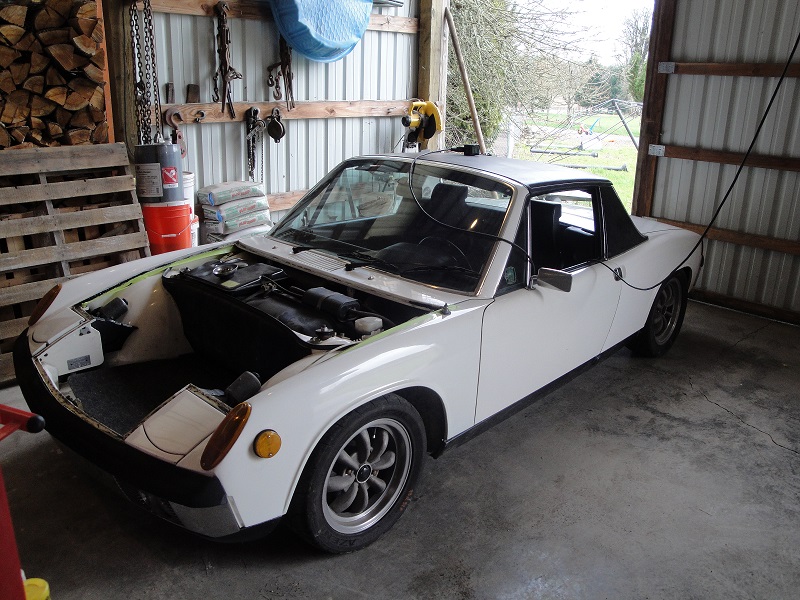 |
| FourBlades |
 Mar 12 2013, 07:05 AM Mar 12 2013, 07:05 AM
Post
#170
|
|
From Wreck to Rockin     Group: Members Posts: 2,056 Joined: 3-December 07 From: Brevard, FL Member No.: 8,414 Region Association: South East States 
|
Good work on saving another teener! (IMG:style_emoticons/default/piratenanner.gif) (IMG:style_emoticons/default/piratenanner.gif) (IMG:style_emoticons/default/piratenanner.gif) John |
| cary |
 Mar 12 2013, 10:23 PM Mar 12 2013, 10:23 PM
Post
#171
|
|
Advanced Member     Group: Members Posts: 3,900 Joined: 26-January 04 From: Sherwood Oregon Member No.: 1,608 Region Association: Pacific Northwest 
|
Working on setting things up to install the drivers long.
Asked for a little help on welding shrinkage. http://www.914world.com/bbs2/index.php?sho...p;#entry1833832 Here's where we ended the day. Continuing to work on the fit. 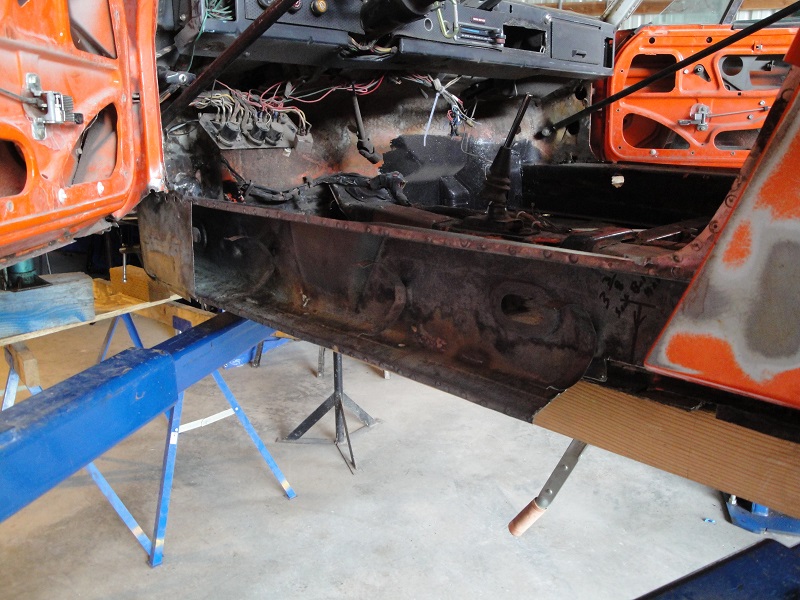 |
| cary |
 Mar 13 2013, 10:36 PM Mar 13 2013, 10:36 PM
Post
#172
|
|
Advanced Member     Group: Members Posts: 3,900 Joined: 26-January 04 From: Sherwood Oregon Member No.: 1,608 Region Association: Pacific Northwest 
|
Still working on the drivers long.
Had a little trouble with creating the patch under the jack point. I did finally got the doors properly aligned. http://www.914world.com/bbs2/index.php?sho...p;#entry1833832 |
| cary |
 Mar 20 2013, 09:38 PM Mar 20 2013, 09:38 PM
Post
#173
|
|
Advanced Member     Group: Members Posts: 3,900 Joined: 26-January 04 From: Sherwood Oregon Member No.: 1,608 Region Association: Pacific Northwest 
|
The day finally came. We installed the drivers long.
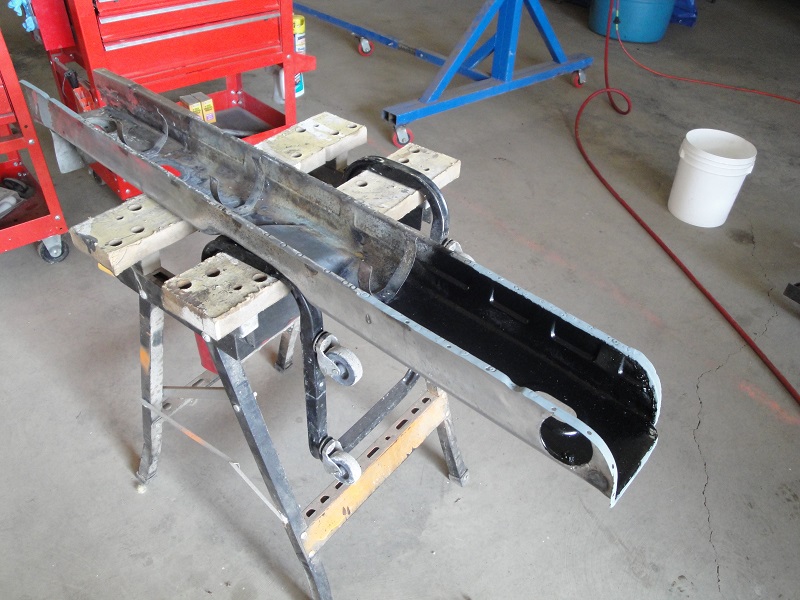 Here it is prepped and ready to go. 1. Flanges painted with brush on weld thru primer. 2. Cavity painted with Rustoleum. 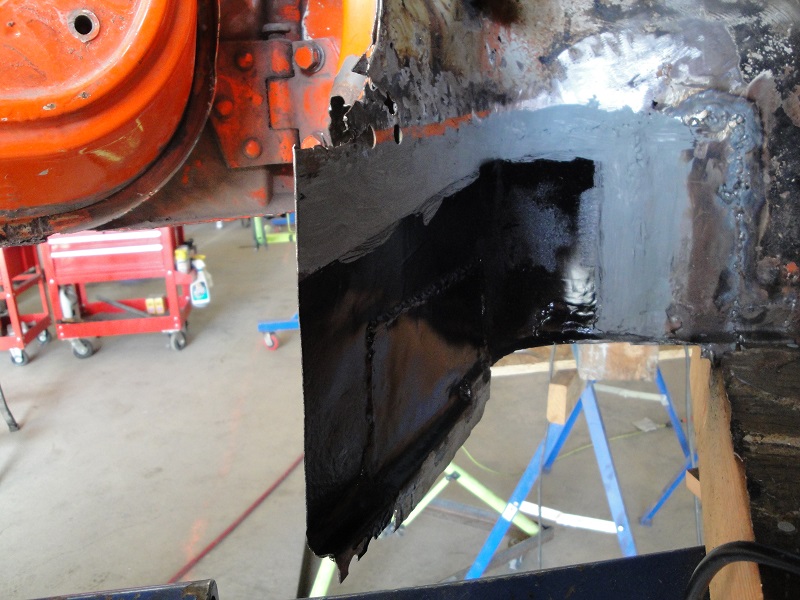 Inner fender prepped with brush on primer and Rustoleum. |
| cary |
 Mar 20 2013, 09:46 PM Mar 20 2013, 09:46 PM
Post
#174
|
|
Advanced Member     Group: Members Posts: 3,900 Joined: 26-January 04 From: Sherwood Oregon Member No.: 1,608 Region Association: Pacific Northwest 
|
Here it is tacked in place and back on the rotisserie.
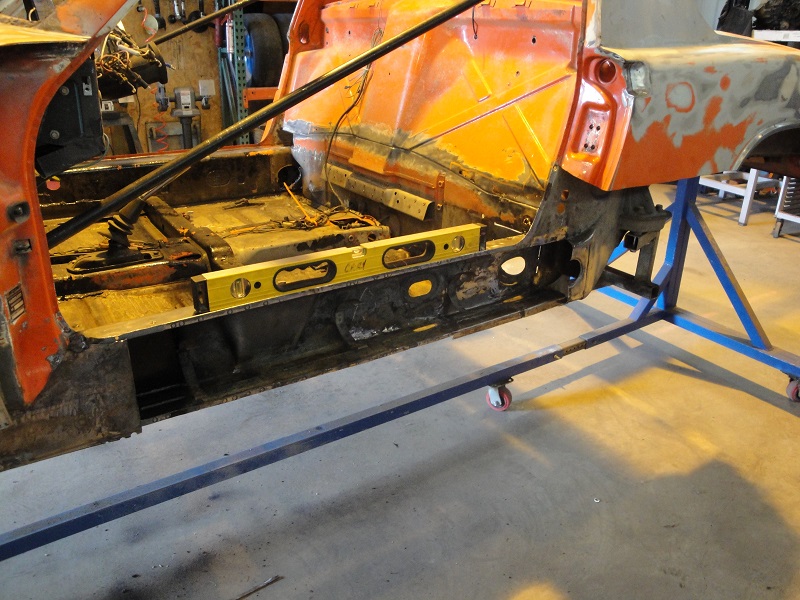 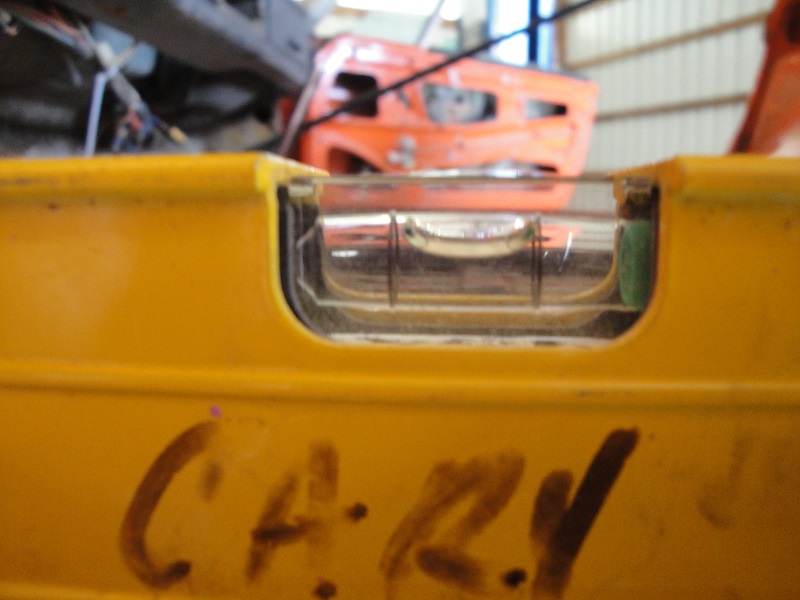 Both sides at exactly the same level. (IMG:style_emoticons/default/piratenanner.gif) (IMG:style_emoticons/default/piratenanner.gif) Started with a door gap of 5.5mm, finished at 5mm. (IMG:style_emoticons/default/welder.gif) |
| cary |
 Mar 20 2013, 09:54 PM Mar 20 2013, 09:54 PM
Post
#175
|
|
Advanced Member     Group: Members Posts: 3,900 Joined: 26-January 04 From: Sherwood Oregon Member No.: 1,608 Region Association: Pacific Northwest 
|
Here's the inner fender to long welds.
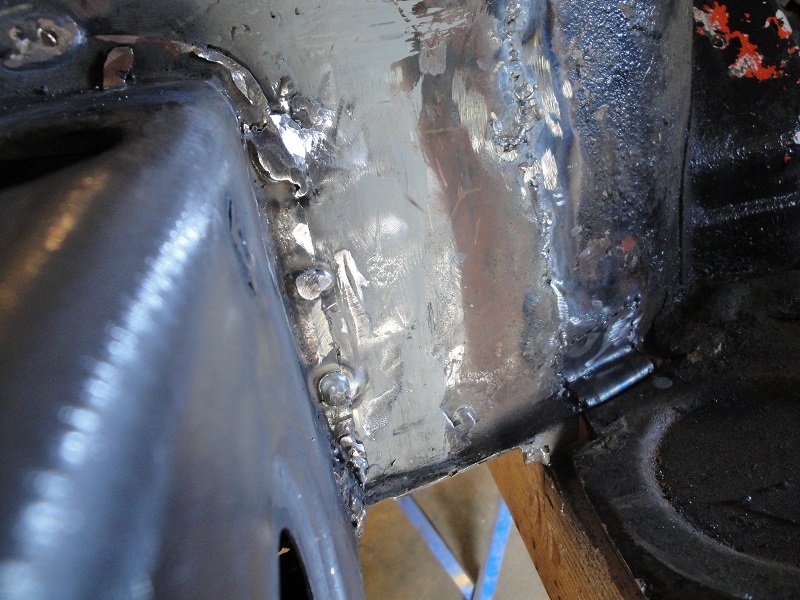 Mine are the two bottom ones. 1/2 plug, 1/2 tack. I don't want the bitch moving. Super In Law got a little carried away on his. By the end of this project I'll either be a master welder or a master grinder. |
| cary |
 Mar 25 2013, 08:41 PM Mar 25 2013, 08:41 PM
Post
#176
|
|
Advanced Member     Group: Members Posts: 3,900 Joined: 26-January 04 From: Sherwood Oregon Member No.: 1,608 Region Association: Pacific Northwest 
|
Things are looking up ..............
We patched the bottom of the drivers wheelhouse. The spot under the rear floor jack point. Super In Law had a little trouble trying to get the puddle to move without blowing holes in it. I'll try and do some more work on the right side ................ Both sides are new metal. Don't know exactly what the problem was. I think he's out too far with the wire. 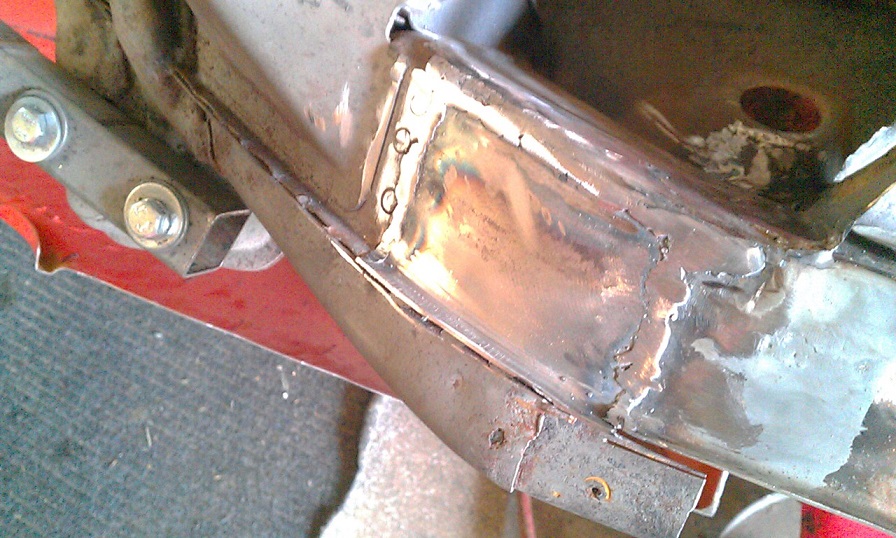 Inside is just about prepped for the inner box. 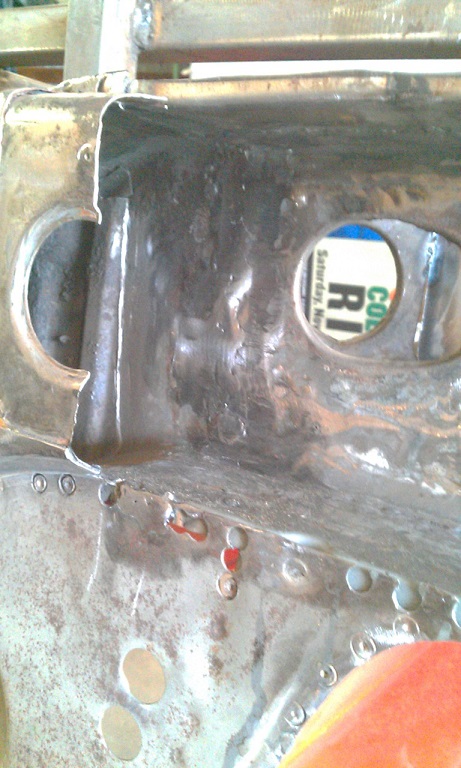 |
| cary |
 Mar 25 2013, 08:43 PM Mar 25 2013, 08:43 PM
Post
#177
|
|
Advanced Member     Group: Members Posts: 3,900 Joined: 26-January 04 From: Sherwood Oregon Member No.: 1,608 Region Association: Pacific Northwest 
|
Starting to look like a whole car again ................
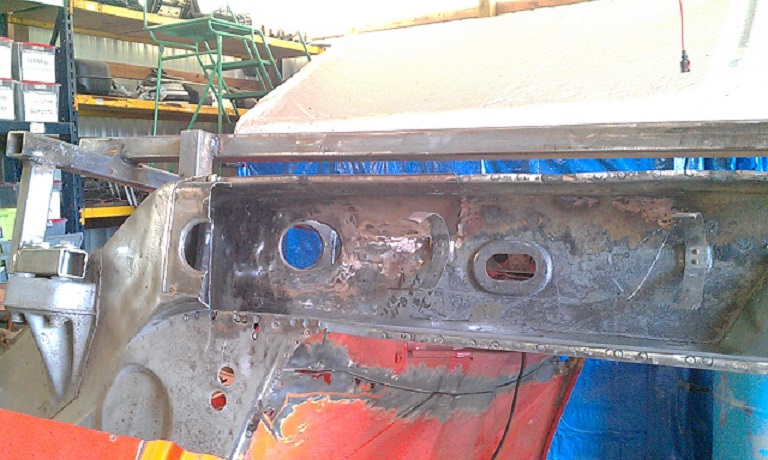 Sorry for the low light phone picture. |
| cary |
 Mar 25 2013, 08:49 PM Mar 25 2013, 08:49 PM
Post
#178
|
|
Advanced Member     Group: Members Posts: 3,900 Joined: 26-January 04 From: Sherwood Oregon Member No.: 1,608 Region Association: Pacific Northwest 
|
|
| saigon71 |
 Mar 26 2013, 05:48 AM Mar 26 2013, 05:48 AM
Post
#179
|
|
Advanced Member     Group: Members Posts: 2,007 Joined: 1-June 09 From: Dillsburg, PA Member No.: 10,428 Region Association: MidAtlantic Region 

|
(IMG:style_emoticons/default/sawzall-smiley.gif) (IMG:style_emoticons/default/welder.gif)
Good work...Keep on rollin man! I agree, working with new metal is a real treat! |
| nathansnathan |
 Mar 26 2013, 06:54 AM Mar 26 2013, 06:54 AM
Post
#180
|
|
Senior Member    Group: Members Posts: 1,052 Joined: 31-May 10 From: Laguna Beach, CA Member No.: 11,782 Region Association: None |
Laying out the next project.............. Complete passenger side wheelhouse replacement. 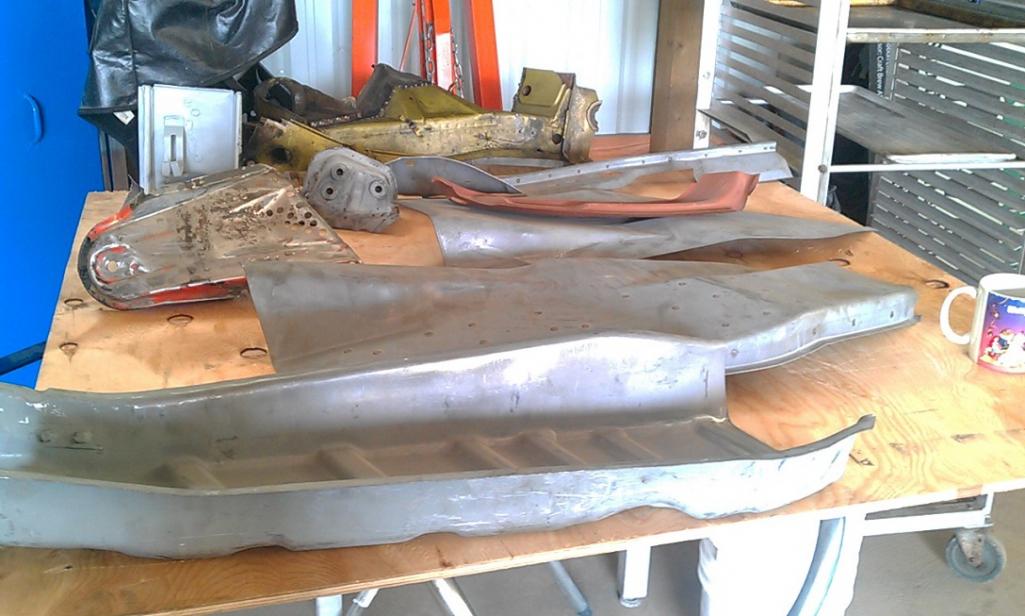 It's going to nice working with new metal. I've been following along, glad to see someone going deeper into a 914 than I have. (IMG:style_emoticons/default/popcorn[1].gif) (IMG:style_emoticons/default/smile.gif) Just remember the replacement panels are galvanized - best to sand it off anywhere you're going to weld. |
| worn |
 Mar 26 2013, 08:32 AM Mar 26 2013, 08:32 AM
Post
#181
|
|
Winner of the Utah Twisted Joint Award     Group: Members Posts: 3,388 Joined: 3-June 11 From: Madison, WI Member No.: 13,152 Region Association: Upper MidWest 
|
Laying out the next project.............. Complete passenger side wheelhouse replacement.  It's going to nice working with new metal. Uhhmmm, Cary. Does the super in law do house calls? You are one lucky guy. Nice work. Trying to follow close behind with my 6 conversion. Thanks for keeping your 914 from the scrap heap. |
| cary |
 Mar 26 2013, 11:09 PM Mar 26 2013, 11:09 PM
Post
#182
|
|
Advanced Member     Group: Members Posts: 3,900 Joined: 26-January 04 From: Sherwood Oregon Member No.: 1,608 Region Association: Pacific Northwest 
|
I'm thinking that Super In Law isn't wire brushing between welds.
Along with having too much wire out form tip. Nathan, I usually hit it with the grinder. Probably a bit harsh. I think I'll pick up a few 80 grit Rolocs. Thanks for the heads up. |
| cary |
 Mar 26 2013, 11:13 PM Mar 26 2013, 11:13 PM
Post
#183
|
|
Advanced Member     Group: Members Posts: 3,900 Joined: 26-January 04 From: Sherwood Oregon Member No.: 1,608 Region Association: Pacific Northwest 
|
Switching days off.
We'll be back at it tomorrow. Stopping at a cute little cafe for breakfast. We've been driving by it for 3 years. |
| cary |
 Mar 27 2013, 09:50 PM Mar 27 2013, 09:50 PM
Post
#184
|
|
Advanced Member     Group: Members Posts: 3,900 Joined: 26-January 04 From: Sherwood Oregon Member No.: 1,608 Region Association: Pacific Northwest 
|
Super in Law is working on the insert sleeve.
Took 2 shots at it. Not quite tight enough. So we'll try it again. 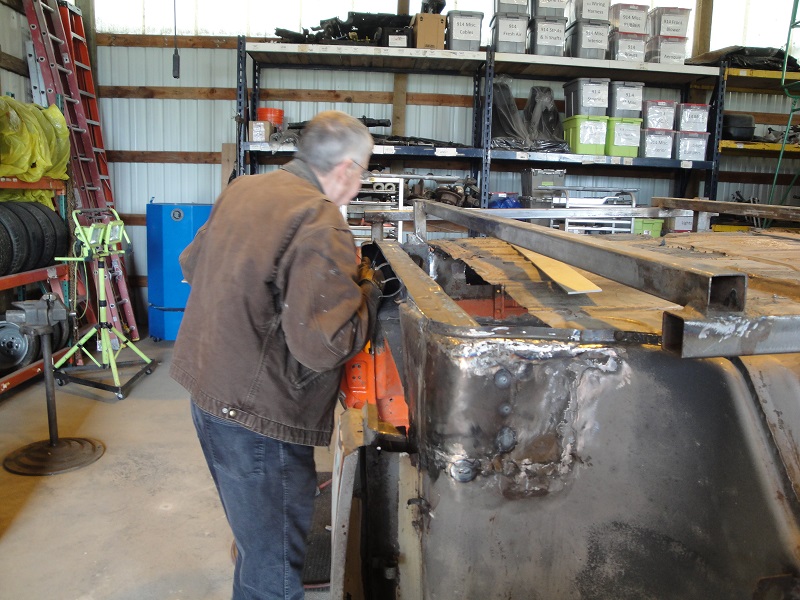 |
| cary |
 Mar 27 2013, 09:54 PM Mar 27 2013, 09:54 PM
Post
#185
|
|
Advanced Member     Group: Members Posts: 3,900 Joined: 26-January 04 From: Sherwood Oregon Member No.: 1,608 Region Association: Pacific Northwest 
|
While he was working on the insert pattern.
I thought I'd look at the seam sealer behind the door latch plate. There is quite a pile of seam sealer in there. 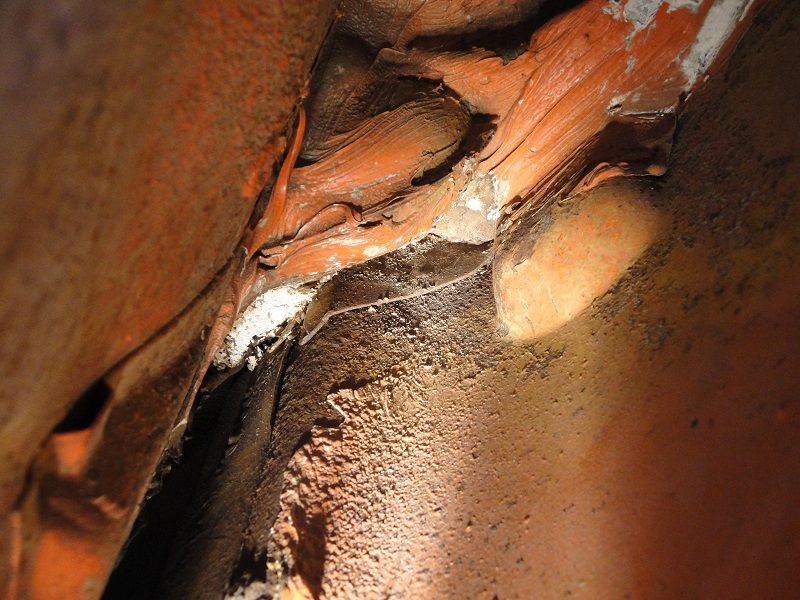 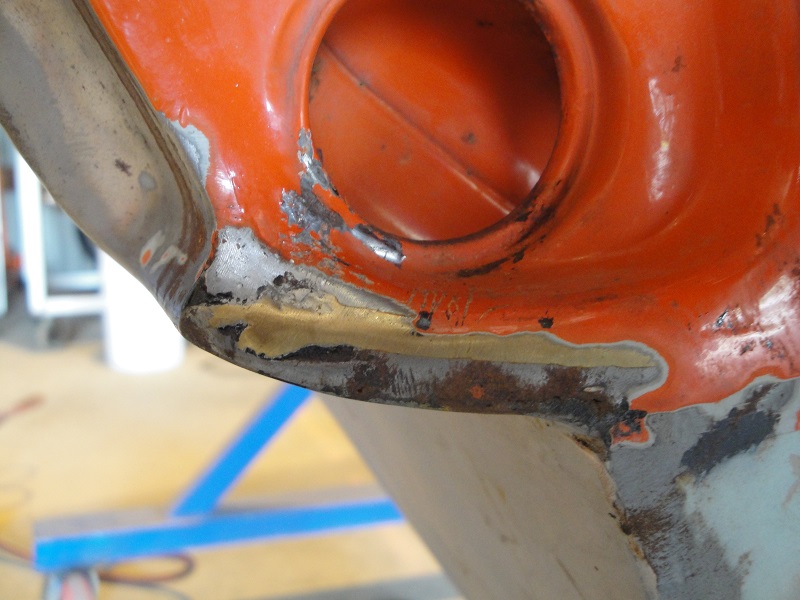 Right behind the door handle too. |
  |
5 User(s) are reading this topic (5 Guests and 0 Anonymous Users)
0 Members:

|
Lo-Fi Version | Time is now: 18th January 2025 - 05:04 AM |
Invision Power Board
v9.1.4 © 2025 IPS, Inc.


