|
|

|
Porsche, and the Porsche crest are registered trademarks of Dr. Ing. h.c. F. Porsche AG.
This site is not affiliated with Porsche in any way. Its only purpose is to provide an online forum for car enthusiasts. All other trademarks are property of their respective owners. |
|
|
  |
| jeff |
 Apr 14 2013, 08:31 AM Apr 14 2013, 08:31 AM
Post
#181
|
|
Member   Group: Members Posts: 253 Joined: 17-January 04 From: thousand oaks,ca Member No.: 1,570 |
QUOTE I had a bit of bad luck today, although I solved it too. I was drilling for some rivets to hold down the aluminum diamond plate tunnel cover. The fourth one I drilled I sment gas. I had to cut the tunnel open to get to the hard line. Yep... Hole through and through. Since the fuel system is already complete and I didn't fell like re-plumbing, I got a compression coupler from HD supply and fixed it. The aluminum hard lines use -6AN compression fittings anyway. They are designed for a brass ferrule, so I figured the brass compression fitting will be fine. It was a pain cutting the tunnel open with my air saw. No sparks! There is a small boxed section on the passenger side next to the shifter. When I ran the hard lines, one of them made it into this small cavity. It is just big enough for the 3/8" line to fit through. Good thing I picked up some .023 wire last week. This made rewelding the thin sheet metal easier. All fixed! I then switched to plumbing the fire system. Might come in handy some day... Lesson of the day... Know where your fuel lines are! Don't take a chance, make a new line & double check all mounting points & fittings and whatever else you have in the fuel system....you don't want to deploy that Fire system..... |
| Mike Bellis |
 Apr 14 2013, 08:36 AM Apr 14 2013, 08:36 AM
Post
#182
|
|
Resident Electrician      Group: Members Posts: 8,346 Joined: 22-June 09 From: Midlothian TX Member No.: 10,496 Region Association: None 

|
Don't take a chance, make a new line & double check all mounting points & fittings and whatever else you have in the fuel system....you don't want to deploy that Fire system..... That is partially why the motor is out. I'm checking every nut, bolt and fitting. I'm peening the exhaust connections and paint striping every other connection, so I know it's done. I need a couple weekends of fiddling around and then go back to final assembly. (IMG:style_emoticons/default/beerchug.gif) |
| effutuo101 |
 Apr 14 2013, 08:54 AM Apr 14 2013, 08:54 AM
Post
#183
|
|
Advanced Member     Group: Members Posts: 2,735 Joined: 10-April 05 From: Lemon Grove Member No.: 3,914 Region Association: Southern California |
Great build!
|
| jeff |
 Apr 14 2013, 10:20 AM Apr 14 2013, 10:20 AM
Post
#184
|
|
Member   Group: Members Posts: 253 Joined: 17-January 04 From: thousand oaks,ca Member No.: 1,570 |
Awesome! I'm not trying to be mother hen but it's always on my mind, I'm a firefighter and have had some terrible experiences with car accidents involving fires...
|
| Andyrew |
 Apr 14 2013, 02:00 PM Apr 14 2013, 02:00 PM
Post
#185
|
|
Spooling.... Please wait           Group: Members Posts: 13,377 Joined: 20-January 03 From: Riverbank, Ca Member No.: 172 Region Association: Northern California 
|
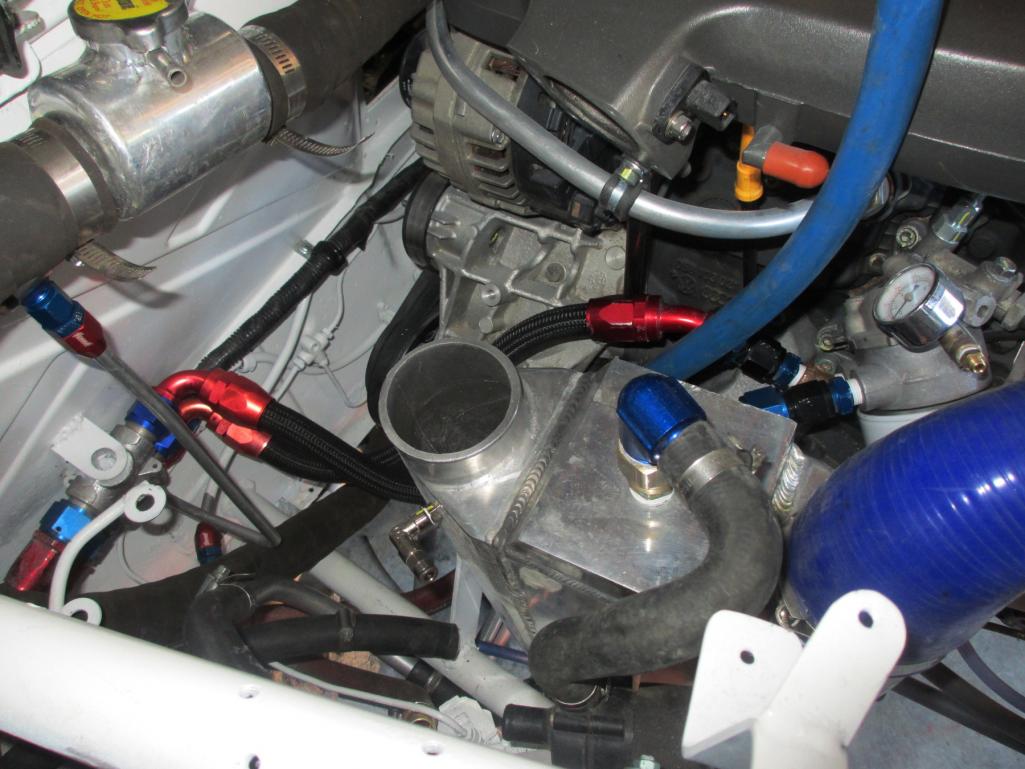
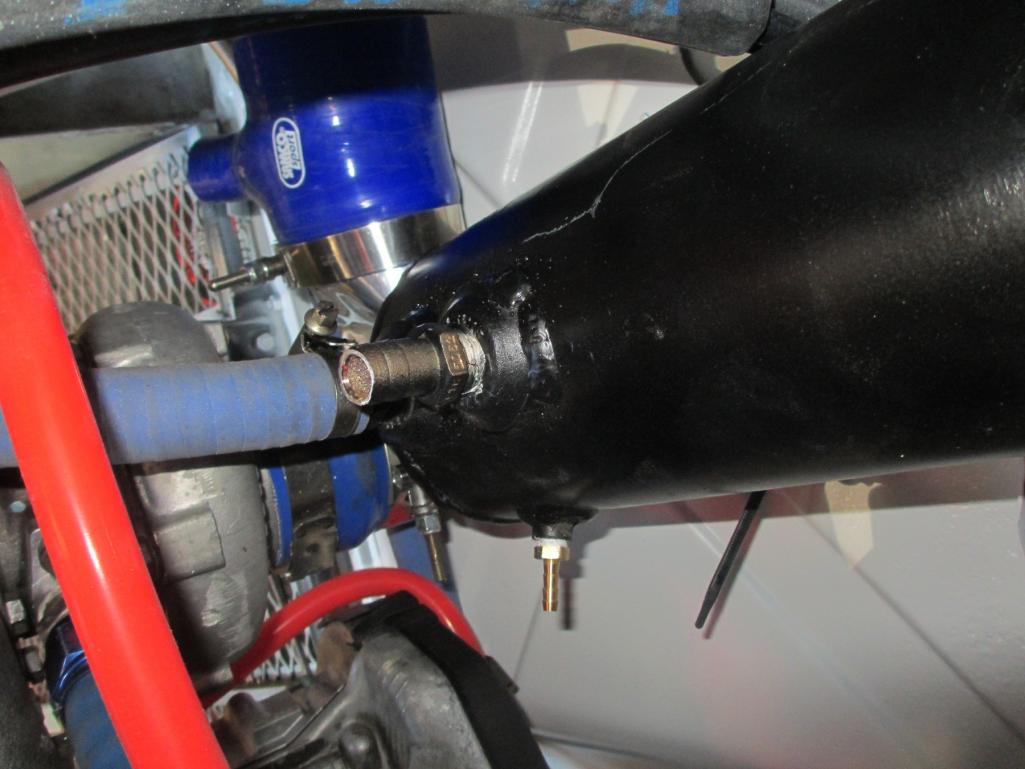
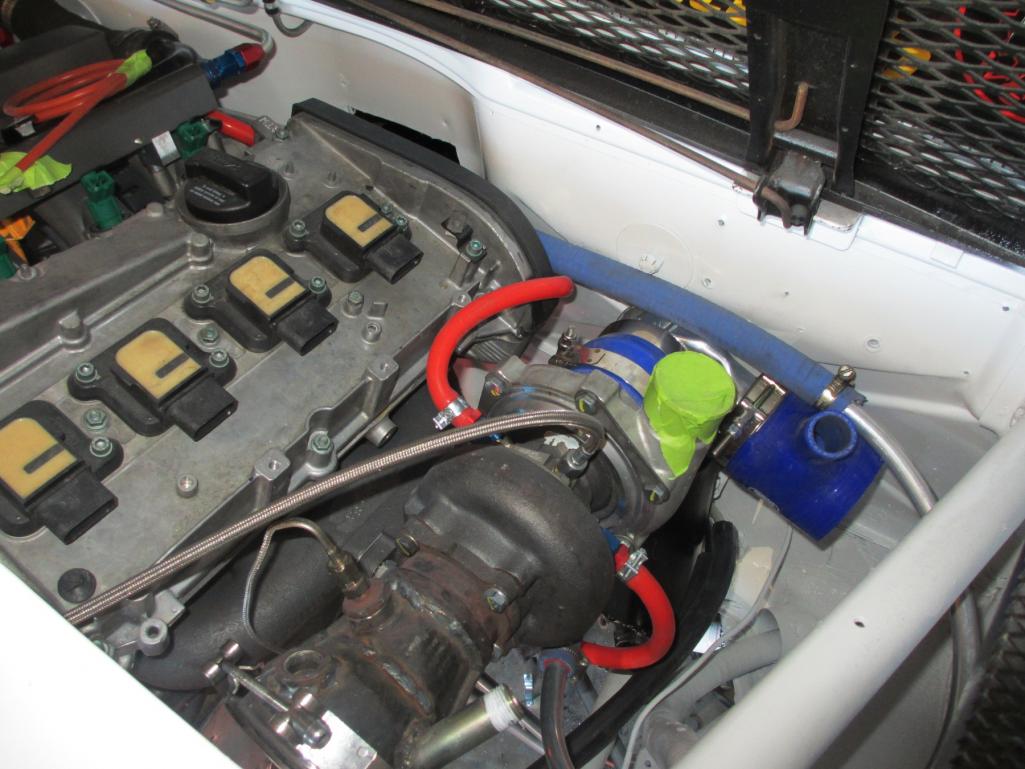
I pulled the motor today in order to finish some odds and ends. Just about every peripheral component needed to be tightened down. I had to make custom 12mm wrenches to get the exhaust bolted on. There isn't much space and a conventional box wrench would not work. I have about a dozen custom tools fabbed up for the series of engine swaps. The methanol injector was mounted to the outlet of the intercooler. This is a 330cc injector good for 350hp @ 7500 rpm. Right in my range. Notice the tip is recessed. In theory, this allows the spray to form a "cone" before the air flow (passing by) cuts into the stream. By doing this it promotes better atomization. There is some debate on other forums about installing the injector within the intercooler. The argument revolves around pooling inside the cooler. In my case, I am running a solenoid before the injector to prevent dribble thus avoiding pooling. In addition, the injector will not open below 10psi and/or an analog signal from the MAF. The Audi/VW motors suffer from sludge build up in the PCV system. There was even some law suit over it. I decided to mitigate problems by using a crankcase evacuation system. 034 Motorsport hooked me up with a machined aluminum fitting that plugs into the system. I added some 5/8" aluminum hard line and brass compression fittings. This is the main line that heads to a custom built 1 gallon catch can. From the catch can the line continues to the vacuum venturi welded to the exhaust. This type of system is usually found on V8 drag cars. As the exhaust flows past the venturi a vacuum is pulled on the system- on the engine crank case. It was originally designed to help seal rings on high HP engines. So I get the best of both worlds. Reduced sludge and better sealing combustion chambers. Here is a pic of the turbo oil drain. I used the lower original oil drain and some high temp hose with an -10AN fitting. After cutting the factory stainless hard line, I rolled a bead on it to keep the hose in place. I finally got to use my mini bead roller! All great things in this post!! I havent seen very many sludge issues as of late, But your solution for the PCV system works great! I just dump mine (IMG:style_emoticons/default/smile.gif) |
| Mike Bellis |
 Apr 14 2013, 05:27 PM Apr 14 2013, 05:27 PM
Post
#186
|
|
Resident Electrician      Group: Members Posts: 8,346 Joined: 22-June 09 From: Midlothian TX Member No.: 10,496 Region Association: None 

|
All great things in this post!! I havent seen very many sludge issues as of late, But your solution for the PCV system works great! I just dump mine (IMG:style_emoticons/default/smile.gif) I will dump my catch can too. The difference is my exhaust Venturi will generate vacuum under boost. In fact, the more air (exhaust) flowing past it, the greater the vacuum generated. This is why it's great on a boosted engine. The factory PCV system closes and stops working under boost conditions. |
| andys |
 Apr 17 2013, 04:20 PM Apr 17 2013, 04:20 PM
Post
#187
|
|
Advanced Member     Group: Members Posts: 2,165 Joined: 21-May 03 From: Valencia, CA Member No.: 721 Region Association: None 
|
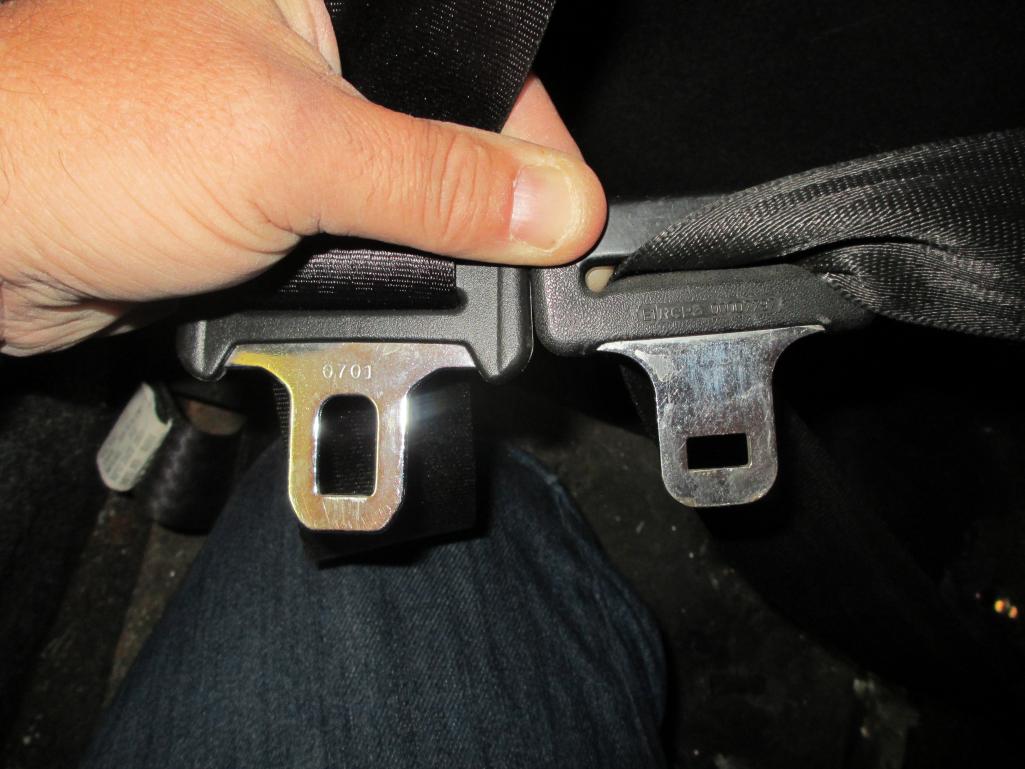
It's a 944 seat belt setup. Mark, So does the stock 914 seat belt tongue fit the 944 latch? I made a flat steel bar stock extention to lenghten my 914 latch, but would have prefered to find something OEM that is longer than the stock 914 cable and latch assembly. If it's compatible, how much longer is the 944 cable? Thanks, Andys |
| McMark |
 Apr 17 2013, 04:44 PM Apr 17 2013, 04:44 PM
Post
#188
|
|
914 Freak!                Group: Retired Admin Posts: 20,179 Joined: 13-March 03 From: Grand Rapids, MI Member No.: 419 Region Association: None |
Gotta use the 944 pieces. The 944 latch is either shorter or the same length as the 914 piece.
|
| Mike Bellis |
 Apr 17 2013, 04:58 PM Apr 17 2013, 04:58 PM
Post
#189
|
|
Resident Electrician      Group: Members Posts: 8,346 Joined: 22-June 09 From: Midlothian TX Member No.: 10,496 Region Association: None 

|
|
| andys |
 Apr 17 2013, 05:35 PM Apr 17 2013, 05:35 PM
Post
#190
|
|
Advanced Member     Group: Members Posts: 2,165 Joined: 21-May 03 From: Valencia, CA Member No.: 721 Region Association: None 
|
Mark/Mike,
Thanks for the quick response......Guess I'll just leave mine as-is. Andys |
| BIGKAT_83 |
 Apr 17 2013, 06:05 PM Apr 17 2013, 06:05 PM
Post
#191
|
|
Senior Member    Group: Members Posts: 1,798 Joined: 25-January 03 From: Way down south Bogart,GA Member No.: 194 Region Association: South East States 

|
Those seat belts look the same as a set of aftermarket belts I got off of EBAY a few years ago. Even have the same #0701 on the buckle. The female end of the buckle has a long shaft and is high enough to be used with my Scheel seats.
Bob |
| Mike Bellis |
 Apr 21 2013, 10:40 PM Apr 21 2013, 10:40 PM
Post
#192
|
|
Resident Electrician      Group: Members Posts: 8,346 Joined: 22-June 09 From: Midlothian TX Member No.: 10,496 Region Association: None 

|
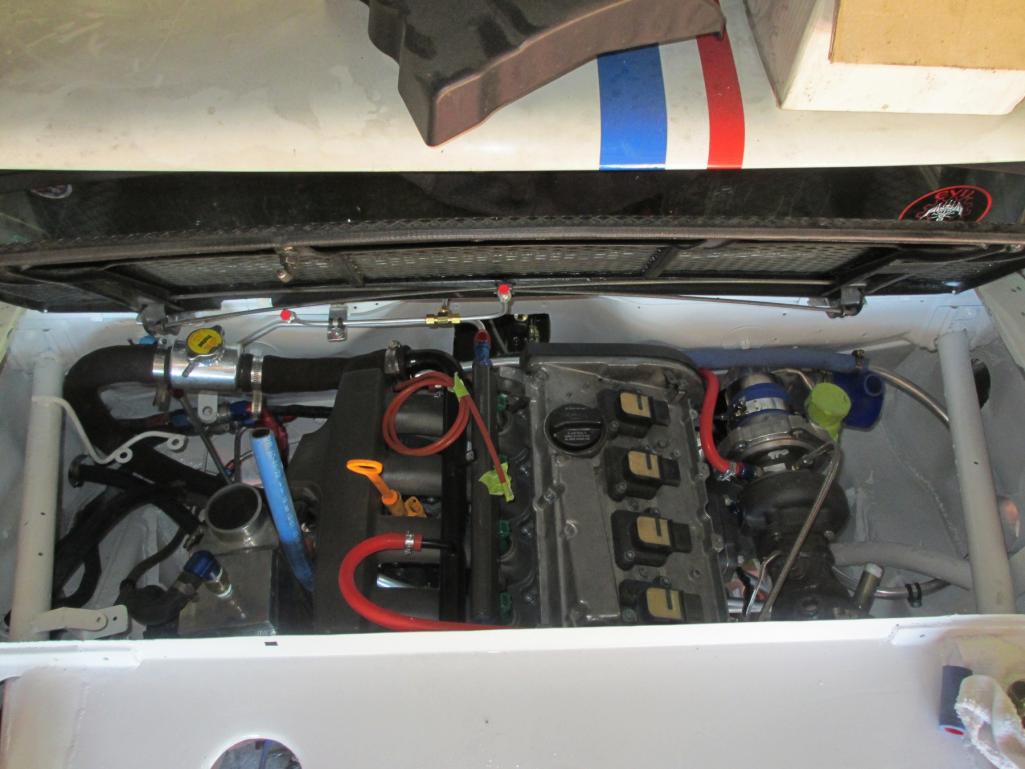
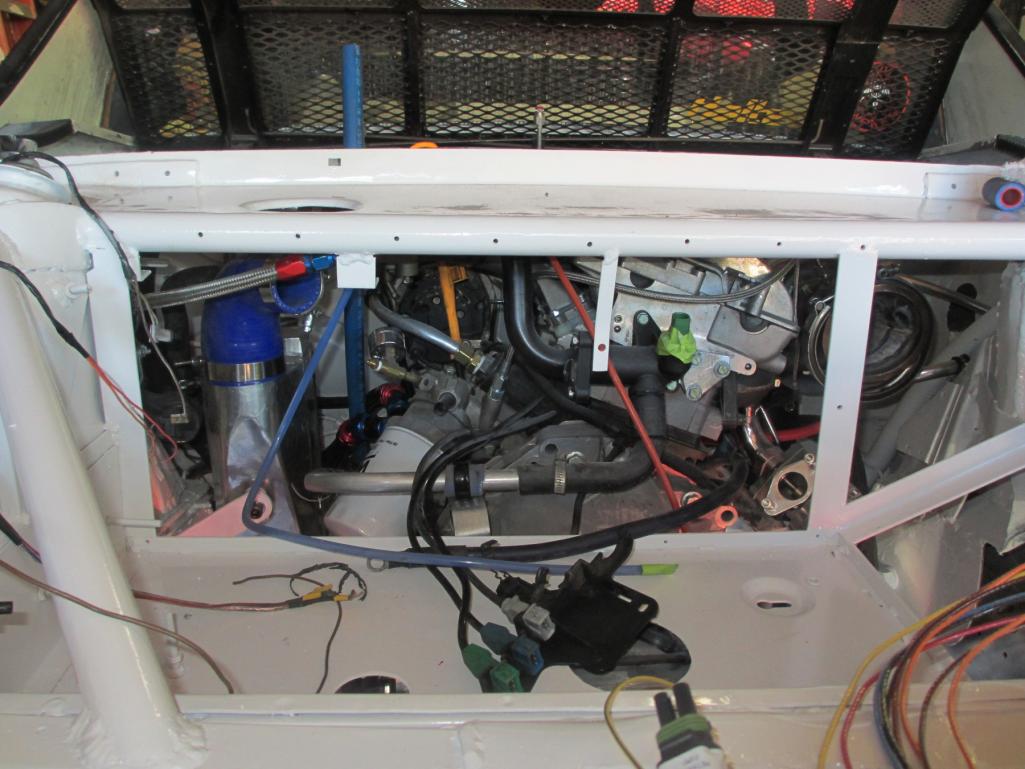
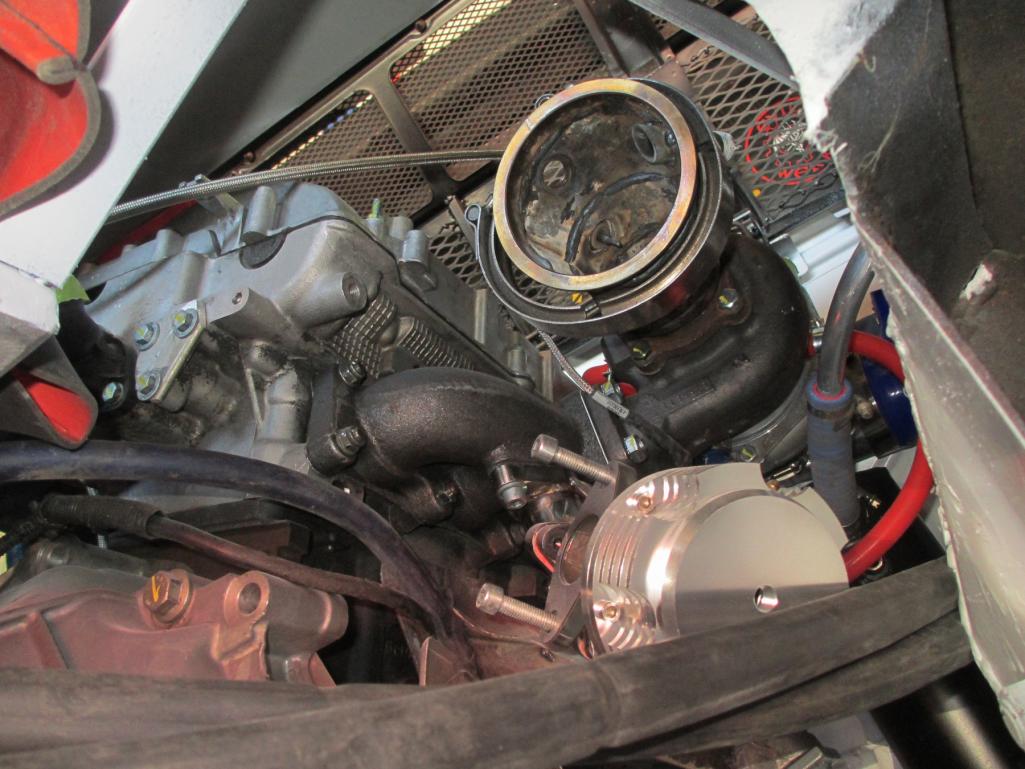
Got the motor almost ready to go back in. I pulled almost every nut and bolt added some red, blue or green Locktite (depending on the application).
Bolts tight Turbo oil lines done Turbo coolant lines done Exhaust manifolds tight Coolant lines done Vacuum lines done Belts replaced I also cleaned to oil (from the rotary) from the engine bay and resprayed the white. I used the "Awesome cleaner" from the dollar store. Thanks Lennie! Stuff works great. At one point with the rotary, I was racing a Carrera on the freeway. Under boost the oil filler neck popped off. A fine mist of oil was sprayed all over the car. The worst part was the top was off and I got covered. BTW, I won... (IMG:style_emoticons/default/biggrin.gif) Here a few pics while I watch paint dry... Hell hole looks pretty good. 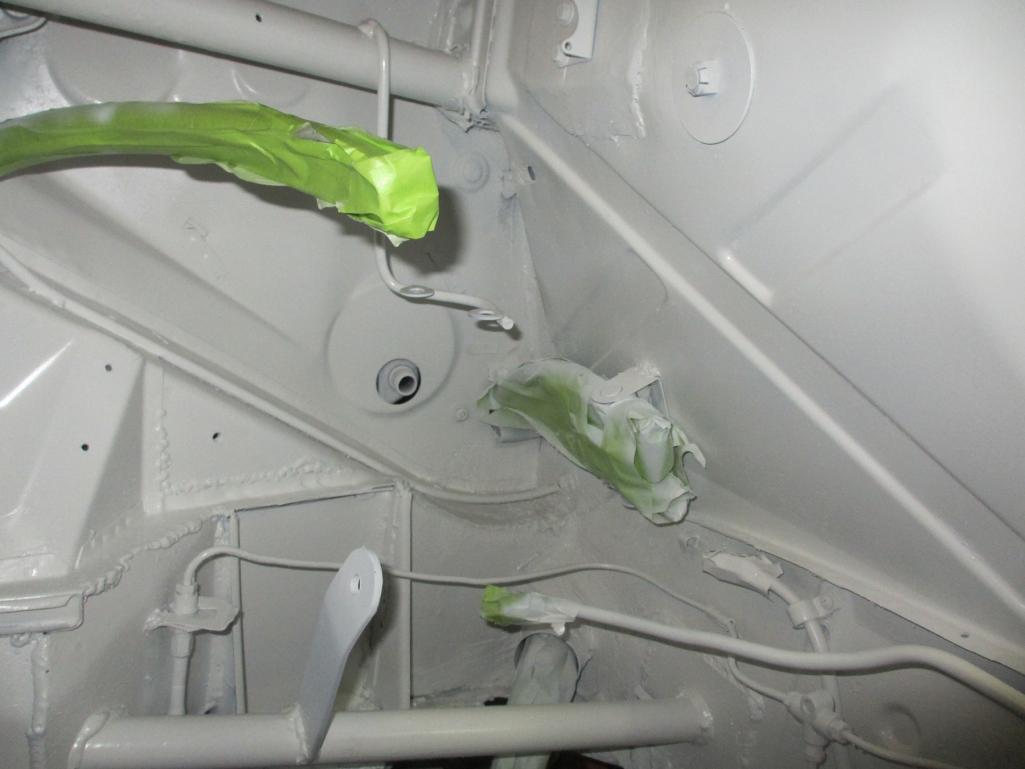 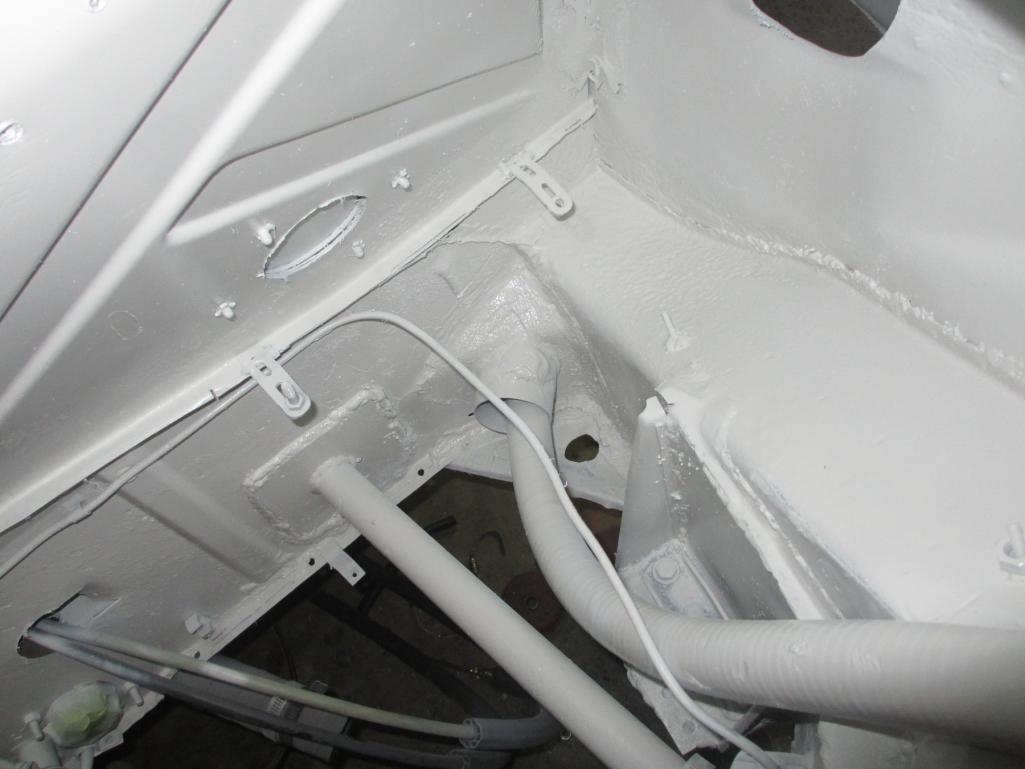 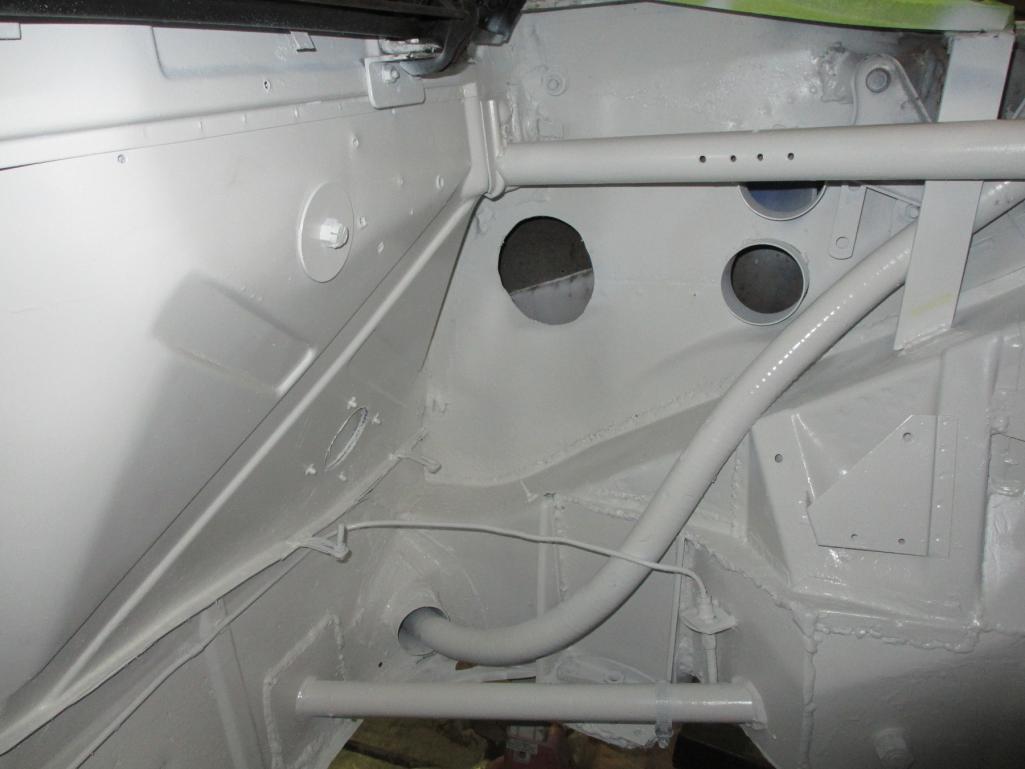 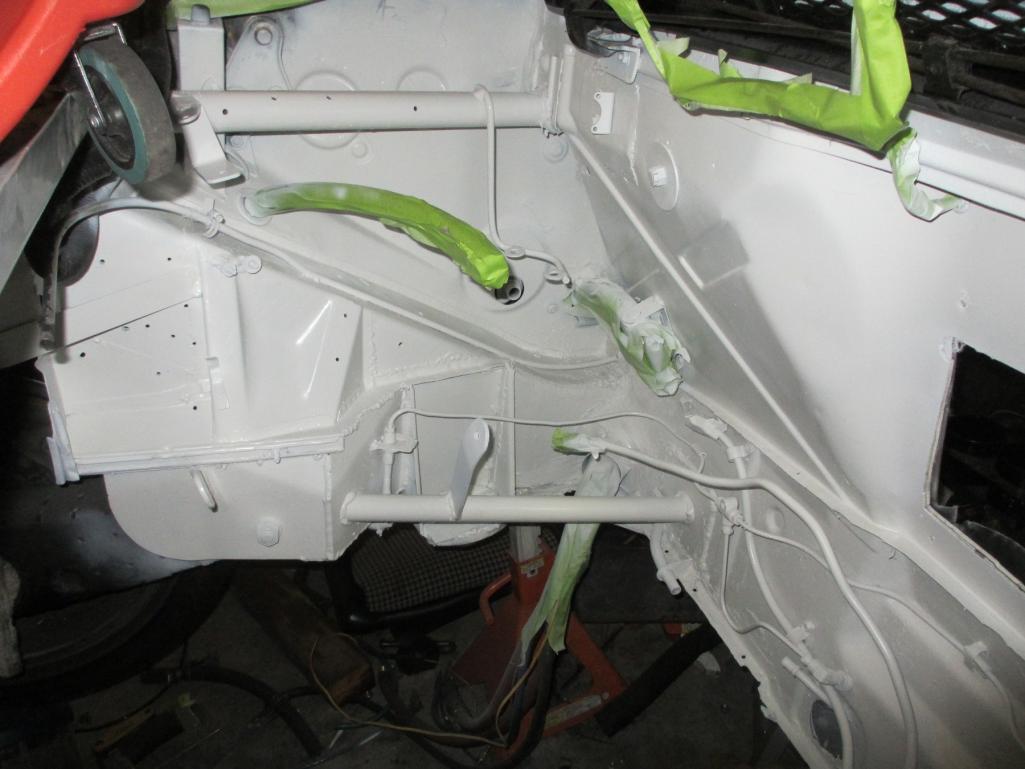 |
| Andyrew |
 Apr 22 2013, 12:19 AM Apr 22 2013, 12:19 AM
Post
#193
|
|
Spooling.... Please wait           Group: Members Posts: 13,377 Joined: 20-January 03 From: Riverbank, Ca Member No.: 172 Region Association: Northern California 
|
Looks great!!!!
I forgot about all the weird chassis stuff thats been done to this car.. |
| Mike Bellis |
 Apr 28 2013, 04:36 PM Apr 28 2013, 04:36 PM
Post
#194
|
|
Resident Electrician      Group: Members Posts: 8,346 Joined: 22-June 09 From: Midlothian TX Member No.: 10,496 Region Association: None 

|
Spent some time cleaning and painting the rear trunk. I'm off tomorrow and Tuesday so I plan on getting the motor stuffed back in and commence final assembly. Paint in the engine bay has sat for 2 weeks so hopefully I don't screw it up. I'll have to be careful in the trunk.
I have a few cover plates for the trunk that still need paint. The engine side and over the exhaust are removeable. 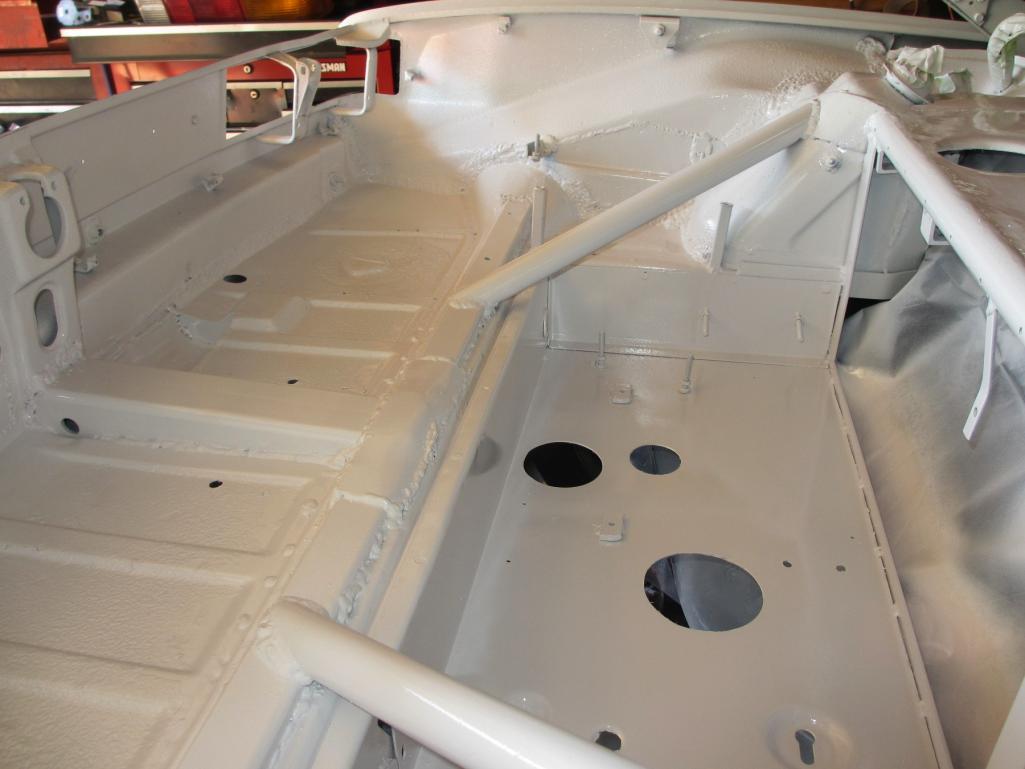 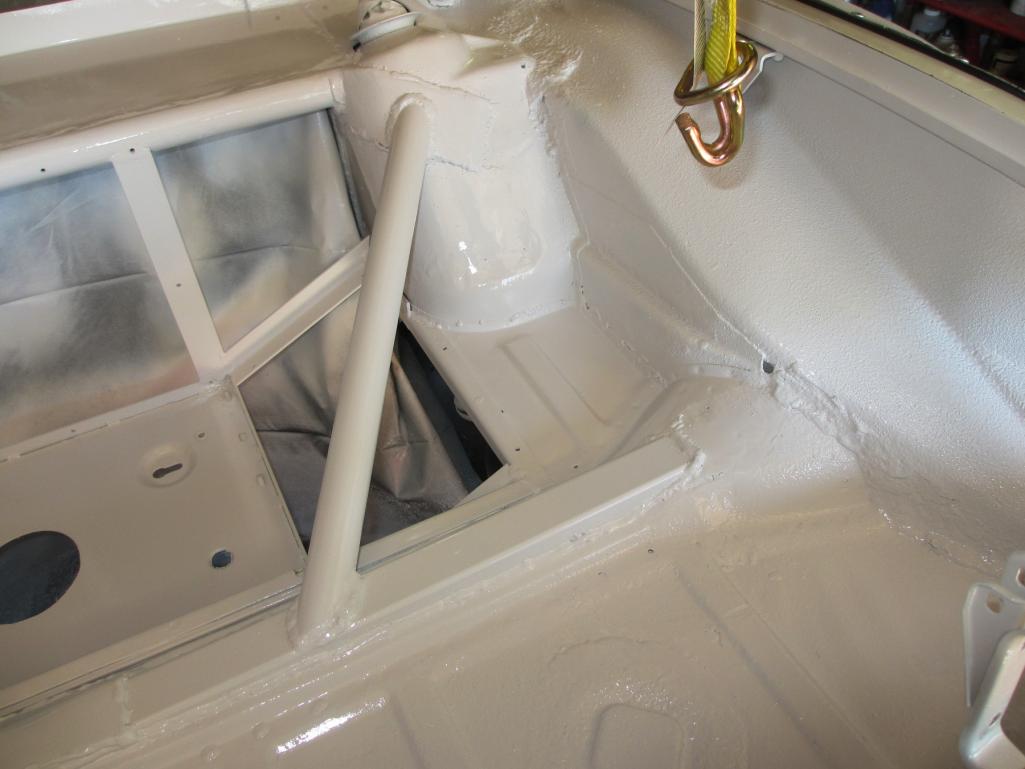 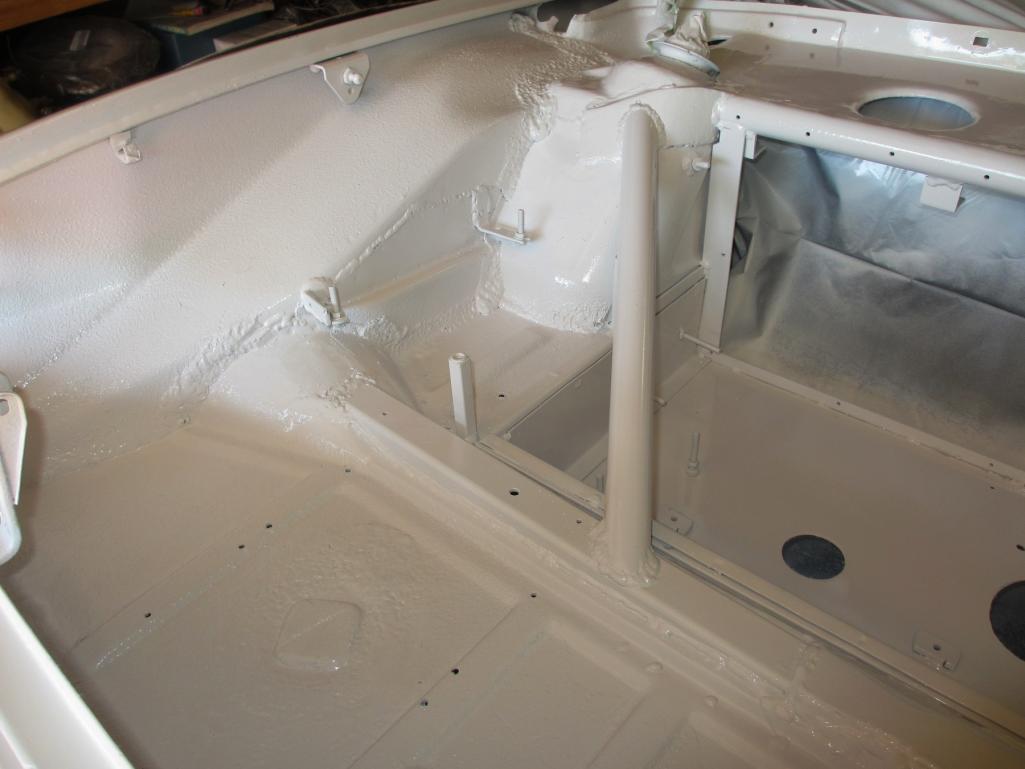 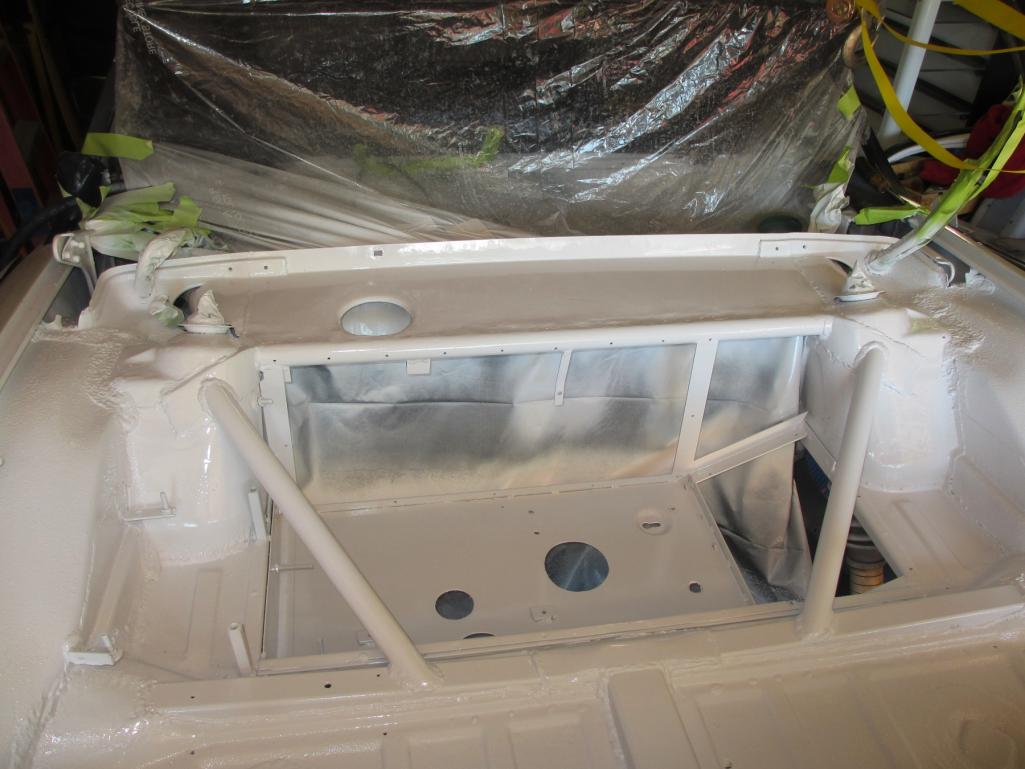 |
| Andyrew |
 Apr 28 2013, 07:58 PM Apr 28 2013, 07:58 PM
Post
#195
|
|
Spooling.... Please wait           Group: Members Posts: 13,377 Joined: 20-January 03 From: Riverbank, Ca Member No.: 172 Region Association: Northern California 
|
Paint looks great! What are you you spraying and with what?
|
| Mike Bellis |
 Apr 28 2013, 08:19 PM Apr 28 2013, 08:19 PM
Post
#196
|
|
Resident Electrician      Group: Members Posts: 8,346 Joined: 22-June 09 From: Midlothian TX Member No.: 10,496 Region Association: None 

|
Paint looks great! What are you you spraying and with what? This is just a case of rattle can. One of white primer and one gloss white. Many thin coast until the final to let it flow... I'm keeping up with the racecar theme. One day the car will go on a rotisserie and get blasted and a proper paint job. But then I will be afraid to drive it... |
| Mike Bellis |
 Apr 29 2013, 09:21 PM Apr 29 2013, 09:21 PM
Post
#197
|
|
Resident Electrician      Group: Members Posts: 8,346 Joined: 22-June 09 From: Midlothian TX Member No.: 10,496 Region Association: None 

|
|
| McMark |
 Apr 29 2013, 09:22 PM Apr 29 2013, 09:22 PM
Post
#198
|
|
914 Freak!                Group: Retired Admin Posts: 20,179 Joined: 13-March 03 From: Grand Rapids, MI Member No.: 419 Region Association: None |
Nice! (IMG:style_emoticons/default/first.gif)
|
| JStroud |
 Apr 29 2013, 10:35 PM Apr 29 2013, 10:35 PM
Post
#199
|
|
Senior Member    Group: Members Posts: 1,463 Joined: 15-January 11 From: Galt, California Member No.: 12,594 Region Association: Northern California |
As always, very impressive Mike, I wish I had half your fabrication skills (IMG:style_emoticons/default/beer.gif)
Looks awesome Jeff |
| Mike Bellis |
 Apr 30 2013, 08:30 PM Apr 30 2013, 08:30 PM
Post
#200
|
|
Resident Electrician      Group: Members Posts: 8,346 Joined: 22-June 09 From: Midlothian TX Member No.: 10,496 Region Association: None 

|
More, More, More...
Radiator coolant lines: DONE Heater lines: DONE Intercooler lines: DONE Intercooler pump: DONE Oil lines: DONE Oil pressure line: DONE Intake piping: DONE Recirc valve: DONE (Forge DV/BOV in DV mode only) Turbo inlet: DONE MAF: DONE Aire cleaner: DONE Fuel lines: DONE PCV evacuation system: DONE NEEDS: fuel pump install catch can drain vacuum lines connected wastegate connected boost control connected exhaust install Wiring connected Interior cleaning Dash cluster install Rear sway bar install Fluids: motor oil, tranny oil, coolant Axle measurement t, order and install Clutch final bleeding I can't believe how much stuff was bolted to this system. I waited until final assembly to plumb all the fluid lines. What a bitch. The area on the left side of the engine bay is very contested with hoses (heater, intercooler, heat exchanger, pump, oil, oil pressure). I had one of those senior moments today. I lost my throttle body. When I took it off, I put it somewhere safe. It took me an hour to fine it... (IMG:style_emoticons/default/dry.gif) 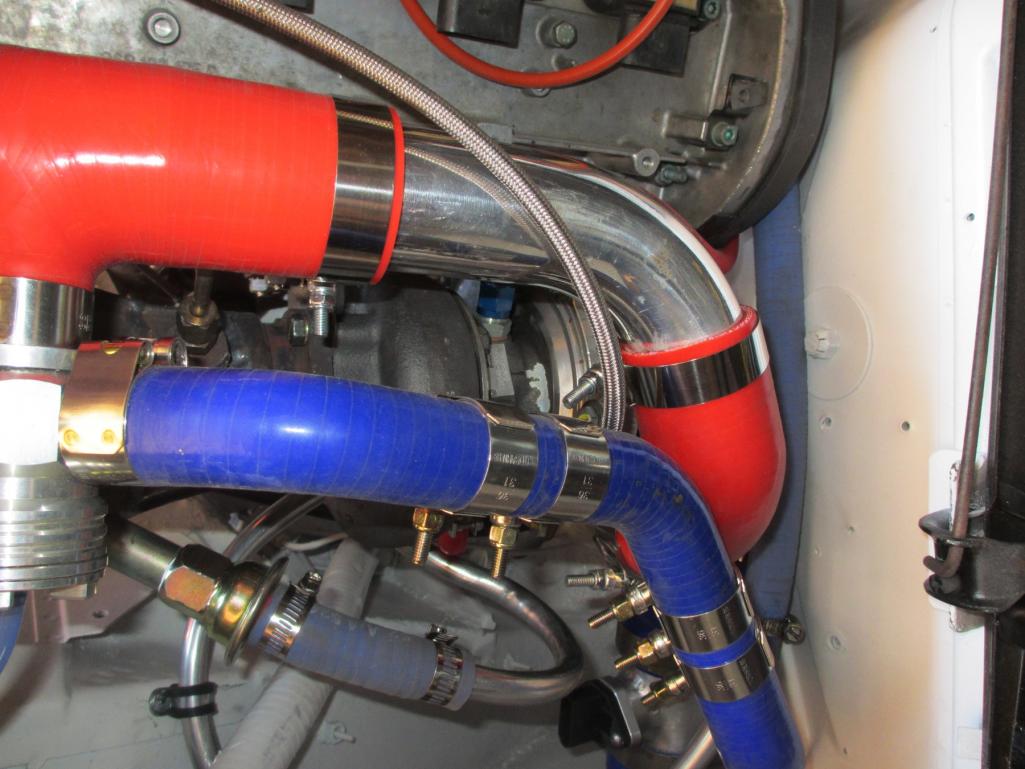 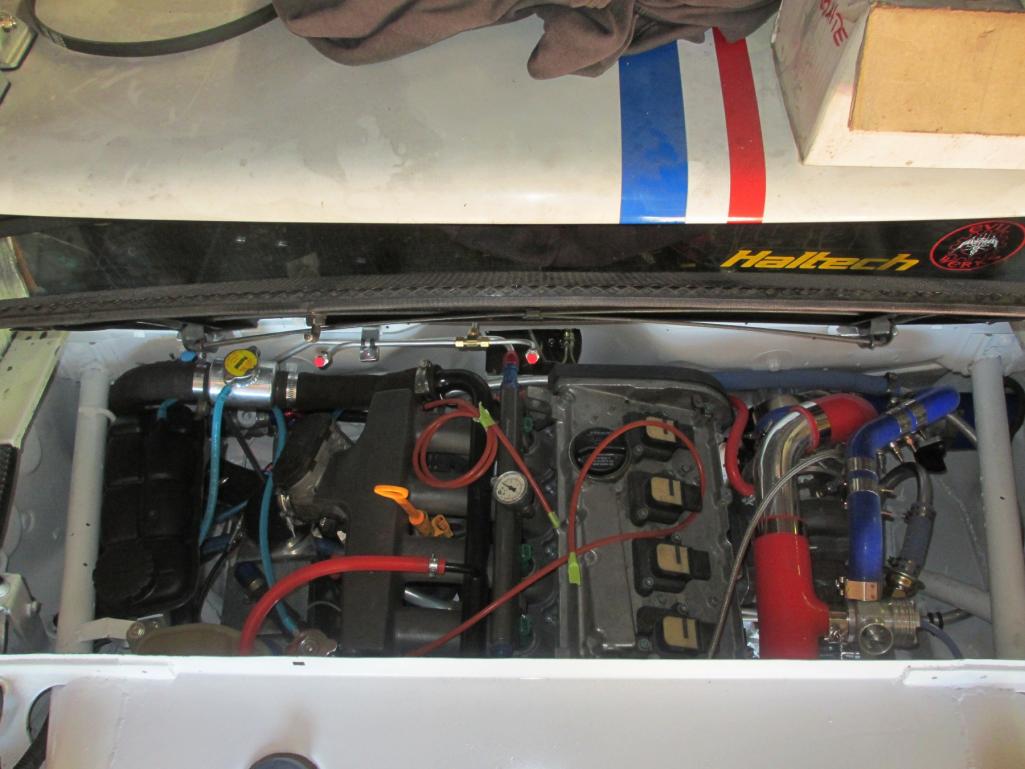 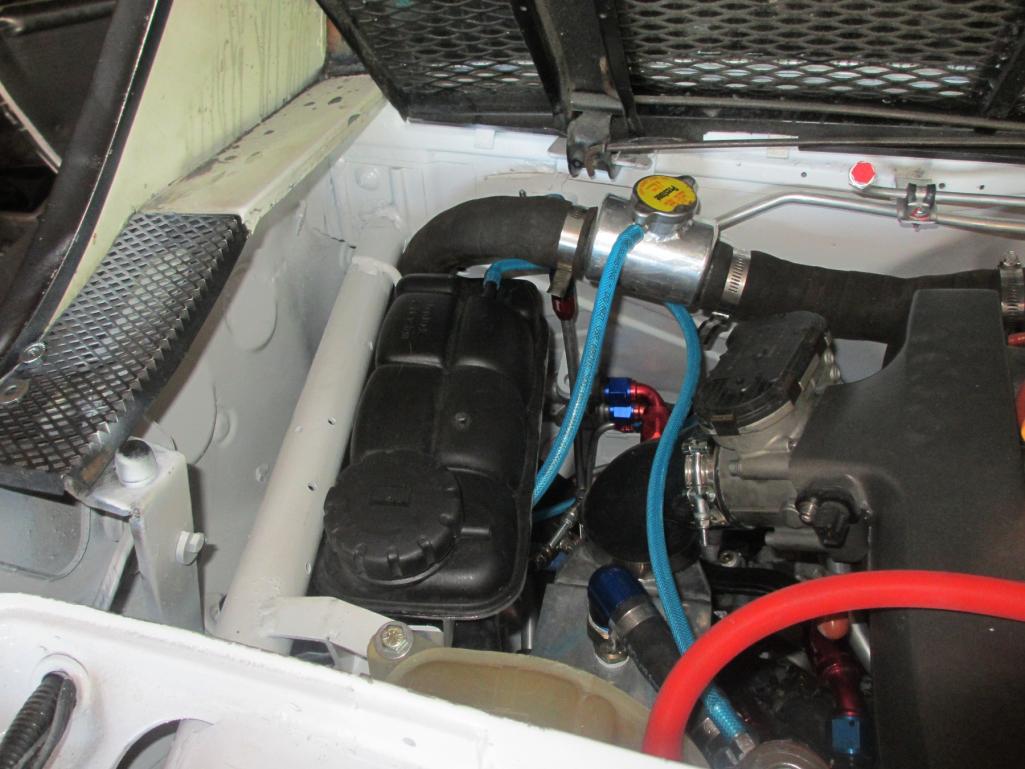 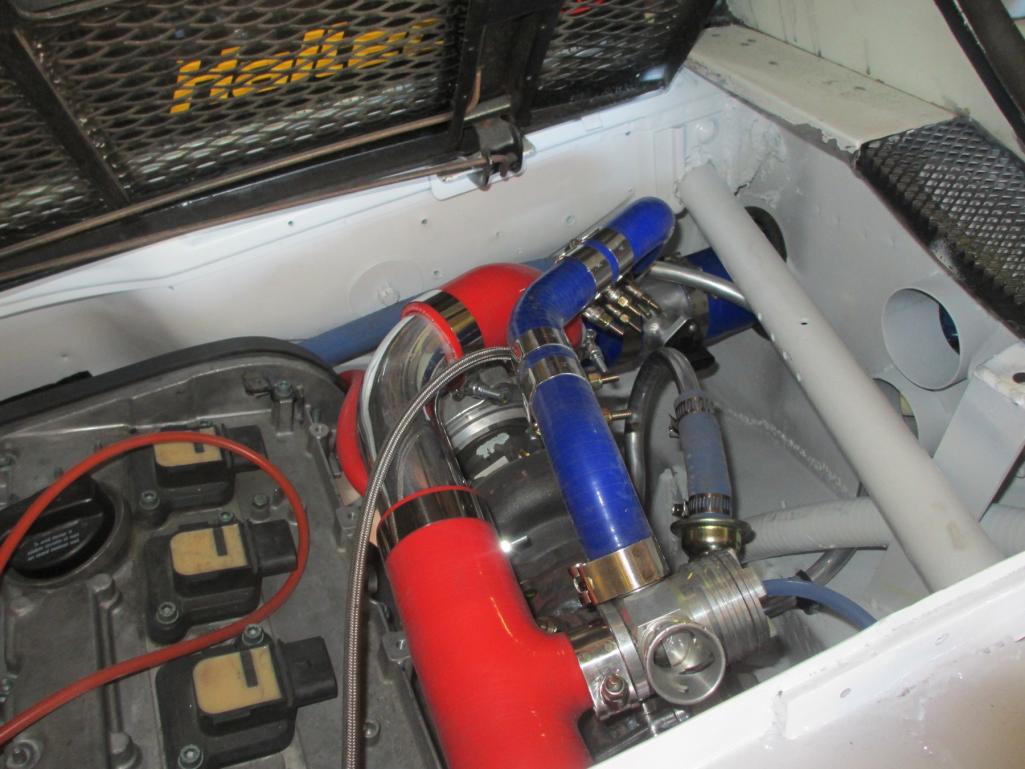 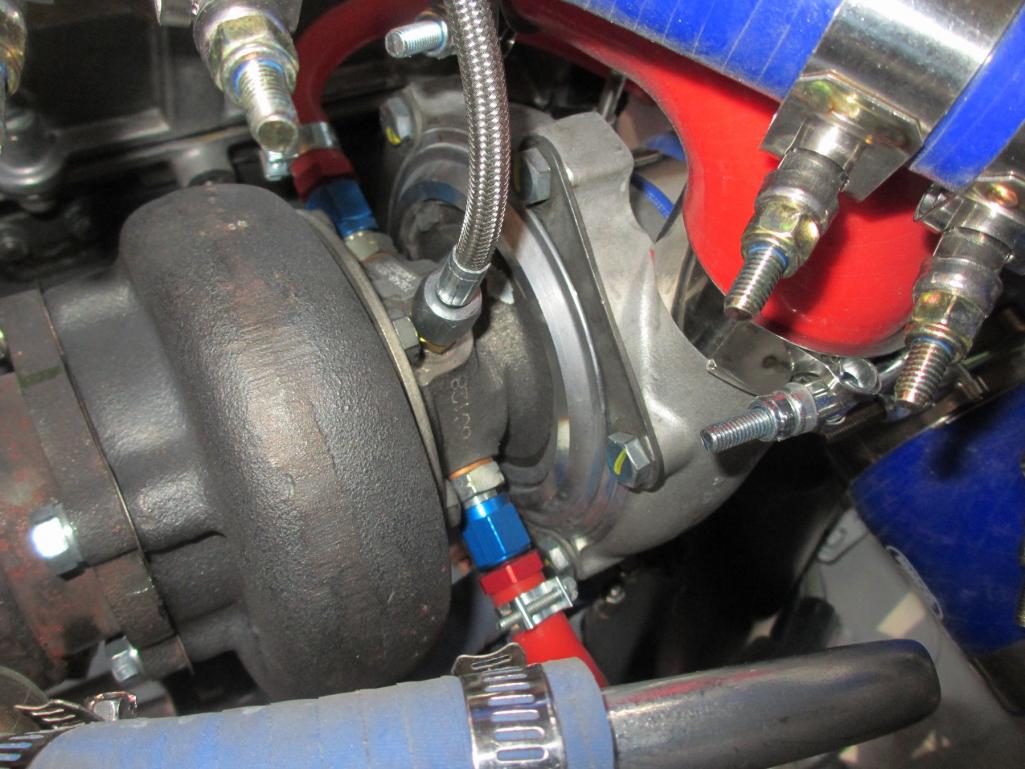 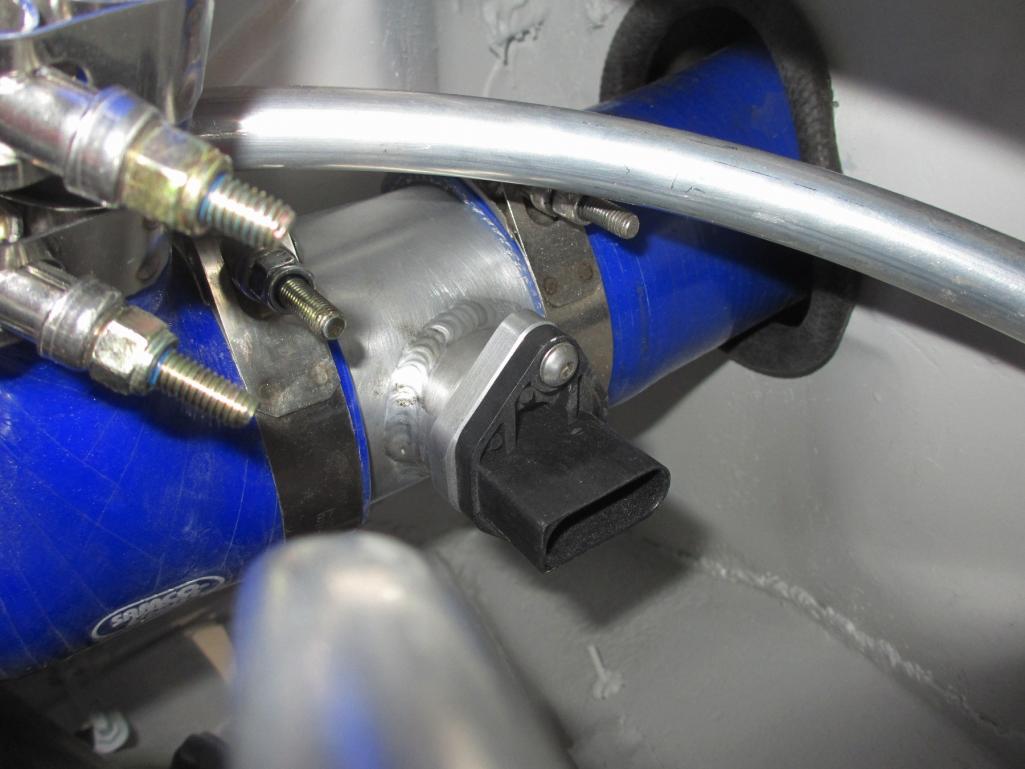 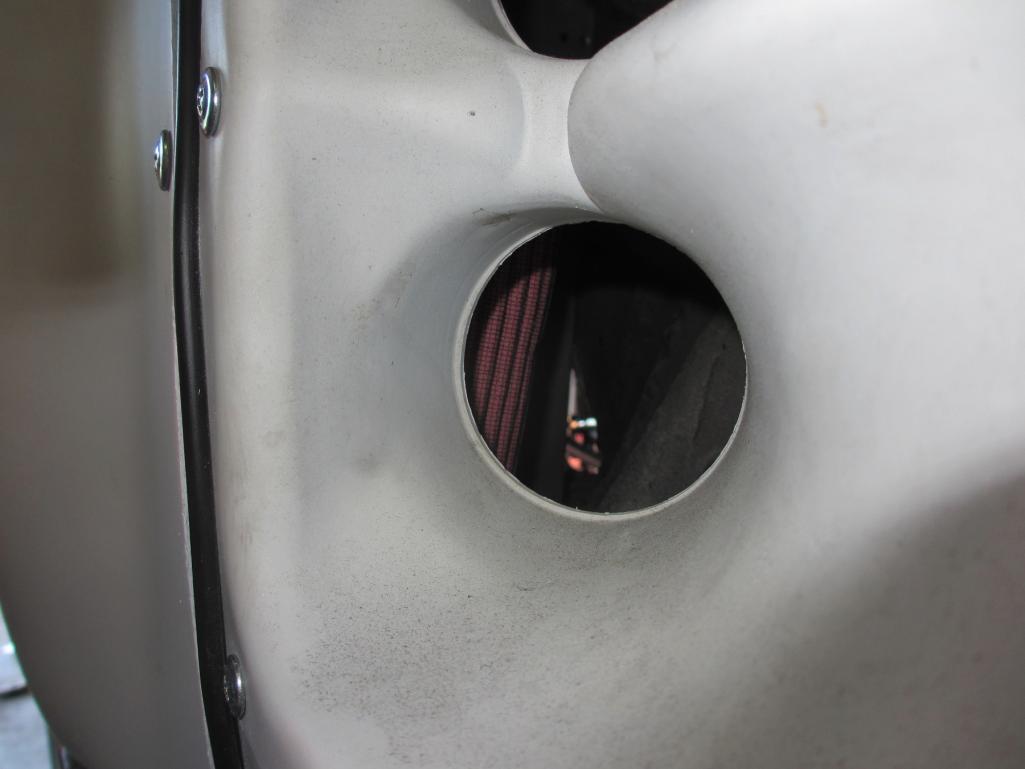 |
  |
3 User(s) are reading this topic (3 Guests and 0 Anonymous Users)
0 Members:

|
Lo-Fi Version | Time is now: 26th November 2024 - 09:23 AM |
Invision Power Board
v9.1.4 © 2024 IPS, Inc.


