|
|

|
Porsche, and the Porsche crest are registered trademarks of Dr. Ing. h.c. F. Porsche AG.
This site is not affiliated with Porsche in any way. Its only purpose is to provide an online forum for car enthusiasts. All other trademarks are property of their respective owners. |
|
|
  |
| Steve_R |
 Mar 9 2014, 11:18 AM Mar 9 2014, 11:18 AM
Post
#41
|
|
Member   Group: Members Posts: 68 Joined: 8-August 12 From: San Diego, CA Member No.: 14,777 Region Association: None |
... and relocated the fuel pump and filter to under the gas tank. totally awesome work! Won't the filter location make it really hard to change? Thanks and good point. I think I'll re-relocate it back to it's original location and maybe add some insulation to help with vapor lock. Actually, now that I think about it, it should be between the tank and the pump. So, I think I'll just leave it there. I want it to look stock as much as possible so I don't want to put it in the front trunk. Spectacular work! Your attention to detail will pay off many times over. You can make a more convenient location for the pump and filter by mounting in the cavity that holds the steering rack and master cylinder. It's protected from road debris by the panel yet easily accessed for service. What are your plans for wheels? Marc, That's a great idea. My car didn't have a debris shield so I didn't think of putting it there. Does anyone have any pictures of this? I just picked up some Fuchs wheels that I'll be using with some Bridgestone Potenza 195/60R15 tires. I'll be painting the centers black. To paint the centers black I built a tool to cut the tape at a constant distance from the rim outer surface. It's basically a flat piece of aluminum with a standoff and a razor blade attached to the end. After taping up the wheel I just sliced thru the tape with the razor blade tool and had a perfect tape line. I'll add some pictures of the finished wheel next. Attached image(s) 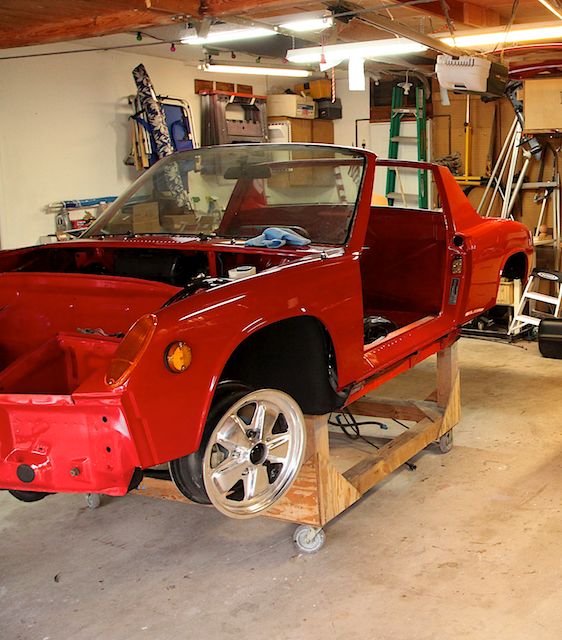 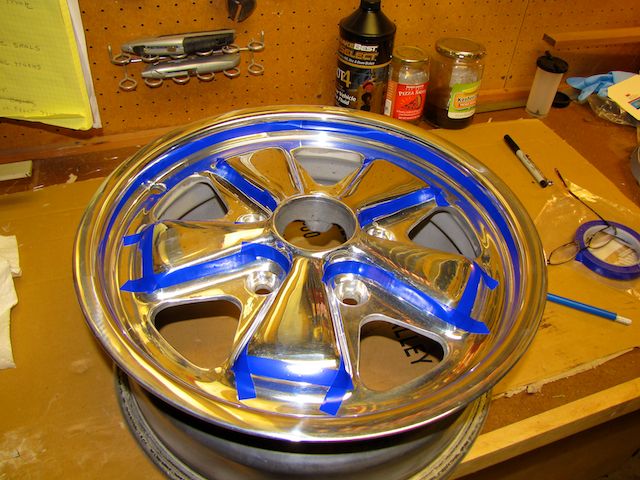 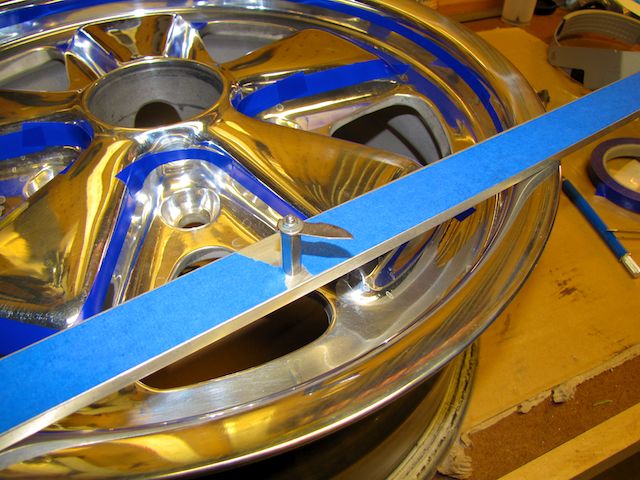 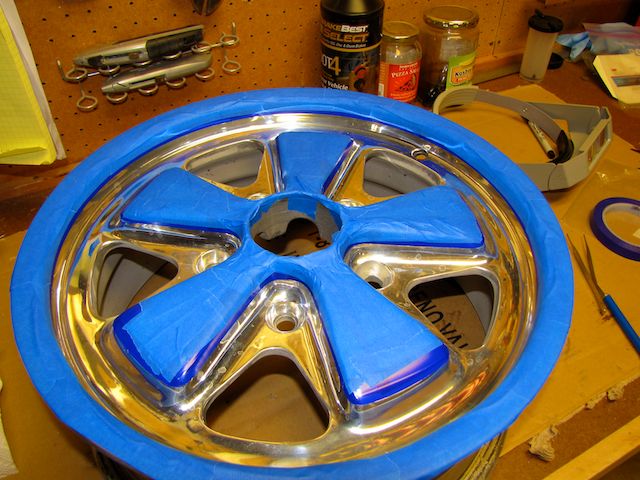 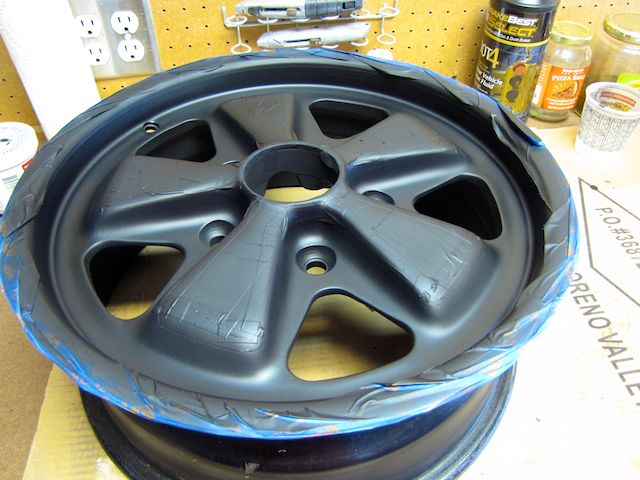 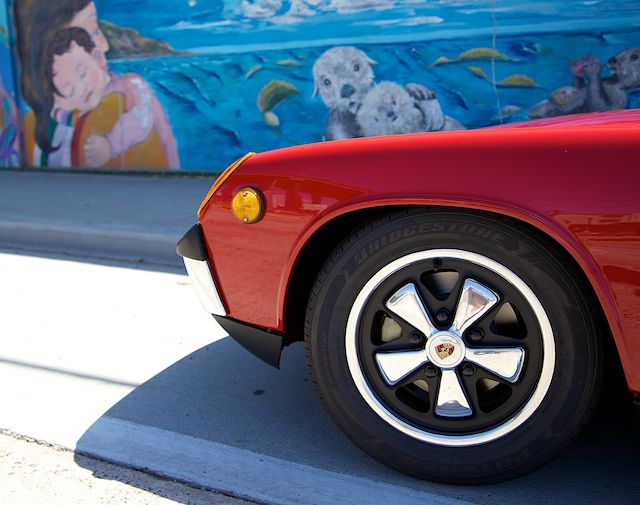
|
| Steve_R |
 Mar 27 2014, 11:31 PM Mar 27 2014, 11:31 PM
Post
#42
|
|
Member   Group: Members Posts: 68 Joined: 8-August 12 From: San Diego, CA Member No.: 14,777 Region Association: None |
Started working on the interior this week. I bought a complete interior kit from Autos International and the quality is really nice. The kit was $1400. which included the seats, door panels, back pad, carpet and headliner.
Attached image(s) 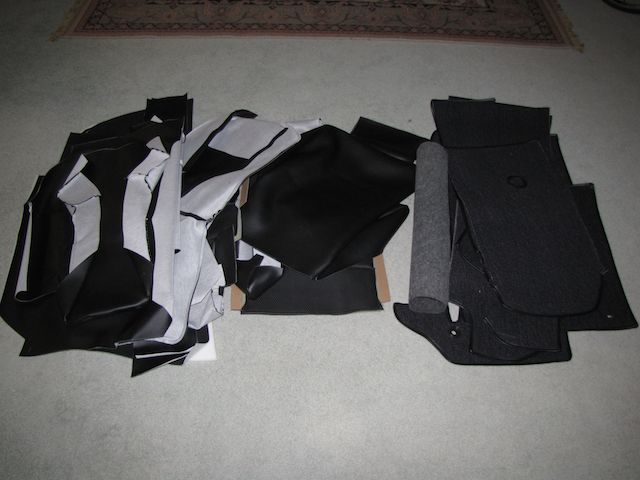 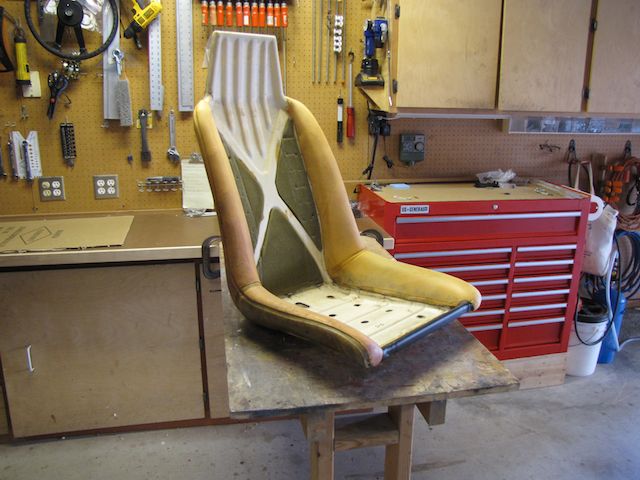 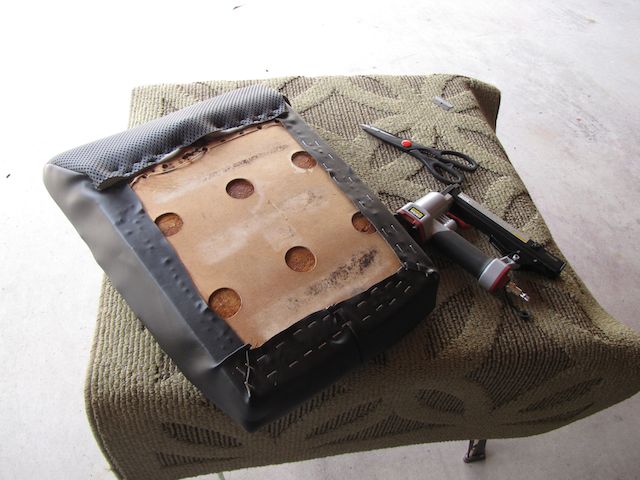 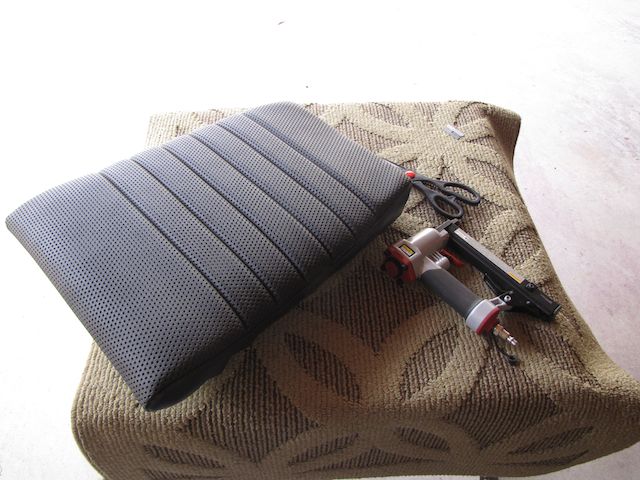 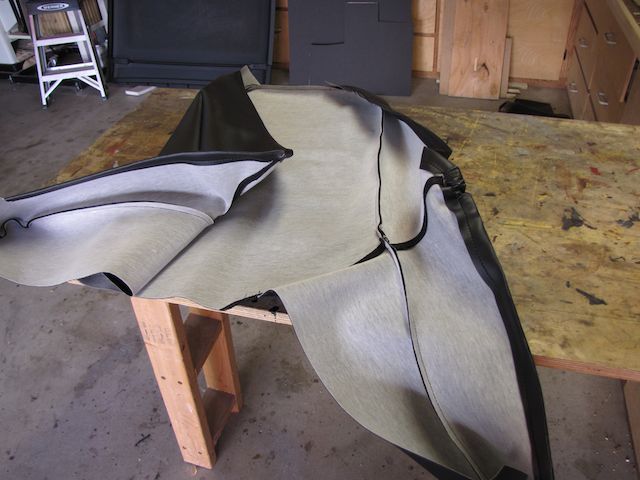 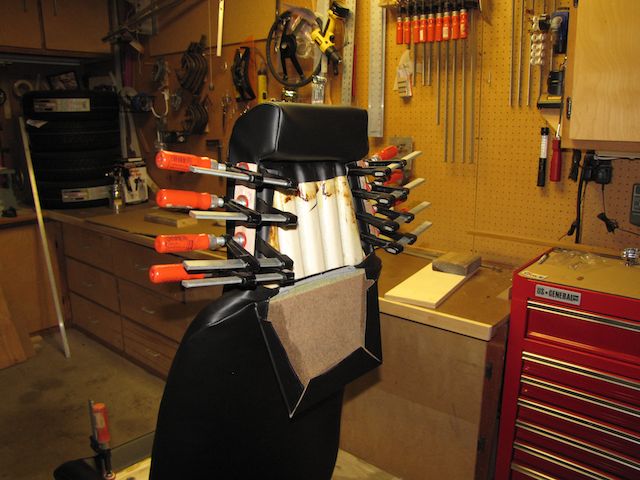 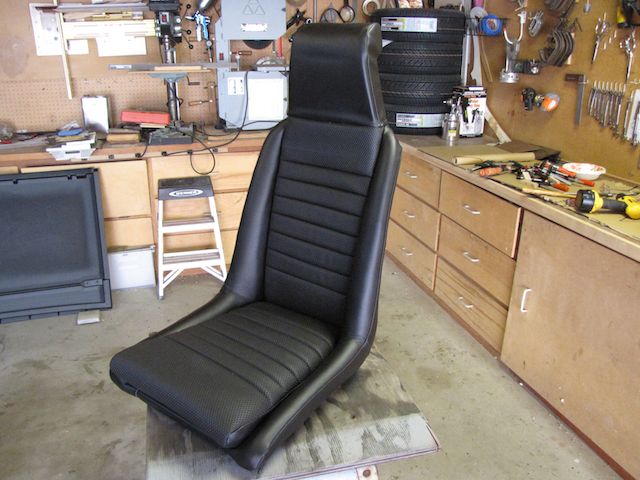 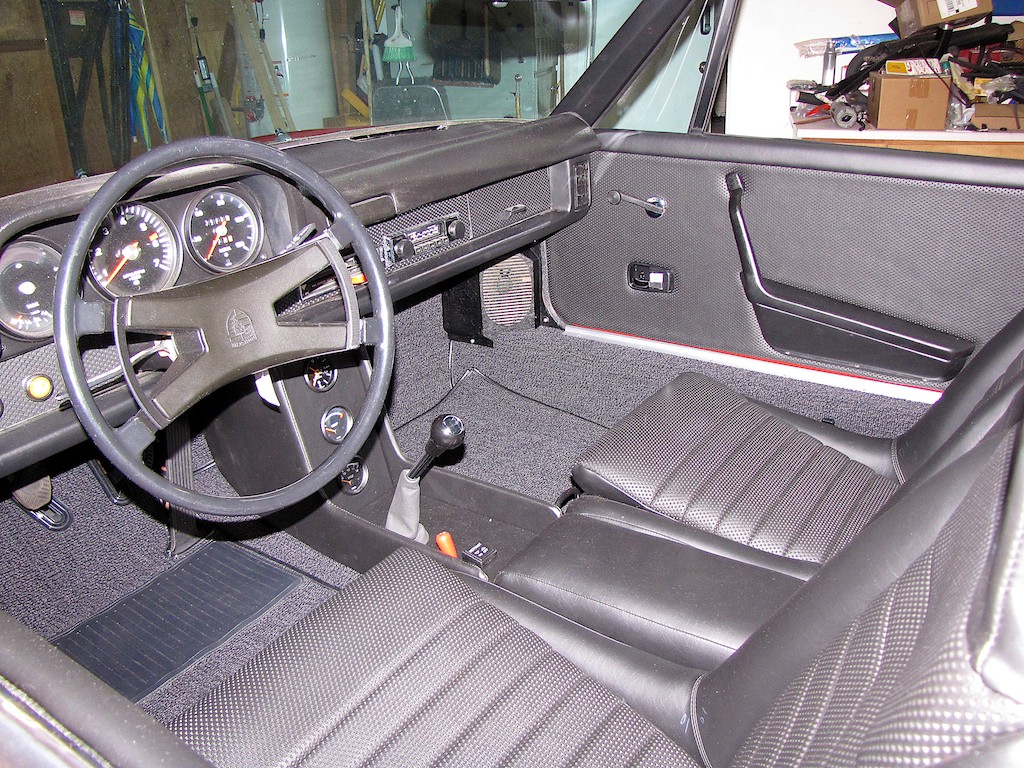 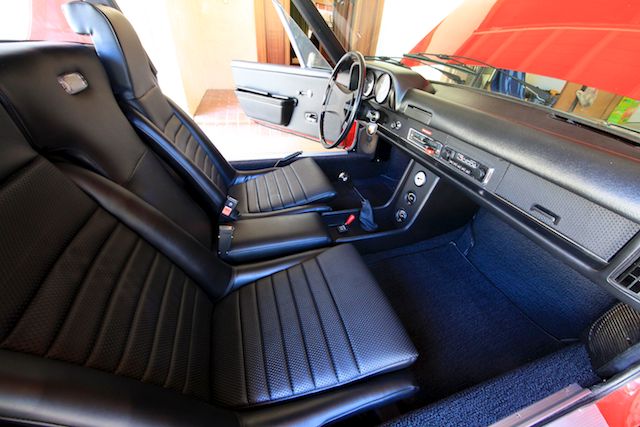
|
| Steve_R |
 Jun 3 2014, 10:09 PM Jun 3 2014, 10:09 PM
Post
#43
|
|
Member   Group: Members Posts: 68 Joined: 8-August 12 From: San Diego, CA Member No.: 14,777 Region Association: None |
The next project was to make a wire harness for the gauges in the center console.
My other hobby is woodworking so I couldn't resist making a new center arm rest box. The car didn't originally have one so i got one on ebay to use as a template. Attached image(s) 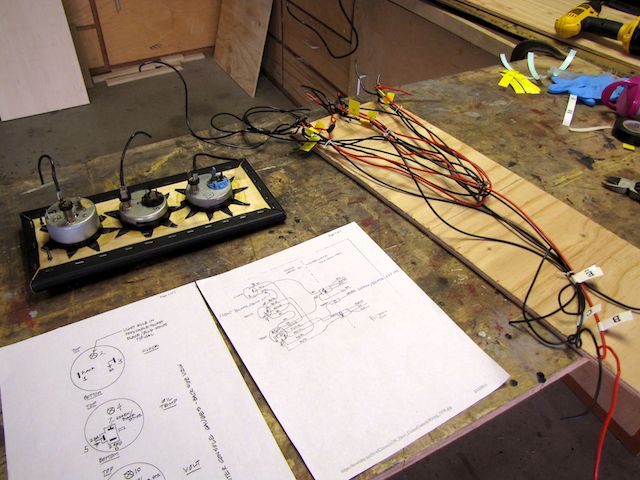 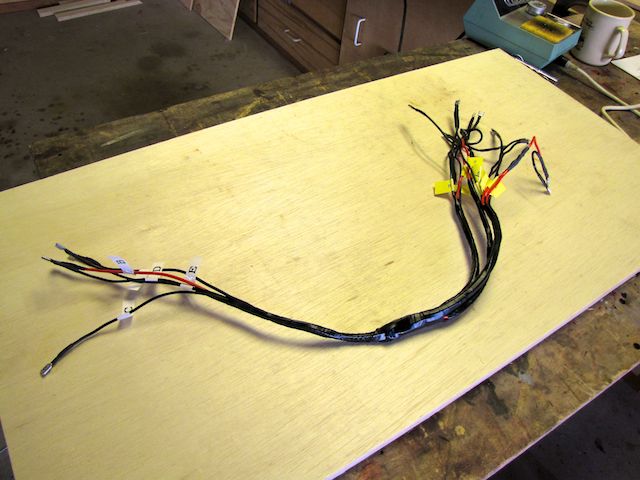 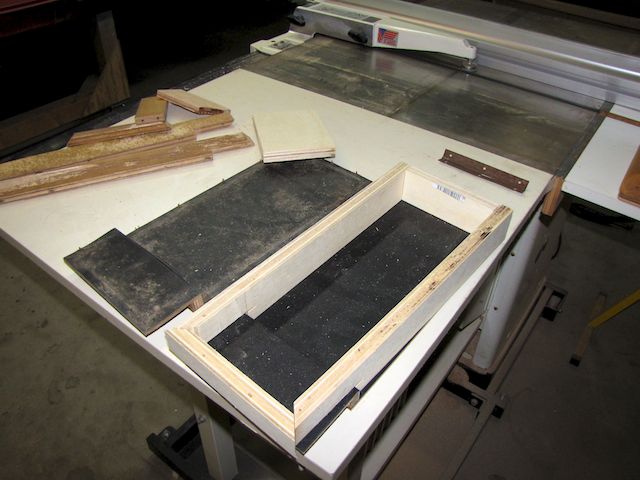 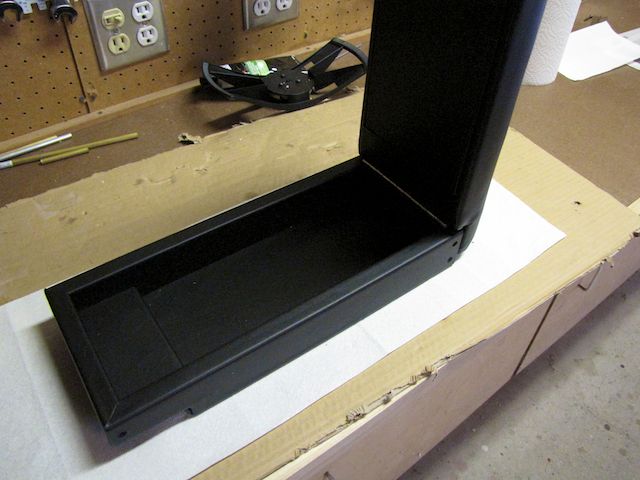 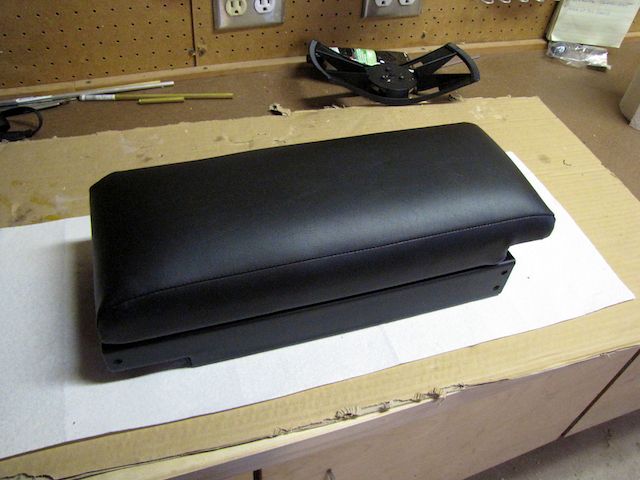
|
| Steve_R |
 Jun 3 2014, 10:15 PM Jun 3 2014, 10:15 PM
Post
#44
|
|
Member   Group: Members Posts: 68 Joined: 8-August 12 From: San Diego, CA Member No.: 14,777 Region Association: None |
The gauges were in bad shape so I sanded them down and painted them with the same semi gloss paint I used for the valances.
Attached image(s) 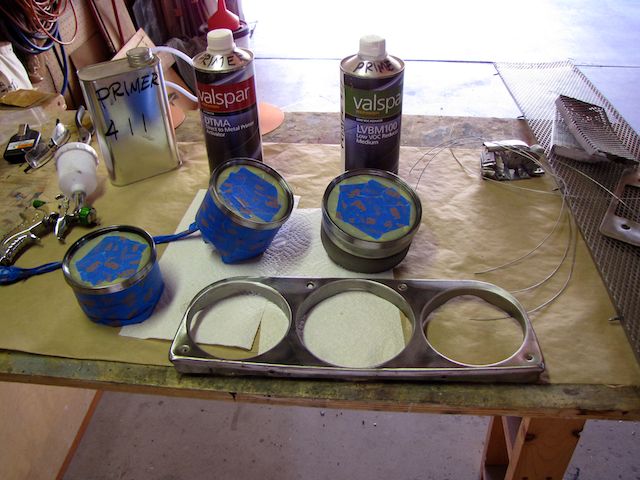 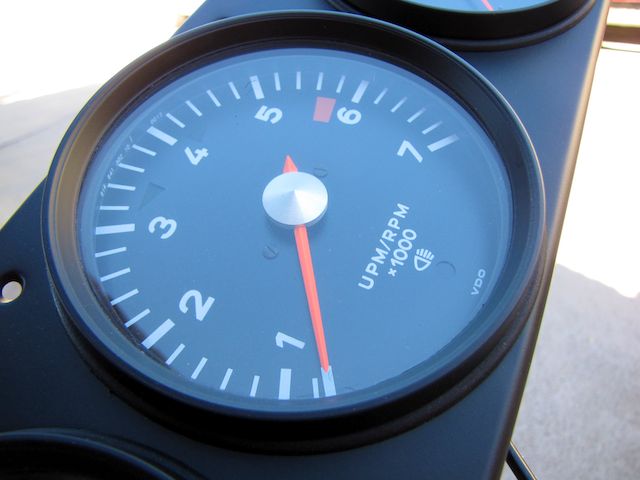
|
| ndfrigi |
 Jun 4 2014, 01:43 AM Jun 4 2014, 01:43 AM
Post
#45
|
|
Advanced Member     Group: Members Posts: 2,960 Joined: 21-August 11 From: Orange County Member No.: 13,474 Region Association: Southern California 
|
Hi Again Steve,
A real amazing job and beautiful teen that is running in the road soon!!!! God Bless! Noel |
| Steve_R |
 Oct 14 2014, 08:51 PM Oct 14 2014, 08:51 PM
Post
#46
|
|
Member   Group: Members Posts: 68 Joined: 8-August 12 From: San Diego, CA Member No.: 14,777 Region Association: None |
It's been a while since I've posted any pictures. So, here are some removing the dolly.
Attached image(s) 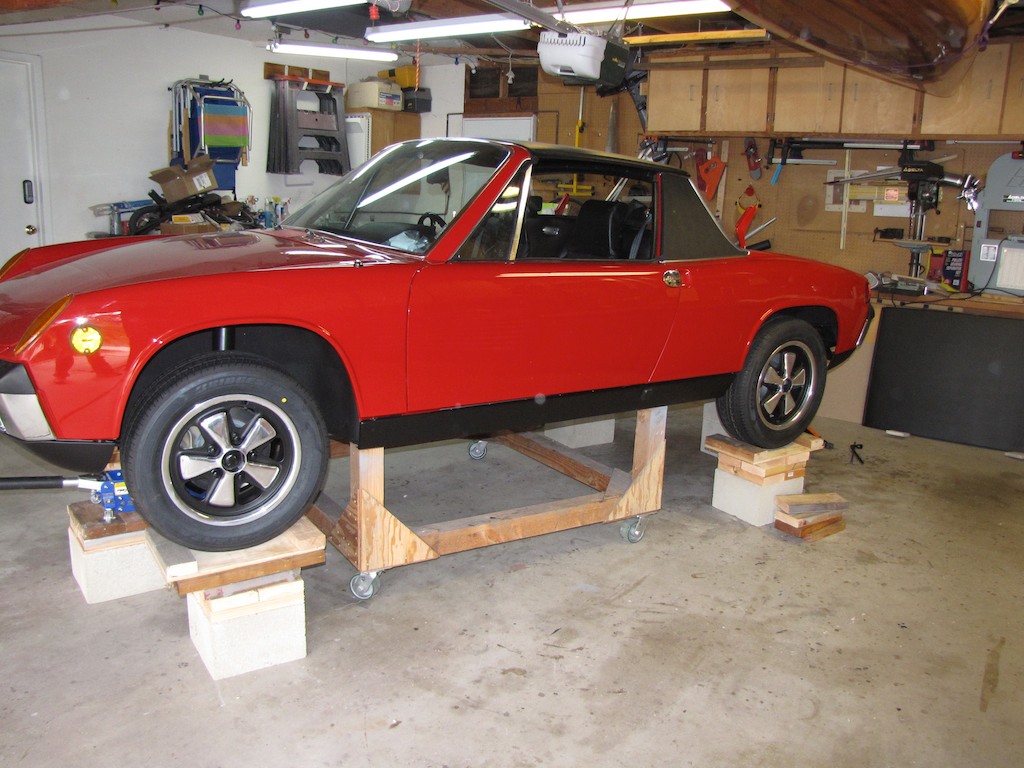 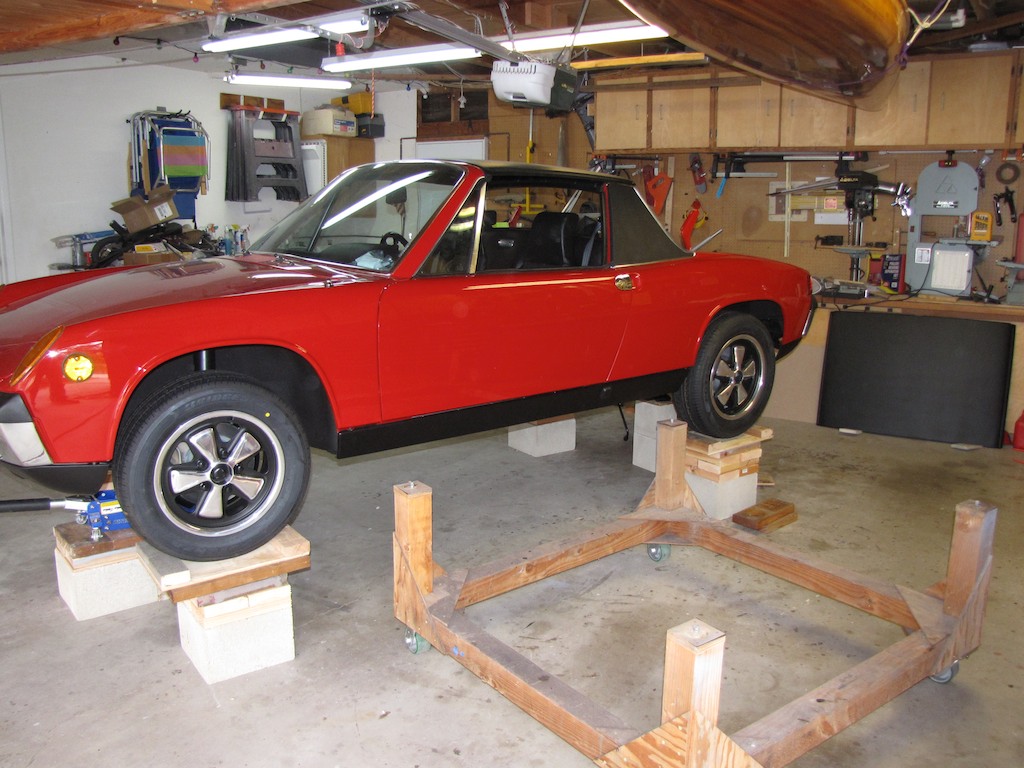 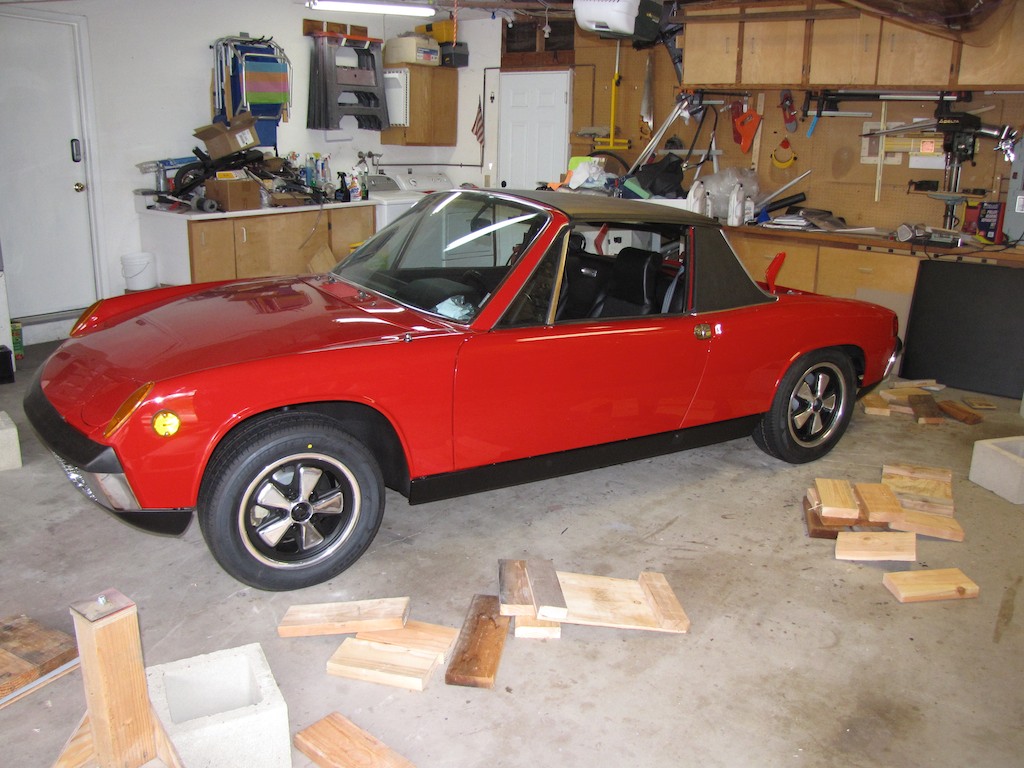
|
| mepstein |
 Oct 14 2014, 09:00 PM Oct 14 2014, 09:00 PM
Post
#47
|
|
914-6 GT in waiting                Group: Members Posts: 19,687 Joined: 19-September 09 From: Landenberg, PA/Wilmington, DE Member No.: 10,825 Region Association: MidAtlantic Region 
|
WOW!
|
| altitude411 |
 Oct 14 2014, 09:09 PM Oct 14 2014, 09:09 PM
Post
#48
|
|
I drove my 6 into a tree    Group: Members Posts: 1,306 Joined: 21-September 14 From: montana Member No.: 17,932 Region Association: Rocky Mountains 
|
Sa-Weet! Really nice work. Congrads on being back on the earth. (IMG:style_emoticons/default/beerchug.gif)
|
| stevegm |
 Oct 14 2014, 09:25 PM Oct 14 2014, 09:25 PM
Post
#49
|
|
Advanced Member     Group: Members Posts: 2,111 Joined: 14-July 14 From: North Carolina Member No.: 17,633 Region Association: South East States 
|
Wasn't there a picture on 914world of this car (or maybe another car) being rolled onto a car trailer on a wood dolly like Steve used in this thread? I am just wondering if the wood dolly here:
http://www.914world.com/bbs2/index.php?act...t&id=394445 would be strong enough to haul the car, on a car trailer, to the paint shop. What do you think? |
| Steve_R |
 Oct 14 2014, 10:02 PM Oct 14 2014, 10:02 PM
Post
#50
|
|
Member   Group: Members Posts: 68 Joined: 8-August 12 From: San Diego, CA Member No.: 14,777 Region Association: None |
Wasn't there a picture on 914world of this car (or maybe another car) being rolled onto a car trailer on a wood dolly like Steve used in this thread? I am just wondering if the wood dolly here: http://www.914world.com/bbs2/index.php?act...t&id=394445 would be strong enough to haul the car, on a car trailer, to the paint shop. What do you think? Steve, It wasn't this car. I have not put it on a trailer. I think it would work if the engine was out of the car. You could also beef it up a little from these plans. Maybe use 3/4" plywood with 2" deck screws for the gussets. |
| stevegm |
 Oct 14 2014, 10:11 PM Oct 14 2014, 10:11 PM
Post
#51
|
|
Advanced Member     Group: Members Posts: 2,111 Joined: 14-July 14 From: North Carolina Member No.: 17,633 Region Association: South East States 
|
Wasn't there a picture on 914world of this car (or maybe another car) being rolled onto a car trailer on a wood dolly like Steve used in this thread? I am just wondering if the wood dolly here: http://www.914world.com/bbs2/index.php?act...t&id=394445 would be strong enough to haul the car, on a car trailer, to the paint shop. What do you think? Steve, It wasn't this car. I have not put it on a trailer. I think it would work if the engine was out of the car. You could also beef it up a little from these plans. Maybe use 3/4" plywood with 2" deck screws for the gussets. Thanks. I can also beef it up with a metal strap all the way around. Just curious on your thoughts, since you used the dolly so much. |
| trojanhorsepower |
 Oct 14 2014, 10:15 PM Oct 14 2014, 10:15 PM
Post
#52
|
|
Senior Member    Group: Members Posts: 867 Joined: 21-September 03 From: Marion, NC Member No.: 1,179 Region Association: None |
Wow!
|
| Cairo94507 |
 Oct 15 2014, 07:29 AM Oct 15 2014, 07:29 AM
Post
#53
|
|
Michael           Group: Members Posts: 10,153 Joined: 1-November 08 From: Auburn, CA Member No.: 9,712 Region Association: Northern California 
|
Car looks beautiful! (IMG:style_emoticons/default/first.gif)
|
| CptTripps |
 Oct 15 2014, 11:04 AM Oct 15 2014, 11:04 AM
Post
#54
|
|
:: Punch and Pie ::     Group: Members Posts: 3,584 Joined: 26-December 04 From: Mentor, OH Member No.: 3,342 Region Association: Upper MidWest |
Great job on that interior. Very well done.
|
| Steve_R |
 Oct 22 2014, 08:08 PM Oct 22 2014, 08:08 PM
Post
#55
|
|
Member   Group: Members Posts: 68 Joined: 8-August 12 From: San Diego, CA Member No.: 14,777 Region Association: None |
So now that I have about 1,000 miles on my car it’s time to adjust the air fuel ratio (mixture).
It generally runs good. However, it is a little rough before the engine is fully warmed up. Also, when I took it in for the initial wheel alignment the mechanic told me he thought it was running a little lean. My plan is to use a wideband oxygen sensor to measure the AFR (air/fuel ratio) and adjust the MPS (manifold pressure sensor) to achieve an AFR of 12.5 at full load or WOT (Wide Open Throttle). I purchased a new Innovate Motorsports LM-2 Air/Fuel meter on ebay for $300.00. I originally wanted to log the results on the LM-2 SD card , however I could not get the LM-2 to log data on the supplied SD memory card. After a few calls to their tech support I was able to connect a laptop to the LM-2 via the supplied USB cable. The laptop then displayed the data (AFR) and record it to a file. I also wanted to record RPM but I could not get it to read an accurate value. The LM-2 would be a great unit if it only worked. Also, the customer support and manual are not good. In the end, I was able to get it to log the AFR which was what I really needed. I drilled a hole in the exhaust muffler collector and welded in the O2 sensor fitting. It was cheaper to weld in the fitting (since it came with the kit) than buy the exhaust clamp for 80 bucks. Since this is not a permanent install I just ran the wires into the engine compartment and thru the engine lid, thru the passenger window to the passenger seat. The oxygen sensor is connected to the LM-2 and the LM-2 is connected to the laptop via a USB cable. The laptop is running the supplied Logworks software and can display (and record) the AFR in real time on a graph as well as a digital gauge. Once I got the Logworks software to log the AFR results real time, I made some initial baseline runs up a long hill to get a steady AFR plot at full throttle or WOT. The baseline WOT AFR was about 13.5 which means it was running lean. Next, I removed the MPS from the car and removed the epoxy plug covering the Full Load Stop screw. There are two adjustment screws, one inside of the other. I needed to adjust the inner screw without moving the outer screw. Luckily, I was able to turn the inner screw without turning the outer screw. If the outer screw turns there is a tool available from Tangerine Racing that allows you to turn either screw. I initially loosened the inner screw CCW 90 degrees and made another run. It helped but the AFR was still high. I then turned it another 90 degrees tor a total of 180 degrees. The WOT AFR was right on 12.5 and the car ran so much better. It was a lot smoother and the roughness when the engine was cold was gone. Attached image(s) 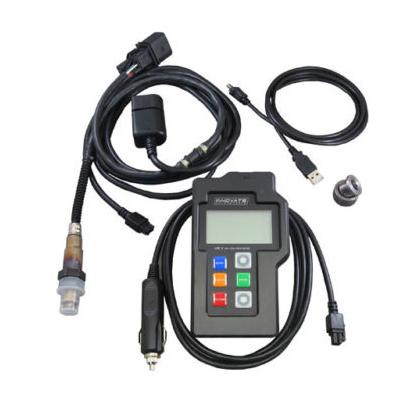 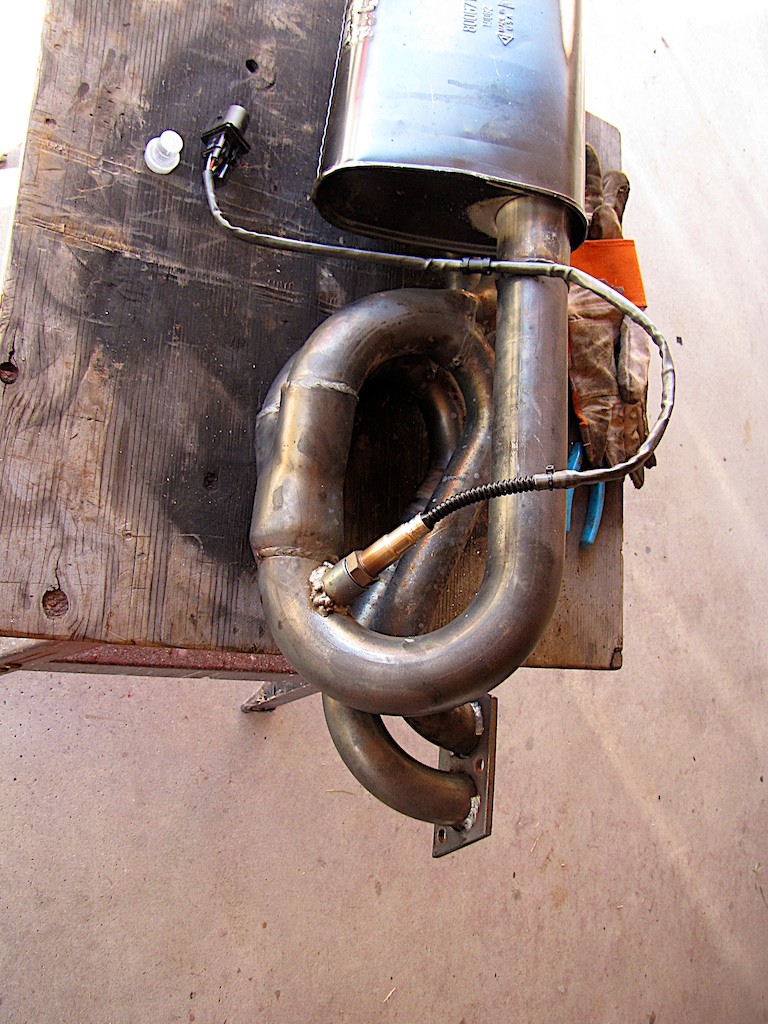 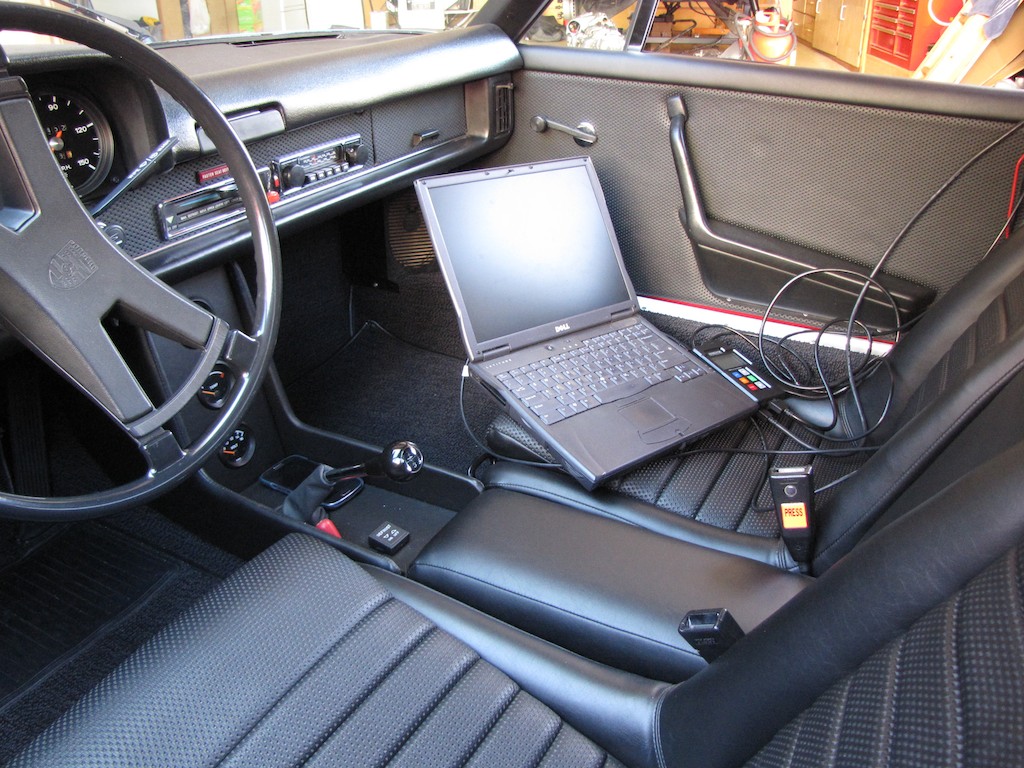 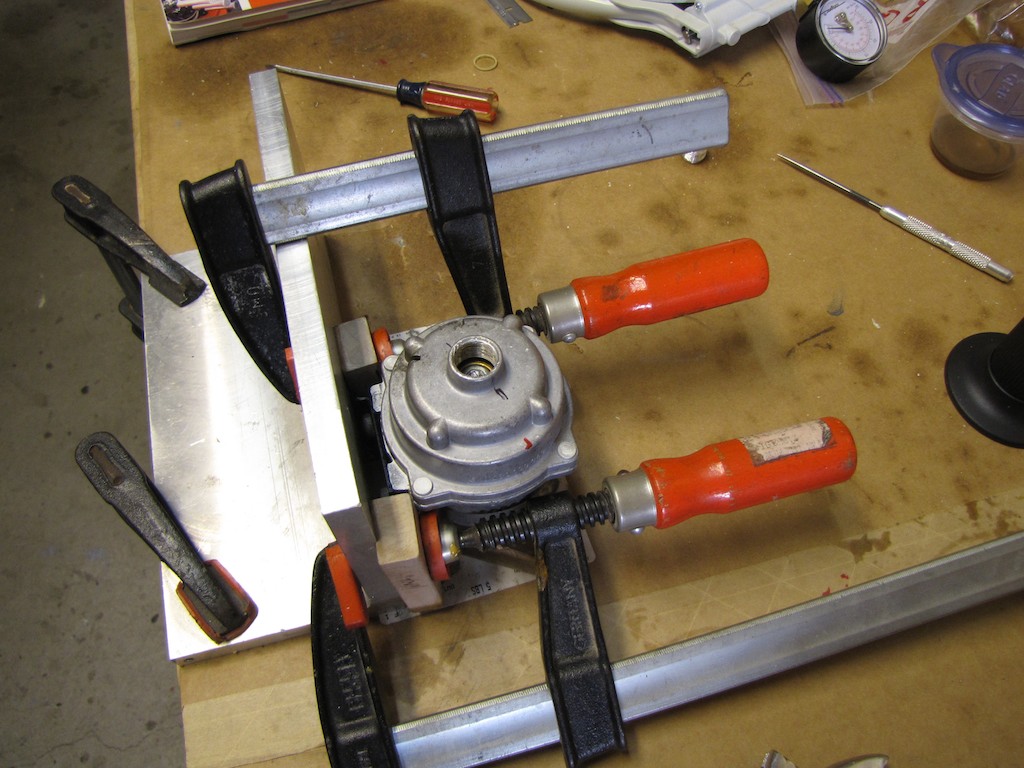 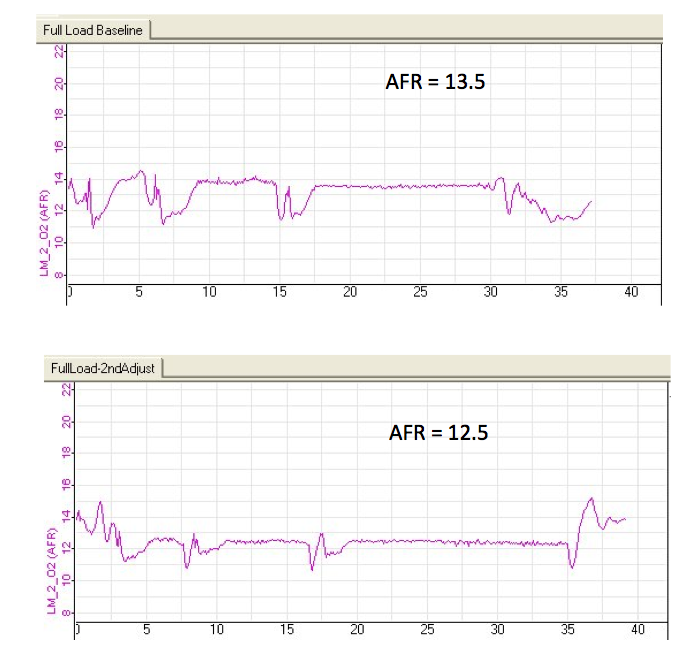
|
| Steve_R |
 Dec 16 2014, 06:38 PM Dec 16 2014, 06:38 PM
Post
#56
|
|
Member   Group: Members Posts: 68 Joined: 8-August 12 From: San Diego, CA Member No.: 14,777 Region Association: None |
Some pics
Attached image(s) 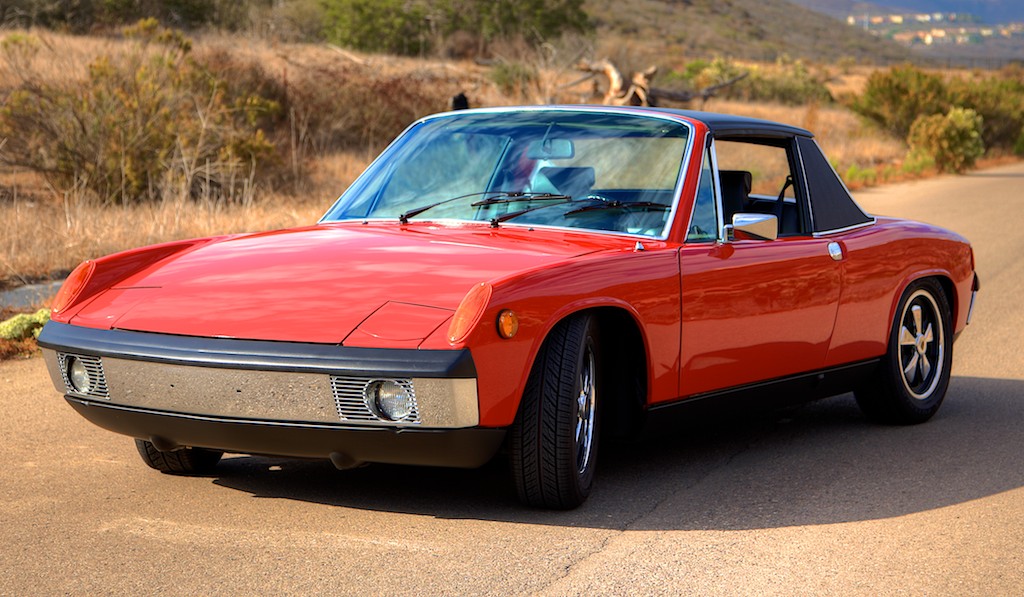 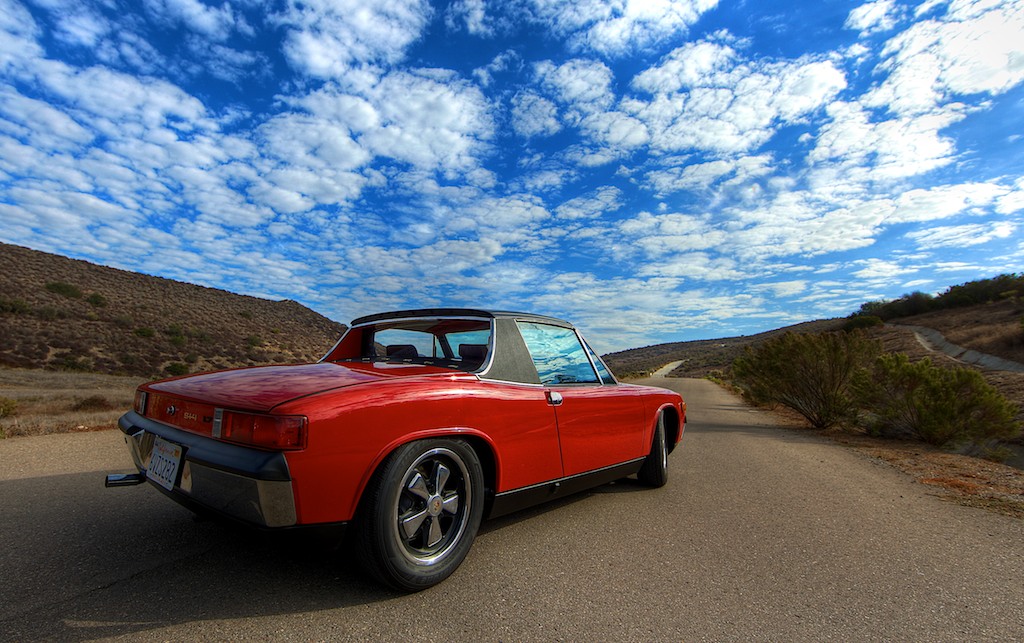
|
| Cairo94507 |
 Dec 16 2014, 07:20 PM Dec 16 2014, 07:20 PM
Post
#57
|
|
Michael           Group: Members Posts: 10,153 Joined: 1-November 08 From: Auburn, CA Member No.: 9,712 Region Association: Northern California 
|
I love your car (IMG:style_emoticons/default/smilie_pokal.gif)
What's up with that long tailpipe sticking out so far past the bumper? That is all I would change on your car. Absolutely perfect car otherwise. |
| turk22 |
 Dec 16 2014, 07:21 PM Dec 16 2014, 07:21 PM
Post
#58
|
|
Treetop Flyer    Group: Members Posts: 735 Joined: 27-July 12 From: Cincinnati OH Member No.: 14,725 Region Association: Upper MidWest |
Absolutely beautiful job, just love the way it came out... (IMG:style_emoticons/default/pray.gif)
|
| Larmo63 |
 Dec 16 2014, 08:21 PM Dec 16 2014, 08:21 PM
Post
#59
|
|
Advanced Member     Group: Members Posts: 4,267 Joined: 3-March 14 From: San Clemente, Ca Member No.: 17,068 Region Association: Southern California |
Gawd, is there anything you CAN'T do?? You did a great job on your car and I for one am jealous.
Really nice build!!!!! |
| bigkensteele |
 Dec 16 2014, 08:32 PM Dec 16 2014, 08:32 PM
Post
#60
|
|
Major Member     Group: Members Posts: 2,197 Joined: 30-August 04 From: Cincinnati, OH Member No.: 2,660 Region Association: South East States 
|
Stunning! I admire your ingenuity and will be copying your tool for taping off the Fuchs.
(IMG:style_emoticons/default/smilie_pokal.gif) |
  |
1 User(s) are reading this topic (1 Guests and 0 Anonymous Users)
0 Members:

|
Lo-Fi Version | Time is now: 8th January 2025 - 07:43 PM |
Invision Power Board
v9.1.4 © 2025 IPS, Inc.


