|
|

|
Porsche, and the Porsche crest are registered trademarks of Dr. Ing. h.c. F. Porsche AG.
This site is not affiliated with Porsche in any way. Its only purpose is to provide an online forum for car enthusiasts. All other trademarks are property of their respective owners. |
|
|
  |
| Van914 |
 Feb 14 2016, 01:50 PM Feb 14 2016, 01:50 PM
Post
#141
|
|
Van914    Group: Members Posts: 702 Joined: 5-January 03 From: Cincinnati, Ohio Member No.: 90 Region Association: Upper MidWest 
|
Stephen,
Great work! Spring is coming I hope Van914 |
| 914forme |
 Feb 14 2016, 03:11 PM Feb 14 2016, 03:11 PM
Post
#142
|
|
Times a wastin', get wrenchin'!     Group: Members Posts: 3,896 Joined: 24-July 04 From: Dayton, Ohio Member No.: 2,388 Region Association: None 
|
Stephen, Great work! Spring is coming I hope Van914 Thank you Van, and Andyrew I certainly hope so, if not I might have to orchestrate a raid on a furry little creature in PA. (IMG:style_emoticons/default/ar15.gif) Who ever thought a ground hog could predict the future anyways (IMG:style_emoticons/default/lol-2.gif) After all he is only correct 39% of the time, and a cow pooping on a a field with 2 squares drawn in it could be that accurate. So back to the build! Valance all tacked up, needs to be final welded but hey that is the story of my life. 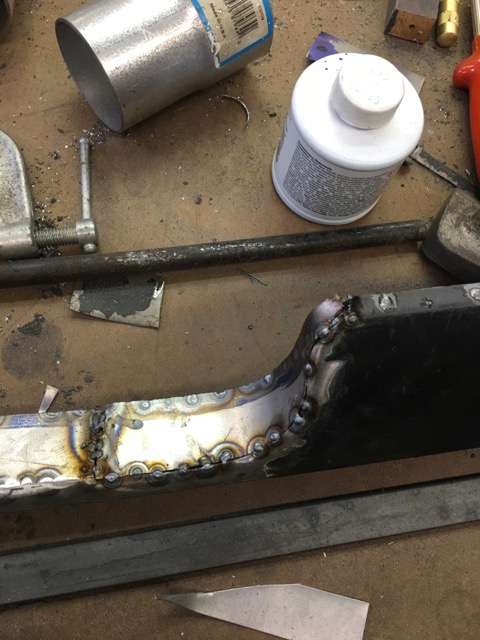 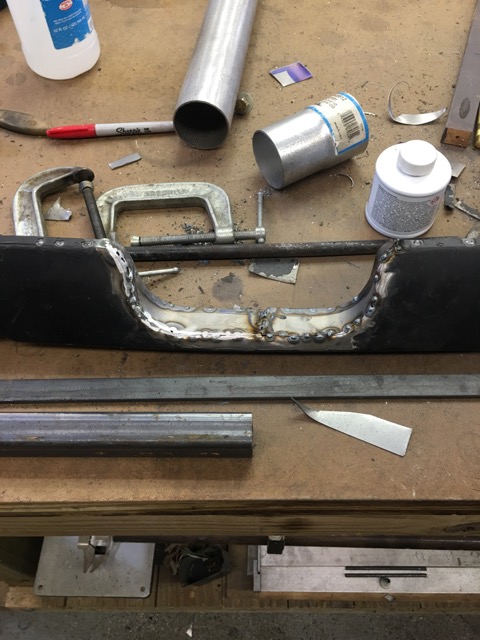 Welded up the trim holes on the drivers side sail panel. 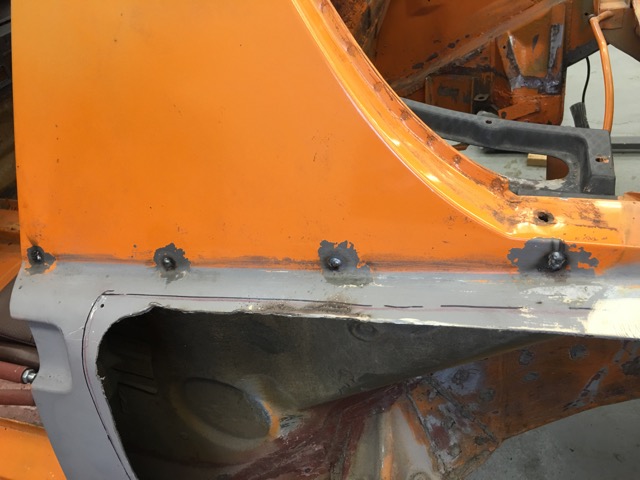 Moved into the engine compartment Started mocking up the harness mounts. 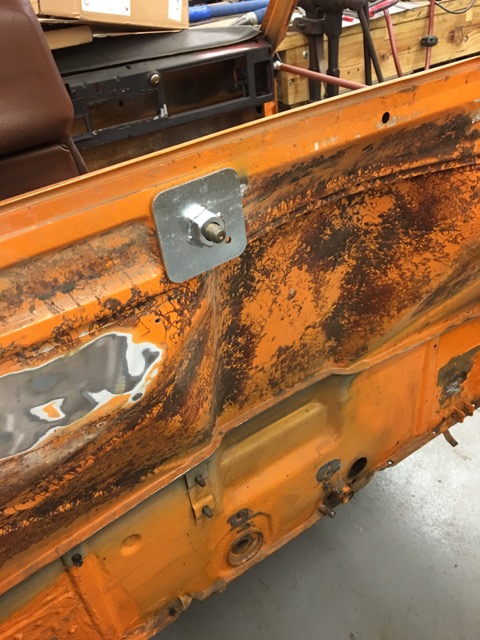 Have some work to do to make these safe as I would like. Big ole gap. 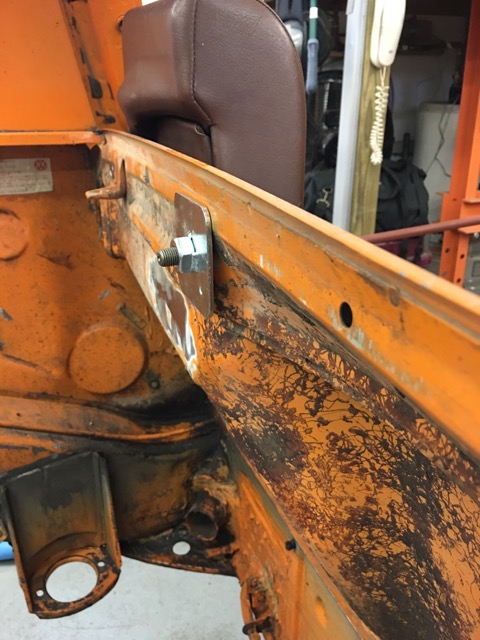 Have a tube running between the two sheet metal sections. Keep it from compressing the hallow section. 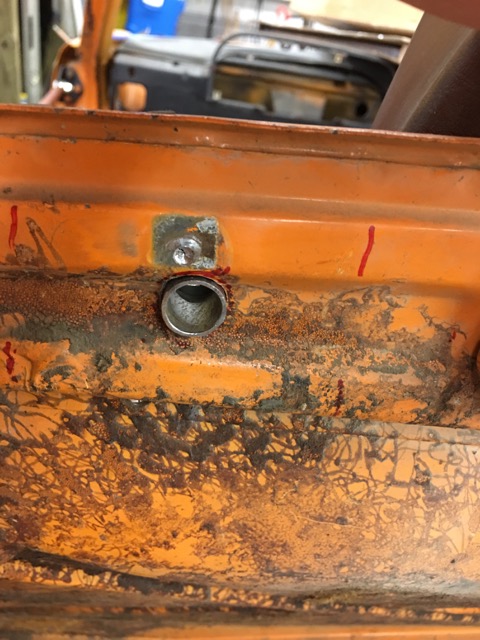 Will be adding re-enforcement to the from here. 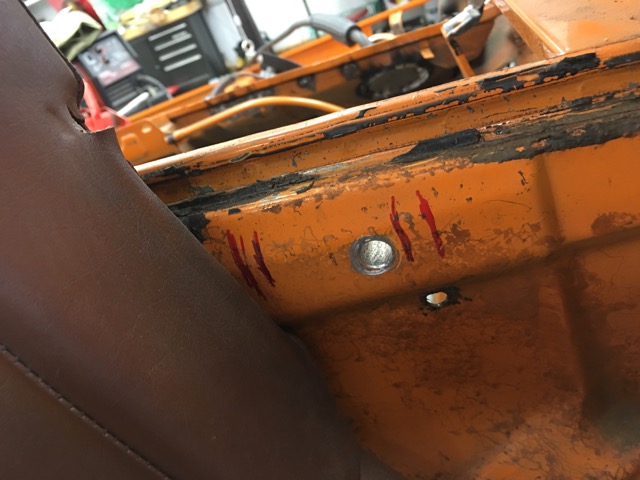 The Schroth Provi belts have these mounts they fit better than my square mounts on the outsides. 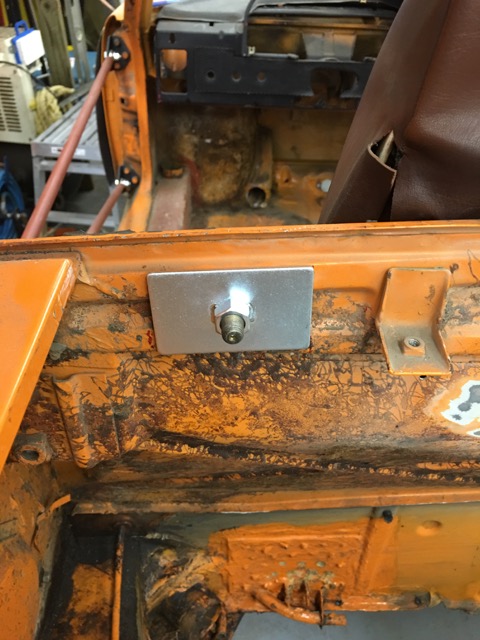 Test Belt clipped in, 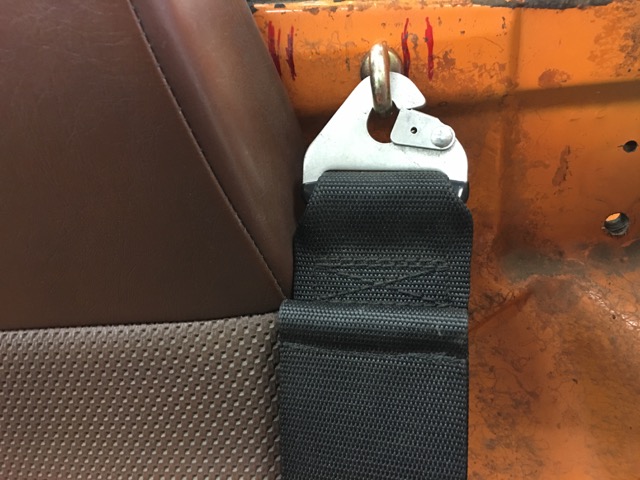 That is all for today. |
| 914forme |
 Feb 15 2016, 05:01 PM Feb 15 2016, 05:01 PM
Post
#143
|
|
Times a wastin', get wrenchin'!     Group: Members Posts: 3,896 Joined: 24-July 04 From: Dayton, Ohio Member No.: 2,388 Region Association: None 
|
Today's progress (IMG:style_emoticons/default/biggrin.gif)
Worked on the harnesses, and made a list of items I will need to finish up. Need 4 eyes, and 4 snap in endplates for 3" belts. So Provi I have are 6 point harnesses. 2 anchors in the floor, issue is one ends up right next to the spot weld access hole in the floors under each seat. So I will cut them out, and back it up with some 16 gauge, then add the FIA certified backer plates. No pictures of these, not very interesting yet. Moved onto the drivers side rear fender well, this is one of those while I am here things. Ground down all the plug welds on my old GT kit. 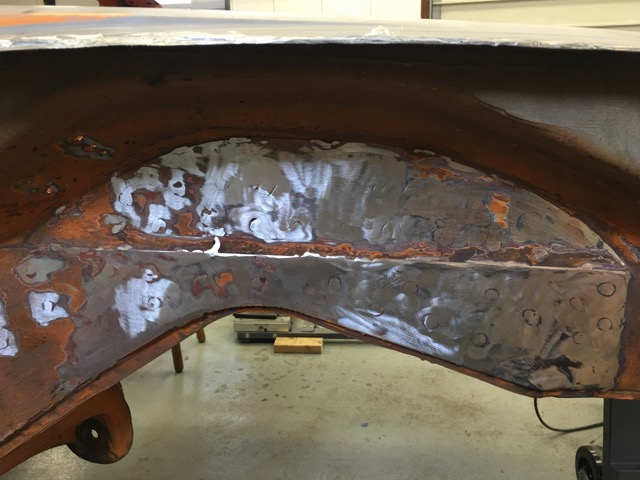 Next up worked on reinforcements of the outer suspension console, more than likely over kill, as I have 914LTD log stiffener in there all ready. But hey triangulation always makes things a little stronger. So out comes the cereal boxes. 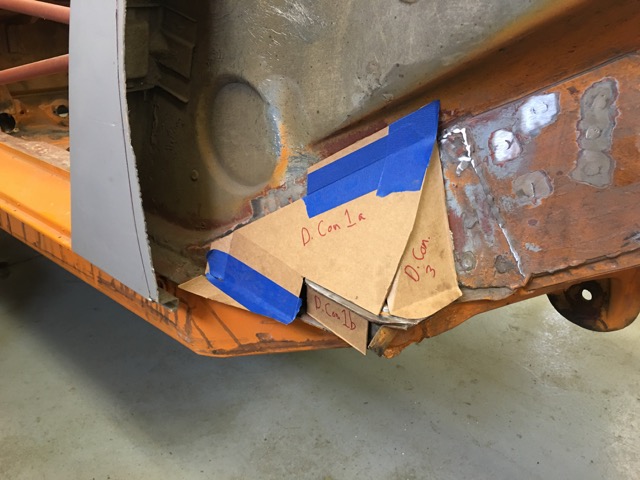 bending the first section up, love my high end sheet metal brake! 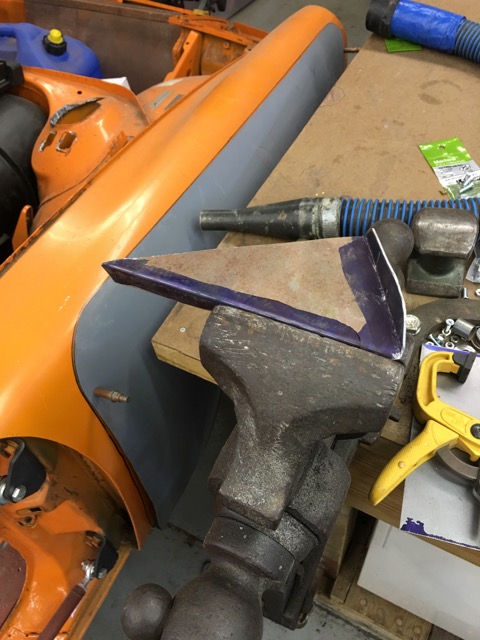 And fit to the chassis, not bad for a hack with a hammer, vice, and a harbor freight electric shears. 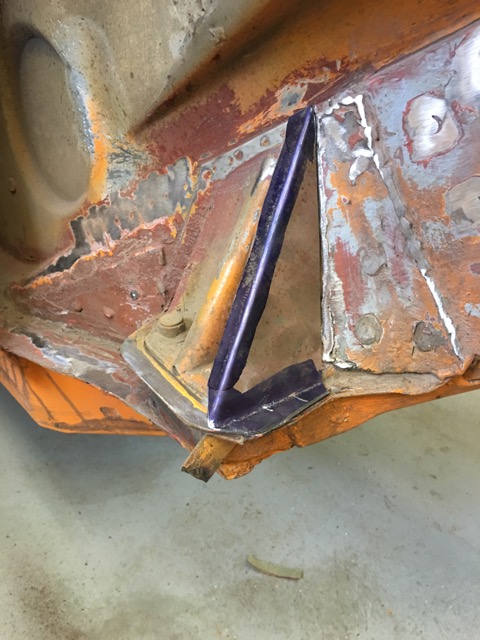 Laying out more piece, love my layout dye, you can see one of the anti-sub strap re-enforcements at the top of the picture. 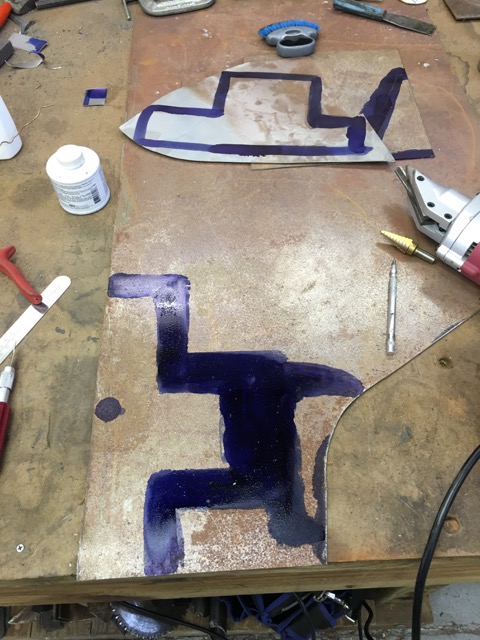 Second side all made up 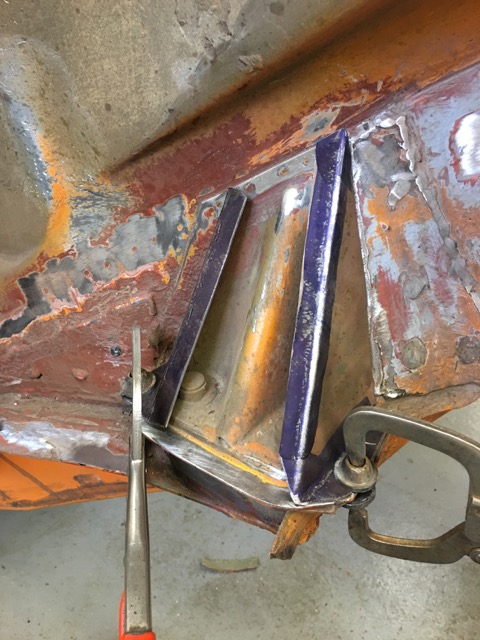 Add a front and a leg to cover all the seams in the GT kit. 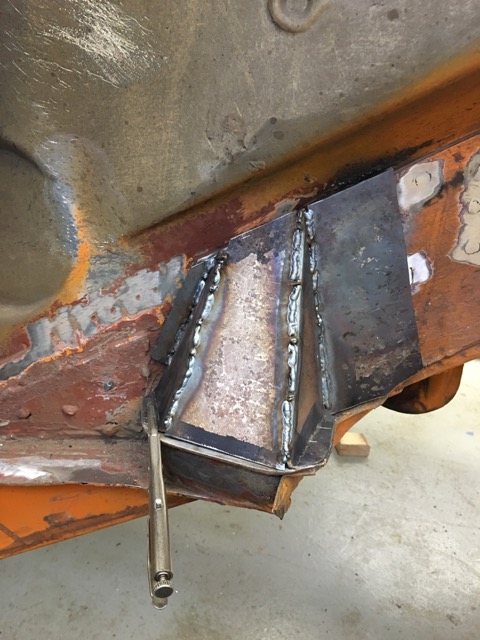 And now for the crazy part 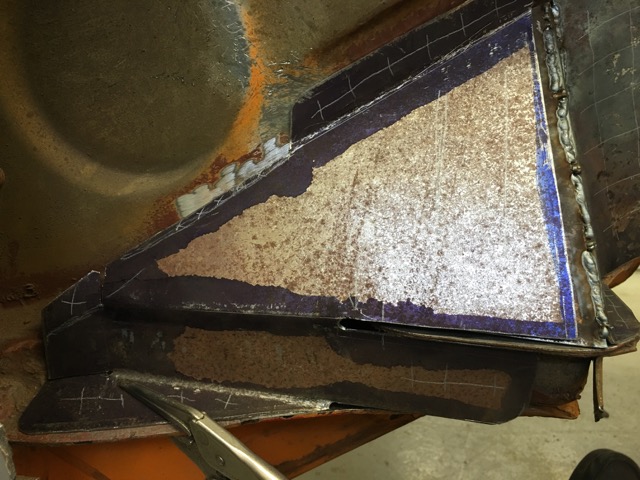 Ties it all together in several planes. 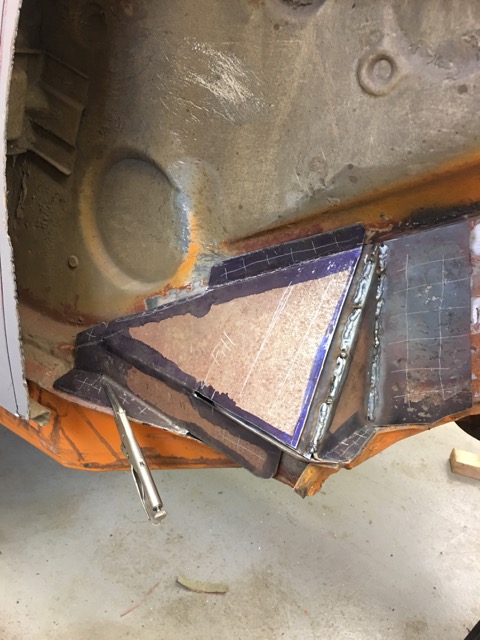 Sand blasted all the pieces fabricated up today, and sprayed the inner pieces with some zinc. Need to clean up the welding areas, and it will be ready to become a fixture to the 914. |
| 914forme |
 Feb 21 2016, 06:59 PM Feb 21 2016, 06:59 PM
Post
#144
|
|
Times a wastin', get wrenchin'!     Group: Members Posts: 3,896 Joined: 24-July 04 From: Dayton, Ohio Member No.: 2,388 Region Association: None 
|
So yesterday brake pedal parts started showing up. I got a killer deal on a Wildwood pedal set, so I needed a couple of M/C.
I choose the Tilton's over the Howe's why, well the Tilton come in 5/8" bore, as well as 3/4" bore which ~ 19mm. 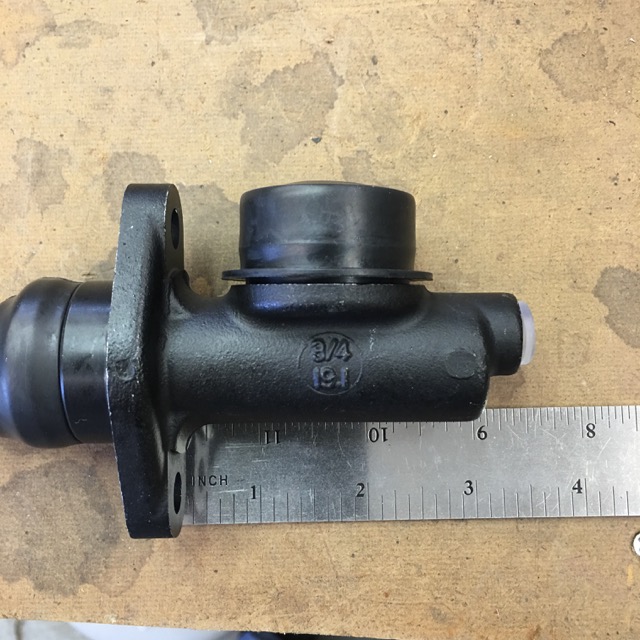 And they are only about 1/4" longer than the Howe's, I can always build a pedal box if I need to. All this cool accessories I will not be using lol 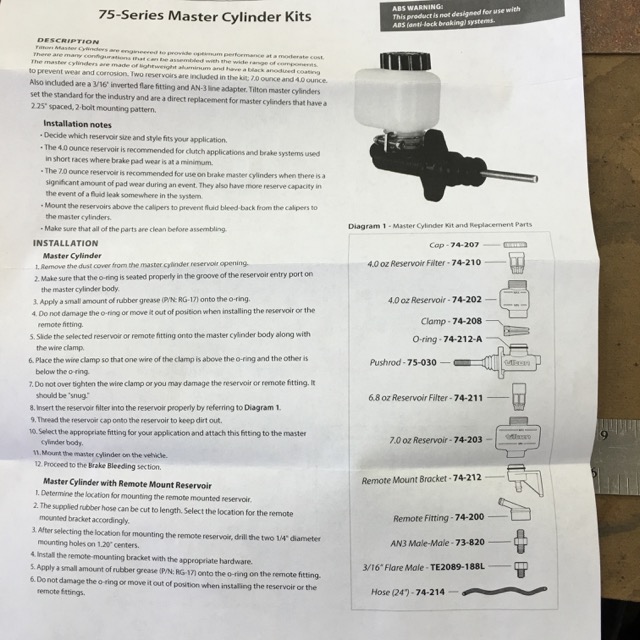 Next up, I made the decision that I was going to make it look like I was making progress, (IMG:style_emoticons/default/poke.gif) So a little cut, and off came the three other fenders. 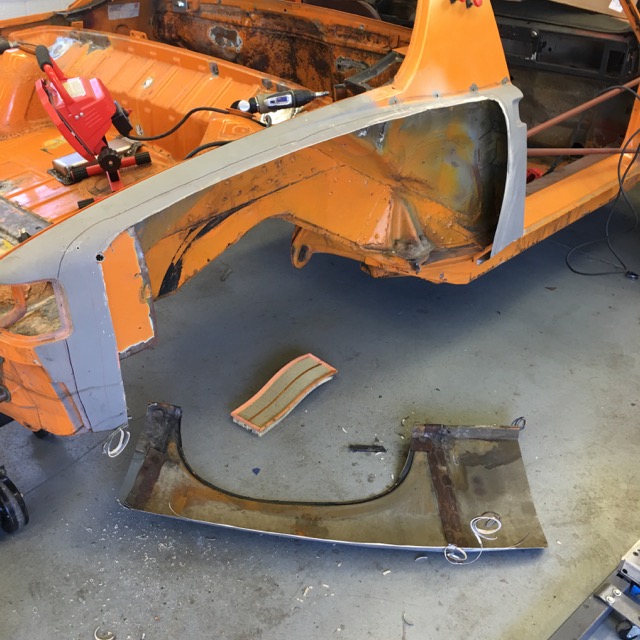 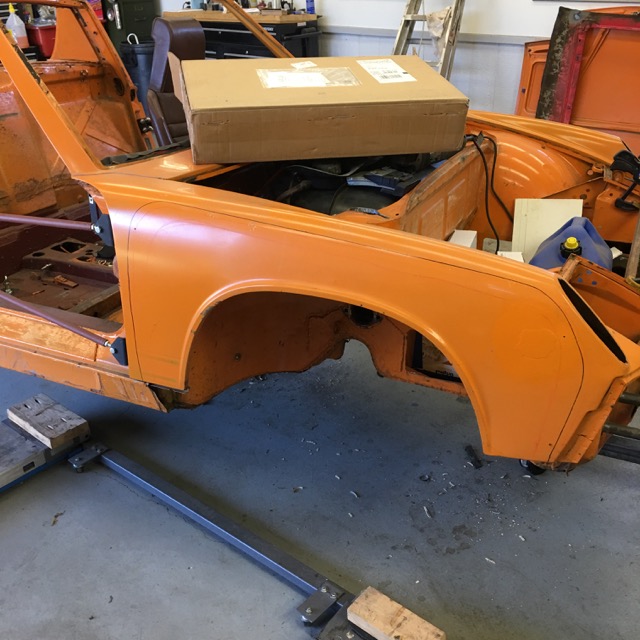 I forgot to take an after picture (IMG:style_emoticons/default/headbang.gif) 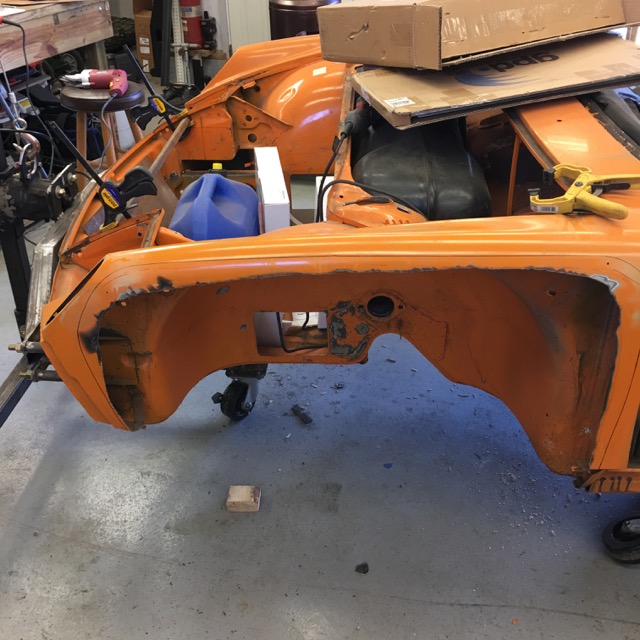 While the plasma cutter was out, I cut out the spot weld access hole under the seats. 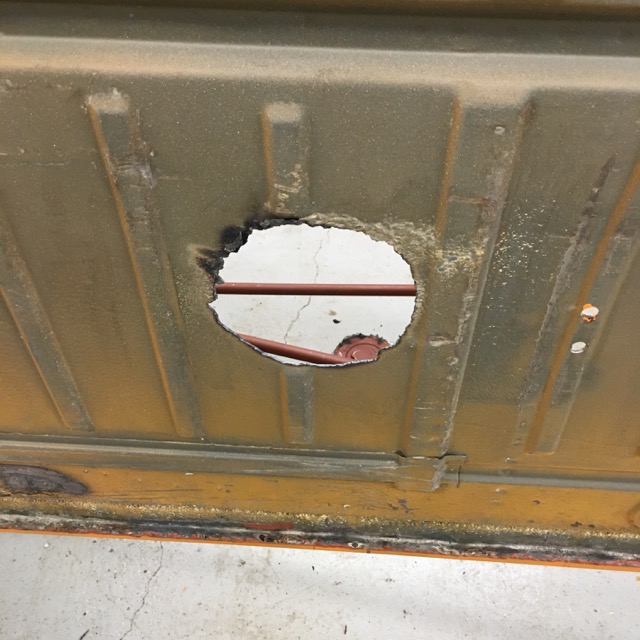 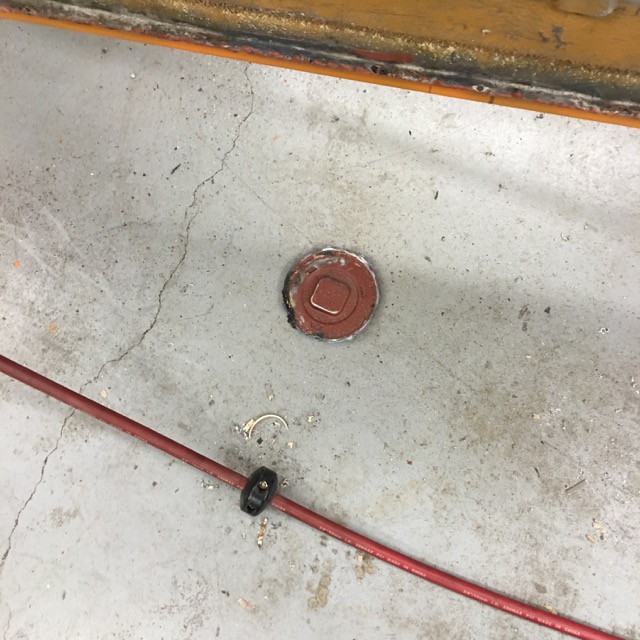 Stared welding in the floor re-enforcements for the anti-sub straps 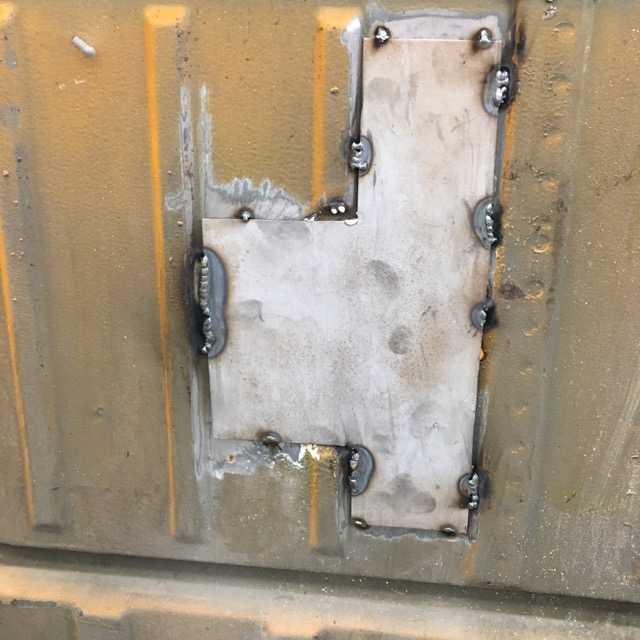 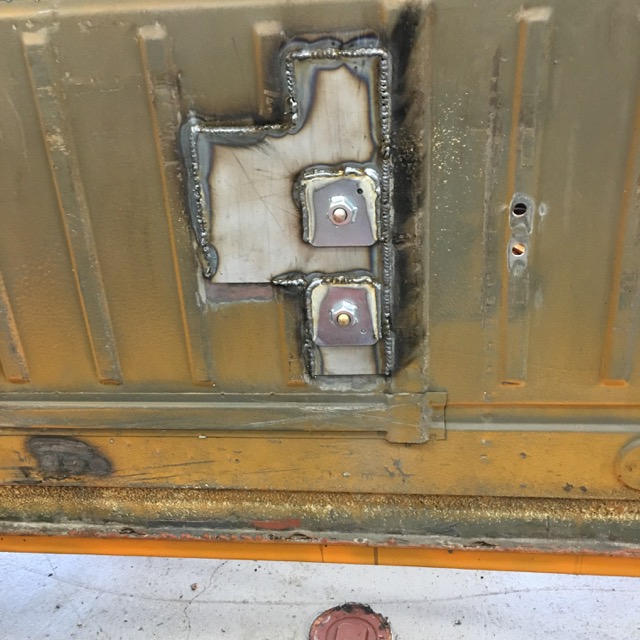 Still a little work to do on the interior side of these. 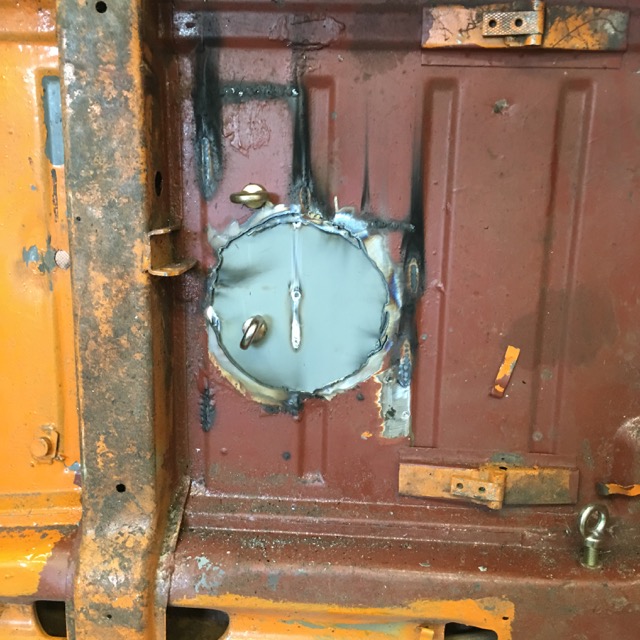 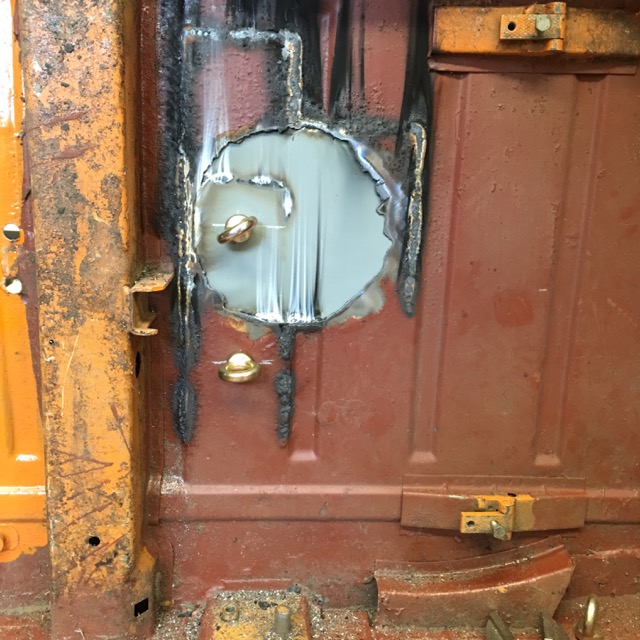 And now for something completely different Started cutting out items in the engine compartment Trunk hinge gone to make way for the JWest hinge. 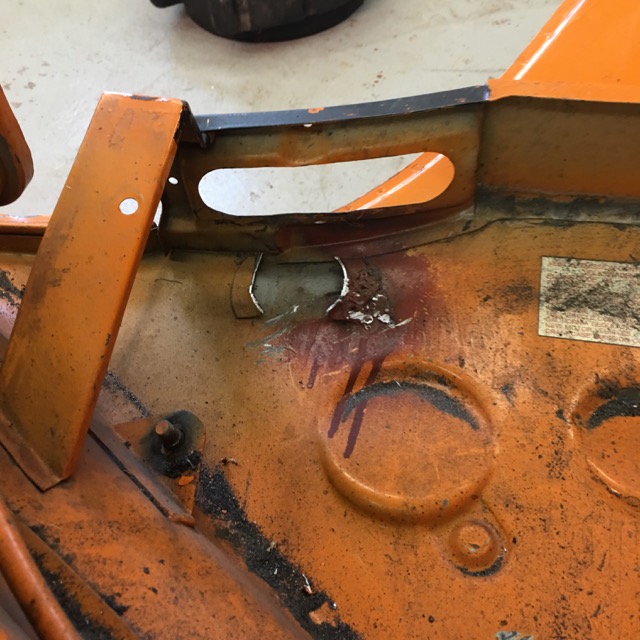 Since my new pedals have dual M/Cs and a balance bar, I cut out the prop valve bracket. 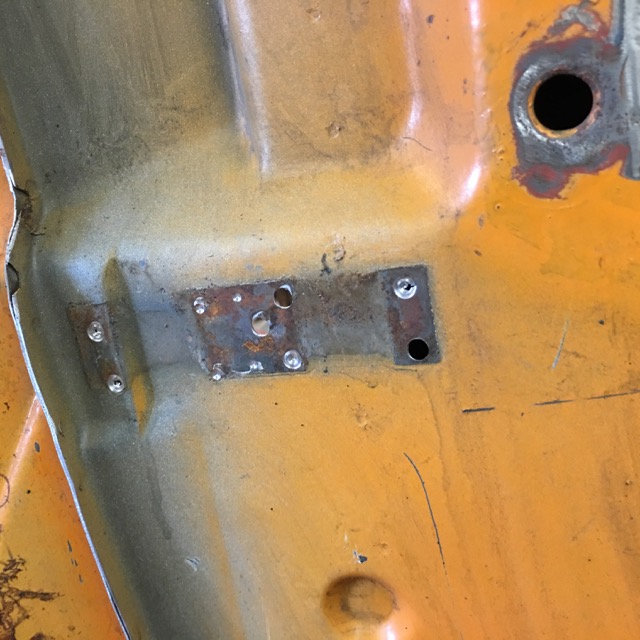 Eliminating Un needed tubes Don't need flapper valve cable, a clutch cable tube, and I don't need the Speedo Cable either, but will be reprising that one, I think. 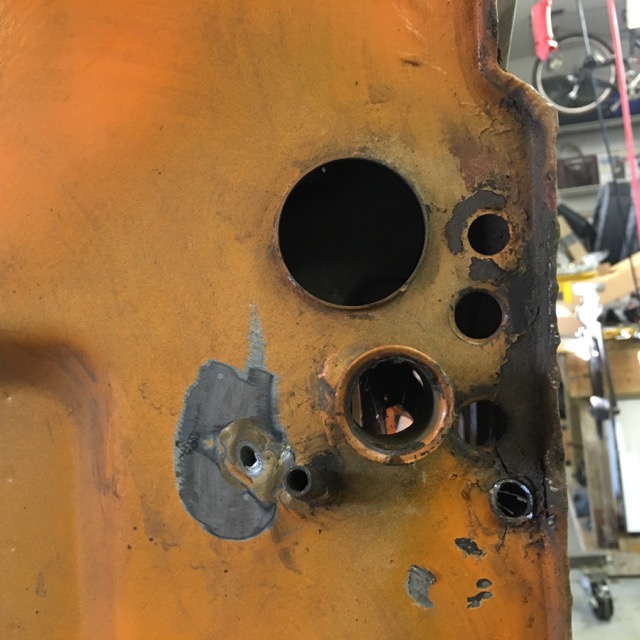 And I'll be moving the e-brake to the center tunnel, so these are not needed either. 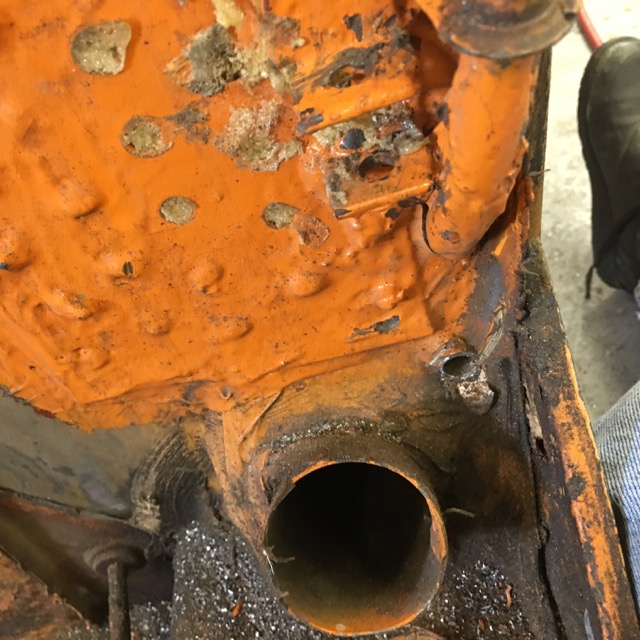 Started Working on the firewall engine mount. IT will allow me to route the exhaust easier. (IMG:style_emoticons/default/shades.gif) 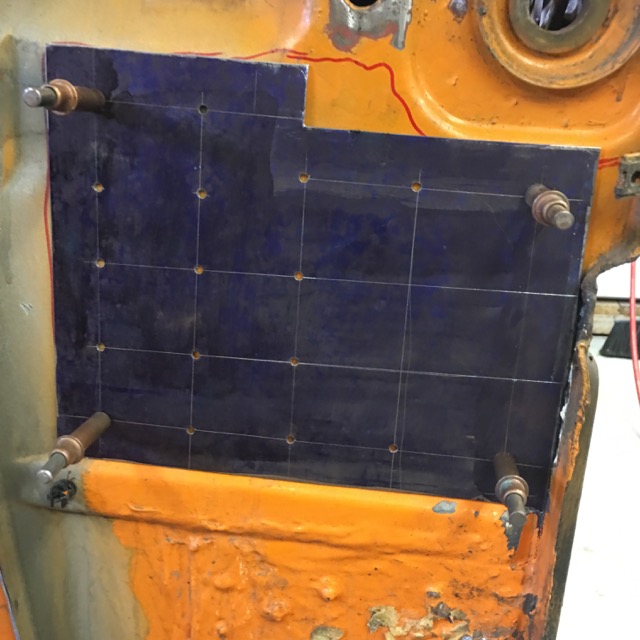 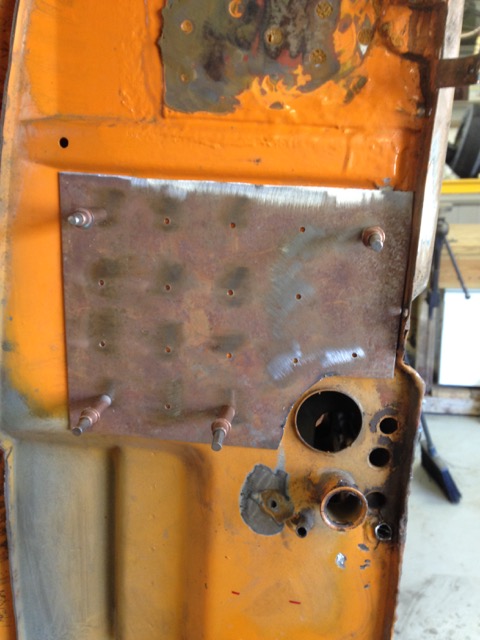 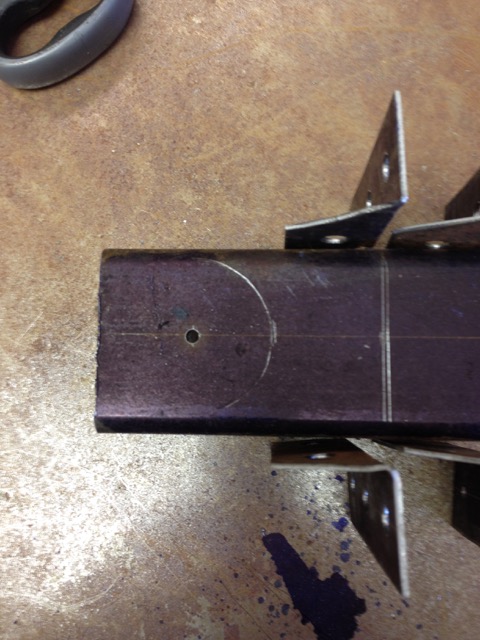 Using these bushing 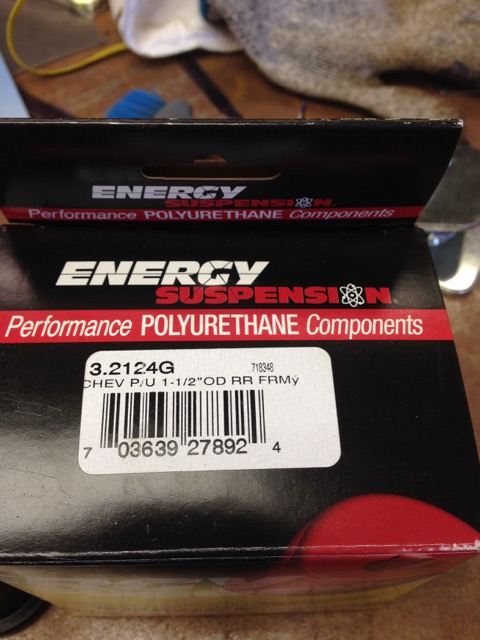 Need to cut this tube 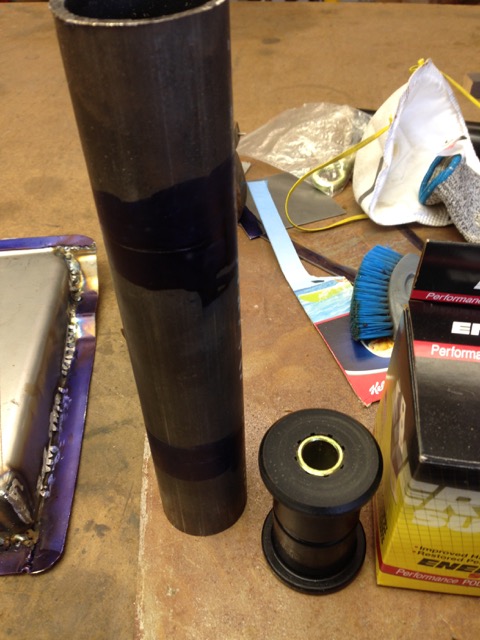 Oh look what's back. Underside of the hitch plate. 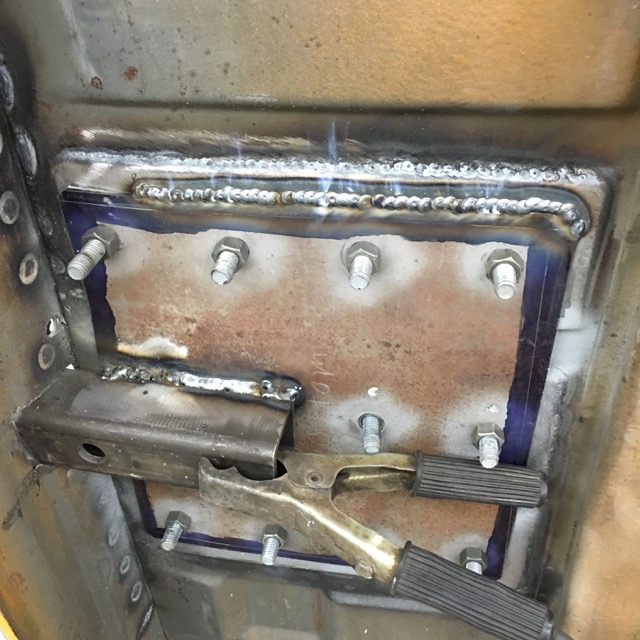 Starting to pull the bolts and plug weld the holes. 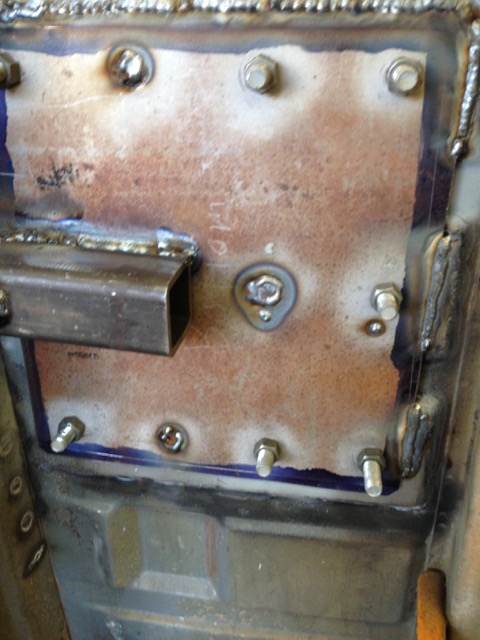 And the pile after the weekend. 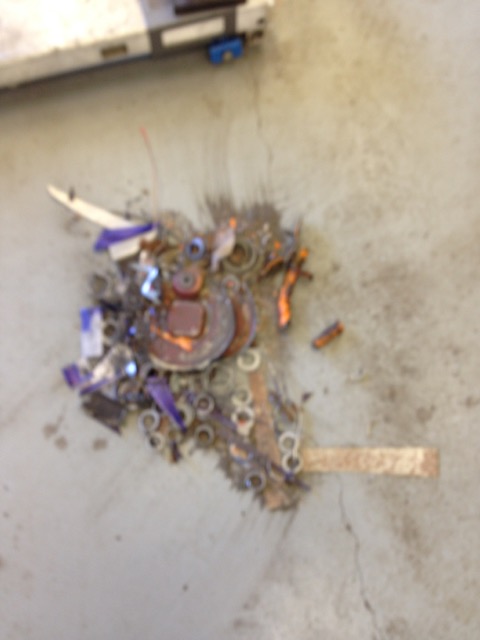 Feel like I got something done. |
| 914forme |
 Feb 23 2016, 05:49 PM Feb 23 2016, 05:49 PM
Post
#145
|
|
Times a wastin', get wrenchin'!     Group: Members Posts: 3,896 Joined: 24-July 04 From: Dayton, Ohio Member No.: 2,388 Region Association: None 
|
Parts have landed:
Wildwood pedal assembly 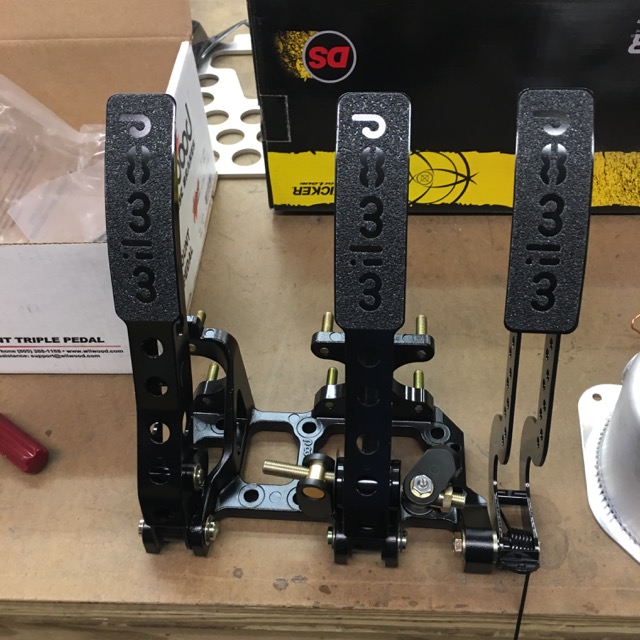 And expansion tank 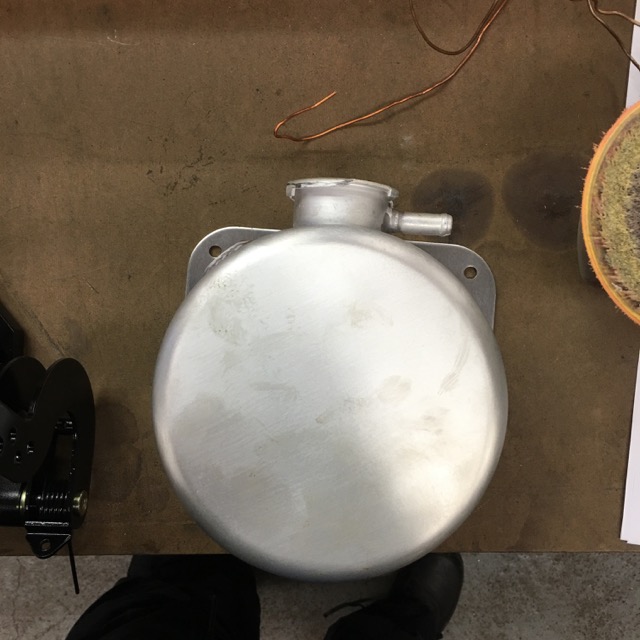 |
| Andyrew |
 Feb 23 2016, 09:04 PM Feb 23 2016, 09:04 PM
Post
#146
|
|
Spooling.... Please wait           Group: Members Posts: 13,377 Joined: 20-January 03 From: Riverbank, Ca Member No.: 172 Region Association: Northern California 
|
What did you spend on the pedal assembly? Thats a nice looking piece of kit..
|
| 914forme |
 Feb 24 2016, 04:17 AM Feb 24 2016, 04:17 AM
Post
#147
|
|
Times a wastin', get wrenchin'!     Group: Members Posts: 3,896 Joined: 24-July 04 From: Dayton, Ohio Member No.: 2,388 Region Association: None 
|
What did you spend on the pedal assembly? Thats a nice looking piece of kit.. For a song, I got it off a racer friend who was cleaning out a buds workshop. So I got a new part at a very good used price. I spent little over franklin on it with shipping. I have more in the Tilton M/Cs than I do on the pedal assembly. New these are right below $300 on the streets. Now to see how well they fit. |
| 914forme |
 Feb 28 2016, 06:48 PM Feb 28 2016, 06:48 PM
Post
#148
|
|
Times a wastin', get wrenchin'!     Group: Members Posts: 3,896 Joined: 24-July 04 From: Dayton, Ohio Member No.: 2,388 Region Association: None 
|
Started working on mocking up the brake pedals.
Stock pedals up top, new ones below, they are actually shorter until you add the M/Cs 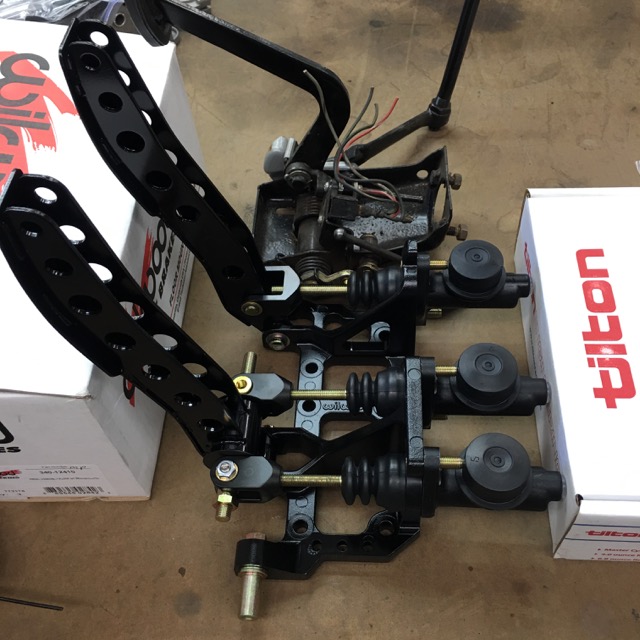 M/Cs add 2 - 1/4" to the overall length. (IMG:style_emoticons/default/dry.gif) 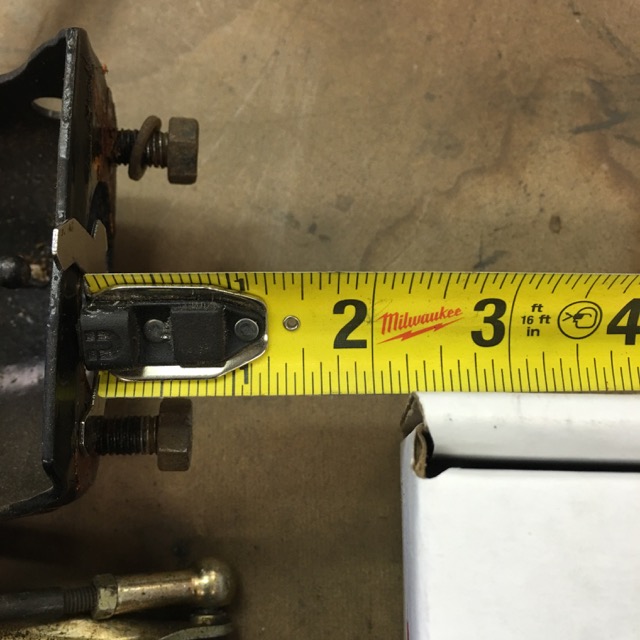 And here is what they look like in the car, with my Double Wide size 13s. 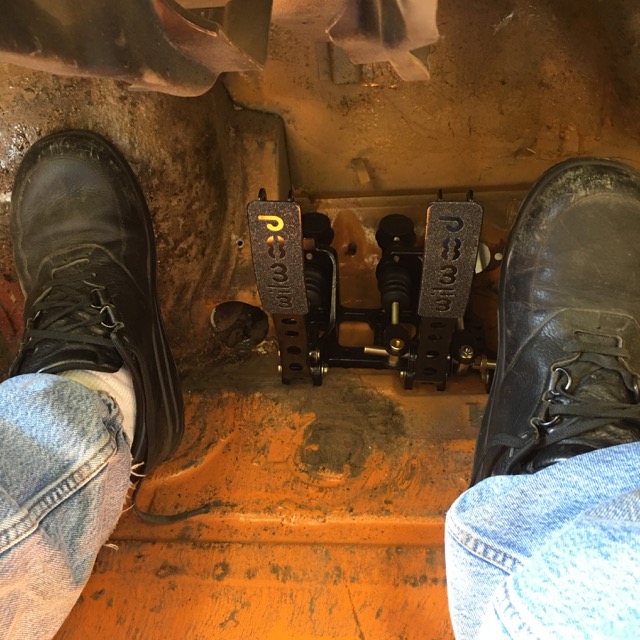 Now what that does to the leg geometry. Stock pedals, my knee sits 13" off the floor. Wilwood's My knee is slightly under 15" If my memory is correct, even with my small steering wheel that will be tight. Looks like I would need to build a pedal box. Issue #2 the Clutch M/C comes out right in the back of the brace coming off the front cross over that holds the rack. (IMG:style_emoticons/default/sad.gif) Will have to think about that one, find a good solution. Started working on the engine mount. 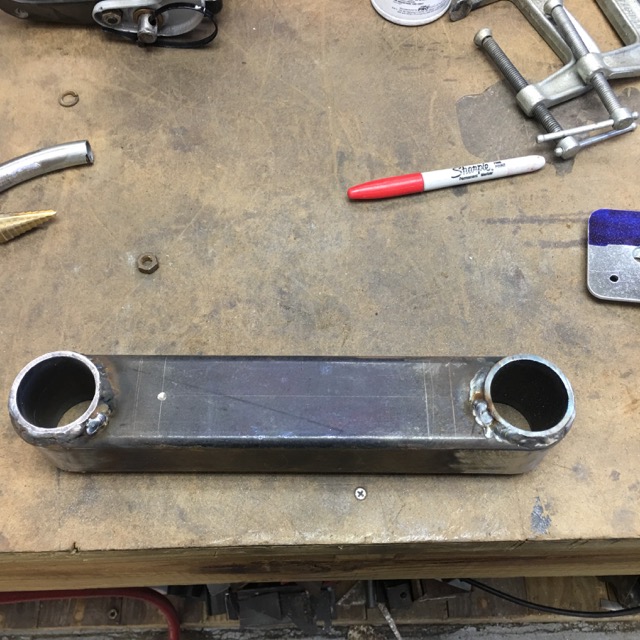 Cut apart with the bandsaw 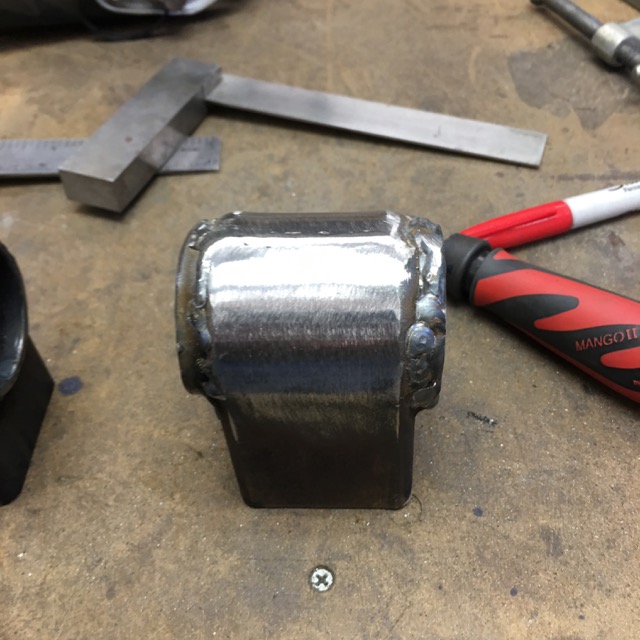 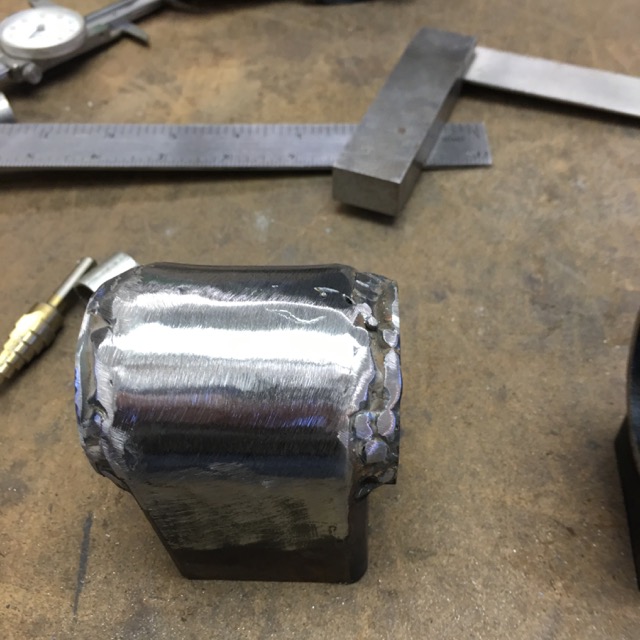 Welded to the chassis plate 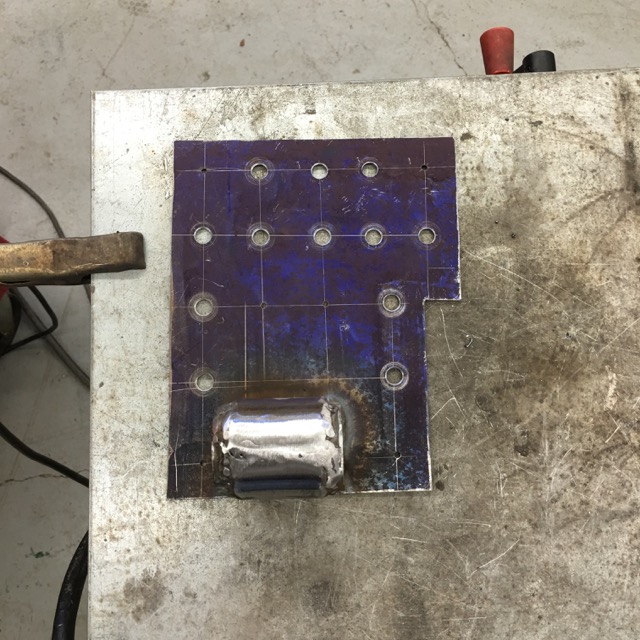 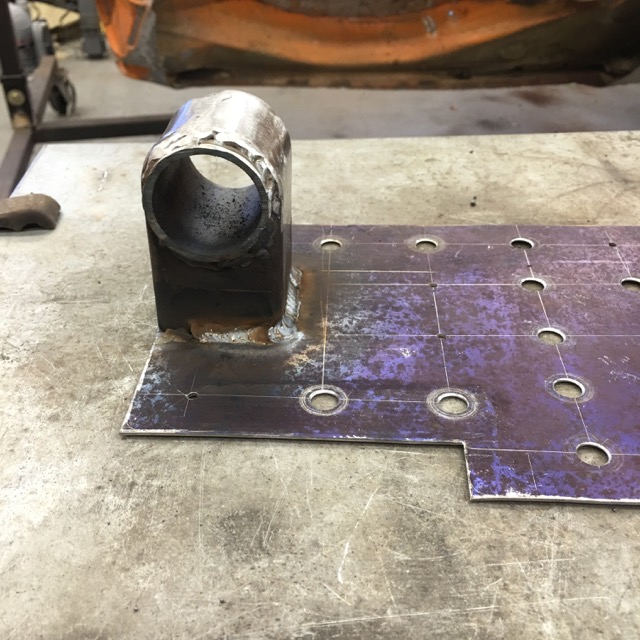 Both sides are welded up, and Zinc has bee applied to the back, ready to well in. Though I think I will add some try-angulation to the mount. Made the pieces for the safety chains, and this will finish up the rear hitch (IMG:style_emoticons/default/lol-2.gif) At least until it gets off the rotisserie. (IMG:style_emoticons/default/dry.gif) 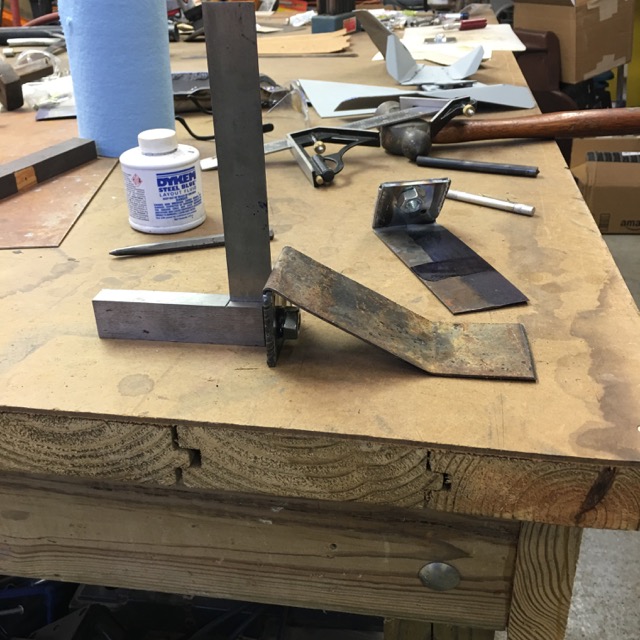 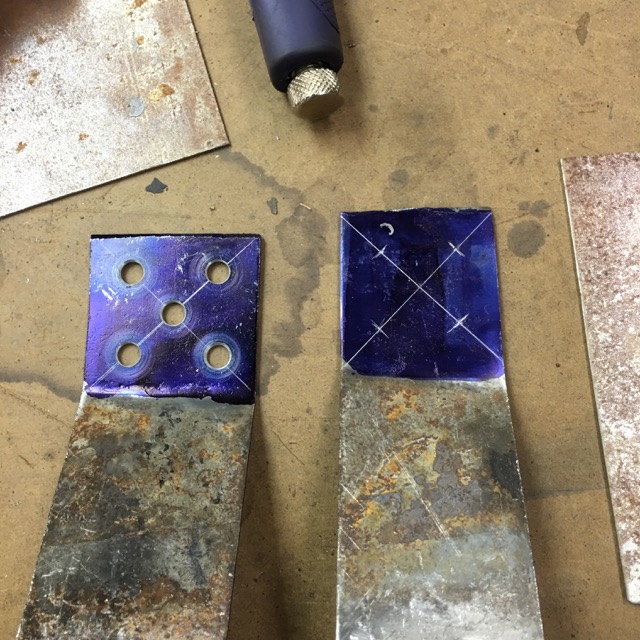 And Welded in 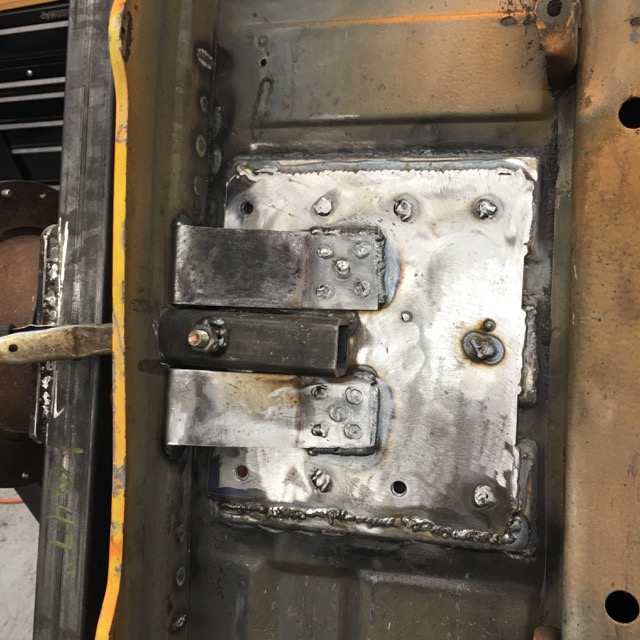 Finished laying down the welds on the sub straps, had to take a close up of this one! 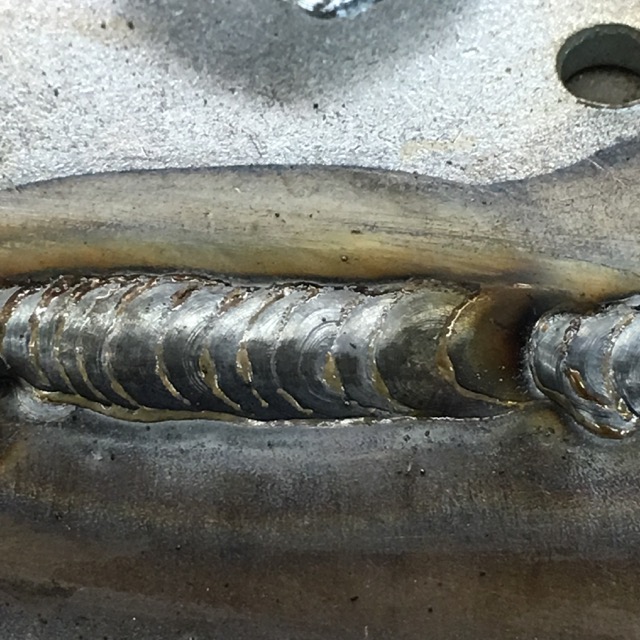 Then I got a brilliant idea since everything was going so well, I would add some beads into the clutch slave cover. Made myself a small T-dolly 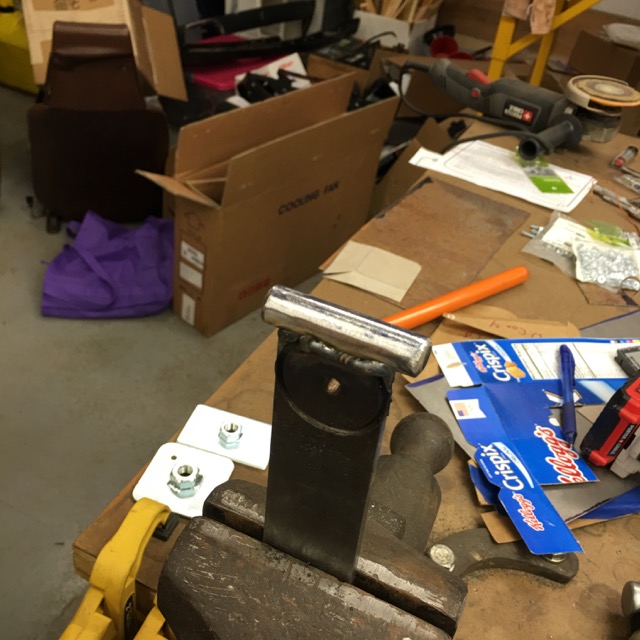 And started (IMG:style_emoticons/default/smash.gif) (IMG:style_emoticons/default/smash.gif) (IMG:style_emoticons/default/smash.gif) (IMG:style_emoticons/default/smash.gif) of (IMG:style_emoticons/default/stromberg.gif) What did I do (IMG:style_emoticons/default/screwy.gif) So this is where I am at right now, after 3 hours of hammer and dolly work (IMG:style_emoticons/default/sad.gif) But I got it so it fits again. 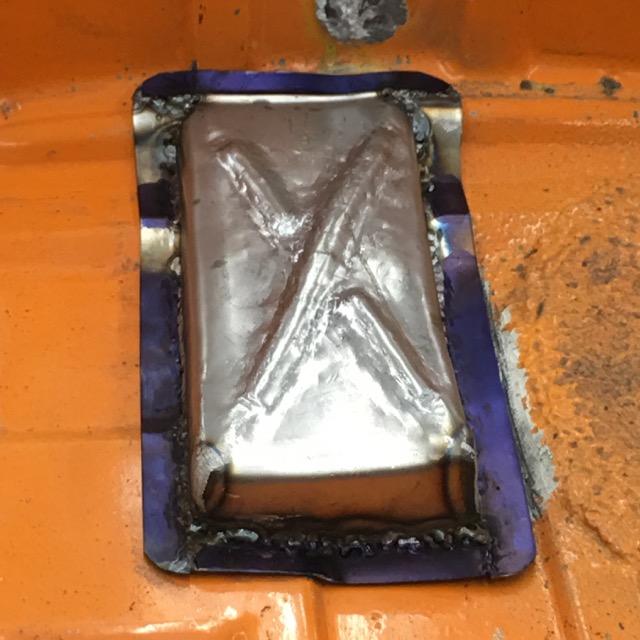 Sad thing is I have a bead roller that I should have used before I started harmer forming the cover. (IMG:style_emoticons/default/headbang.gif) Oh well, I keep learning this metal bumping stuff. Attached image(s) 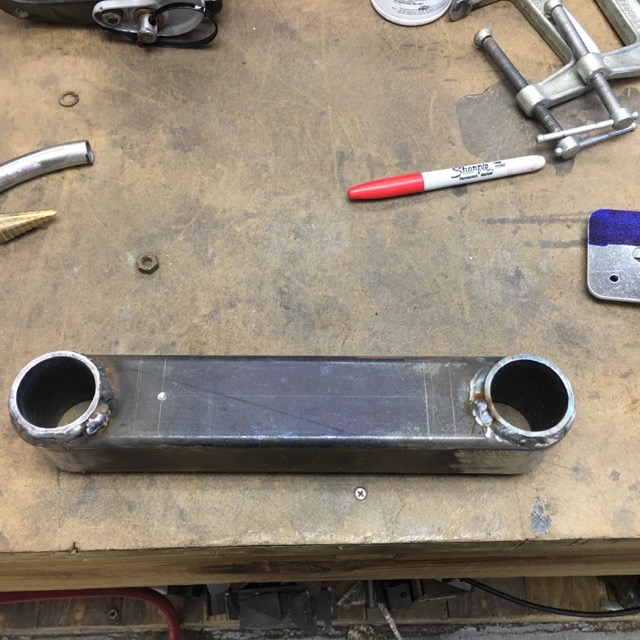 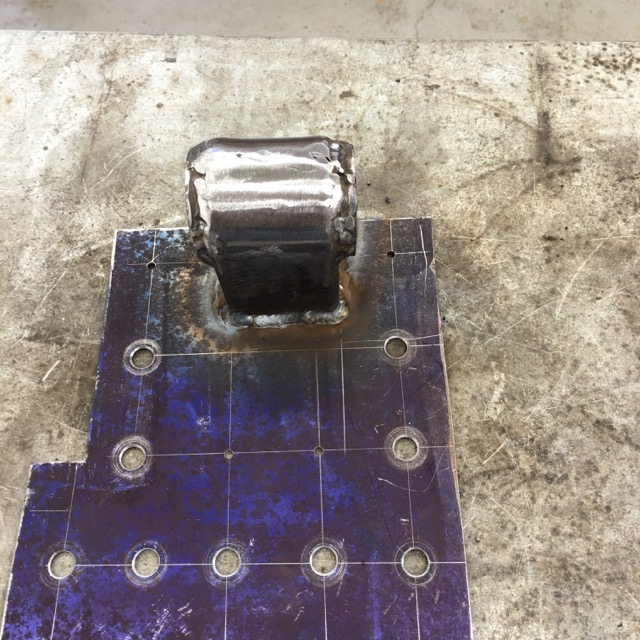
|
| 914forme |
 Mar 5 2016, 07:49 AM Mar 5 2016, 07:49 AM
Post
#149
|
|
Times a wastin', get wrenchin'!     Group: Members Posts: 3,896 Joined: 24-July 04 From: Dayton, Ohio Member No.: 2,388 Region Association: None 
|
Got a couple hours in last night (IMG:style_emoticons/default/smash.gif)
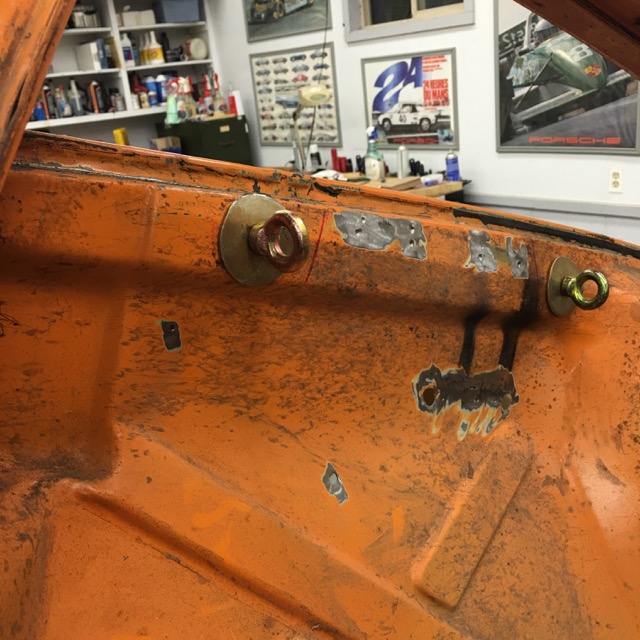 Inner reinforcements done for harness straps. These keep the spacer tube from going through the sheet metal. Hopefully I don't test this theory for function. (IMG:style_emoticons/default/dry.gif) Topic going on in Chris H. thread about water inlet size. On the EG the larger the better! So how big can you go? 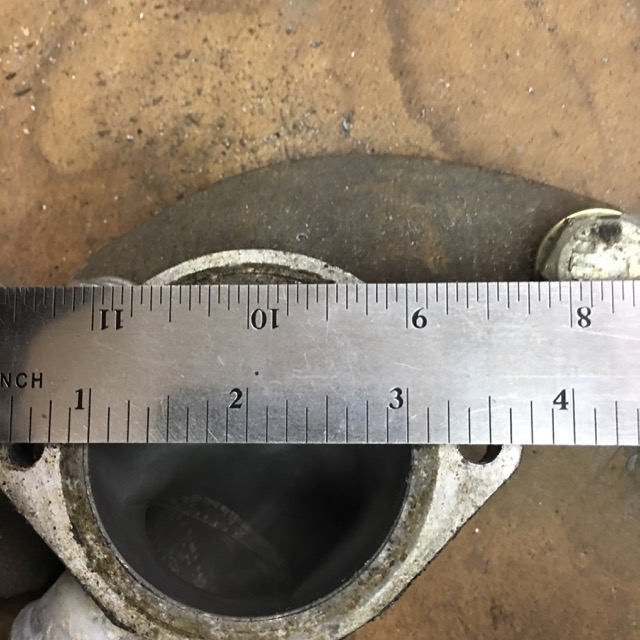 Now to find a place to run a 2" tube under a 914 (IMG:style_emoticons/default/confused24.gif) Spent the rest of the night laying out the items in the engine compartment. I have a large Oil filter, going in on the drivers side log. A large Fuel filter going in on the Pass side log, not sure if I will be using it or not. Original idea was to build a fuel surge tank, feed it with a high volume low pressure pump, then have the High pressure pump in the engine bay. I have never had a fuel starvation problem in my 914 even while auto crossing, so why over engine this. (IMG:style_emoticons/default/confused24.gif) Though the larger tires, more power, more aggressive suspension might make it a possibility. Other issue could be heat soak with this design, vapor lock would be worse than a minor issue with fuel starvation. Coolant Tank, upper pass side fire wall Over flow bottle next to it, and a Engine Oil Overflow bottle Right next to it. Don't forget that large Accusump, it goes down the drivers side log. It is almost a perfect fit. Now the big question comes to air cleaner, and intake manifold. (IMG:style_emoticons/default/screwy.gif) (IMG:style_emoticons/default/idea.gif) 3D print an intake manifold to run 2 sets of Triumph Triple Speed Throttle Bodies. And run filter stack air cleaners. Would it look good, (IMG:style_emoticons/default/wub.gif) brings up a mother of another set of issues, but oh man (IMG:style_emoticons/default/wub.gif) Just finished eating breakfast, time to get out and get (IMG:style_emoticons/default/sawzall-smiley.gif) (IMG:style_emoticons/default/smash.gif) (IMG:style_emoticons/default/welder.gif) (IMG:style_emoticons/default/smash.gif) (IMG:style_emoticons/default/sawzall-smiley.gif) (IMG:style_emoticons/default/smash.gif) (IMG:style_emoticons/default/welder.gif) |
| Andyrew |
 Mar 5 2016, 08:32 AM Mar 5 2016, 08:32 AM
Post
#150
|
|
Spooling.... Please wait           Group: Members Posts: 13,377 Joined: 20-January 03 From: Riverbank, Ca Member No.: 172 Region Association: Northern California 
|
I really like the concept of the surge tank, especially with the fuel pump submergex in it. Constant flow of fuel over the pump will keep the pump cool and with the aid of a primer pump you shouldnt have fuel starvation issues. My current fuel setup might be a tad over engineered but its good enough to supply 700hp on e85... I simply wont get close to that but its nice knowing everything will be running efficiently and way before max limitations.
Your progress has been great as of late! |
| 76-914 |
 Mar 5 2016, 09:04 AM Mar 5 2016, 09:04 AM
Post
#151
|
|
Repeat Offender & Resident Subaru Antagonist           Group: Members Posts: 13,634 Joined: 23-January 09 From: Temecula, CA Member No.: 9,964 Region Association: Southern California 
|
Throw that engine in there so we can hear it run. (IMG:style_emoticons/default/biggrin.gif) Your getting close! (IMG:style_emoticons/default/beerchug.gif)
|
| 914forme |
 Mar 5 2016, 12:03 PM Mar 5 2016, 12:03 PM
Post
#152
|
|
Times a wastin', get wrenchin'!     Group: Members Posts: 3,896 Joined: 24-July 04 From: Dayton, Ohio Member No.: 2,388 Region Association: None 
|
I really like the concept of the surge tank, especially with the fuel pump submergex in it. Constant flow of fuel over the pump will keep the pump cool and with the aid of a primer pump you shouldnt have fuel starvation issues. My current fuel setup might be a tad over engineered but its good enough to supply 700hp on e85... I simply wont get close to that but its nice knowing everything will be running efficiently and way before max limitations. Your progress has been great as of late! Thank you, thats nice to hear form you, as I feel like your kicking it also. Fuel surge, I am using a rock crawler design. So Fuel pump is external of the surge tank. The surge tank is a huge fuel filter with the pickup extended to close to the bottom. Then return fuel form the engine then goes back into the surge tank, and if the surge tank overflowith, it will return to the main tank, to be pumped. I'll add a diagram of it latter. Thank you again for your kind words. |
| 914forme |
 Mar 5 2016, 12:18 PM Mar 5 2016, 12:18 PM
Post
#153
|
|
Times a wastin', get wrenchin'!     Group: Members Posts: 3,896 Joined: 24-July 04 From: Dayton, Ohio Member No.: 2,388 Region Association: None 
|
Throw that engine in there so we can hear it run. (IMG:style_emoticons/default/biggrin.gif) Your getting close! (IMG:style_emoticons/default/beerchug.gif) Kent I so wish I so wish, right now I bolt a seat in when I am fitting things up and pretend, lol. This car will not likely be a solid color this year, just got the estimate for my daughters wedding for food and bar. OMG, not bad, but still, cover a lot of the cost of the 914 conversion. But we will keep plugging away. She is within budget right now, and knows Dad does not go for the excuses. They are all B.S. anyway! Still should be a wonderful May wedding, plan a few years ago was to have the 914 done for that day. I am also supposed to be thiner and look like Hugh Jackman in X-Men shape (IMG:style_emoticons/default/av-943.gif) If I get one out of three, I will be extremely proud of my accomplishments. As I am sitting here eating lunch, a plate full of black beans, and vegetables. I have until the end of May, I'll make the thinner target, I am already thinner, and in better shape, doubt I'll make 12% body fat, and not a big fan of oiled up, spray on tan. (IMG:style_emoticons/default/idea.gif) I have an airbrush (IMG:style_emoticons/default/av-943.gif) |
| Andyrew |
 Mar 5 2016, 01:14 PM Mar 5 2016, 01:14 PM
Post
#154
|
|
Spooling.... Please wait           Group: Members Posts: 13,377 Joined: 20-January 03 From: Riverbank, Ca Member No.: 172 Region Association: Northern California 
|
I really like the concept of the surge tank, especially with the fuel pump submergex in it. Constant flow of fuel over the pump will keep the pump cool and with the aid of a primer pump you shouldnt have fuel starvation issues. My current fuel setup might be a tad over engineered but its good enough to supply 700hp on e85... I simply wont get close to that but its nice knowing everything will be running efficiently and way before max limitations. Your progress has been great as of late! Thank you, thats nice to hear form you, as I feel like your kicking it also. Fuel surge, I am using a rock crawler design. So Fuel pump is external of the surge tank. The surge tank is a huge fuel filter with the pickup extended to close to the bottom. Then return fuel form the engine then goes back into the surge tank, and if the surge tank overflowith, it will return to the main tank, to be pumped. I'll add a diagram of it latter. Thank you again for your kind words. Awesome! From your initial post it sounded like you were not 100% sure if you were going to do it. With the lateral G's the 914 sustains I think its an awesome solution for those that dont want to spend $$$$ on a fuel cell. I'd love to see your design when your done with it (IMG:style_emoticons/default/smile.gif) |
| 914forme |
 Mar 5 2016, 06:32 PM Mar 5 2016, 06:32 PM
Post
#155
|
|
Times a wastin', get wrenchin'!     Group: Members Posts: 3,896 Joined: 24-July 04 From: Dayton, Ohio Member No.: 2,388 Region Association: None 
|
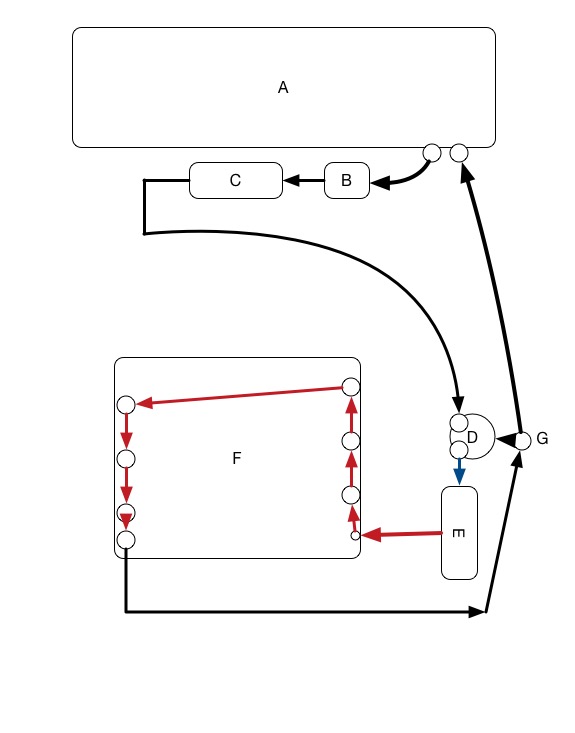 Okay now for the description. A: Stock Fuel Tank B: Low Pressure Filter suction side to protect the pump C: Low Pressure High Volume Fuel Pump D: Fuel Filter / Sump E: High Pressure EFI pump F: engine and injectors, fuel rail, pressure regulator, etc... G: Is a T One side comes from the pressure regulator outlet, the other side goes into D, and the last side goes onto the tank return. If for any reason the surge is full of fuel, the extra heads back to the main fuel tank, if not, the return will bring some back into the filter sump. At max the low pressure side will be 7 psi.] Only issue I see is their is a filter and pump in the engine compartment and they could get heat soaked and vapor lock. The EG should have a cooler engine compartment than the type-4 would have had. It is still a potential issue. Won't know until it is tried. |
| 914forme |
 Mar 5 2016, 06:52 PM Mar 5 2016, 06:52 PM
Post
#156
|
|
Times a wastin', get wrenchin'!     Group: Members Posts: 3,896 Joined: 24-July 04 From: Dayton, Ohio Member No.: 2,388 Region Association: None 
|
Just got back from a funeral for a team member's father who died at 53 (IMG:style_emoticons/default/sad.gif) Before I had to go, I was able to get some work done on the 914. (IMG:style_emoticons/default/piratenanner.gif) Would much rather have gone to Scott's looked at his cars, ate good chill, and drank bear (IMG:style_emoticons/default/beer3.gif) But that is part of being a leader, sometimes you have to do things you would rather not do. It is all for the good of the cause.
Made a few brackets for the overflow bottles and the coolant tank. 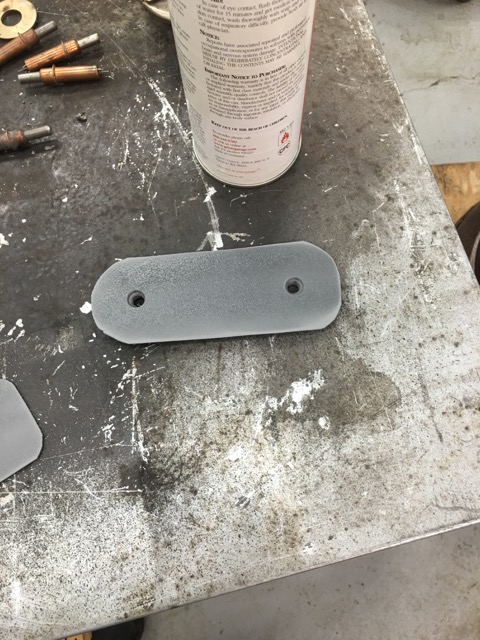 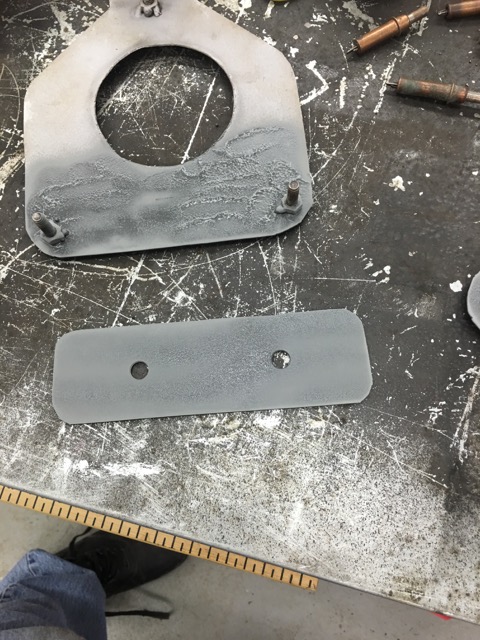 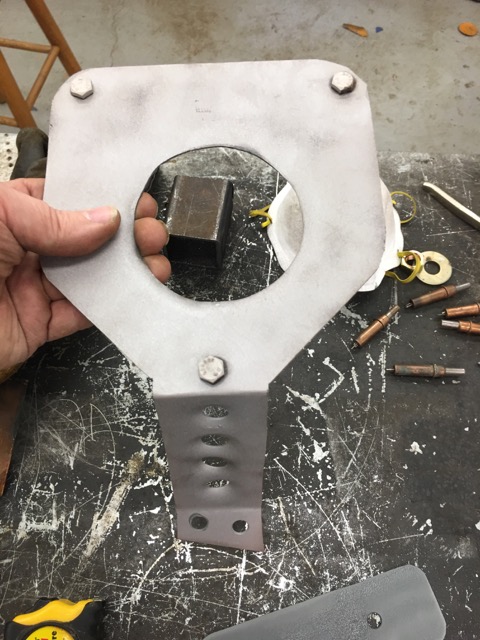 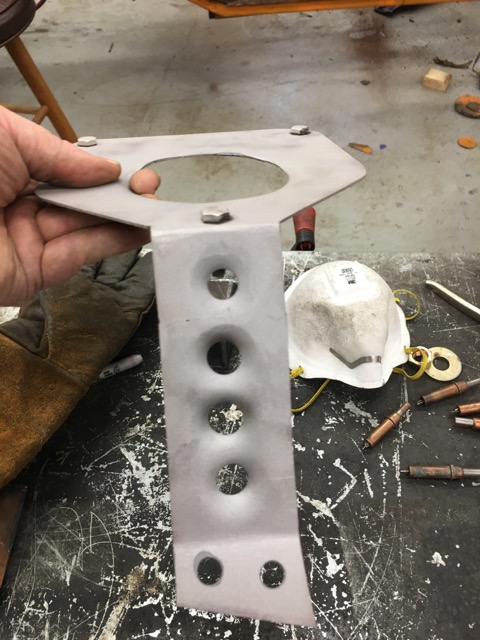 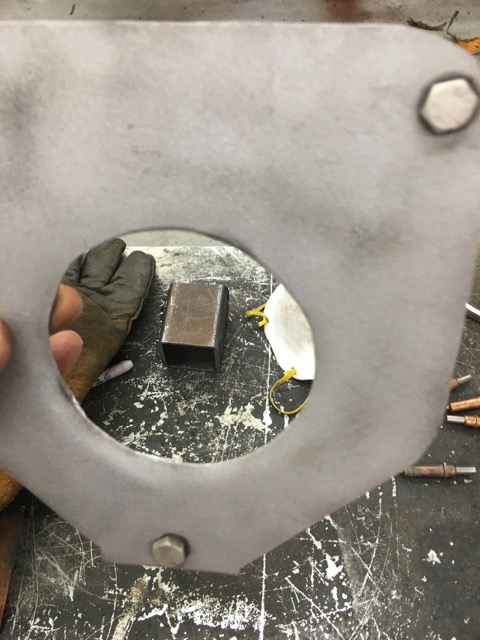 Zinc sprayed on the areas that will not be accessible. Had a Squirrel moment and cut the pedal area out (IMG:style_emoticons/default/sawzall-smiley.gif) No going back now! 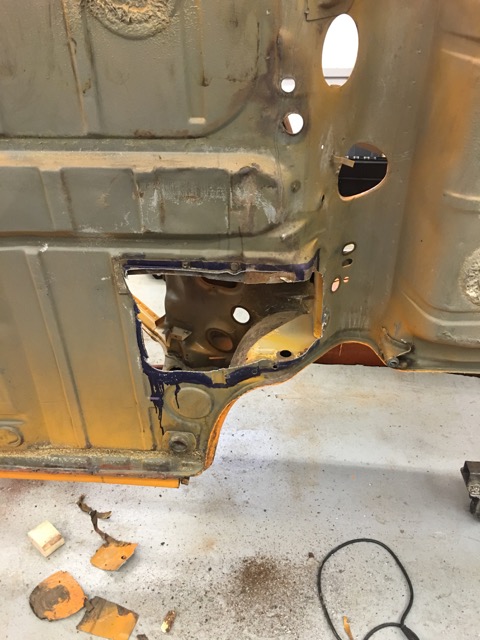 Cut out the drivers side -4 engine mount, and started mocking up the log reinforcements 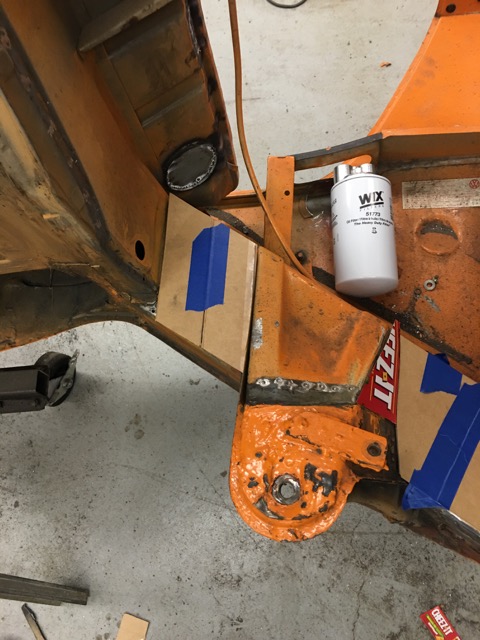 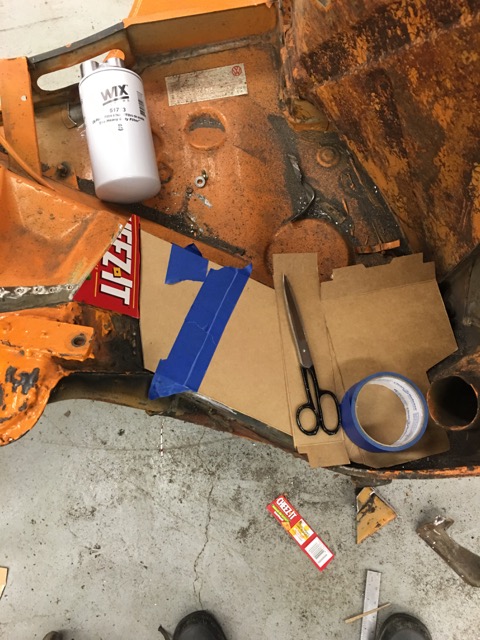 And this is where my big oil filter gets mounted. Plenty of clearance to the engine, and easy access. 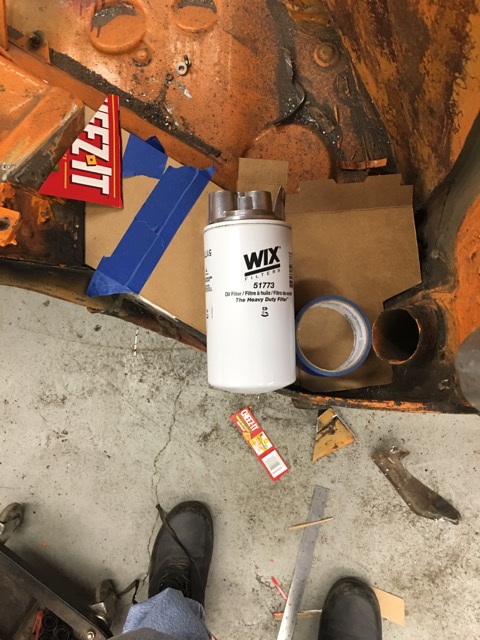 Started welding the engine mount in place 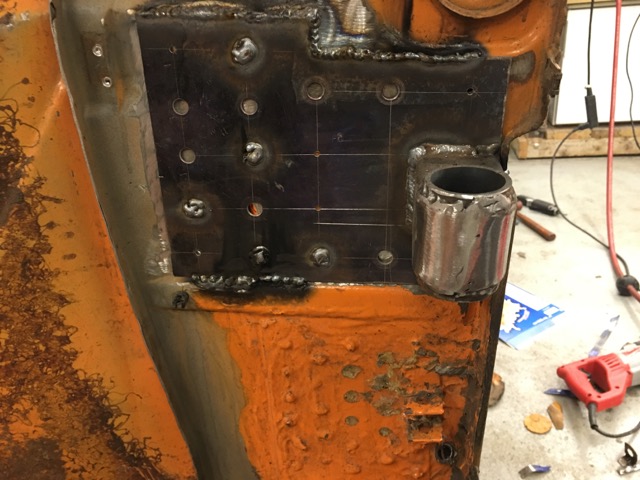 Shop is getting messy again, heading out to clean it up a bit, starting to loose small tools. (IMG:style_emoticons/default/confused24.gif) I freaking hate that!!!!! |
| 76-914 |
 Mar 6 2016, 09:30 AM Mar 6 2016, 09:30 AM
Post
#157
|
|
Repeat Offender & Resident Subaru Antagonist           Group: Members Posts: 13,634 Joined: 23-January 09 From: Temecula, CA Member No.: 9,964 Region Association: Southern California 
|
God I know that feeling. I usually wait until it reaches that state before I clean up. Years ago, I built a plane and I had 3 pr of Cleco pliers. Whenever I could not locate any of them I would stop and clean shop. Hi-Jack over.
|
| 914forme |
 Mar 7 2016, 11:29 AM Mar 7 2016, 11:29 AM
Post
#158
|
|
Times a wastin', get wrenchin'!     Group: Members Posts: 3,896 Joined: 24-July 04 From: Dayton, Ohio Member No.: 2,388 Region Association: None 
|
Got more stuff done yesterday, mainly layout, and drilling holes
The tools of the trade 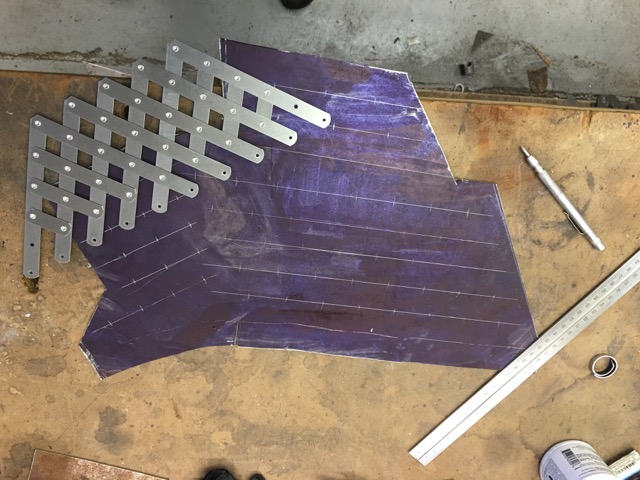 Love layout dye, so much easier on my eyes Yes that is a rivet spacer, works great for marking plug weld holes. A Carbide scribe and a ruler. Rinse and repeat, a continuous theme for this car. 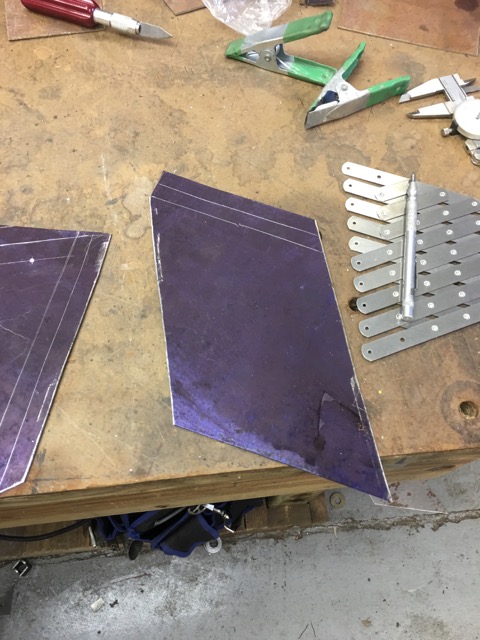 Center Marked on another piece 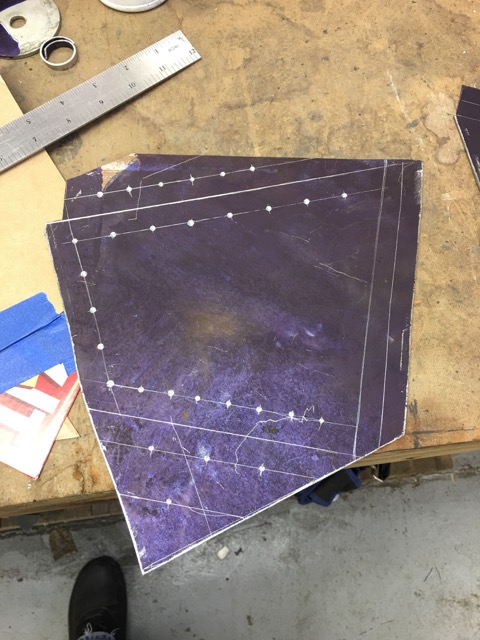 Holes Drilled 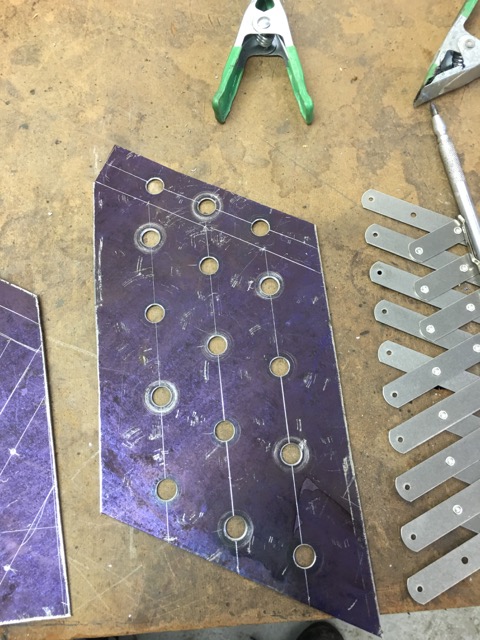 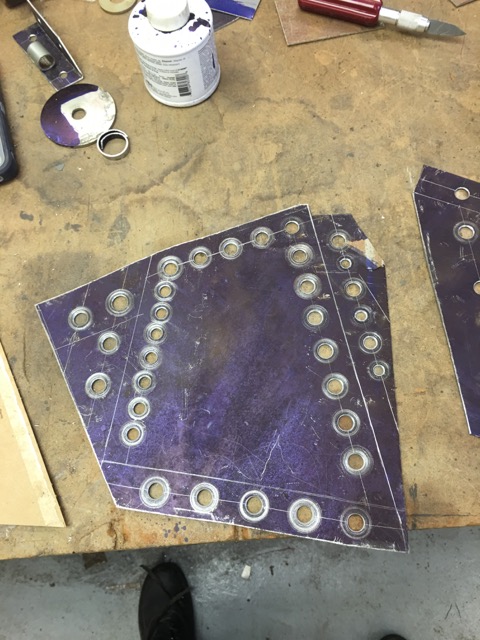 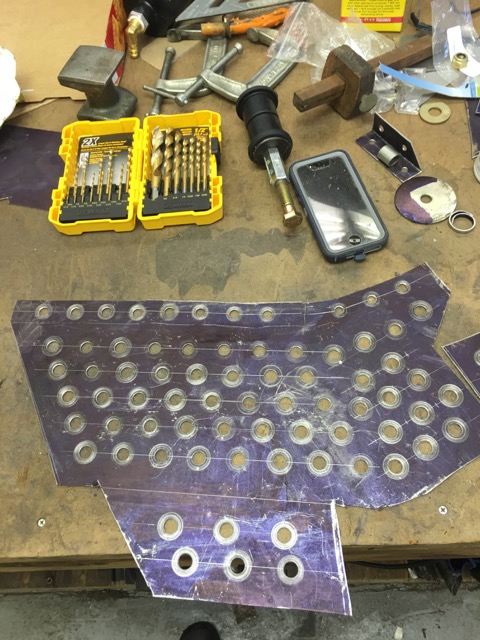 Left overs from all the cutting and drilling 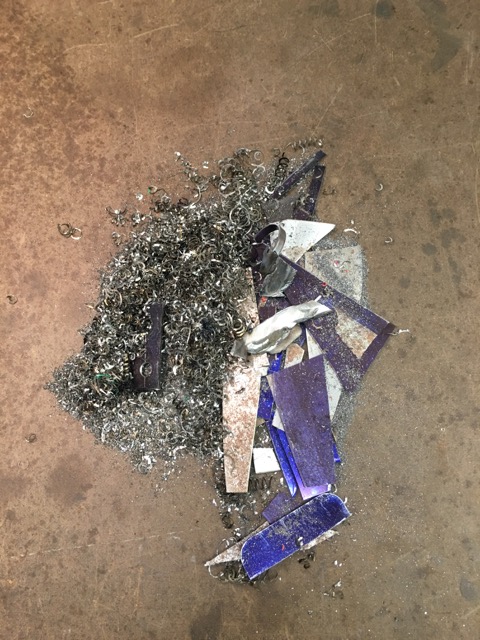 And all the leftovers from the body cuts and pattern making. 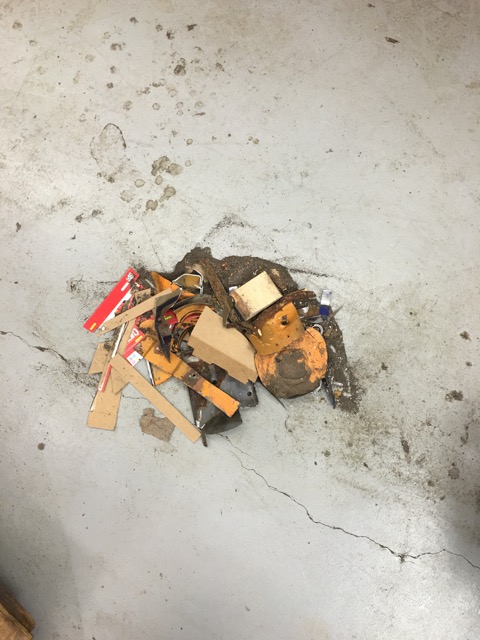 Now we know how many holes it take to fill the driver log. Yes bad reference to the Beetles lyric. "Now they know how many holes it takes to fill the Albert Hall" 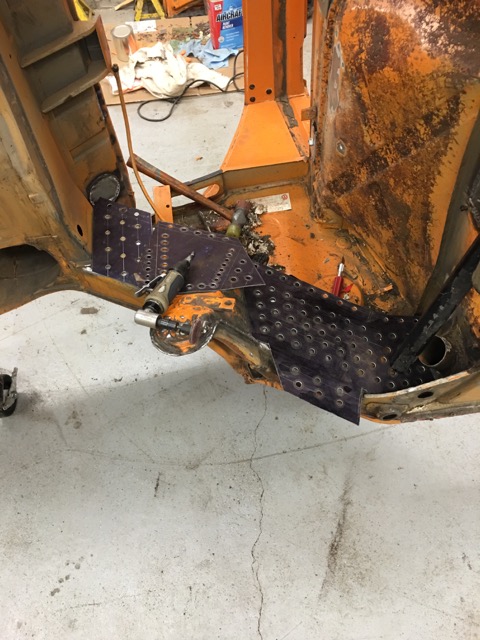 130 More Holes (IMG:style_emoticons/default/icon8.gif) Second Side of the engine mount 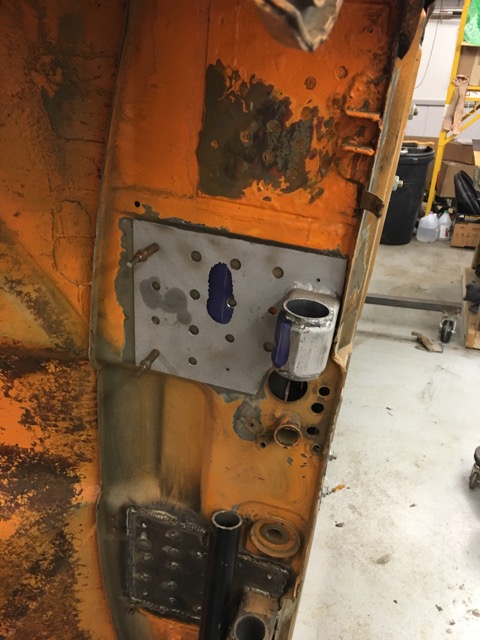 Collant Tank Bracket, need to clean the paint off. But it is test fitted 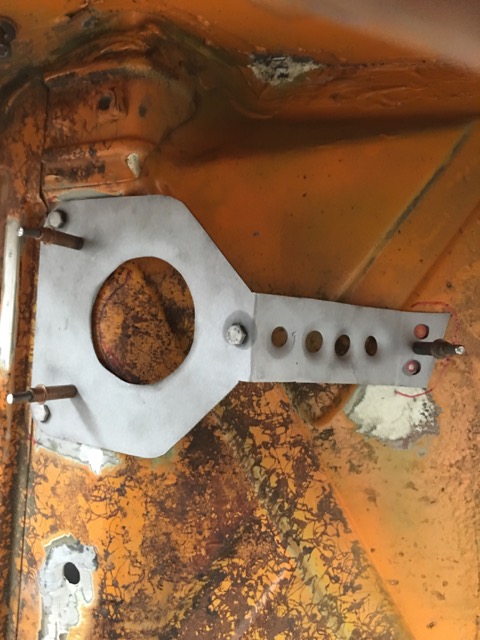 Final Hole for the brake pedals. 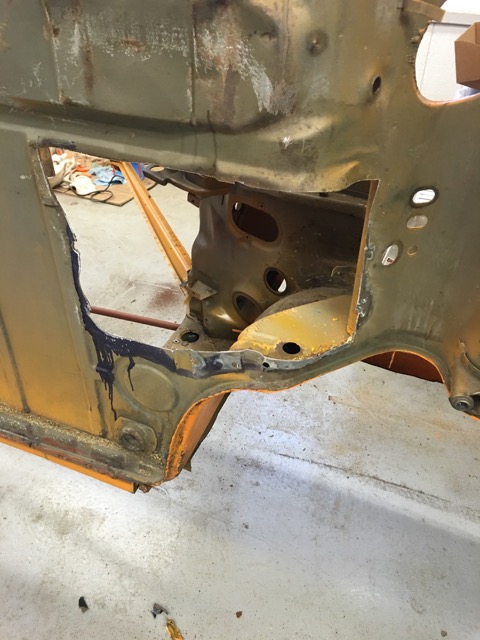 I then cleaned up the workshop, and lastly I started to mockup the pedal mount out of foam core. Not as easy as I had hoped for, so I found the dimensional drawing and will give that a go. Wish it had the centers for the M/C openings. 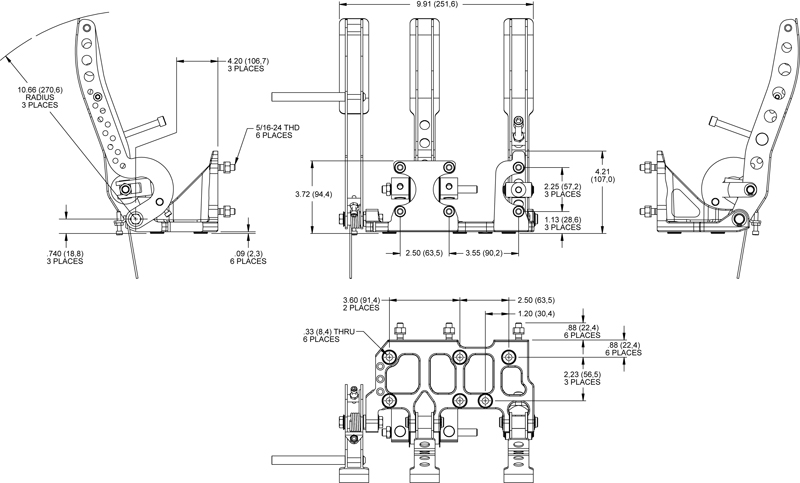 That was a wrap for this weekends work. I will try to get a little done each day, today it might be find a hole saw on the way home. I want to get a Metal Lathe!!!! That want list for tools is huge, and a Metal Lathe will be on the long side of that list. A good TIG welder should be up first. And a Horizontal bandsaw, to make nice square tubing cuts. The cost of a Milwaukee Porta Band stand for that purpose is more than a decent used horizontal band saw. |
| 914forme |
 Mar 8 2016, 06:18 AM Mar 8 2016, 06:18 AM
Post
#159
|
|
Times a wastin', get wrenchin'!     Group: Members Posts: 3,896 Joined: 24-July 04 From: Dayton, Ohio Member No.: 2,388 Region Association: None 
|
Last night I was doing some work on my harness, adding snap eyes to the shoulder straps on my Profi IIs and discovered my dates all ended on 2015.
So it looks like before I start racing again, I will be buying a new set. Yes I can have them rewebbed. That being said I like the idea of the FIA 2" lap, and 2" shoulder hybrid, that way if I ever where a HANS, it fits better. Now I wonder with the hybrid uppers if I could move the clips in closer to the seat head rest Time to put a seat back into the car and give that a try. I don't wear the harnesses on the street, I have a new set of 3 points going back into the car. Add that to the list with a new helmet for this year. I am sure local auto-x events would not look at the belt dates, but future plans hold that this car will be used for so other events. |
| DRPHIL914 |
 Mar 8 2016, 09:00 AM Mar 8 2016, 09:00 AM
Post
#160
|
|
Dr. Phil      Group: Members Posts: 5,810 Joined: 9-December 09 From: Bluffton, SC Member No.: 11,106 Region Association: South East States 
|
(IMG:style_emoticons/default/drunk.gif) WOW I think you are having too much fun! looks great.-
btw, what kind of flares are you putting on? are you going the GT, or fiberglass? |
  |
1 User(s) are reading this topic (1 Guests and 0 Anonymous Users)
0 Members:

|
Lo-Fi Version | Time is now: 22nd November 2024 - 05:23 PM |
Invision Power Board
v9.1.4 © 2024 IPS, Inc.


