|
|
|
Thursday, 3 April 2025 |

|
Porsche, and the Porsche crest are registered trademarks of Dr. Ing. h.c. F. Porsche AG.
This site is not affiliated with Porsche in any way. Its only purpose is to provide an online forum for car enthusiasts. All other trademarks are property of their respective owners. |
|
|
  |
| 914forme |
 Feb 18 2014, 11:29 AM Feb 18 2014, 11:29 AM
Post
#21
|
|
Times a wastin', get wrenchin'!     Group: Members Posts: 3,896 Joined: 24-July 04 From: Dayton, Ohio Member No.: 2,388 Region Association: None 
|
one little thing I noticed is that the most important gauge (oil pressure) in my eyes goes the wrong way....should be pointing upwards at full pressure.... and of course being a pesky metric european I'd want Bar instead of PSI.... (IMG:style_emoticons/default/smile.gif) I am using off the shelf VDO gauges so I have not messed with the finding different steppers etc.... They all rotate clockwise so thats how it is done. If it bugs you, just swap the sides. Thats easily done with a photo editing program. Have the faces reprinted. Also can be done with the bar scale, though it requires some math. Easily done with the super computer you probably carry in your pocket. That being said, the files are here, That is a full size drawing unless the web messed up the scale. We as a community can make them better as an open source project. Like Doug did by fatting up the lettering. (IMG:style_emoticons/default/pray.gif) I suck at graphics design. Kinda like spelling not my strong suite. Yet I am sure there are a bunch of people who did not think these things would all fit into the 3rd gauge. Just like the Tach, you can add any gauge you want down there once you use the SunPro internals as they free up a ton of space in the gauge. Don't get me wrong they are still a tight fit, but it does fit. So you can use any 90 degree sweep gauge from VDO, they all fit, just get the same series gauge. I had a bunch of VDO cockpit units around so thats what I used. The Oil Temp gauge is from the Vision line, and it uses polycarbonate as the gauge face with a overlay. That product was designed for this and the shaft on the stepper is taller because of this. I have replace the oil temp gauge from the cockpit line, just have not disassembled yet. If VDO has changed their production runs to use the polycarbonate faces then its an easy fix, Just change to a Sheet of polycarbonate that is the same thickness. Once you start using polycarbonate you can do some awesome effects like through face lighting. So choices as of last time I looked they must be 90 degree sweeps. Oil temperature Oil Pressure Fuel Level Volt, and Amps Water Temp Cylinder Head Temperature Gauge I am also starting to realize this might not be commercially feasible. If you don't have the gauges they are about $25 ~ $30 a piece so that $100 in raw material no senders. New LED pieces are about $5 for lighting a sold color, not the fancy RBG stuff Timothy is doing. The face its self is $15 for machining. Printing will be $10, lights new tubes, etc..... $50, don't forget the Molex connectors and harness so I at $15. Then my time, lol you all don't want to pay my billed rate.. I'm not a cheap date. Total with out labor estimated is $195, senders make it $295 as a kit or more depending on how and where you source the donor gauges. Thats straight approximate costs. At that price you really need to start thinking about a manufactured solution like SpeedHut or NewVintage. Speedhuts are $295 for a Quad with Oil Pressure, Water Temperature, Fuel, and Volts. The advantage to this idea is you can make it your own. So if you want dual CHTs, one for each bank, oil pressure, and oil temp, you can do that. Thats the combo I ran when my car was air-cooled. You can do what you want in the space given. Now as far as steppers go, these things could go to the extreme and be built with a small microcontroler, and add functions like playback, peak and hold, etc... Once that happens then rotation becomes a none issue as its just a software function. These things could go on for ever and ever. I am doing these because I can, its been a fun way to try something new and different. I haven't even shown what I am doing with the my speedo yet. The true cost conservative model would have been to goto Speedhut and buy the gauges I wanted. |
| 914forme |
 Feb 18 2014, 11:39 AM Feb 18 2014, 11:39 AM
Post
#22
|
|
Times a wastin', get wrenchin'!     Group: Members Posts: 3,896 Joined: 24-July 04 From: Dayton, Ohio Member No.: 2,388 Region Association: None 
|
Sorry about the highjack but have either of you taken apart a autometer monster tach? I like the monster except it has crappy lighting and I was wondering if the was room on the unused side for anything? I saw these faces below on the web so you must be abal to re-face them, but I couldn't find a pic of the guts. http://www.buickgn.com/tachoverlays.htm Also I'd be interested in the quad kit, would you do one for a /6? Say head temp instead of water temp.... My monster is like this one (IMG:http://www.914world.com/bbs2/uploads_offsite/www.richardlagendijk.nl-26-1392725812.1.jpg) Mark, I have never done one. Most gauges of this style have a crimped on bezel that can be expanded and recrimped with a set of screw drivers or other thin flat blade type device. The movements might be held in place via few screws on the back. Then they normally just fall apart., you will have to push that wires up through the grommets. If you have rebuilt an engine you can do these. (IMG:style_emoticons/default/beer.gif) I know you have rebuilt a ton of engines. The sun pros you just pry off the bezel, they are snapped in place. If you want drop some pictures of the backside of the bezel, and the back of the tach up here I'll look at it and see if I can figure a non destructive way in. (IMG:style_emoticons/default/smash.gif) Or use this guys aproach, not recommending it, but it is a way in. |
| CptTripps |
 Feb 18 2014, 12:01 PM Feb 18 2014, 12:01 PM
Post
#23
|
|
:: Punch and Pie ::     Group: Members Posts: 3,585 Joined: 26-December 04 From: Tuscaloosa, AL and Akron, OH Member No.: 3,342 Region Association: Upper MidWest |
|
| Mark Henry |
 Feb 18 2014, 12:49 PM Feb 18 2014, 12:49 PM
Post
#24
|
|
that's what I do!                Group: Members Posts: 20,065 Joined: 27-December 02 From: Port Hope, Ontario Member No.: 26 Region Association: Canada |
Sorry about the highjack but have either of you taken apart a autometer monster tach? I like the monster except it has crappy lighting and I was wondering if the was room on the unused side for anything? I saw these faces below on the web so you must be abal to re-face them, but I couldn't find a pic of the guts. http://www.buickgn.com/tachoverlays.htm Also I'd be interested in the quad kit, would you do one for a /6? Say head temp instead of water temp.... My monster is like this one (IMG:http://www.914world.com/bbs2/uploads_offsite/www.richardlagendijk.nl-26-1392725812.1.jpg) Mark, I have never done one. Most gauges of this style have a crimped on bezel that can be expanded and recrimped with a set of screw drivers or other thin flat blade type device. The movements might be held in place via few screws on the back. Then they normally just fall apart., you will have to push that wires up through the grommets. If you have rebuilt an engine you can do these. (IMG:style_emoticons/default/beer.gif) I know you have rebuilt a ton of engines. The sun pros you just pry off the bezel, they are snapped in place. If you want drop some pictures of the backside of the bezel, and the back of the tach up here I'll look at it and see if I can figure a non destructive way in. (IMG:style_emoticons/default/smash.gif) Or use this guys aproach, not recommending it, but it is a way in. Yes I saw that one.... (IMG:style_emoticons/default/blink.gif) I think I would try to uncrimp the bezel first. I was trying to find a pic of the guts to see if there's room for a gauge in the unused "RPM" section. I would be interested in a kit, I have 911, 914 and VDO cockpit gauges to choose from as donors and yes I can solder and do it myself. I have a nice console but because I'm a big guy I don't like it much. IMHO the console is too far down out of line of sight anyways. |
| 914forme |
 Feb 23 2014, 02:28 PM Feb 23 2014, 02:28 PM
Post
#25
|
|
Times a wastin', get wrenchin'!     Group: Members Posts: 3,896 Joined: 24-July 04 From: Dayton, Ohio Member No.: 2,388 Region Association: None 
|
So I sent up all the gauge faces to Doug, thank you for your offer. (IMG:style_emoticons/default/beerchug.gif) I will post Doug's cleaned up version, no rush take your time. Heres what I sent him in all its crappy glory.
Tach and Fuel Combo 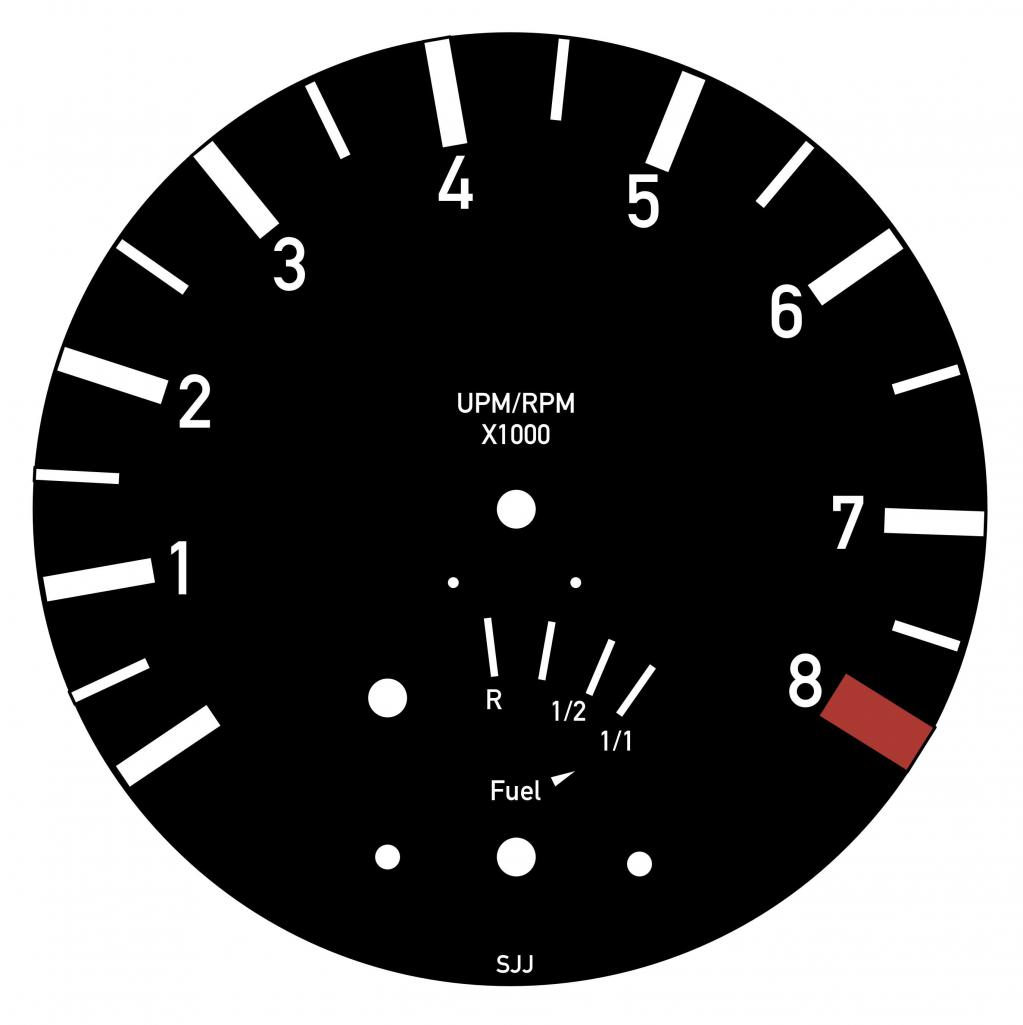 The Quad Gauge 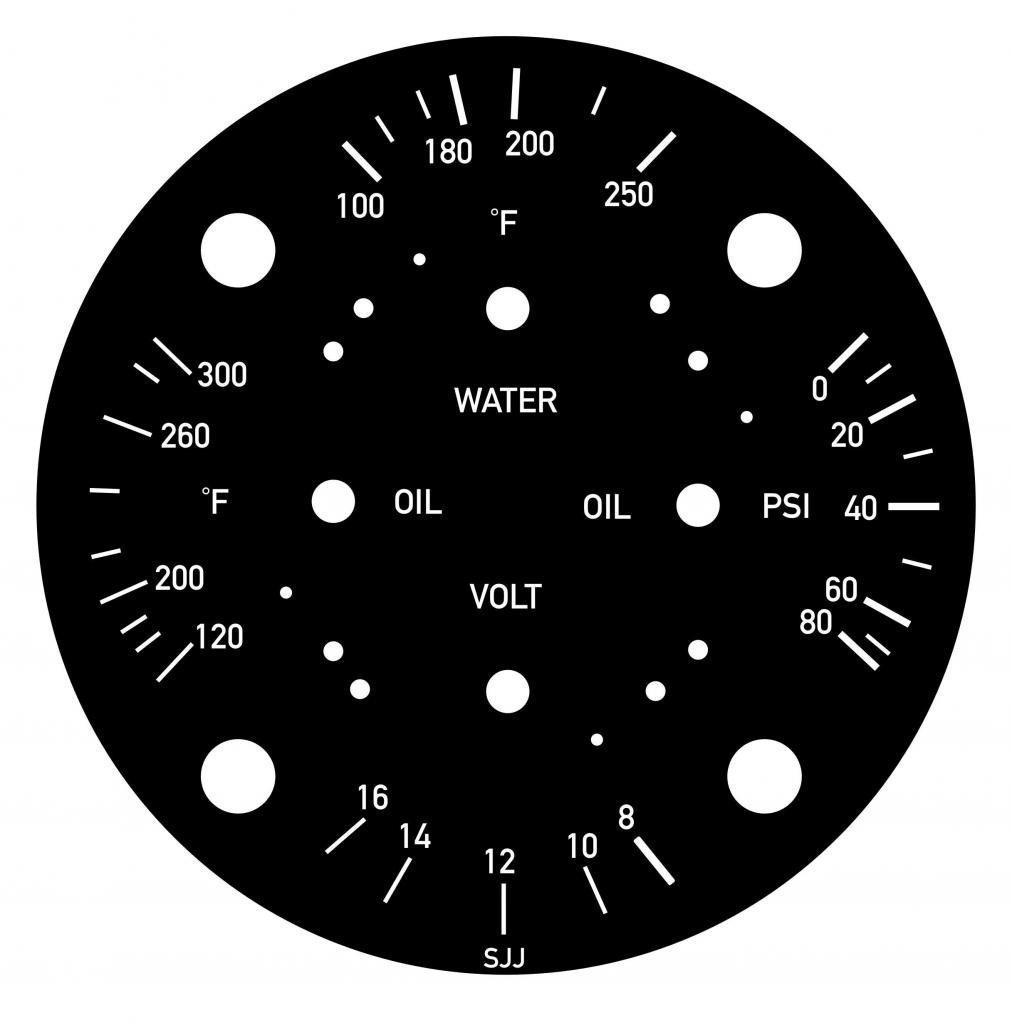 And last but not least the face for my Speedo, it is a smaller VDO cockpit version I needed to match the fonts on. 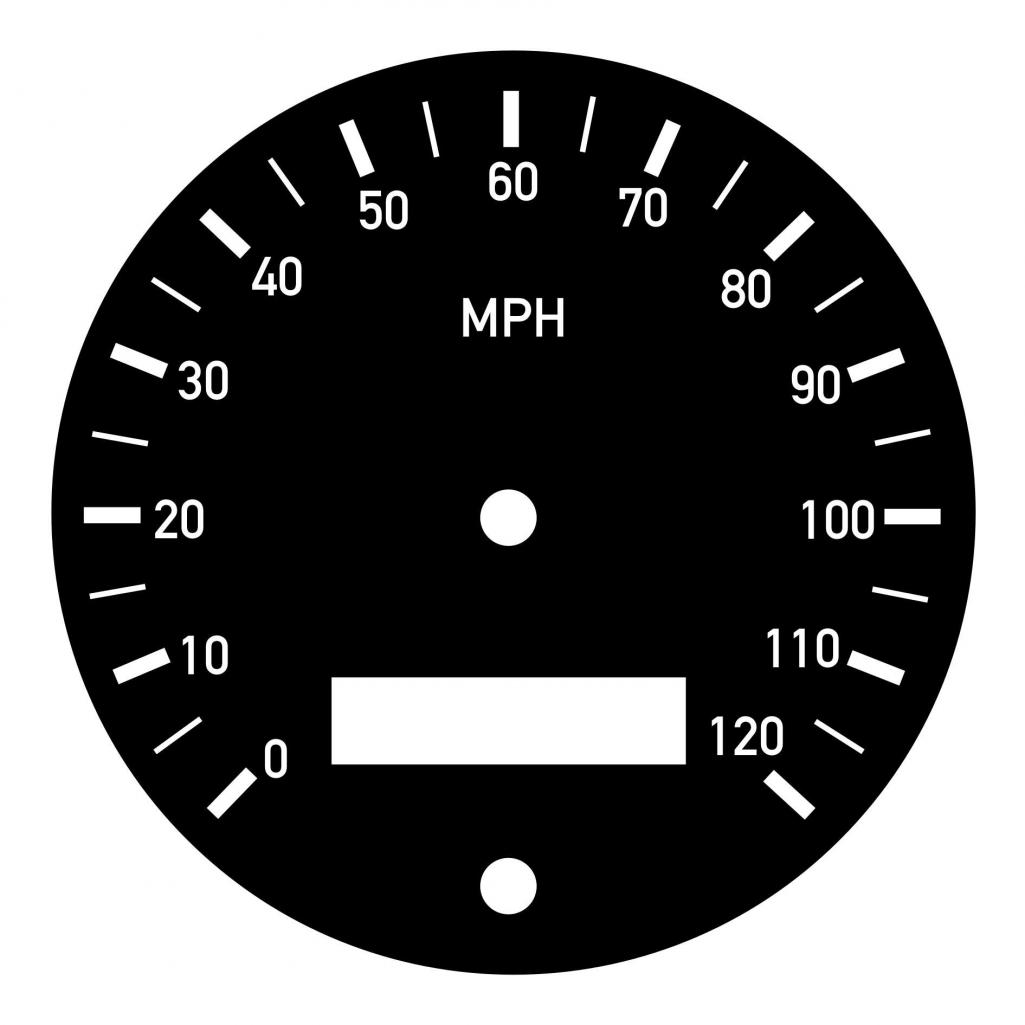 Now we let Doug work his magic, thank you once again sir. |
| 914forme |
 Feb 23 2014, 02:29 PM Feb 23 2014, 02:29 PM
Post
#26
|
|
Times a wastin', get wrenchin'!     Group: Members Posts: 3,896 Joined: 24-July 04 From: Dayton, Ohio Member No.: 2,388 Region Association: None 
|
That is odd, my export to JPG changed the ratios of the gauges, (IMG:style_emoticons/default/headbang.gif) I'm resending the faces to Doug in original full size detail. Dang, do I feel stupid.
|
| 914forme |
 Feb 23 2014, 03:06 PM Feb 23 2014, 03:06 PM
Post
#27
|
|
Times a wastin', get wrenchin'!     Group: Members Posts: 3,896 Joined: 24-July 04 From: Dayton, Ohio Member No.: 2,388 Region Association: None 
|
I disassembled my VDO Cockpit oil temp gauge yesterday. And did a few pictures so you could see how you get into these. I need an camera assistant, some of my picture skills are no better than Sir Andy's
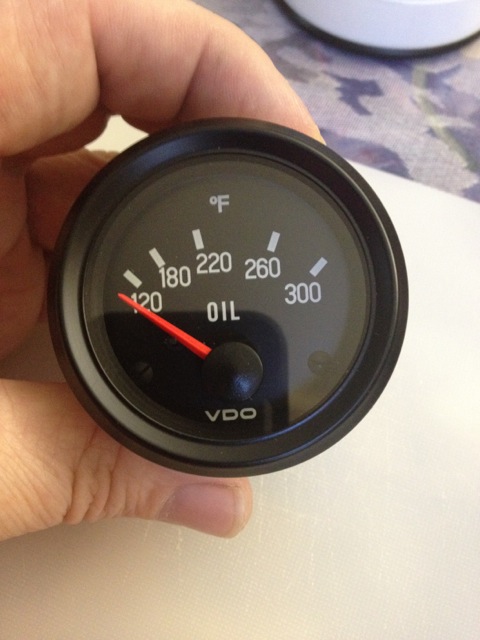 So here we go. Tools needed: A pocket knife, locking blade is nice I use a Gerber. The point makes it easy to get into the lip. Varius flat blade screwdrivers. A set of micro-screw drivers, to fit the small gauge face screws. needle Nose pliers - to get the nut off the screw that holds the ground lug on the gauge. Set of flush cutting pliers or similar to remove the pointer stop from the gauge face. First I pull all the items off the back of the gauge I can. this just mass it easier. Lighting is the first to go. 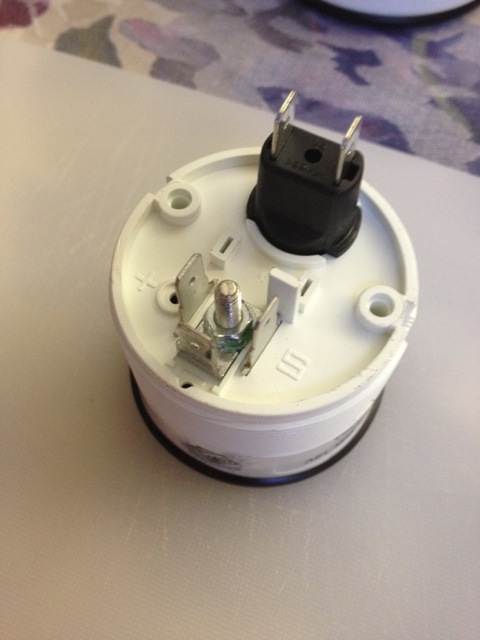 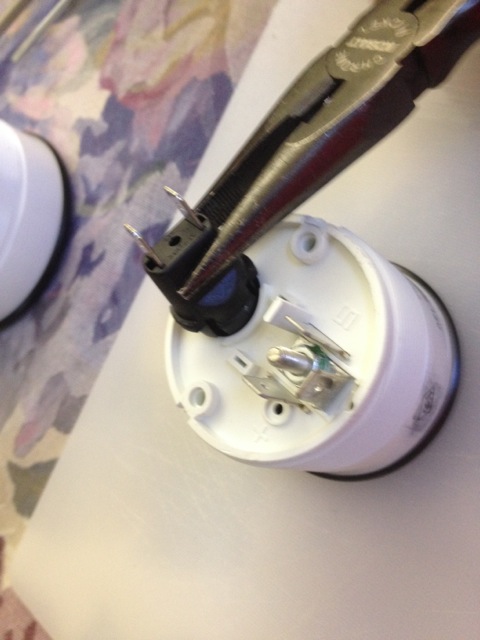 I then take off the front trim ring. I start with a knife and bend the brass ring away from the side of the gauge. I found a knife does a great job just be careful not to slice your self wide open. I then use a larger screw drivers to open it up even more. 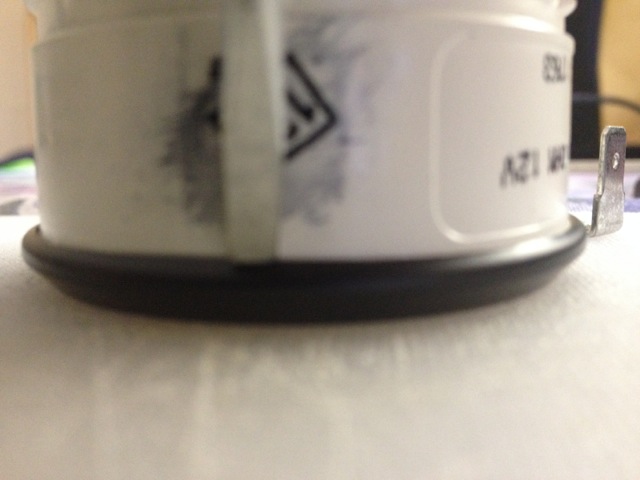 Next you pull the trim off, the glass will fall out, and you can pull the inner trim ring out. Sorry no pictures. After that you remove the nut holding the ground lug onto the back of the gauge. This also holds the gauge into the body of the gauge and makes sure the contacts are into their appropriate lugs, interesting design, nut unlike the Porsche VDO gauges. 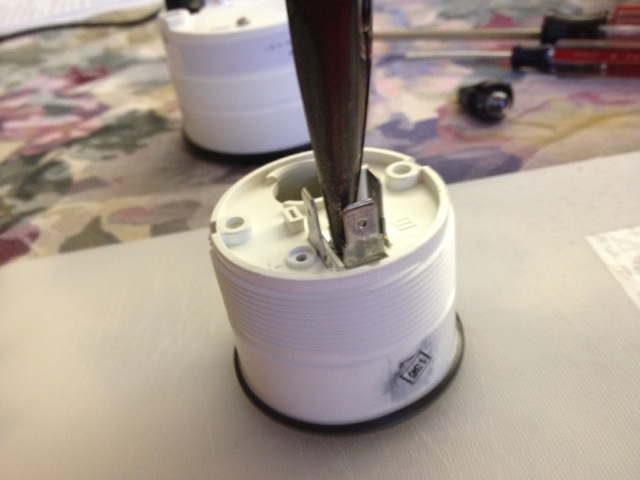 Looks like this once done.  Now you can remove the gauge from the housing. It might take some force, I place the nut back onto the threads and give it a few taps with my needle nose pliers. The nut will keep you from buggering up the threads and also from launching the gauge assembly across the room. You get this once done. 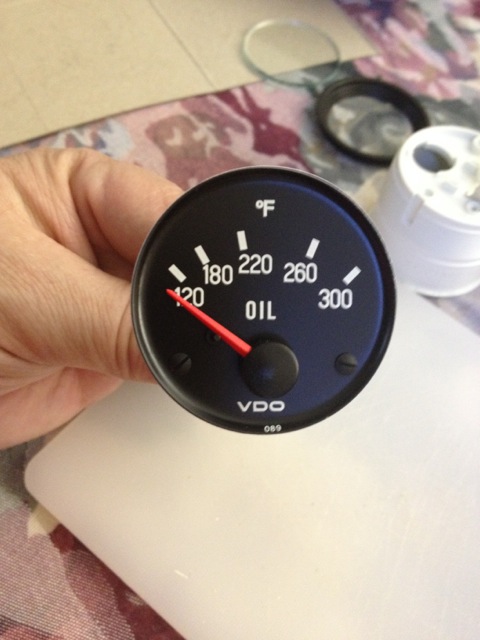 The whole reason I wanted to take this apart. 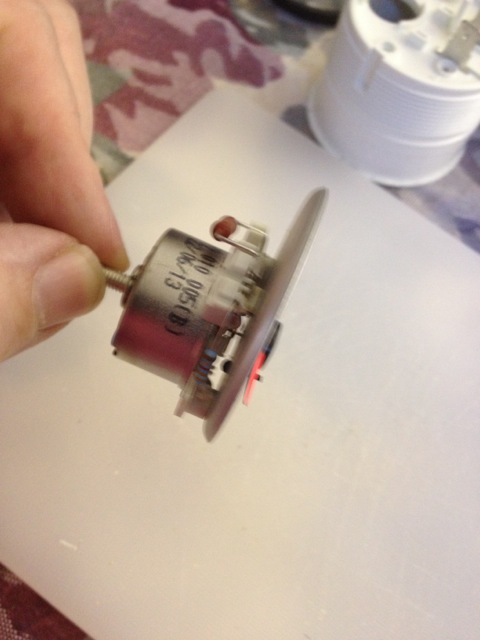 Yes its still using the .020 inch thick face, so it matches all the other units. (IMG:style_emoticons/default/piratenanner.gif) Next remove the needle, I simply pull it off easier said and done. You can also use two spoons to pry them up off the shaft. And yes my needles are the same across the Cockpit gauge line. 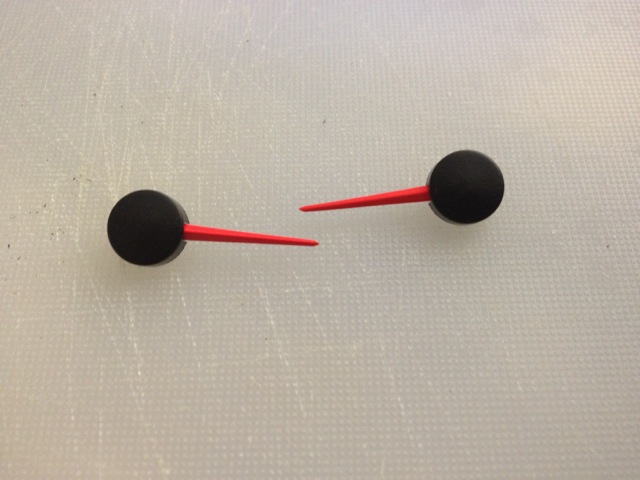 Remove the gauge face next. 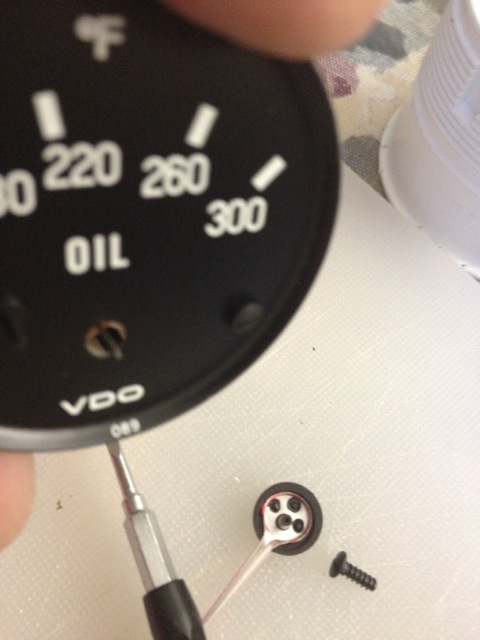 This is what the ring ill look like when done. For this production I don't care much, but the shows you the carnage. 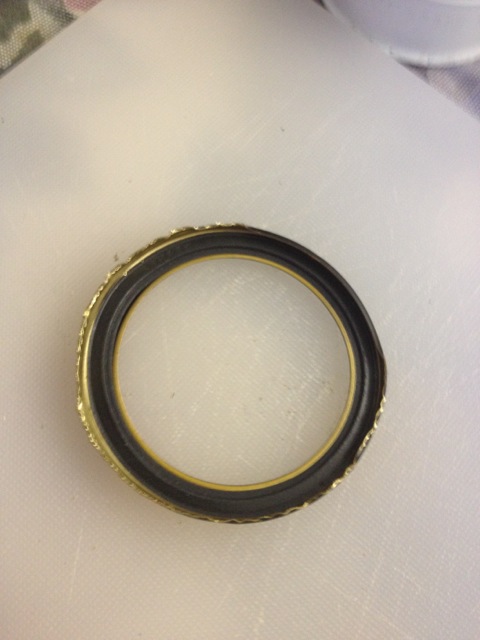 If I left anything out lt me know, or if you have a question feel free to ask. I have done so many of these I just do them, so I might have left out a few items just out of shear familiarity. |
  |
1 User(s) are reading this topic (1 Guests and 0 Anonymous Users)
0 Members:

|
Lo-Fi Version | Time is now: 3rd April 2025 - 03:39 PM |
Invision Power Board
v9.1.4 © 2025 IPS, Inc.


