|
|

|
Porsche, and the Porsche crest are registered trademarks of Dr. Ing. h.c. F. Porsche AG.
This site is not affiliated with Porsche in any way. Its only purpose is to provide an online forum for car enthusiasts. All other trademarks are property of their respective owners. |
|
|
  |
| Chris H. |
 Sep 14 2016, 08:03 AM Sep 14 2016, 08:03 AM
Post
#121
|
|
Senior Member     Group: Members Posts: 4,054 Joined: 2-January 03 From: Chicago 'burbs Member No.: 73 Region Association: Upper MidWest 
|
Oh nice! Didn't even see that 3rd brake light! That's the point I'm sure. Glad you have one (IMG:style_emoticons/default/beerchug.gif) . Great work and great job documenting. It's very hard to stop what you're doing and take good pictures.
|
| Garland |
 Sep 15 2016, 03:42 PM Sep 15 2016, 03:42 PM
Post
#122
|
|
Restoration Fanatic    Group: Members Posts: 1,411 Joined: 8-January 04 From: ......Michigan...... Member No.: 1,535 Region Association: Upper MidWest 
|
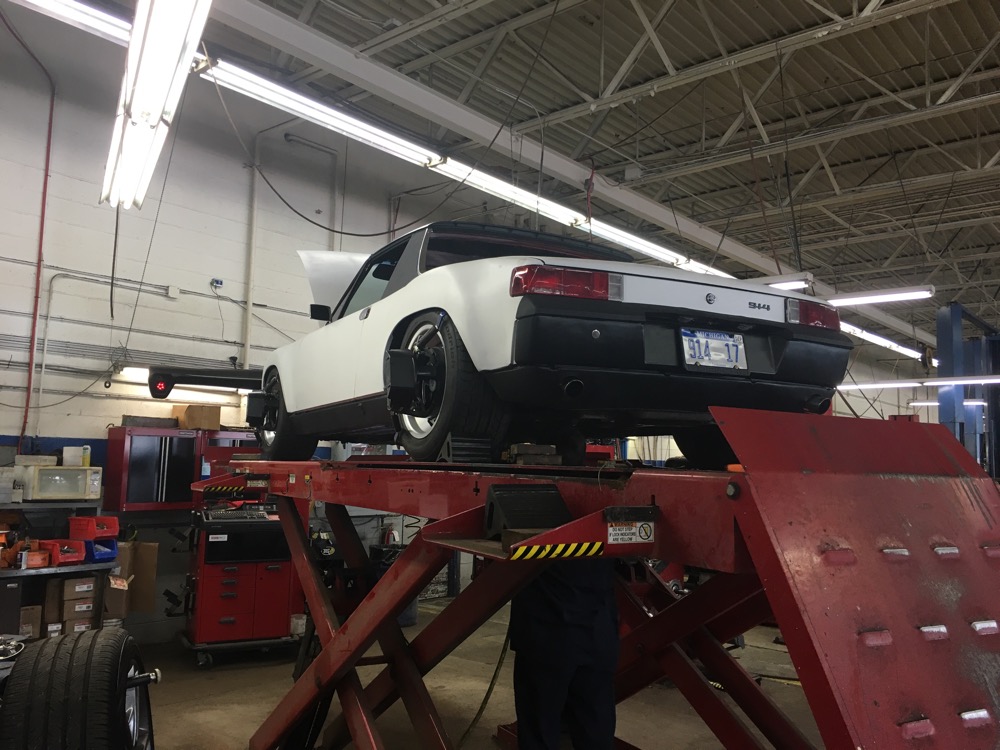
Needed to just tighten up the alignment a bit so we did that today. Test drive went great.
 |
| Mueller |
 Sep 15 2016, 04:12 PM Sep 15 2016, 04:12 PM
Post
#123
|
|
914 Freak!                Group: Members Posts: 17,150 Joined: 4-January 03 From: Antioch, CA Member No.: 87 Region Association: None 
|
Needed to just tighten up the alignment a bit so we did that today. Test drive went great.  Car looks great up there....at 1st it was hard to see the flares and I was like "how the heck did he get such huge tires under the stock fenders?" (IMG:style_emoticons/default/smile.gif) |
| Garland |
 Sep 15 2016, 05:41 PM Sep 15 2016, 05:41 PM
Post
#124
|
|
Restoration Fanatic    Group: Members Posts: 1,411 Joined: 8-January 04 From: ......Michigan...... Member No.: 1,535 Region Association: Upper MidWest 
|
Thank you, and thank you.
|
| Garland |
 Oct 16 2016, 06:21 PM Oct 16 2016, 06:21 PM
Post
#125
|
|
Restoration Fanatic    Group: Members Posts: 1,411 Joined: 8-January 04 From: ......Michigan...... Member No.: 1,535 Region Association: Upper MidWest 
|
(IMG:style_emoticons/default/brain.gif) START of 2017 Build-Off Part Deux
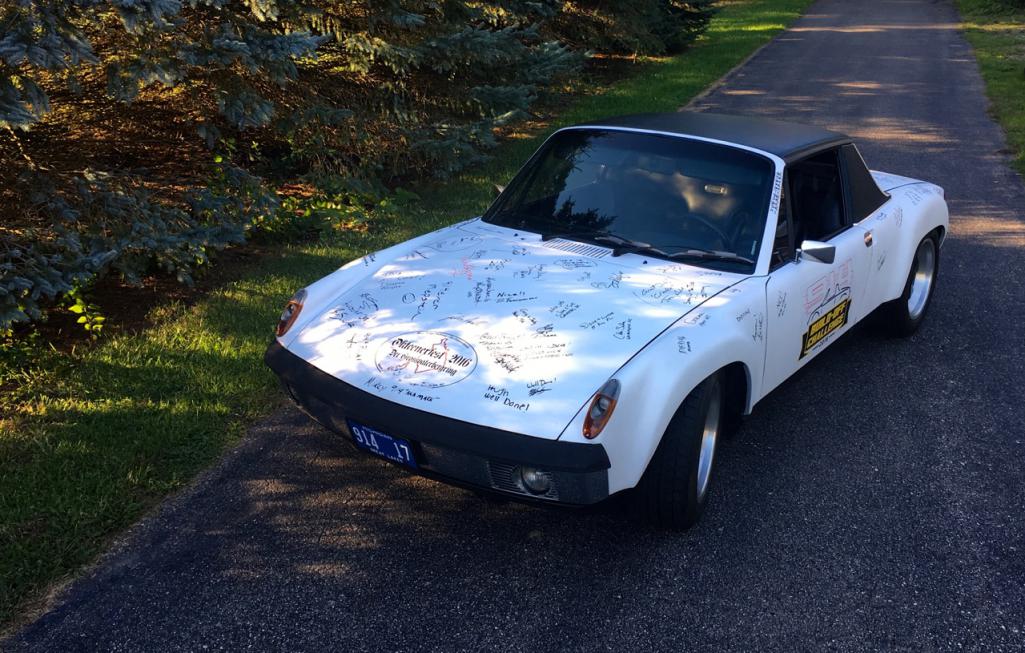 2017 Build-Off Challenge Build-Off Part Deux Intro 2017 October: Michigan Build Im going to continue the build and entered the 2017 Build-Off Challange. Here is the goals, and direction I want to go. A. Engine: R & Repair engine oil leaks Replace front trans seal B. Significant body work: Remove the White Plasti-Dip & Finish the final body work (now primer, multi color, and poor finish work underneath) Prime and block sand Paint the entire car. C. Significant interior work: R & Replace the fuse panel, repair connections R & Reinstall the interior to add sound deadening Update sound system, Modify stock seat comfort X. Misc: Install integrated Running lamp/3rd brake lamp. October Update: Michigan Build Starting with the interior. The goal here is, improve the sound system, and add some comfort, plus a few small things along the way like the new fuse panel, sound padding, and dash layout. In addition I have never taken care of the floor pan. I removed the tar padding, and worked on the dash a bit. Overall I want to keep it "clean" less is more. I have loved the simple dash design from the first time I saw it. That was a '70 basic, not even a fog lamp switch. Removing Plasti-Dip from primed parts of the body work, little bit at a time. I have removed this material before, and a heat gun works best. warm it up, and scrape it off. In some spots it will lift off like a sheet. In others it may pop up due to rust. I found that this time it took a lot of effort to remove. It get tougher with age, the tar not me. : ) Some rust spots, and seems to repair. More surface rust then I thought would be there. This will pay off on my satisfaction meter when done. I also found that with the radio, and glove box removed, theres a lot of space there. I would like to keep the sub, but not the center console. Built a trail foam board box. More to come on this. Heres a few shots. Thanks for the look. 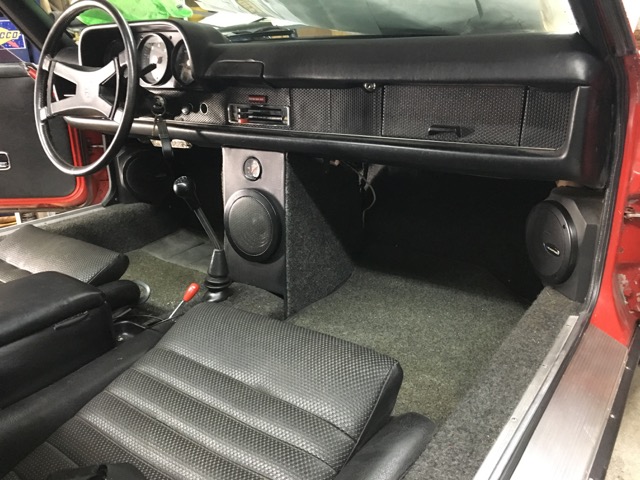 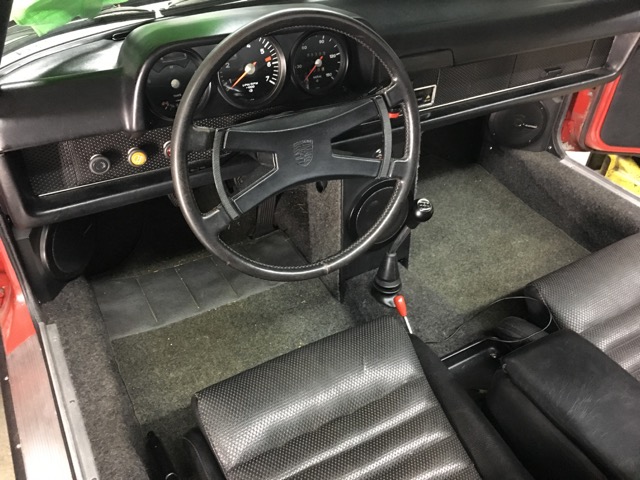 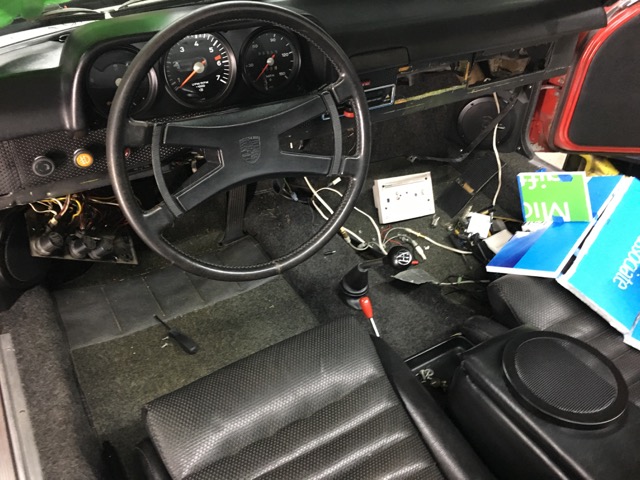 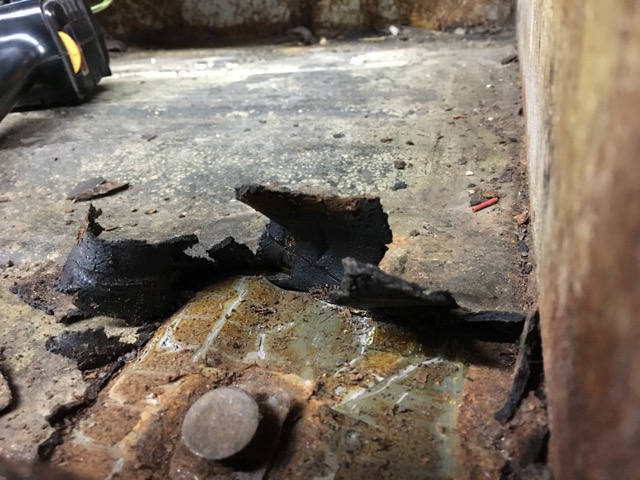 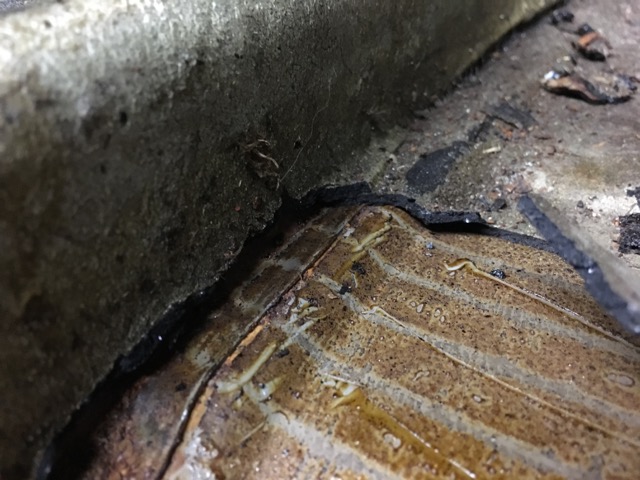 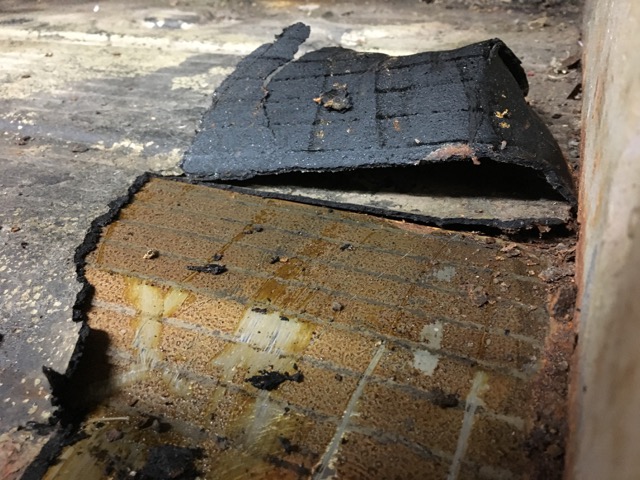 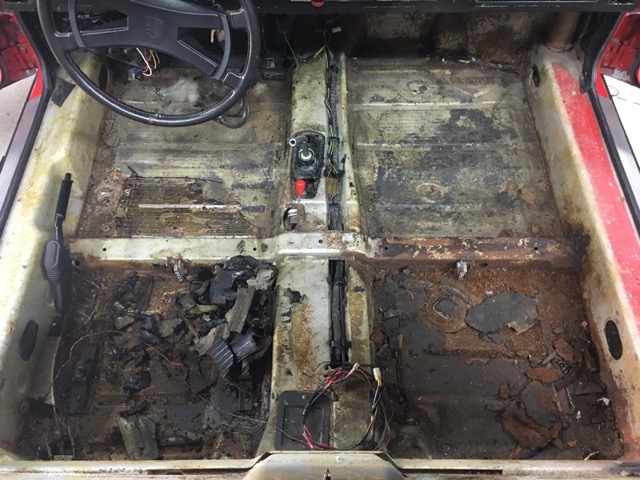 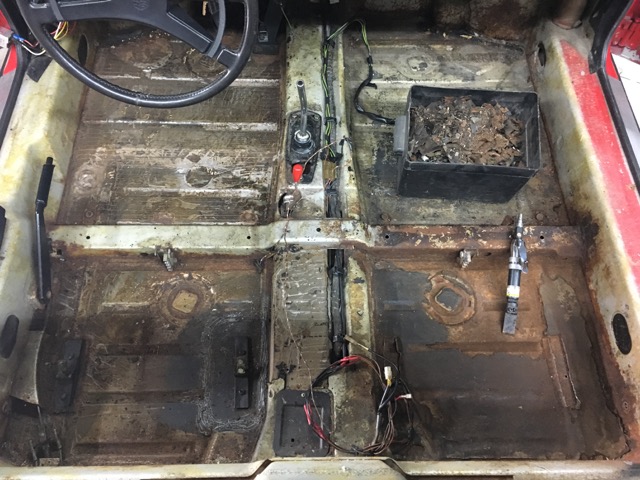 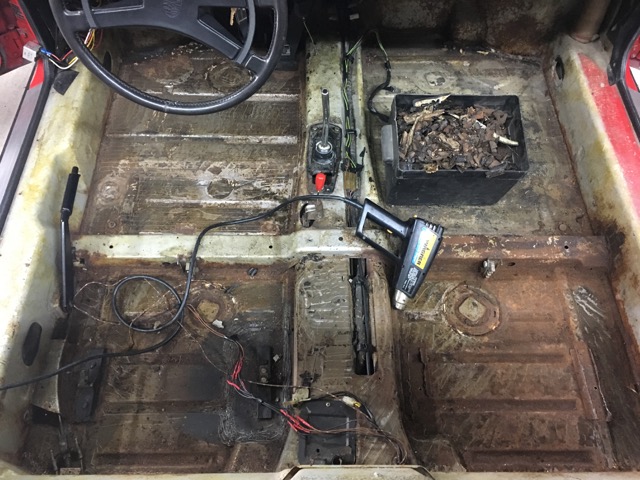 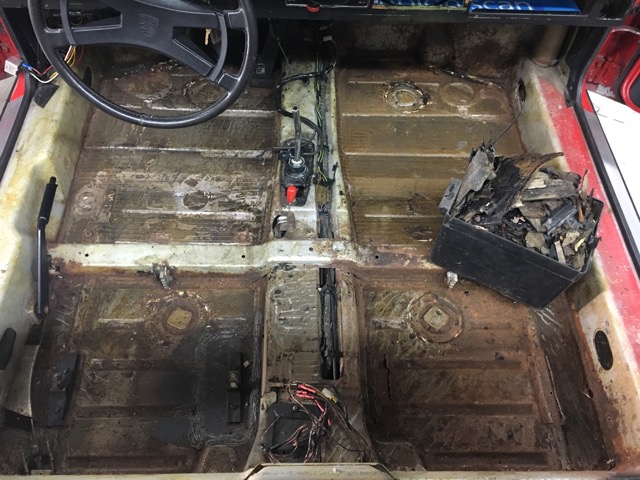 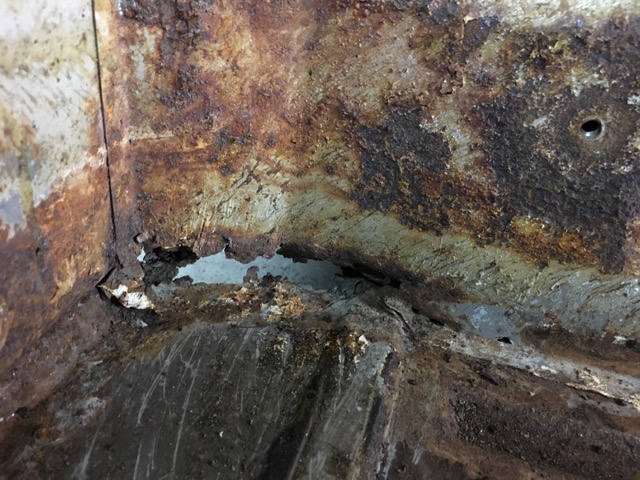 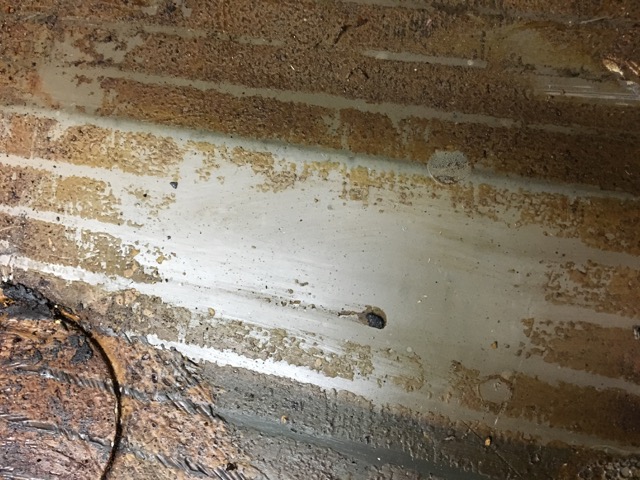 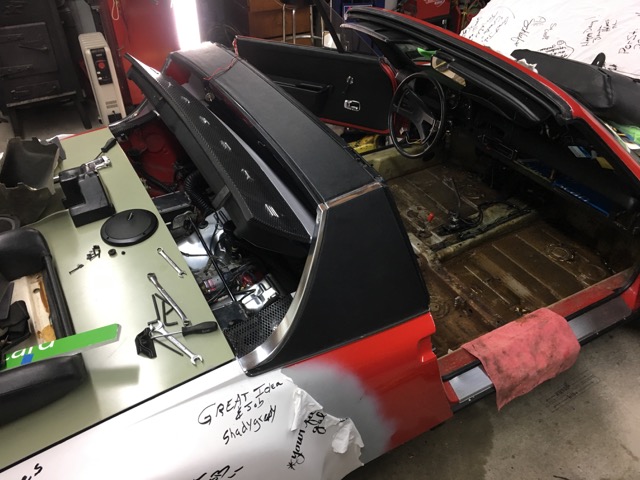 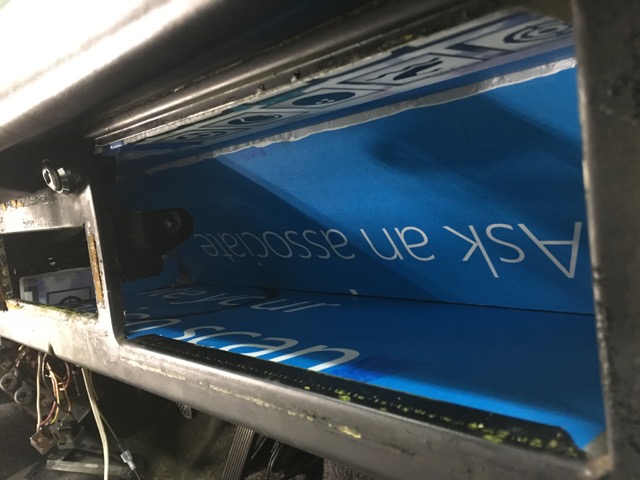 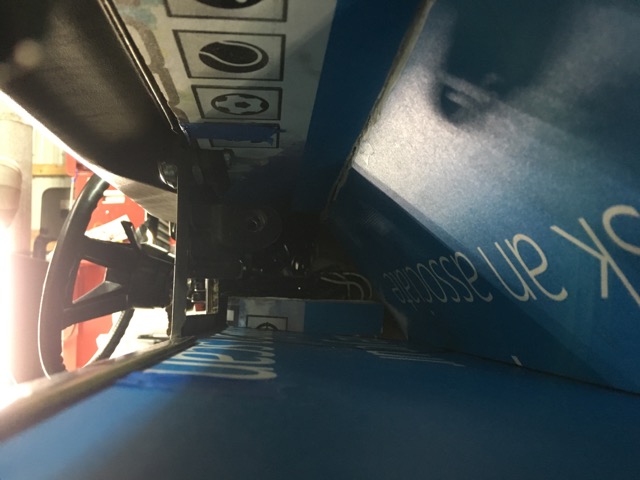 |
| Garland |
 Nov 26 2016, 01:26 PM Nov 26 2016, 01:26 PM
Post
#126
|
|
Restoration Fanatic    Group: Members Posts: 1,411 Joined: 8-January 04 From: ......Michigan...... Member No.: 1,535 Region Association: Upper MidWest 
|
2017 Build-Off Challenge
Build-Off Part Deux Well on the floor got all the tar off, and found more decay. Imagine that! The pedals were functioning fine, but was sure there could be a concern under there. After removing the under panel to access the pedal mount nuts, and the linkages, and two interior floor mount nuts. Surprise, rust and junk. Ill rebuild the pedal cluster later, but finished the floor, and patched or repaired the damaged spots. Also rust inhibitor on the surface spots. Primer done, and the proper sealer, and Im ready for some sound deadining material next. The seat mounts are missing from the right side, from the PO, who also so had a early interior installed. 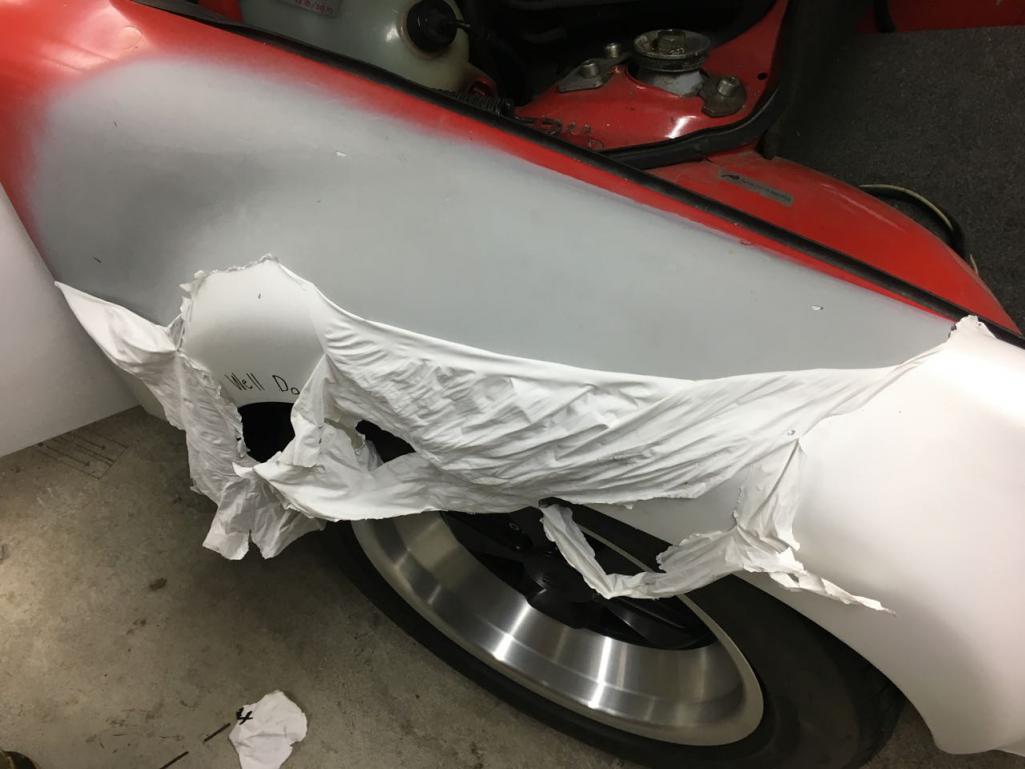 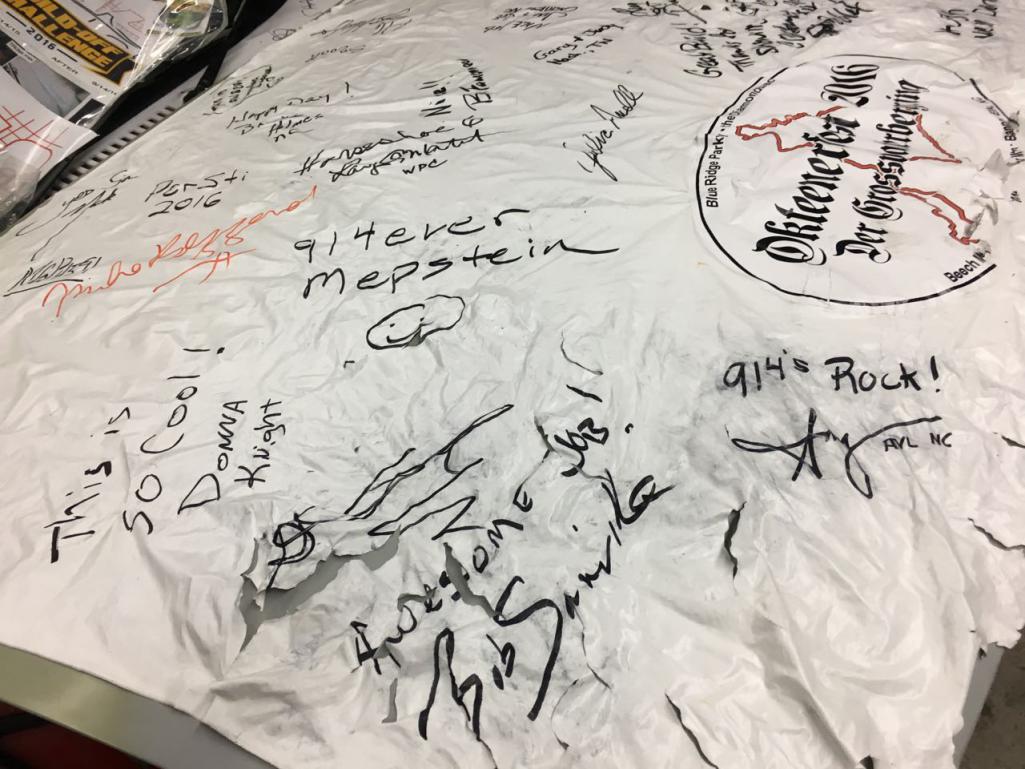 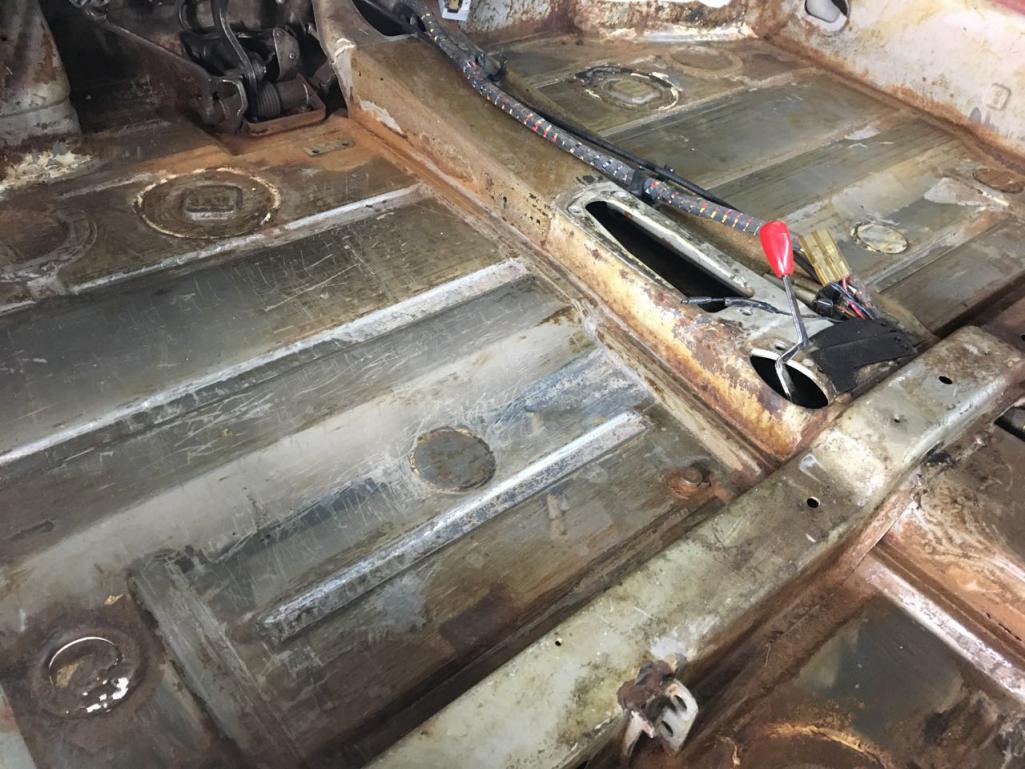 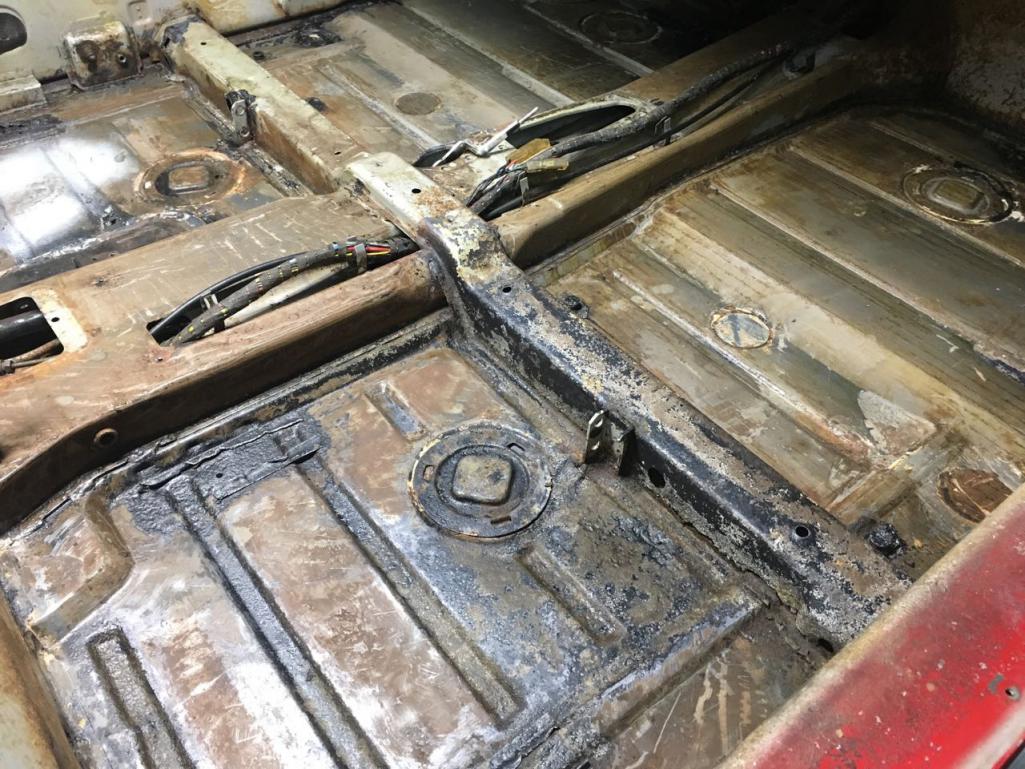 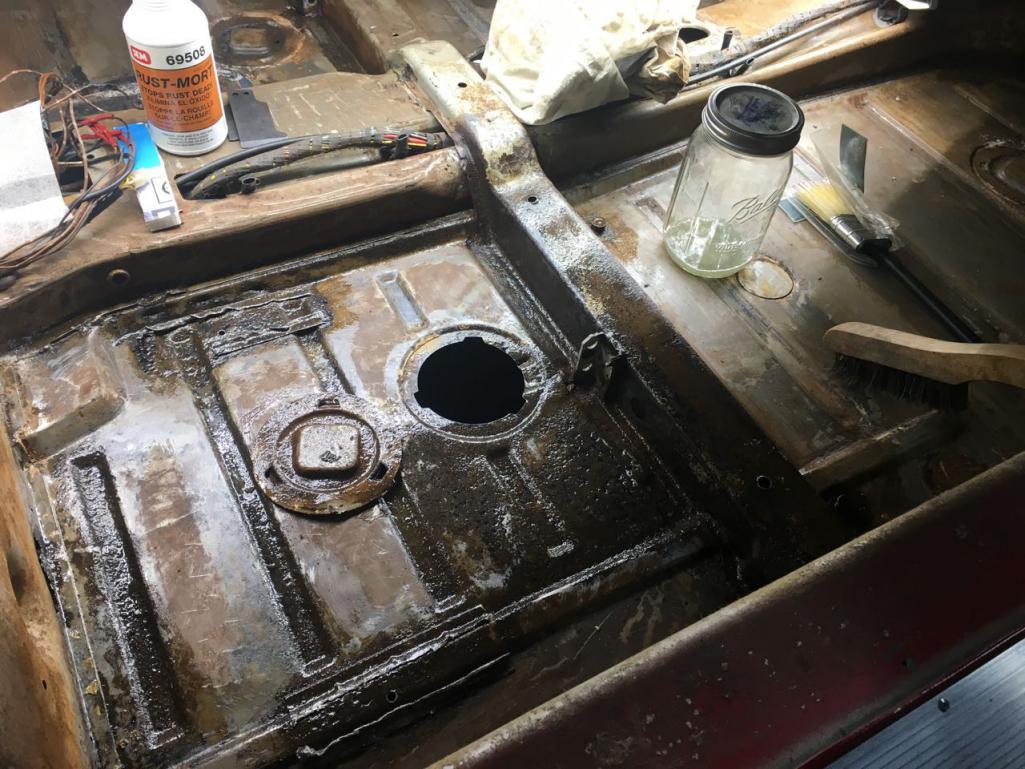 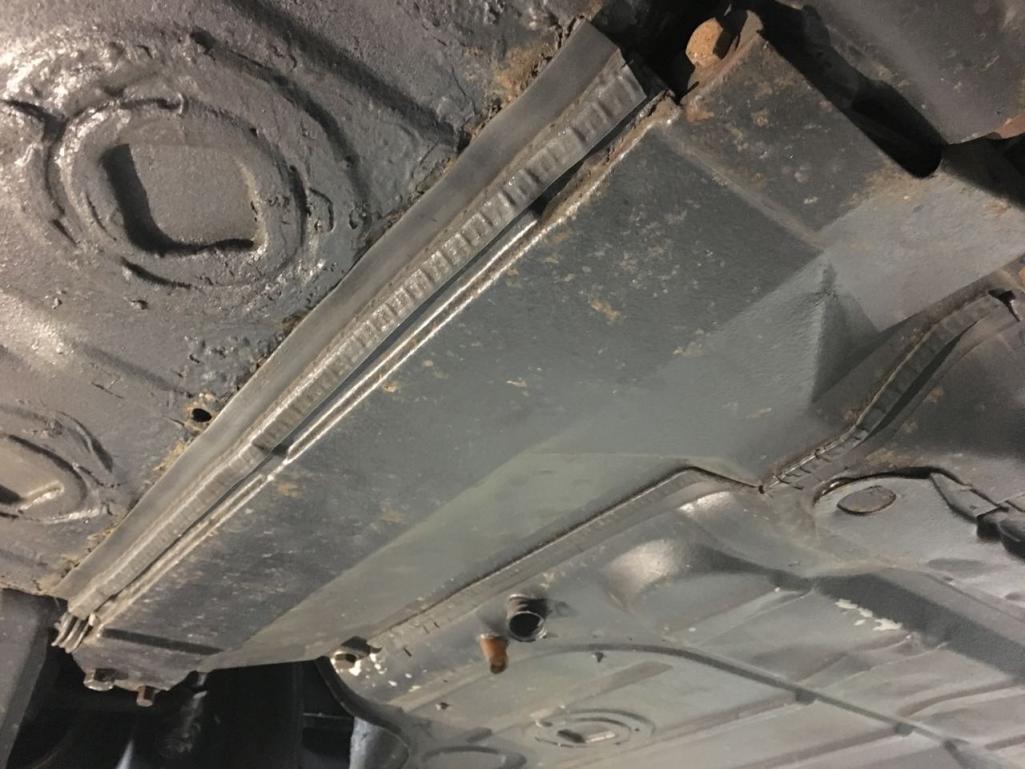 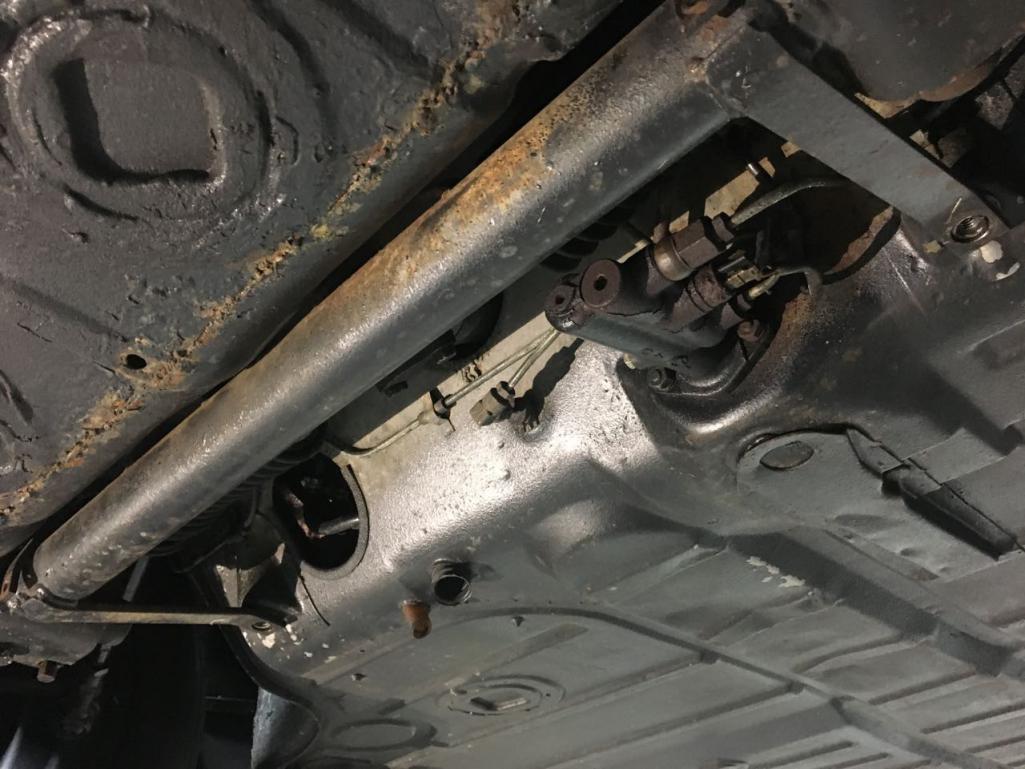 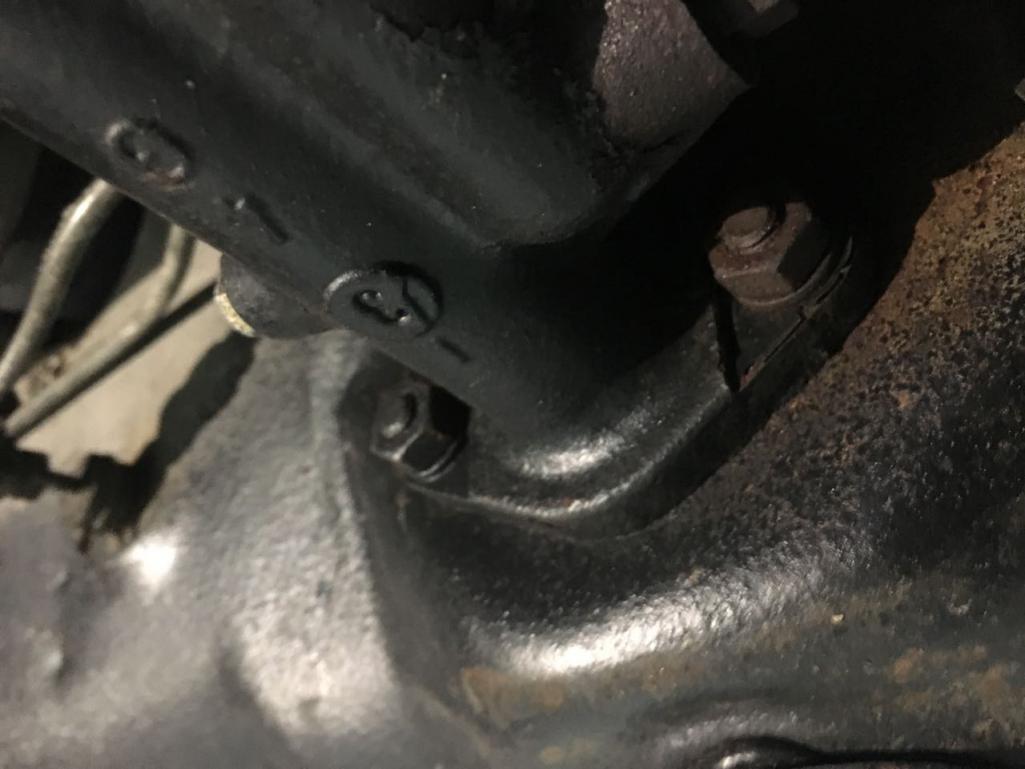 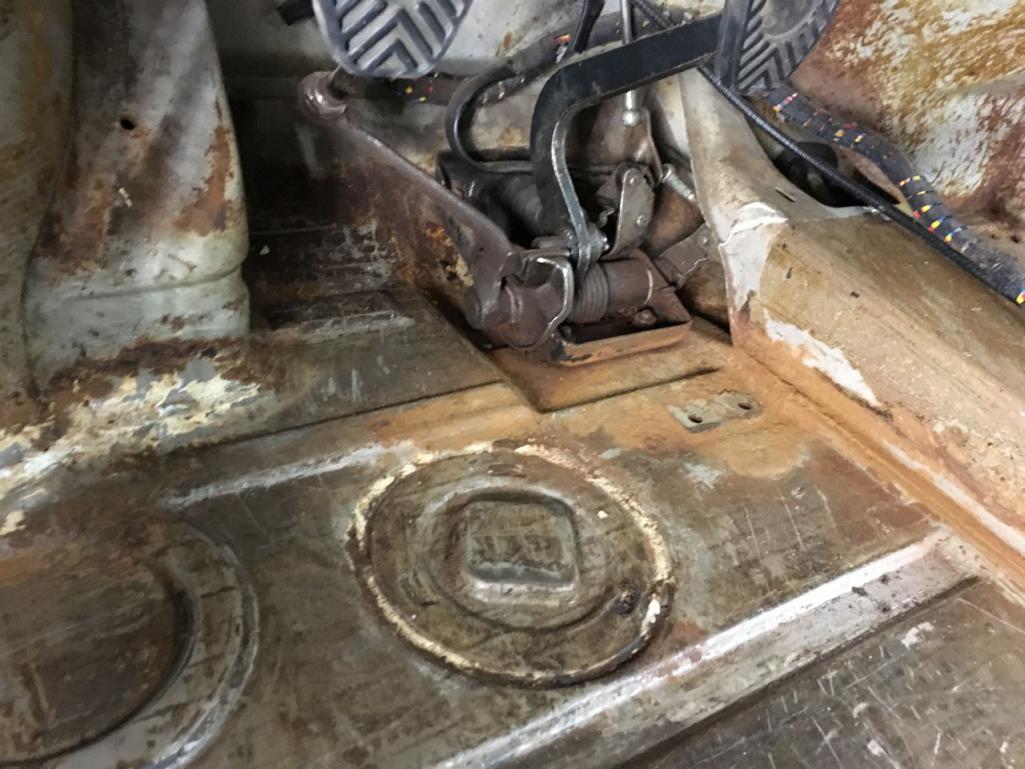 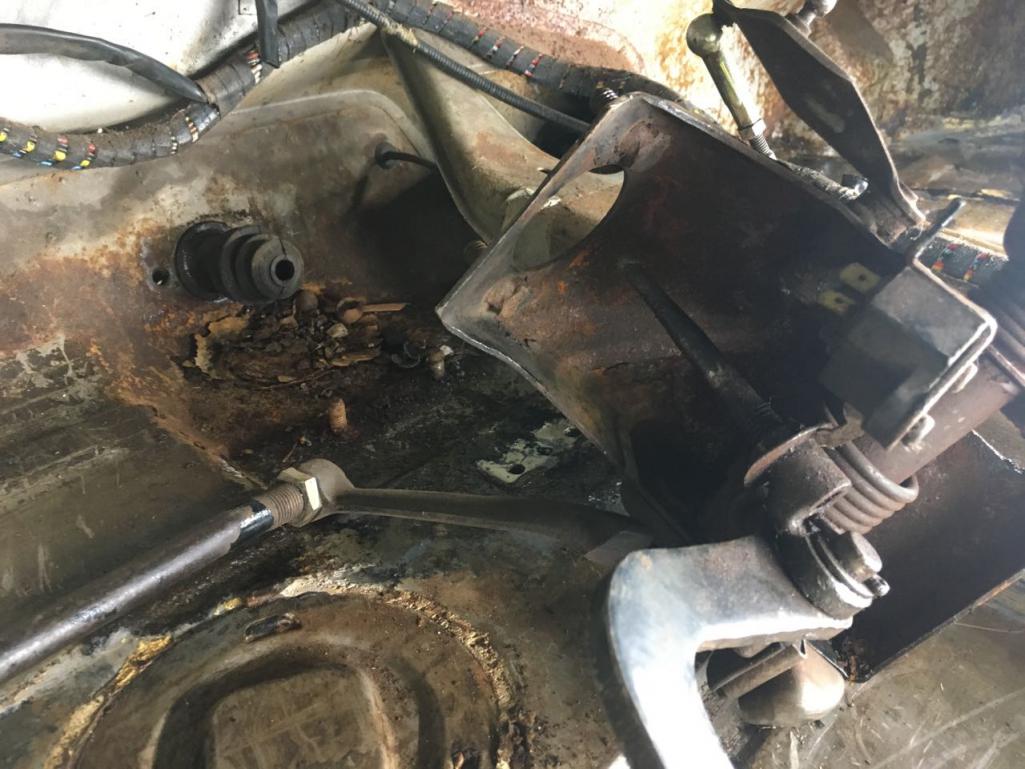 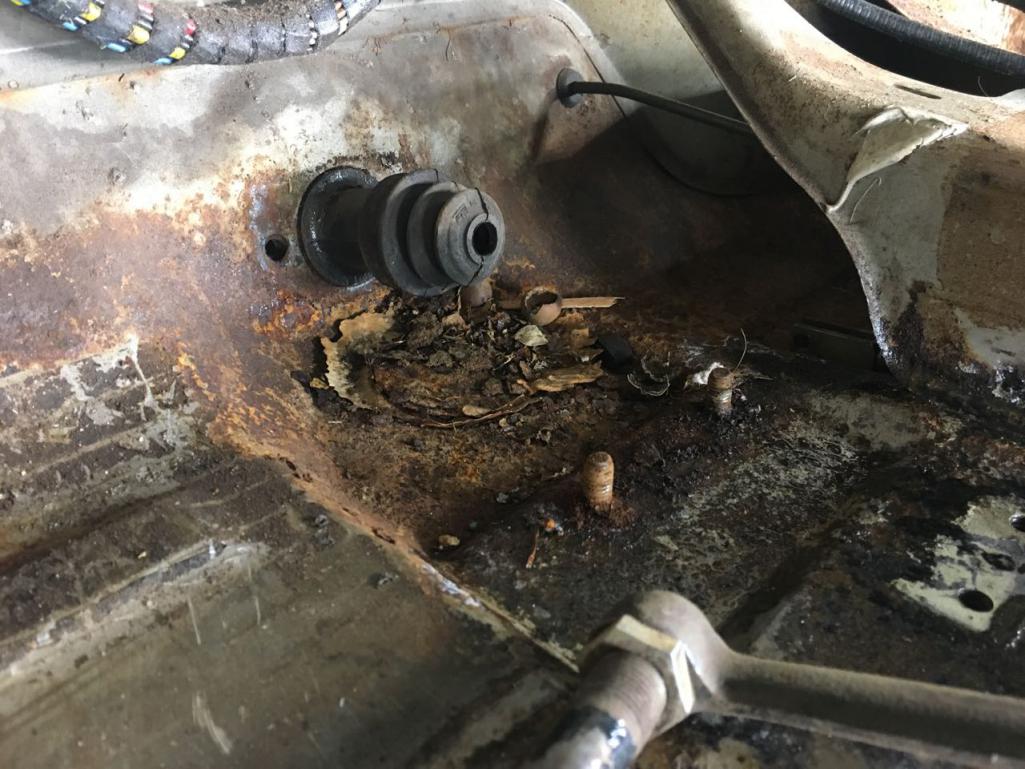 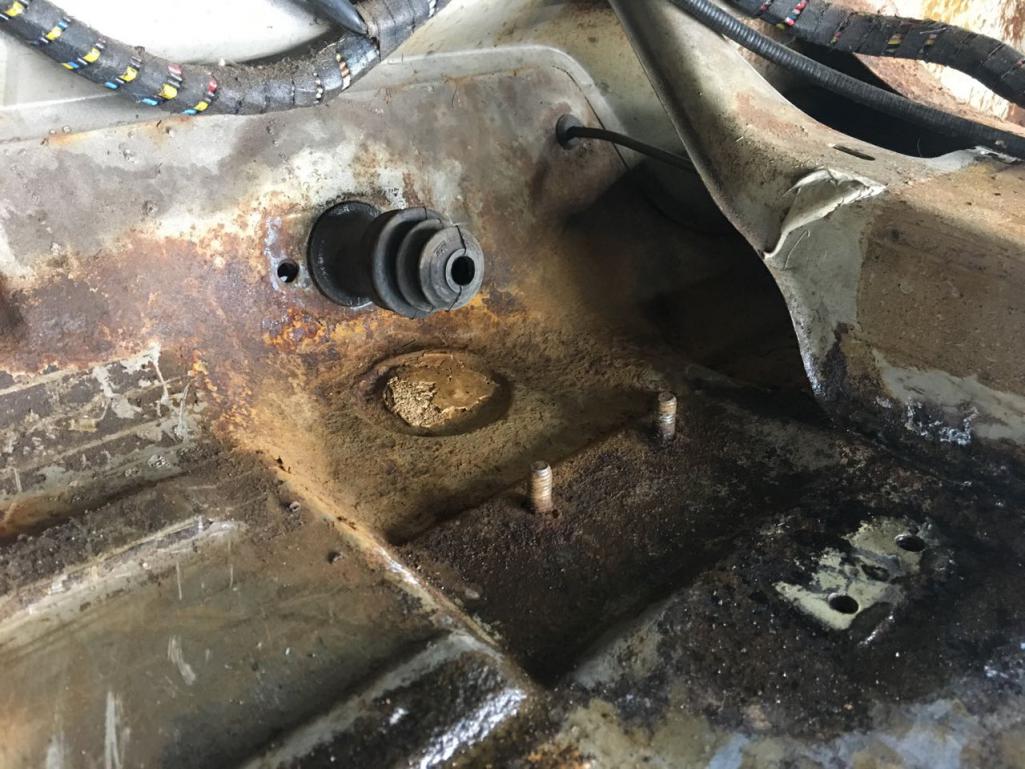 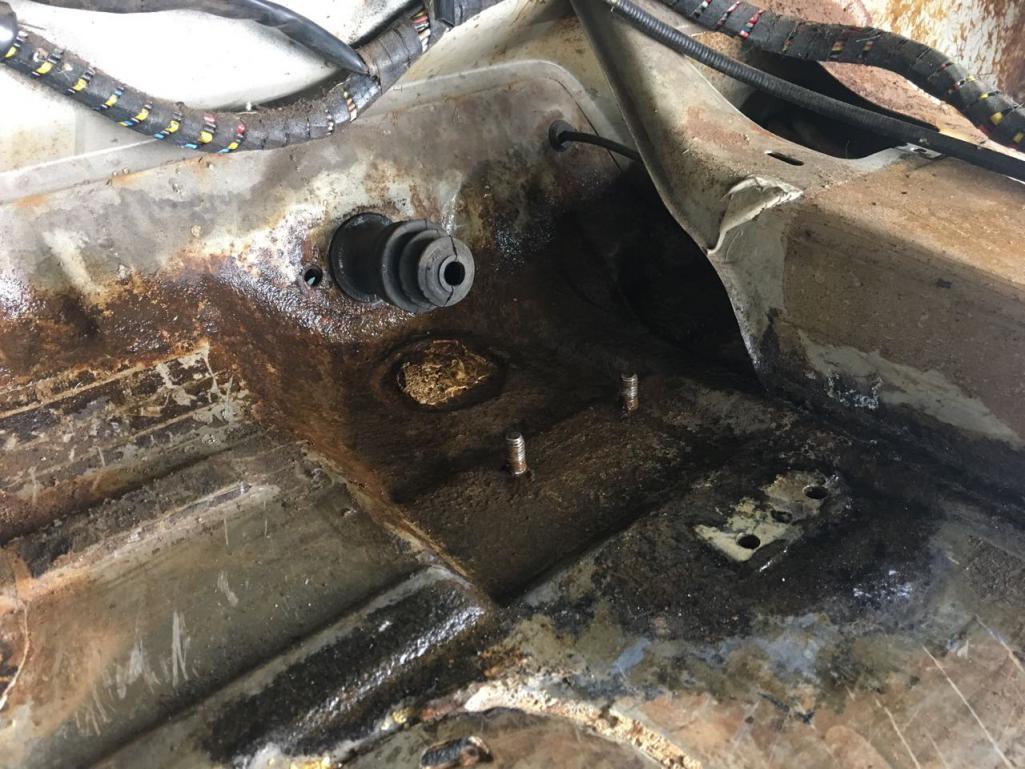 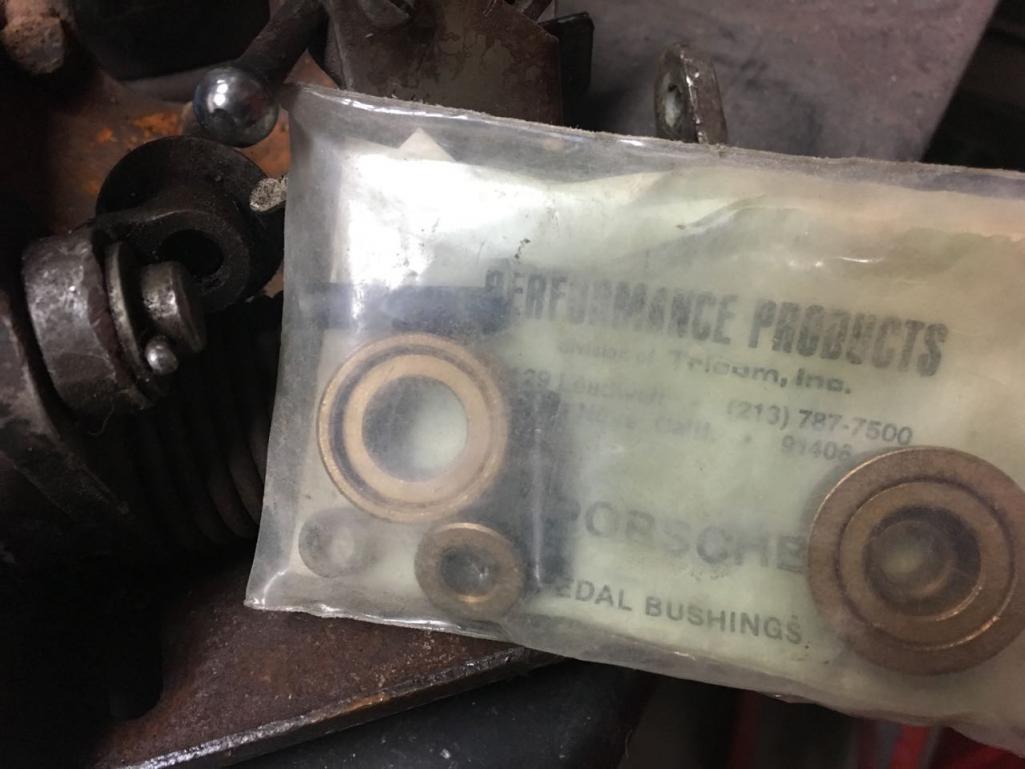 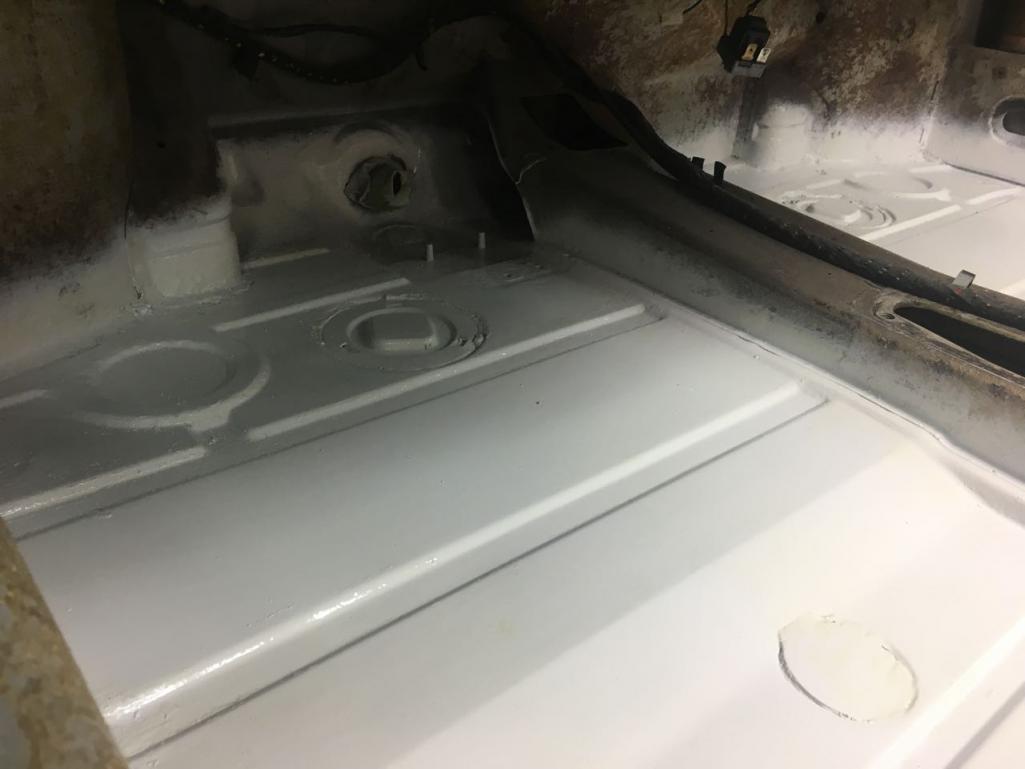 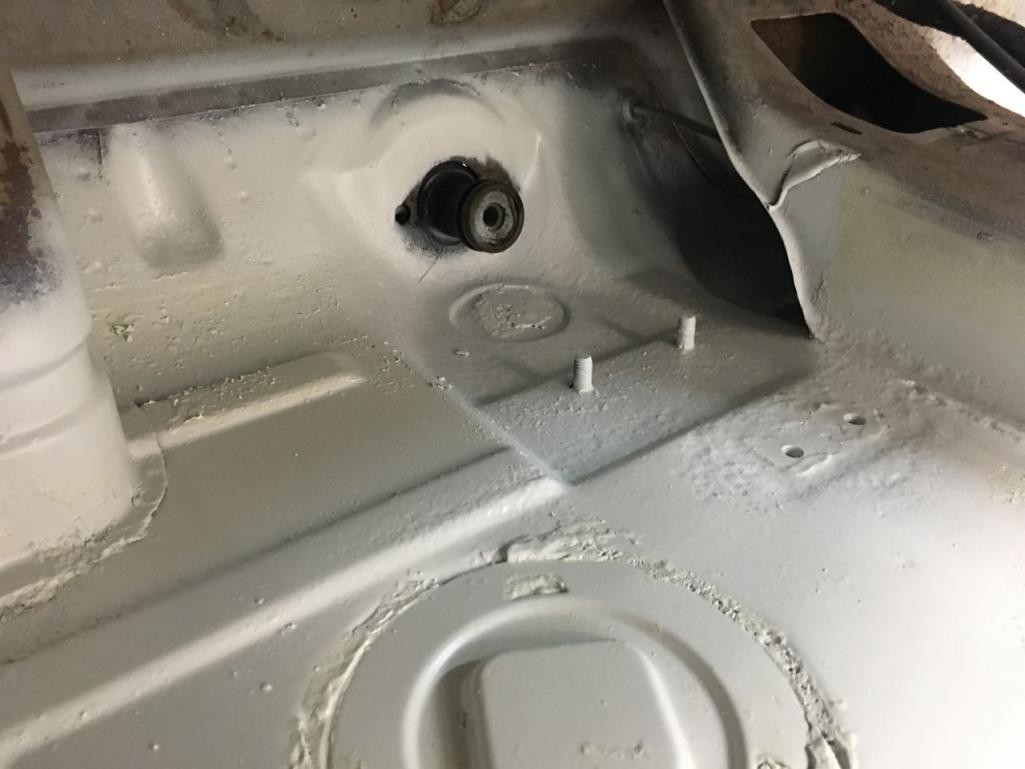 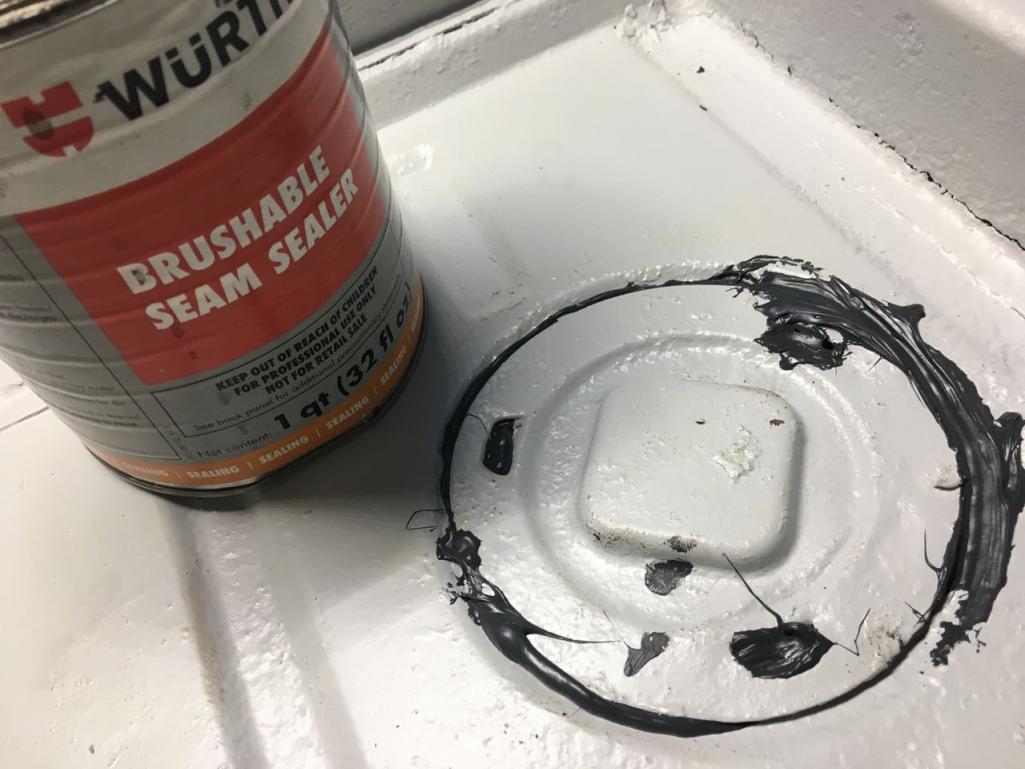 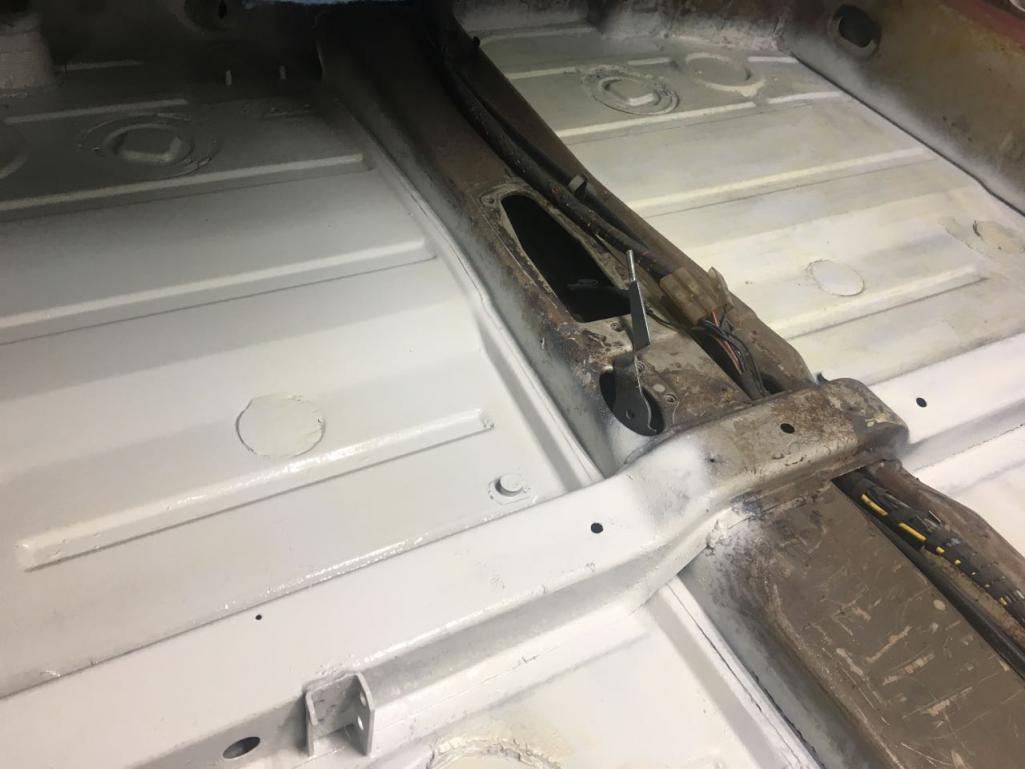 |
| whitetwinturbo |
 Nov 27 2016, 10:46 AM Nov 27 2016, 10:46 AM
Post
#127
|
|
Honey, does this wing make my ass look fat?    Group: Members Posts: 1,391 Joined: 22-October 11 From: Newport Beach/Kalefornya/USA Member No.: 13,704 Region Association: Southern California |
|
| Garland |
 Dec 23 2016, 11:38 AM Dec 23 2016, 11:38 AM
Post
#128
|
|
Restoration Fanatic    Group: Members Posts: 1,411 Joined: 8-January 04 From: ......Michigan...... Member No.: 1,535 Region Association: Upper MidWest 
|
2017 Build-Off Challenge
Build-Off Part Deux 2017 Build-Off Challenge - OFFICAL CONTEST THREAD Link The pedal assembly needed cleaning up, and while at it going to install the bushing kit I have had forever. 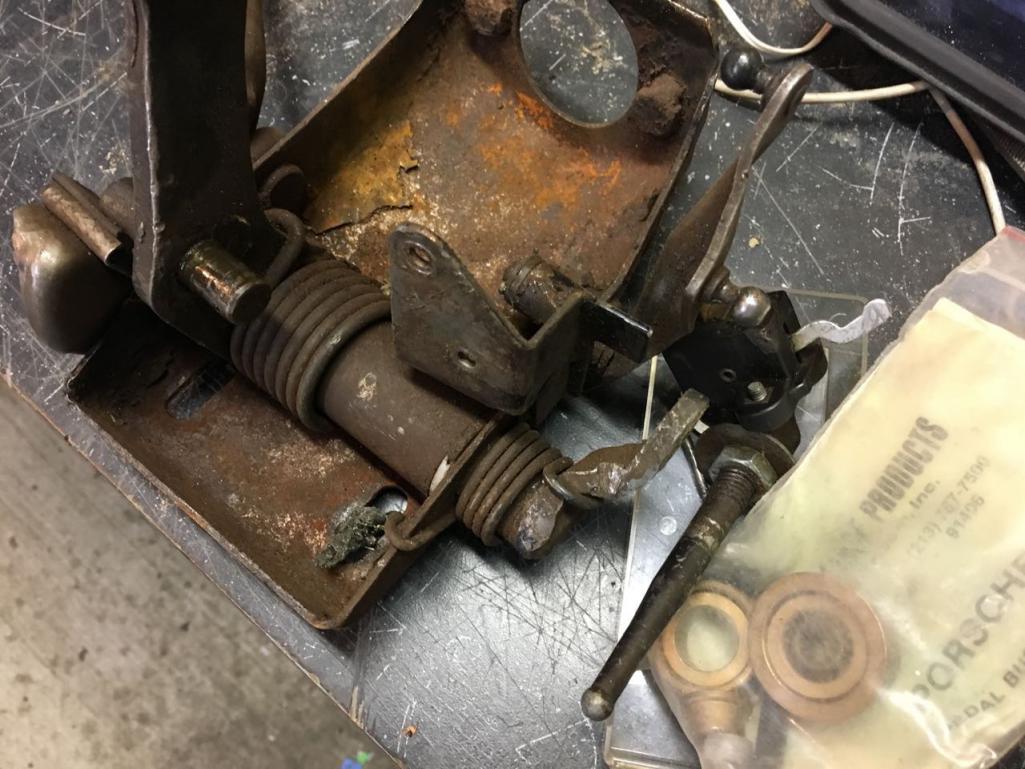 Pulled the cotter pins and tapped out the set pins. Cleaned up with wire brush, and a bit of hand sanding. 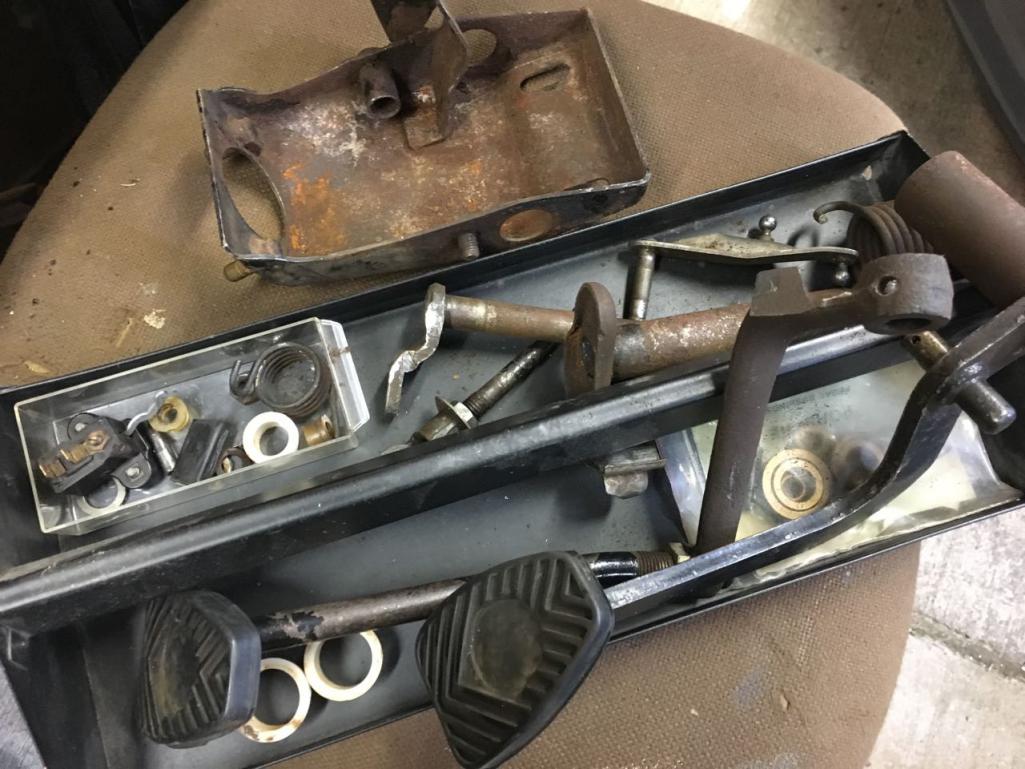 Now into the oven to bake out anything that may hurt the paint application. 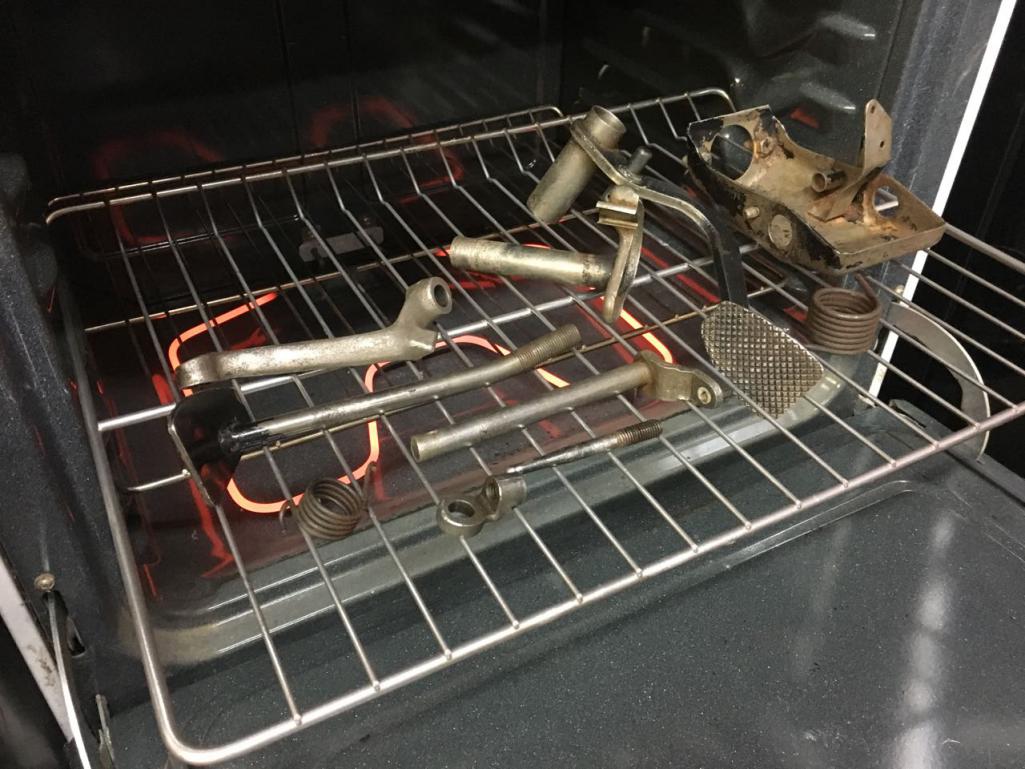 500! 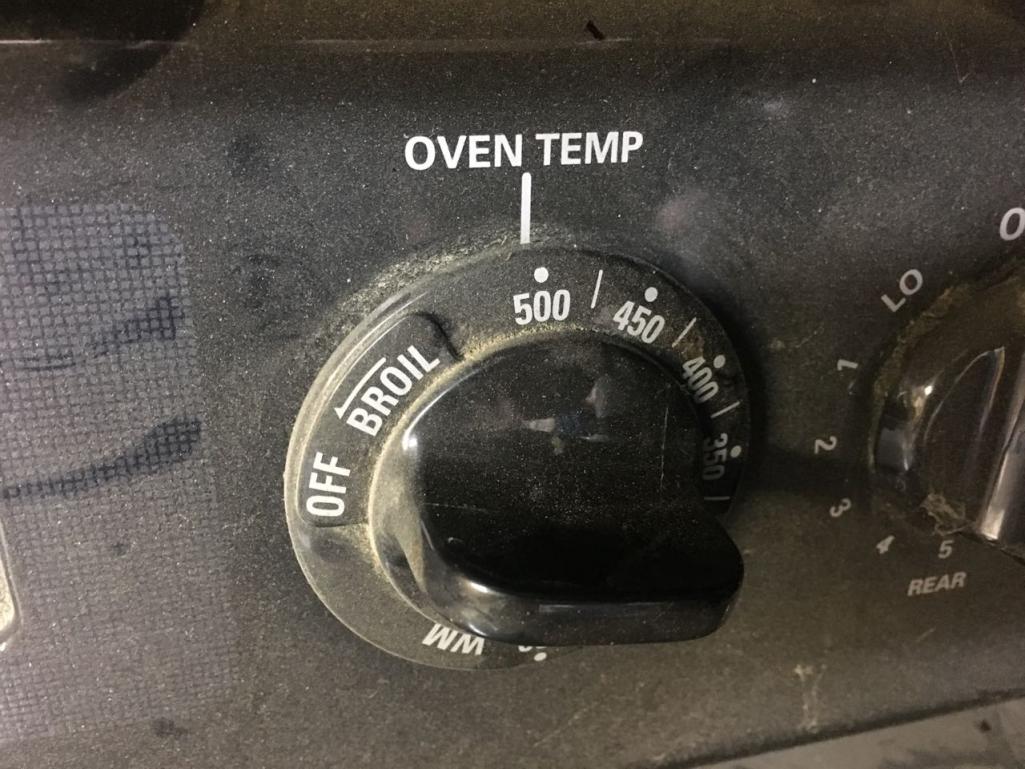 Open the door for a slow cool off. It also cold in Michigan. Merry Christmas. 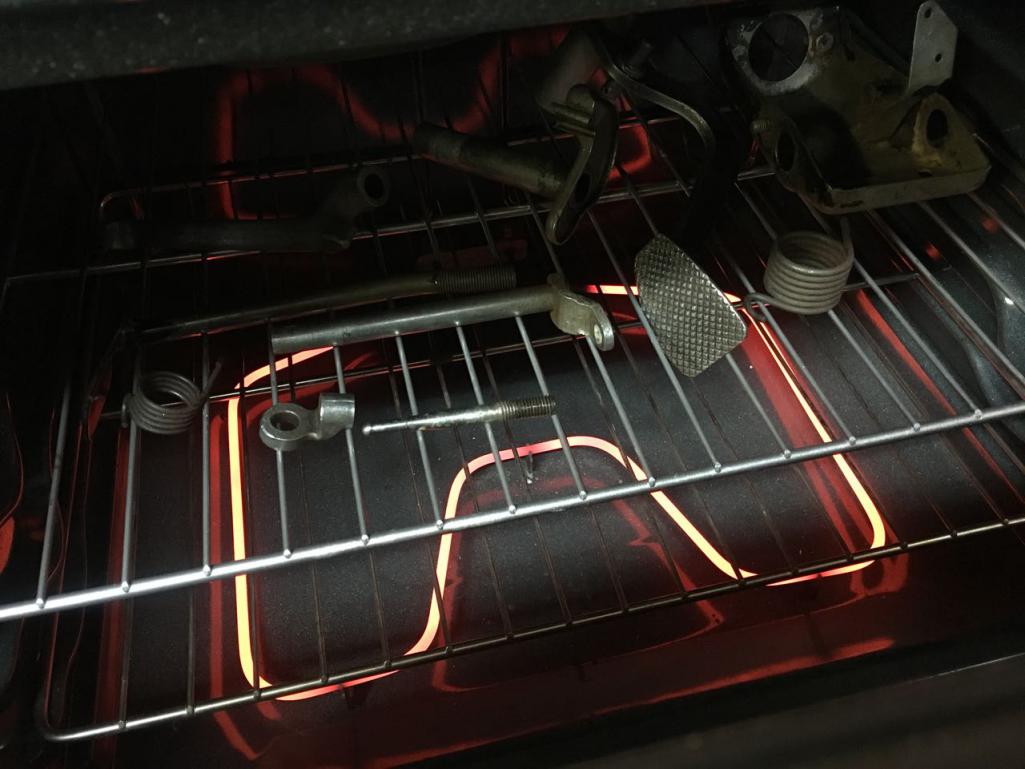 Now painted with hi-temp heat paint. 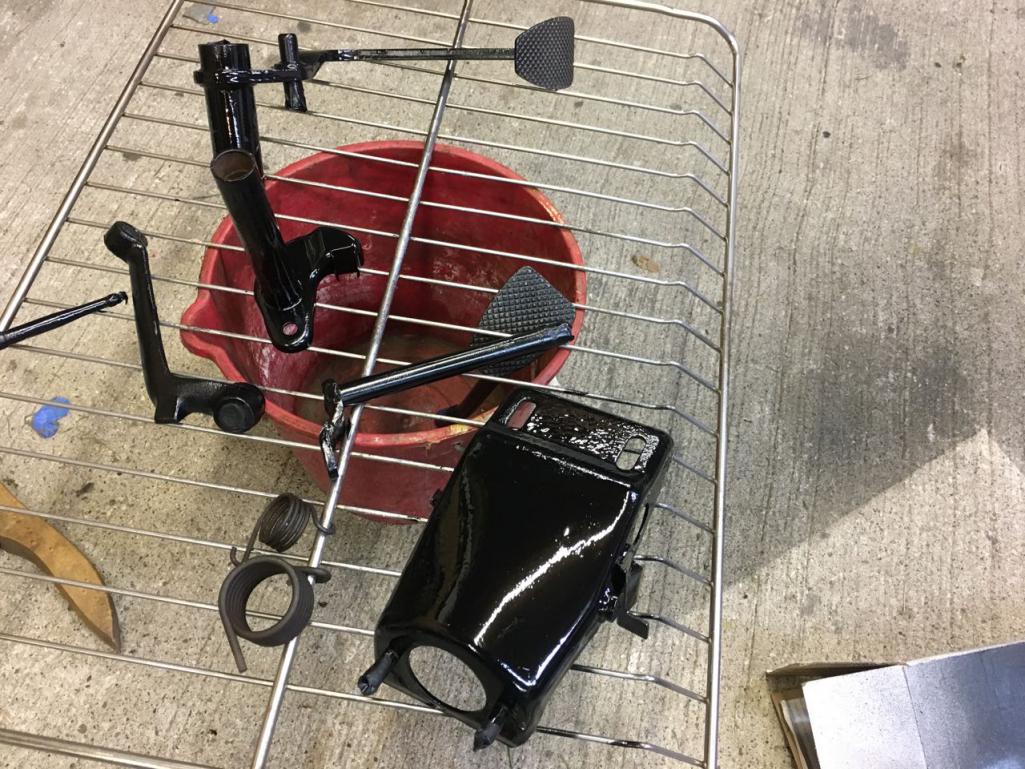 After letting dry, completely, back into the over. starting at 200, and moving up to 350 over 1.5 hours. 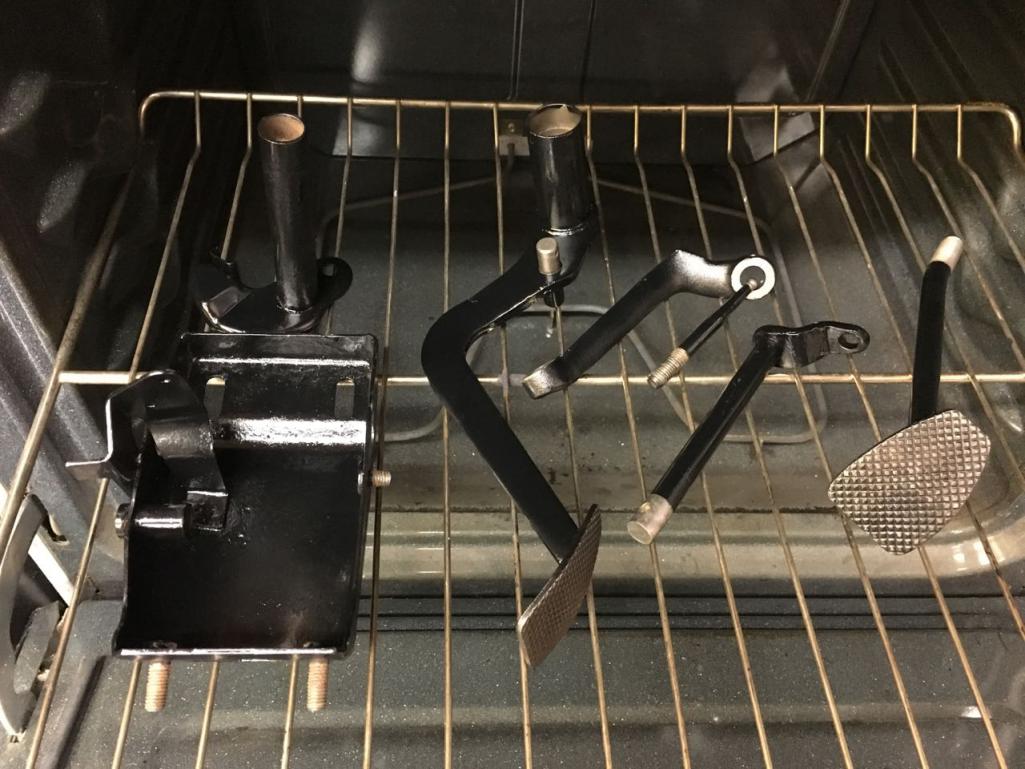 Ready to assemble. 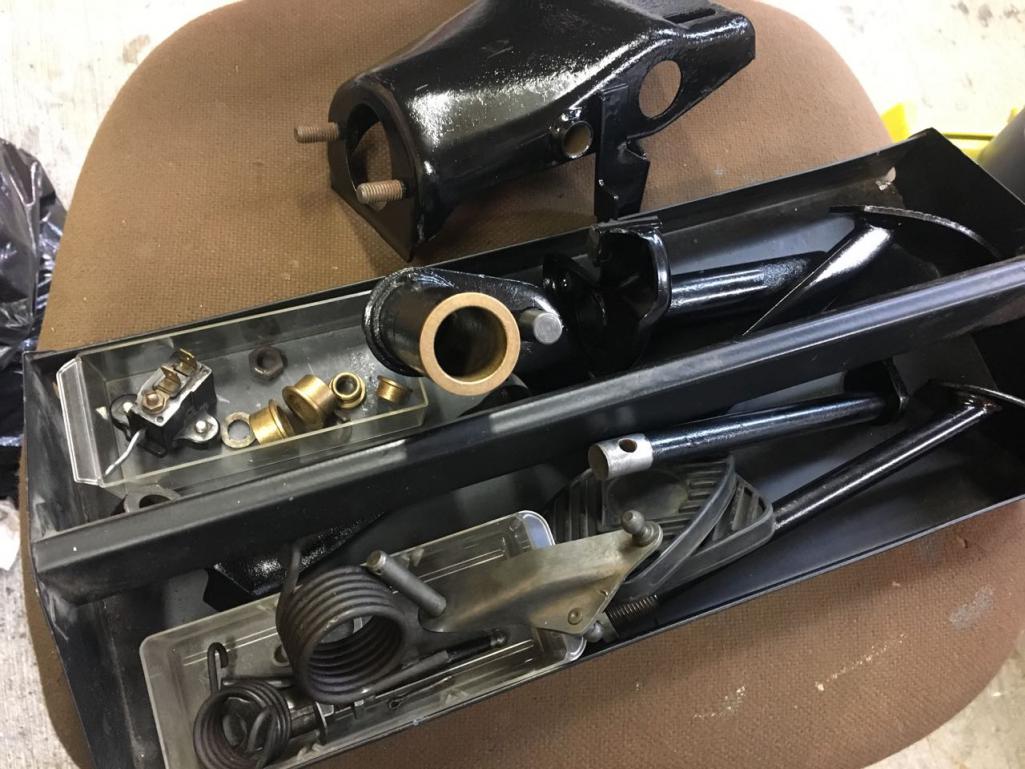 Instructions 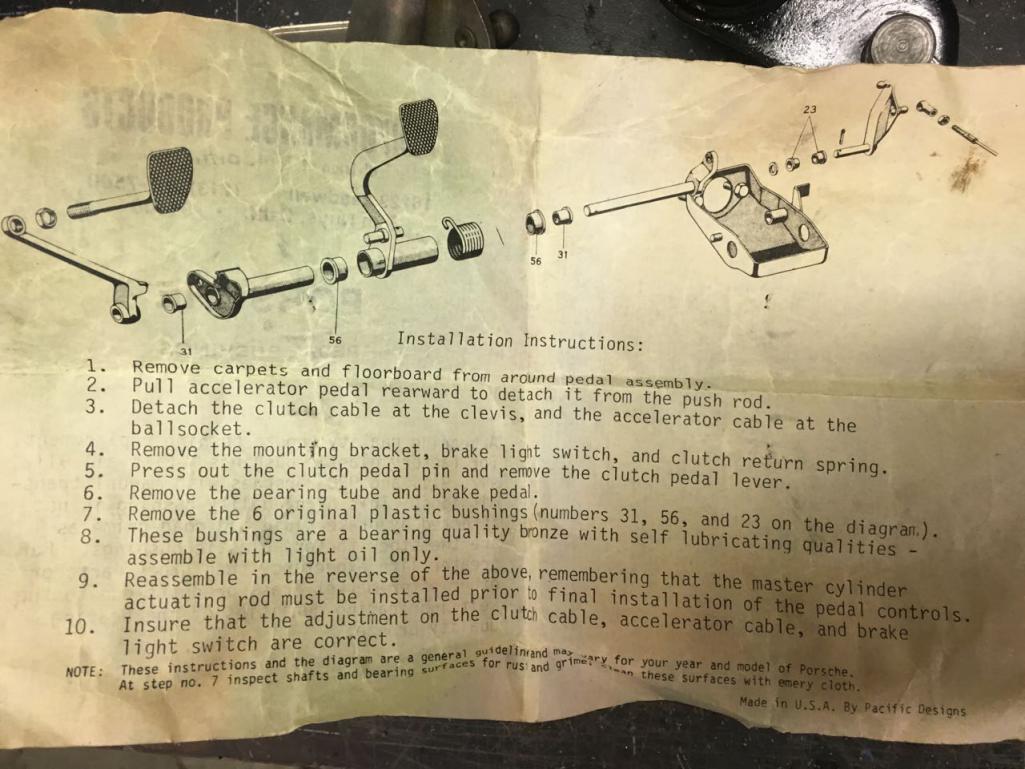 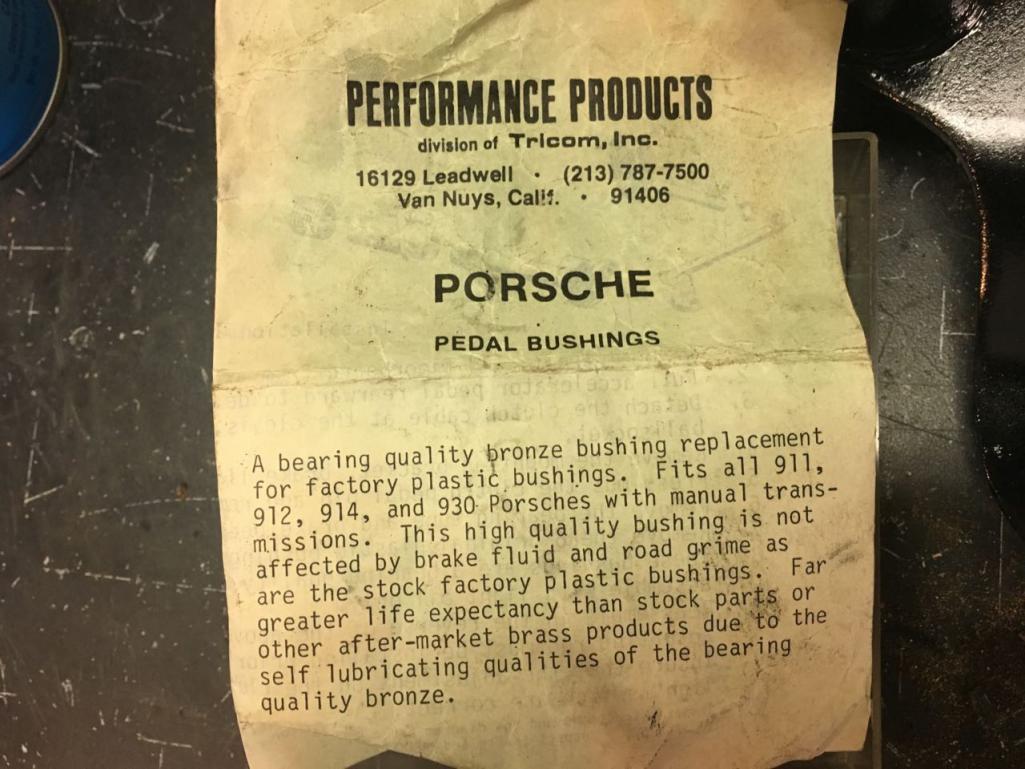 Factory image 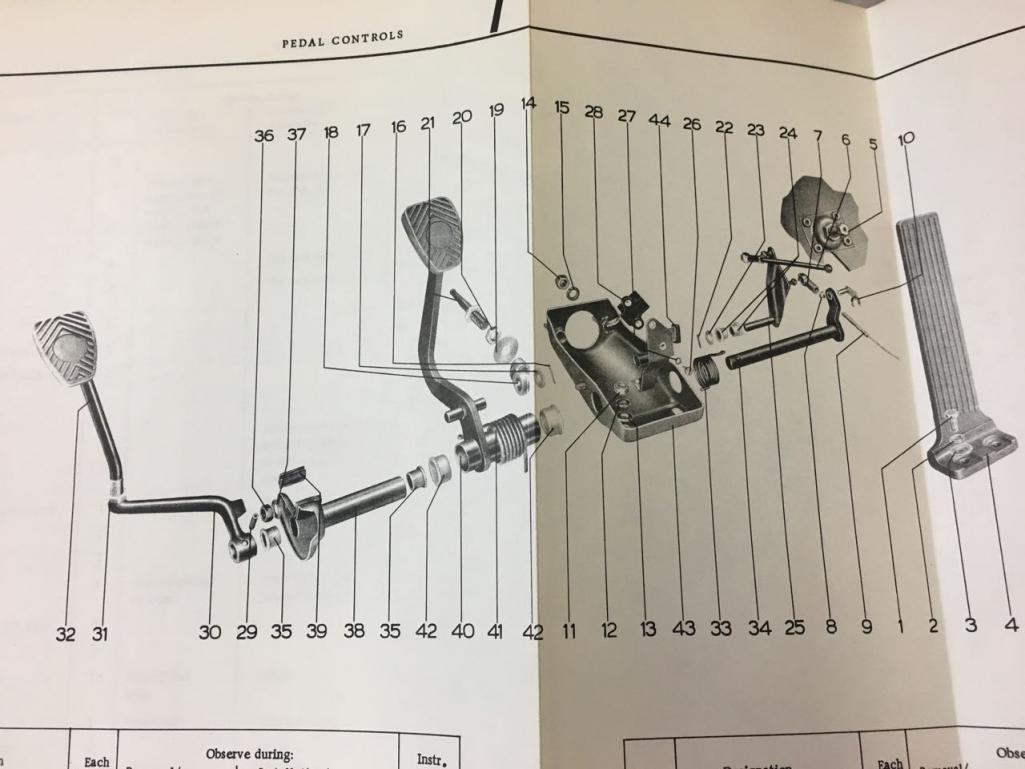 LUBRIPLATE Had this a while, has proven to work over time! 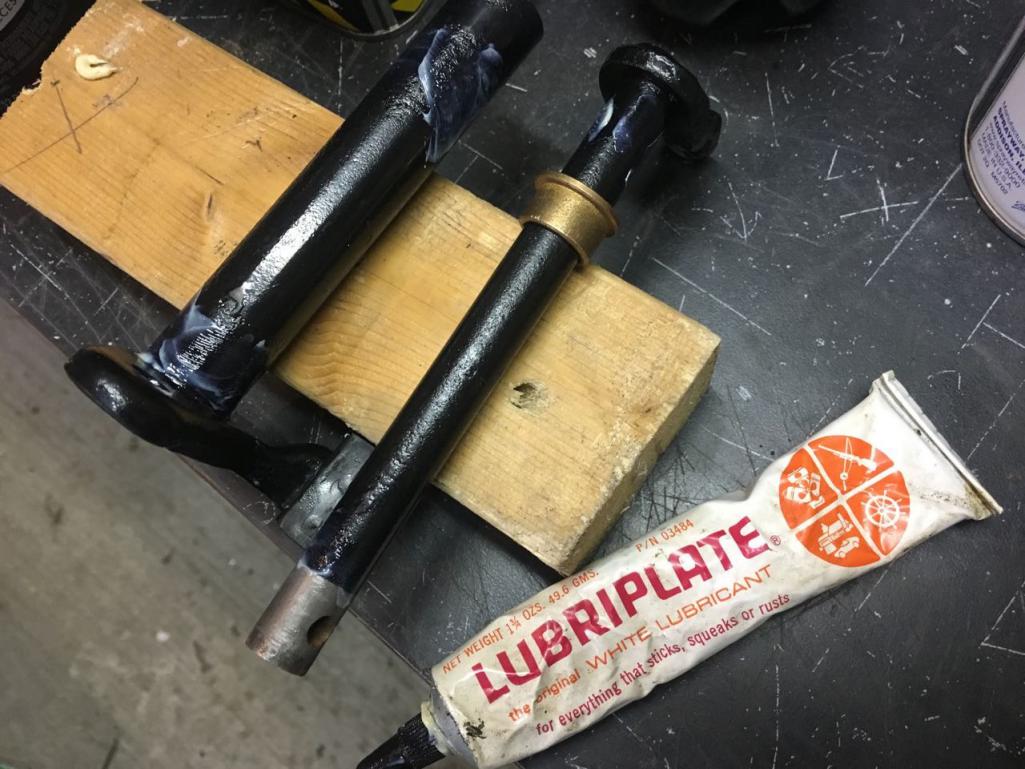 Installing the brass bushings . 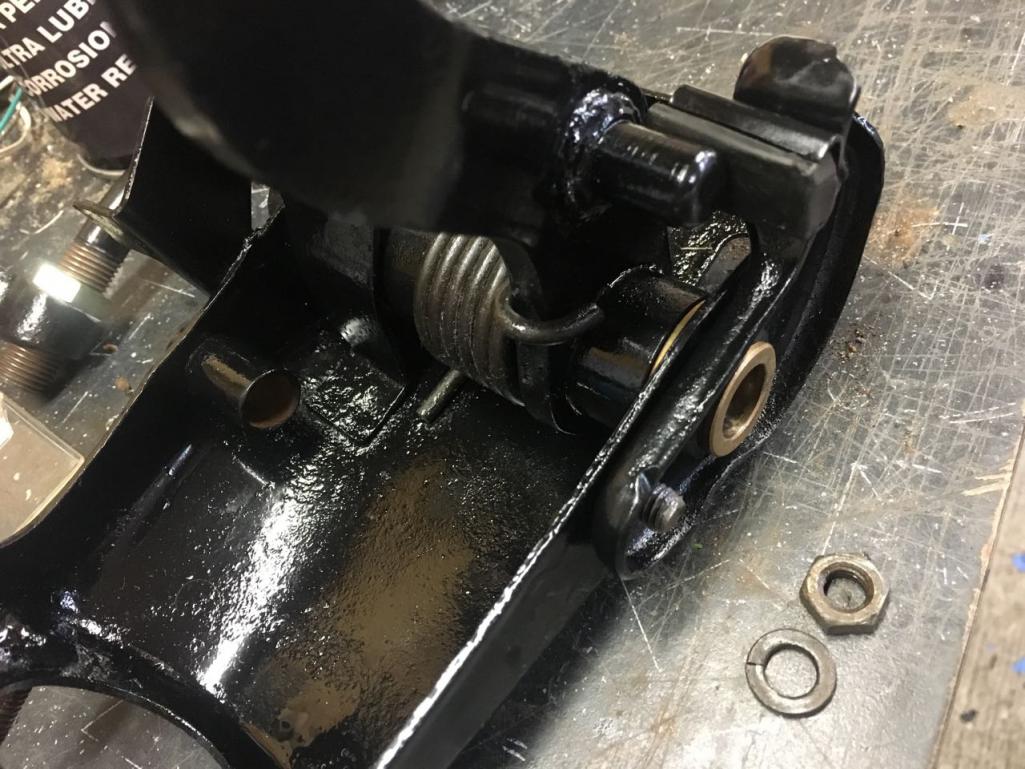 Finshed. 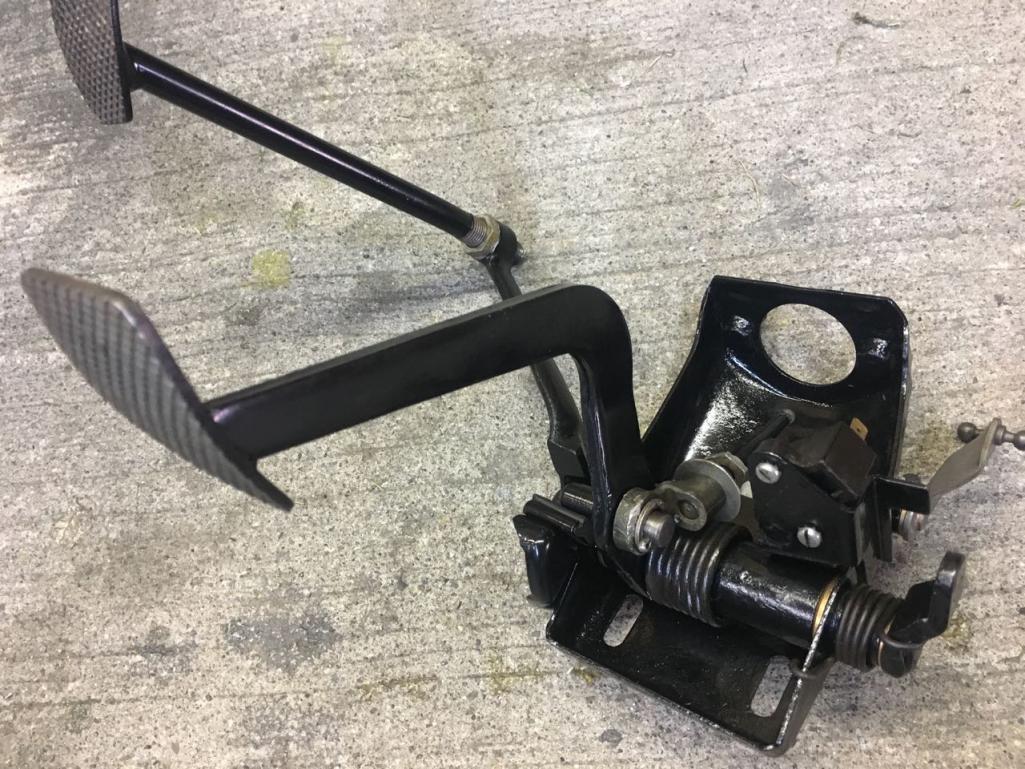 Before 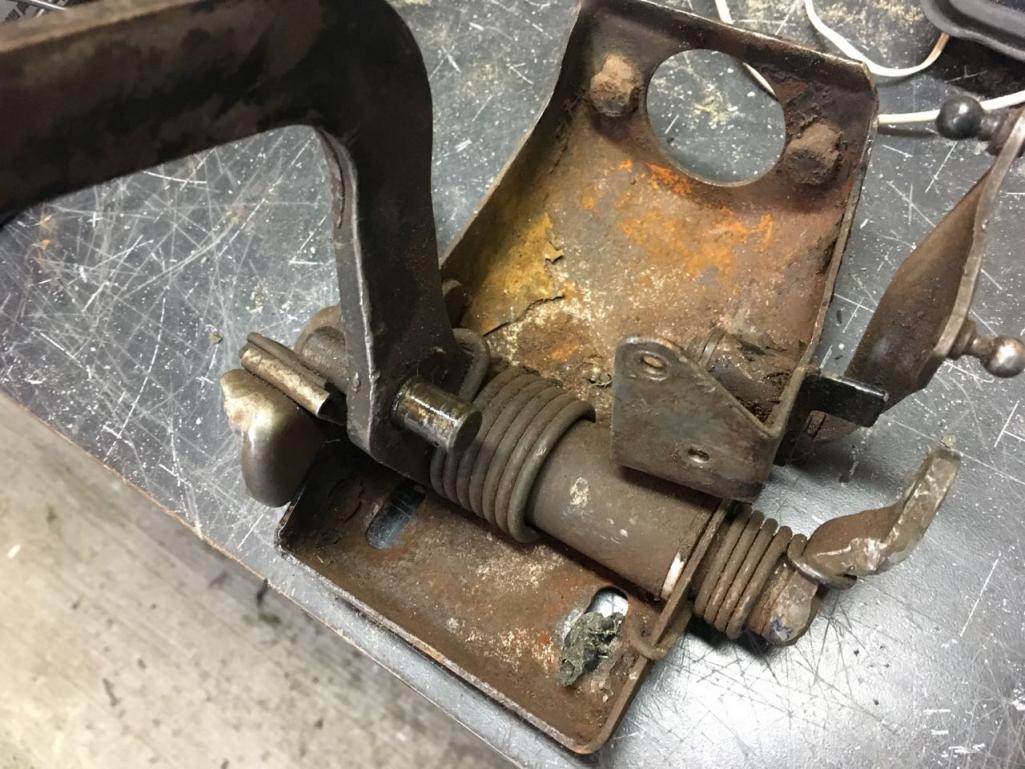 After 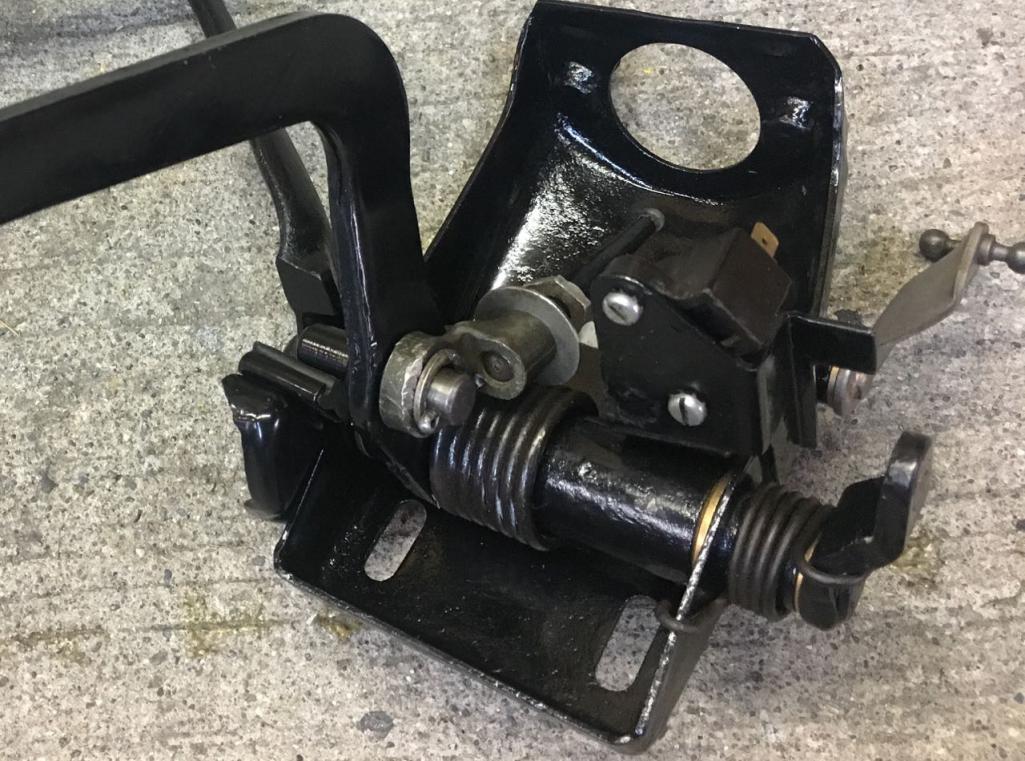 Thanks for the look. |
| whitetwinturbo |
 Dec 23 2016, 02:34 PM Dec 23 2016, 02:34 PM
Post
#129
|
|
Honey, does this wing make my ass look fat?    Group: Members Posts: 1,391 Joined: 22-October 11 From: Newport Beach/Kalefornya/USA Member No.: 13,704 Region Association: Southern California |
|
| Curbandgutter |
 Mar 17 2017, 05:34 PM Mar 17 2017, 05:34 PM
Post
#130
|
|
Senior Member    Group: Members Posts: 565 Joined: 8-March 13 From: Murrieta CA Member No.: 15,637 Region Association: Southern California 
|
(IMG:style_emoticons/default/idea.gif) Thinking brutal, but can make a mess. So working on rubber seals. From scrap 914 weather striping, and seals. Wow what a super job on the headlights!! I've been thinking of doing the same thing! Great job! |
| Garland |
 Apr 15 2017, 07:01 PM Apr 15 2017, 07:01 PM
Post
#131
|
|
Restoration Fanatic    Group: Members Posts: 1,411 Joined: 8-January 04 From: ......Michigan...... Member No.: 1,535 Region Association: Upper MidWest 
|
2017 Build progress :
Only fiddled with little stuf. Planed out the sound system on paper. Installed some of the matting with the heat gun. Local electronic store, and collected some bits from the World members. Fat-mat was a gift. 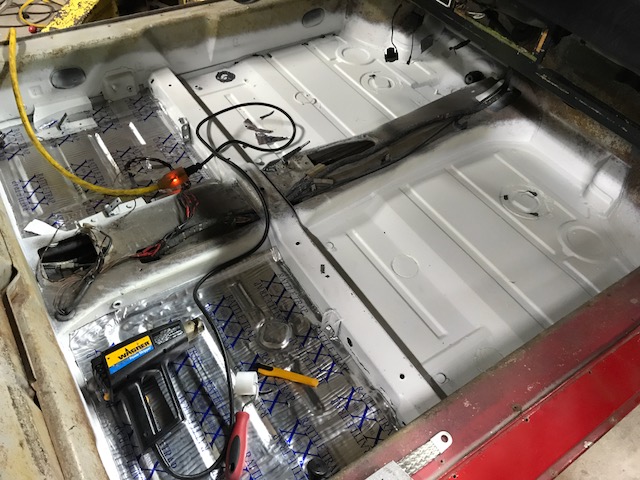 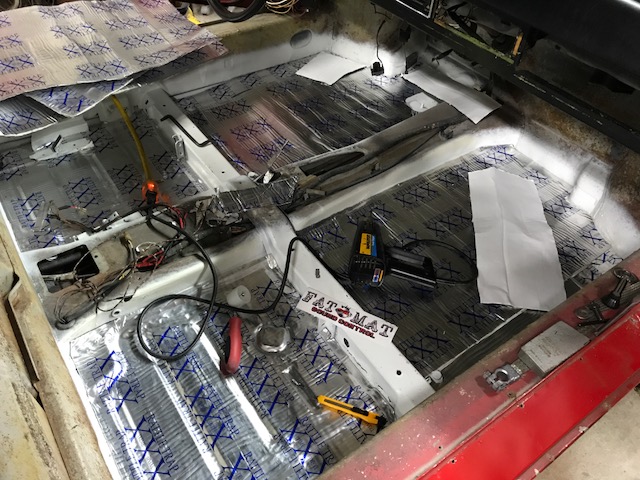 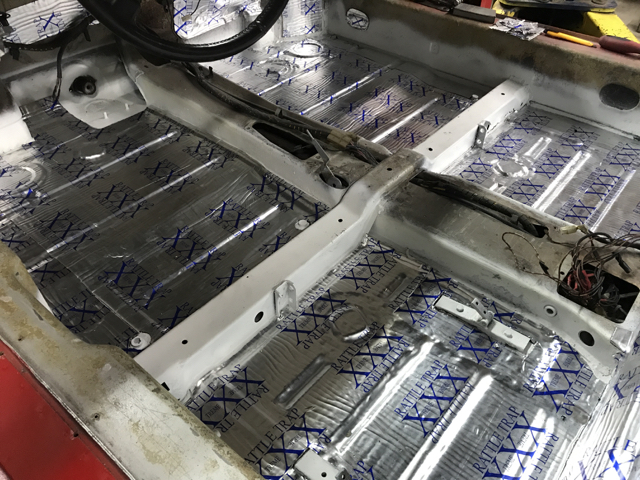 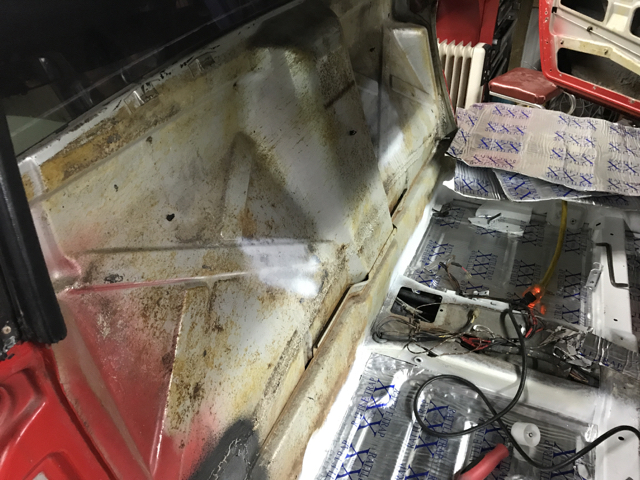 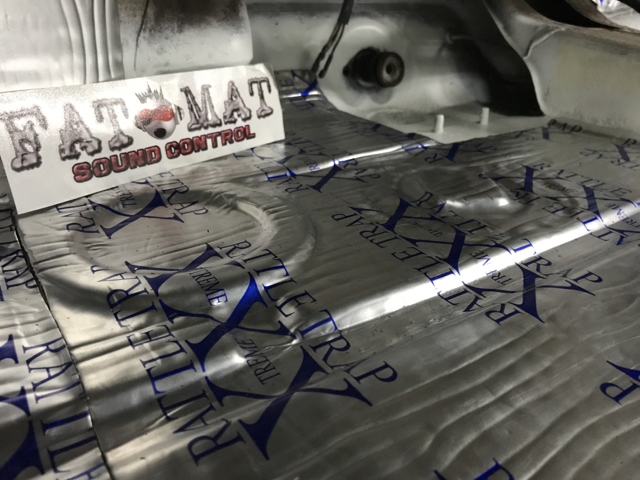 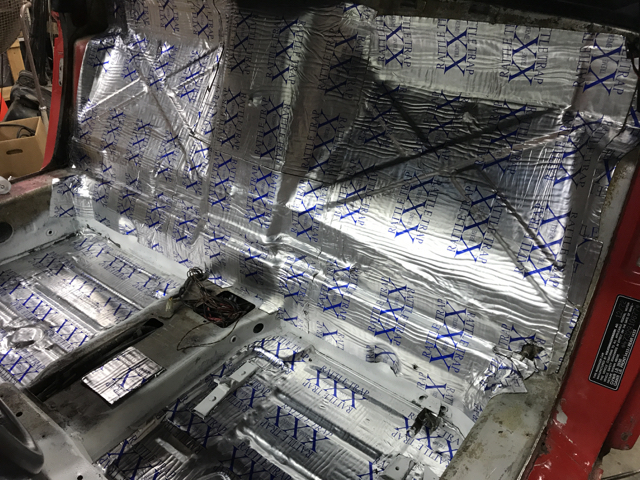 |
| Garland |
 May 1 2017, 10:07 AM May 1 2017, 10:07 AM
Post
#132
|
|
Restoration Fanatic    Group: Members Posts: 1,411 Joined: 8-January 04 From: ......Michigan...... Member No.: 1,535 Region Association: Upper MidWest 
|
2017 Build progress :
This month was finish up the interior. Finished the dash face with one long piece, and no radio opening, and only 2 switches will be mounted. I wanted a clean look. Its a 73 but deleted the side dash vents for the early car look. Installed EZ-Cool on top of the rattle trap, a light spray of 3M 77 worked well. Time to order the carpet from 914 Rubber, been waiting a life time for new carpet. I have always used original carpet from one car or another never bought carpet before. Installed the pedal cluster, and cut a floor mat for under the drivers seat from some of the old carpet. Used Wurth Cockpit Care on the trim pieces, and a good cleaning. Here are some more pictures, and I am working toward being ready for Okteenerfest. Body work and paint need to get started soon. Wanted to point out the vendor I got the EZ-Cool at best price, and a small vendor. Harbour Supply (not Amazon $$$) 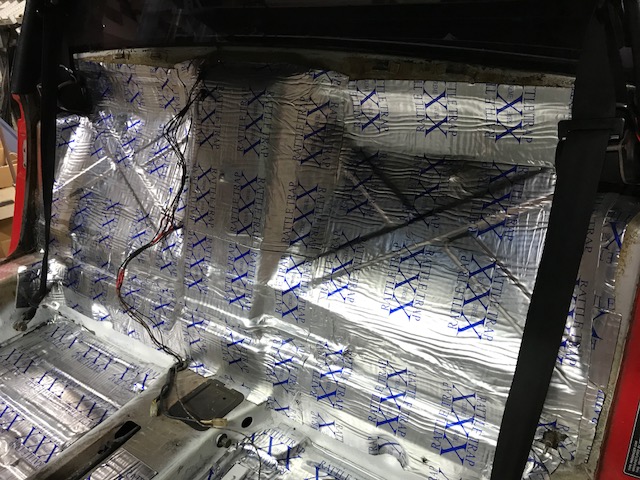 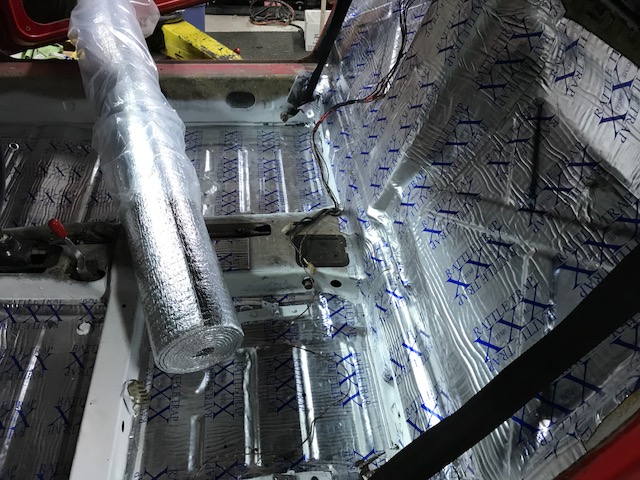 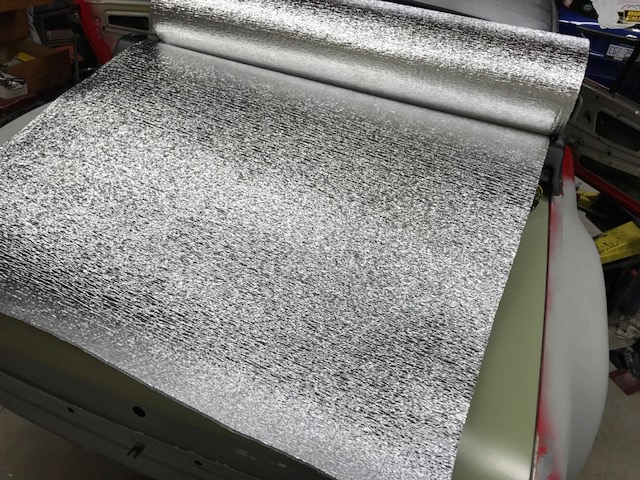 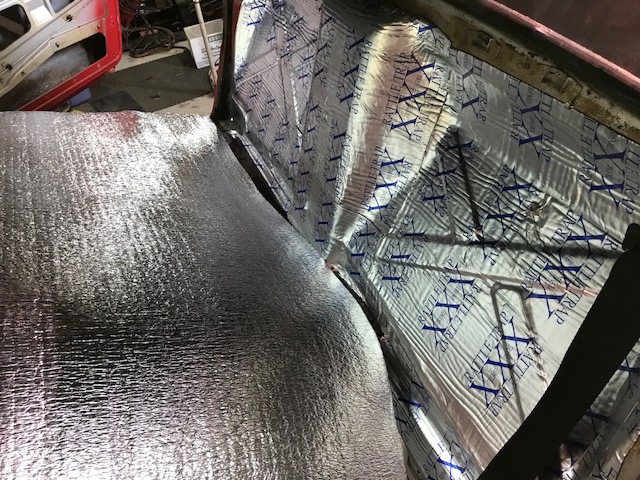 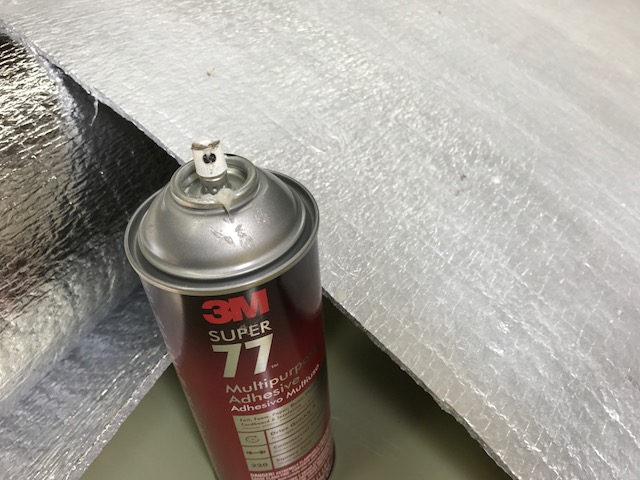 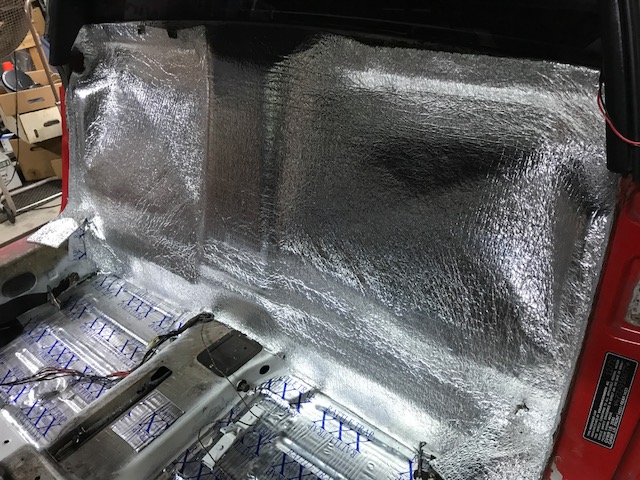 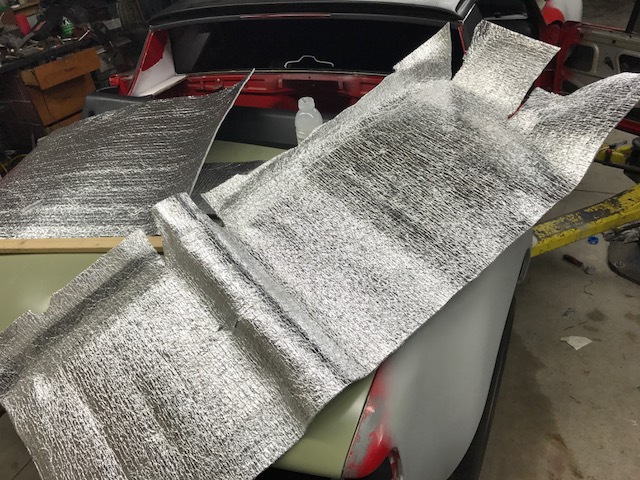 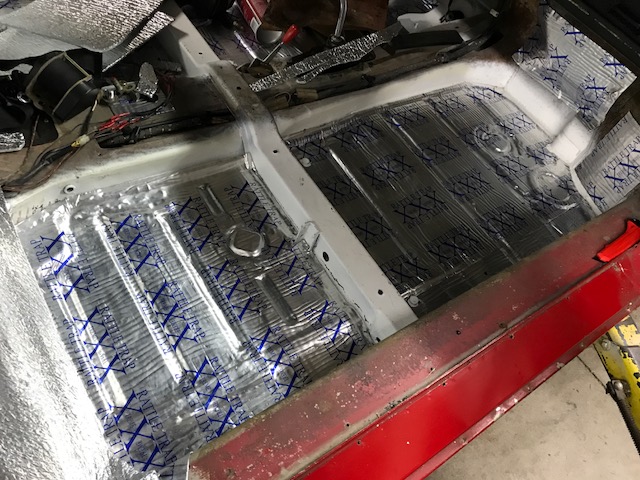 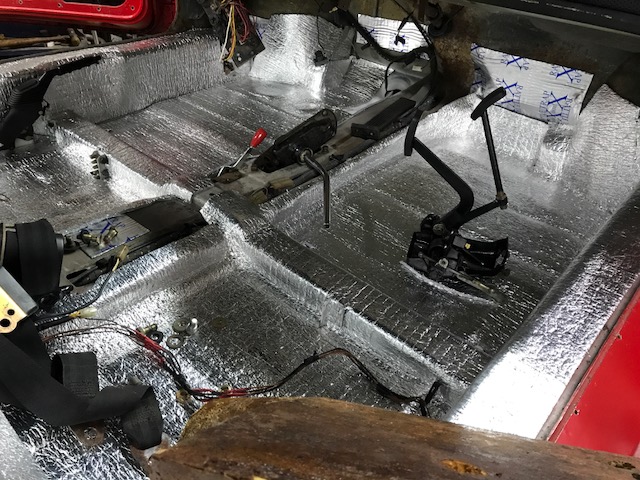 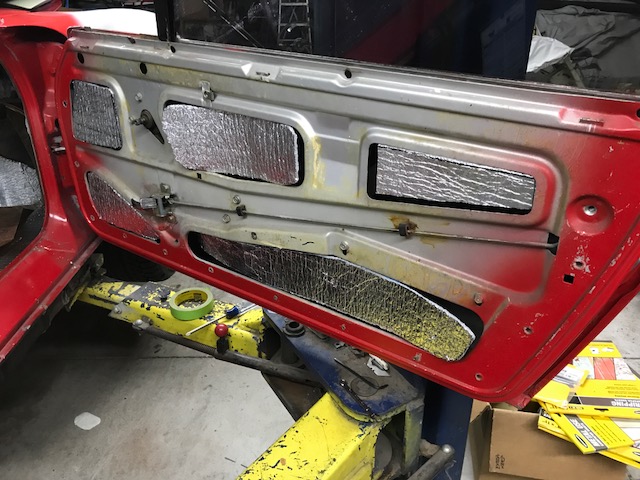 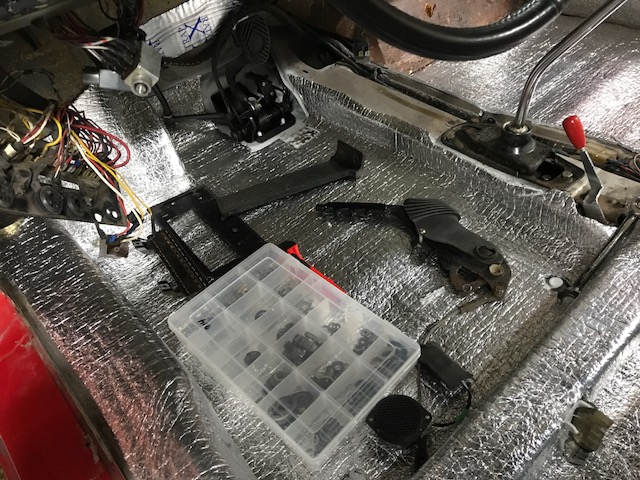 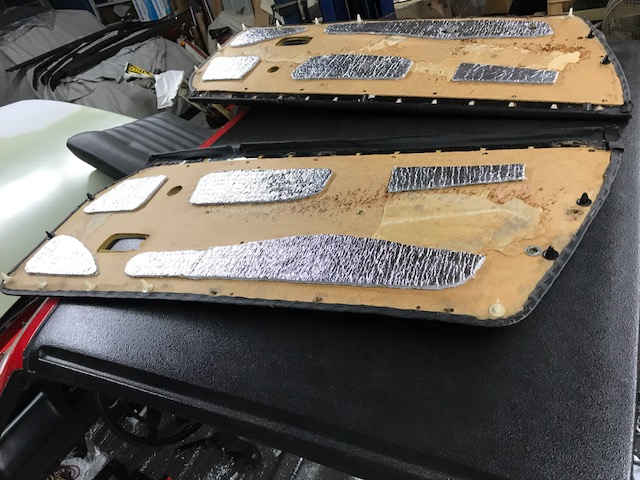 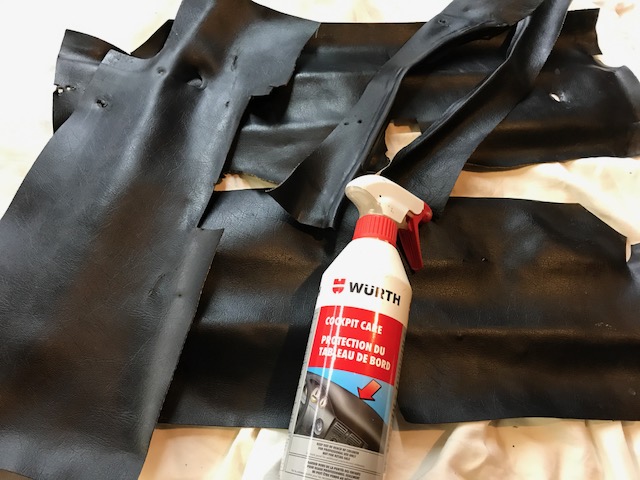 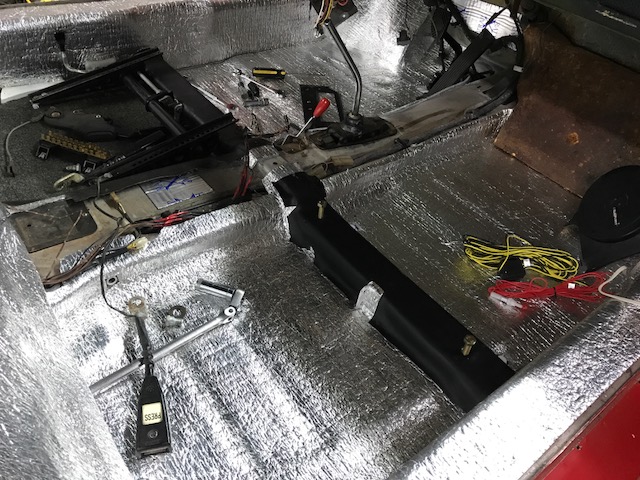 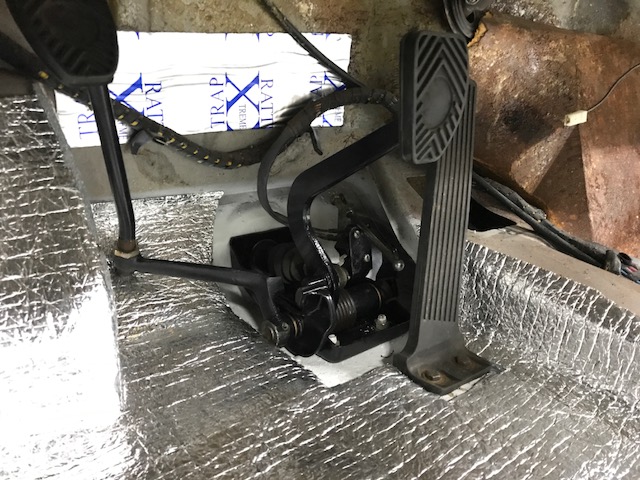 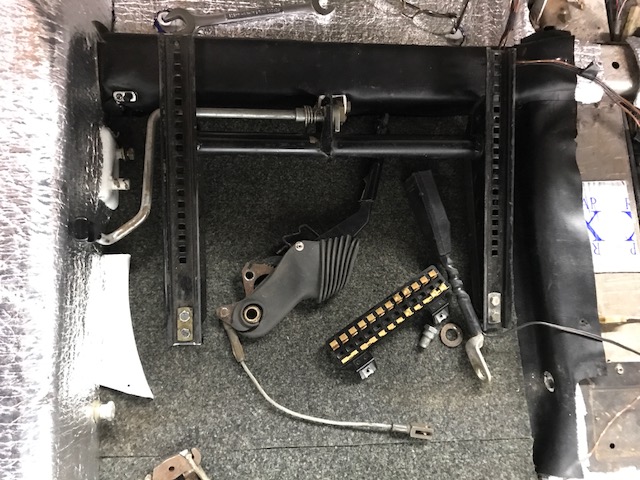 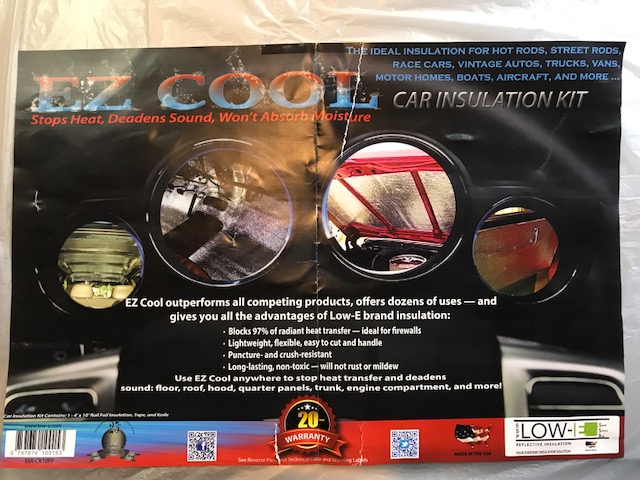 |
| Dion |
 May 1 2017, 10:23 AM May 1 2017, 10:23 AM
Post
#133
|
|
RN     Group: Members Posts: 2,837 Joined: 16-September 04 From: Audubon,PA Member No.: 2,766 Region Association: MidAtlantic Region 

|
(IMG:style_emoticons/default/beerchug.gif) (IMG:style_emoticons/default/piratenanner.gif) looks fantastic.
Nice work & progress! Cheers, Dion |
| Vysoc |
 May 4 2017, 07:08 AM May 4 2017, 07:08 AM
Post
#134
|
|
Vysoc    Group: Members Posts: 588 Joined: 27-August 09 From: Young Harris, Georgia Member No.: 10,737 Region Association: South East States |
Garland,
Are you coming to Okteenerfest in Helen, Georgia? Thanks, Vysoc (IMG:style_emoticons/default/flag.gif) |
| Garland |
 Jun 4 2017, 11:27 AM Jun 4 2017, 11:27 AM
Post
#135
|
|
Restoration Fanatic    Group: Members Posts: 1,411 Joined: 8-January 04 From: ......Michigan...... Member No.: 1,535 Region Association: Upper MidWest 
|
2017 Build progress :
Build-Off Part Deux Carpet fits great, and 914 Rubber is the place to get it. A bit of work with the heat gun and the carpet will hold it form. Marked the location for the hand brake using the old carpet as a pattern. I also installed retractbule seat belts, and removed the early set. Its a 73 so they fit there. The fuse panel was in bad but usable shape. Needed to clean the ends up a bit, and replaced the panel it self. Reinstalled the center arm rest I made years ago, and added a drink holder for 2 to the location that fits the tray when I need it. 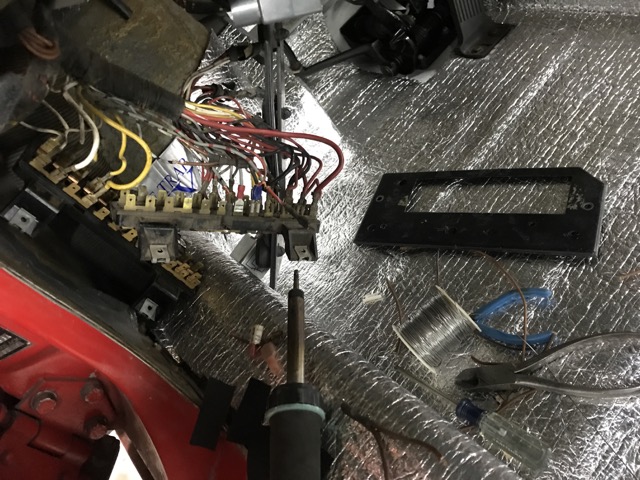 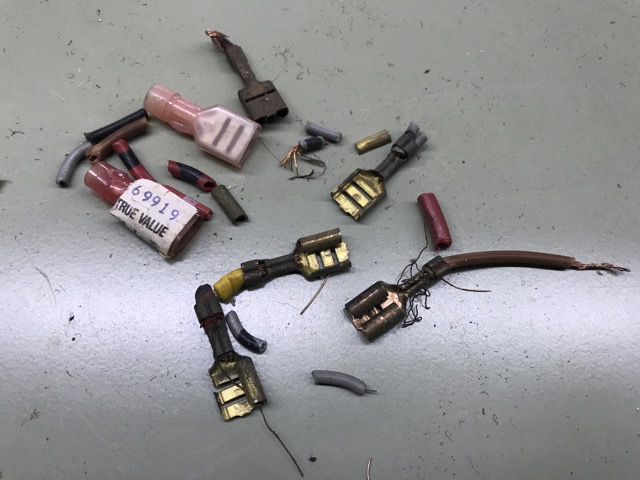 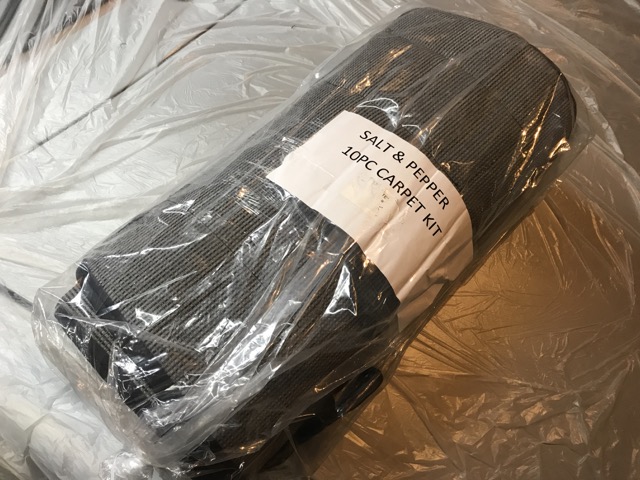 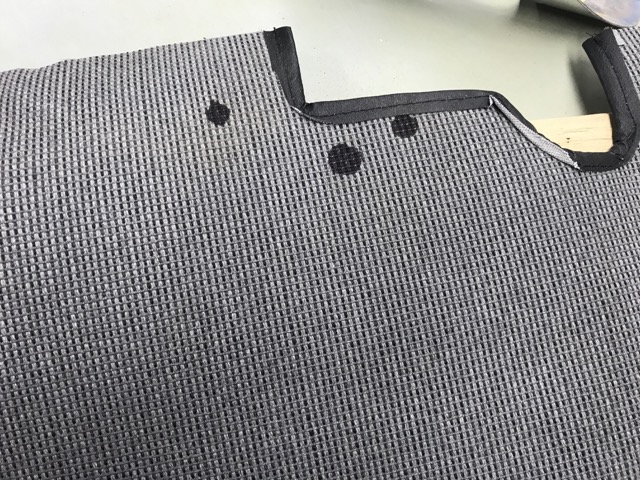 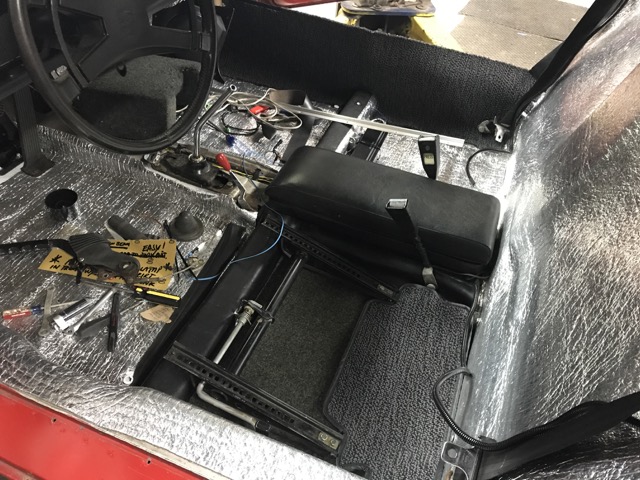 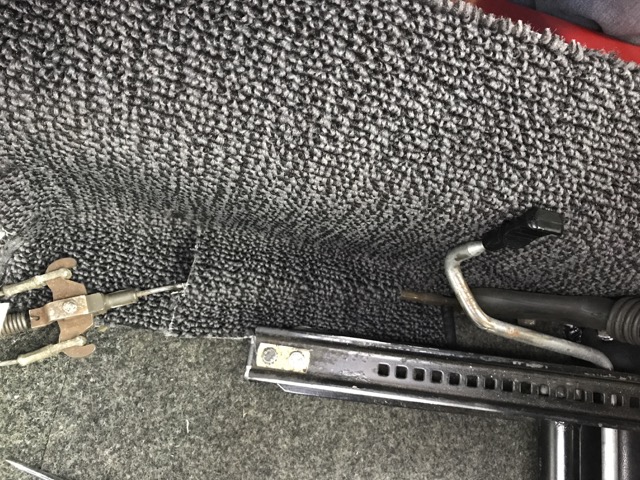 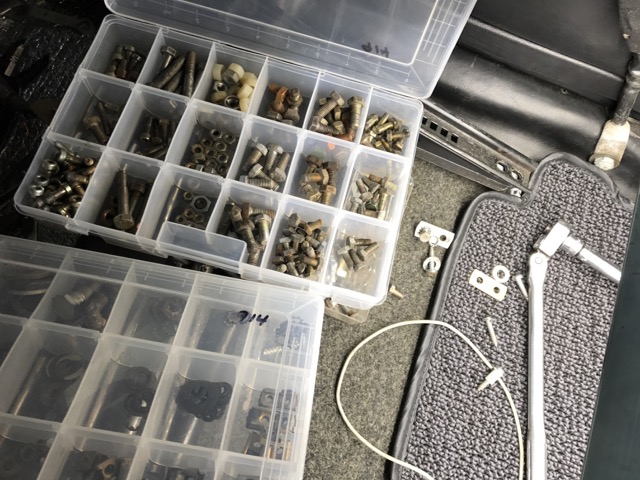 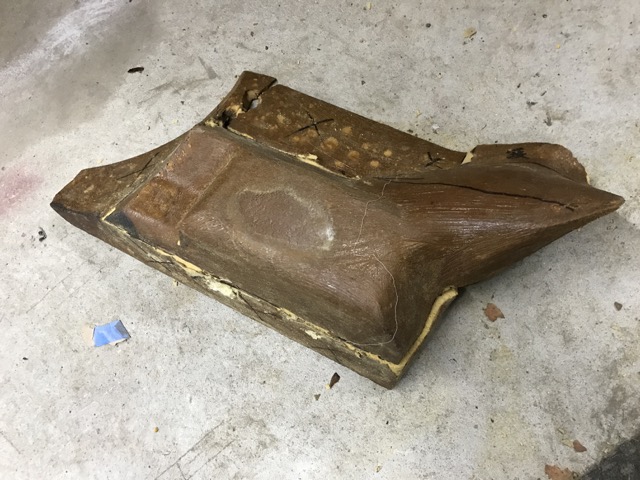 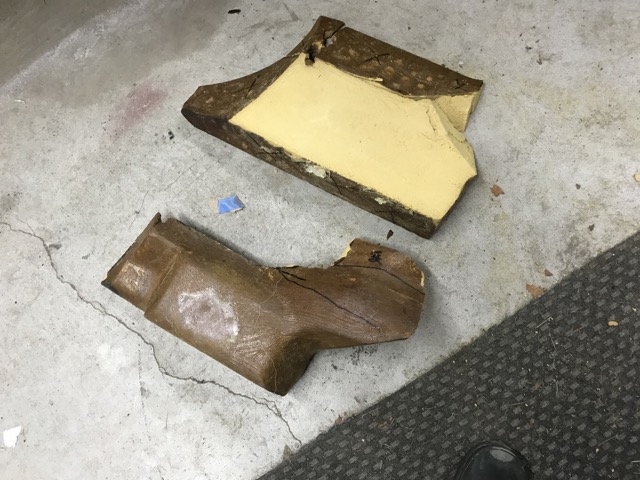 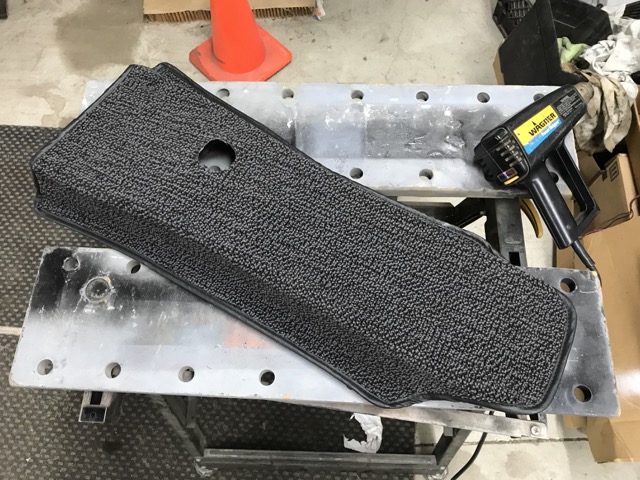 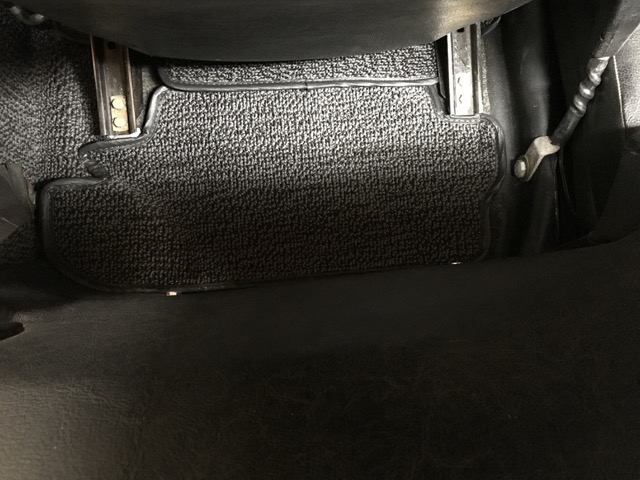 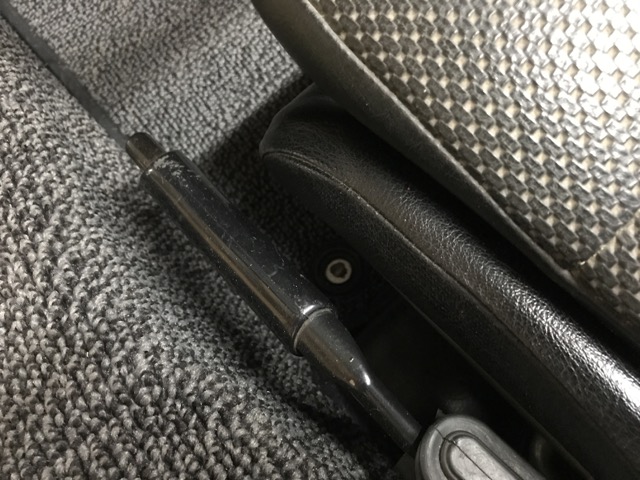 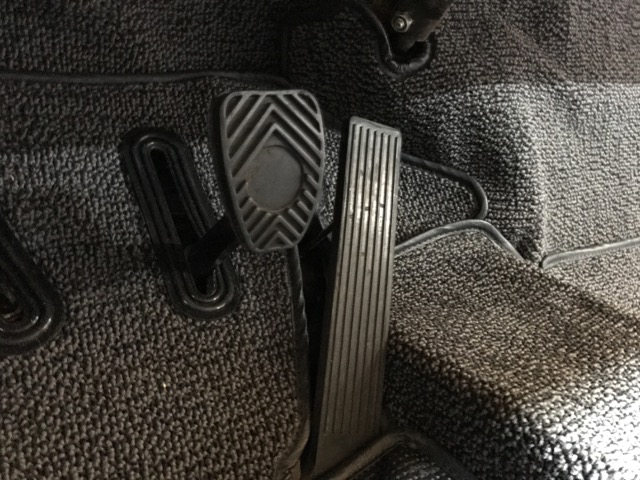 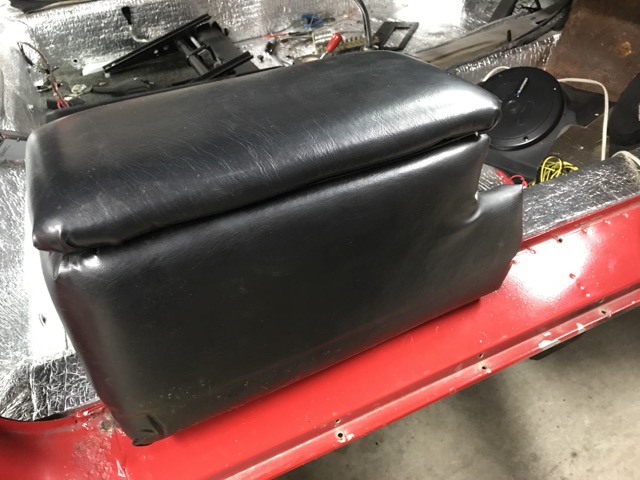 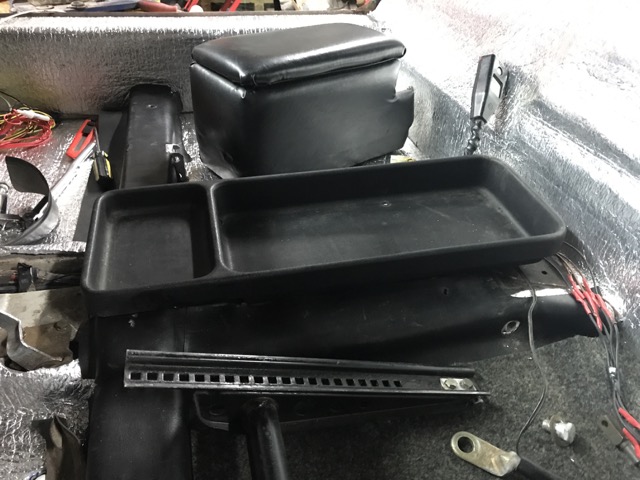 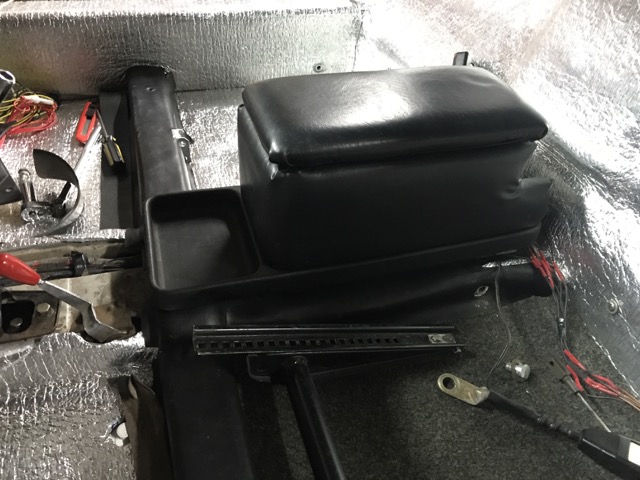 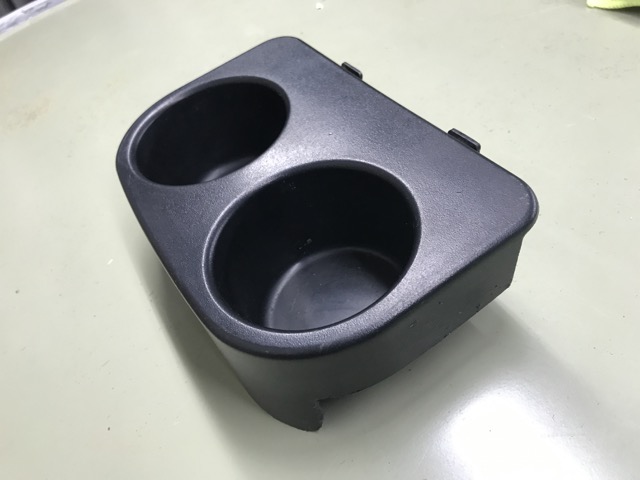 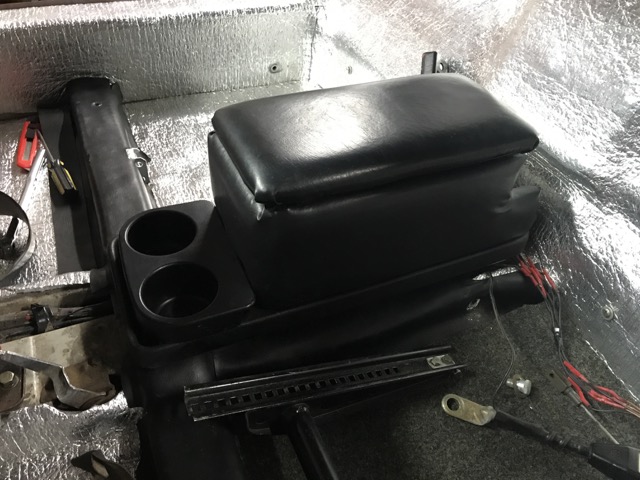 |
| Garland |
 Jun 4 2017, 11:36 AM Jun 4 2017, 11:36 AM
Post
#136
|
|
Restoration Fanatic    Group: Members Posts: 1,411 Joined: 8-January 04 From: ......Michigan...... Member No.: 1,535 Region Association: Upper MidWest 
|
2017 Build-Off Challenge
Build-Off Part Deux The coat hooks, I never use them. So installed remote speakers wired with a crossover for hi end, low volume sound. Made the bracket and the speakers are from a Ford Taurus. The front speakers are in housings I got here, and sealed the back of the unit for a fuller deep sound. After the install they sound great. More on the power (amp) next month. mounting and location next month. 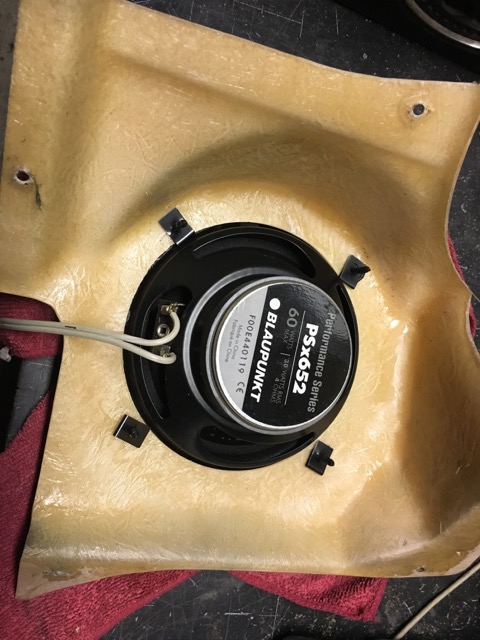 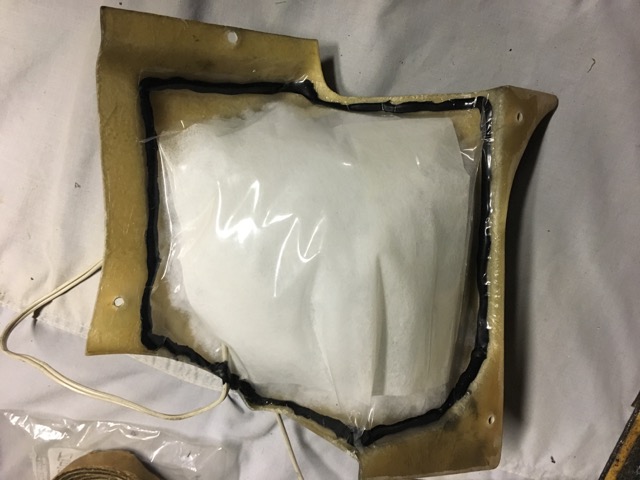 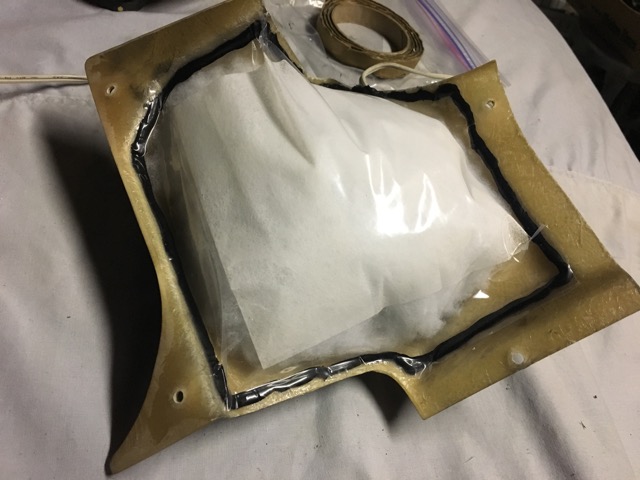 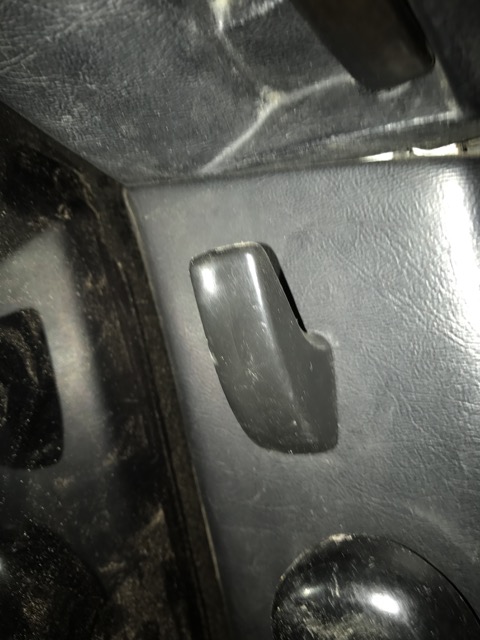 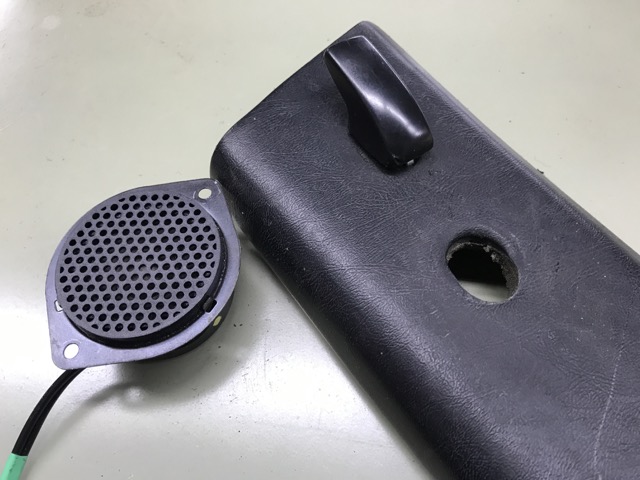 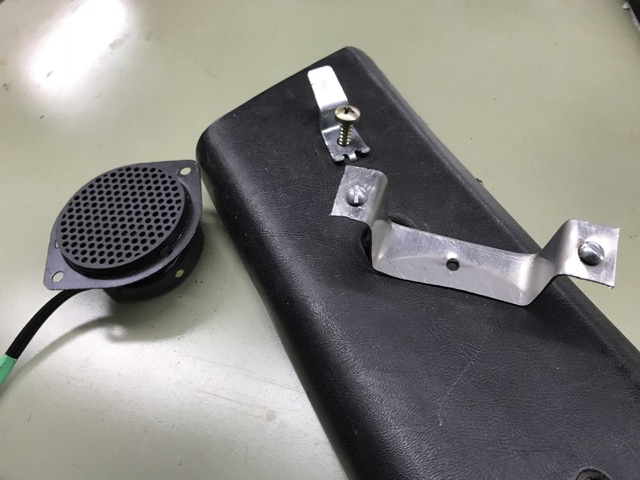 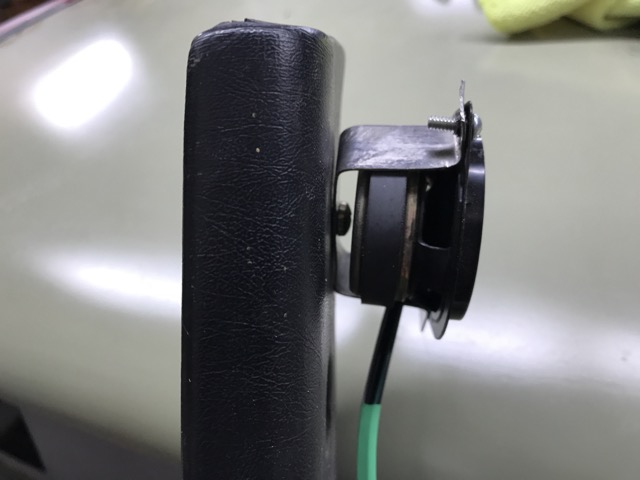 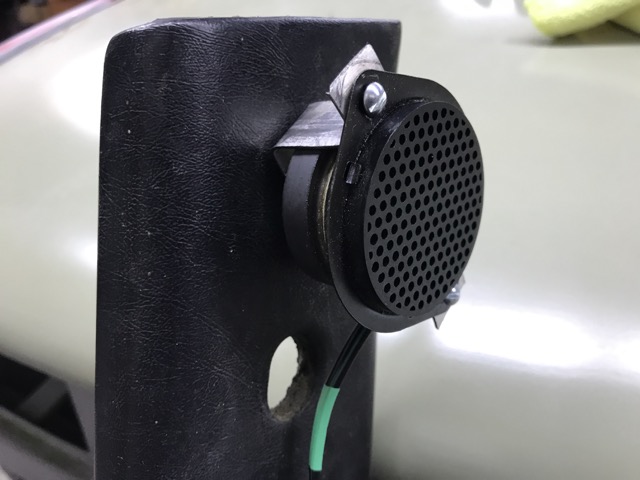 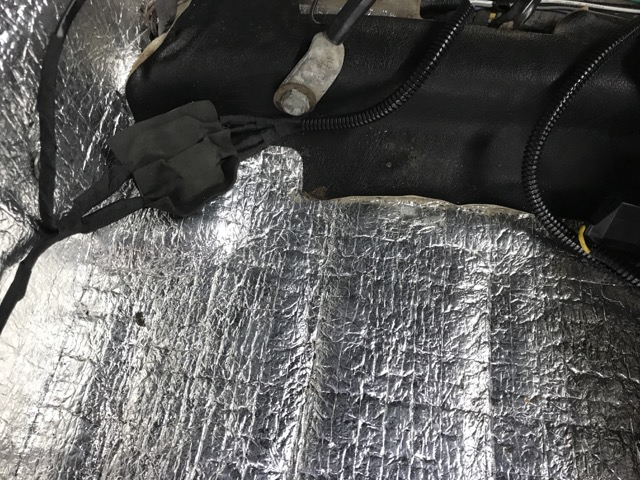 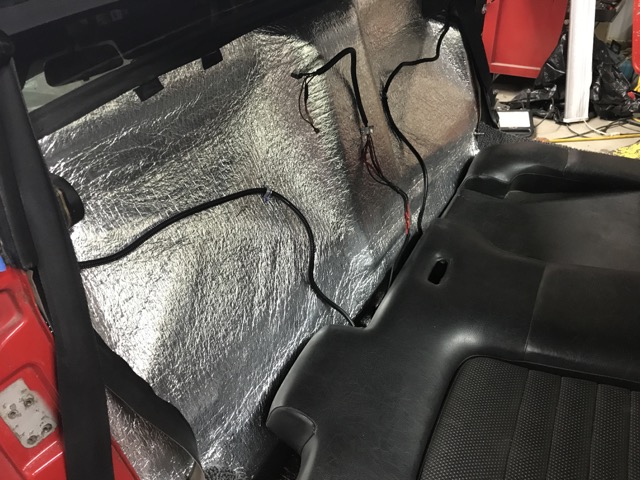 Heres a look at the windscreen trim clean up! More to come. 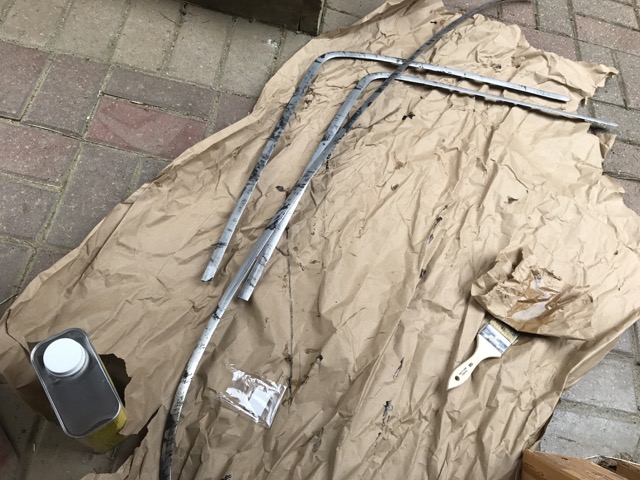 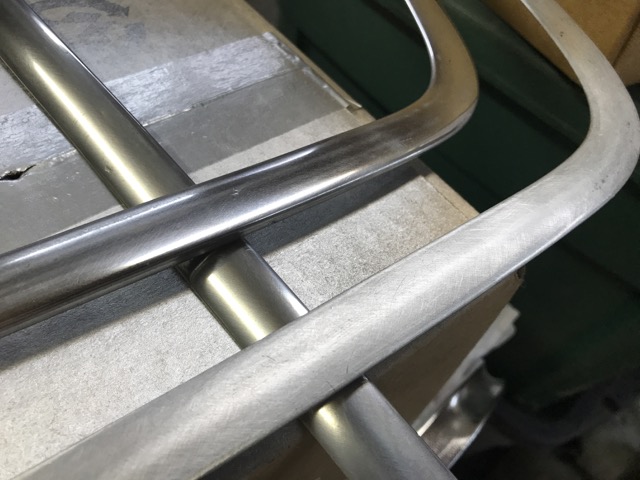 |
| mgp4591 |
 Jun 5 2017, 08:32 AM Jun 5 2017, 08:32 AM
Post
#137
|
|
914 Guru      Group: Members Posts: 5,597 Joined: 1-August 12 From: Salt Lake City Ut Member No.: 14,748 Region Association: Intermountain Region 
|
That's a TON of great work! Did you install the Easy Cool on top of the Fat Mat? That's what I call insulation!
|
| Garland |
 Jun 5 2017, 09:58 AM Jun 5 2017, 09:58 AM
Post
#138
|
|
Restoration Fanatic    Group: Members Posts: 1,411 Joined: 8-January 04 From: ......Michigan...... Member No.: 1,535 Region Association: Upper MidWest 
|
|
| jkb944t |
 Jun 5 2017, 10:31 AM Jun 5 2017, 10:31 AM
Post
#139
|
|
Member   Group: Members Posts: 464 Joined: 17-January 05 From: Canton, OH Member No.: 3,459 Region Association: None |
|
| Garland |
 Jun 12 2017, 10:47 AM Jun 12 2017, 10:47 AM
Post
#140
|
|
Restoration Fanatic    Group: Members Posts: 1,411 Joined: 8-January 04 From: ......Michigan...... Member No.: 1,535 Region Association: Upper MidWest 
|
2017 Build-Off Challenge
Build-Off Part Deux Installed new dash face, and removed the side vents, seat belt warning lamp, radio, and cig lighter. 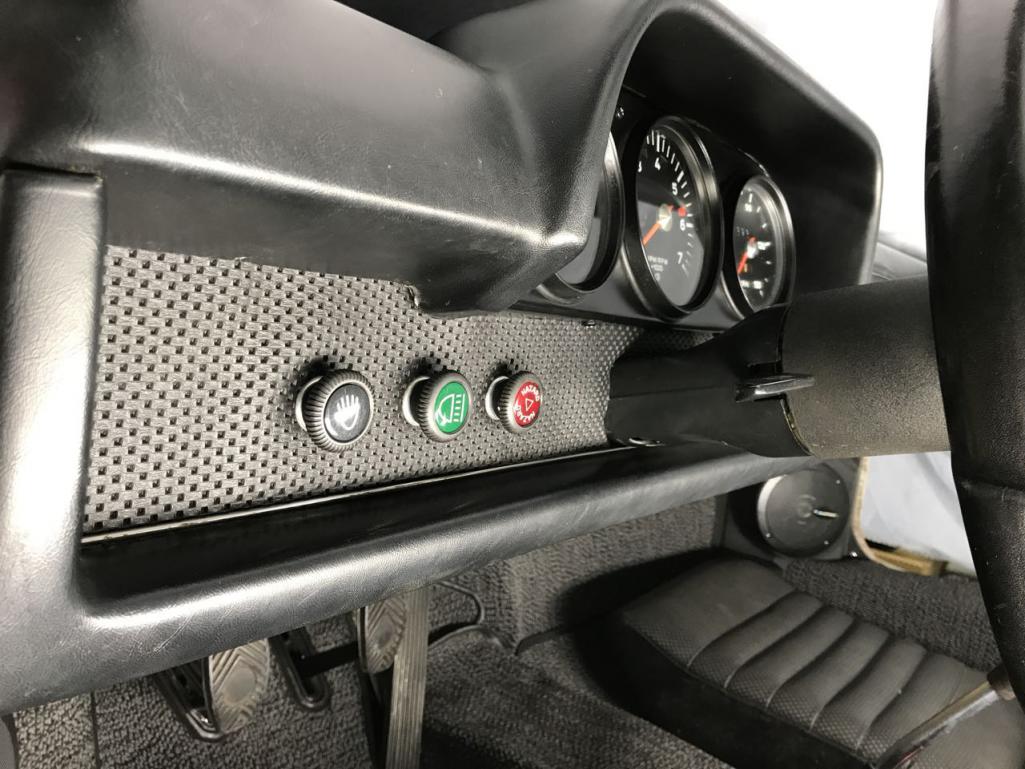 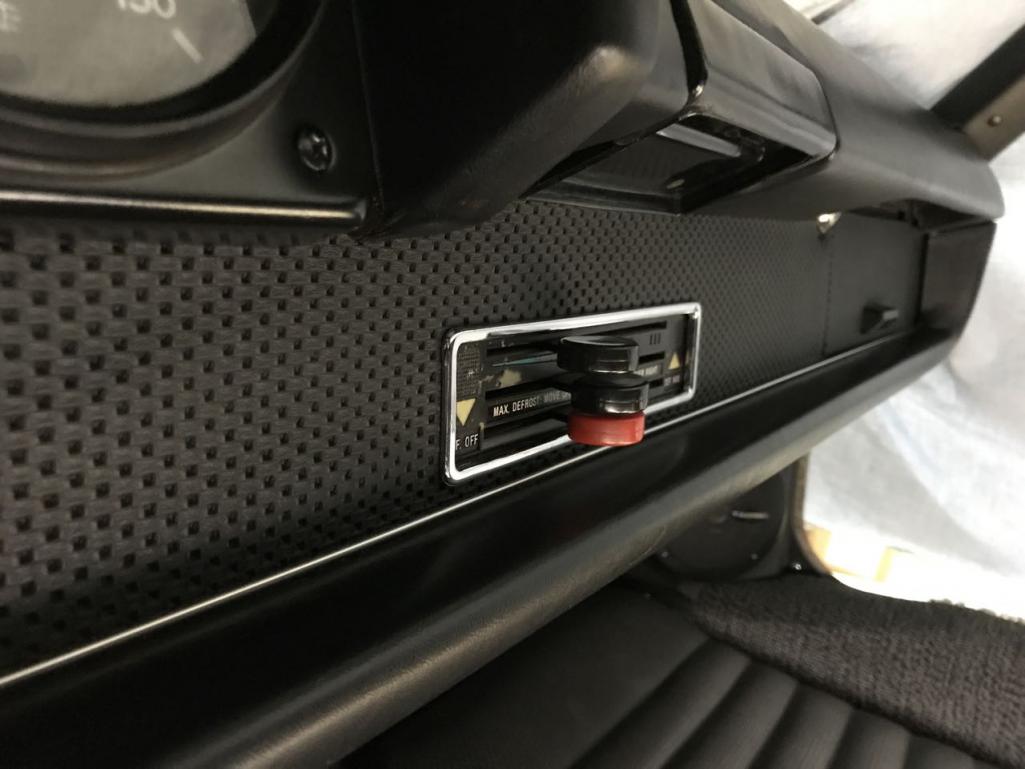 I like the clean look of the early dash. Also replace the stock wheel with one I used in the 80's for club racing. Now I have a race car?! Well in my mind I did slip back to those days when installing the wheel. 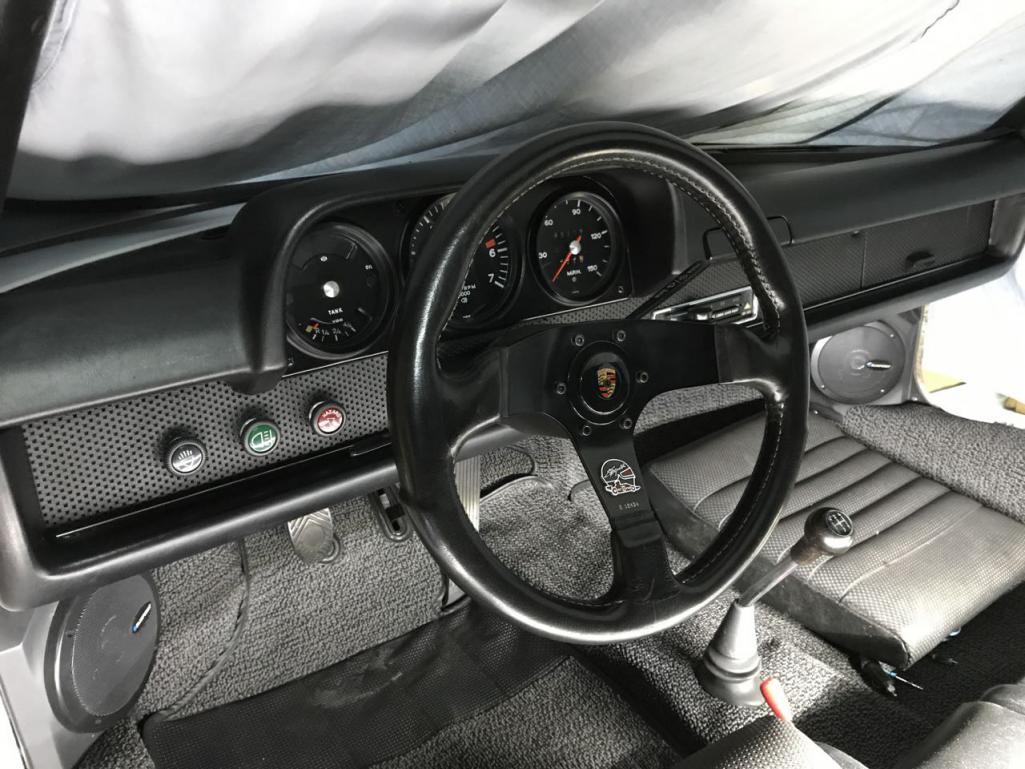 Well the sound is lacking a bit of bass, working on a sub idea, again! I did install the amp, and a plug-in for the iPod. Along with a charging port all at the same location. The switch is from a rear window defogger. I cut a acess hole in the right side of the tunnel at the seat. Powered the amp, and power point from the 73 center guage warning harness. I removed some of the EZ-Cool so that the switch/plugs location was sourounded with a plush look. 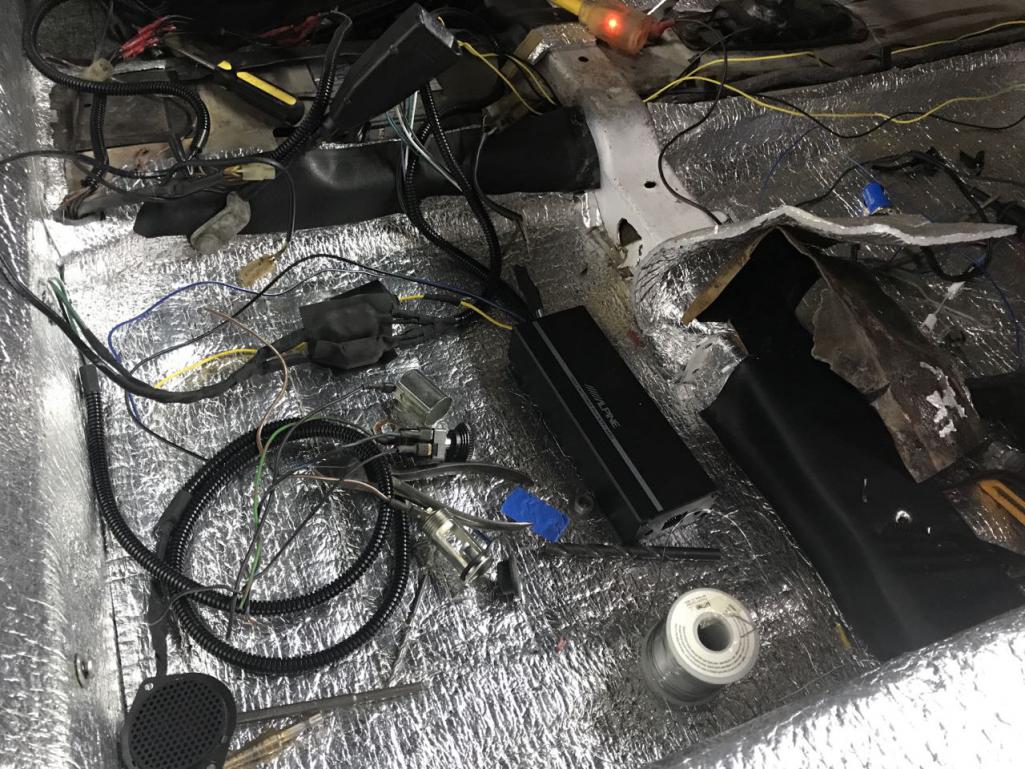 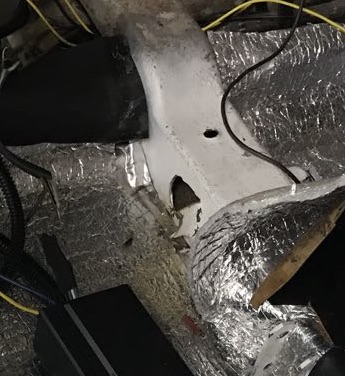 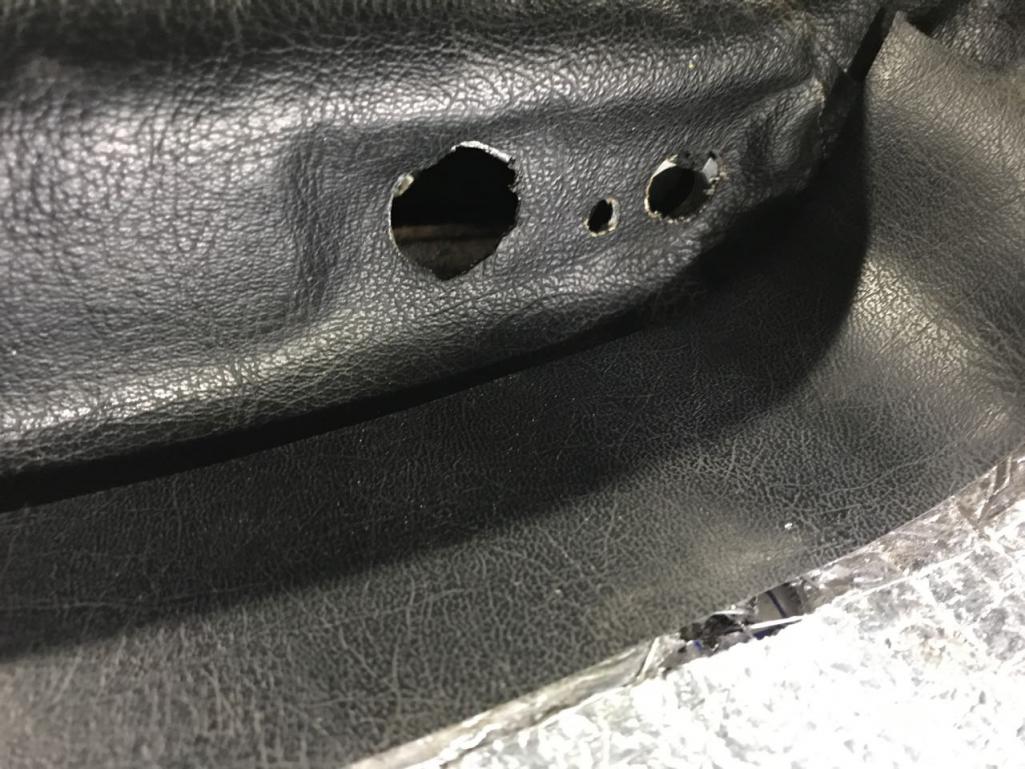 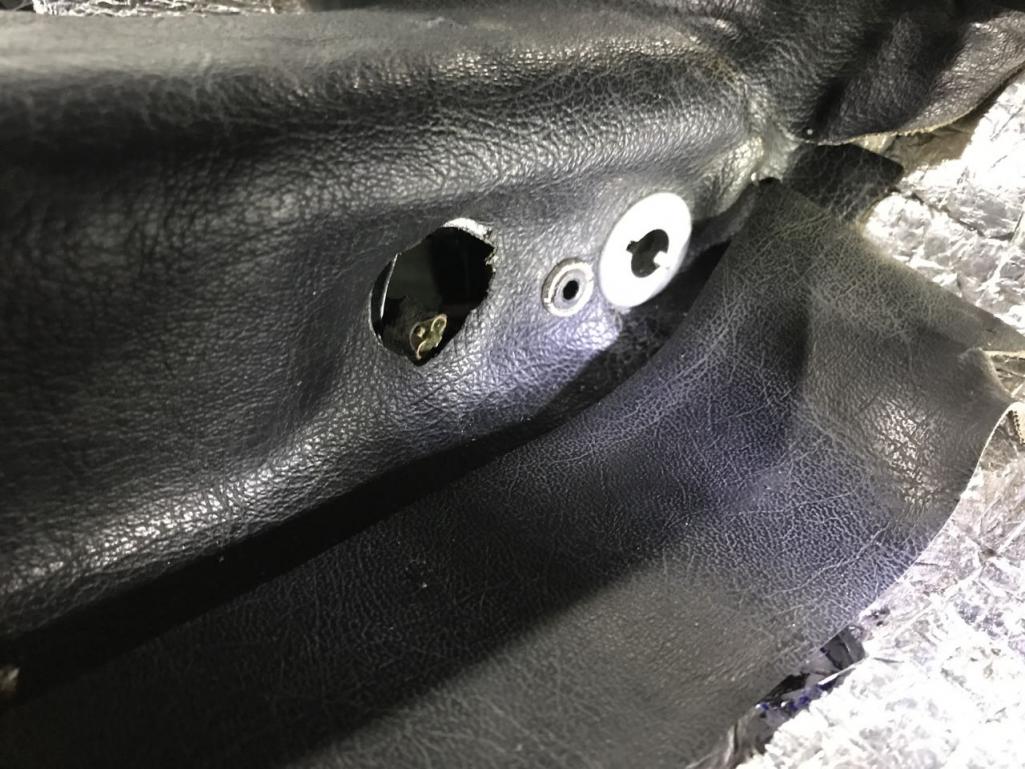 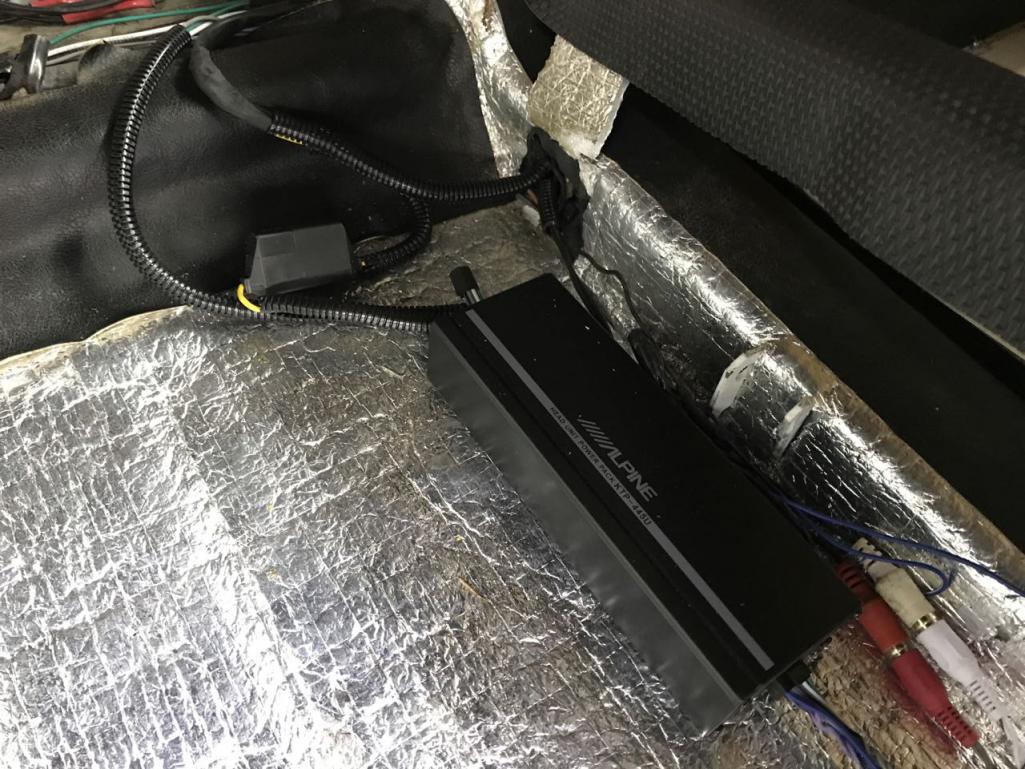 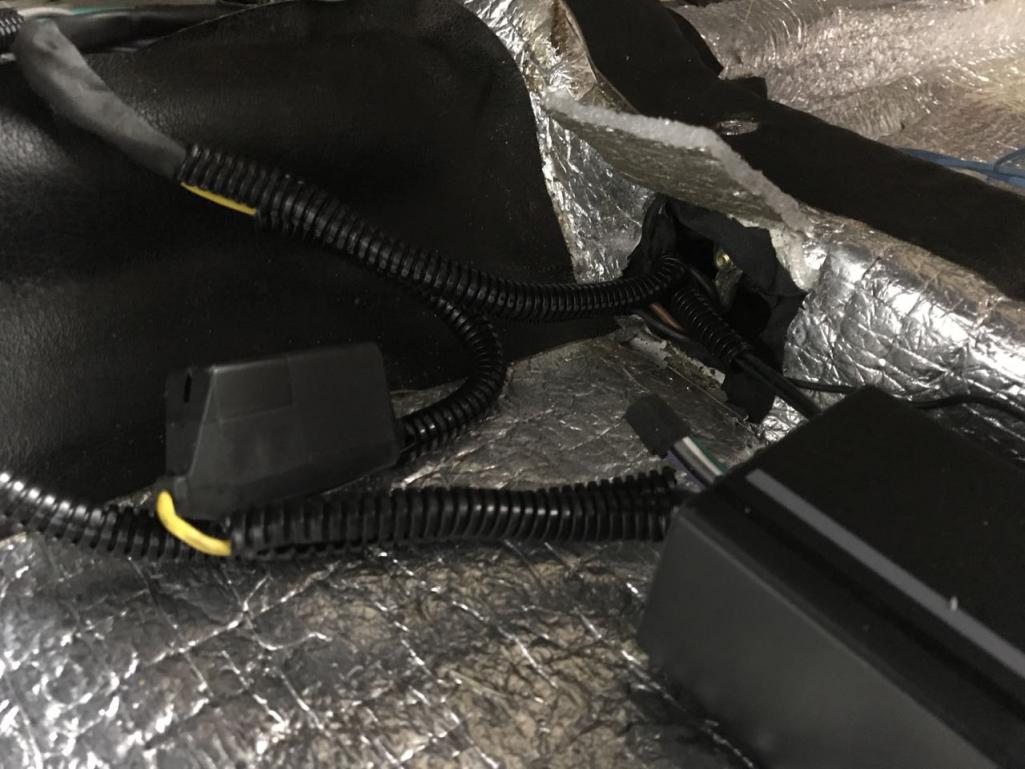 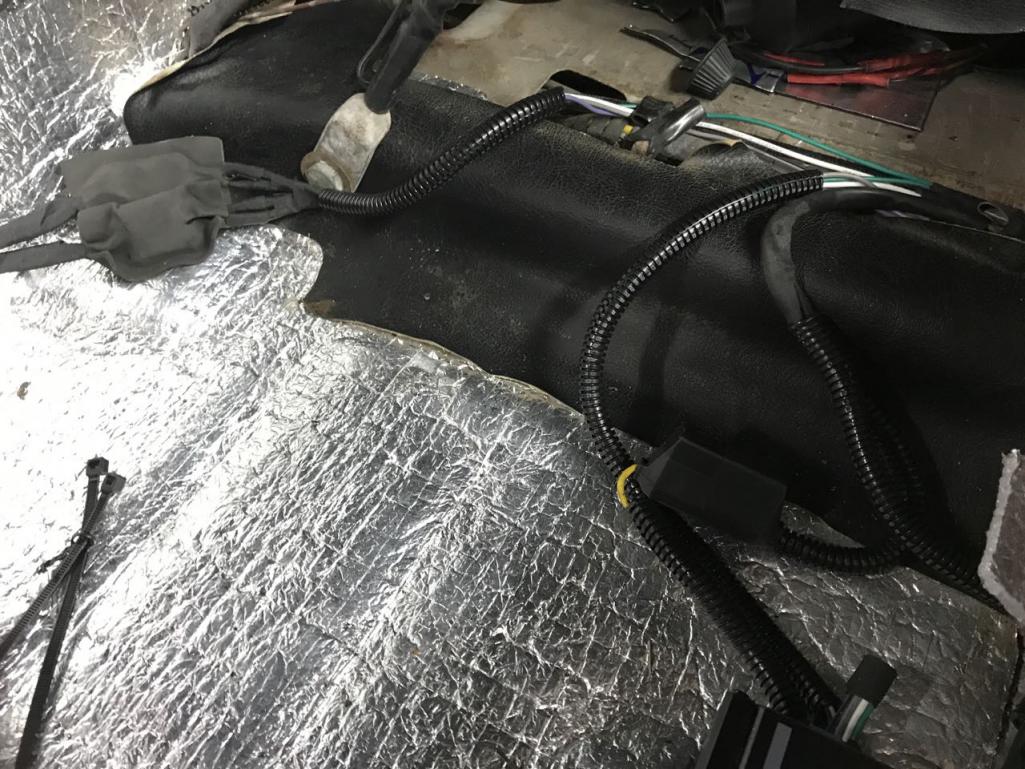 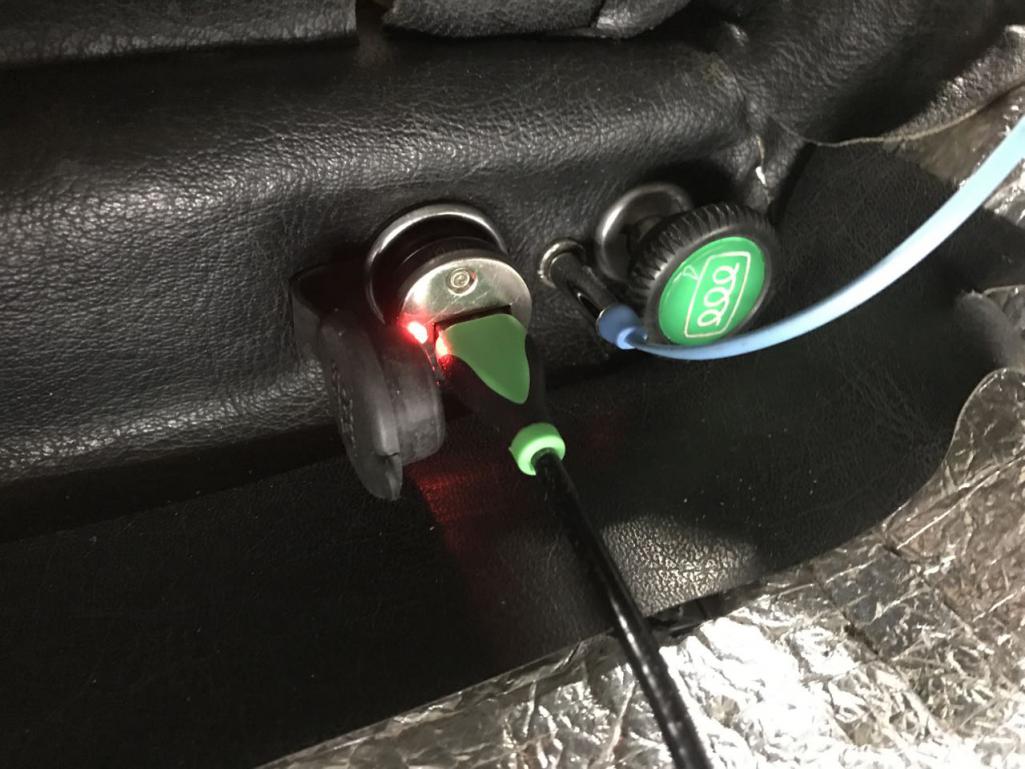 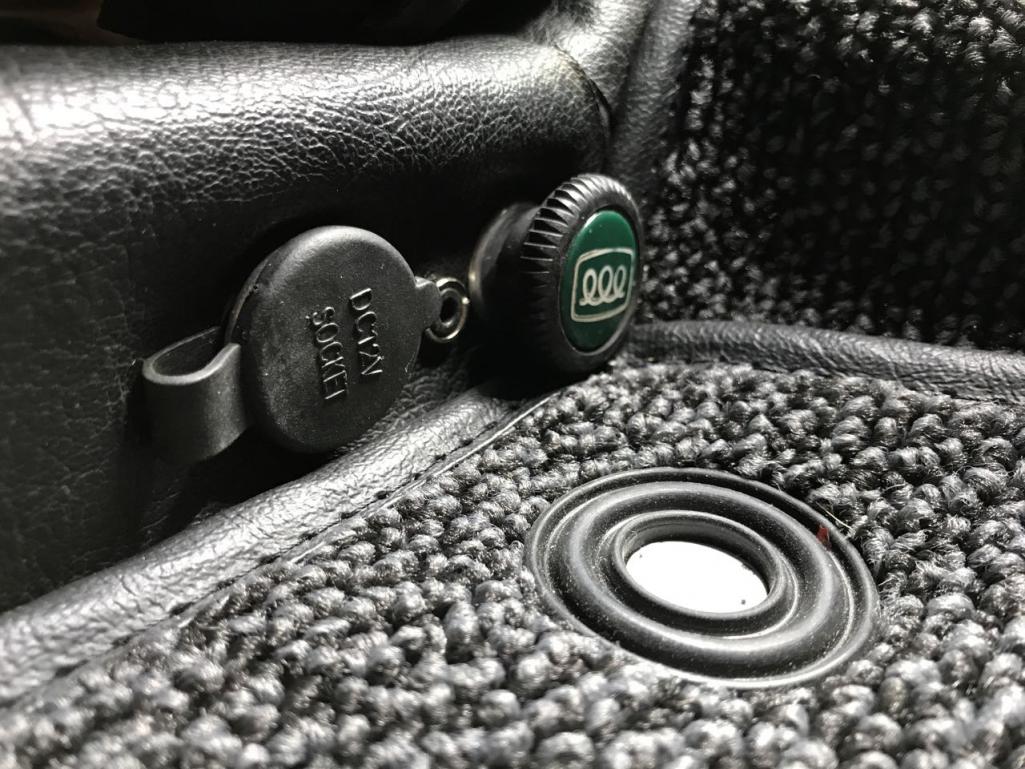 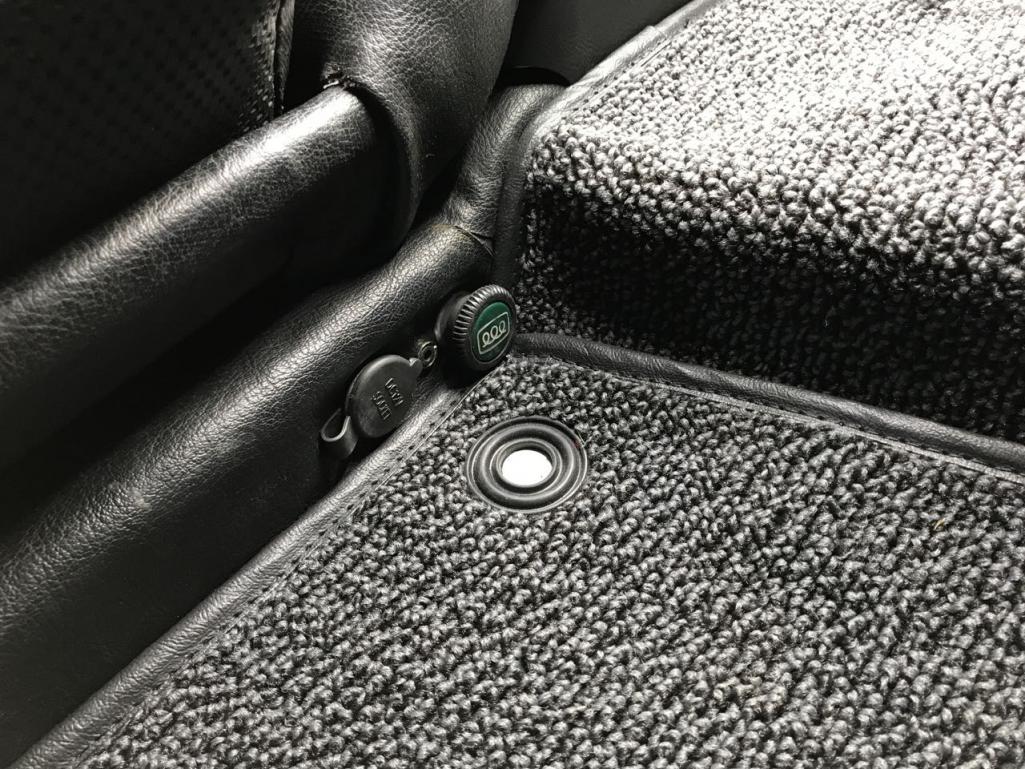 |
  |
1 User(s) are reading this topic (1 Guests and 0 Anonymous Users)
0 Members:

|
Lo-Fi Version | Time is now: 3rd April 2025 - 01:20 PM |
Invision Power Board
v9.1.4 © 2025 IPS, Inc.


