|
|

|
Porsche, and the Porsche crest are registered trademarks of Dr. Ing. h.c. F. Porsche AG.
This site is not affiliated with Porsche in any way. Its only purpose is to provide an online forum for car enthusiasts. All other trademarks are property of their respective owners. |
|
|
  |
| matthepcat |
 Oct 23 2015, 09:52 PM Oct 23 2015, 09:52 PM
Post
#21
|
|
Meat Popsicle    Group: Members Posts: 1,462 Joined: 13-December 09 From: Saratoga CA Member No.: 11,125 Region Association: Northern California |
Yikes. The owner might want to delay engine install.
|
| Andyrew |
 Oct 23 2015, 10:05 PM Oct 23 2015, 10:05 PM
Post
#22
|
|
Spooling.... Please wait           Group: Members Posts: 13,377 Joined: 20-January 03 From: Riverbank, Ca Member No.: 172 Region Association: Northern California 
|
The owner has agreed to have me repair the rust. I'm going to stop at 20 hours worth of rust repair. It MIGHT be enough to do all the repair shown, we will see.
|
| Andyrew |
 Oct 24 2015, 02:44 AM Oct 24 2015, 02:44 AM
Post
#23
|
|
Spooling.... Please wait           Group: Members Posts: 13,377 Joined: 20-January 03 From: Riverbank, Ca Member No.: 172 Region Association: Northern California 
|
Got the easy ones out of the way this evening....
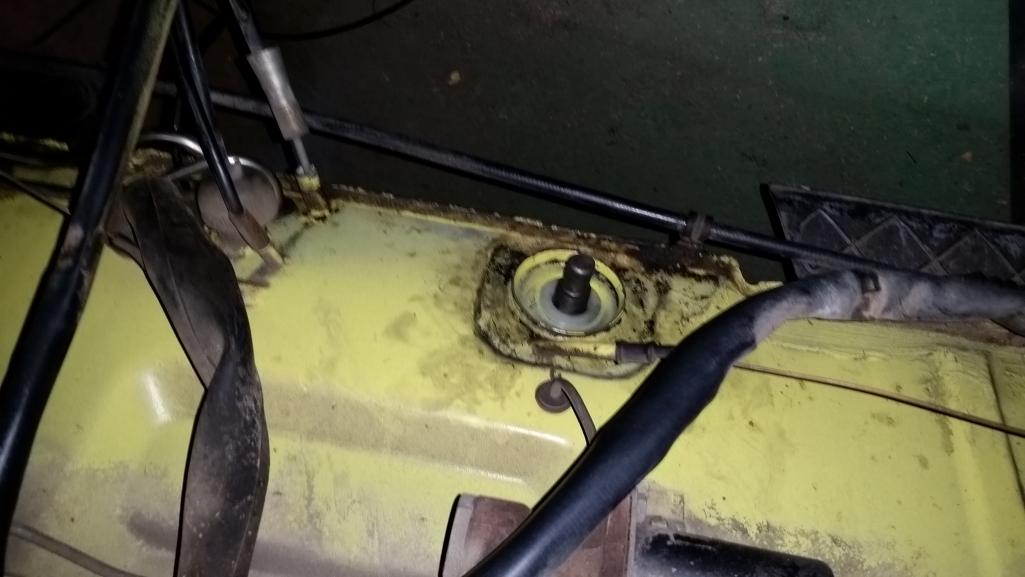
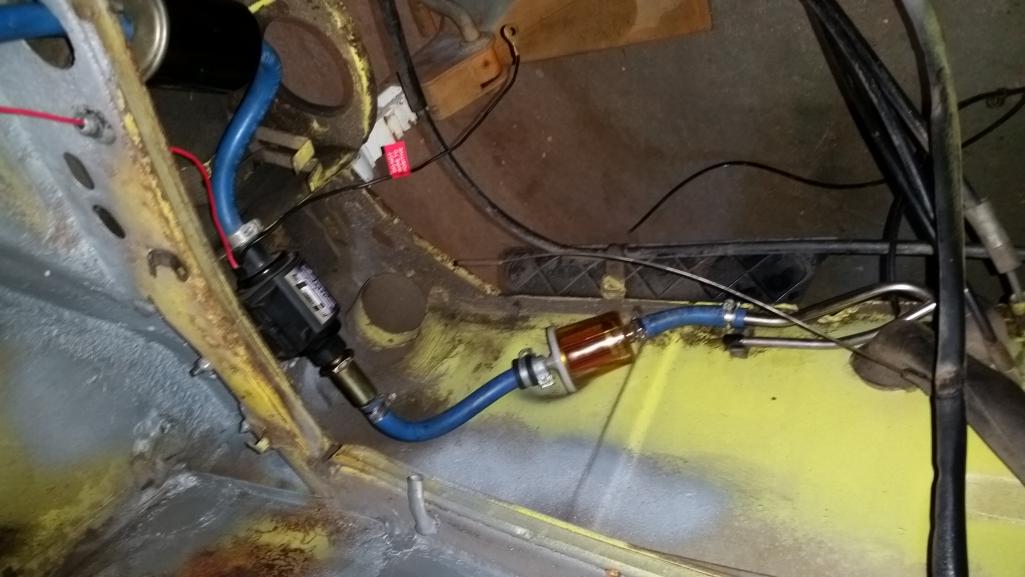
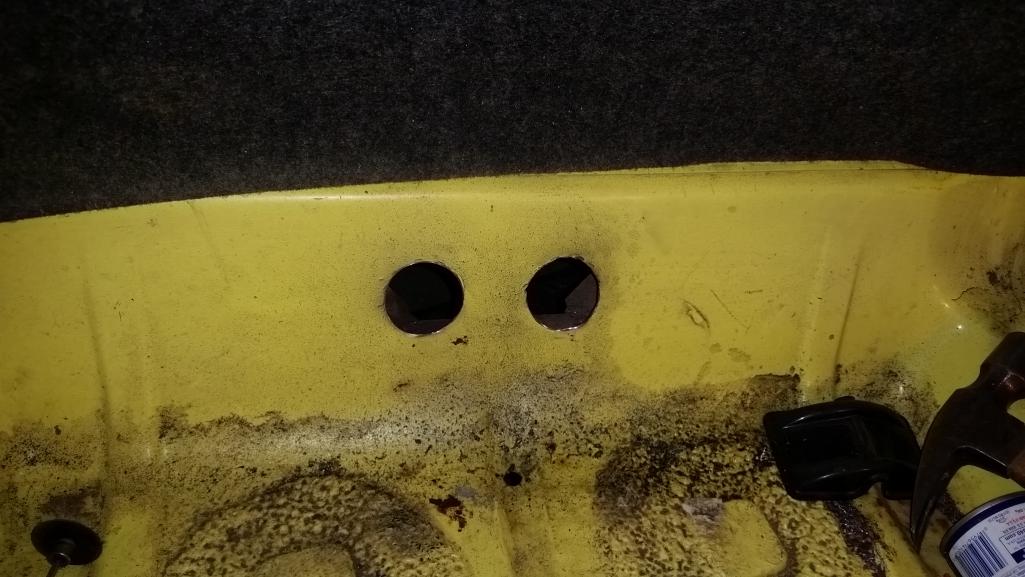
4.5 hours down, 15.5 hours of rust repair left in the books. Going to cut open the firewall drivers side tomorrow morning. Then I'll see what else needs to be done in that area. FYI Replacement metal is 16ga, a bit thick for the 18ga metal in there currently but eh, it works. After all the firewall is fixed I'll seal it up and hit it with more galvanized primer for the owner to paint. Pics 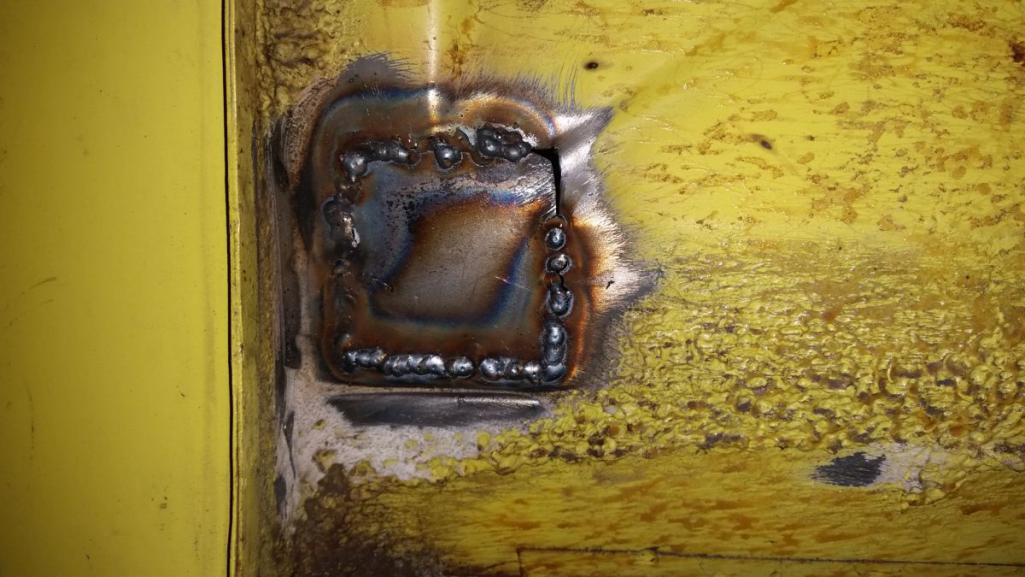 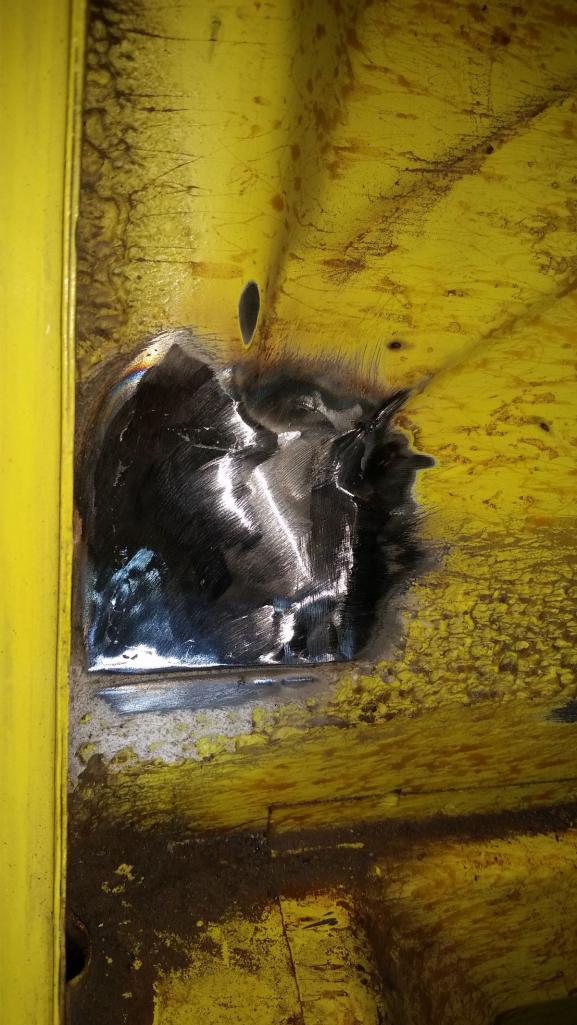 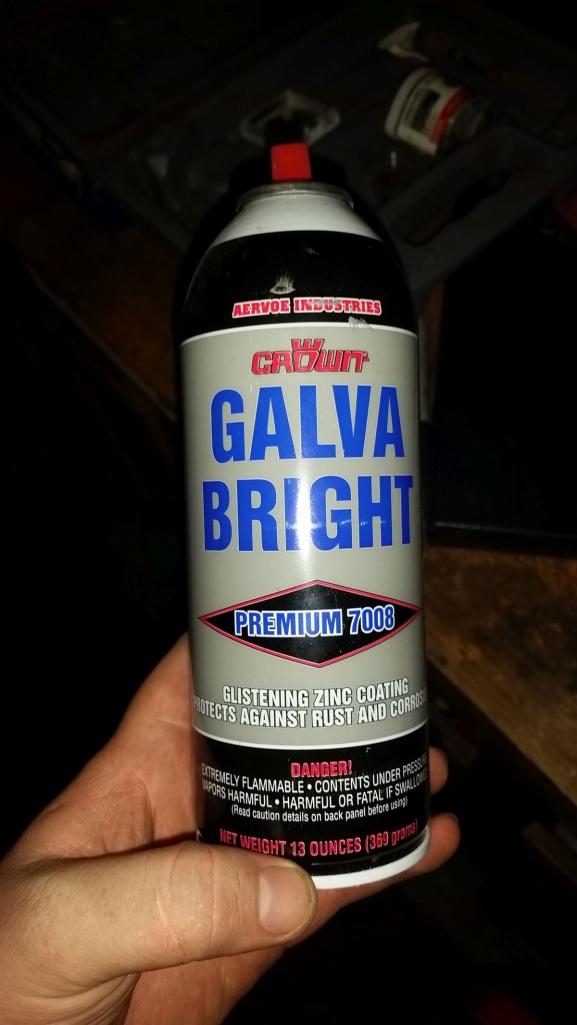 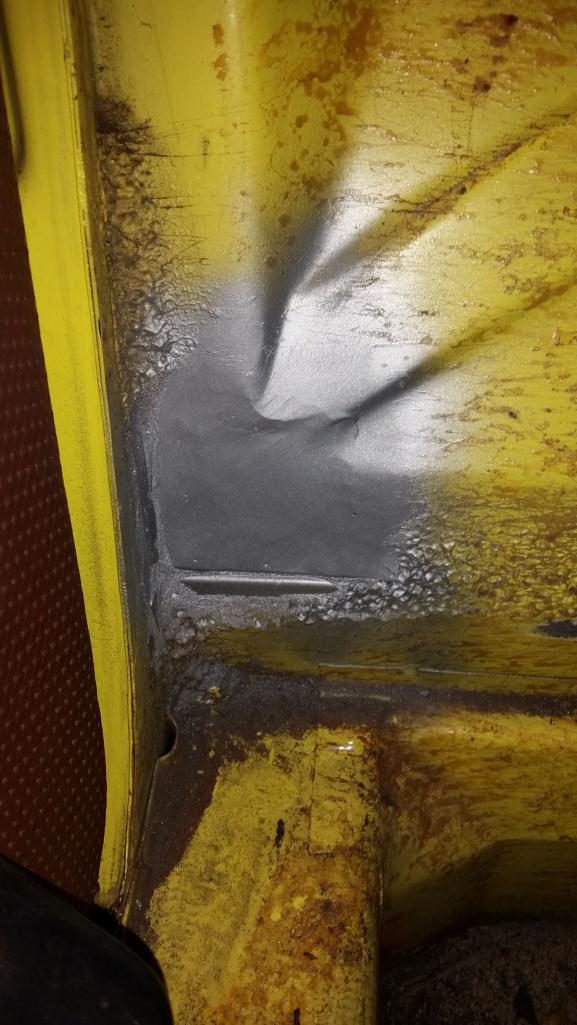 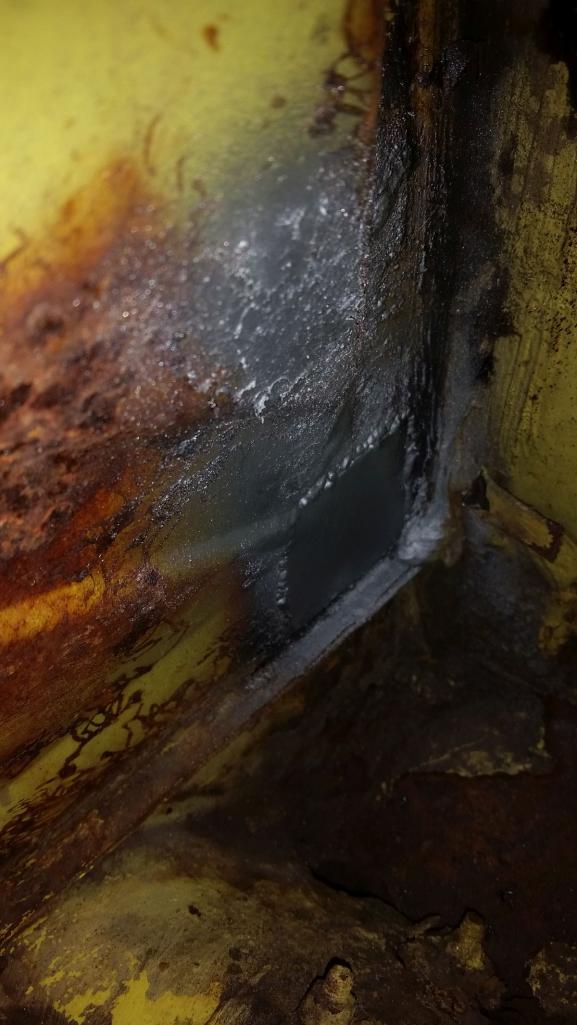 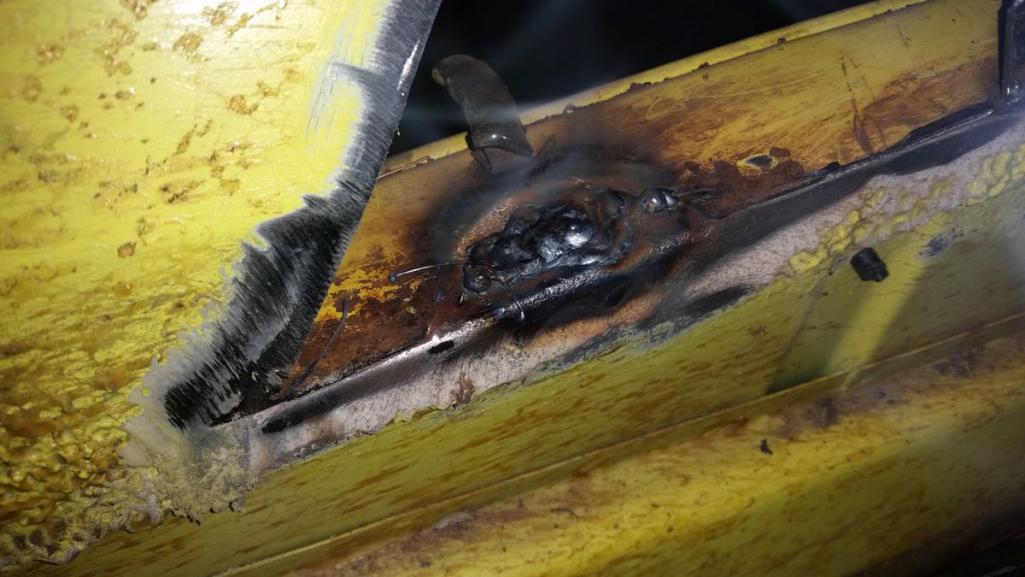 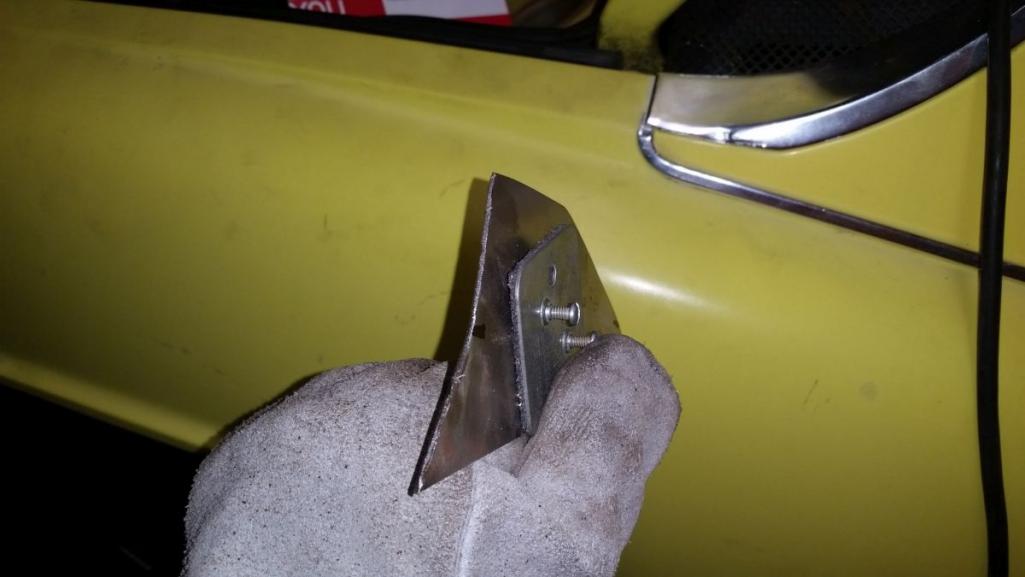 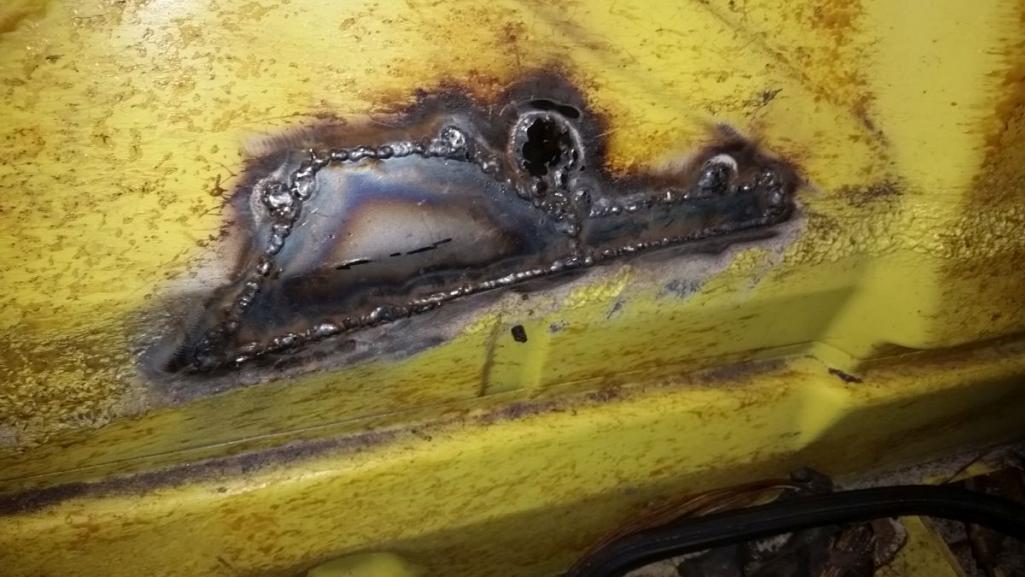 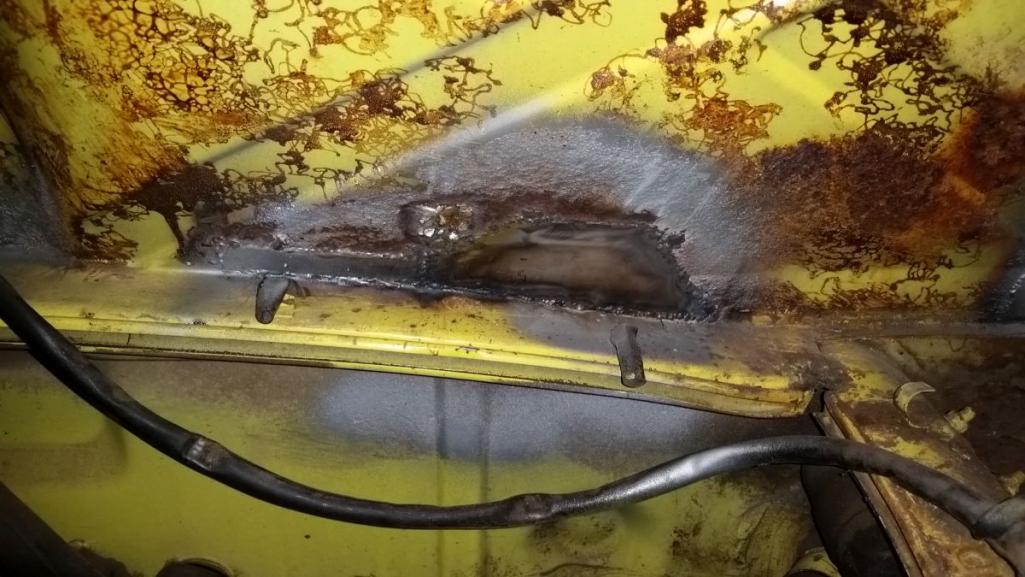 |
| EdwardBlume |
 Oct 24 2015, 05:14 AM Oct 24 2015, 05:14 AM
Post
#24
|
|
914 Wizard           Group: Members Posts: 12,338 Joined: 2-January 03 From: SLO Member No.: 81 Region Association: Central California 
|
Nice work. Full service. (IMG:style_emoticons/default/aktion035.gif)
|
| Andyrew |
 Oct 25 2015, 09:37 AM Oct 25 2015, 09:37 AM
Post
#25
|
|
Spooling.... Please wait           Group: Members Posts: 13,377 Joined: 20-January 03 From: Riverbank, Ca Member No.: 172 Region Association: Northern California 
|
Progress from yesterday morning. Had a concert to go to so progress was stalled... 3 hrs down here.
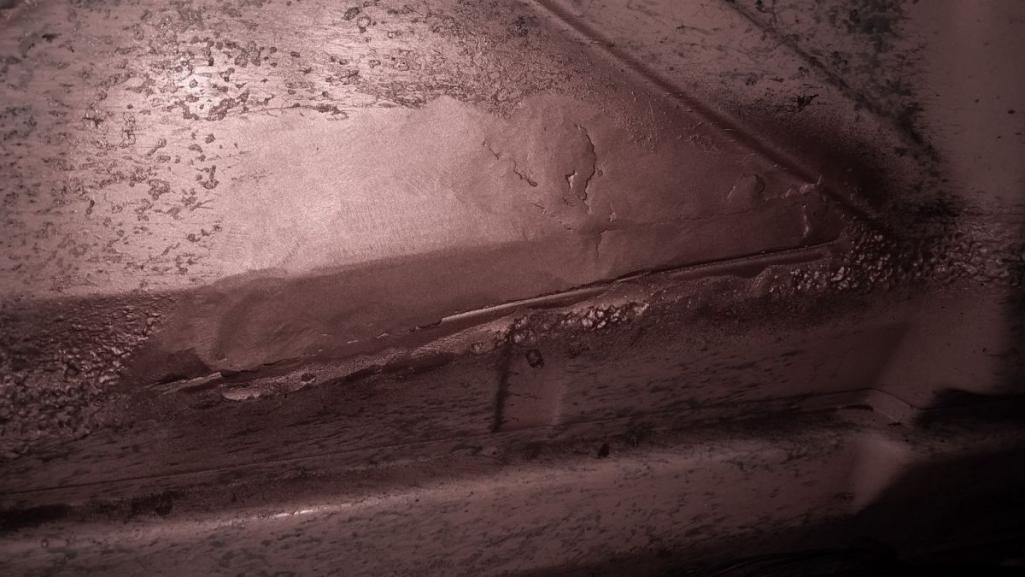 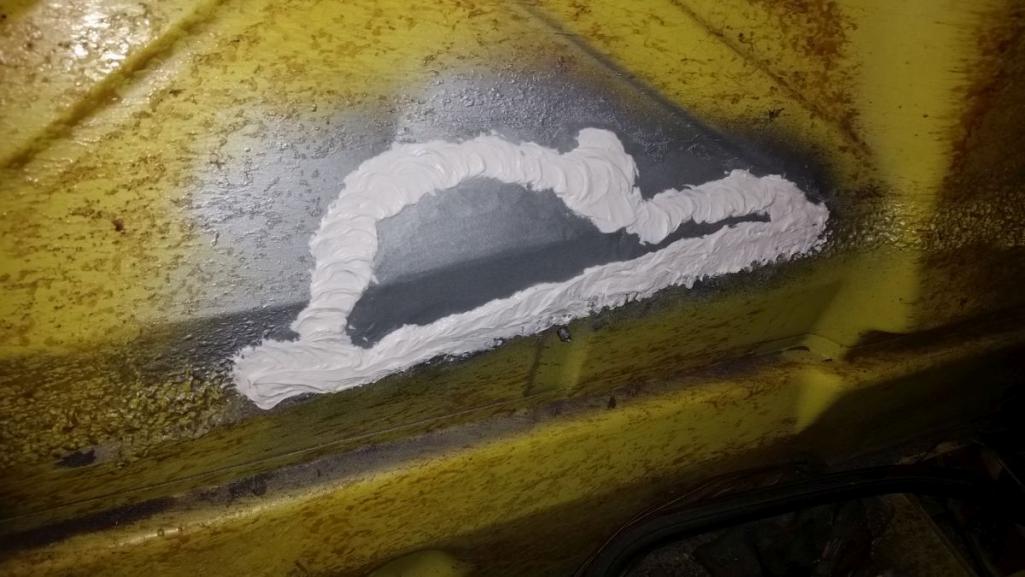 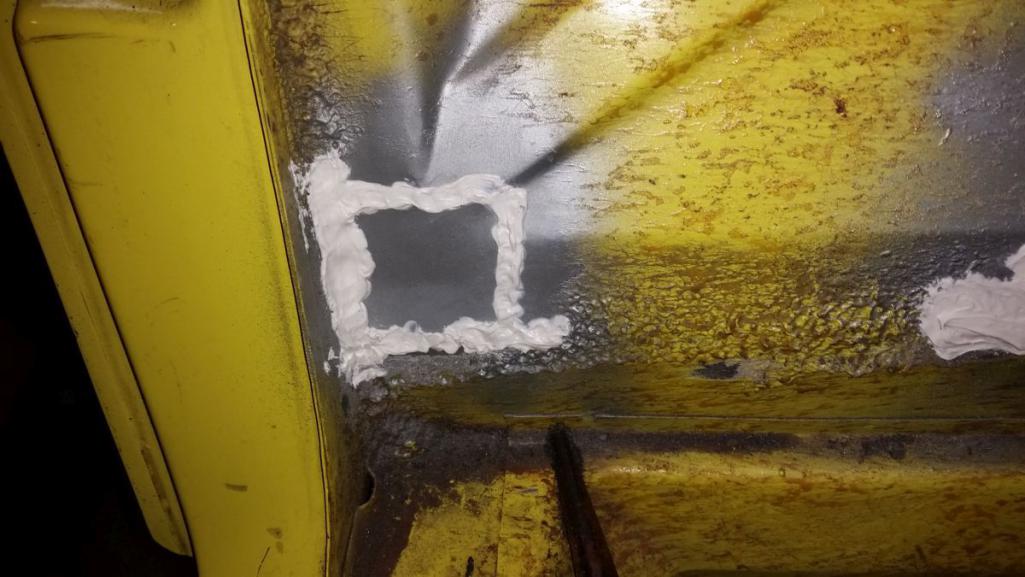 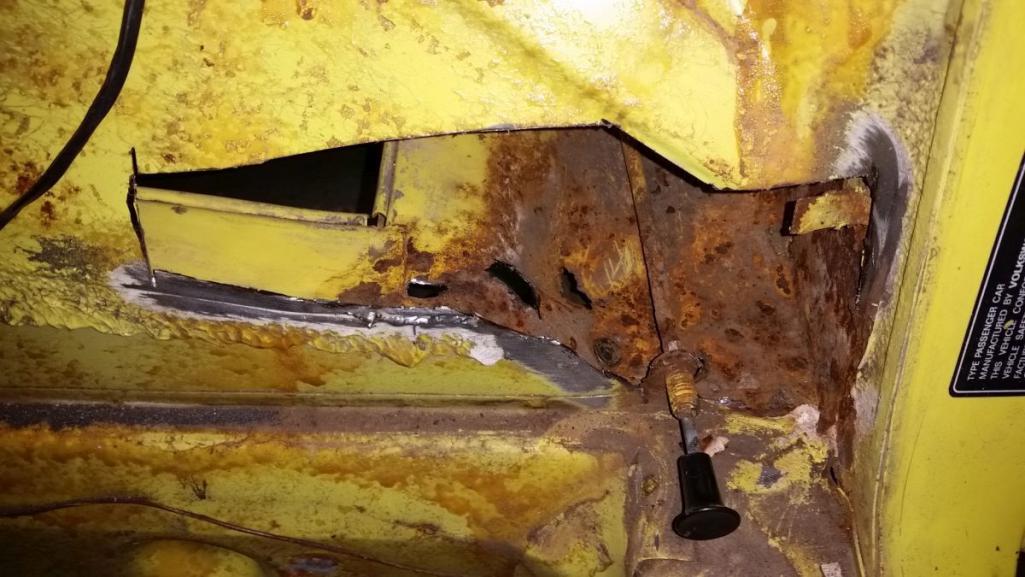 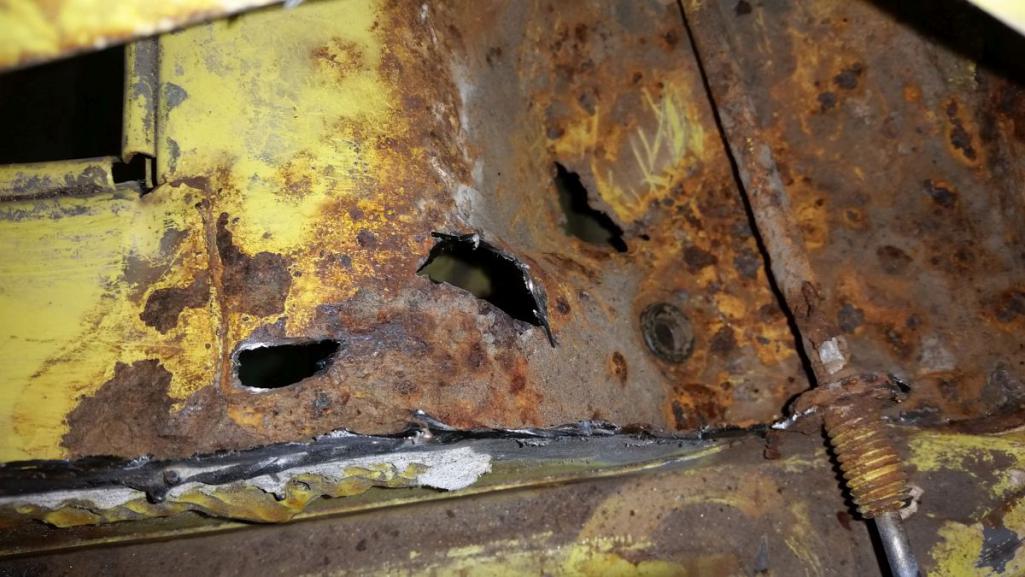 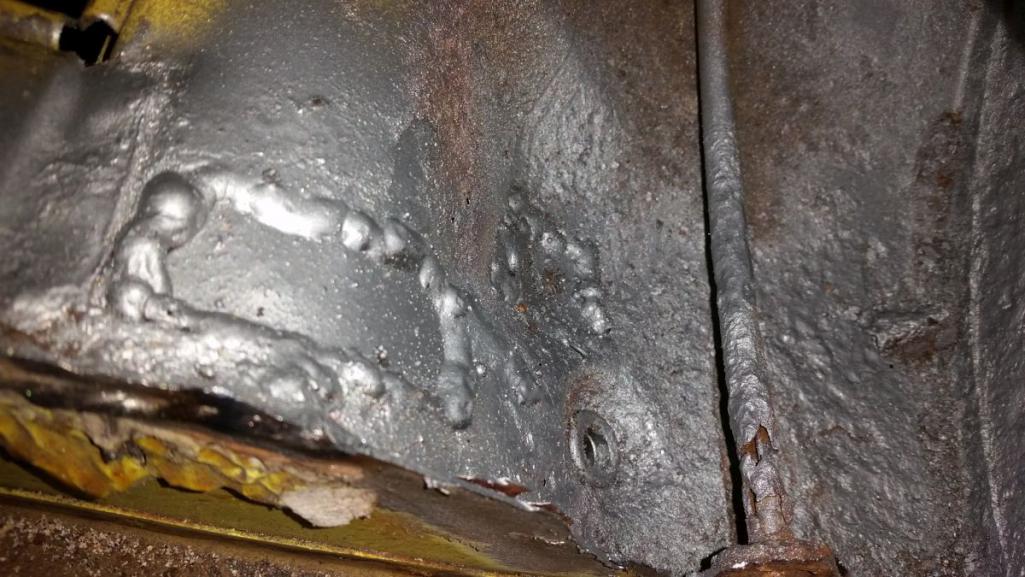 I really debated even replacing this steel as its not part of the suspension console. But I didnt want to leave it alone. I did a quick and easy patch job on it and will seal it up today after I repair the firewall. Luckily the suspension console seems solid. |
| whitetwinturbo |
 Oct 25 2015, 09:53 AM Oct 25 2015, 09:53 AM
Post
#26
|
|
Honey, does this wing make my ass look fat?    Group: Members Posts: 1,391 Joined: 22-October 11 From: Newport Beach/Kalefornya/USA Member No.: 13,704 Region Association: Southern California |
What is the gooey stuff on the weld line (IMG:style_emoticons/default/confused24.gif)
|
| Andyrew |
 Oct 25 2015, 10:04 AM Oct 25 2015, 10:04 AM
Post
#27
|
|
Spooling.... Please wait           Group: Members Posts: 13,377 Joined: 20-January 03 From: Riverbank, Ca Member No.: 172 Region Association: Northern California 
|
Silicone calking over the galvanized primer. Prevents water getting into the weld and is impenetrable to moisture. Not entirely necessary on a perfectly ground down piece of flat metal, but where I dont grind the weld down all the way or in the engine compartment where I dont grind the weld down at all it prevents the thousands of spots for moisture to be trapped. It also helps fill in the little pin holes in the welds that I sometimes miss. Its a procedure we use in metal door frame building in our industry for quite some time and has worked really well. |
| Andyrew |
 Oct 25 2015, 07:10 PM Oct 25 2015, 07:10 PM
Post
#28
|
|
Spooling.... Please wait           Group: Members Posts: 13,377 Joined: 20-January 03 From: Riverbank, Ca Member No.: 172 Region Association: Northern California 
|
Drivers side done (IMG:style_emoticons/default/smile.gif)
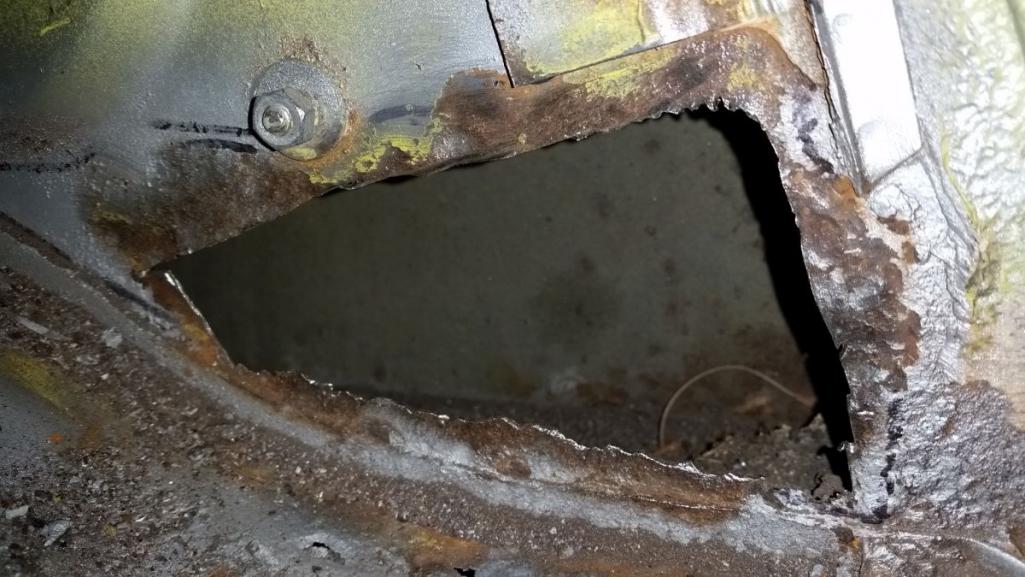 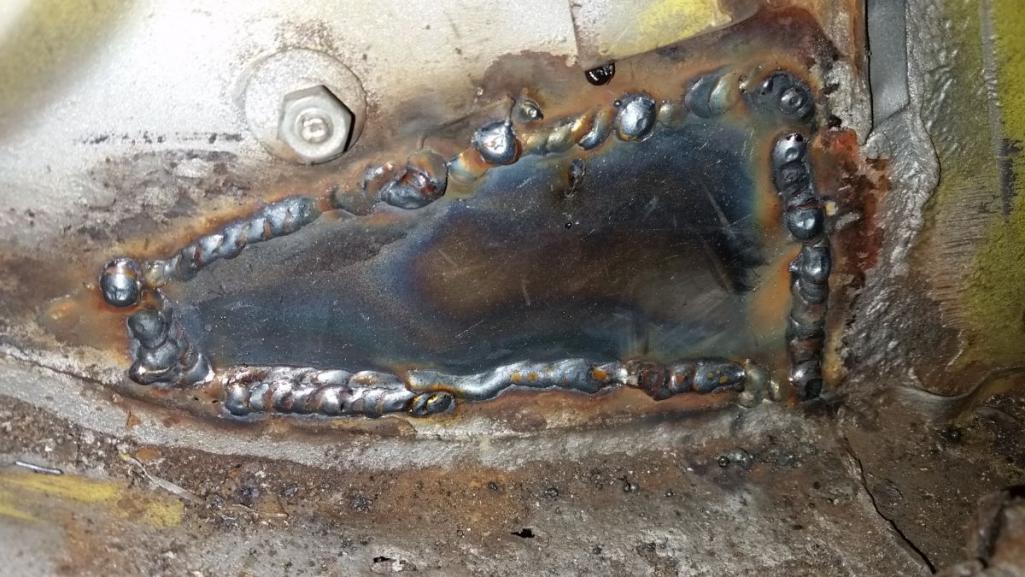 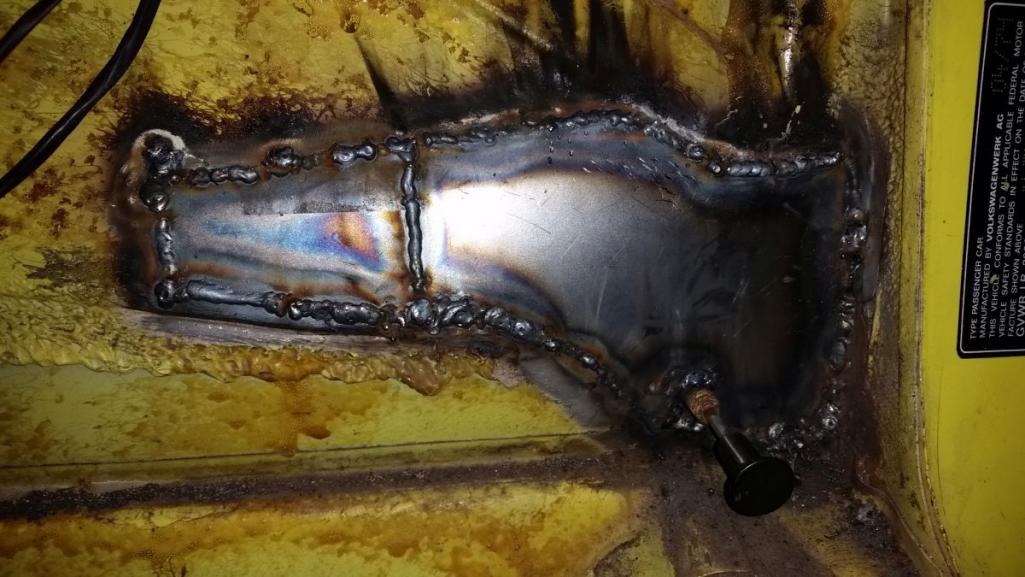 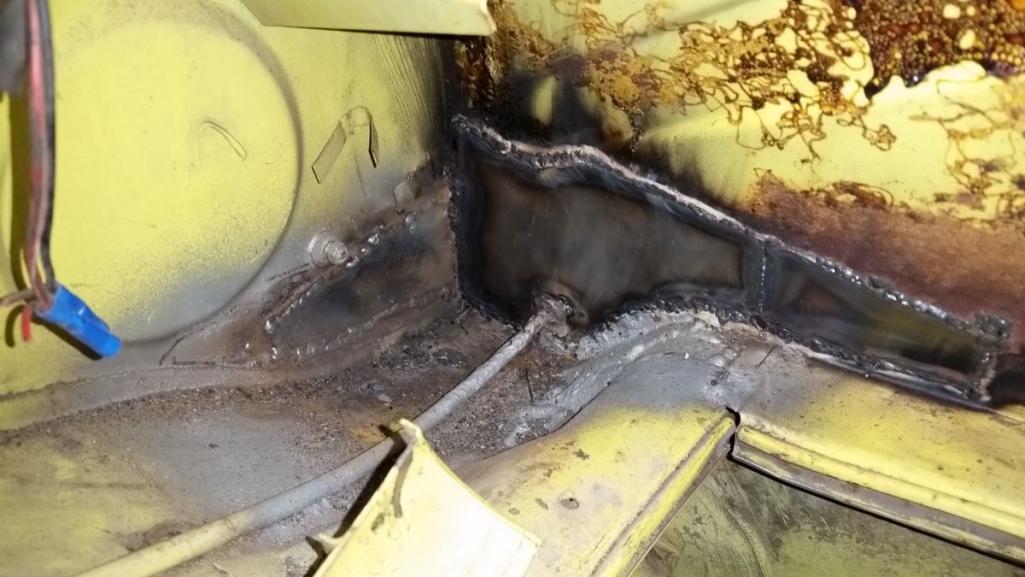 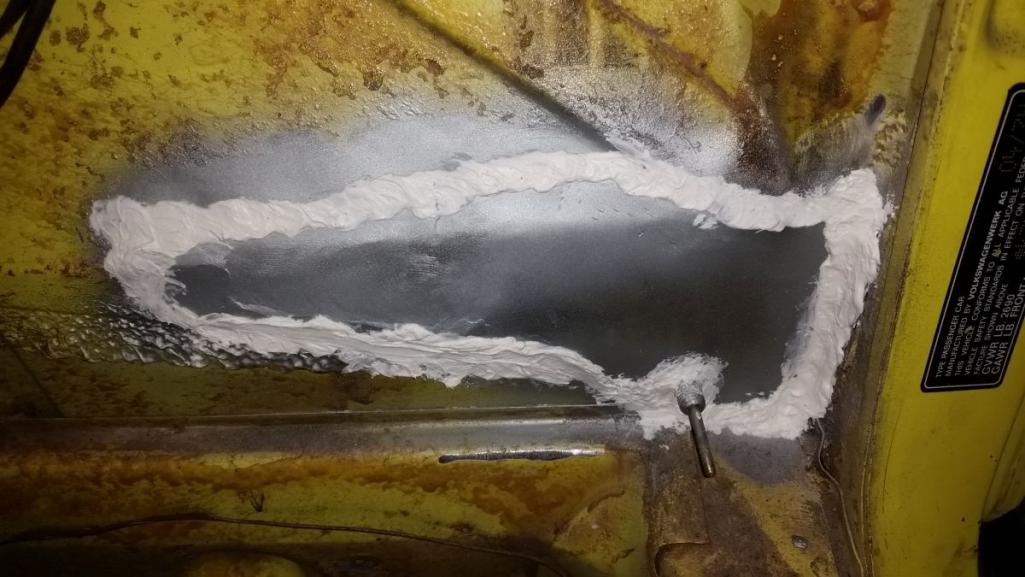 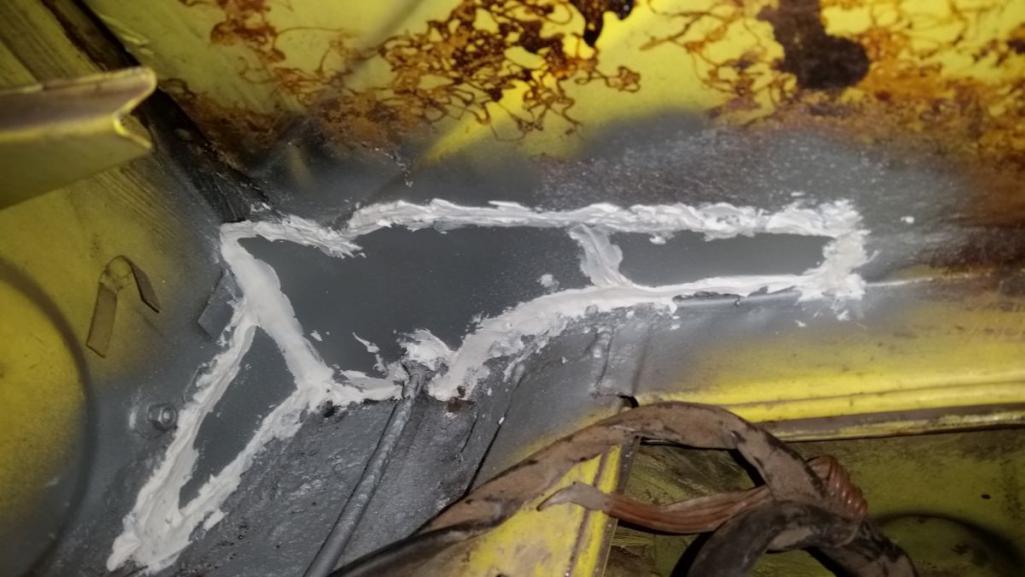 Now onto the pass side (IMG:style_emoticons/default/sad.gif) The suspension console has a small patch needed, then the engine tin tray could either be cut out or fabricated. Im going to ask the owner which one he wants me to do. So far 7 hrs today. 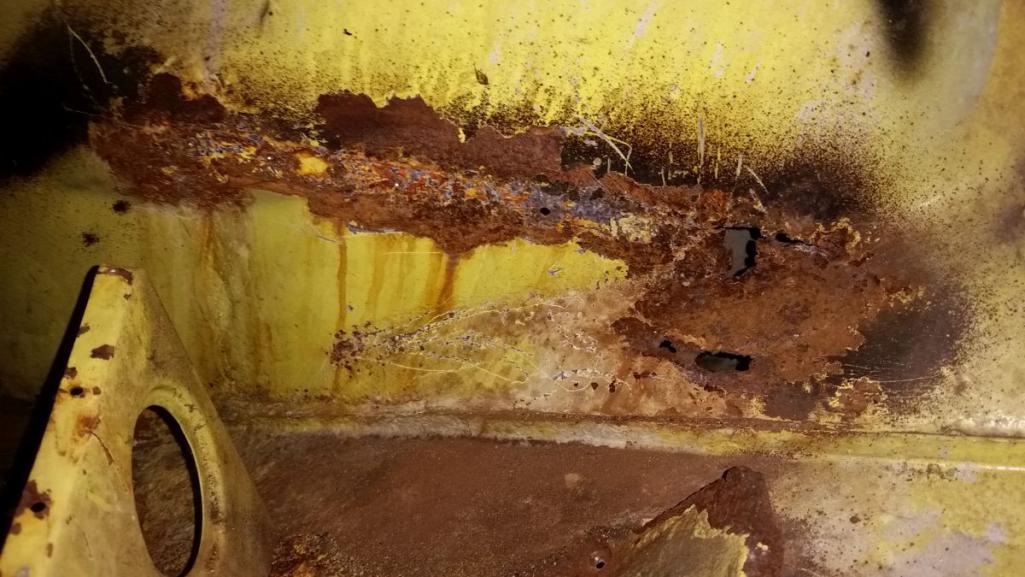 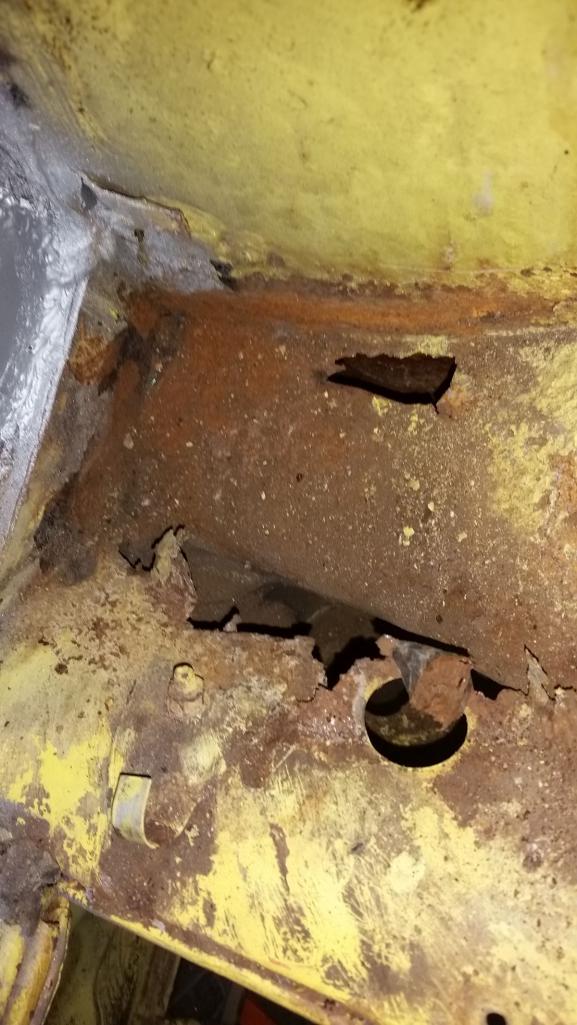 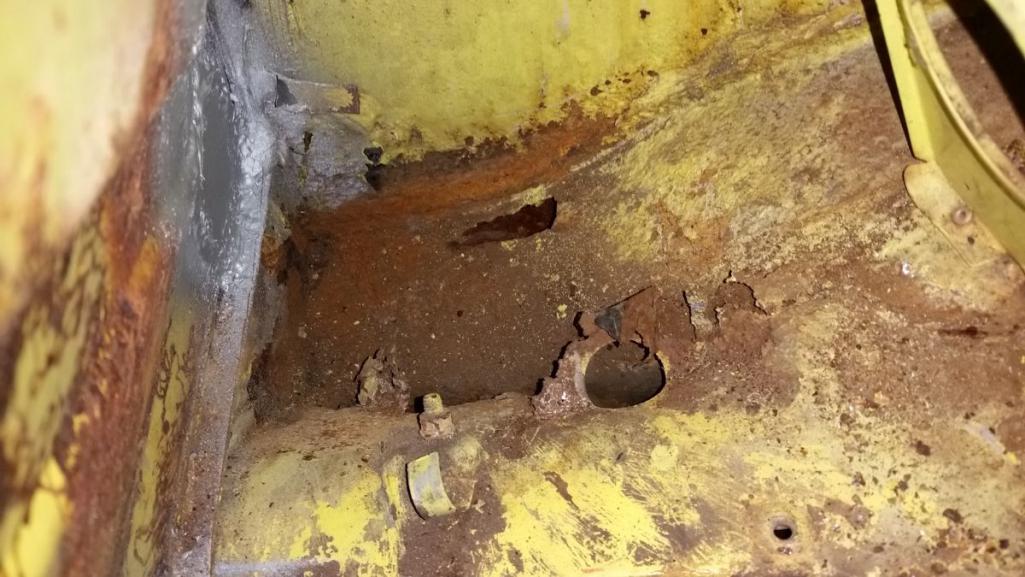 |
| Andyrew |
 Oct 25 2015, 11:36 PM Oct 25 2015, 11:36 PM
Post
#29
|
|
Spooling.... Please wait           Group: Members Posts: 13,377 Joined: 20-January 03 From: Riverbank, Ca Member No.: 172 Region Association: Northern California 
|
The answer was leave the hole and rip the battery tray out. Apparently he is going to relocate the battery and forgot to tell me.
SO we are DONE with the rust repair. 3 hours later. We have some time left on the books still but I have a good idea how we can use that (IMG:style_emoticons/default/smile.gif) 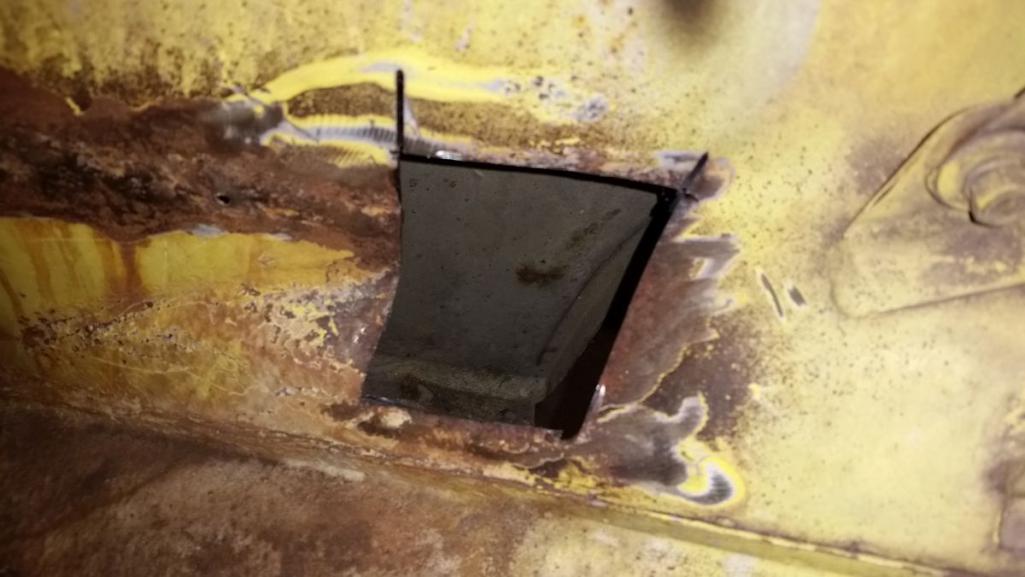 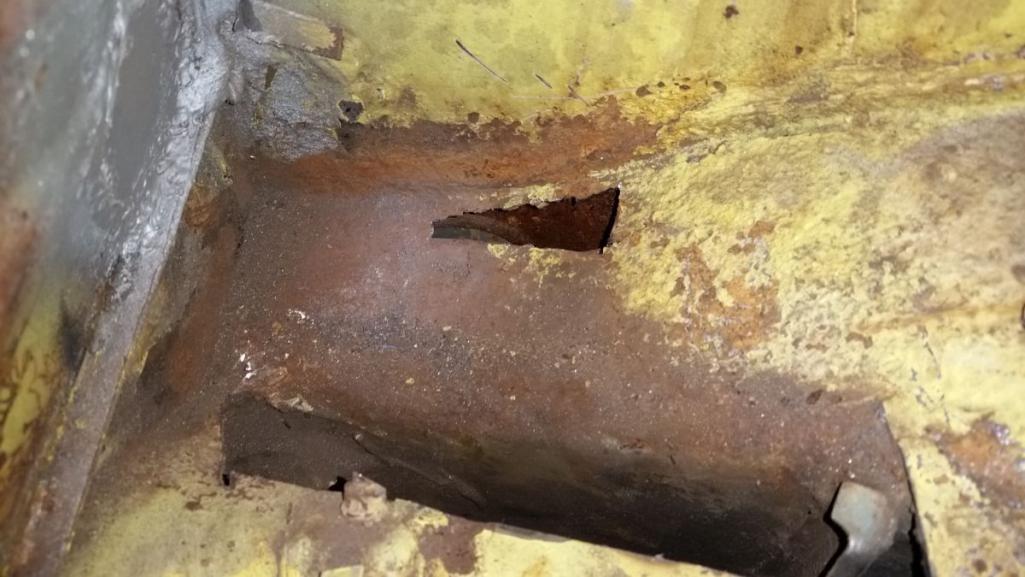 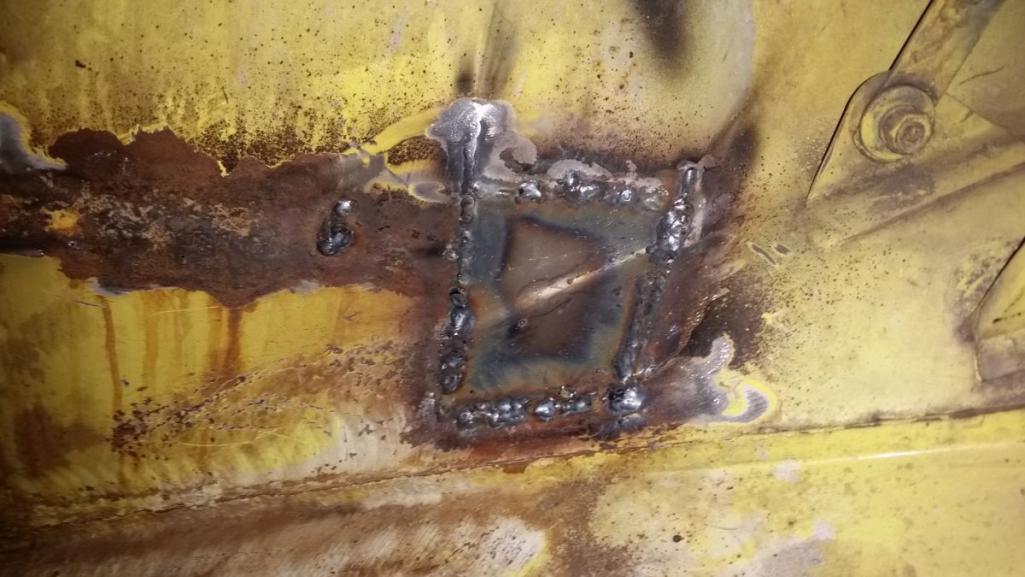 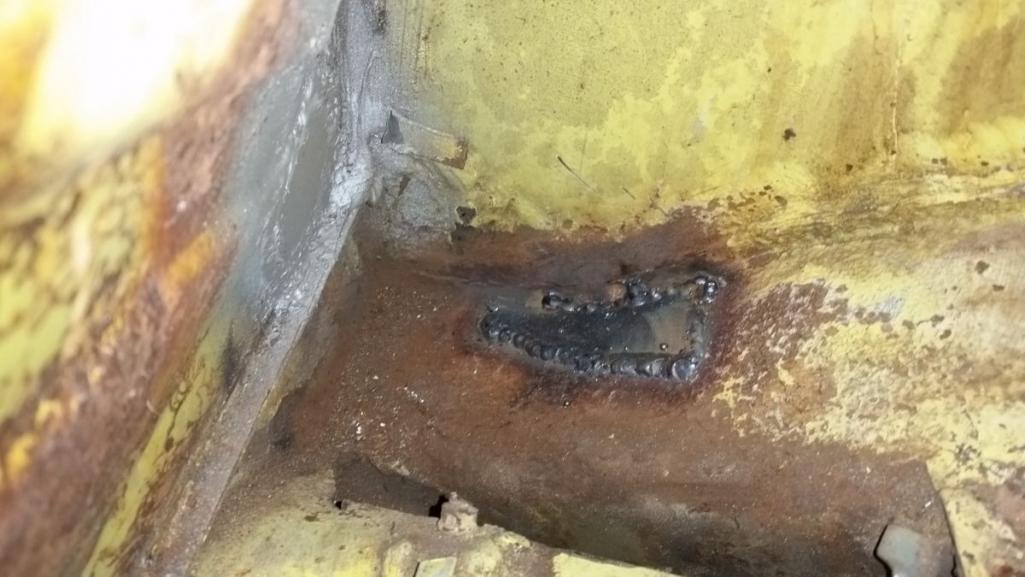 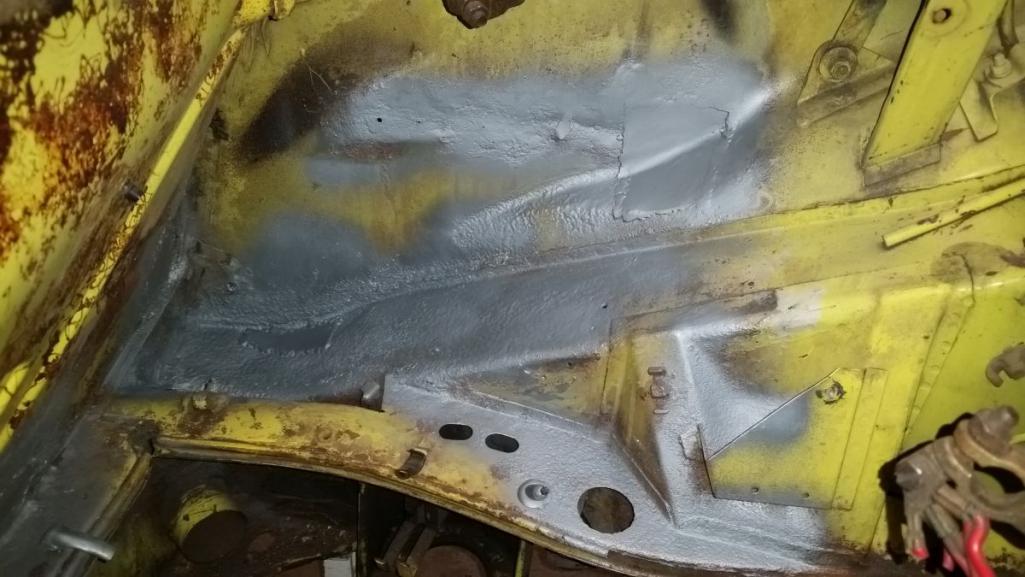 |
| 76-914 |
 Oct 26 2015, 10:57 AM Oct 26 2015, 10:57 AM
Post
#30
|
|
Repeat Offender & Resident Subaru Antagonist           Group: Members Posts: 13,695 Joined: 23-January 09 From: Temecula, CA Member No.: 9,964 Region Association: Southern California 
|
|
| bigkensteele |
 Oct 26 2015, 05:44 PM Oct 26 2015, 05:44 PM
Post
#31
|
|
Major Member     Group: Members Posts: 2,199 Joined: 30-August 04 From: Cincinnati, OH Member No.: 2,660 Region Association: South East States 
|
I will likely take the typical route of making the hoses ~ 2.5' long and coil it up under the tank, this way I can remove the tank and set it on top with the hoses connected. If you go this route, after you put the tank back in, use a mirror and light to make absolutely, positively sure that you haven't pinched a line between the bulkhead and the tank. Ask me how I know. (IMG:style_emoticons/default/headbang.gif) |
| whitetwinturbo |
 Oct 27 2015, 06:40 PM Oct 27 2015, 06:40 PM
Post
#32
|
|
Honey, does this wing make my ass look fat?    Group: Members Posts: 1,391 Joined: 22-October 11 From: Newport Beach/Kalefornya/USA Member No.: 13,704 Region Association: Southern California |
Silicone calking over the galvanized primer. Prevents water getting into the weld and is impenetrable to moisture. Not entirely necessary on a perfectly ground down piece of flat metal, but where I dont grind the weld down all the way or in the engine compartment where I dont grind the weld down at all it prevents the thousands of spots for moisture to be trapped. It also helps fill in the little pin holes in the welds that I sometimes miss. Its a procedure we use in metal door frame building in our industry for quite some time and has worked really well. Who is manufacturer of the sealing material? |
| Andyrew |
 Oct 31 2015, 07:35 PM Oct 31 2015, 07:35 PM
Post
#33
|
|
Spooling.... Please wait           Group: Members Posts: 13,377 Joined: 20-January 03 From: Riverbank, Ca Member No.: 172 Region Association: Northern California 
|
|
| Andyrew |
 Nov 2 2015, 12:39 AM Nov 2 2015, 12:39 AM
Post
#34
|
|
Spooling.... Please wait           Group: Members Posts: 13,377 Joined: 20-January 03 From: Riverbank, Ca Member No.: 172 Region Association: Northern California 
|
Installed new water and alternator belts.
Removed the exhaust as I didnt want to bother breaking the stub axles loose. Seemed like an easier option since there was no handbrake or anything and the piping was in the way of the CV joints. Luckily the bolts were not rusted and it only took about 40 minutes to remove the exhaust, Hopefully it goes back on that quickly.. Clearance for the dizzy and removed the hood torsion bars (Brett you'll need to order some trunk shocks or use a hood prop) 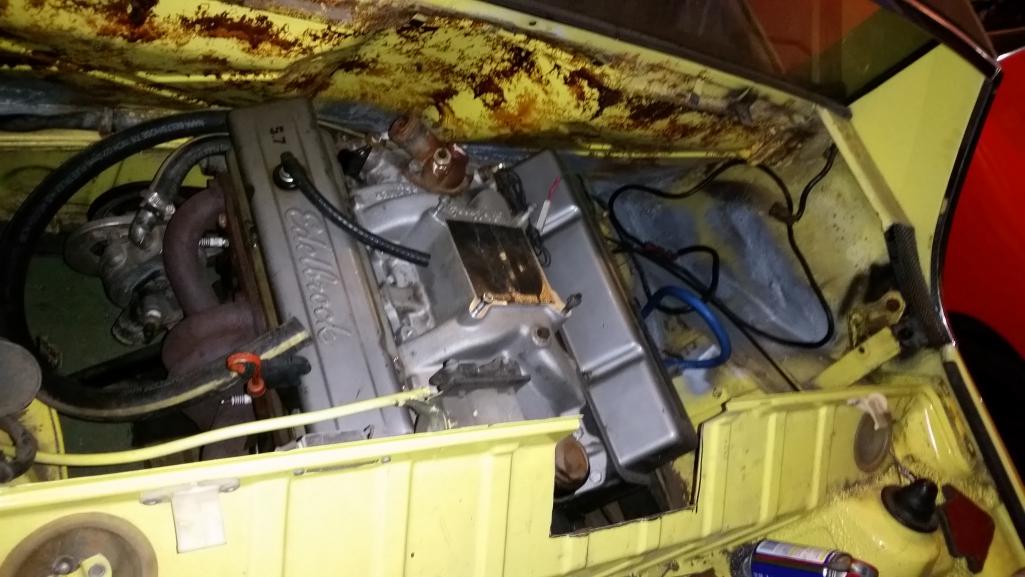 Mounted the new rear trani mounts and the trani 100%, and I got the front bolted up but not snugged up. The engine should raise about an inch once its all snugged up. 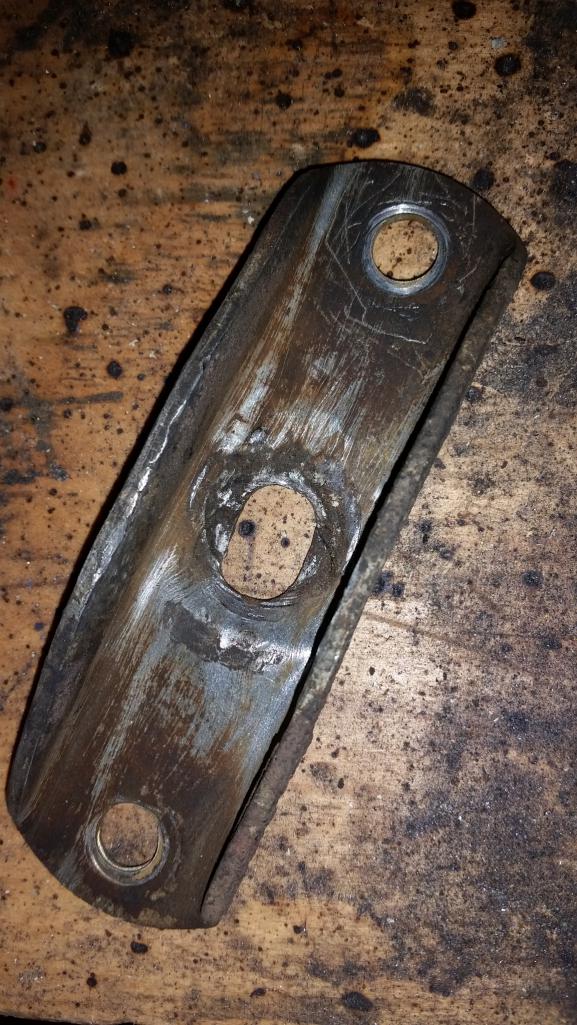 Had to use my mounts for the front since the car didnt have any on them, and the rear trani mount bolts had no nuts so I had to use mine..(Brett, you'll need to give me these AND the big bolts that go to the crossmember from your car) In doing so I saw that the front brackets from my car one of them was pretty damaged so I welded on a reinforcement to it. No pics of the repair with 1/8" steel. So engine is in place and the rest of my time is all the little things. Left on the list are.... Mount rad lines Snug engine bolts Install CV's Install Exhaust Install Shift rod and adjust Install carb, dizzy Install clutch,throttle,speed cables Wire starter, dizzy, fuel, alt Test fire Flush coolant. Bleed brakes Drive |
| bfrymire |
 Nov 2 2015, 01:56 AM Nov 2 2015, 01:56 AM
Post
#35
|
|
Salsaholic    Group: Members Posts: 590 Joined: 1-August 04 From: Sunnyvale, CA Member No.: 2,431 Region Association: Northern California |
I will look for the mounts and I have the rear hood shocks. I was going to remove that torsion spring when I had the chance. So, that is good.
-- brett |
| Chris Pincetich |
 Nov 3 2015, 10:28 AM Nov 3 2015, 10:28 AM
Post
#36
|
|
B-)     Group: Members Posts: 2,082 Joined: 3-October 05 From: Point Reyes Station, CA Member No.: 4,907 Region Association: Northern California |
|
| Andyrew |
 Nov 9 2015, 02:15 PM Nov 9 2015, 02:15 PM
Post
#37
|
|
Spooling.... Please wait           Group: Members Posts: 13,377 Joined: 20-January 03 From: Riverbank, Ca Member No.: 172 Region Association: Northern California 
|
Made some progress a bit last week and on Saturday.
The following is completed. Snug engine bolts Install CV's Install carb, dizzy Wire starter, dizzy, fuel, alt (New ignition switch in engine compartment. Either relay board is bad or the ignition switch is bad.) Install clutch,throttle,speed cables Temp mount battery in engine bay Left to do in order: Install Exhaust Test fire Mount rad lines Install Shift rod and adjust Flush coolant. (Built a tube to connect the radiator lines at the front trunk to bypass the radiator. This will let the system flush the lines and prevent gunk clogging up the new radiator) Bleed brakes Drive |
| Andyrew |
 Nov 14 2015, 09:50 PM Nov 14 2015, 09:50 PM
Post
#38
|
|
Spooling.... Please wait           Group: Members Posts: 13,377 Joined: 20-January 03 From: Riverbank, Ca Member No.: 172 Region Association: Northern California 
|
Everything is in!
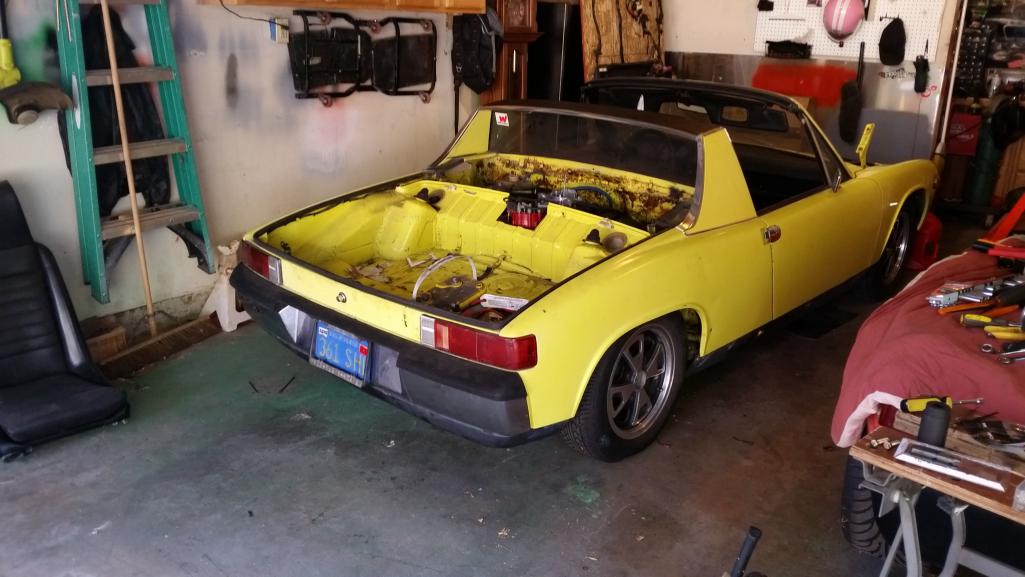 As per normal v8 conversions the throttle cable is like pushing a brick, but the engine is really responsive, feels like it tuned it self when it was sitting (IMG:style_emoticons/default/dry.gif) Tomorrow morning I am going to flush the water (i have engine flush in there now) and bleed the brakes to get some more pedal. Biggest issue is the rear needs to be raised about 2" go get some ground clearance, its going to be a bitch to get it on the trailer... it scraped when I took it for a test drive on my very mild driveway. |
| JRust |
 Nov 14 2015, 11:04 PM Nov 14 2015, 11:04 PM
Post
#39
|
|
914 Guru      Group: Members Posts: 6,316 Joined: 10-January 03 From: Albany Oregon Member No.: 129 Region Association: Pacific Northwest 
|
Nice Andrew! That will be a kick for the owner first drive (IMG:style_emoticons/default/evilgrin.gif)
|
| arkitect |
 Nov 15 2015, 08:01 AM Nov 15 2015, 08:01 AM
Post
#40
|
|
Senior Member    Group: Members Posts: 617 Joined: 3-March 10 From: Stockton, CA Member No.: 11,426 Region Association: None |
Andrew,
Nice looking work...looks like a shop did it, impressive. Too bad you didn't have the matching paint, could have painted before the new v8 went in. Nice looking welds, I have a gas set up for my lincoln, need to hook it up one of these days. How is your car doing, the audi engine in yet? Dave |
  |
1 User(s) are reading this topic (1 Guests and 0 Anonymous Users)
0 Members:

|
Lo-Fi Version | Time is now: 3rd April 2025 - 06:36 PM |
Invision Power Board
v9.1.4 © 2025 IPS, Inc.


