|
|

|
Porsche, and the Porsche crest are registered trademarks of Dr. Ing. h.c. F. Porsche AG.
This site is not affiliated with Porsche in any way. Its only purpose is to provide an online forum for car enthusiasts. All other trademarks are property of their respective owners. |
|
|
  |
| mb911 |
 Apr 6 2018, 06:03 PM Apr 6 2018, 06:03 PM
Post
#461
|
|
914 Guru      Group: Members Posts: 7,544 Joined: 2-January 09 From: Burlington wi Member No.: 9,892 Region Association: Upper MidWest 
|
|
| mb911 |
 Apr 6 2018, 06:39 PM Apr 6 2018, 06:39 PM
Post
#462
|
|
914 Guru      Group: Members Posts: 7,544 Joined: 2-January 09 From: Burlington wi Member No.: 9,892 Region Association: Upper MidWest 
|
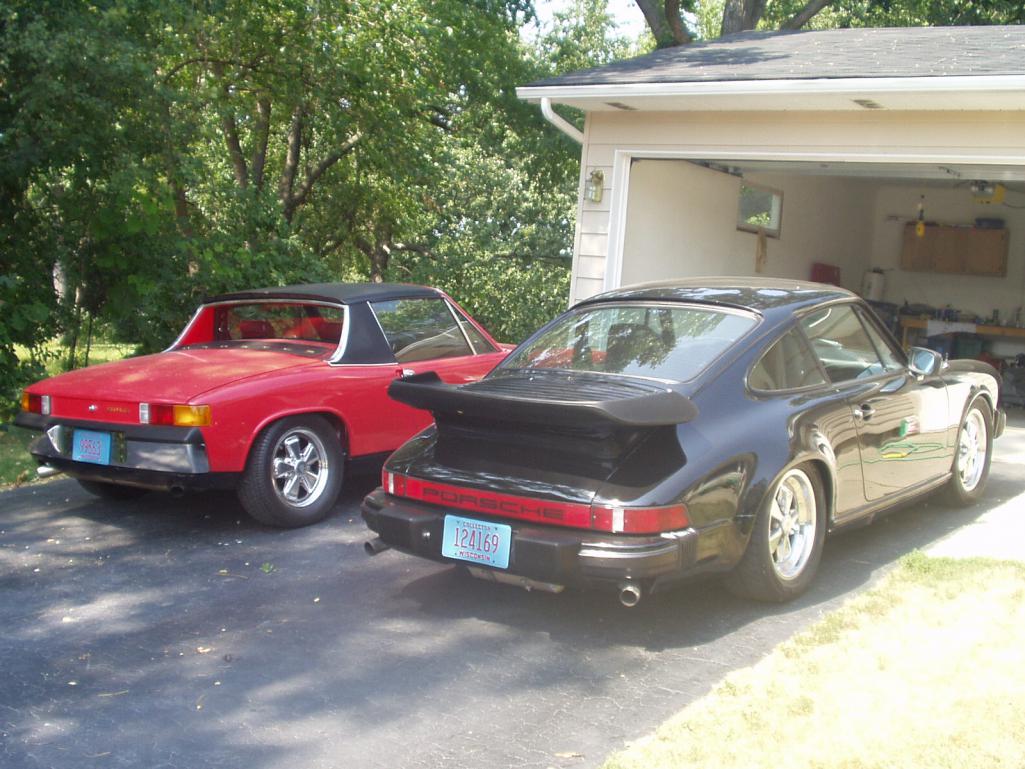
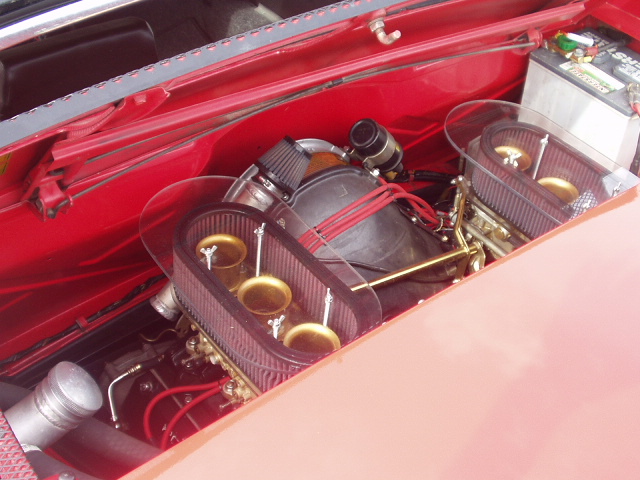
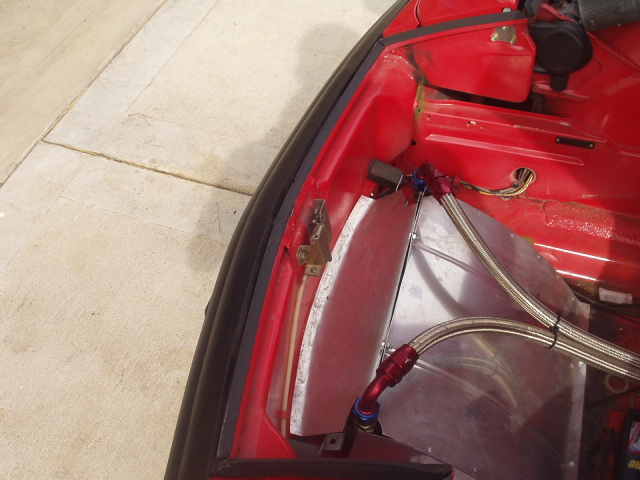
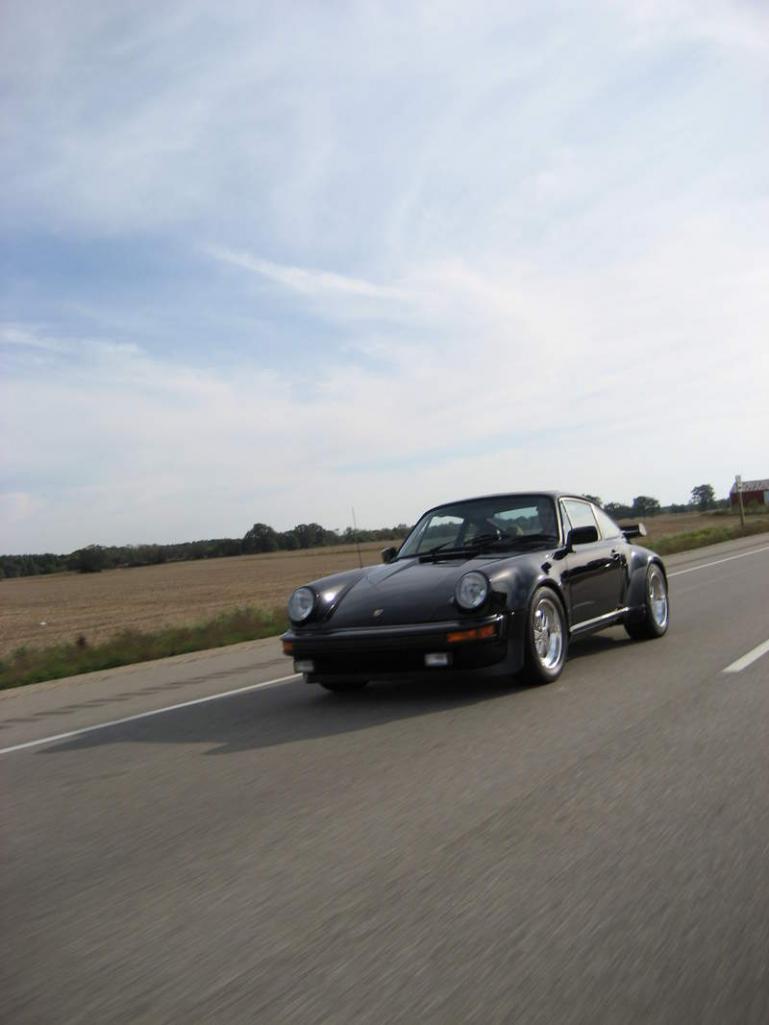
And for my own inspiration here is my last 6 and the 911 before a full turbo conversion
    [attachmentid=645 [attachmentid=645672] Attached image(s) 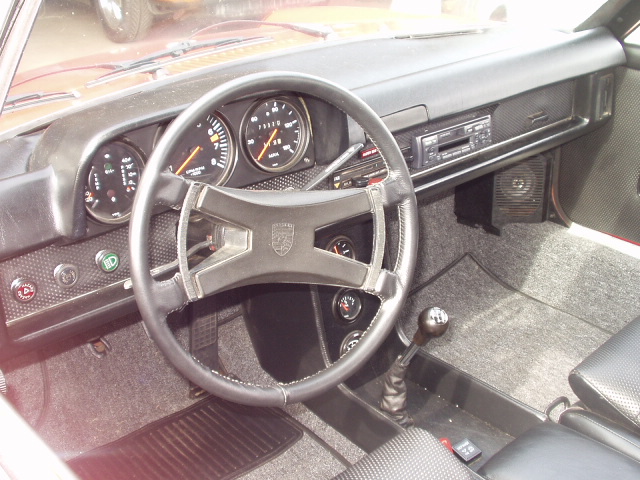
|
| mb911 |
 Apr 16 2018, 01:15 PM Apr 16 2018, 01:15 PM
Post
#463
|
|
914 Guru      Group: Members Posts: 7,544 Joined: 2-January 09 From: Burlington wi Member No.: 9,892 Region Association: Upper MidWest 
|
Slow progress lately. I did do more grinding and then removed 1 headlight. I did buy a fender from Garold that is near perfect and a factory replacement that Glenn and Garold cut off a parts car for me
To replace the Hodge podge passenger fender.. This will make it much nicer. Bought some metal etch to apply in a few areas.. Coming along now.. 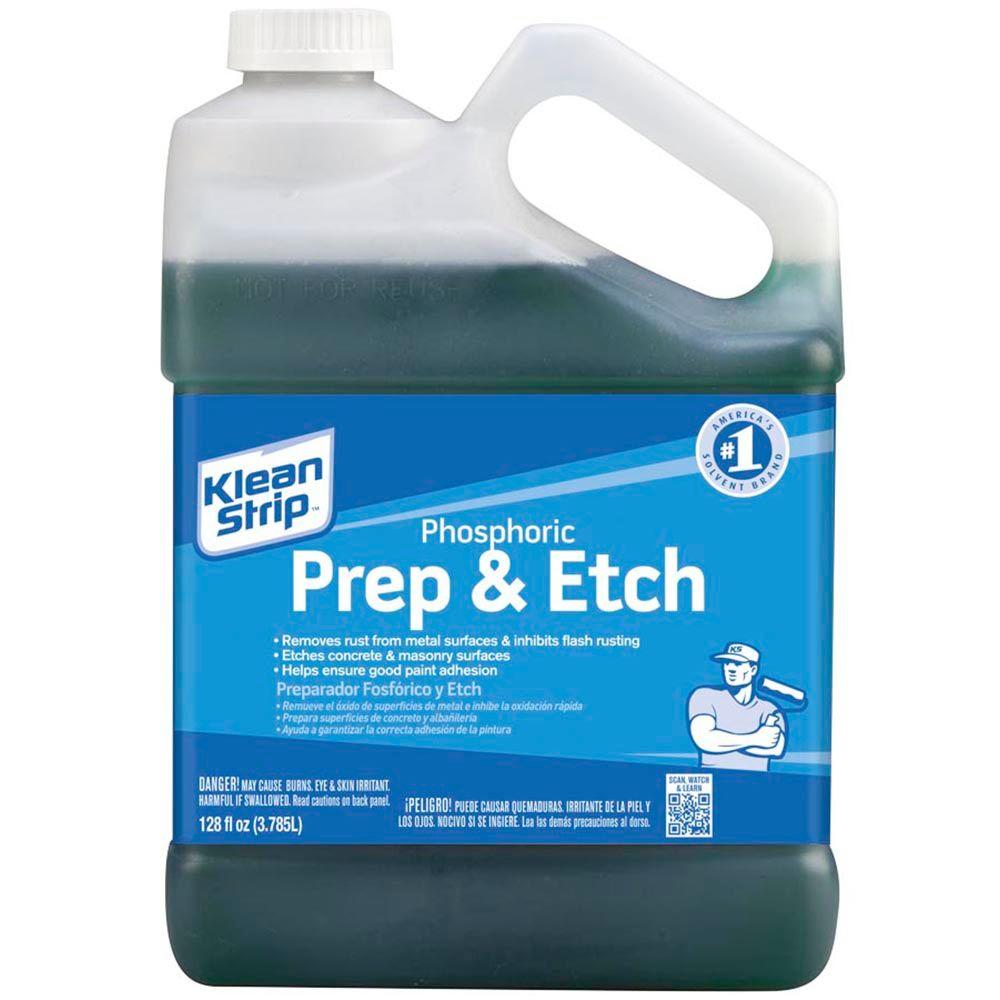 |
| mb911 |
 Apr 19 2018, 05:47 AM Apr 19 2018, 05:47 AM
Post
#464
|
|
914 Guru      Group: Members Posts: 7,544 Joined: 2-January 09 From: Burlington wi Member No.: 9,892 Region Association: Upper MidWest 
|
|
| mb911 |
 Apr 24 2018, 06:49 PM Apr 24 2018, 06:49 PM
Post
#465
|
|
914 Guru      Group: Members Posts: 7,544 Joined: 2-January 09 From: Burlington wi Member No.: 9,892 Region Association: Upper MidWest 
|
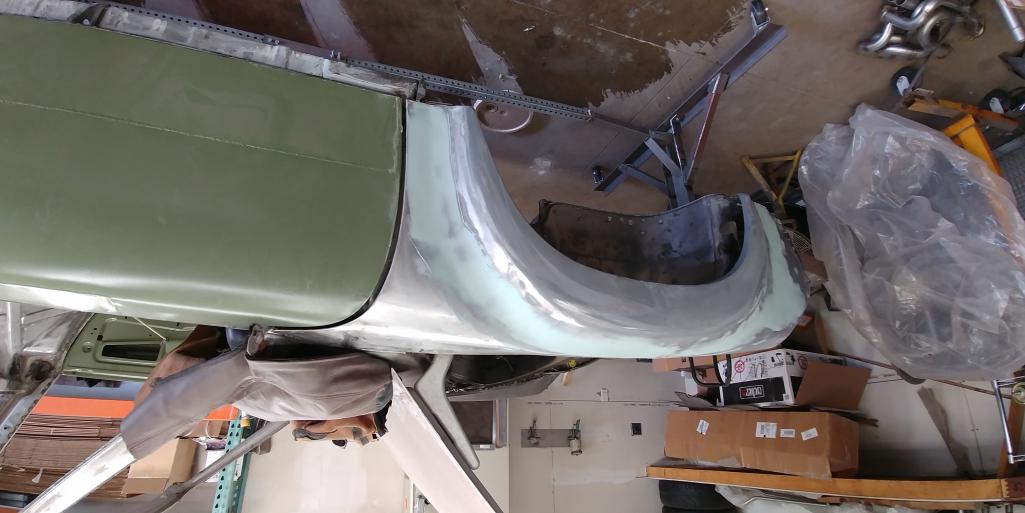
Super busy lately but spent some time hammering out the body as close as possible to be within max thickness of 1/16" filler. Then spread the kevlar reinforced filler to ensure no pin holes then sanded all the seams and applied some evercoat filler, cured and then I use a large bastard file to cut down the filler close. I will next sand a little bit and apply another thin coat of filler.. This is a nice way to ensure a nice straight blend..
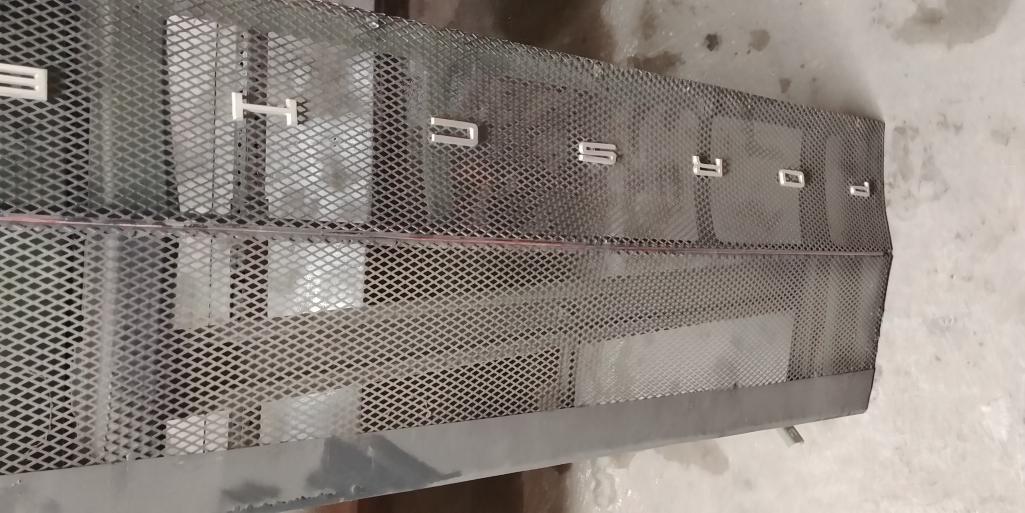
Mark Epstein sent me some goodies including a nice porsche badge for the rear panel ala GT. Also got my sons 944 running this weekend and making progress on all fronts.. |
| mb911 |
 Apr 26 2018, 11:22 AM Apr 26 2018, 11:22 AM
Post
#466
|
|
914 Guru      Group: Members Posts: 7,544 Joined: 2-January 09 From: Burlington wi Member No.: 9,892 Region Association: Upper MidWest 
|
|
| mb911 |
 May 1 2018, 02:04 PM May 1 2018, 02:04 PM
Post
#467
|
|
914 Guru      Group: Members Posts: 7,544 Joined: 2-January 09 From: Burlington wi Member No.: 9,892 Region Association: Upper MidWest 
|
|
| mb911 |
 May 1 2018, 02:04 PM May 1 2018, 02:04 PM
Post
#468
|
|
914 Guru      Group: Members Posts: 7,544 Joined: 2-January 09 From: Burlington wi Member No.: 9,892 Region Association: Upper MidWest 
|
|
| bbrock |
 May 1 2018, 02:36 PM May 1 2018, 02:36 PM
Post
#469
|
|
914 Guru      Group: Members Posts: 5,269 Joined: 17-February 17 From: Montana Member No.: 20,845 Region Association: Rocky Mountains 
|
Milestone! Sweet! (IMG:style_emoticons/default/cheer.gif)
|
| mb911 |
 May 2 2018, 05:48 AM May 2 2018, 05:48 AM
Post
#470
|
|
914 Guru      Group: Members Posts: 7,544 Joined: 2-January 09 From: Burlington wi Member No.: 9,892 Region Association: Upper MidWest 
|
Yes feel good about that.. Gonna need some areas touched up but at least its protected.. |
| mb911 |
 May 3 2018, 06:02 AM May 3 2018, 06:02 AM
Post
#471
|
|
914 Guru      Group: Members Posts: 7,544 Joined: 2-January 09 From: Burlington wi Member No.: 9,892 Region Association: Upper MidWest 
|
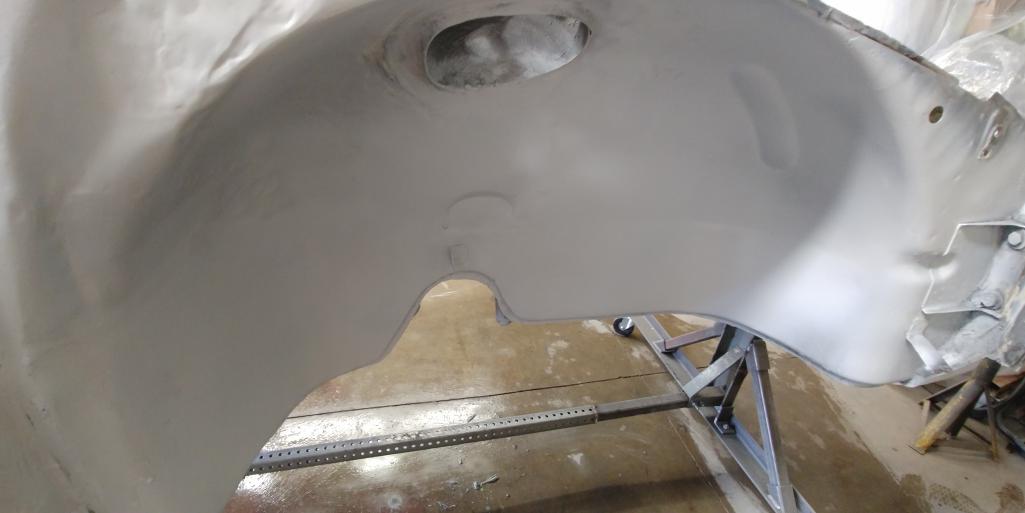
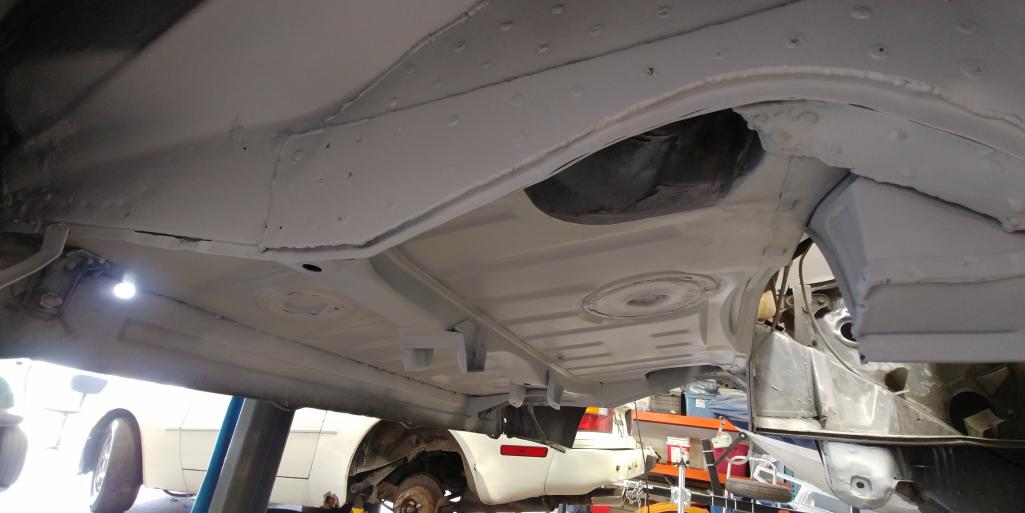
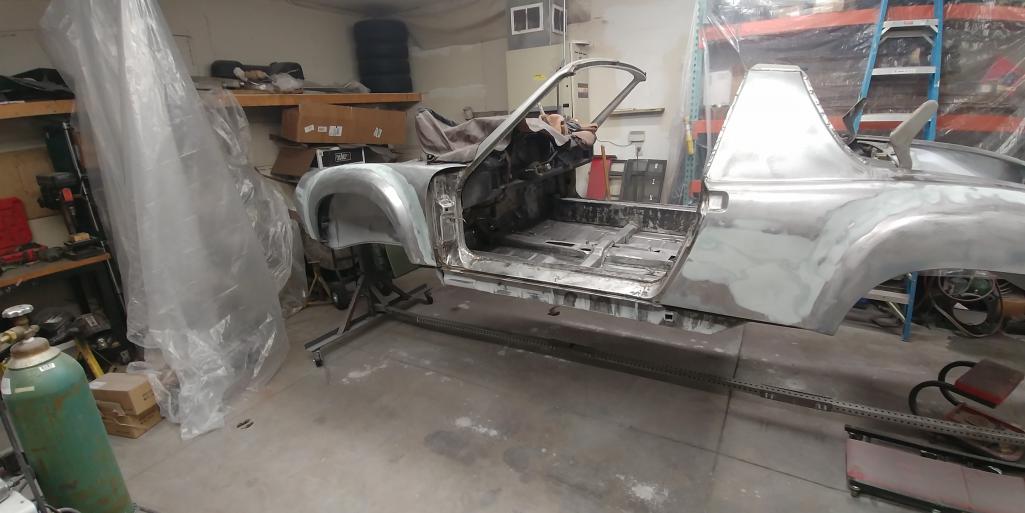
Sanded and prepped the exterior .. Will prime tonight. Yes there is a skim coat of filler.. Its not 1/2" thick so don't worry. The plan is to prime and let all the body work sit for a year or so.. This will allow any shrinking to happen over that period(winters are particularly hard on that) .. Once this is all primed the work doesnt stop still have the frunk to work with.
 |
| Cairo94507 |
 May 3 2018, 08:04 AM May 3 2018, 08:04 AM
Post
#472
|
|
Michael           Group: Members Posts: 10,297 Joined: 1-November 08 From: Auburn, CA Member No.: 9,712 Region Association: Northern California 
|
Nice seeing it looking ready for primer. (IMG:style_emoticons/default/beerchug.gif)
|
| mb911 |
 May 3 2018, 08:58 AM May 3 2018, 08:58 AM
Post
#473
|
|
914 Guru      Group: Members Posts: 7,544 Joined: 2-January 09 From: Burlington wi Member No.: 9,892 Region Association: Upper MidWest 
|
About 3 years in the making to get to this point..
|
| bbrock |
 May 3 2018, 11:17 AM May 3 2018, 11:17 AM
Post
#474
|
|
914 Guru      Group: Members Posts: 5,269 Joined: 17-February 17 From: Montana Member No.: 20,845 Region Association: Rocky Mountains 
|
Are you going to spray with it on the rotisserie? I'm starting to try to envision the logistics involved when my car gets to this stage. I still have a month or so to watch yours and see how it's done. (IMG:style_emoticons/default/beer.gif)
|
| mb911 |
 May 3 2018, 12:35 PM May 3 2018, 12:35 PM
Post
#475
|
|
914 Guru      Group: Members Posts: 7,544 Joined: 2-January 09 From: Burlington wi Member No.: 9,892 Region Association: Upper MidWest 
|
Are you going to spray with it on the rotisserie? I'm starting to try to envision the logistics involved when my car gets to this stage. I still have a month or so to watch yours and see how it's done. (IMG:style_emoticons/default/beer.gif) Yup gonna do the rotisserie for priming.. I still need to prep engine compartment and frunk.. Trying to prime manageable chunks.. I want it rolling this summer.. Underside is gonna get the bed liner before too long. |
| PanelBilly |
 May 3 2018, 01:54 PM May 3 2018, 01:54 PM
Post
#476
|
|
914 Guru      Group: Members Posts: 5,879 Joined: 23-July 06 From: Kent, Wa Member No.: 6,488 Region Association: Pacific Northwest 
|
Tape off all the places that you will mount parts to before you do the bed liner. This is especially important where there’s nuts welded in for the suspension. You can cut and peal the liner off when its dry, but it’s easier to do it when its been taped off first. Are you doing the engine bay too?
|
| mb911 |
 May 3 2018, 02:22 PM May 3 2018, 02:22 PM
Post
#477
|
|
914 Guru      Group: Members Posts: 7,544 Joined: 2-January 09 From: Burlington wi Member No.: 9,892 Region Association: Upper MidWest 
|
Tape off all the places that you will mount parts to before you do the bed liner. This is especially important where there’s nuts welded in for the suspension. You can cut and peal the liner off when its dry, but it’s easier to do it when its been taped off first. Are you doing the engine bay too? Thats good advice.. I will do that for sure.. Engine bay I am undecided.. It would be nice to keep it uniform.. But at the same time gloss paint makes it nice too |
| mepstein |
 May 3 2018, 02:28 PM May 3 2018, 02:28 PM
Post
#478
|
|
914-6 GT in waiting                Group: Members Posts: 19,843 Joined: 19-September 09 From: Landenberg, PA/Wilmington, DE Member No.: 10,825 Region Association: MidAtlantic Region 
|
Tape off all the places that you will mount parts to before you do the bed liner. This is especially important where there’s nuts welded in for the suspension. You can cut and peal the liner off when its dry, but it’s easier to do it when its been taped off first. Are you doing the engine bay too? Thats good advice.. I will do that for sure.. Engine bay I am undecided.. It would be nice to keep it uniform.. But at the same time gloss paint makes it nice too Gloss is much easier to clean than a textured finish. I’ve read of guys using a single coat of clear to make the bed liner easier to clean. |
| mb911 |
 May 3 2018, 02:42 PM May 3 2018, 02:42 PM
Post
#479
|
|
914 Guru      Group: Members Posts: 7,544 Joined: 2-January 09 From: Burlington wi Member No.: 9,892 Region Association: Upper MidWest 
|
Tape off all the places that you will mount parts to before you do the bed liner. This is especially important where there’s nuts welded in for the suspension. You can cut and peal the liner off when its dry, but it’s easier to do it when its been taped off first. Are you doing the engine bay too? Thats good advice.. I will do that for sure.. Engine bay I am undecided.. It would be nice to keep it uniform.. But at the same time gloss paint makes it nice too Gloss is much easier to clean than a textured finish. I’ve read of guys using a single coat of clear to make the bed liner easier to clean. Another good idea.. Proper prep would be a must.. |
| raynekat |
 May 3 2018, 06:02 PM May 3 2018, 06:02 PM
Post
#480
|
|
Advanced Member     Group: Members Posts: 2,169 Joined: 30-December 14 From: Coeur d'Alene, Idaho Member No.: 18,263 Region Association: Pacific Northwest 
|
|
  |
1 User(s) are reading this topic (1 Guests and 0 Anonymous Users)
0 Members:

|
Lo-Fi Version | Time is now: 19th April 2025 - 01:37 PM |
Invision Power Board
v9.1.4 © 2025 IPS, Inc.


