|
|

|
Porsche, and the Porsche crest are registered trademarks of Dr. Ing. h.c. F. Porsche AG.
This site is not affiliated with Porsche in any way. Its only purpose is to provide an online forum for car enthusiasts. All other trademarks are property of their respective owners. |
|
|
  |
| Matty900 |
 Jun 10 2017, 11:11 AM Jun 10 2017, 11:11 AM
Post
#141
|
|
Senior Member    Group: Members Posts: 1,291 Joined: 21-February 15 From: Oregon Member No.: 18,454 Region Association: Pacific Northwest |
I grabbed the sample from the shop before they were done. They will have the correct ends when were done. Thanks for the heads up.
Update: After lots of trial and error we found it best to use an aggressive locking washer rather than trying to machine the ridges in to the shafts. Attached thumbnail(s) 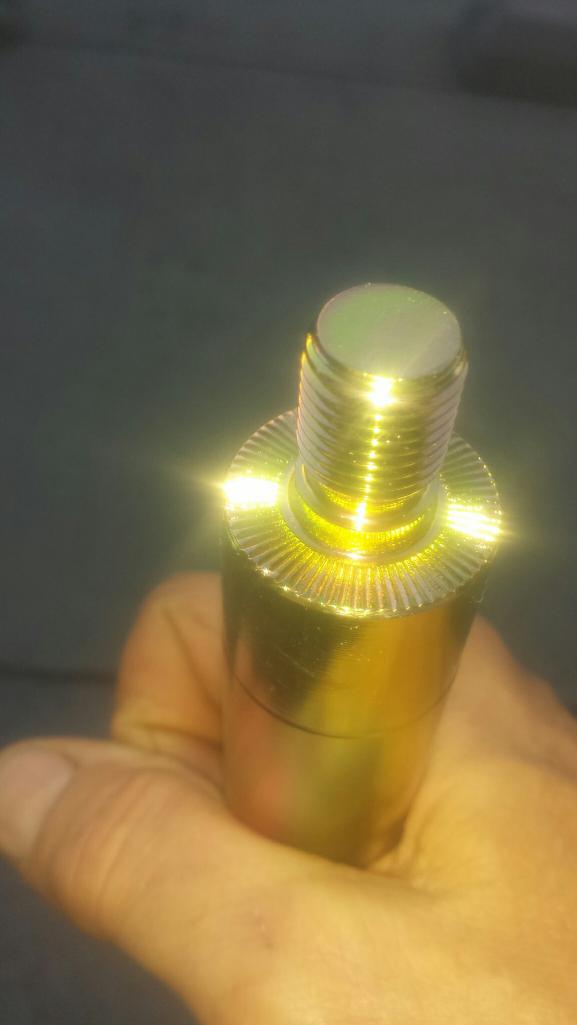
|
| Matty900 |
 Jun 10 2017, 11:14 AM Jun 10 2017, 11:14 AM
Post
#142
|
|
Senior Member    Group: Members Posts: 1,291 Joined: 21-February 15 From: Oregon Member No.: 18,454 Region Association: Pacific Northwest |
Worked on the wiper mechanism yesterday
Attached thumbnail(s) 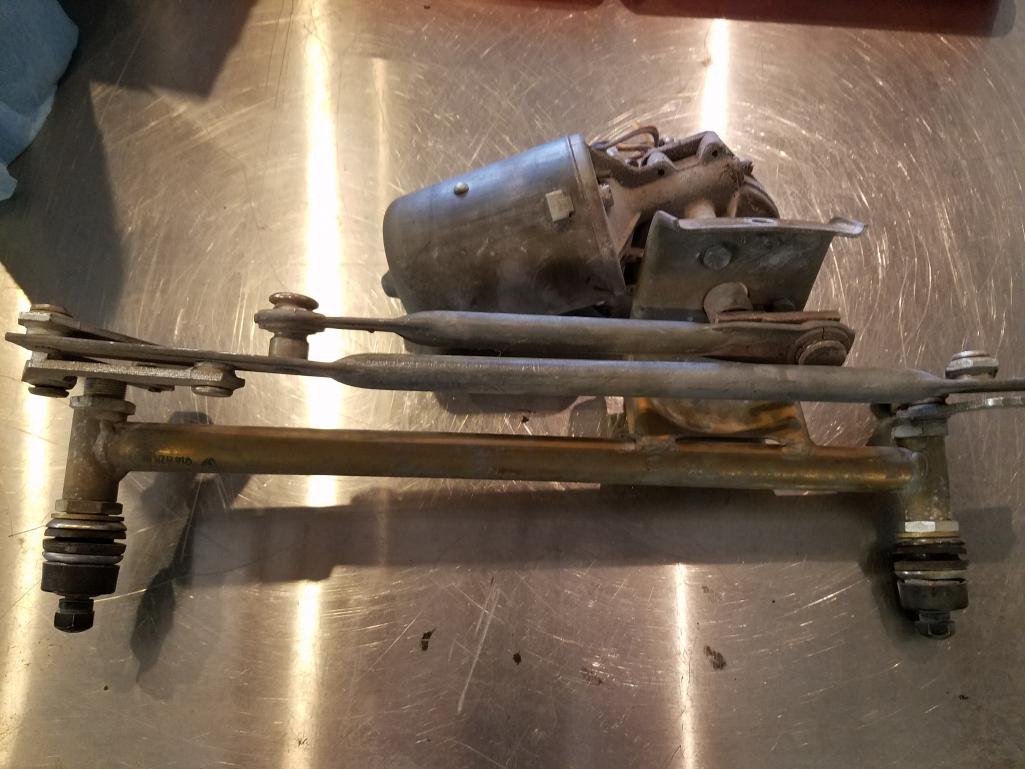
|
| Matty900 |
 Jun 10 2017, 11:17 AM Jun 10 2017, 11:17 AM
Post
#143
|
|
Senior Member    Group: Members Posts: 1,291 Joined: 21-February 15 From: Oregon Member No.: 18,454 Region Association: Pacific Northwest |
We make all of the bushings to rebuild these on the 911. But on the 914 they are pressed together and would have to be drilled out. Luckily all if the bushings were in great shape on my assembly.
Attached thumbnail(s) 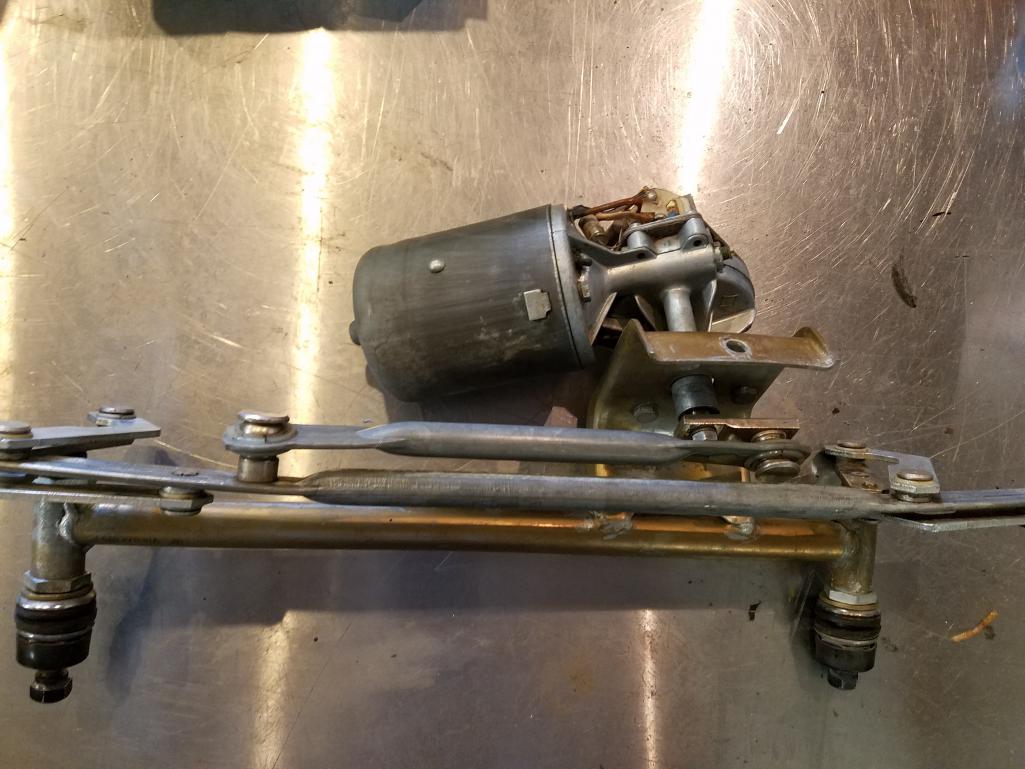
|
| Matty900 |
 Jun 10 2017, 11:22 AM Jun 10 2017, 11:22 AM
Post
#144
|
|
Senior Member    Group: Members Posts: 1,291 Joined: 21-February 15 From: Oregon Member No.: 18,454 Region Association: Pacific Northwest |
Replaced all of the parts that wear out with new ones we make.
Attached thumbnail(s) 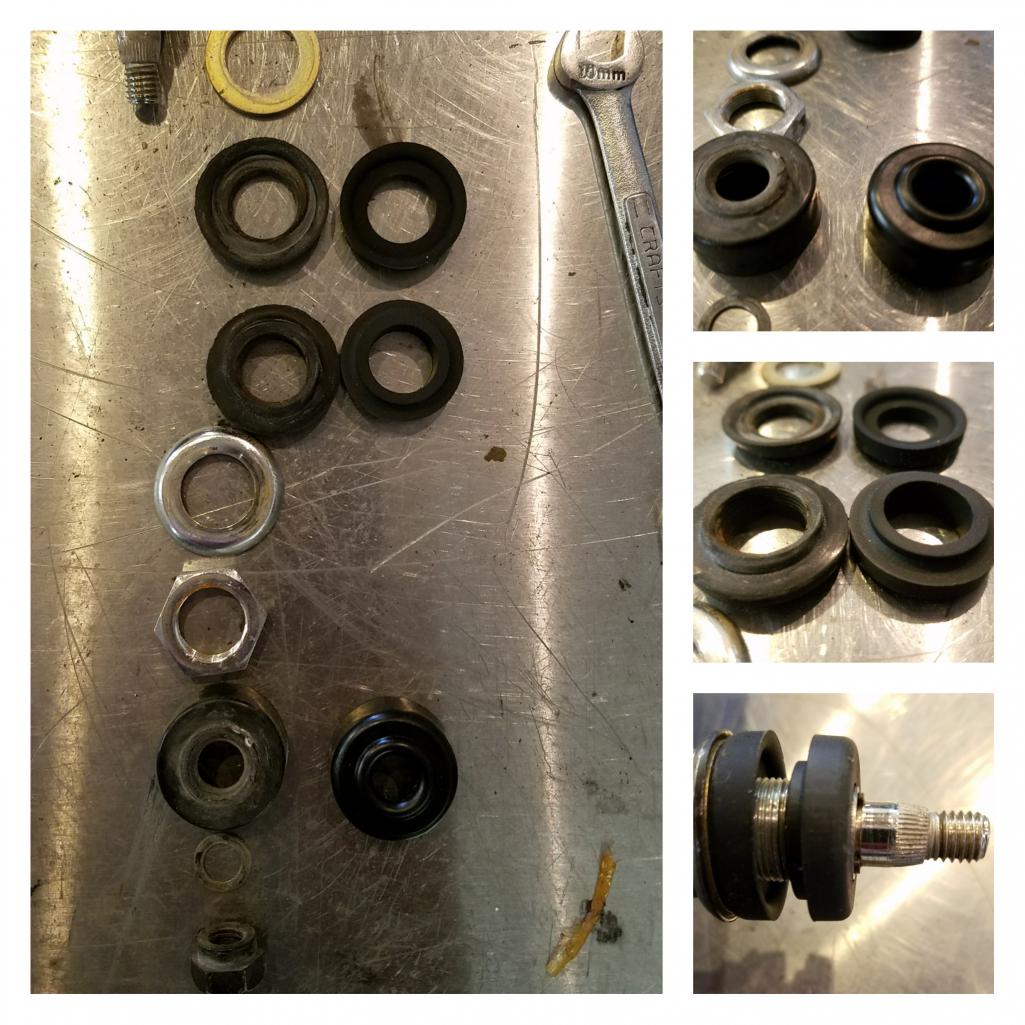
|
| Matty900 |
 Jun 10 2017, 11:23 AM Jun 10 2017, 11:23 AM
Post
#145
|
|
Senior Member    Group: Members Posts: 1,291 Joined: 21-February 15 From: Oregon Member No.: 18,454 Region Association: Pacific Northwest |
Getting closer
Attached thumbnail(s) 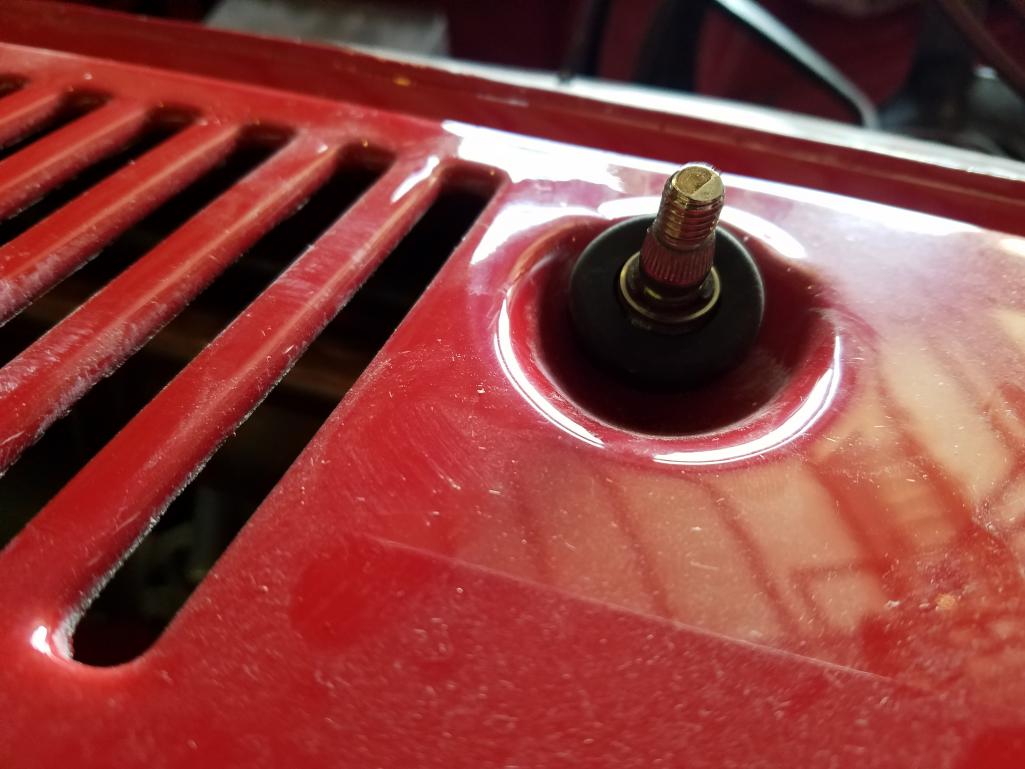
|
| Matty900 |
 Jun 11 2017, 01:35 PM Jun 11 2017, 01:35 PM
Post
#146
|
|
Senior Member    Group: Members Posts: 1,291 Joined: 21-February 15 From: Oregon Member No.: 18,454 Region Association: Pacific Northwest |
Worked on the wiring harness for the front trunk. It needed some cleaning and to be re wrapped but it was in pretty good shape
Attached thumbnail(s) 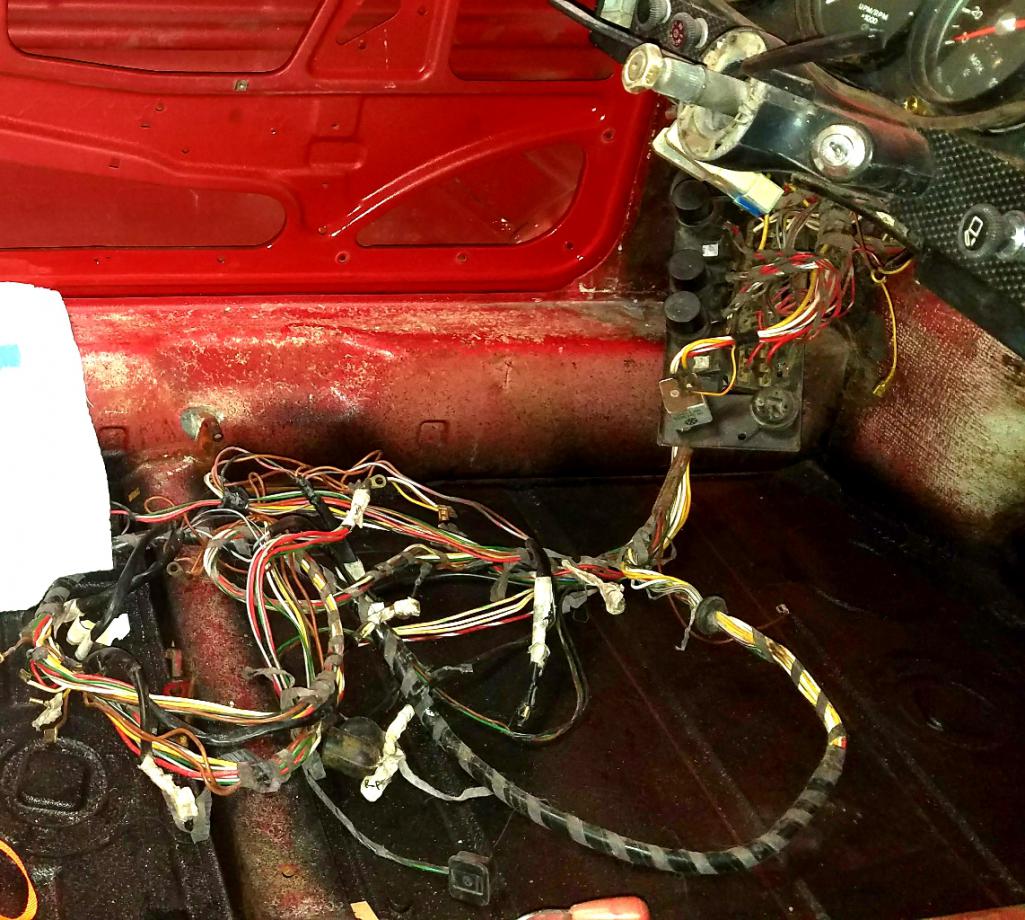
|
| Matty900 |
 Jun 11 2017, 01:43 PM Jun 11 2017, 01:43 PM
Post
#147
|
|
Senior Member    Group: Members Posts: 1,291 Joined: 21-February 15 From: Oregon Member No.: 18,454 Region Association: Pacific Northwest |
Cleaned wires and taped with the cloth tape
Attached thumbnail(s) 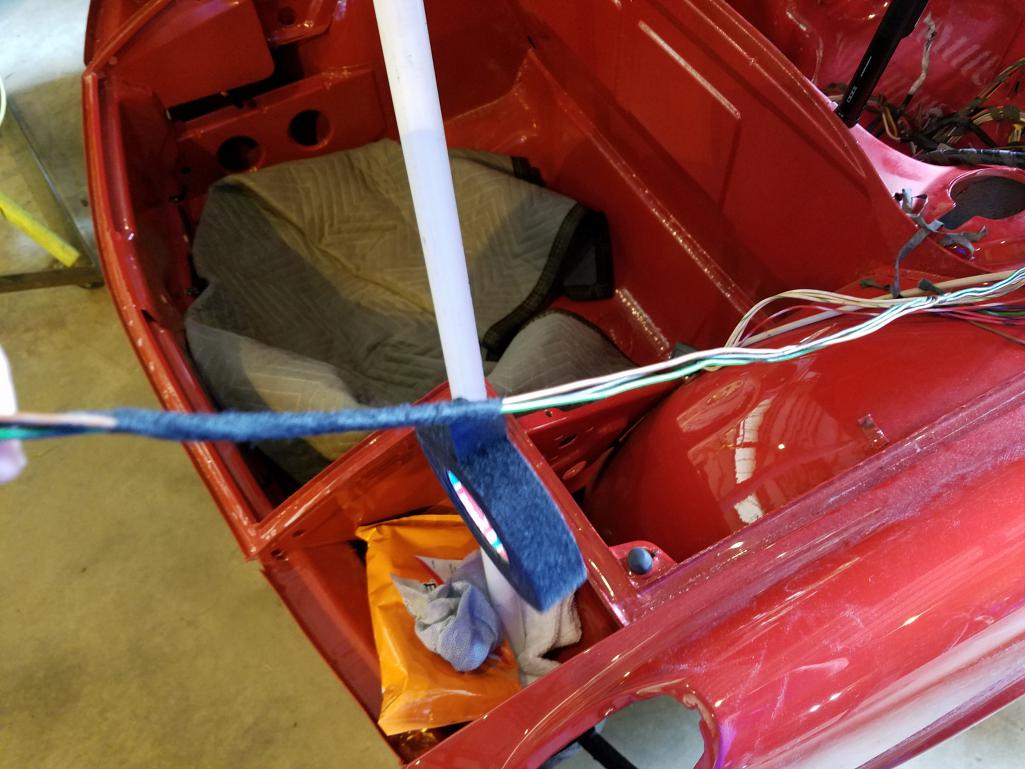
|
| Matty900 |
 Jun 11 2017, 01:47 PM Jun 11 2017, 01:47 PM
Post
#148
|
|
Senior Member    Group: Members Posts: 1,291 Joined: 21-February 15 From: Oregon Member No.: 18,454 Region Association: Pacific Northwest |
Replacing all grommets and boots with new ones we make. We are now working on the round one shown here.
Attached thumbnail(s) 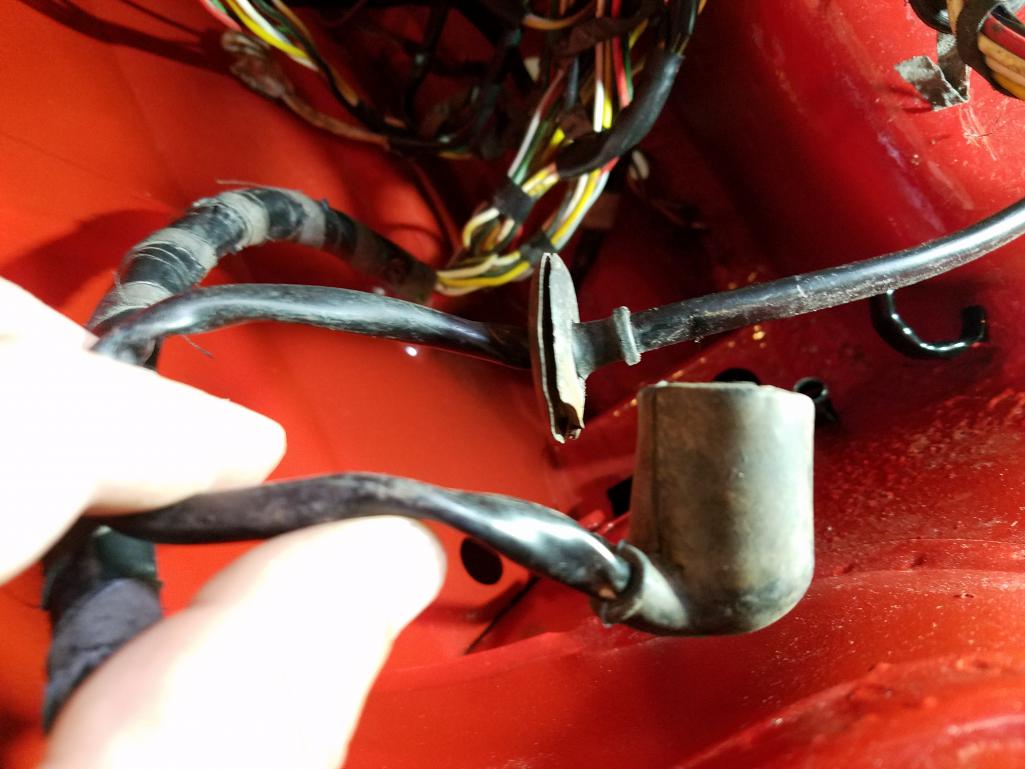
|
| Matty900 |
 Jun 11 2017, 01:58 PM Jun 11 2017, 01:58 PM
Post
#149
|
|
Senior Member    Group: Members Posts: 1,291 Joined: 21-February 15 From: Oregon Member No.: 18,454 Region Association: Pacific Northwest |
The old boot was not in too bad of shape but was starting to crack so I replaced it. Tip for instilling the wires. Put the boot in hot water for a minute to soften it up. Us a little wire lube. Work the 1st connector in and then push it in with next one so they are both sliding in at the same time. Push the rest of the way in using needle nose pliers.
Attached thumbnail(s) 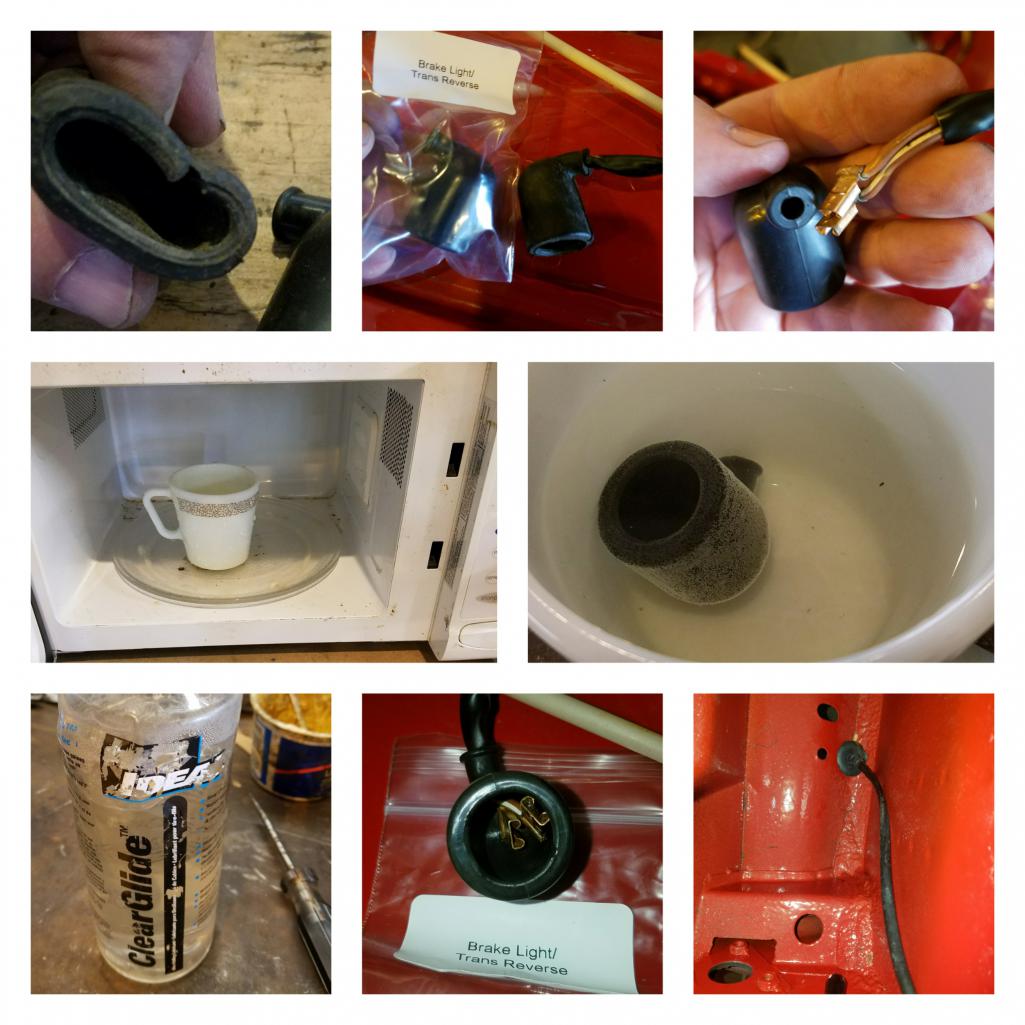
|
| Matty900 |
 Jun 11 2017, 02:00 PM Jun 11 2017, 02:00 PM
Post
#150
|
|
Senior Member    Group: Members Posts: 1,291 Joined: 21-February 15 From: Oregon Member No.: 18,454 Region Association: Pacific Northwest |
Attached thumbnail(s) 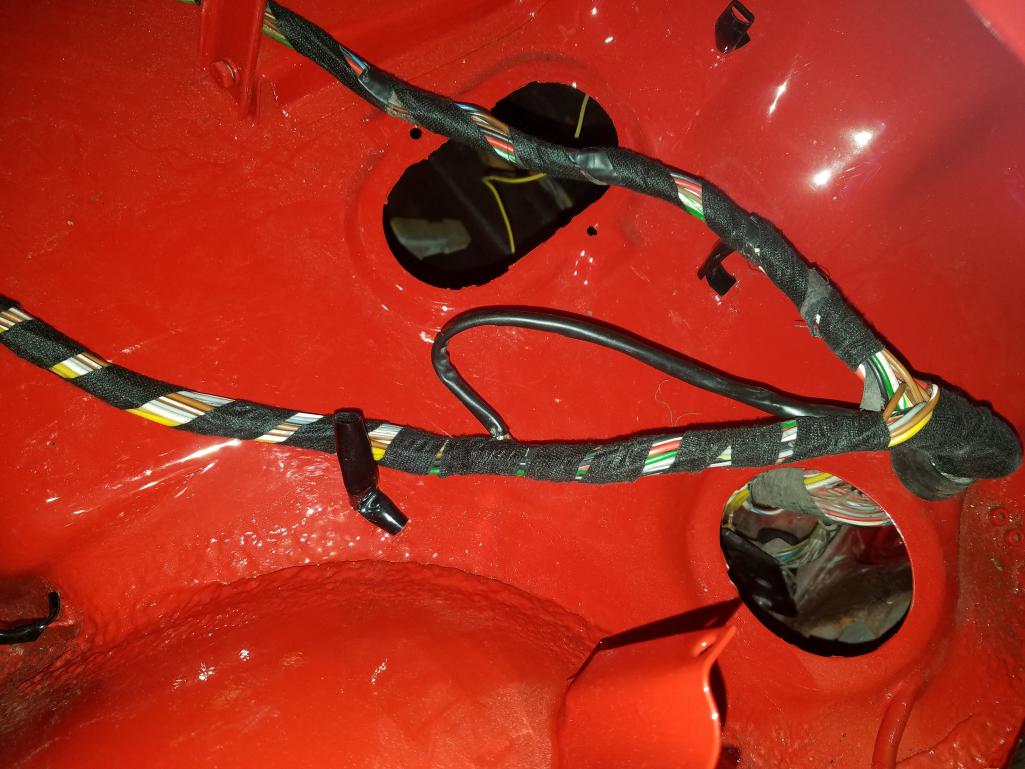
|
| Matty900 |
 Jun 11 2017, 02:05 PM Jun 11 2017, 02:05 PM
Post
#151
|
|
Senior Member    Group: Members Posts: 1,291 Joined: 21-February 15 From: Oregon Member No.: 18,454 Region Association: Pacific Northwest |
New grommet, tape and our new wiring harness tab covers. (IMG:style_emoticons/default/biggrin.gif)
Attached thumbnail(s) 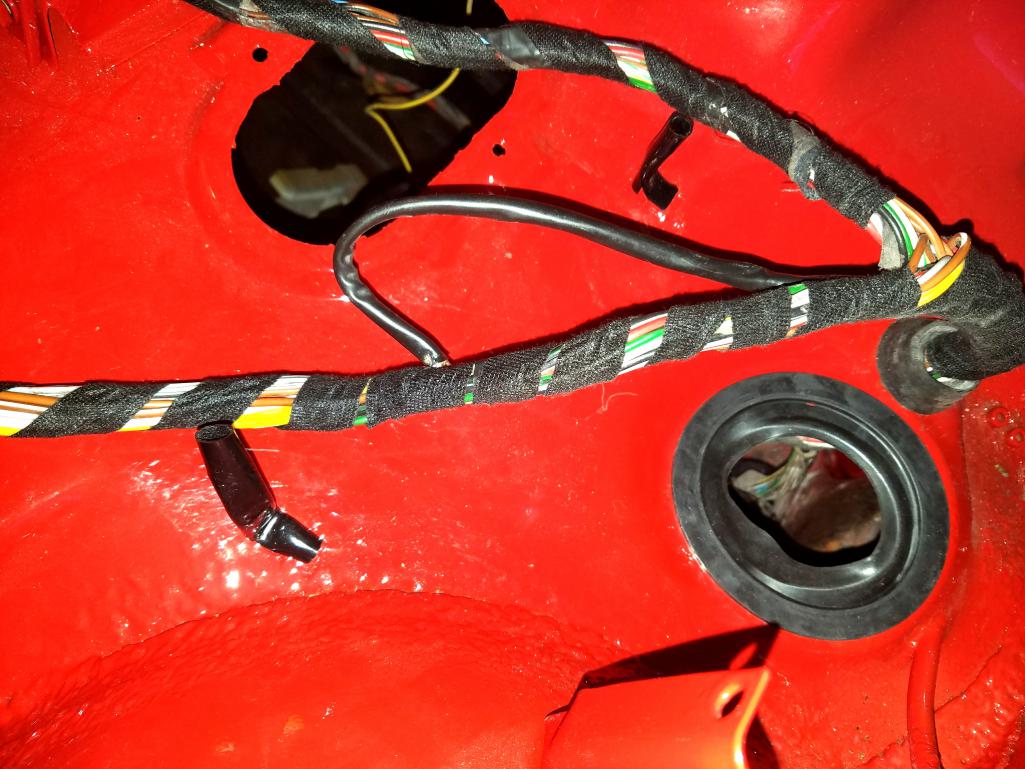
|
| Matty900 |
 Jun 11 2017, 02:09 PM Jun 11 2017, 02:09 PM
Post
#152
|
|
Senior Member    Group: Members Posts: 1,291 Joined: 21-February 15 From: Oregon Member No.: 18,454 Region Association: Pacific Northwest |
Wiring in tank area done
Attached thumbnail(s) 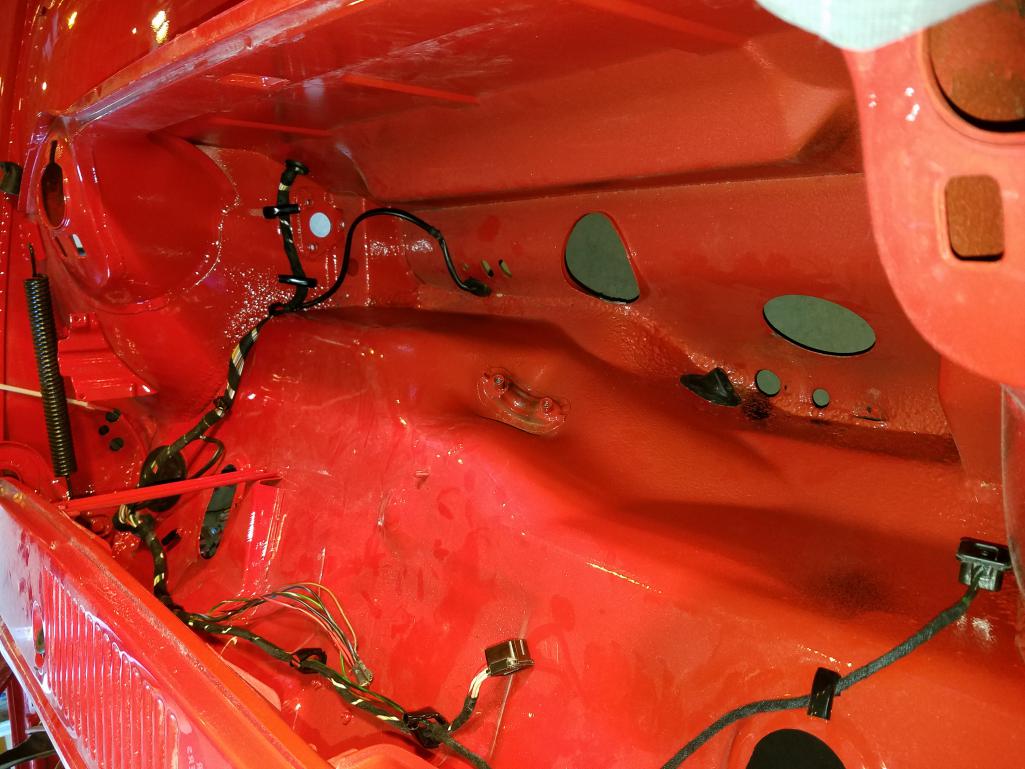
|
| Matty900 |
 Jun 11 2017, 02:10 PM Jun 11 2017, 02:10 PM
Post
#153
|
|
Senior Member    Group: Members Posts: 1,291 Joined: 21-February 15 From: Oregon Member No.: 18,454 Region Association: Pacific Northwest |
Wiring haness in front trunk done (IMG:style_emoticons/default/biggrin.gif)
Attached thumbnail(s) 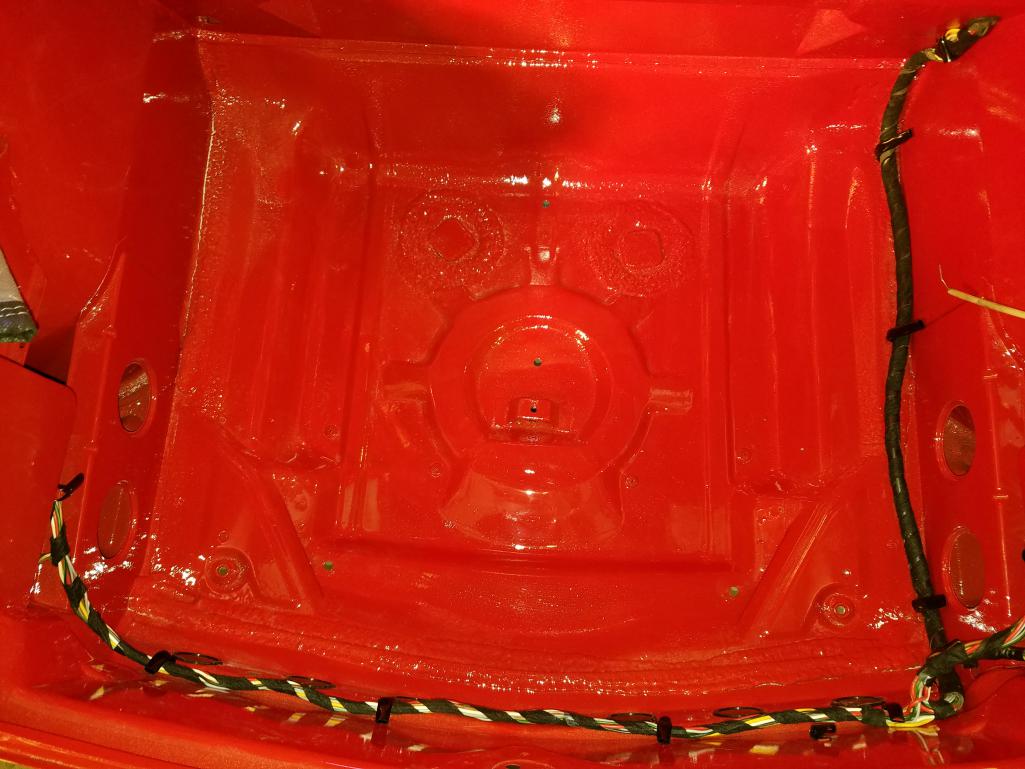
|
| Matty900 |
 Jun 11 2017, 02:24 PM Jun 11 2017, 02:24 PM
Post
#154
|
|
Senior Member    Group: Members Posts: 1,291 Joined: 21-February 15 From: Oregon Member No.: 18,454 Region Association: Pacific Northwest |
Learned that the "Engine Deck Lid Bumper" is actualy used in 2 places. The other is in the front trunk to keep water out in these 2 holes
Attached thumbnail(s) 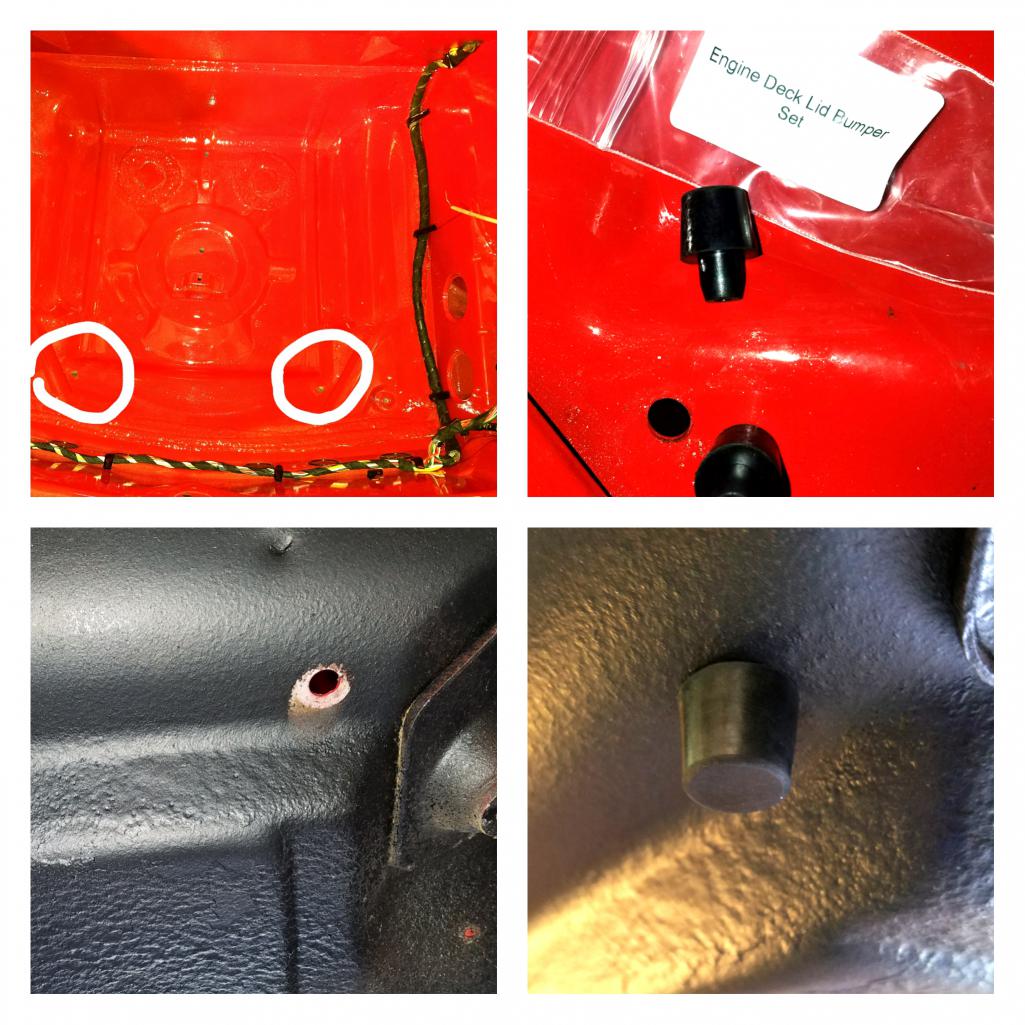
|
| Matty900 |
 Jun 11 2017, 02:43 PM Jun 11 2017, 02:43 PM
Post
#155
|
|
Senior Member    Group: Members Posts: 1,291 Joined: 21-February 15 From: Oregon Member No.: 18,454 Region Association: Pacific Northwest |
New part preview
Attached thumbnail(s) 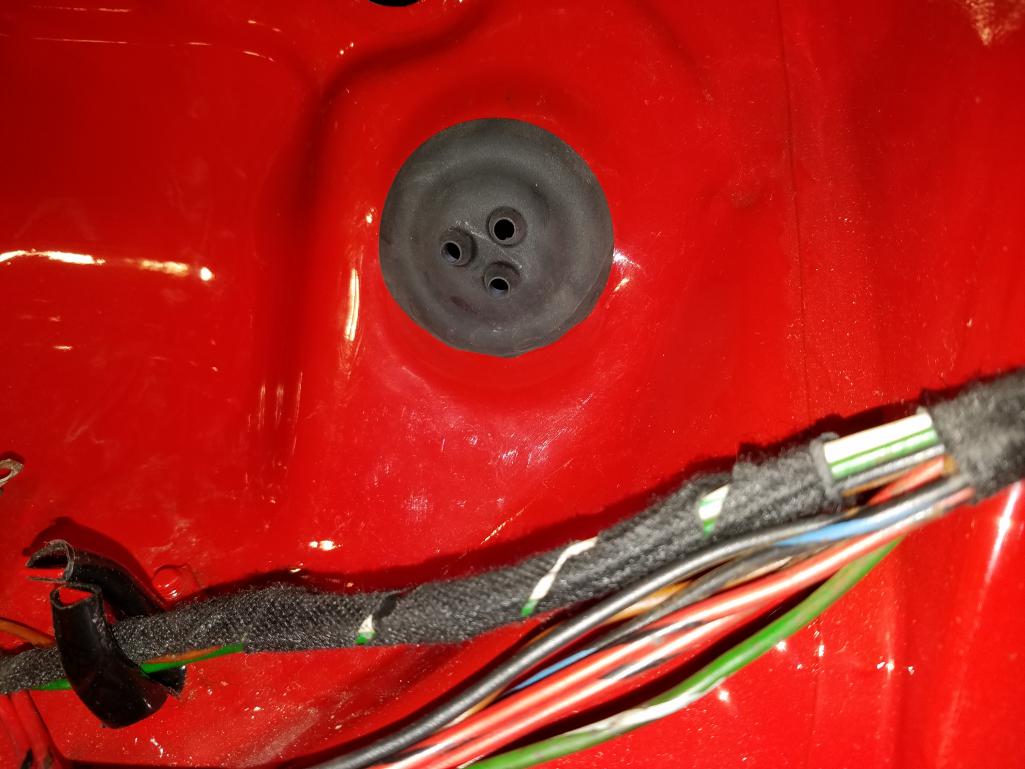
|
| SirAndy |
 Jun 11 2017, 02:44 PM Jun 11 2017, 02:44 PM
Post
#156
|
|
Resident German                          Group: Admin Posts: 42,191 Joined: 21-January 03 From: Oakland, Kalifornia Member No.: 179 Region Association: Northern California |
Learned that the "Engine Deck Lid Bumper" is actualy used in 2 places. The other is in the front trunk to keep water out in these 2 holes Actually, that is incorrect! The holes in the front trunk are supposed to have longer rubber tubes in them that allow water to flow out of the trunk. (IMG:style_emoticons/default/shades.gif) |
| Matty900 |
 Jun 11 2017, 02:46 PM Jun 11 2017, 02:46 PM
Post
#157
|
|
Senior Member    Group: Members Posts: 1,291 Joined: 21-February 15 From: Oregon Member No.: 18,454 Region Association: Pacific Northwest |
Got the fan schroud painted
Attached thumbnail(s) 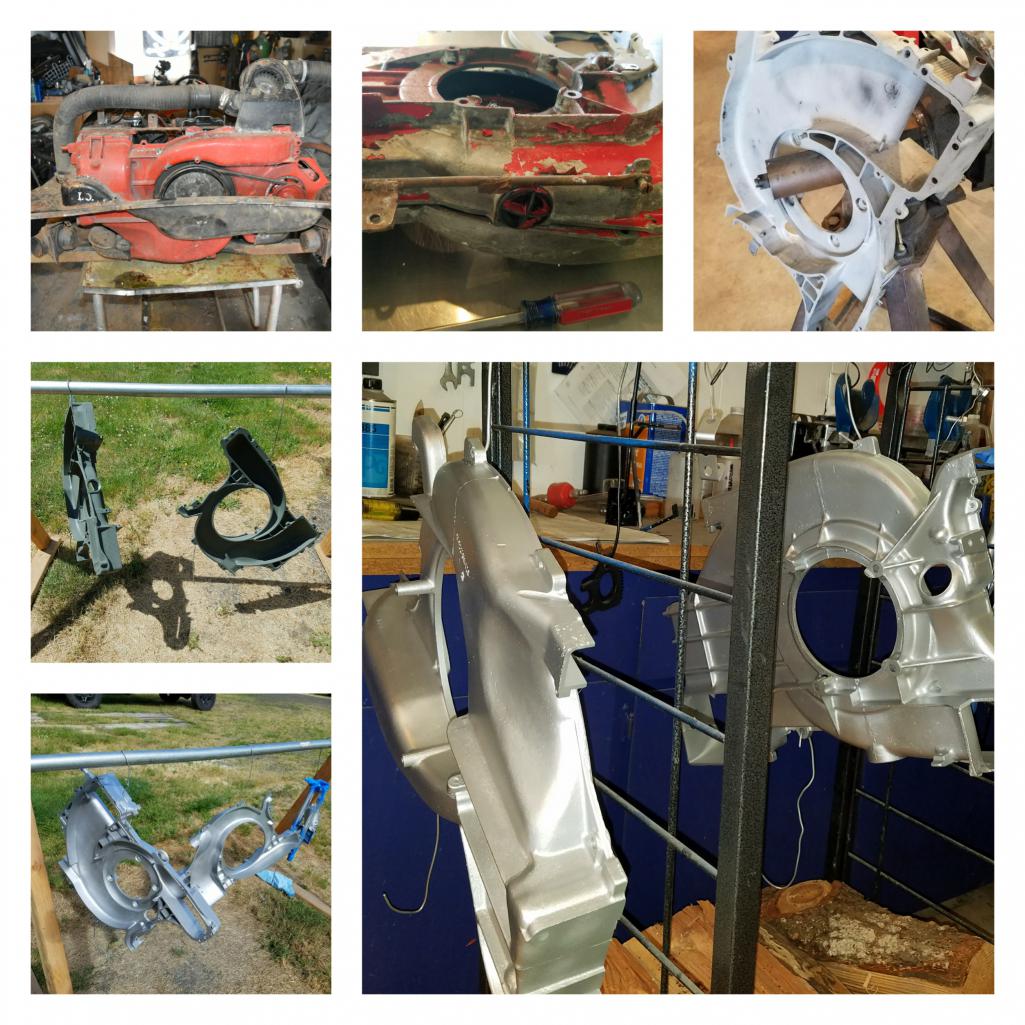
|
| SirAndy |
 Jun 11 2017, 02:46 PM Jun 11 2017, 02:46 PM
Post
#158
|
|
Resident German                          Group: Admin Posts: 42,191 Joined: 21-January 03 From: Oakland, Kalifornia Member No.: 179 Region Association: Northern California |
The holes in the front trunk are supposed to have longer rubber tubes in them that allow water to flow out of the trunk. (IMG:style_emoticons/default/shades.gif) Part # 911.025.612.00 (IMG:http://www.914world.com/bbs2/uploads/post-11134-1366984339.jpg) |
| Matty900 |
 Jun 11 2017, 03:22 PM Jun 11 2017, 03:22 PM
Post
#159
|
|
Senior Member    Group: Members Posts: 1,291 Joined: 21-February 15 From: Oregon Member No.: 18,454 Region Association: Pacific Northwest |
Learned that the "Engine Deck Lid Bumper" is actualy used in 2 places. The other is in the front trunk to keep water out in these 2 holes Actually, that is incorrect! The holes in the front trunk are supposed to have longer rubber tubes in them that allow water to flow out of the trunk. (IMG:style_emoticons/default/shades.gif) I removed the same part from the holes to take these photos. It came up while I was working on the parts list for the new website with Bruce Stone. The PET shows the same part number in 2 applications. One to stop the upward travel on the engine deck lid and the other in this location. I have yet to find where the drain tubes are in the PET. Is there possibly a variation in years? |
| Matty900 |
 Jun 11 2017, 03:32 PM Jun 11 2017, 03:32 PM
Post
#160
|
|
Senior Member    Group: Members Posts: 1,291 Joined: 21-February 15 From: Oregon Member No.: 18,454 Region Association: Pacific Northwest |
Learned that the "Engine Deck Lid Bumper" is actualy used in 2 places. The other is in the front trunk to keep water out in these 2 holes Actually, that is incorrect! The holes in the front trunk are supposed to have longer rubber tubes in them that allow water to flow out of the trunk. (IMG:style_emoticons/default/shades.gif) I removed the same part from the holes to take these photos. It came up while I was working on the parts list for the new website with Bruce Stone. The PET shows the same part number in 2 applications. One to stop the upward travel on the engine deck lid and the other in this location. I have yet to find where the drain tubes are in the PET. Is there possibly a variation in years? We make that part too but this is what I was finding in the PET. Any help in getting this figured out is greatly appreciated. Attached thumbnail(s) 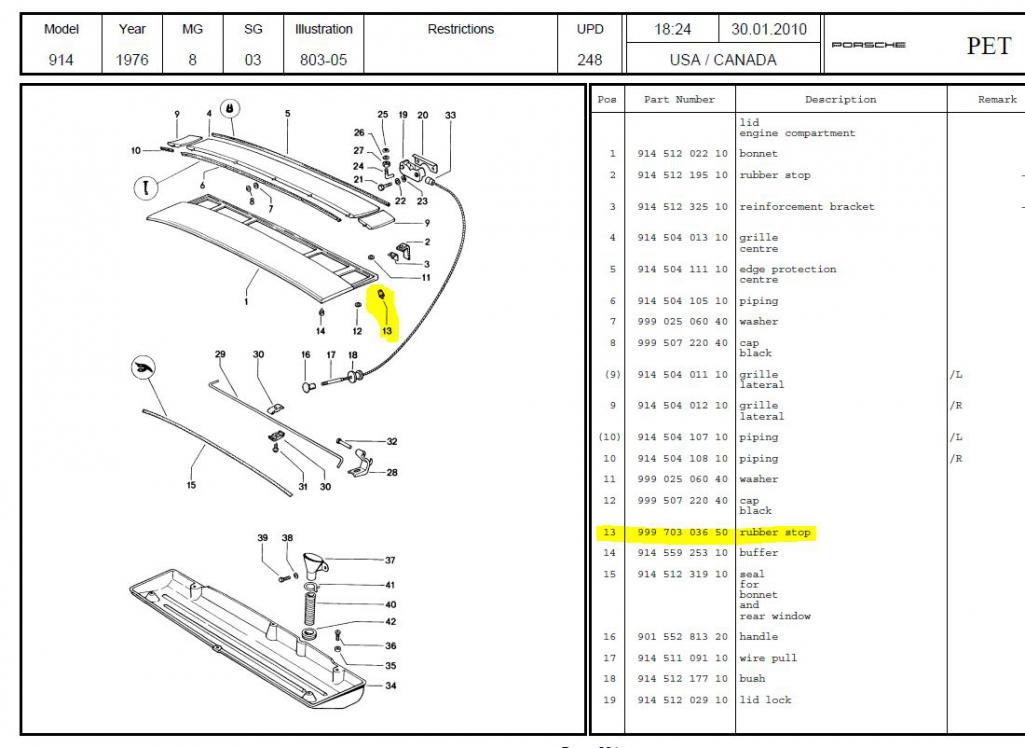 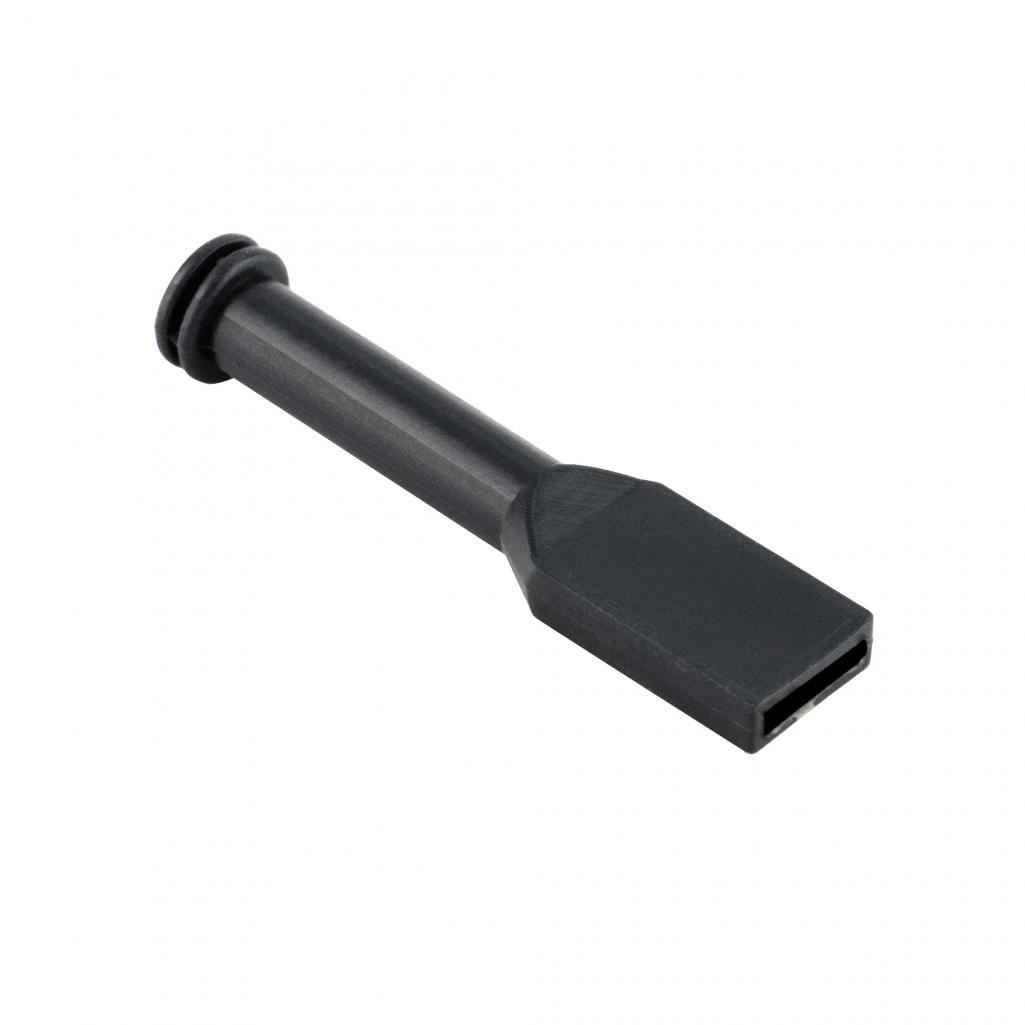 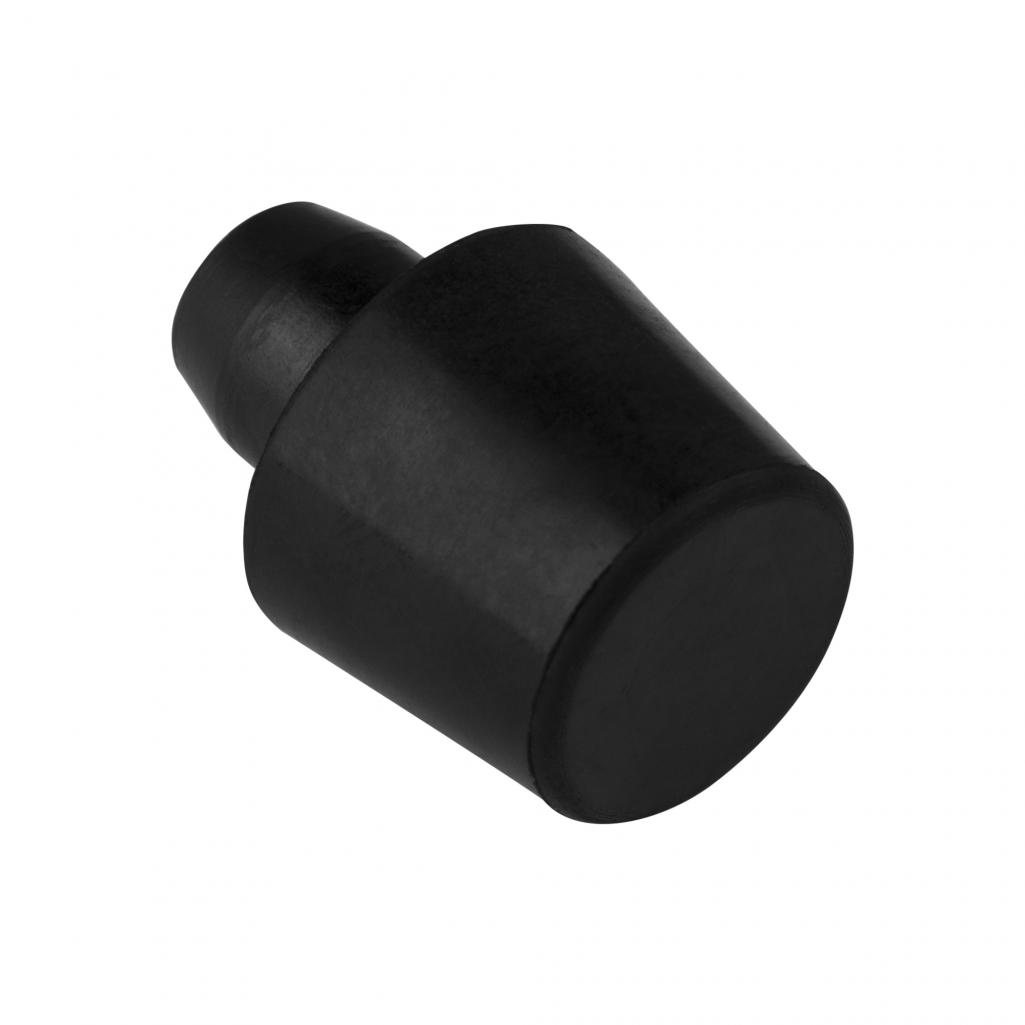 Attached image(s) 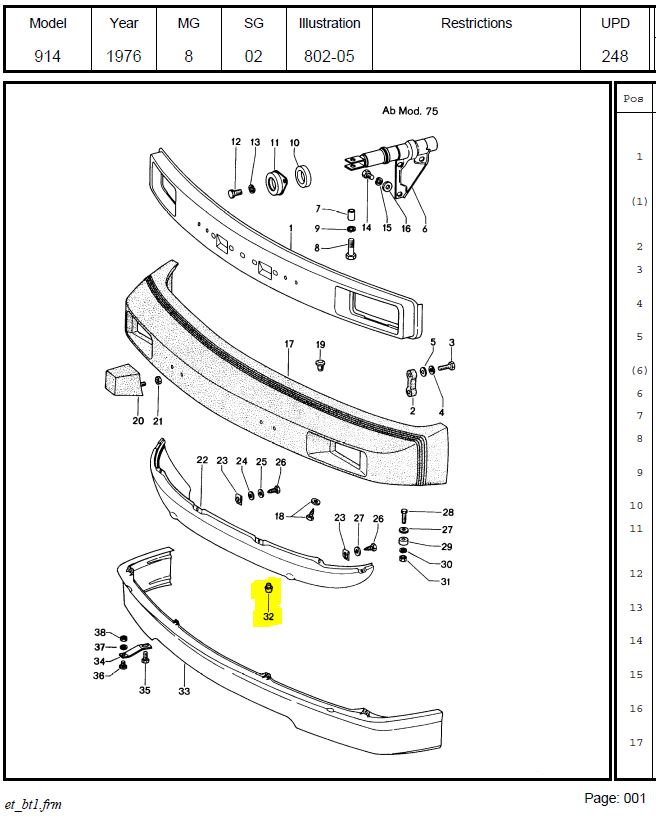 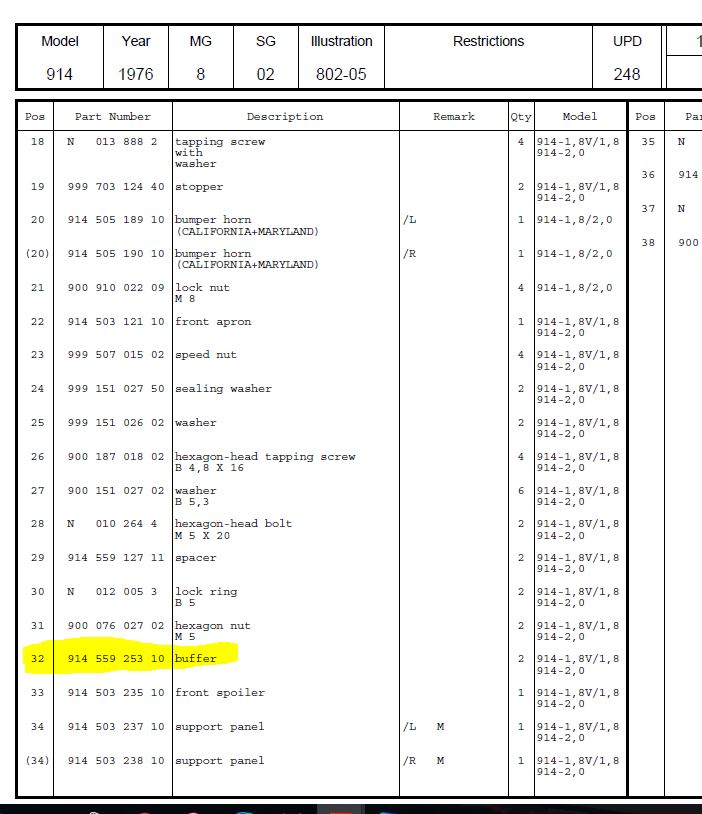
|
  |
1 User(s) are reading this topic (1 Guests and 0 Anonymous Users)
0 Members:

|
Lo-Fi Version | Time is now: 19th April 2025 - 02:49 PM |
Invision Power Board
v9.1.4 © 2025 IPS, Inc.


