|
|

|
Porsche, and the Porsche crest are registered trademarks of Dr. Ing. h.c. F. Porsche AG.
This site is not affiliated with Porsche in any way. Its only purpose is to provide an online forum for car enthusiasts. All other trademarks are property of their respective owners. |
|
|
  |
| cary |
 May 27 2016, 08:35 AM May 27 2016, 08:35 AM
Post
#281
|
|
Advanced Member     Group: Members Posts: 3,900 Joined: 26-January 04 From: Sherwood Oregon Member No.: 1,608 Region Association: Pacific Northwest 
|
|
| cary |
 May 27 2016, 09:35 PM May 27 2016, 09:35 PM
Post
#282
|
|
Advanced Member     Group: Members Posts: 3,900 Joined: 26-January 04 From: Sherwood Oregon Member No.: 1,608 Region Association: Pacific Northwest 
|
Now to see if all of our channel work will fit the hood.
Old rubber seal laid into place. All corners are now nice and tight. 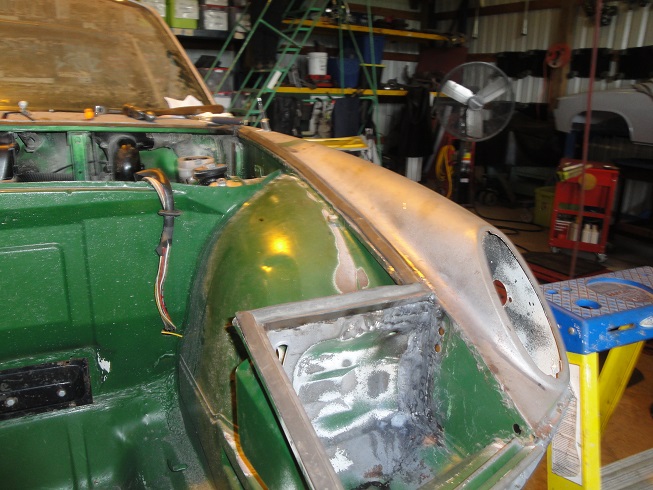 But we ran into trouble with the front trunk release cable. One of the allen screws was all rounded out. Dandy ......... Once we took off the hinge we could insert the allen driver and seat it with a couple taps with the hammer. Magic .... 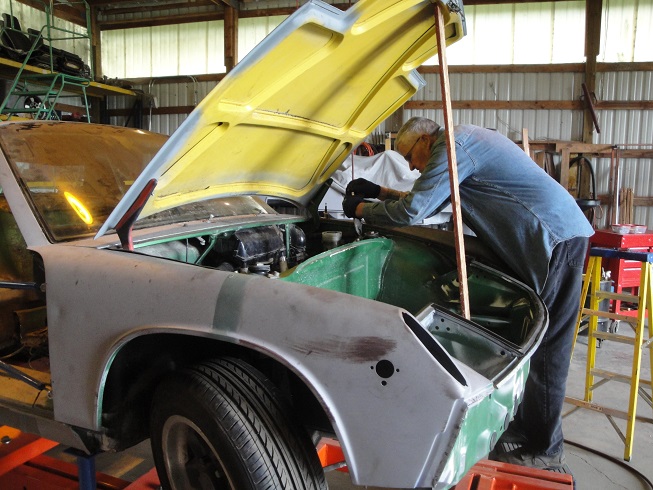 We found a big kink in the cable which added to the troubles. 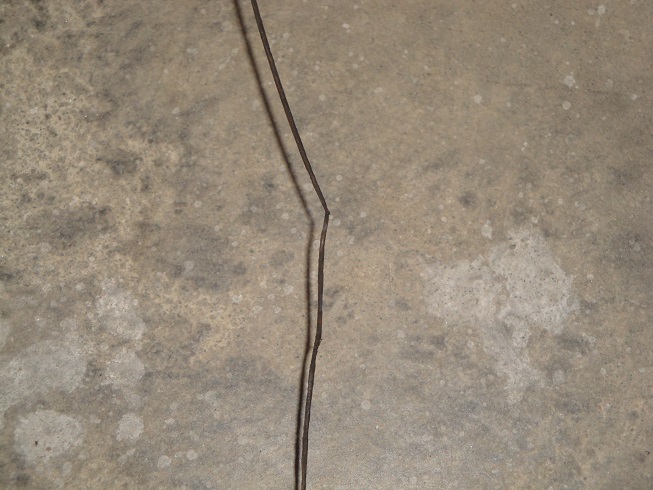 Then we had to hunt for a front trunk latch. Car came to us without a latch. We had to go thru everything twice, but we finally found the one from my project car. 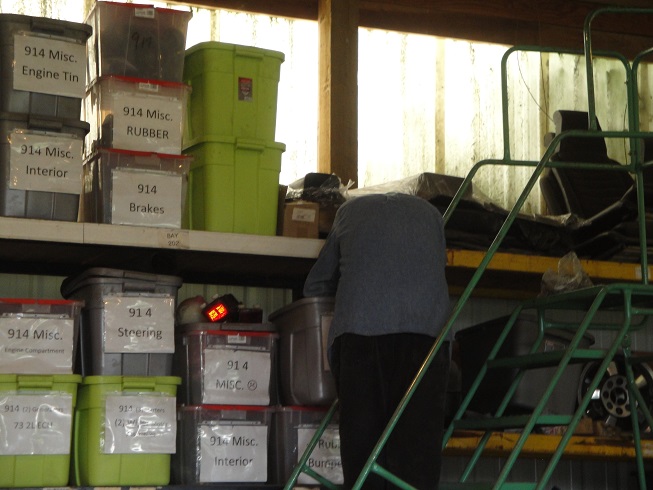 Final result ............. 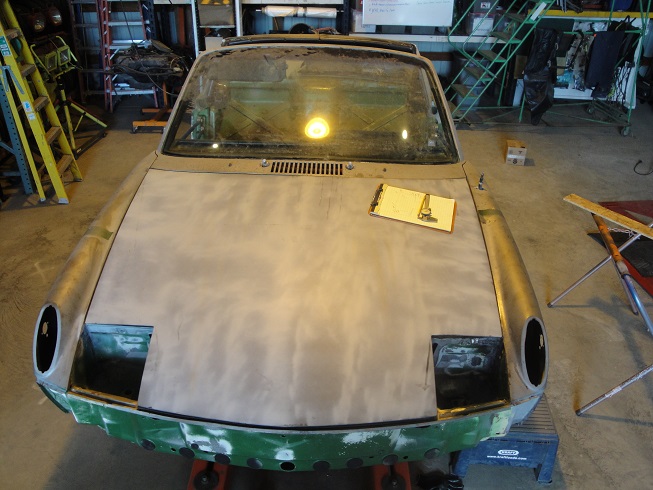 It still needs a 1.5mm clockwise rotation. I may or may not be involved in the final Assembly after paint. But I needed to be sure everything fit and lined up perfectly. After looking over all the well restored cars at WCR I know that the front hood and eye lids need to be dead on. |
| Mikey914 |
 May 27 2016, 10:46 PM May 27 2016, 10:46 PM
Post
#283
|
|
The rubber man           Group: Members Posts: 12,742 Joined: 27-December 04 From: Hillsboro, OR Member No.: 3,348 Region Association: None 
|
Looks like I need to get you a cable and guide tube.
|
| cary |
 May 30 2016, 10:28 PM May 30 2016, 10:28 PM
Post
#284
|
|
Advanced Member     Group: Members Posts: 3,900 Joined: 26-January 04 From: Sherwood Oregon Member No.: 1,608 Region Association: Pacific Northwest 
|
Spent the morning doing some housekeeping and tool sorting. Starting to assemble, purchase and fill a new toolbox for my new job.
Seam sealed the front trunk channel and head light buckets for a second time. 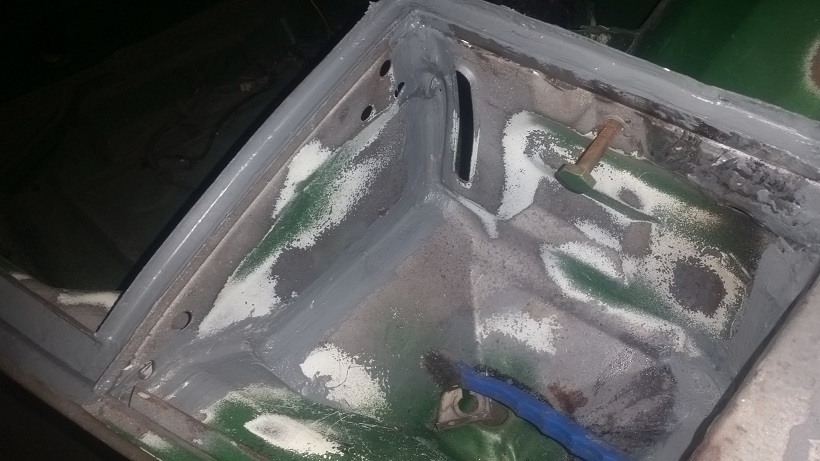 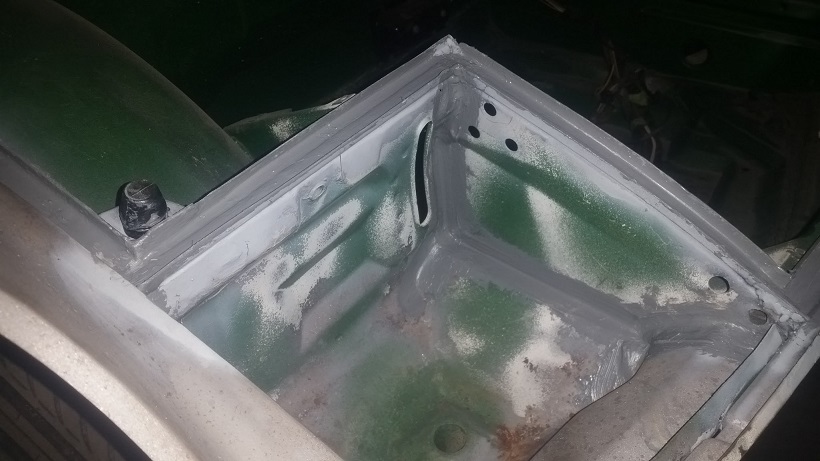 Then set about lifting the car off the frame bench. It got a little complex do to the need to work on the engine compartment firewall, right suspension ear and the back half of the floor. 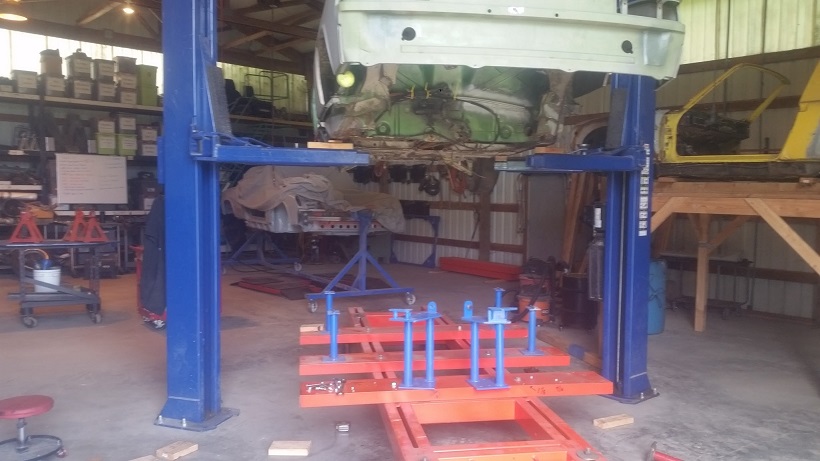 Then spent some research time figuring out my plan of attack. It does look like we'll need to come up with a good right T4 motor mount. We should be be able to get one from Doug. 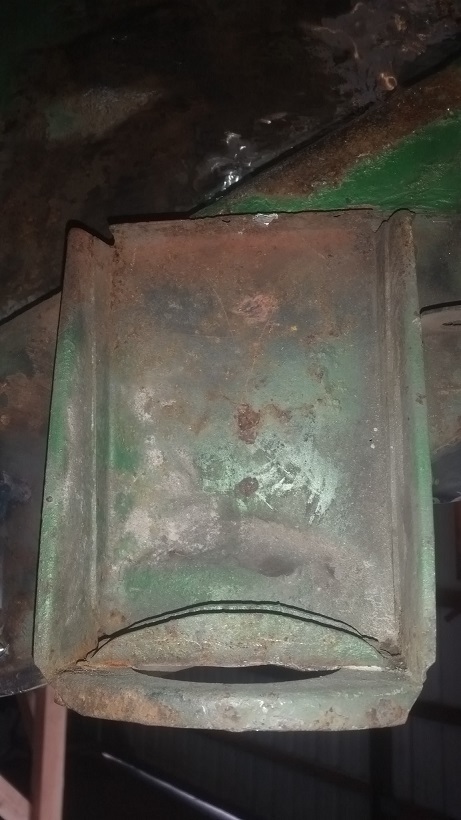 |
| raynekat |
 May 31 2016, 10:03 PM May 31 2016, 10:03 PM
Post
#285
|
|
Advanced Member     Group: Members Posts: 2,167 Joined: 30-December 14 From: Coeur d'Alene, Idaho Member No.: 18,263 Region Association: Pacific Northwest 
|
Then spent some research time figuring out my plan of attack. It does look like we'll need to come up with a good right T4 motor mount. We should be be able to get one from Doug.  I will have a left and right pair of those available..... (IMG:style_emoticons/default/smile.gif) |
| cary |
 May 31 2016, 11:12 PM May 31 2016, 11:12 PM
Post
#286
|
|
Advanced Member     Group: Members Posts: 3,900 Joined: 26-January 04 From: Sherwood Oregon Member No.: 1,608 Region Association: Pacific Northwest 
|
After lunch I finish the welds on the outer console. Sprayed it down with Cold Galvanizing. Then worked on the nicks and cuts on the inner console left from cutting off the tie ins.
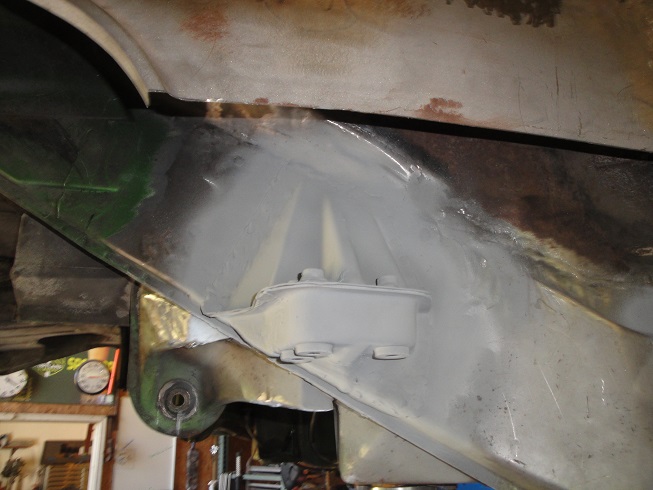 Super In Law starts on the fabricating the tie in plates. This time I dug out the suspension point cuts that I bought last year. This will aid him with reworking our patterns. http://www.914world.com/bbs2/index.php?sho...=247894&hl= 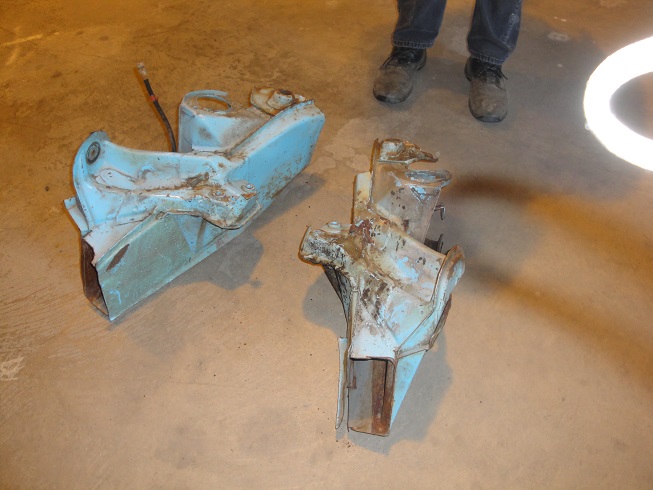 Puts it into the vise for ease of pattern measurements. 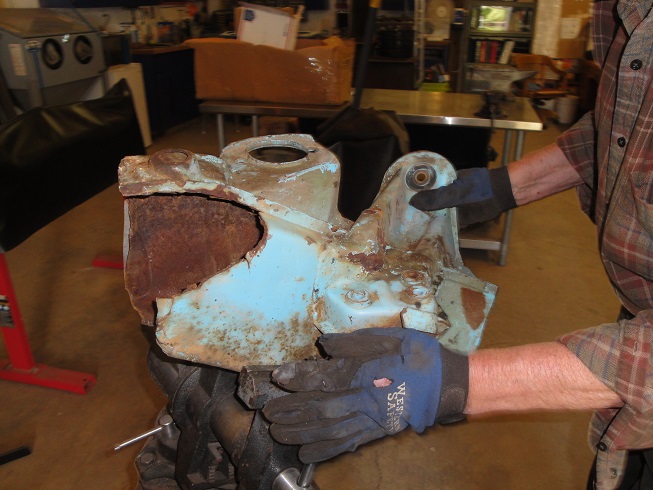 Once we perfect the patterns we'll make them available. |
| JoeDees |
 Jun 1 2016, 07:21 PM Jun 1 2016, 07:21 PM
Post
#287
|
|
Senior Member    Group: Members Posts: 515 Joined: 10-November 14 From: Northern Kentucky Member No.: 18,106 Region Association: None |
I'd love a pattern!!!
|
| BeatNavy |
 Jun 1 2016, 07:38 PM Jun 1 2016, 07:38 PM
Post
#288
|
|
Certified Professional Scapegoat     Group: Members Posts: 2,945 Joined: 26-February 14 From: Easton, MD Member No.: 17,042 Region Association: MidAtlantic Region 
|
I'd love a pattern!!! (IMG:style_emoticons/default/agree.gif) I could definitely use that as well, Cary. Thanks for any and all help! |
| cary |
 Jun 1 2016, 08:24 PM Jun 1 2016, 08:24 PM
Post
#289
|
|
Advanced Member     Group: Members Posts: 3,900 Joined: 26-January 04 From: Sherwood Oregon Member No.: 1,608 Region Association: Pacific Northwest 
|
He took the day off to attend a funeral. He'll be back at it tomorrow.
Picked up some more work when I was making a deal on a new Snap On tool box. One of the mid seventies vehicles that just might be rustier than ours. Toyota Land Cruiser. Simple. Just a cut out and patch. So he say's. LOL. |
| Eric_Shea |
 Jun 1 2016, 08:41 PM Jun 1 2016, 08:41 PM
Post
#290
|
|
PMB Performance                Group: Admin Posts: 19,289 Joined: 3-September 03 From: Salt Lake City, UT Member No.: 1,110 Region Association: Rocky Mountains  |
Keep melt'n metal Cary. Looking good. (IMG:style_emoticons/default/smilie_pokal.gif)
Reading through... The tow eye hook should be M9x1.5 not M10. It wasn't clear if you were making those up for sale but, a stock tow eye is M9. It shocked me when I found that out last week. I thought it was M10 as well. (IMG:style_emoticons/default/wink.gif) |
| cary |
 Jun 1 2016, 10:55 PM Jun 1 2016, 10:55 PM
Post
#291
|
|
Advanced Member     Group: Members Posts: 3,900 Joined: 26-January 04 From: Sherwood Oregon Member No.: 1,608 Region Association: Pacific Northwest 
|
Decided I'd install the left front trunk bumper bracket to start the day. Filled in the larger spot welder cutter holes first.
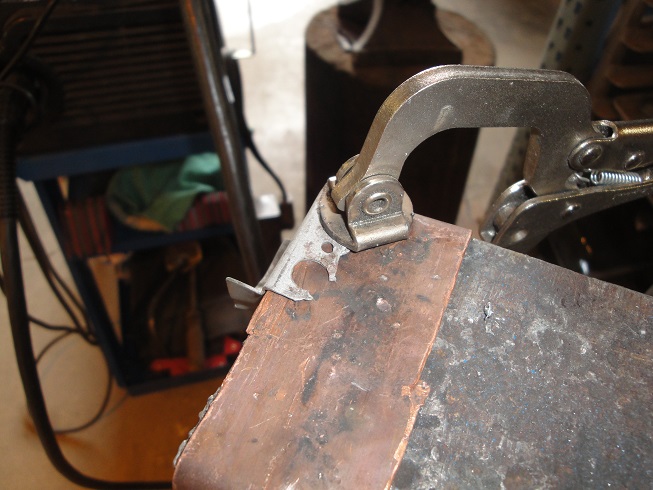 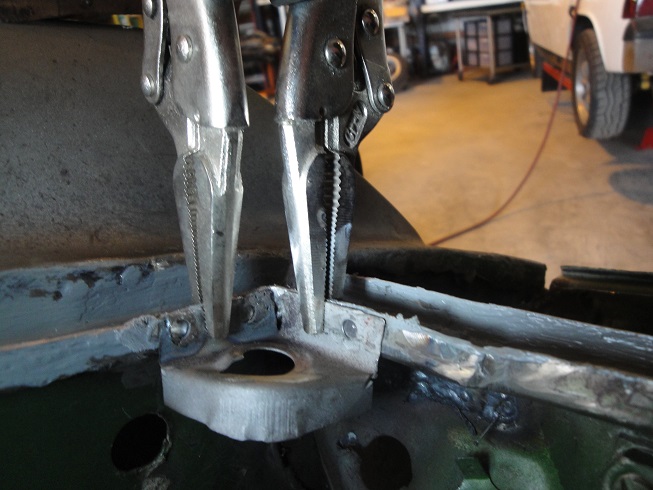 Then got back to tidying up the nicks and cuts on the inner console. 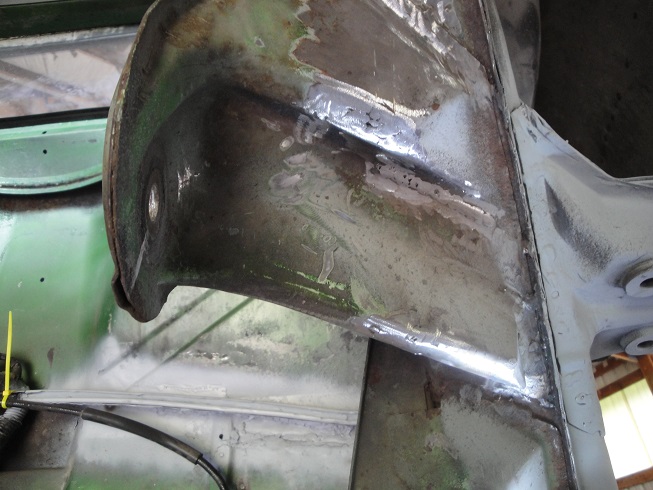 Then I brought out the spot blaster to tidy up the console and the wheelhouse. 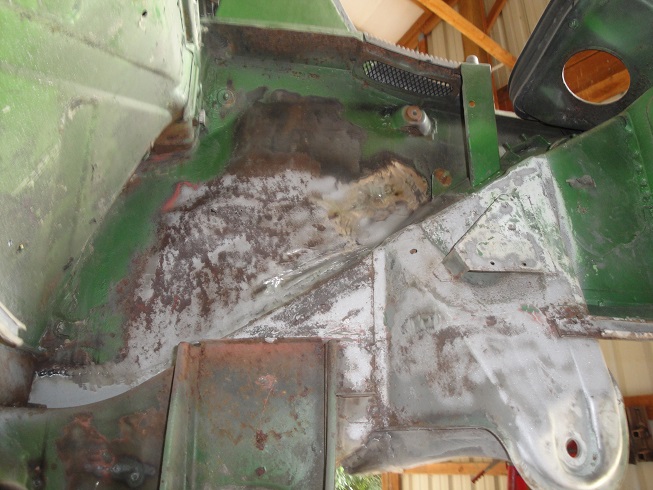 Drew out the patch cut. 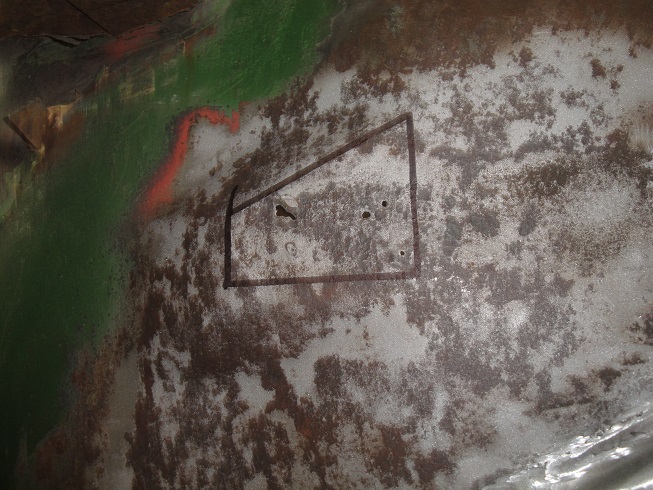 Long is ready for Eastwood HD Rustproofing. 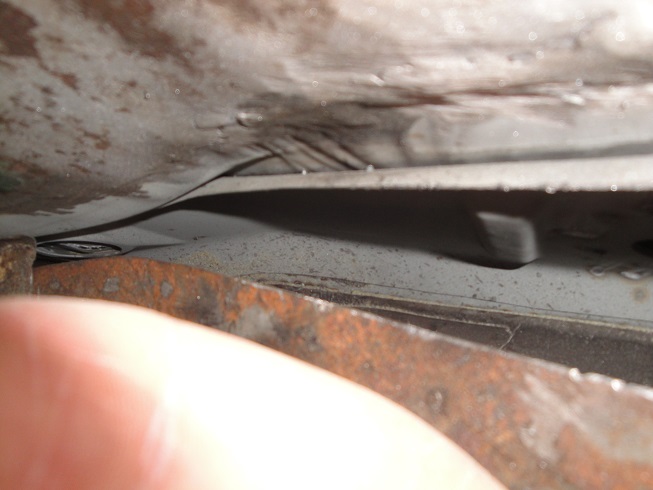 |
| cary |
 Jun 2 2016, 07:51 AM Jun 2 2016, 07:51 AM
Post
#292
|
|
Advanced Member     Group: Members Posts: 3,900 Joined: 26-January 04 From: Sherwood Oregon Member No.: 1,608 Region Association: Pacific Northwest 
|
Let's finish yesterday. Fell asleep after Timbers game
Pulled the wiring harness thru the firewall. A couple shots of removing the rear trunk opening motor. 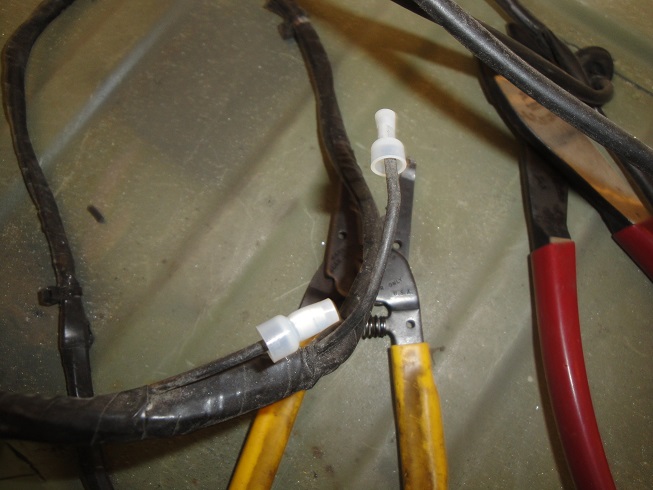 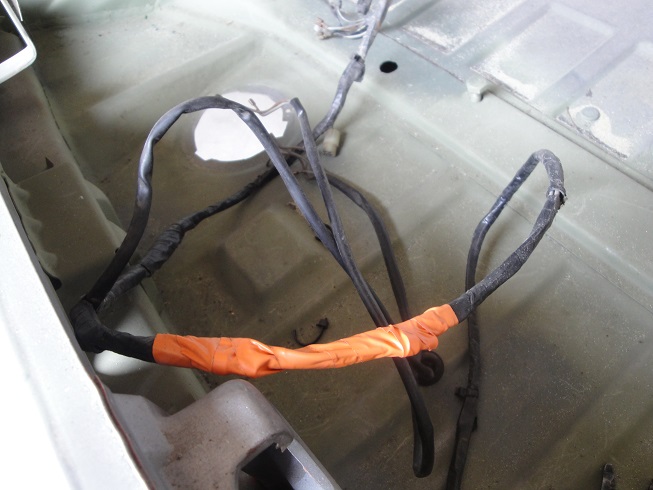 For reference in the future, the motor wire ends are under the orange tape. Rats nest .............. but its now laying in the right front floor pan. 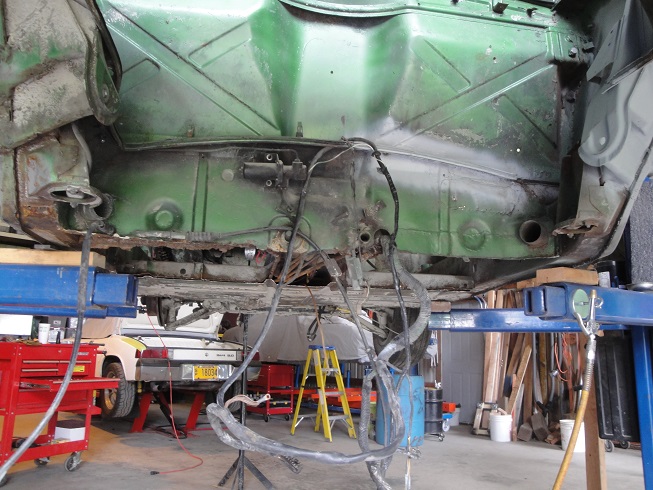 Onto to the engine bay firewall removal surgery. Starts with removal of the brake bias valve mounting plate. It will get transferred to the new firewall. Looks like once again the 75 is different than the earlier cars. Photo #1 is Marks car. #2 is the 73 parts car. 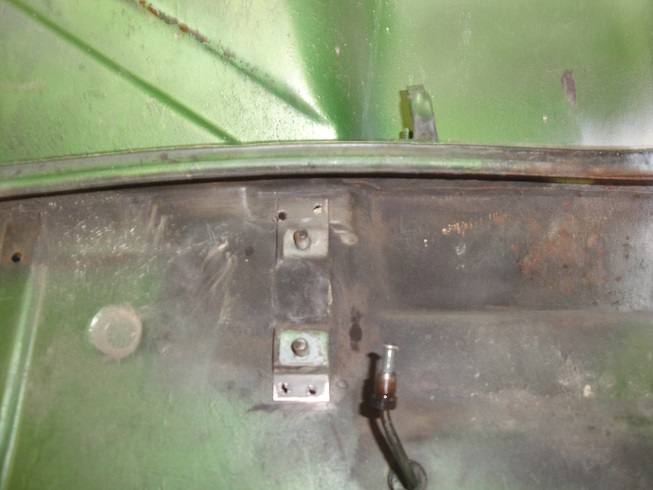 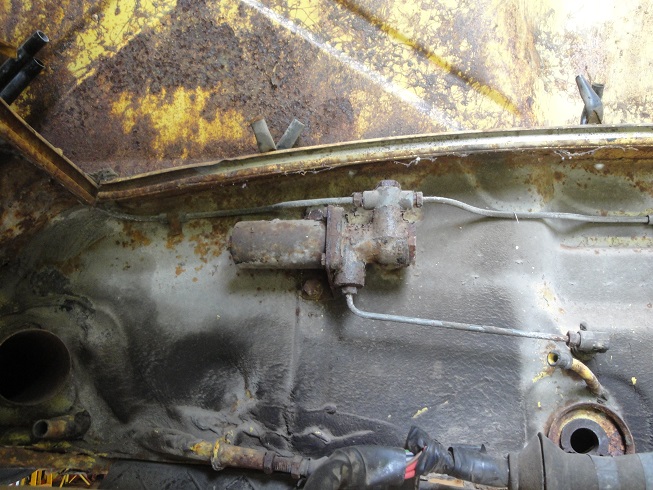 I started with the hillbillied corner (right side). I had serious concerns about getting the heater tube out of the old firewall without damage. But patience was my friend and she came out good as new. Forgot the shot of half the firewall gone. I'll add that tonight with an edit. 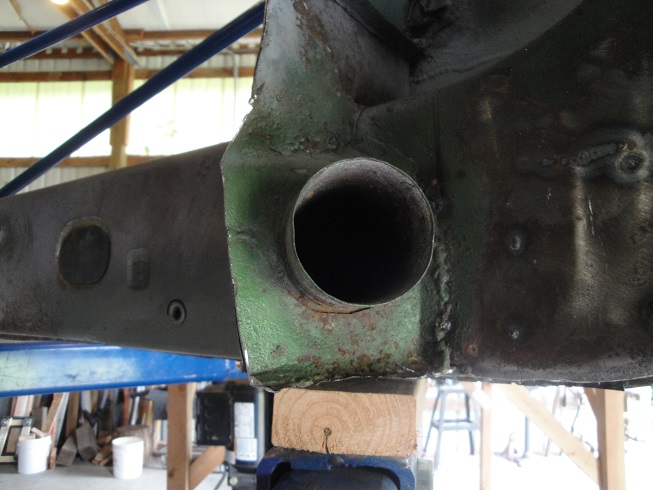 I deleted a shot of how the factory welded in the heater tube. I needs to be here for those that haven't been here before. I'll shoot a shot of the other side and elaborate tonight. 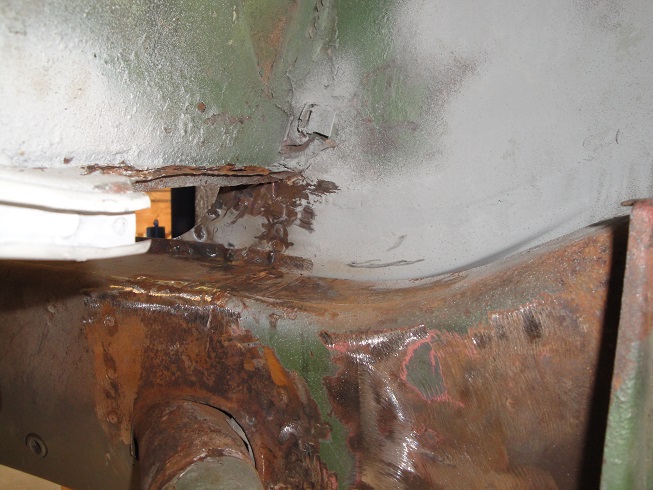 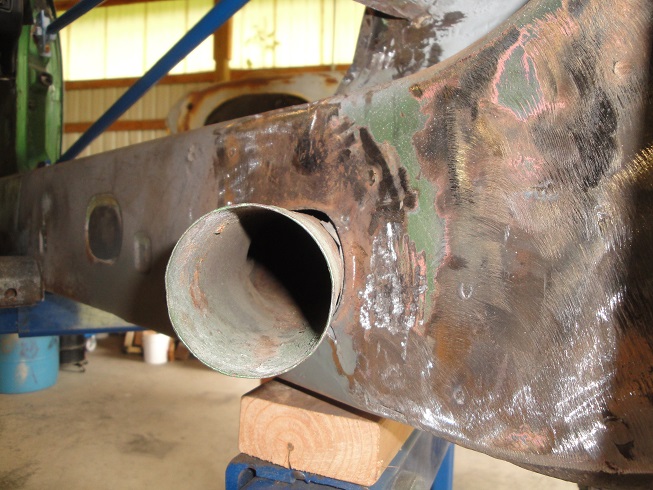 A little more housekeeping then a bath of OSPHO. Then I'll apply the HD rust proofing to the inside of the long. That side should be about ready to go back together. I'll have Super In Law start with the hell hole cover plate this am. Once again lots of work with the 13" air belt sander. |
| cary |
 Jun 3 2016, 07:26 AM Jun 3 2016, 07:26 AM
Post
#293
|
|
Advanced Member     Group: Members Posts: 3,900 Joined: 26-January 04 From: Sherwood Oregon Member No.: 1,608 Region Association: Pacific Northwest 
|
I'd love a pattern!!! (IMG:style_emoticons/default/agree.gif) I could definitely use that as well, Cary. Thanks for any and all help! Mark stopped by to bring me a couple things. But I took him into the other shop where Super In Law was working. Showed him the work on making the tie together plates. Once we get one created and fitting perfectly he'll took at having them produced. I'll still have the patterns for those that want to try there hand at blacksmithing. LOL. |
| cary |
 Jun 3 2016, 07:40 AM Jun 3 2016, 07:40 AM
Post
#294
|
|
Advanced Member     Group: Members Posts: 3,900 Joined: 26-January 04 From: Sherwood Oregon Member No.: 1,608 Region Association: Pacific Northwest 
|
Heater tube shot. Basically under the slathering of seam sealer are two acetylene tack welds. Not always in the same place. Probably the difference between a left or right and assembler.
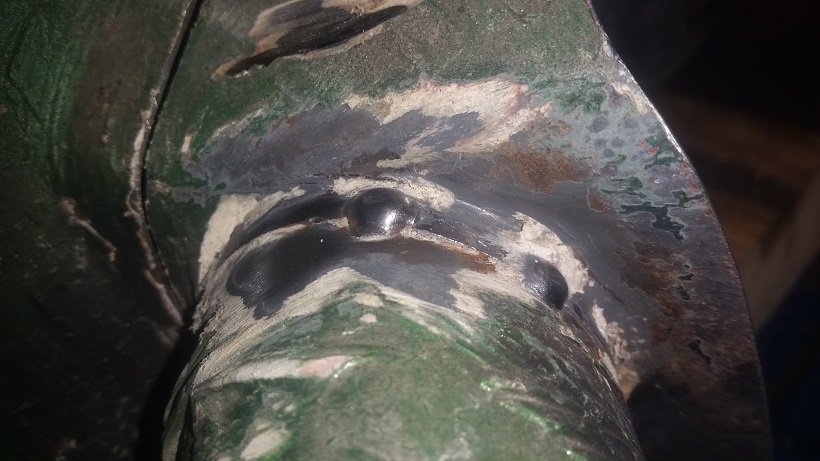 Removal: Cut the weld down with a 3' disk on a mandrel. Them pull off the surrounding tin. Another future info shot: Jumper wire on the seat belt lock out. Had to remove it to pull the harness thru the center tube. 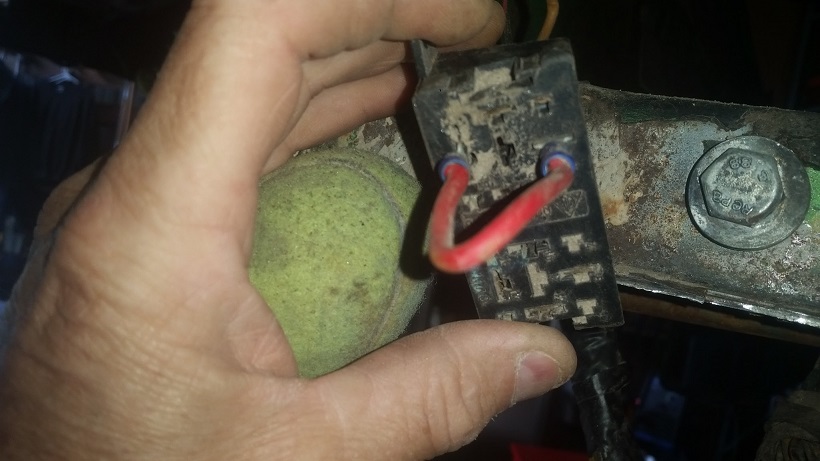 |
| cary |
 Jun 3 2016, 07:46 AM Jun 3 2016, 07:46 AM
Post
#295
|
|
Advanced Member     Group: Members Posts: 3,900 Joined: 26-January 04 From: Sherwood Oregon Member No.: 1,608 Region Association: Pacific Northwest 
|
I was going to start a new post of Super In Law building the tie in plates. But I think I'll start a new thread this weekend. Easier for searching in the future. And with the advent of Mark's perhaps producing them in the future it would be better served.
Teaser shot : Beginning cut out. 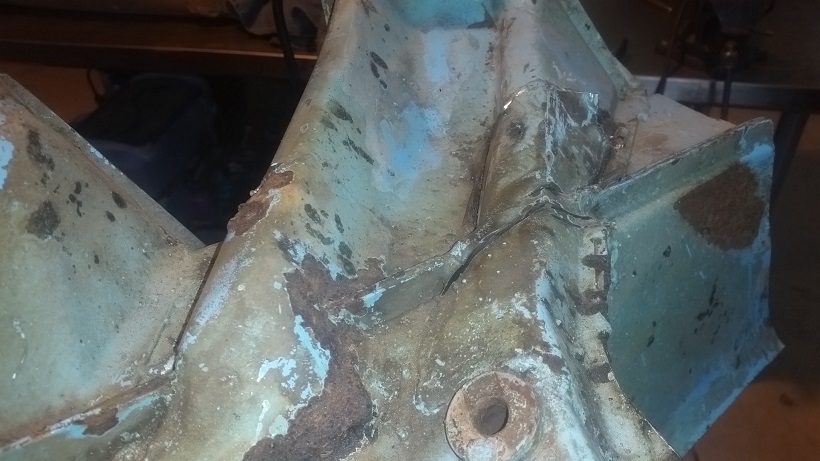 |
| cary |
 Jun 3 2016, 08:26 AM Jun 3 2016, 08:26 AM
Post
#296
|
|
Advanced Member     Group: Members Posts: 3,900 Joined: 26-January 04 From: Sherwood Oregon Member No.: 1,608 Region Association: Pacific Northwest 
|
Thursday's a short day. Going to pick up my new tool box.
Here's were I left off. 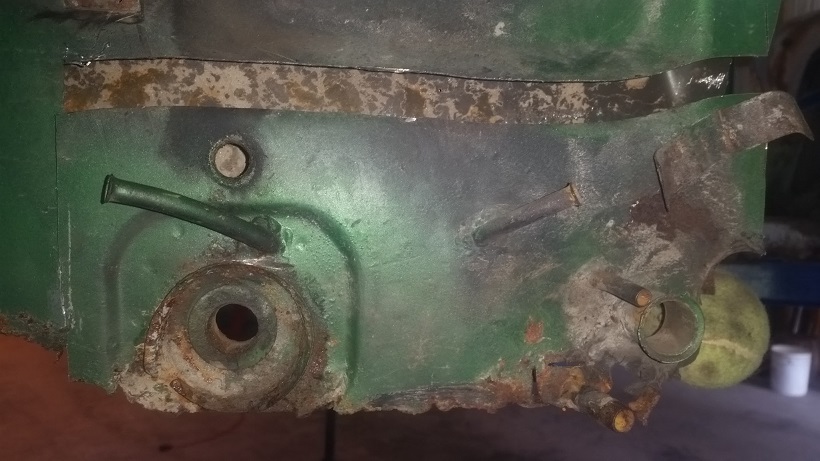 Cut them down to size so I could turn them as I torch them out. 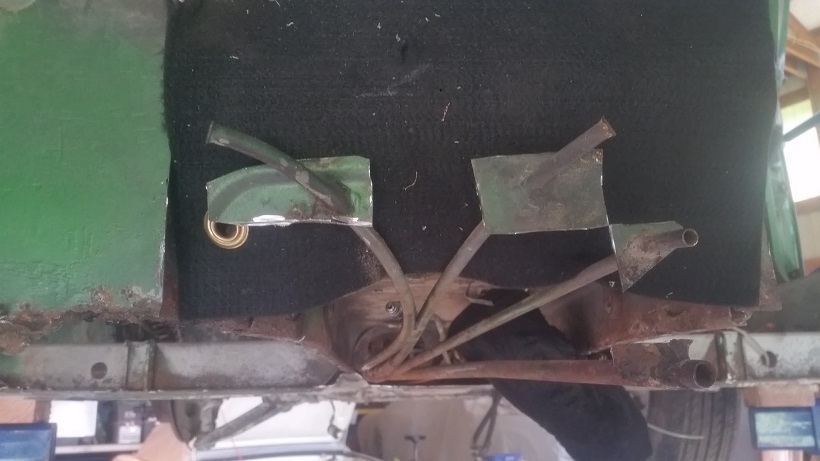 All done. 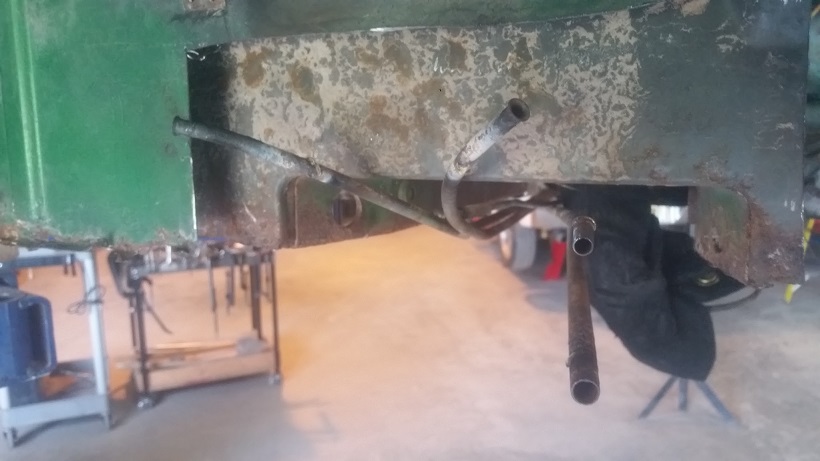 Mark stopped by and we fitted in the new front trunk seal. A beautiful thing. Then we decided that we'll probably replace a major portion of both rear quarter panels. One, to correct previous damage. Two, to look at the rust on the inner sail panel support. 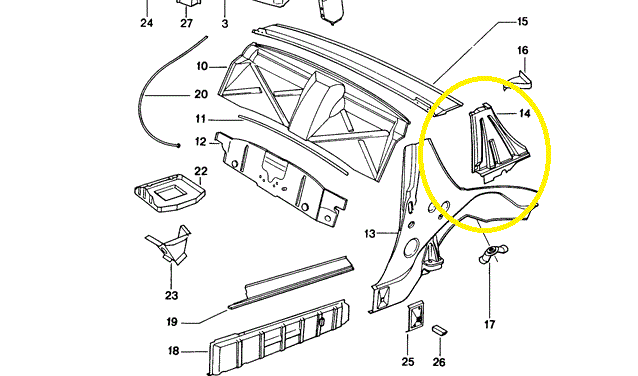 I would call this long term ownership investment. This is where I'll do a plug for 914 Rubber. I think everyone should install his fender liners. Just the way that the sail panel support is exposed inside the fender gives way to future issues. |
| cary |
 Jun 3 2016, 09:10 AM Jun 3 2016, 09:10 AM
Post
#297
|
|
Advanced Member     Group: Members Posts: 3,900 Joined: 26-January 04 From: Sherwood Oregon Member No.: 1,608 Region Association: Pacific Northwest 
|
During Mark's visit we decided we'll replace the left inner firewall too. Bottom edge is pretty rotten. Another one of the time vs. dollars decisions. So away I went cutting out the firewall.
Started with unhooking the left heater tube. Start by cutting and removed the e-brake tubes from the engine side. But first one must get rid of the seam sealer. (IMG:style_emoticons/default/barf.gif) 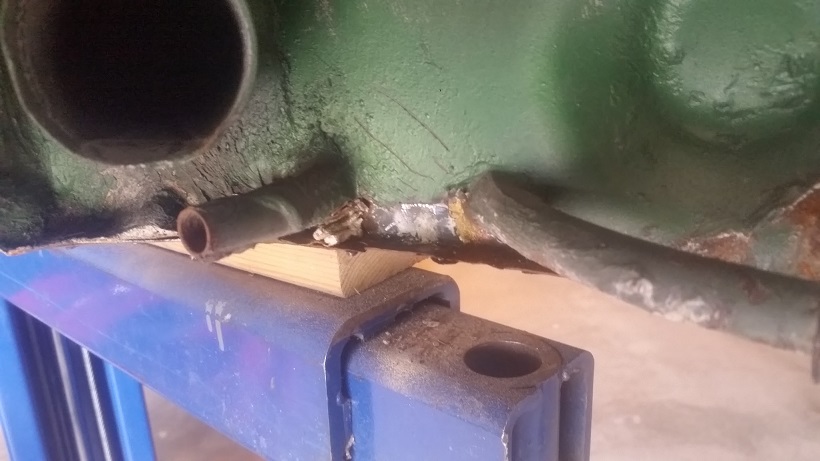 Then away I went. Not too many pictures. Just assholes and elbows. 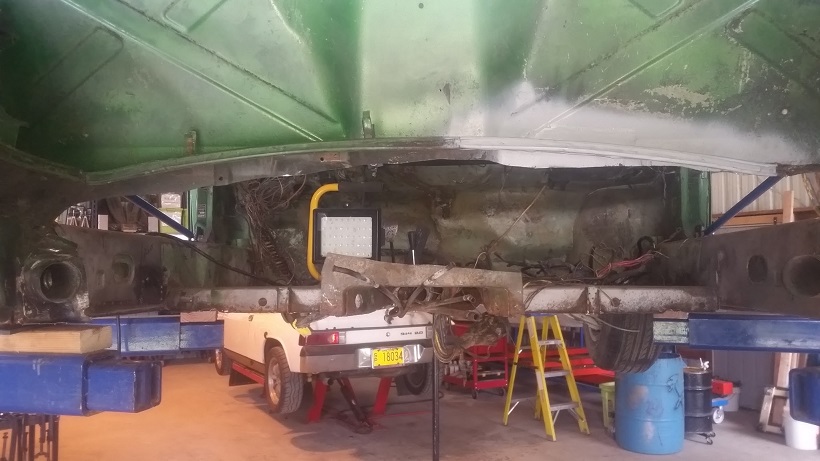 Carnage at the end of the day. 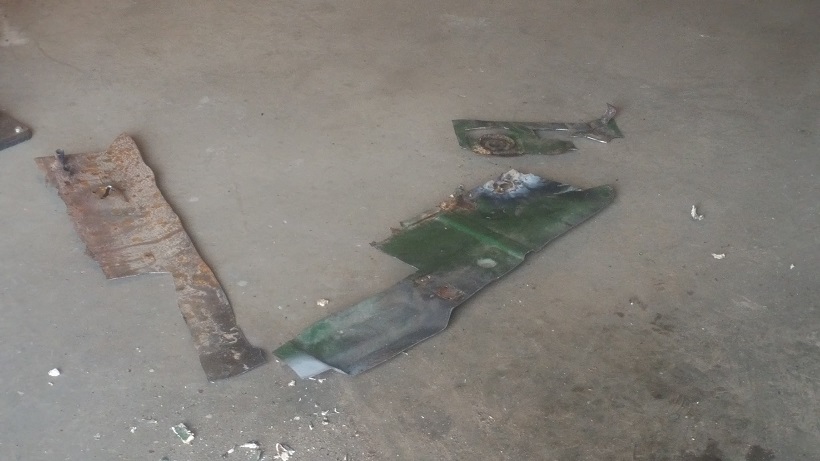 I cut out the center section to allow me better access to the spot welds. Angle of the drill. If not perfectly square you snap off the teeth. $7-$9 , cha ching. To speed things up I cut out the left inner firewall right with it. I am going to like removing the inner firewall to tunnel welds from the inside much better. Pretty messy from the outside. From the outside you have the cutter on the portion that you keep. Big holes. (IMG:style_emoticons/default/sad.gif) Preferred method is cutter portion on the portion that is going into the recycling can. 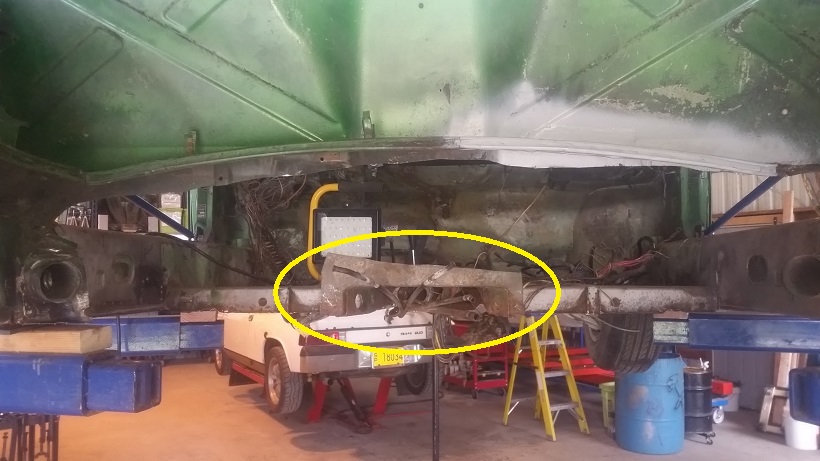 |
| cary |
 Jun 4 2016, 07:59 AM Jun 4 2016, 07:59 AM
Post
#298
|
|
Advanced Member     Group: Members Posts: 3,900 Joined: 26-January 04 From: Sherwood Oregon Member No.: 1,608 Region Association: Pacific Northwest 
|
Friday 6.3.16
Start with freeing up the left heater tube. 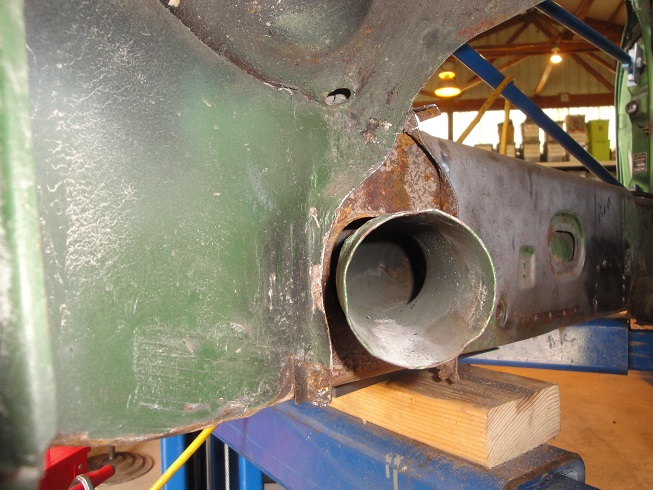 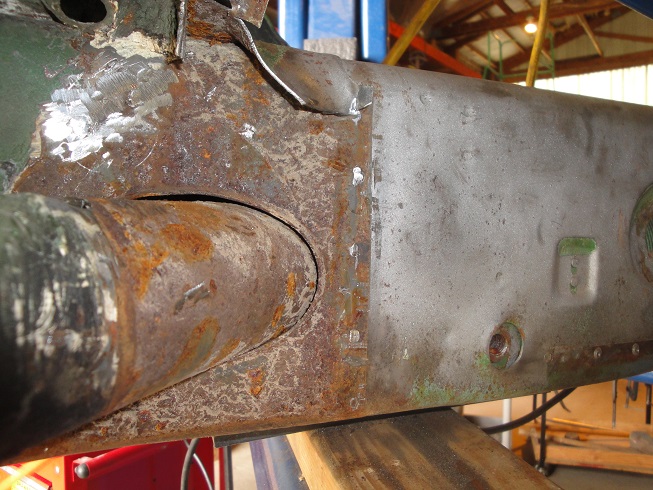 Looks about par for the course. Cup brush, OSPHO then cold galvanizing at a later date. Then on to the tedious task of removing the top flange of the firewall. Left side factory spot welds. Right side hillbilly seam welded. (IMG:style_emoticons/default/sad.gif) Left side I cut around the corner that contains the engine lid cable. Did one torch out yesterday without goggles, Bad Boy. Letting my eyes rest. 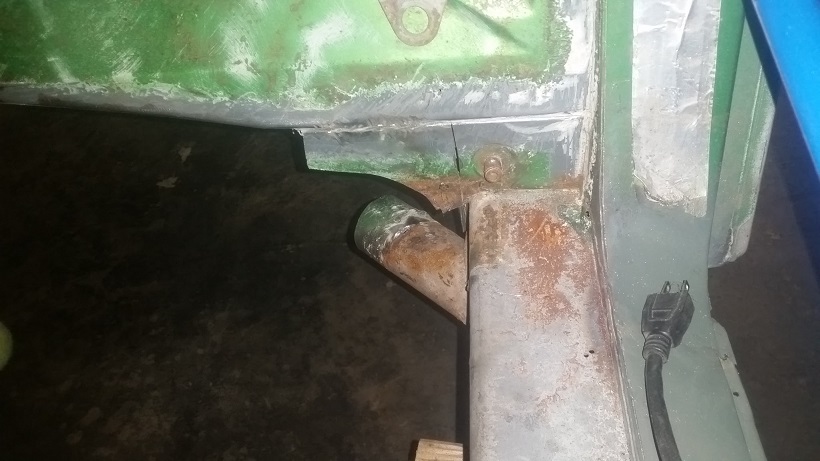 I did all today's work without a spot cutter. Getting tired of the damage it does to the portion that gets reused. Using the HF/Steck version of the Dynabrade system. Basically using the end of the 13" belt sander I grind down the spot weld and pop it off with either the Steck spot weld splitter (2 versions in the picture) or wood chisel. AKA, a new twist on Rick's method. 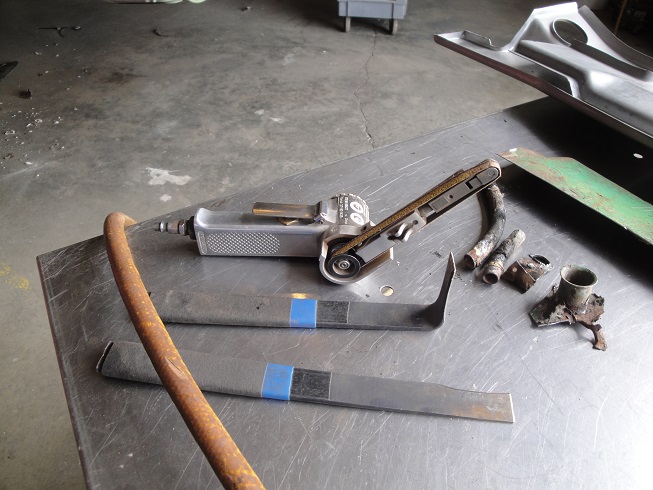 No hole. No teeth marks. 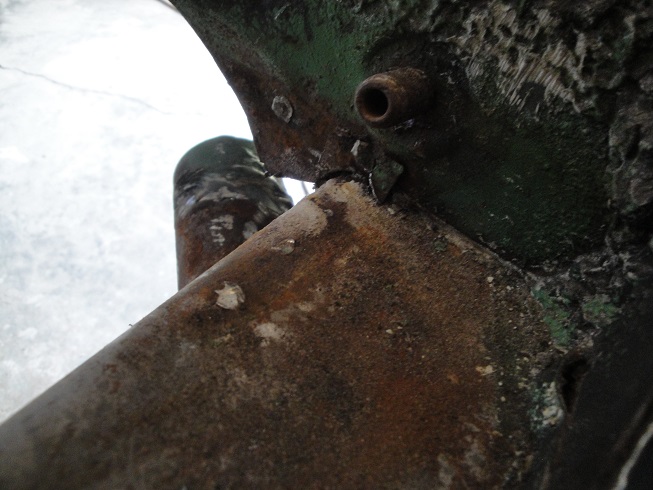 Basically I cut it out in 2 to 3 inch sections. Made a starter cut with the cut off wheel. Then sawed up to the top making sure I went all the way thru the flange. Most came off with a couple bends back back and forth. A couple had to be ground down. 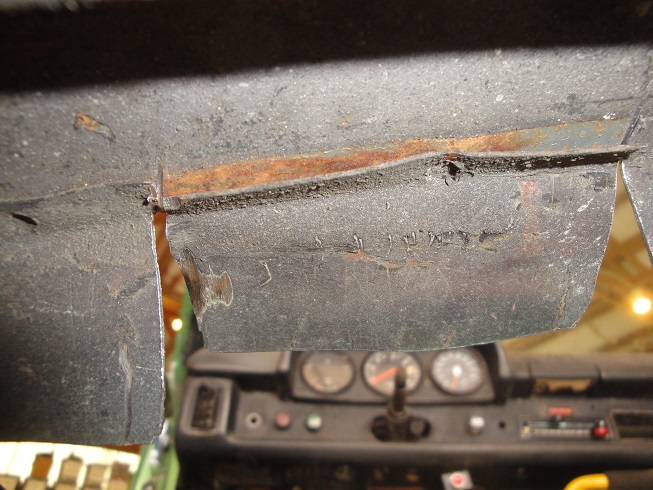 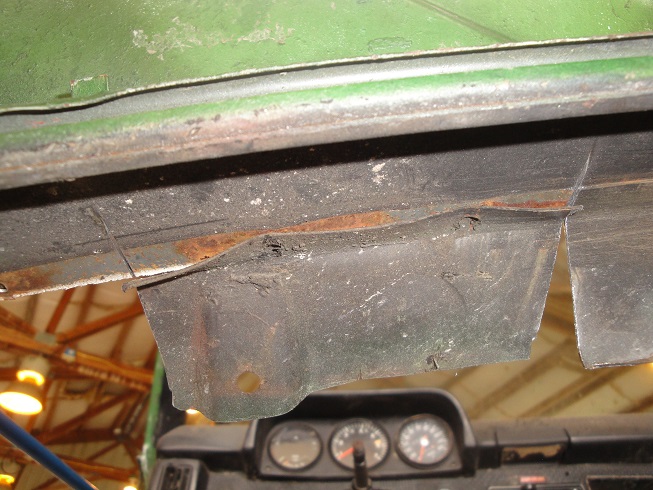 |
| cary |
 Jun 4 2016, 08:25 AM Jun 4 2016, 08:25 AM
Post
#299
|
|
Advanced Member     Group: Members Posts: 3,900 Joined: 26-January 04 From: Sherwood Oregon Member No.: 1,608 Region Association: Pacific Northwest 
|
Now on to the right side. It had been seam welded do to repairing rust of created by a soggy engine sound deadening pad. Not much you can do. The firewall has a hole. And usually theres damage to the rear engine shelf. We'll need to put the rear shelf on Pete's at RD list.
Here's what it should look like after scraping off the seam sealer. 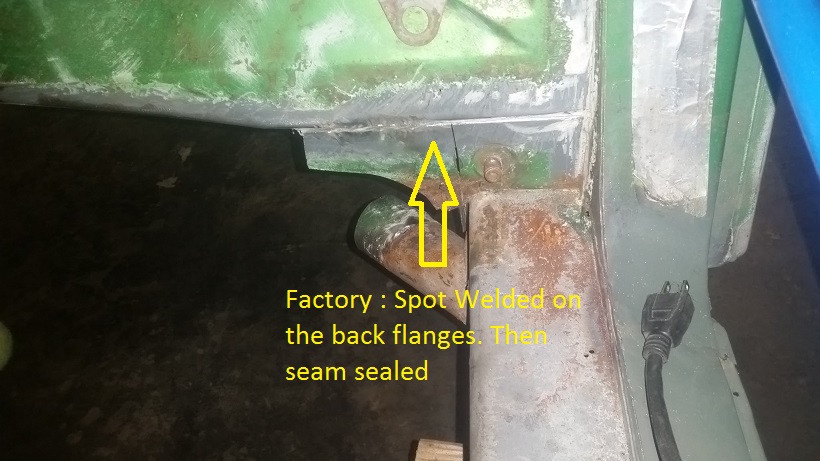 Now here's what I need to get thru. 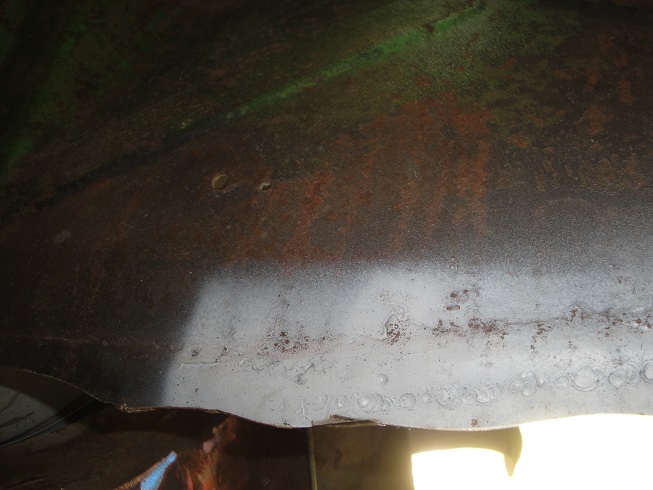 Could do the usual DAPO rant. But it is, what it is. My only wish would be that one wouldn't go quite so overboard. Some day it might need to come apart again. Not a whole lot of detail. Once again, 2 to 3 inch sections. Eyeballed it and it cut out with the die grinder on the mandrel. Have to be careful of the slope. Only had one nick in engine shelf. Right where it transitions back to horizontal. 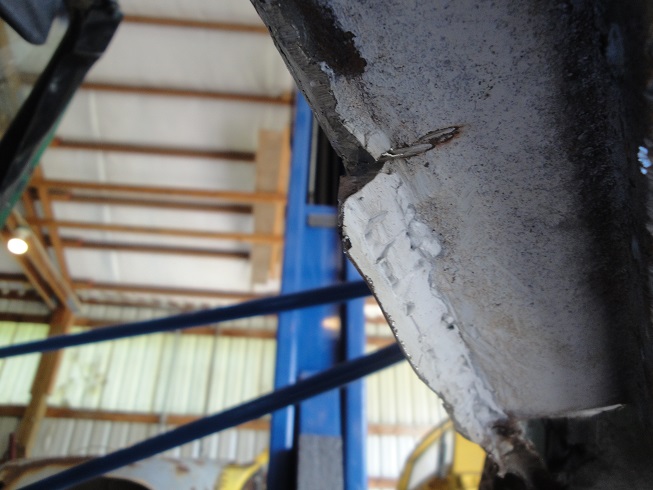 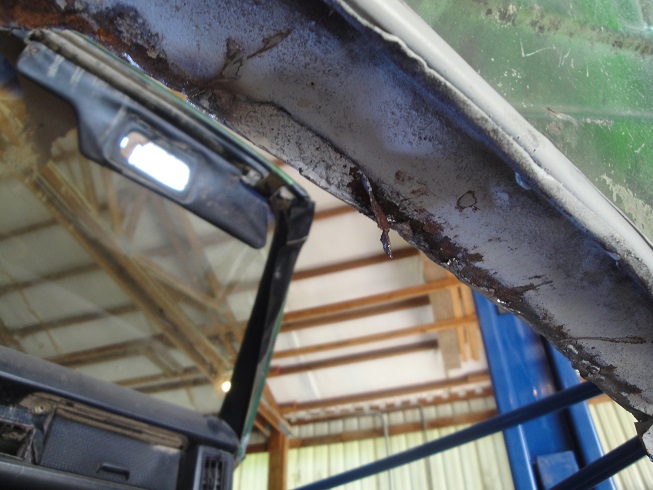 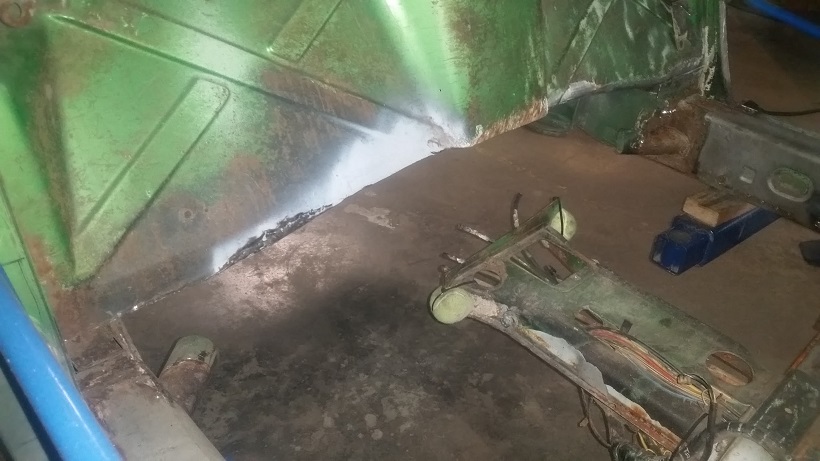 |
| Luke M |
 Jun 4 2016, 08:31 AM Jun 4 2016, 08:31 AM
Post
#300
|
|
Senior Member    Group: Members Posts: 1,400 Joined: 8-February 05 From: WNY Member No.: 3,574 Region Association: North East States 
|
Hi Cary,
The work looks good on this. If you plan on using the RD firewall you'll need a few parts off the old firewall so hang on to it until you install the new one. My brother installed one on his car and it was a pretty easy install once we got it all setup. The hardest part we found was making sure the lower half of the firewall measurements where dead on. Keep up the great work. One more note... if you have a spot welder use it to mate the upper to lower sections. I found that plug welding it in was ok but the spot welder would be a cleaner install. We bought a spot welder after the fact but I'll go back to hit a few spots. |
  |
4 User(s) are reading this topic (4 Guests and 0 Anonymous Users)
0 Members:

|
Lo-Fi Version | Time is now: 18th January 2025 - 04:56 AM |
Invision Power Board
v9.1.4 © 2025 IPS, Inc.


