|
|

|
Porsche, and the Porsche crest are registered trademarks of Dr. Ing. h.c. F. Porsche AG.
This site is not affiliated with Porsche in any way. Its only purpose is to provide an online forum for car enthusiasts. All other trademarks are property of their respective owners. |
|
|
  |
| 914Gelb |
 May 18 2016, 04:55 AM May 18 2016, 04:55 AM
Post
#1
|
|
Member   Group: Members Posts: 103 Joined: 7-July 11 From: Vienna Member No.: 13,288 Region Association: Austria |
Hello Guys,
since many years I'm working on my 914-6 restoration project. Now I have finished most of the jobs like engine and transmission rebuild, electric harness, suspension ..., now it's time for the body work. Normally before I start I try to collect es much information to get a perfect result. My body was repaired in the past by unexperienced (IMG:style_emoticons/default/welder.gif) and now I have to fix this badly bodywork. See the pictures and look at the door clearence than you understand. The question is how can I fix this and if you had the same topic how was it fixed by you. Attached thumbnail(s) 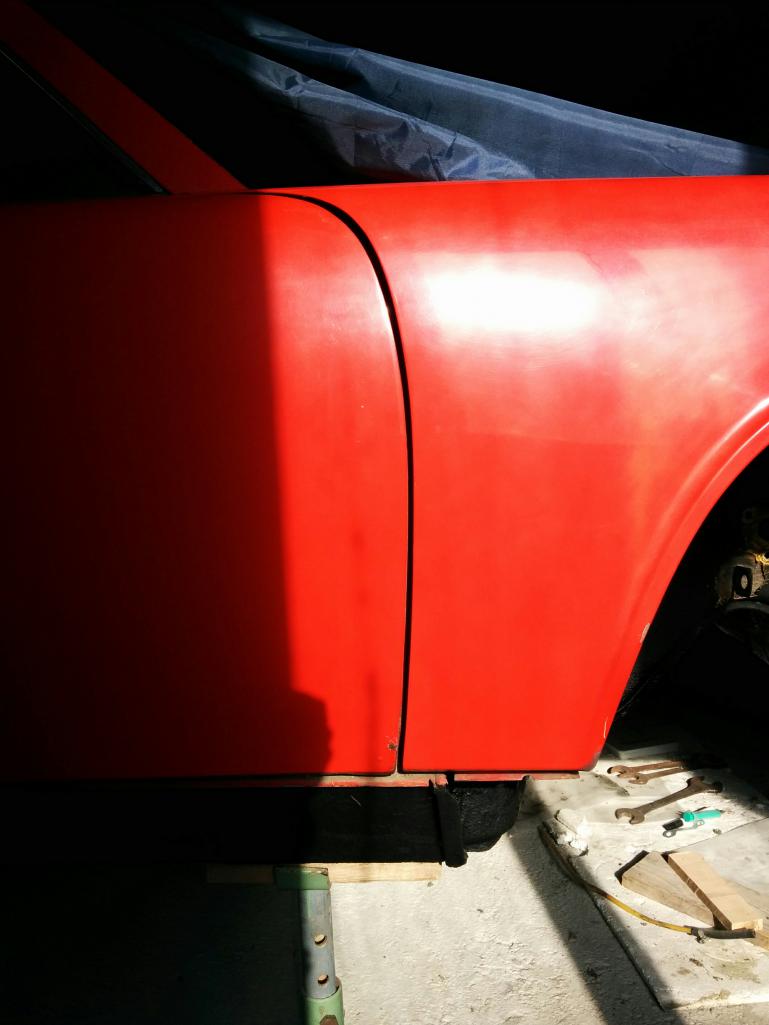 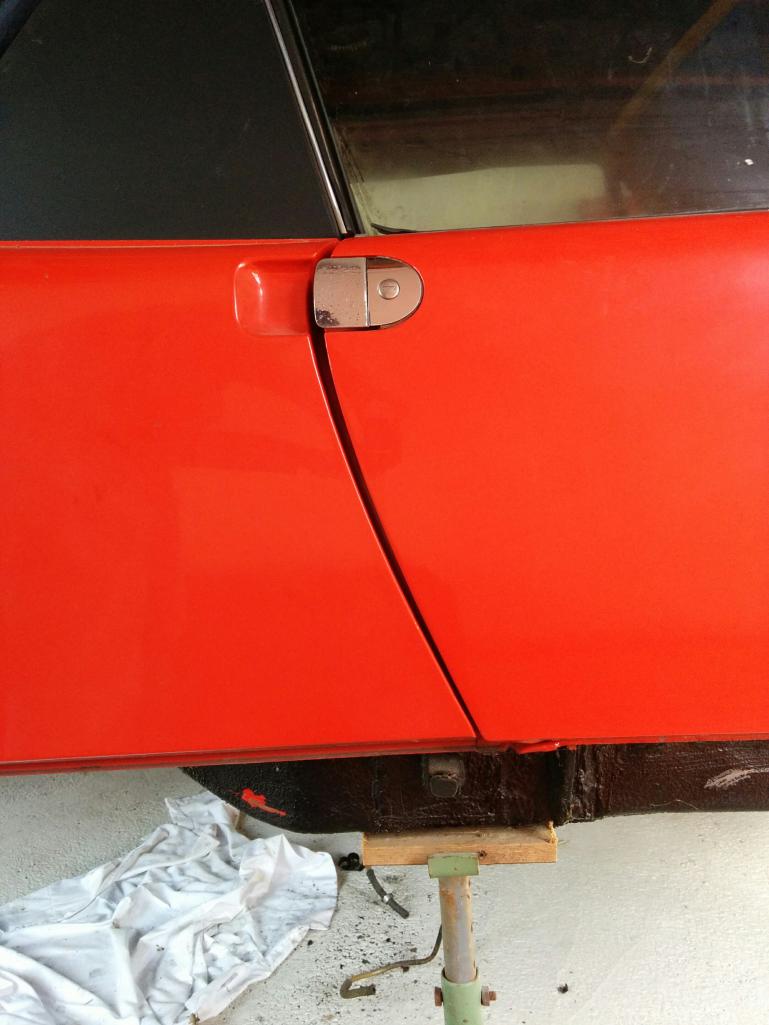
|
| 914Gelb |
 May 18 2016, 04:58 AM May 18 2016, 04:58 AM
Post
#2
|
|
Member   Group: Members Posts: 103 Joined: 7-July 11 From: Vienna Member No.: 13,288 Region Association: Austria |
More pictures
Attached thumbnail(s) 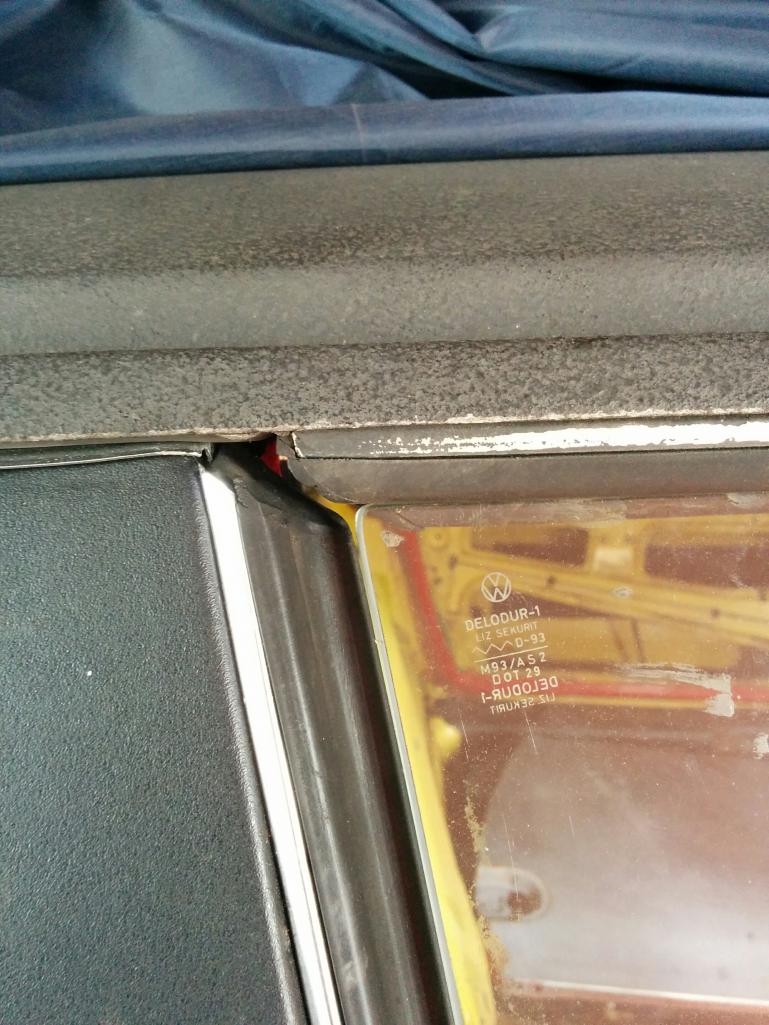
|
| 914Gelb |
 May 18 2016, 04:59 AM May 18 2016, 04:59 AM
Post
#3
|
|
Member   Group: Members Posts: 103 Joined: 7-July 11 From: Vienna Member No.: 13,288 Region Association: Austria |
one more
Attached thumbnail(s) 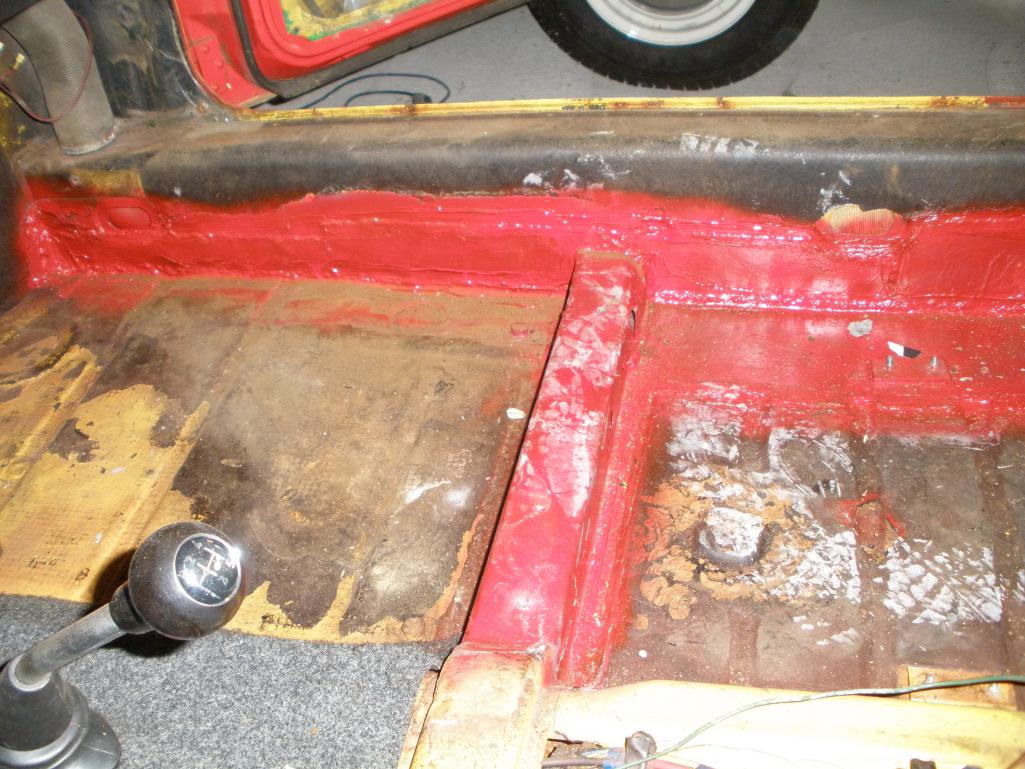
|
| tomrev |
 May 18 2016, 06:14 AM May 18 2016, 06:14 AM
Post
#4
|
|
Member   Group: Members Posts: 231 Joined: 25-February 14 From: N. Mich. Member No.: 17,037 Region Association: None |
I think you will need to cut out the past patching, so the tub can be straightened out, and then do a proper re-weld, without warping the car. Pretty sure it was on jack stands when welded, and and the heat pulled it out of whack. I'm sure you know all this. A Six will be worth the effort!
|
| dlee6204 |
 May 18 2016, 06:19 AM May 18 2016, 06:19 AM
Post
#5
|
|
Howdy     Group: Members Posts: 2,162 Joined: 30-April 06 From: Burnsville, NC Member No.: 5,956 |
Unfortunately the only way to properly fix it is to cut out and replace the entire long. The previous work done is pretty bad.
|
| rgalla9146 |
 May 18 2016, 08:21 AM May 18 2016, 08:21 AM
Post
#6
|
|
Advanced Member     Group: Members Posts: 4,669 Joined: 23-November 05 From: Paramus NJ Member No.: 5,176 Region Association: None 
|
It might not be as bad as you think.
I'd re-install the drive train and suspension and put the car on the ground. Roll the car around to settle it under its own weight. Do so with four uniform tires. On a flat floor. The issues can not be evaluated with the car on jackstands. The front gap will be done by "adjusting " the hinges with a floor jack or a big f_ _ _ _in hammer. Then the rear can be better judged. Remove the door latch until you get it close. |
| 914Gelb |
 May 18 2016, 10:24 AM May 18 2016, 10:24 AM
Post
#7
|
|
Member   Group: Members Posts: 103 Joined: 7-July 11 From: Vienna Member No.: 13,288 Region Association: Austria |
To roll the car and check the clearance is something I already have taken in consideration. But the point I still don't understand is how much the body clearance is influenced by welding/heat in the inner longitude. Before I start welding this metal part will be holde in place by using screws and clamps. However it must be guaranted that before welding the body is braceless. The floor panel will be completely exchanged and also the outer longitude. Much work I waiting (IMG:style_emoticons/default/sawzall-smiley.gif) The clearance on the driver side is also Bad although on this side nothing was welded.
Attached thumbnail(s) 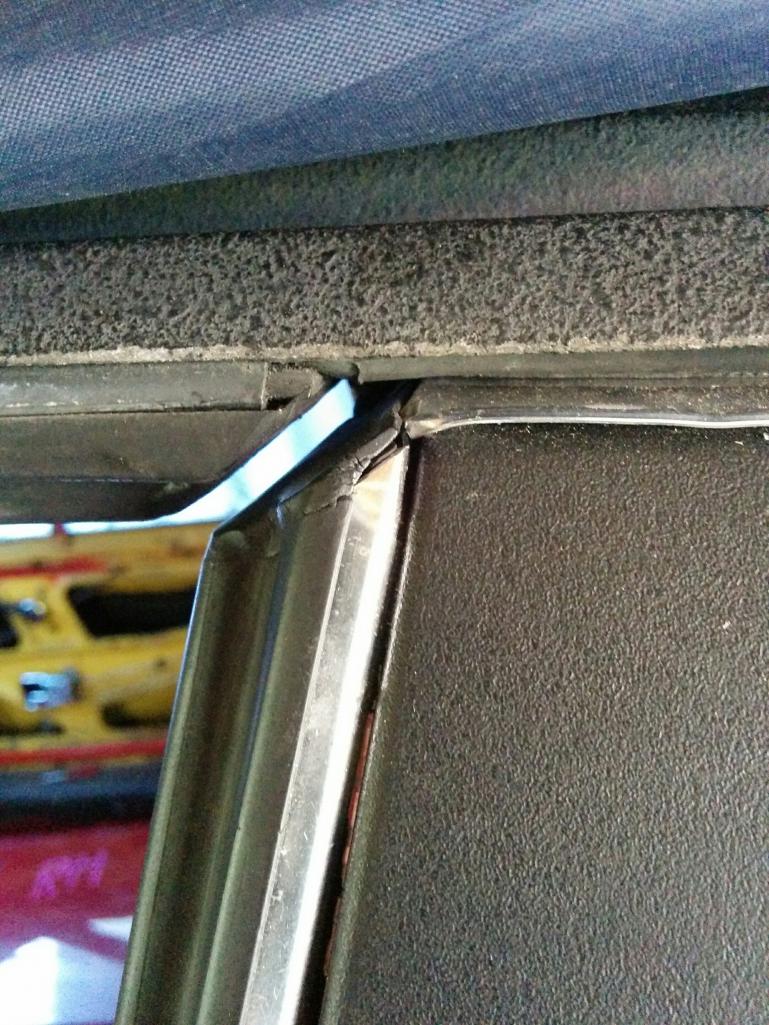
|
| mbseto |
 May 18 2016, 02:13 PM May 18 2016, 02:13 PM
Post
#8
|
|
Senior Member    Group: Members Posts: 1,257 Joined: 6-August 14 From: Cincy Member No.: 17,743 Region Association: North East States |
My longs look a lot like that. Previous owner welded and brazed (!) patches all along the bottom. I bought new metal from RD and I'm in the process of cutting it all out and welding new metal in. I made braces to control the door gaps while the frame is compromised. My gaps may have been bad because of the welding, but I think the rust was a bigger factor- it was just sagging because of weakness. Welding torch, tape measure, and patience should take care of it...
|
| Cairo94507 |
 May 18 2016, 03:33 PM May 18 2016, 03:33 PM
Post
#9
|
|
Michael           Group: Members Posts: 10,118 Joined: 1-November 08 From: Auburn, CA Member No.: 9,712 Region Association: Northern California 
|
If you feel the previous repairs were done poorly, I would brace the car at the door openings, put it on a rotisserie and cut out the old repairs and do them correctly, utilizing factory measurements to make sure all is square and plumb.
A Six is worth doing correctly. You will sleep better knowing it was all done correctly. Additionally, document all of that work too so if you decide to sell the car in the future you can prove the work was done to proper standards. Good luck and keep us in the loop with lots of pictures. |
| Gunn1 |
 May 18 2016, 06:31 PM May 18 2016, 06:31 PM
Post
#10
|
|
Senior Member    Group: Members Posts: 1,021 Joined: 14-February 16 From: Minnesota Member No.: 19,670 Region Association: None |
Allais, another sunflower yellow car covered in Red!
|
| cary |
 May 18 2016, 08:08 PM May 18 2016, 08:08 PM
Post
#11
|
|
Advanced Member     Group: Members Posts: 3,900 Joined: 26-January 04 From: Sherwood Oregon Member No.: 1,608 Region Association: Pacific Northwest 
|
Is a 914-6 conversion or the real deal? Makes a big difference.
|
| rick 918-S |
 May 18 2016, 09:01 PM May 18 2016, 09:01 PM
Post
#12
|
|
Hey nice rack! -Celette                Group: Members Posts: 20,808 Joined: 30-December 02 From: Now in Superior WI Member No.: 43 Region Association: Northstar Region 

|
Start by studying these dimensions.
http://www.914world.com/specs/bodydims.php You car is an interesting puzzle. There will be some key things you will have to keep track of from start to finish. Part of the problem is once the chassis started going south the repair person may have tried to bend things like the windshield frame to make the door fit less obvious. This makes some of the measurements you want to use unreliable. I will get you past that by starting with the lowest point on the car and working up. So there will be very few measurements you can count on as a baseline but you can get this back in spec. I'm going to make some assumptions as a place to start for now. If the following turns out to be unreliable I can back up one step. I am going to assume at least the forward check sets are intact. (the donuts or pucks under the car) Post some photos and I will instruct you in another direction if they are damaged, rusted/repaired or missing. For now start here. Here is where I would start. Set the car up on a level plain at the forward check sets. Set it level from right to left across the car. Now bring the car up or down front or rear to get the left side longitudinal level. If you have achieved this on the left go over and check the right side, as well as the right to left at the rear check sets. I'm not confident the rears will be intact but my goal is to determine if, when the welding was done the last guy caused the longitudinals right side to left side to be out of plain. So first we are looking for twist. Don't worry about anything else until you have addressed this. Report back with this information and I will tell you where to go next. I will need some more photos from you too. If you can take a right side and left side photo of the whole car and photos of the check sets that would be helpful. Also photos of the longitudinal photos both sides. This will take awhile to get through but if you have patients and a space to work where the car can sit without being moved I can help you get it straight. |
| 914Gelb |
 May 18 2016, 11:44 PM May 18 2016, 11:44 PM
Post
#13
|
|
Member   Group: Members Posts: 103 Joined: 7-July 11 From: Vienna Member No.: 13,288 Region Association: Austria |
Hello Cary, The car is a real 914-6, I never would by a conversion because in Austria the approval certifacte you will not get. All the tests you have to made and pass... this is different then in US (IMG:style_emoticons/default/flag.gif)
Hello Rick, I will send more pictures, I think the cassis have twisted. I already ordered many parts form Restoration Design. The measurments I will make on the weekend, I have to organize a telescopic gauge. The care is accident free and at the moment I see rust on different places. Have a look on the additional pictures, Attached thumbnail(s) 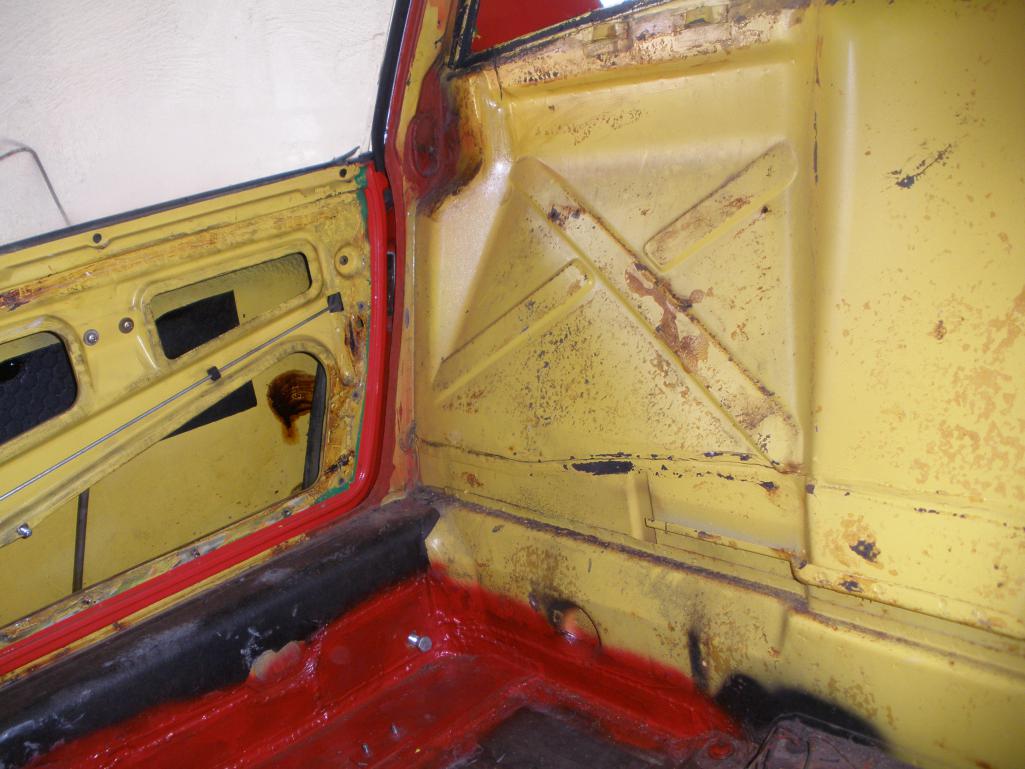 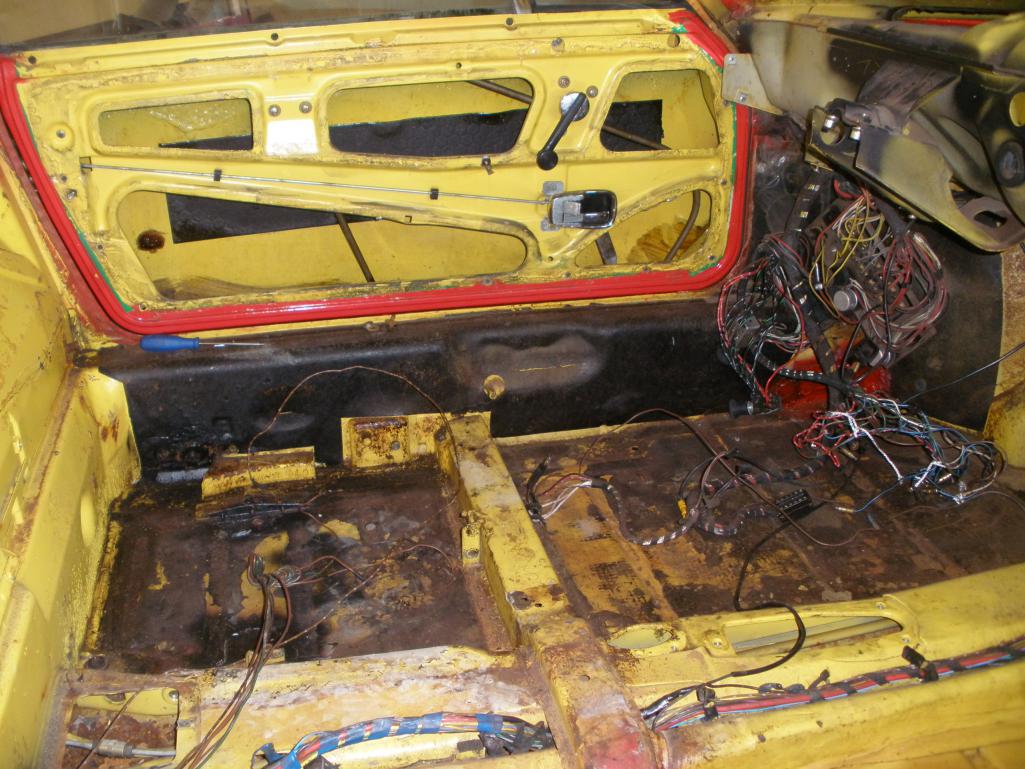 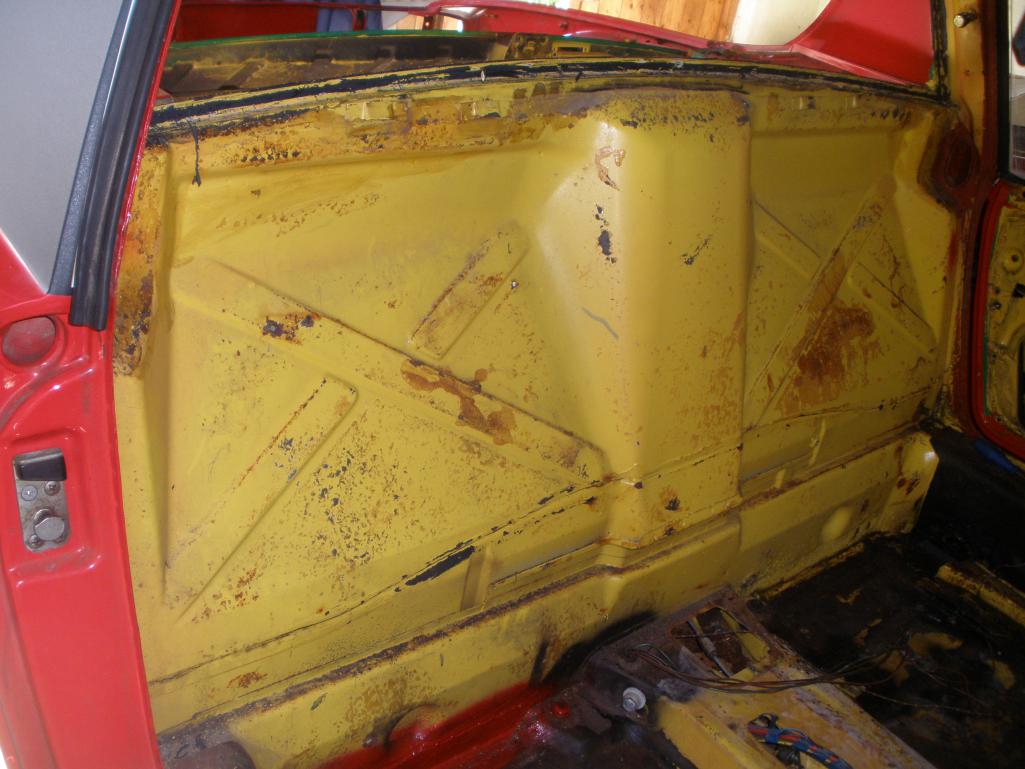
|
| 914Gelb |
 May 18 2016, 11:47 PM May 18 2016, 11:47 PM
Post
#14
|
|
Member   Group: Members Posts: 103 Joined: 7-July 11 From: Vienna Member No.: 13,288 Region Association: Austria |
and more pictures
Attached thumbnail(s) 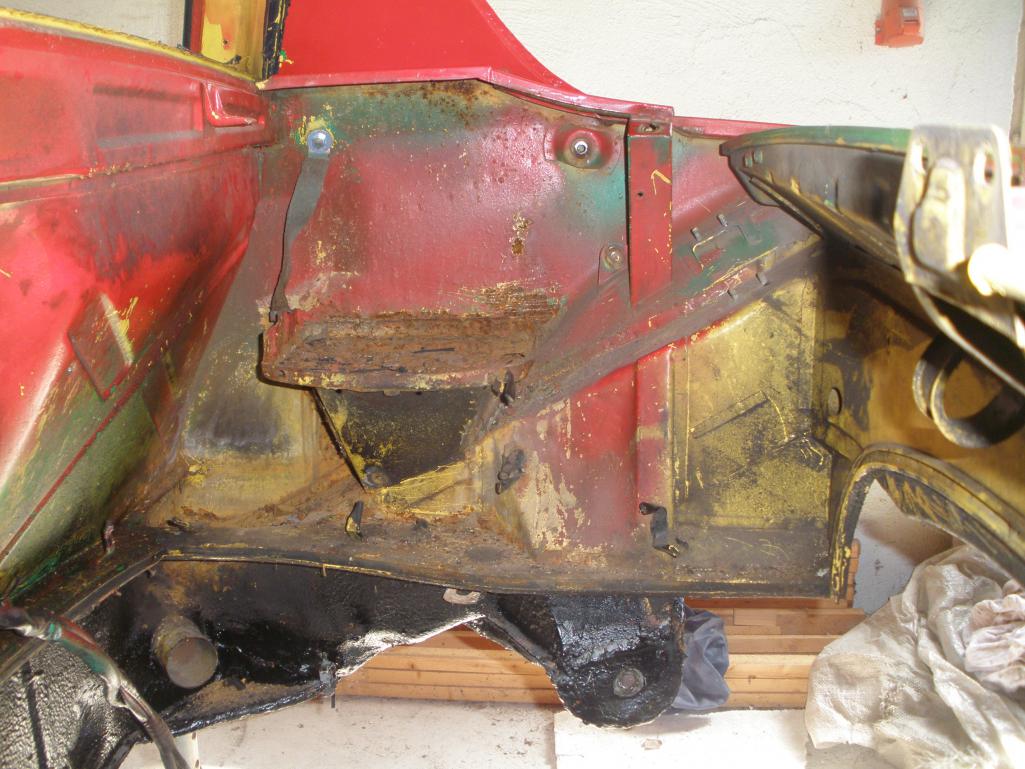 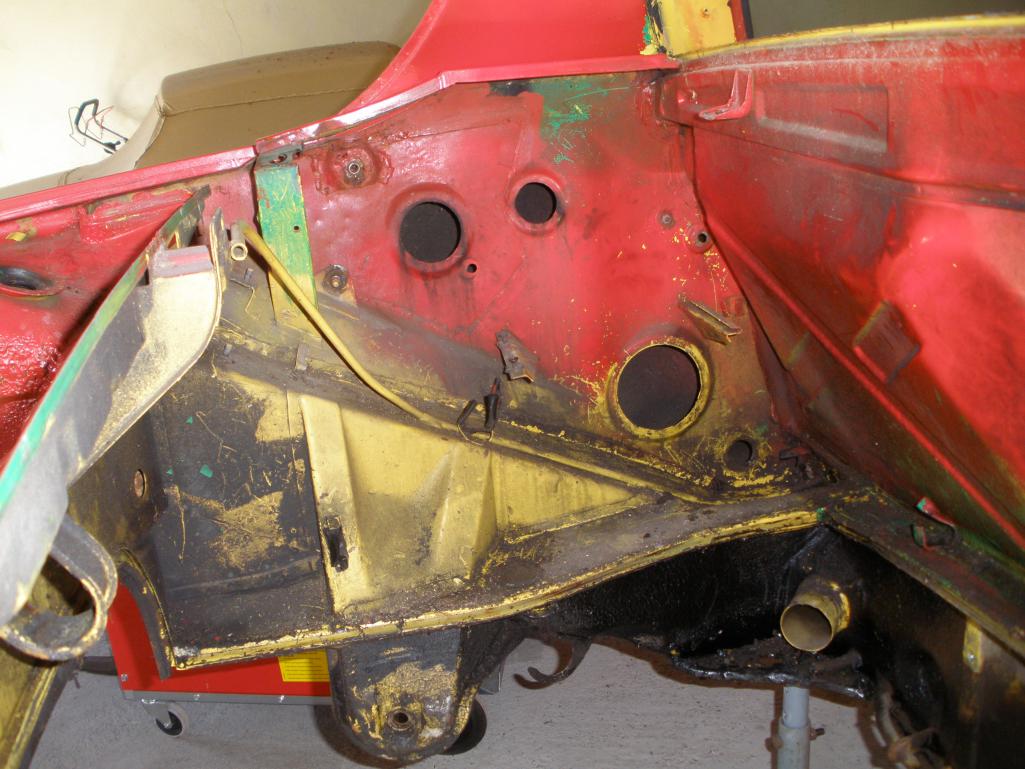 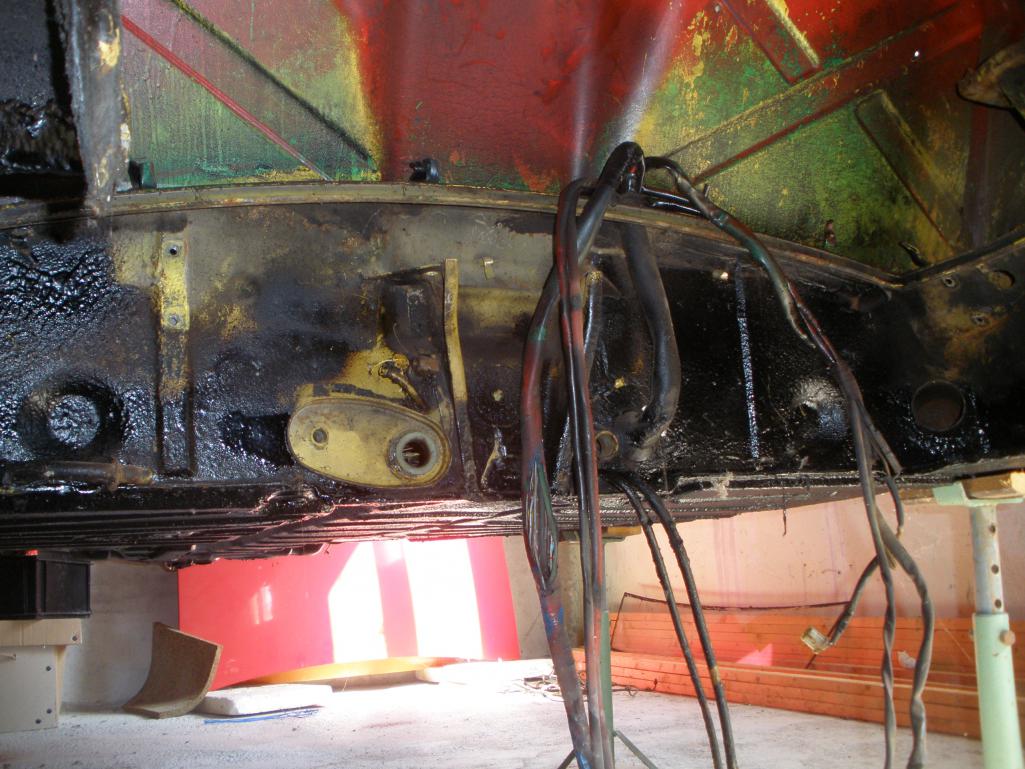
|
| 914Gelb |
 May 18 2016, 11:53 PM May 18 2016, 11:53 PM
Post
#15
|
|
Member   Group: Members Posts: 103 Joined: 7-July 11 From: Vienna Member No.: 13,288 Region Association: Austria |
my hand made cellete
Attached thumbnail(s) 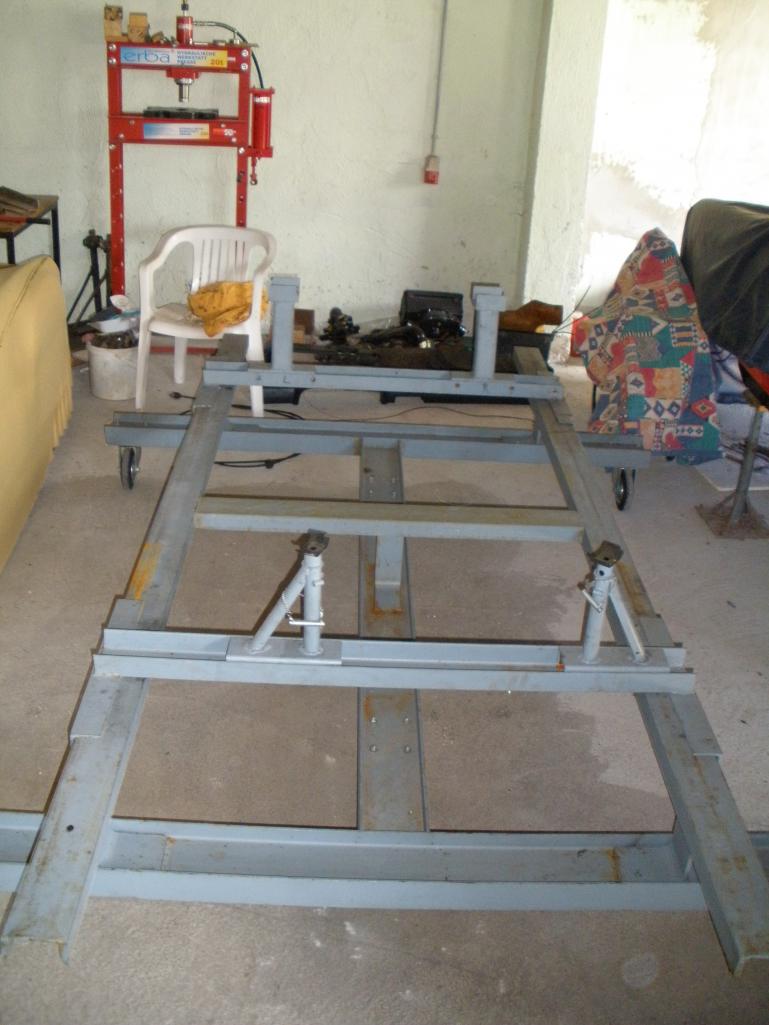 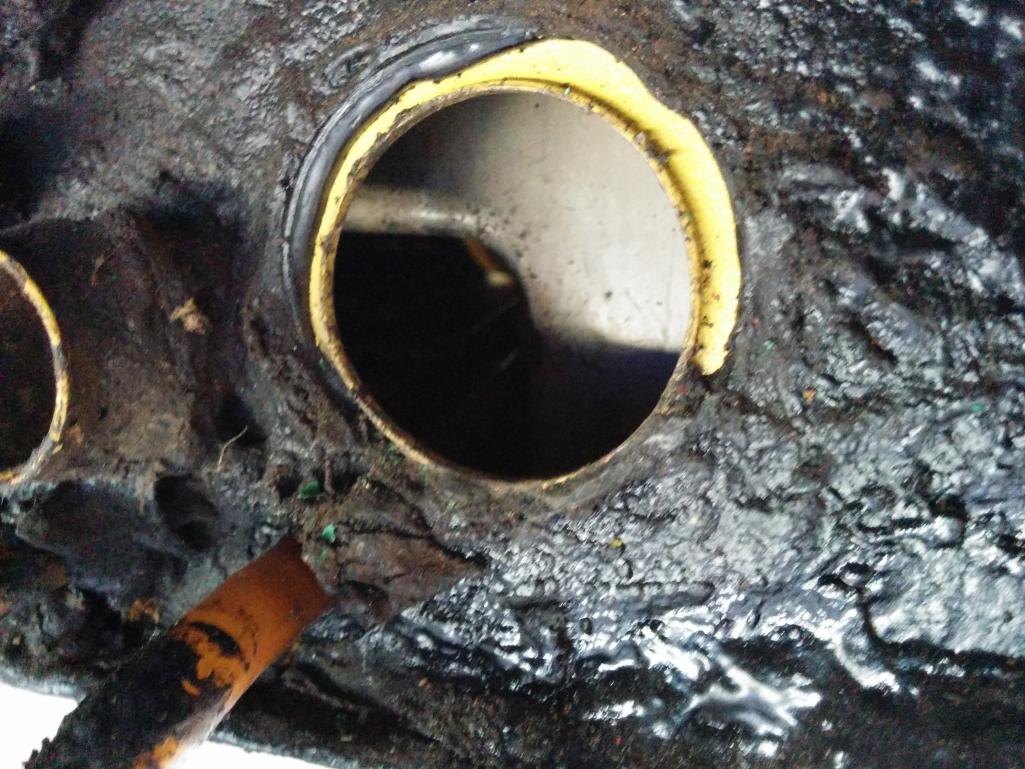
|
| 914Gelb |
 May 18 2016, 11:57 PM May 18 2016, 11:57 PM
Post
#16
|
|
Member   Group: Members Posts: 103 Joined: 7-July 11 From: Vienna Member No.: 13,288 Region Association: Austria |
front trunk
Attached thumbnail(s) 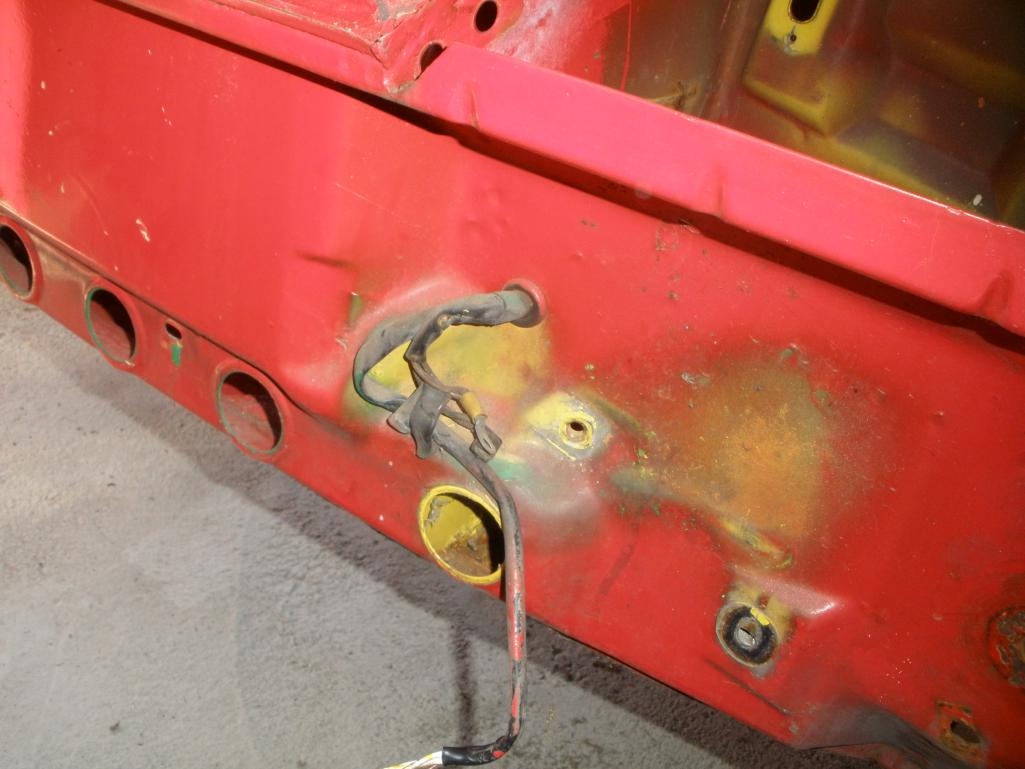 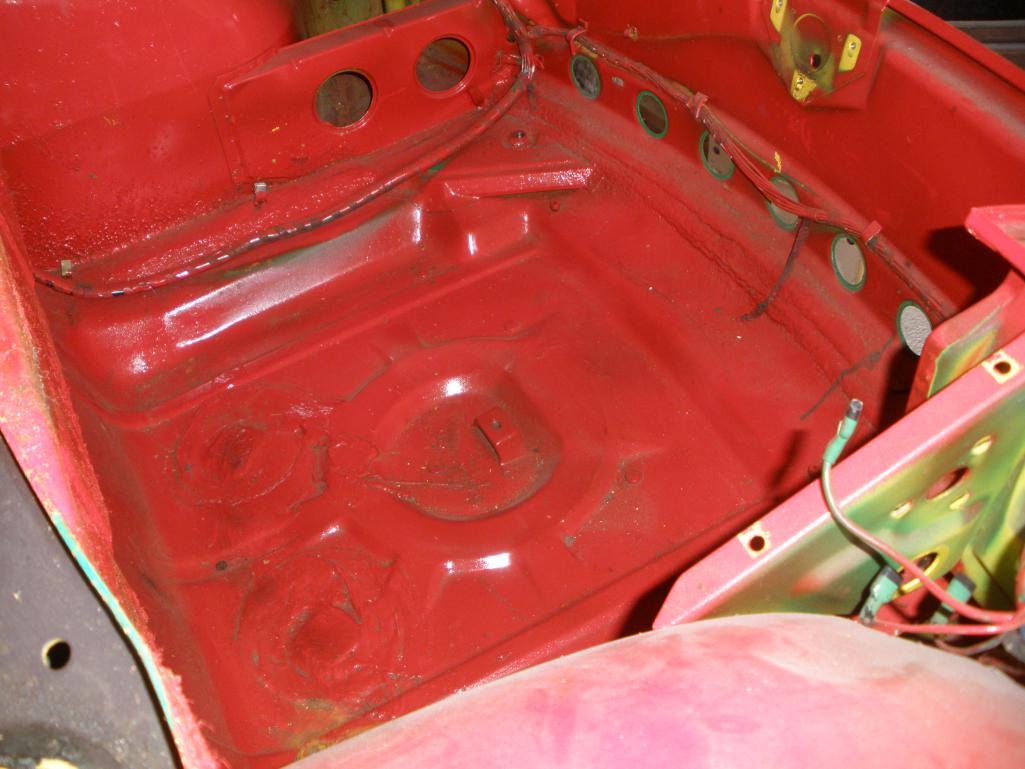 
|
| cary |
 May 19 2016, 12:01 AM May 19 2016, 12:01 AM
Post
#17
|
|
Advanced Member     Group: Members Posts: 3,900 Joined: 26-January 04 From: Sherwood Oregon Member No.: 1,608 Region Association: Pacific Northwest 
|
Nice, good luck on your project.
Your in good hands. With Rick's long distance guidance you'll come up with the correct plan. |
| 914Gelb |
 May 19 2016, 12:03 AM May 19 2016, 12:03 AM
Post
#18
|
|
Member   Group: Members Posts: 103 Joined: 7-July 11 From: Vienna Member No.: 13,288 Region Association: Austria |
rear trunk
Attached thumbnail(s) 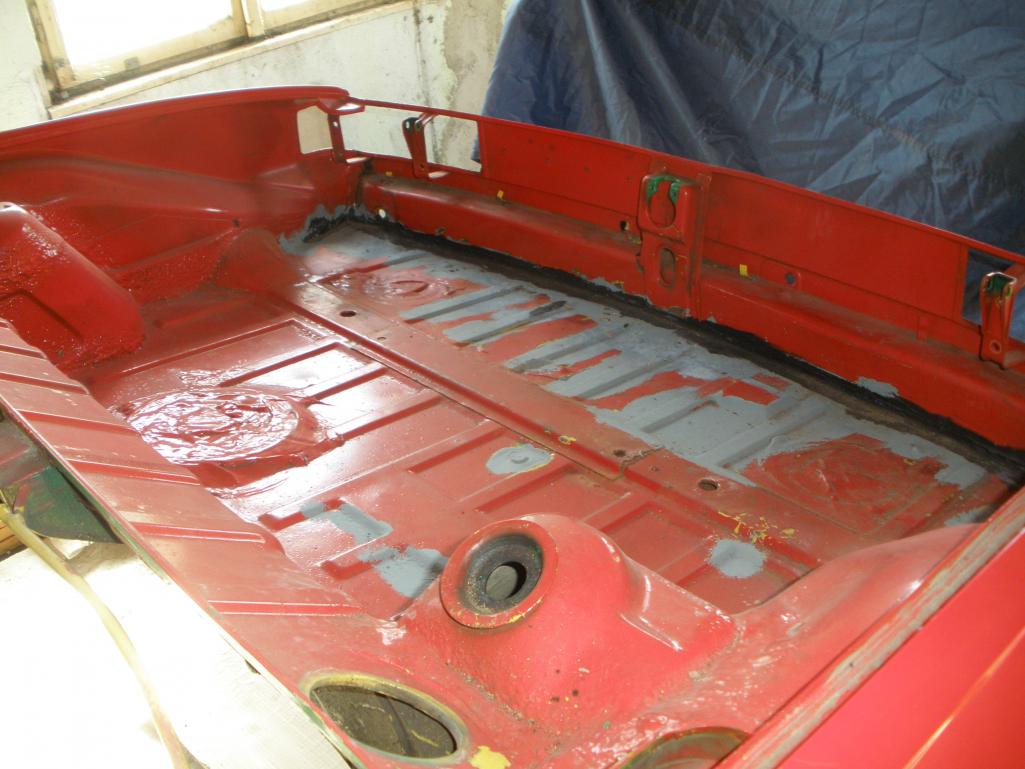 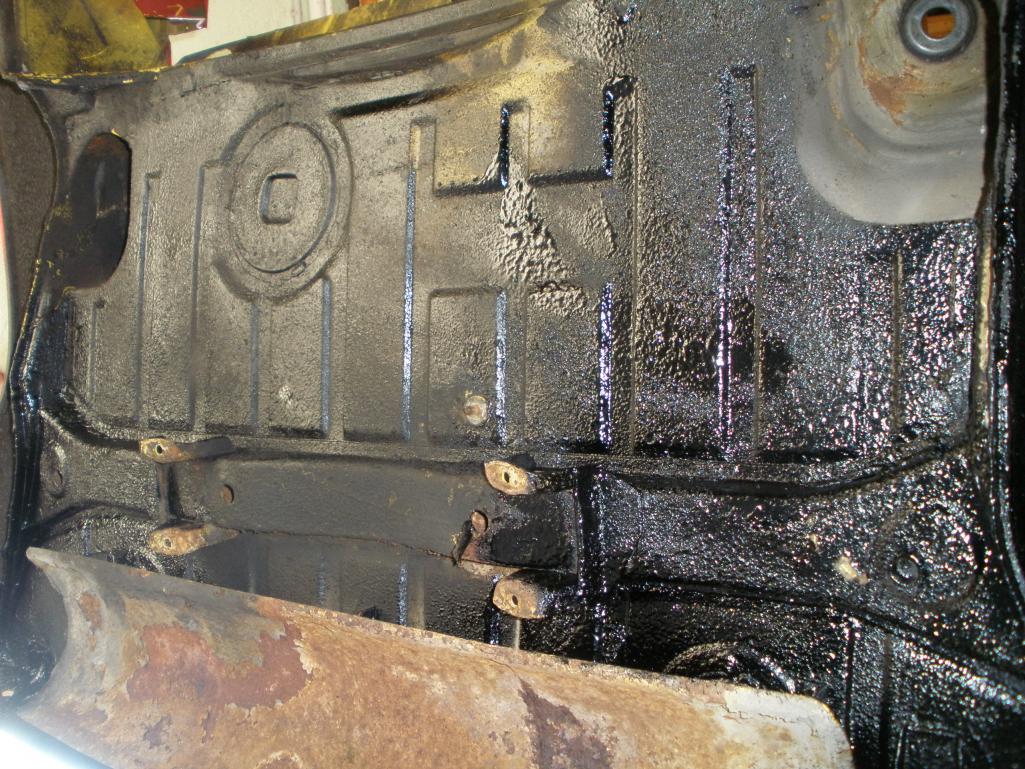 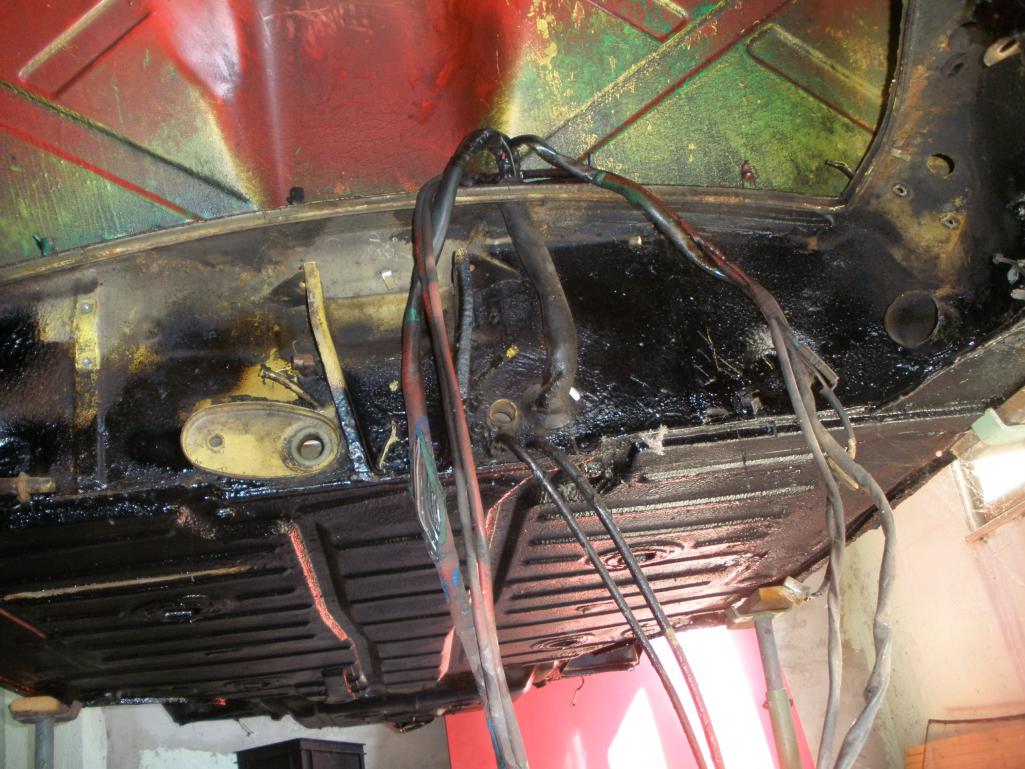
|
| 914Gelb |
 May 19 2016, 12:06 AM May 19 2016, 12:06 AM
Post
#19
|
|
Member   Group: Members Posts: 103 Joined: 7-July 11 From: Vienna Member No.: 13,288 Region Association: Austria |
right outer side
Attached thumbnail(s) 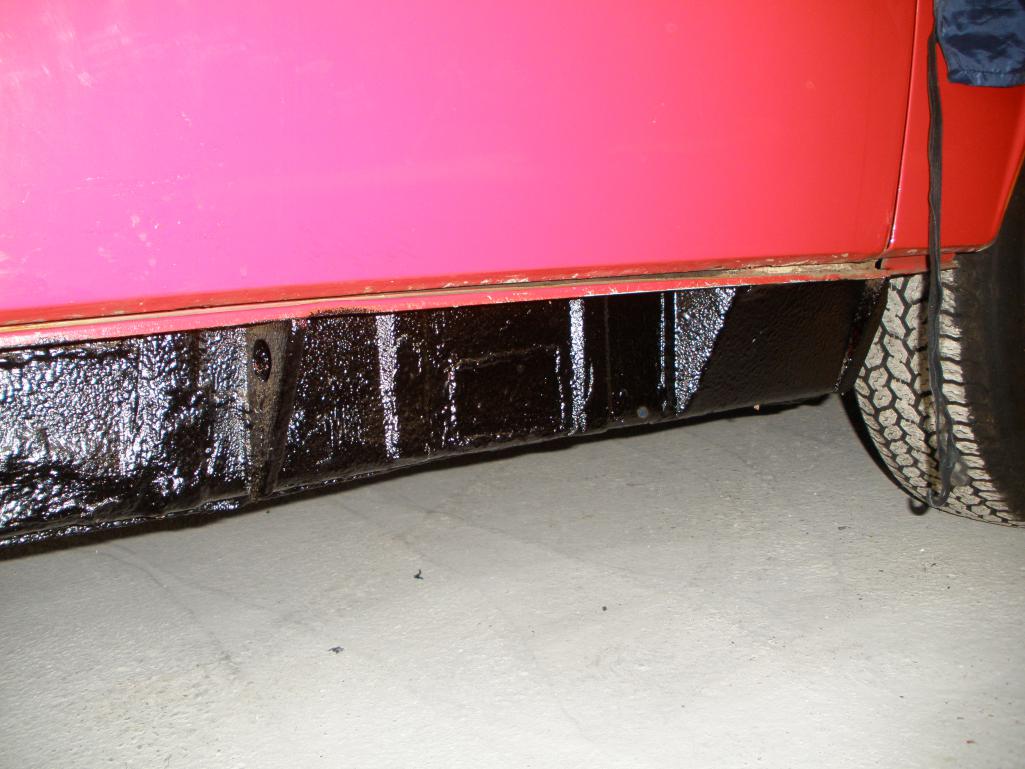
|
| 914Gelb |
 May 19 2016, 12:07 AM May 19 2016, 12:07 AM
Post
#20
|
|
Member   Group: Members Posts: 103 Joined: 7-July 11 From: Vienna Member No.: 13,288 Region Association: Austria |
again right side
Attached thumbnail(s) 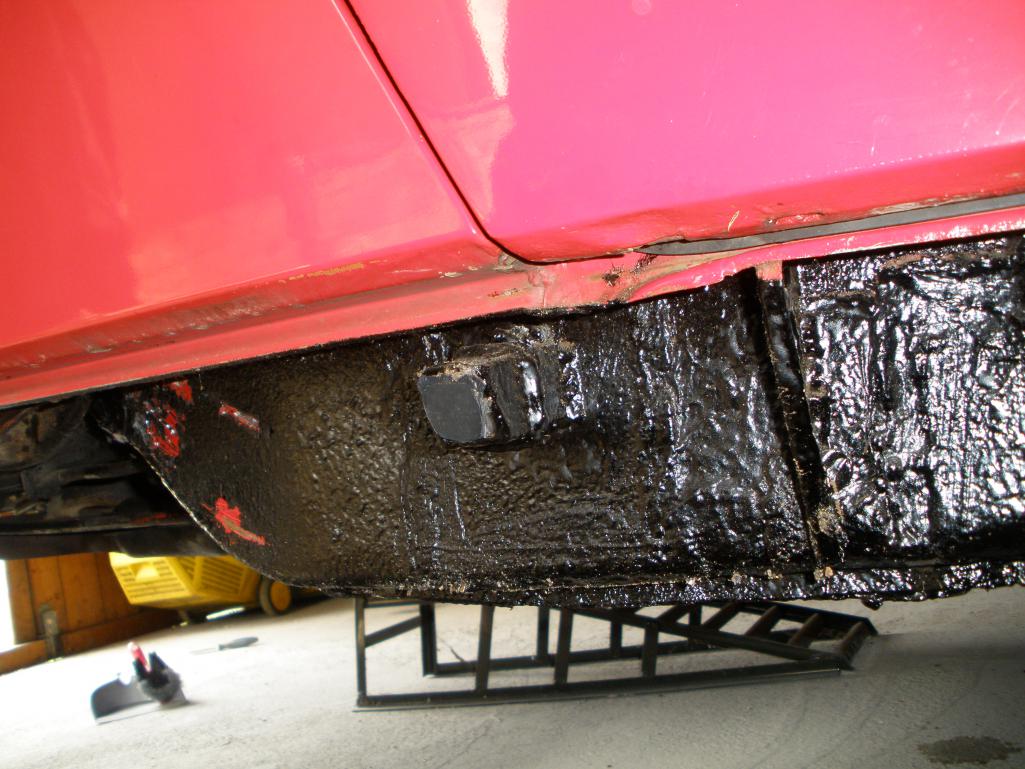
|
  |
1 User(s) are reading this topic (1 Guests and 0 Anonymous Users)
0 Members:

|
Lo-Fi Version | Time is now: 17th December 2024 - 07:40 AM |
Invision Power Board
v9.1.4 © 2024 IPS, Inc.


