|
|

|
Porsche, and the Porsche crest are registered trademarks of Dr. Ing. h.c. F. Porsche AG.
This site is not affiliated with Porsche in any way. Its only purpose is to provide an online forum for car enthusiasts. All other trademarks are property of their respective owners. |
|
|
  |
| slowrodent |
 Jun 11 2022, 12:25 PM Jun 11 2022, 12:25 PM
Post
#141
|
|
Member   Group: Members Posts: 153 Joined: 29-February 20 From: Tucson/Oro Valley Member No.: 23,981 Region Association: Southwest Region 
|
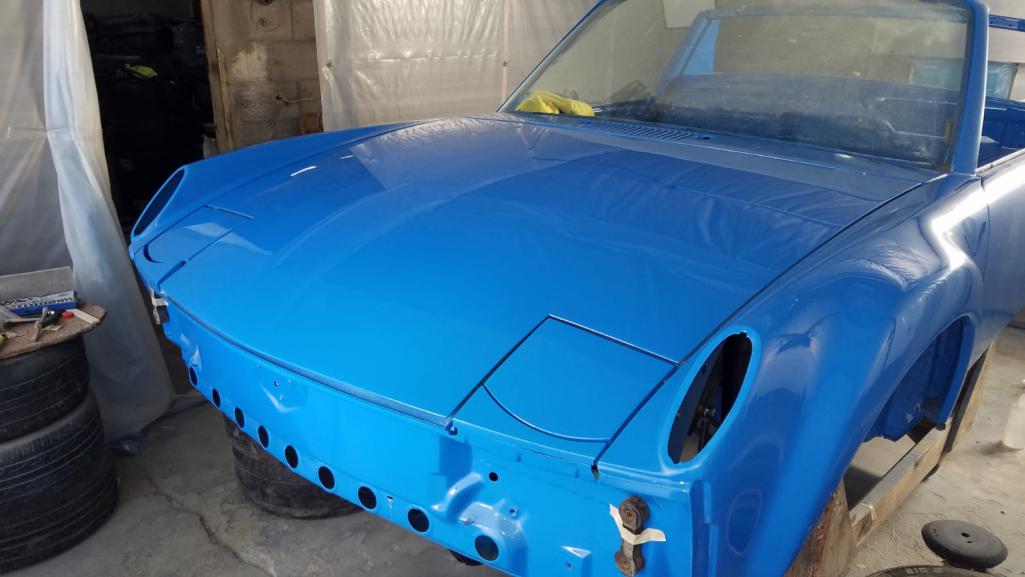
That is really one beautiful car.... Excellent workmanship!!
|
| ndfrigi |
 Jun 11 2022, 12:30 PM Jun 11 2022, 12:30 PM
Post
#142
|
|
Advanced Member     Group: Members Posts: 2,959 Joined: 21-August 11 From: Orange County Member No.: 13,474 Region Association: Southern California 
|
wow! congratulations!
|
| autopro |
 Jun 11 2022, 01:47 PM Jun 11 2022, 01:47 PM
Post
#143
|
|
Member   Group: Members Posts: 306 Joined: 14-January 18 From: San Diego / Tijuana Member No.: 21,797 Region Association: Southern California |
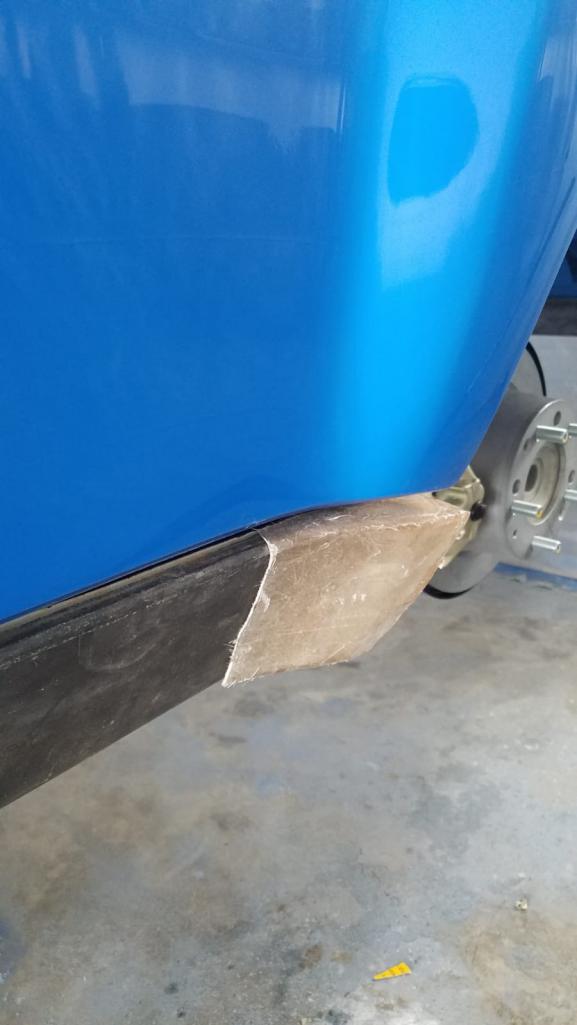
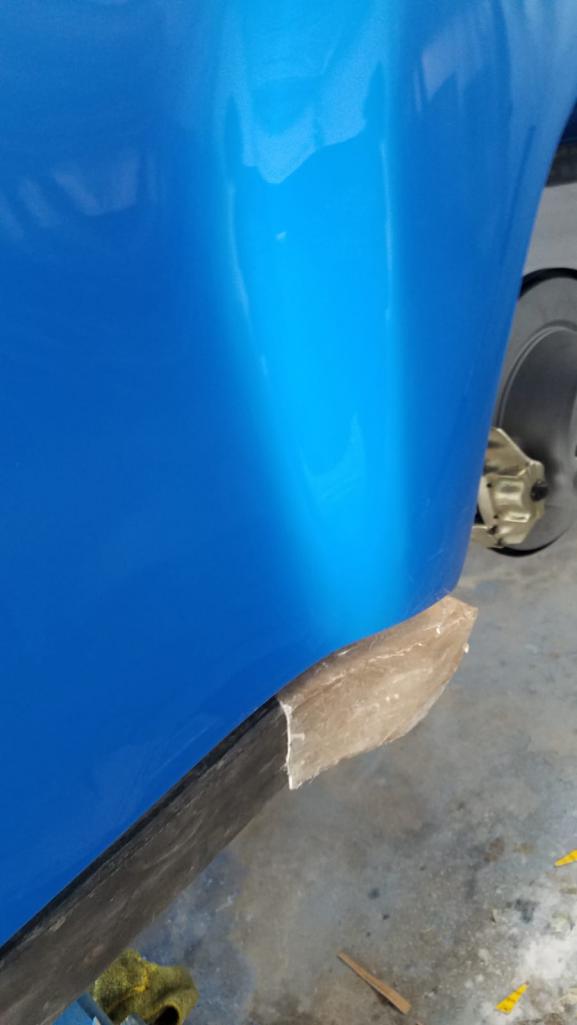
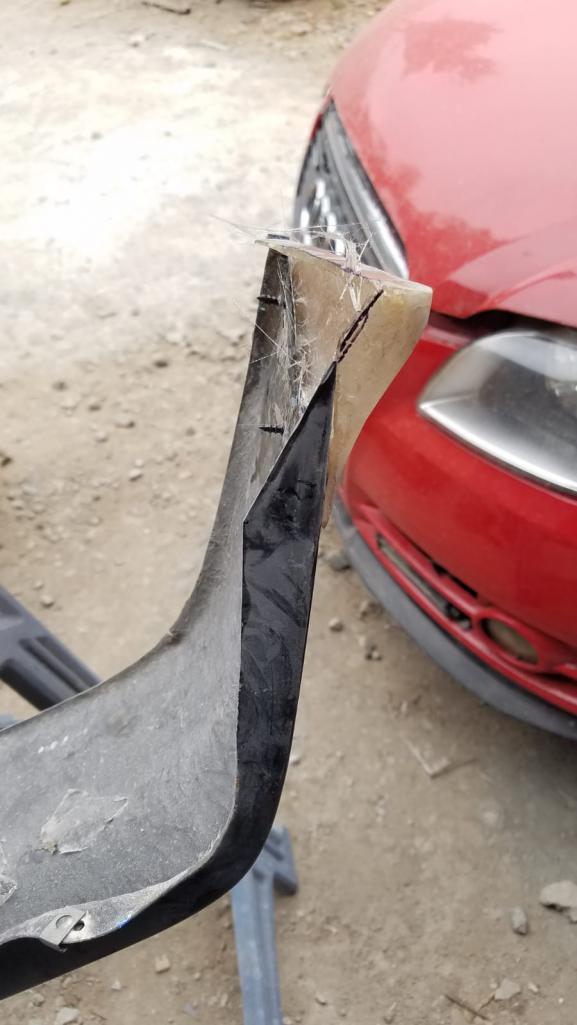
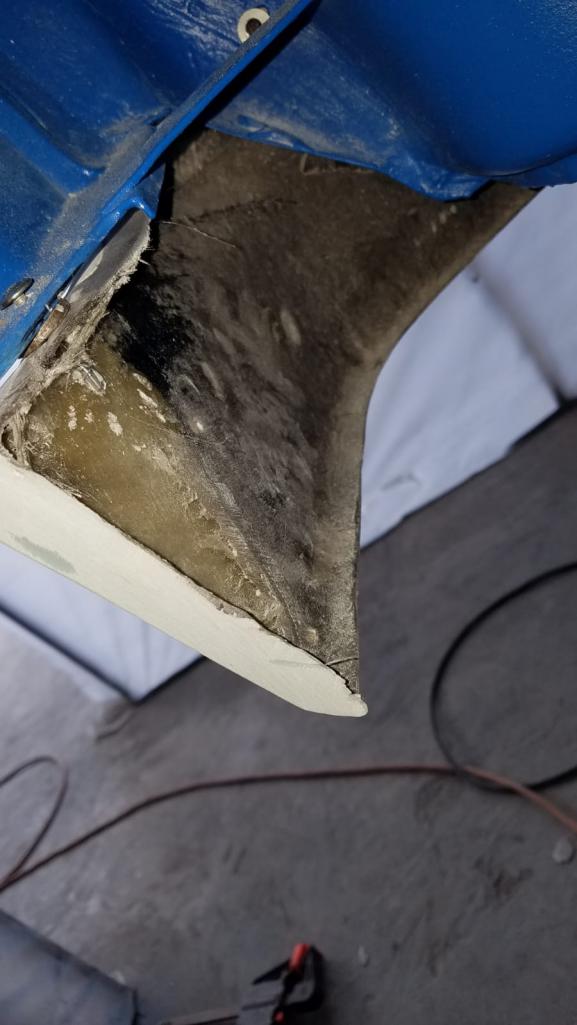
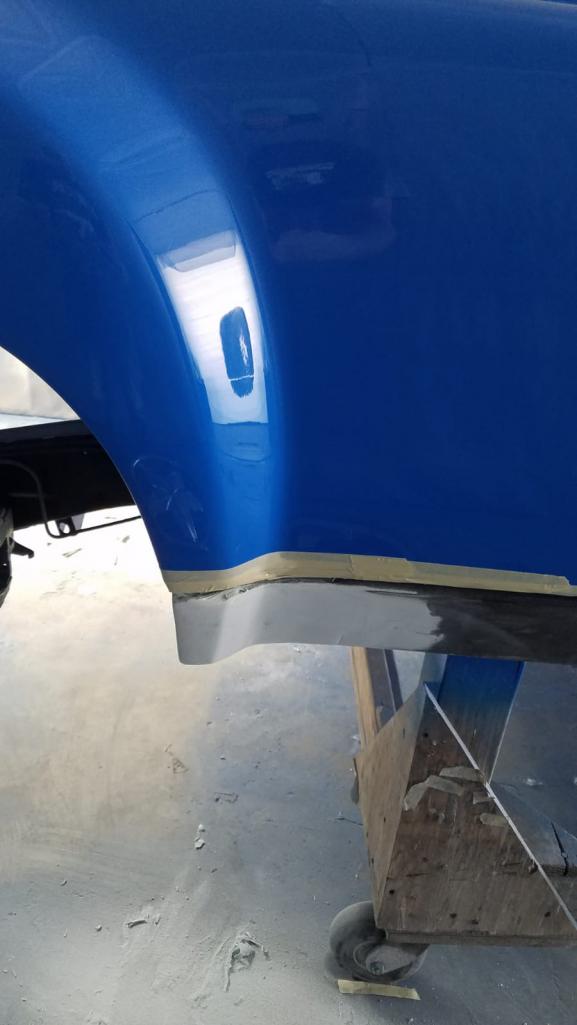
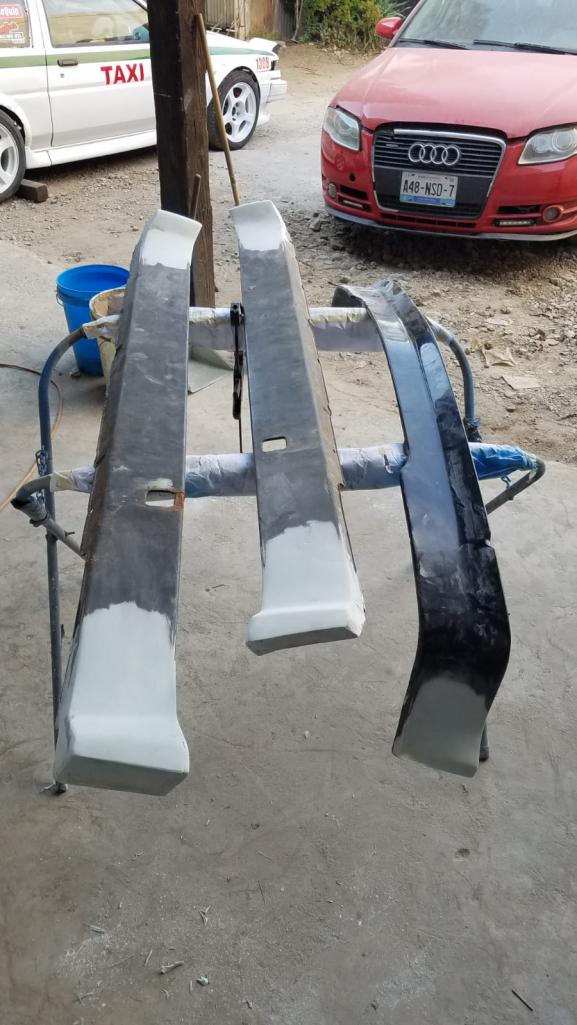
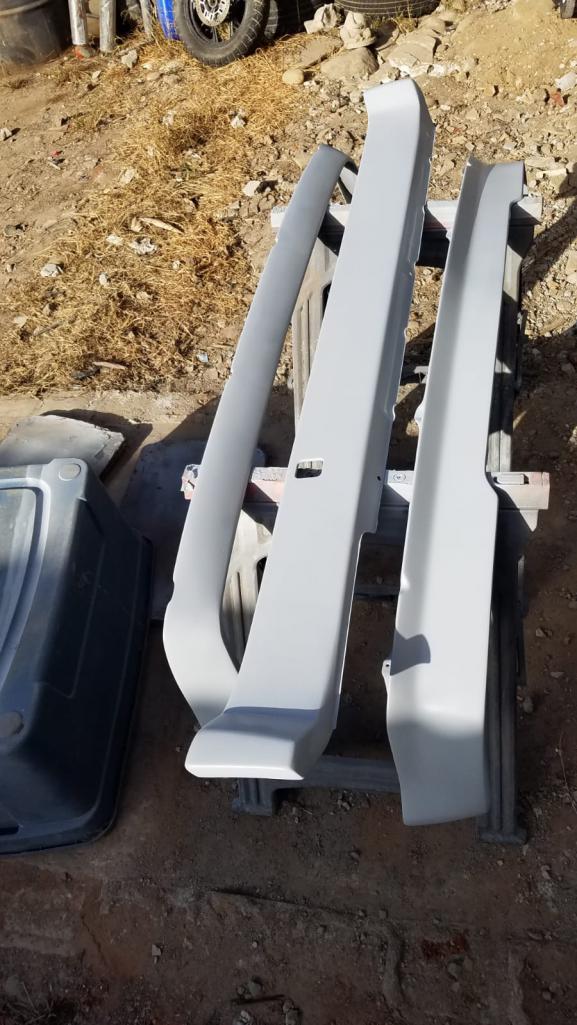
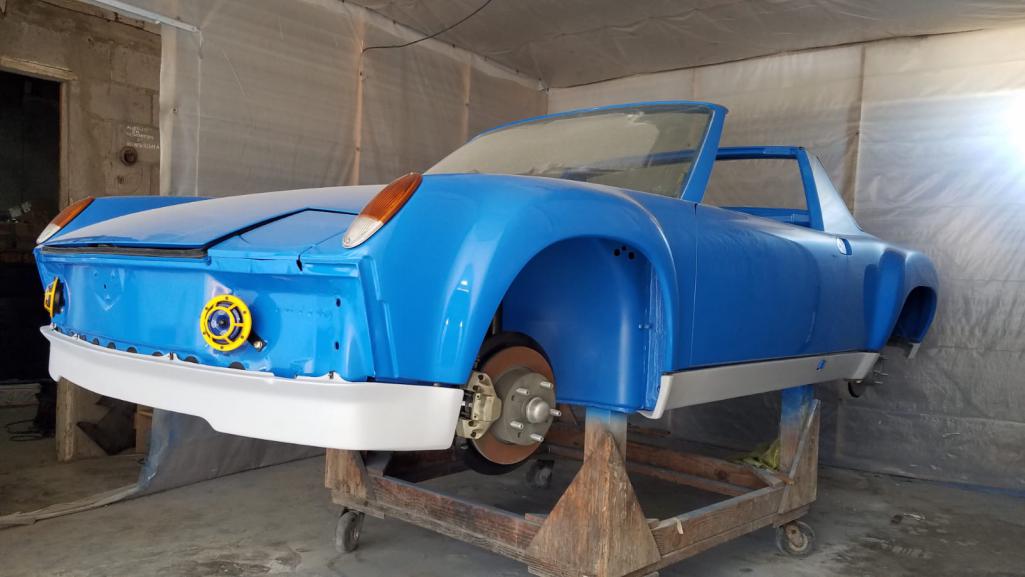
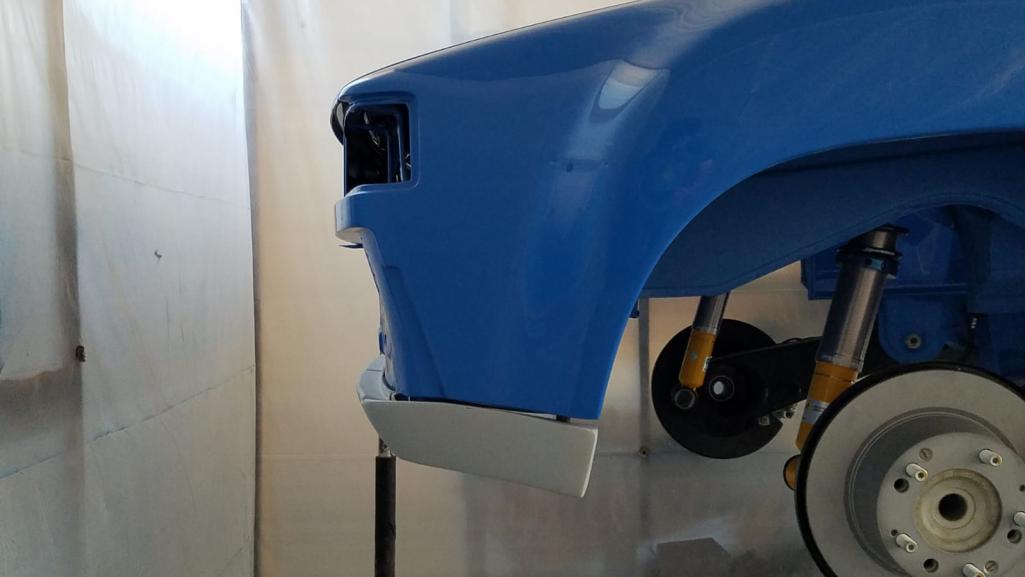
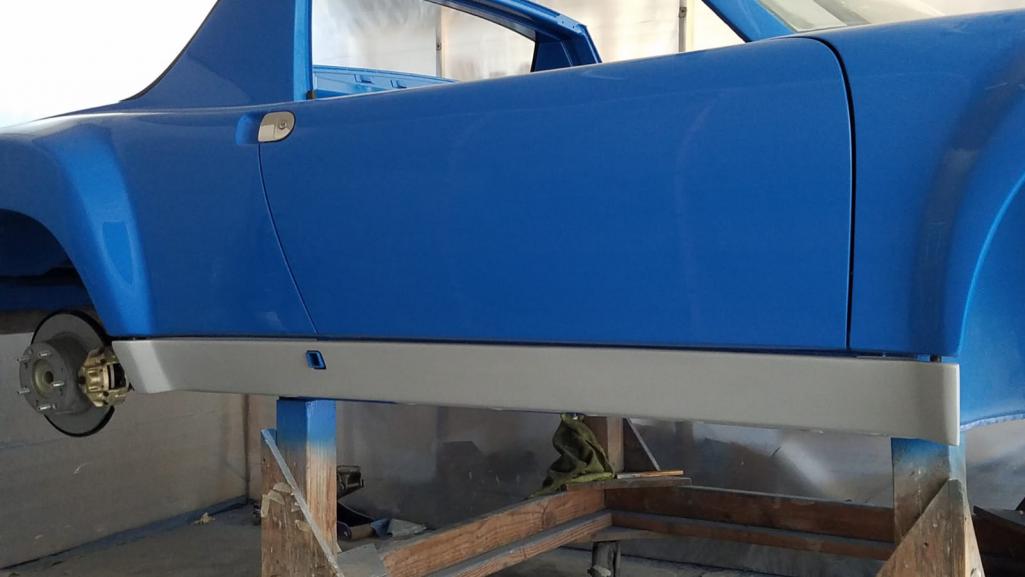
Dion, slowrodent and ndfrigi thank you very much for the kind words fellas!
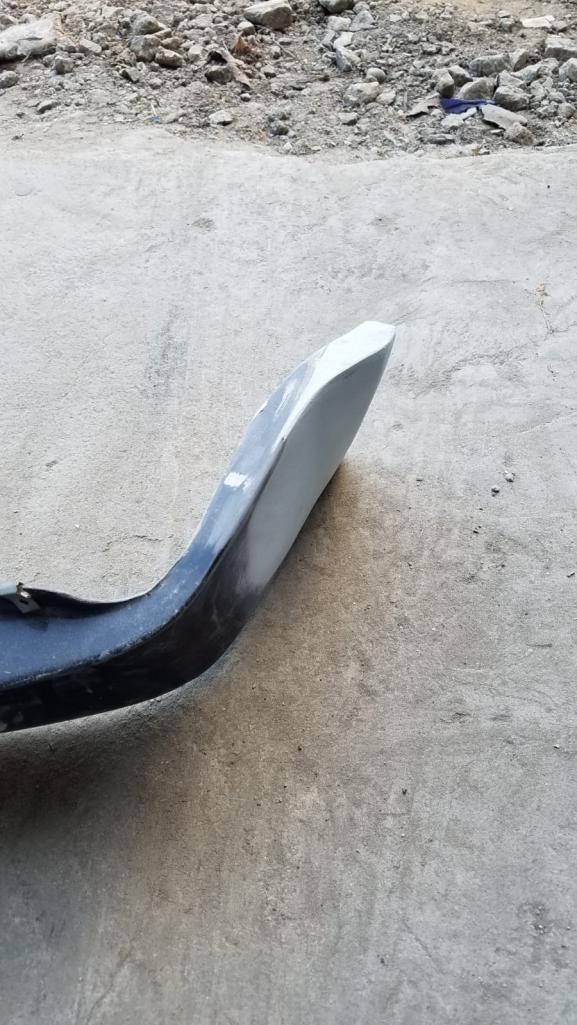
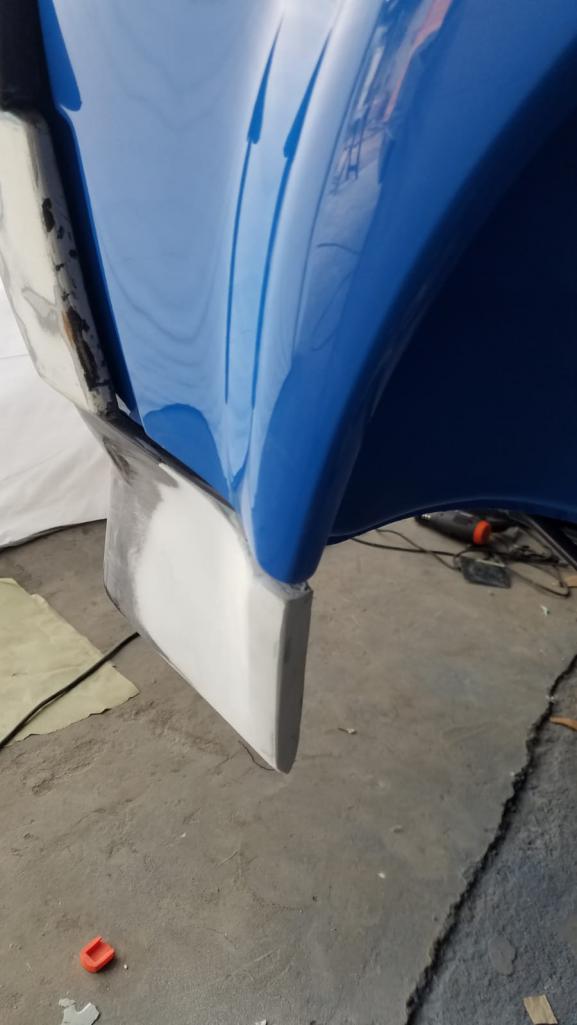
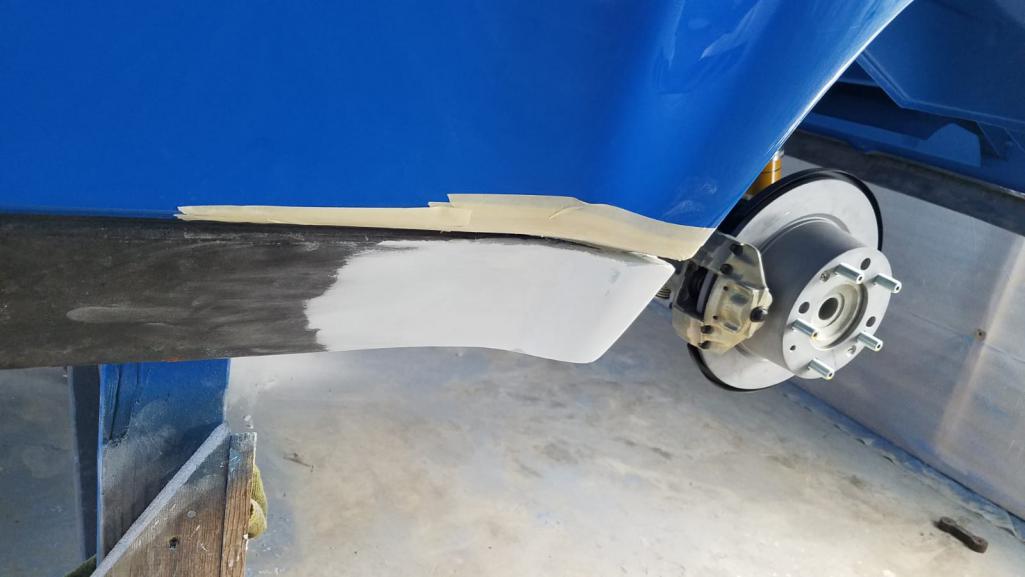
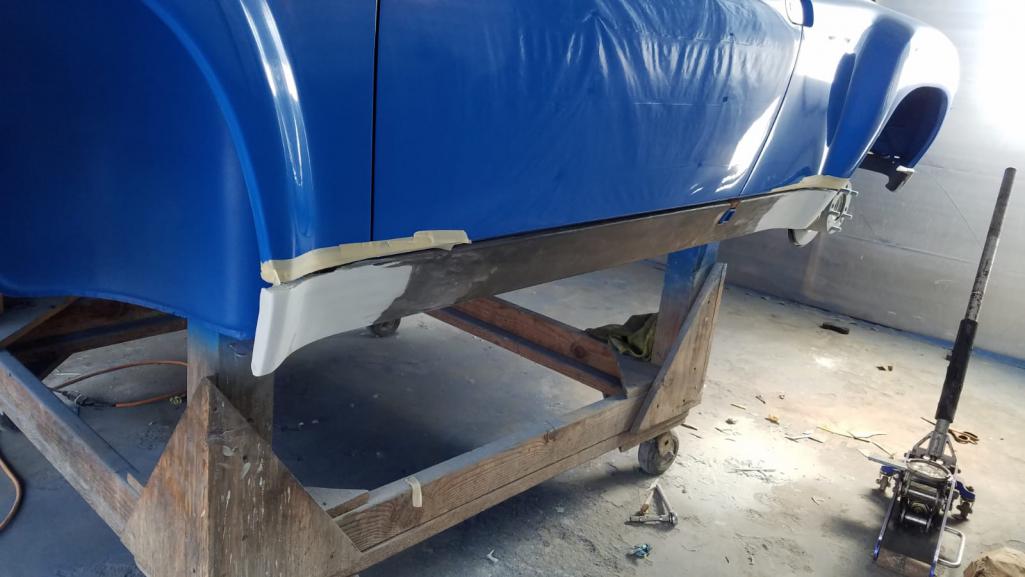
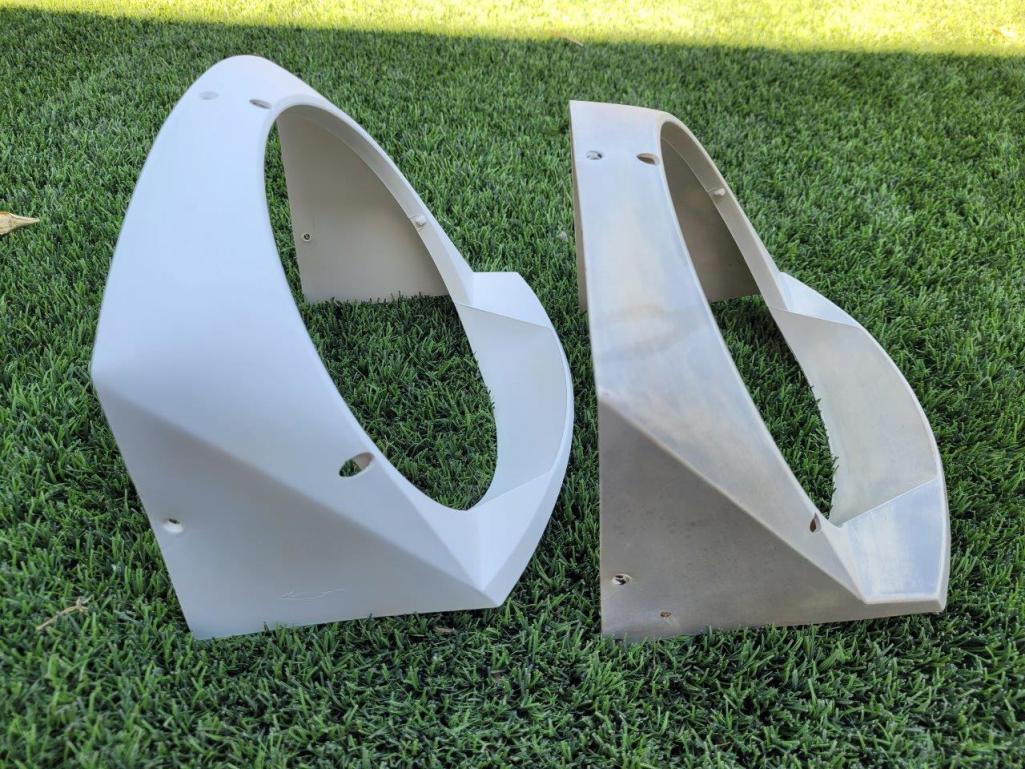
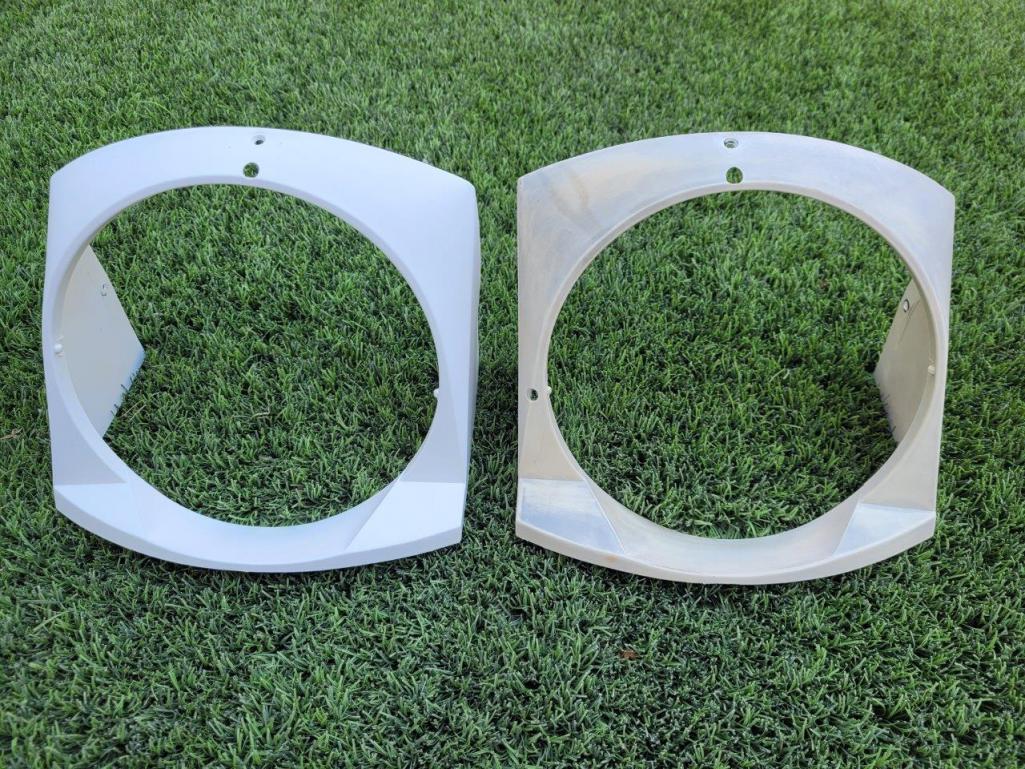
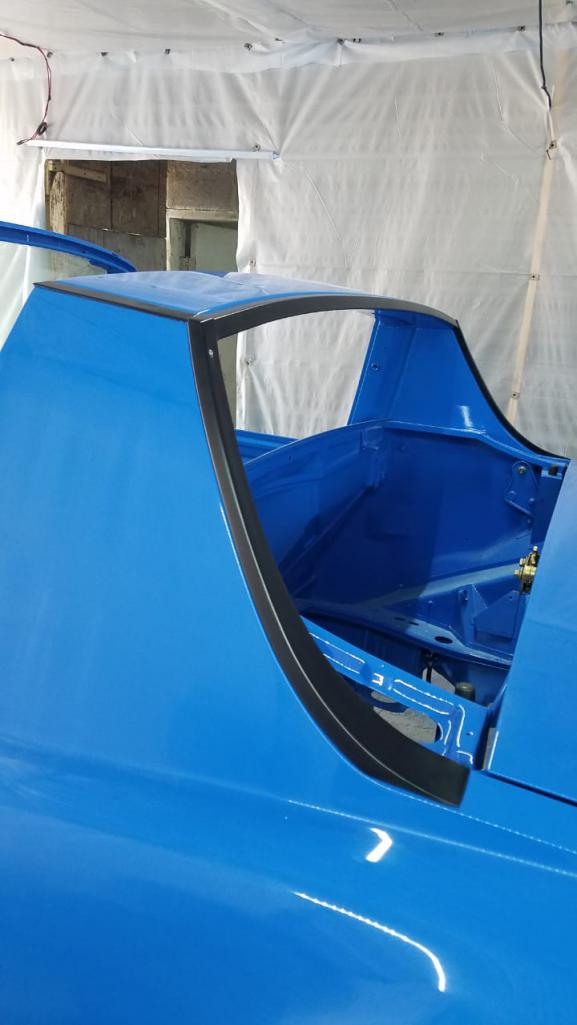
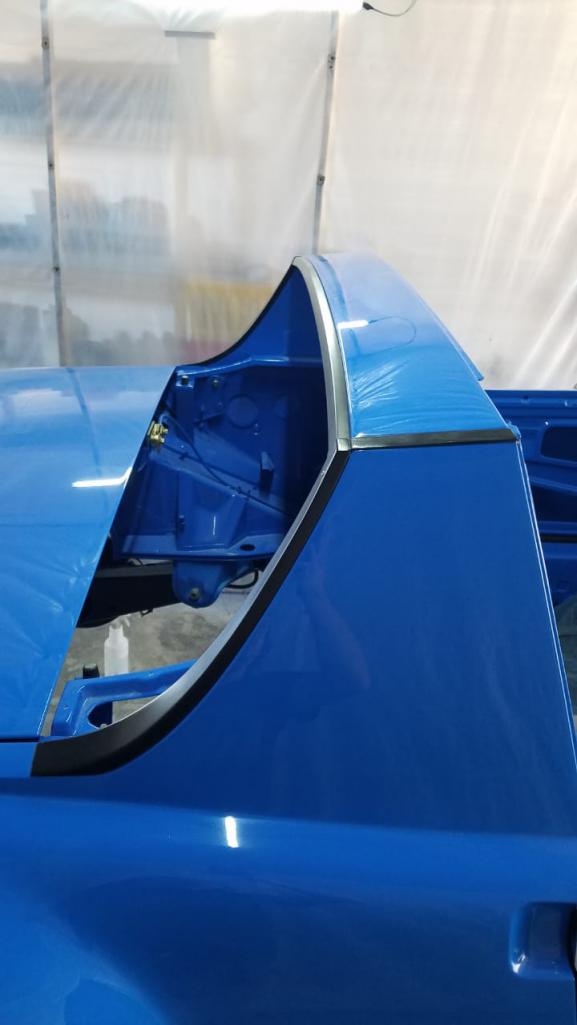
I know this is out of place and it should have been done before painting but I didn't have everything I needed at the time it had to be done. So here we are and now I have to be super careful not to damage the new paint. I needed to make the flairs to the side skirts and the front and rear bumper valance. Here is a little bit of the process of how I made them. First I made some general shapes with cardboard. 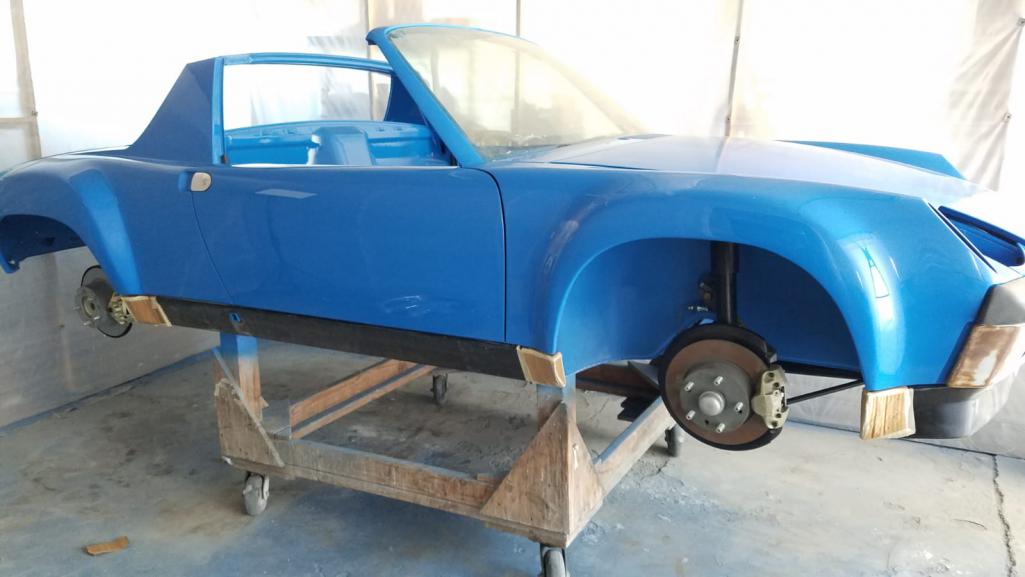 After I get the general shape that I need i take them off and put some packing tape on the inside. These work as my mold. 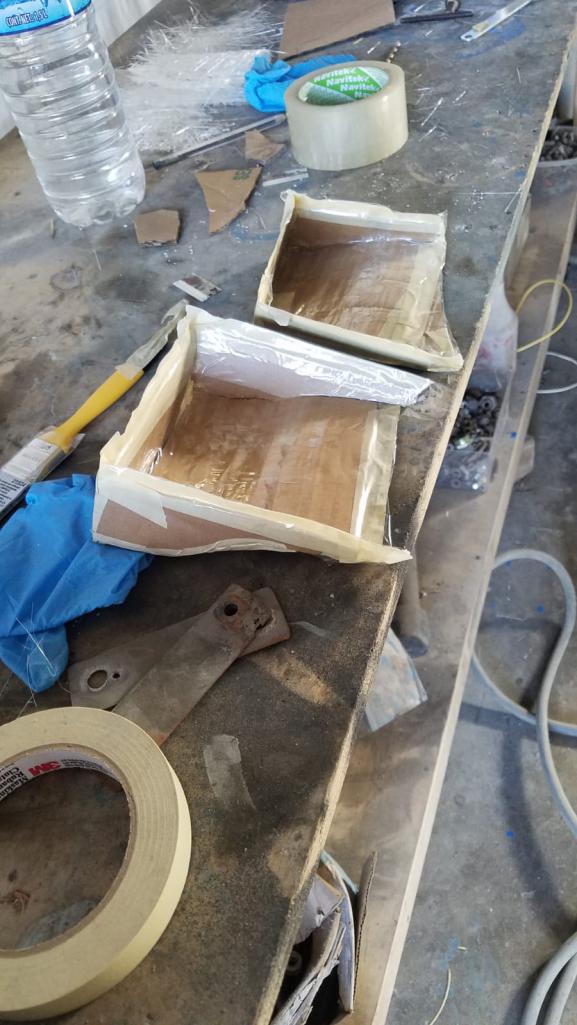 Even though the packing tape releases well from the fiberglass I always put a coat or two of mold release. 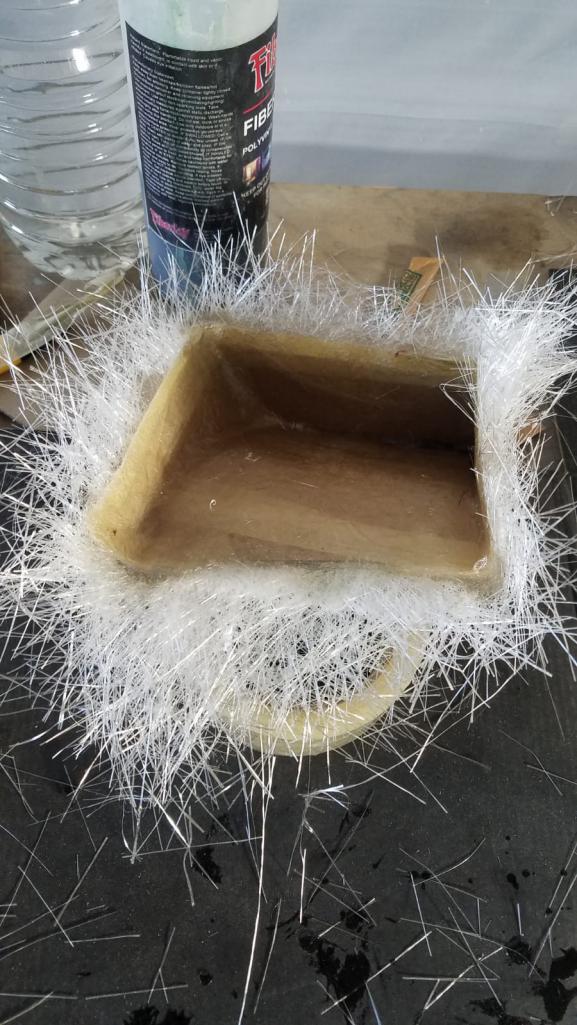 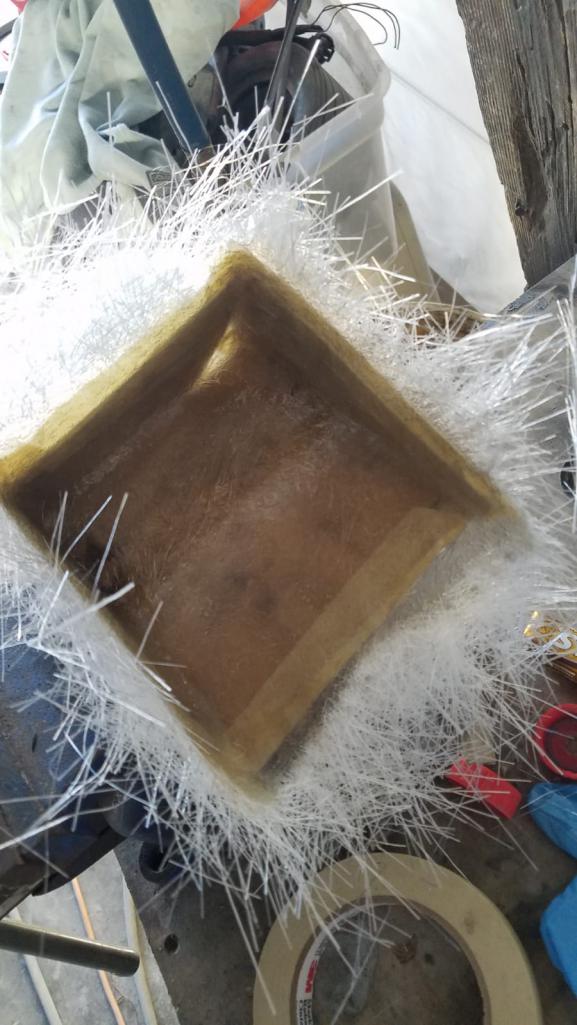 |
| autopro |
 Jun 11 2022, 01:56 PM Jun 11 2022, 01:56 PM
Post
#144
|
|
Member   Group: Members Posts: 306 Joined: 14-January 18 From: San Diego / Tijuana Member No.: 21,797 Region Association: Southern California |
|
| autopro |
 Jun 11 2022, 02:05 PM Jun 11 2022, 02:05 PM
Post
#145
|
|
Member   Group: Members Posts: 306 Joined: 14-January 18 From: San Diego / Tijuana Member No.: 21,797 Region Association: Southern California |
|
| Dion |
 Jun 11 2022, 03:33 PM Jun 11 2022, 03:33 PM
Post
#146
|
|
RN     Group: Members Posts: 2,801 Joined: 16-September 04 From: Audubon,PA Member No.: 2,766 Region Association: MidAtlantic Region 

|
The fiberglass work is absolutely brilliant. Can you please redo my front belly pan to match? Very sharp Pedro.
On another note the “Taxi” has piqued my interest. VW Scirocco, Audi Quattro or Isuzu . The square body shape at front is throwing me off. (IMG:style_emoticons/default/laugh.gif) Keep the pics coming! |
| autopro |
 Jun 11 2022, 07:50 PM Jun 11 2022, 07:50 PM
Post
#147
|
|
Member   Group: Members Posts: 306 Joined: 14-January 18 From: San Diego / Tijuana Member No.: 21,797 Region Association: Southern California |
Hey Dion, that's my friends AE86, he uses it for drifting and he thought it would be funny if we painted it like a taxi frome here in Tijuana LOL
Sure man, I would be glad to help. Let me know what you need done to the belly pan and I'll do it for you. |
| autopro |
 Jun 14 2022, 03:27 PM Jun 14 2022, 03:27 PM
Post
#148
|
|
Member   Group: Members Posts: 306 Joined: 14-January 18 From: San Diego / Tijuana Member No.: 21,797 Region Association: Southern California |
|
| Root_Werks |
 Jun 17 2022, 04:08 PM Jun 17 2022, 04:08 PM
Post
#149
|
|
Village Idiot      Group: Members Posts: 8,483 Joined: 25-May 04 From: About 5NM from Canada Member No.: 2,105 Region Association: Pacific Northwest 
|
|
| autopro |
 Jun 17 2022, 08:27 PM Jun 17 2022, 08:27 PM
Post
#150
|
|
Member   Group: Members Posts: 306 Joined: 14-January 18 From: San Diego / Tijuana Member No.: 21,797 Region Association: Southern California |
|
| autopro |
 Jun 20 2022, 07:36 PM Jun 20 2022, 07:36 PM
Post
#151
|
|
Member   Group: Members Posts: 306 Joined: 14-January 18 From: San Diego / Tijuana Member No.: 21,797 Region Association: Southern California |
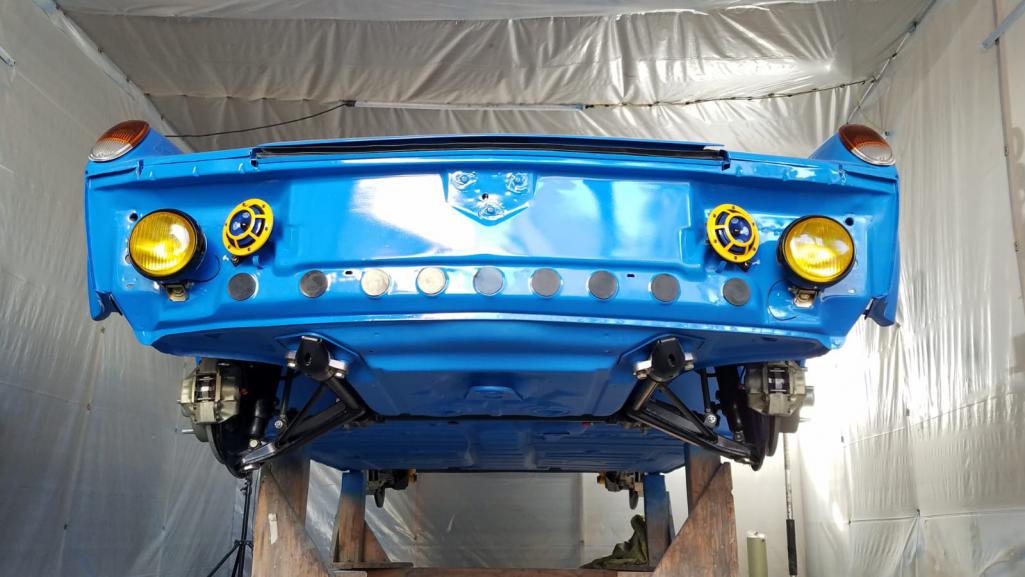
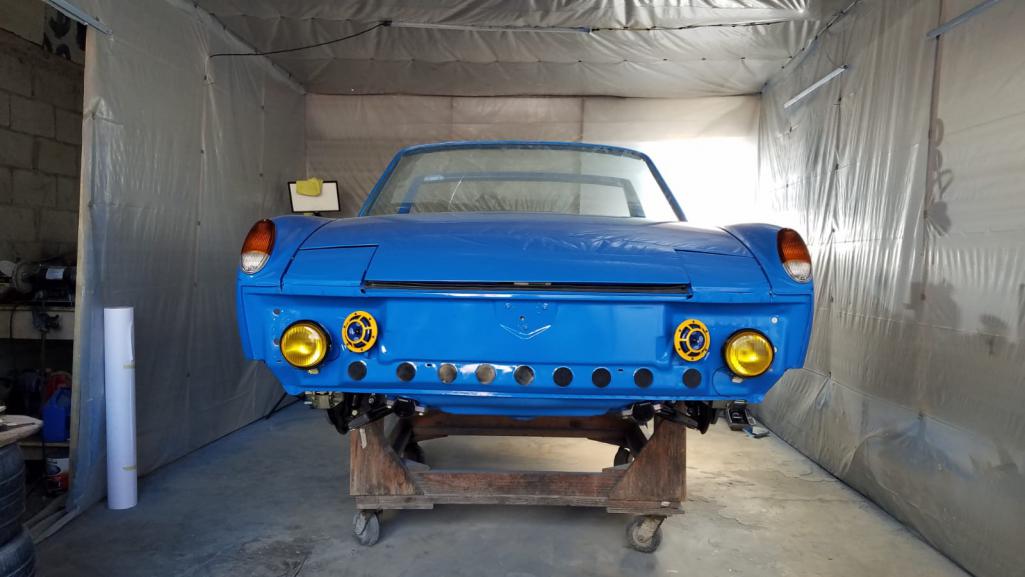
Upon test fitting the front bumper the fog lights were not quite centered on the holes of the grill. I had to modify the mounting brackets so that they would be centered.
Here is a picture of the back of the fog light and what the mounting ears look like 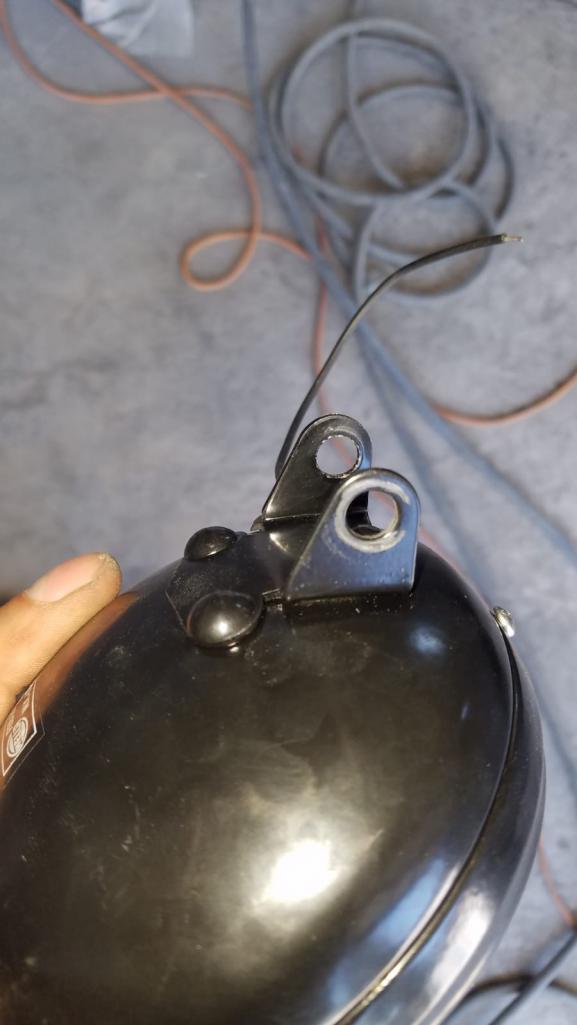 Here is the modification that was made, excuse the ugly welds I ran out of gas and had to use the flux core wire. 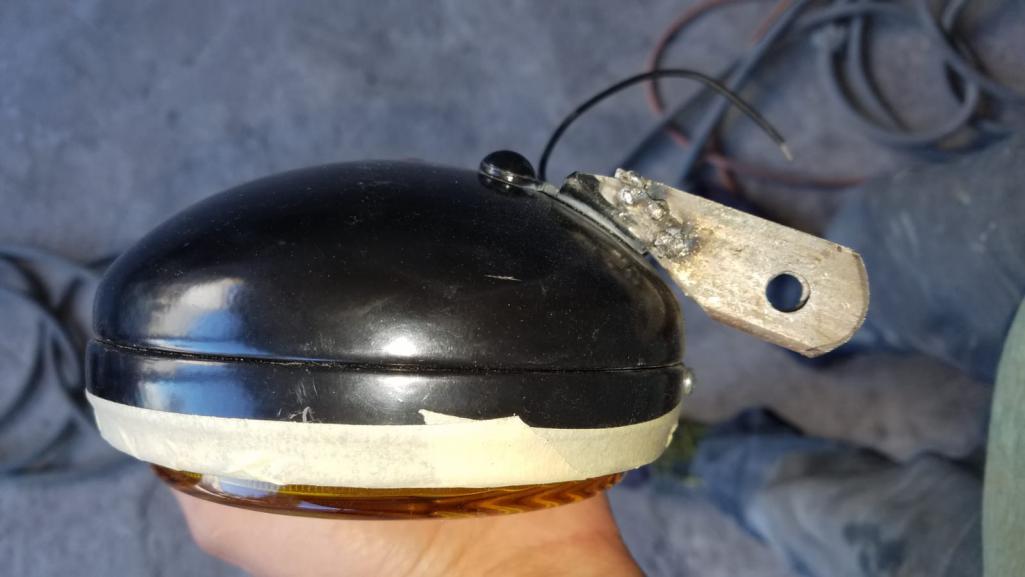 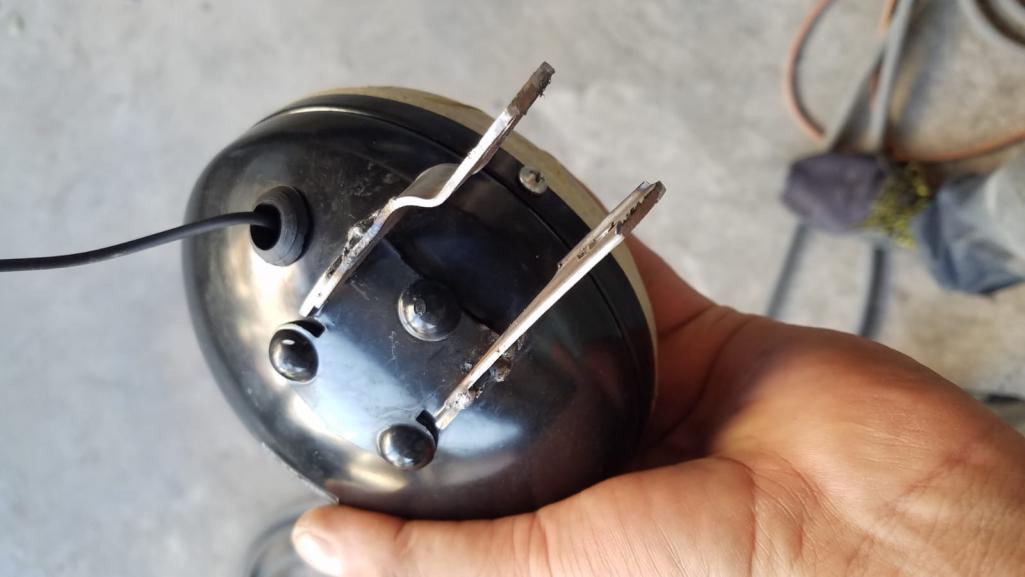 |
| autopro |
 Jun 20 2022, 07:43 PM Jun 20 2022, 07:43 PM
Post
#152
|
|
Member   Group: Members Posts: 306 Joined: 14-January 18 From: San Diego / Tijuana Member No.: 21,797 Region Association: Southern California |
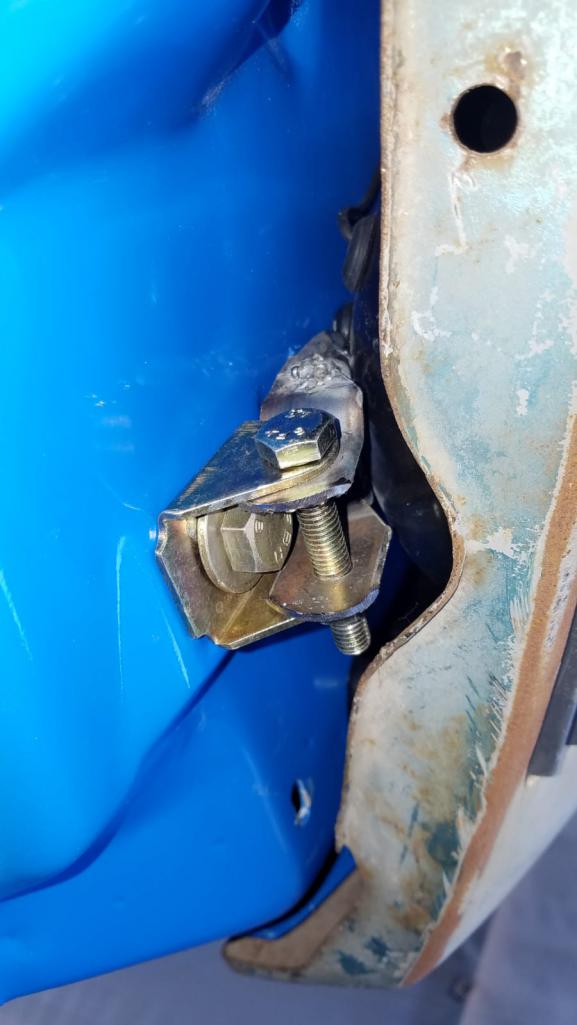
And this is how I mounted them. But I messed up and now I have to fix it. I need the ears of the bracket from the light to be on the outside of the small bracket that gets bolted to the body (IMG:style_emoticons/default/hissyfit.gif)
 At least they are centered and look really good for some aftermarket fog lights from ebay. 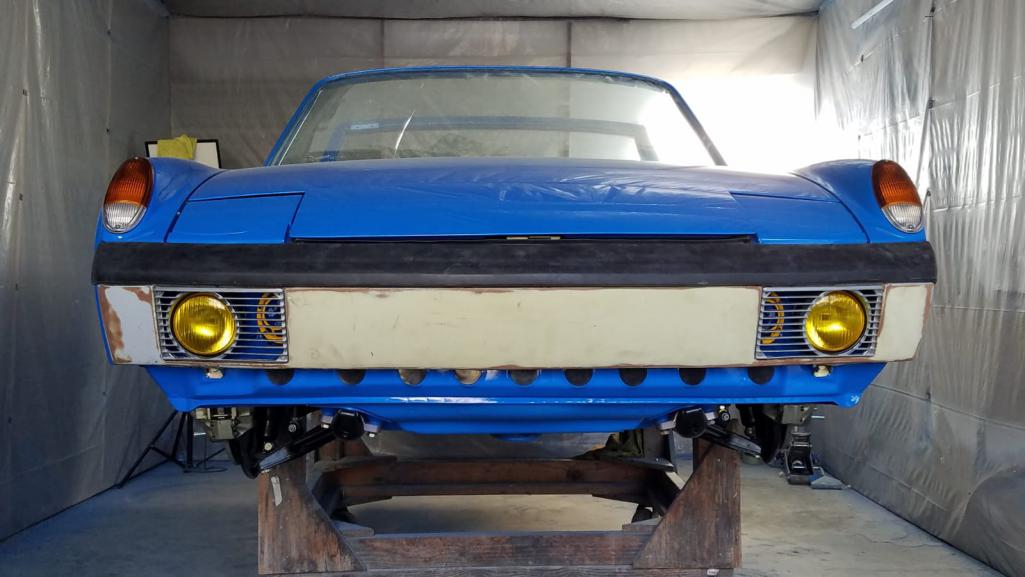 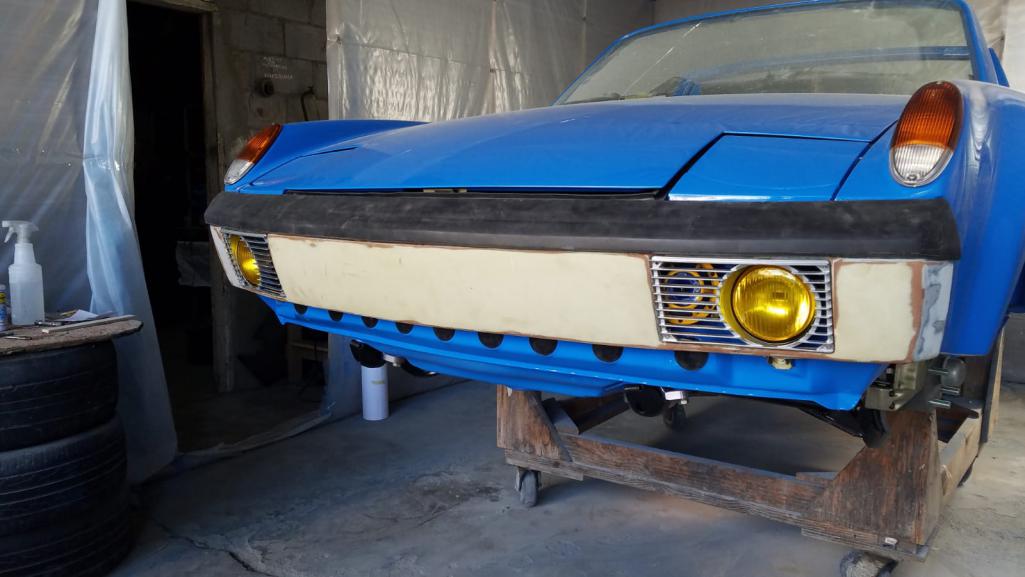 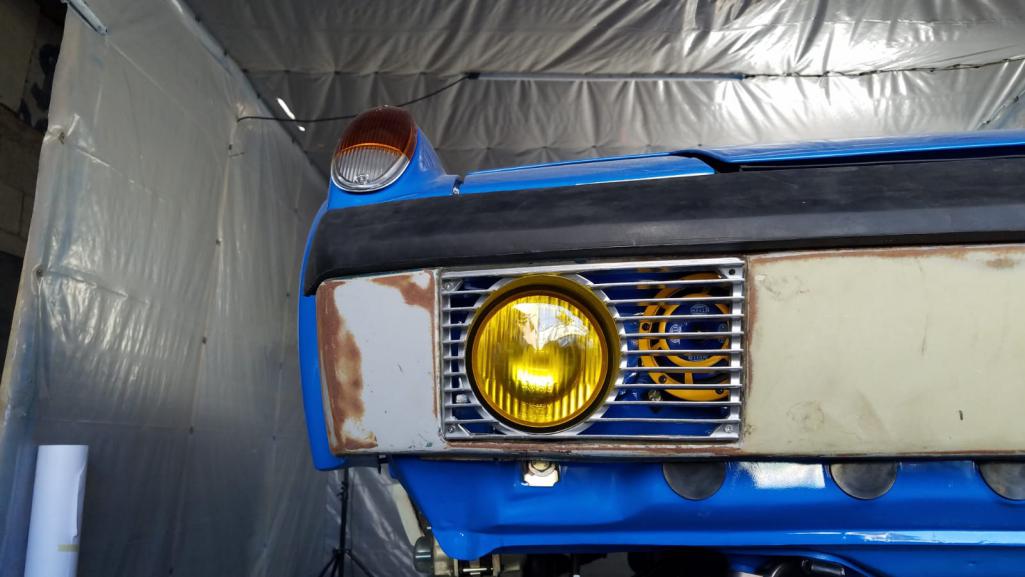 |
| autopro |
 Jul 20 2022, 04:50 PM Jul 20 2022, 04:50 PM
Post
#153
|
|
Member   Group: Members Posts: 306 Joined: 14-January 18 From: San Diego / Tijuana Member No.: 21,797 Region Association: Southern California |
|
| autopro |
 Jul 20 2022, 04:56 PM Jul 20 2022, 04:56 PM
Post
#154
|
|
Member   Group: Members Posts: 306 Joined: 14-January 18 From: San Diego / Tijuana Member No.: 21,797 Region Association: Southern California |
|
| autopro |
 Jul 20 2022, 05:00 PM Jul 20 2022, 05:00 PM
Post
#155
|
|
Member   Group: Members Posts: 306 Joined: 14-January 18 From: San Diego / Tijuana Member No.: 21,797 Region Association: Southern California |
|
| autopro |
 Jul 20 2022, 05:06 PM Jul 20 2022, 05:06 PM
Post
#156
|
|
Member   Group: Members Posts: 306 Joined: 14-January 18 From: San Diego / Tijuana Member No.: 21,797 Region Association: Southern California |
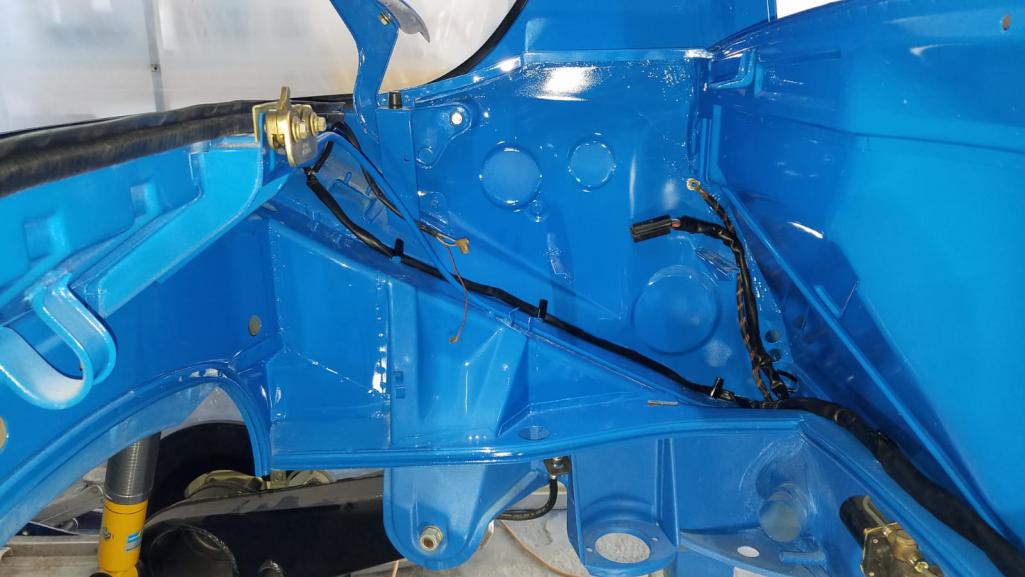
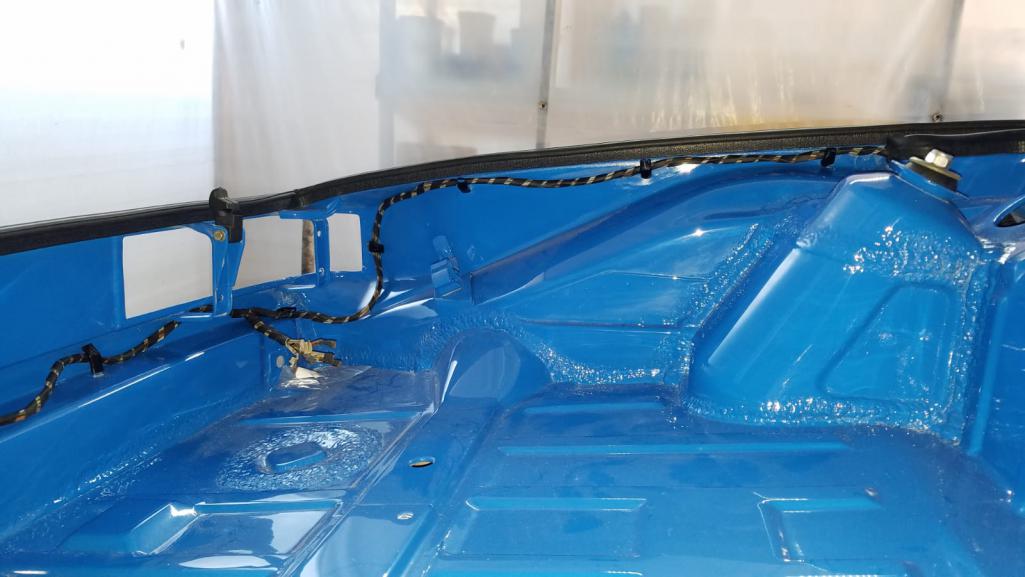
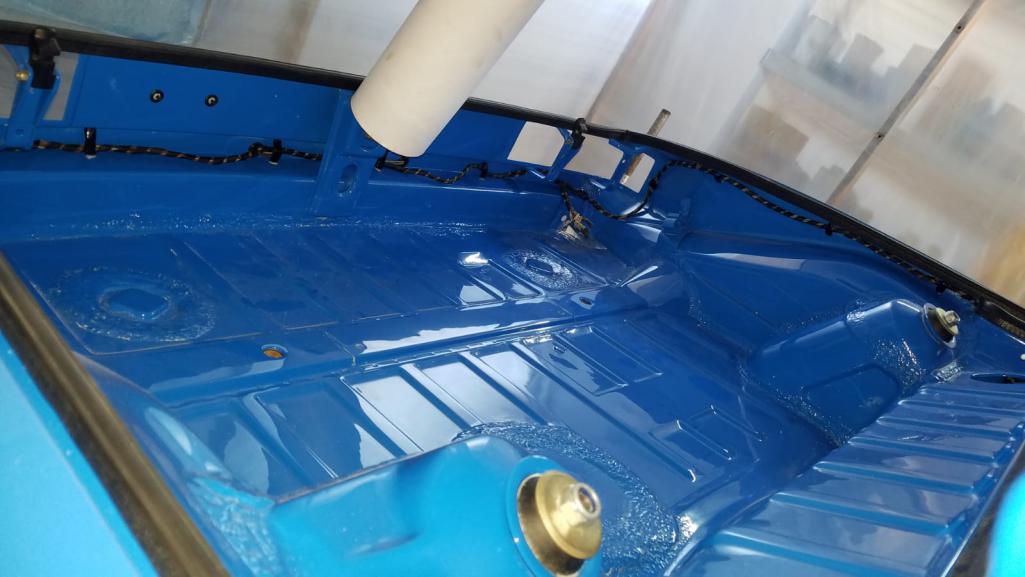
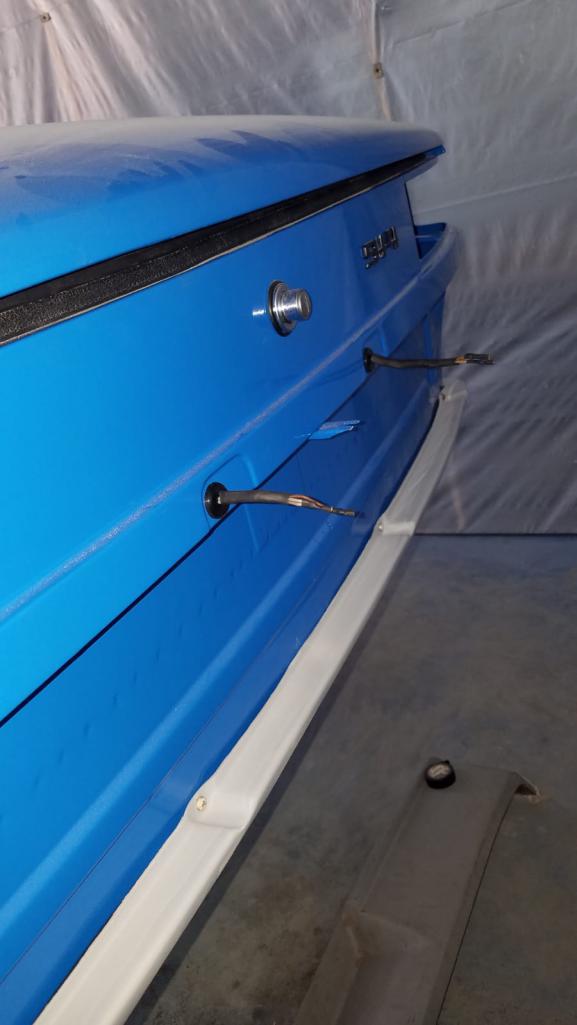
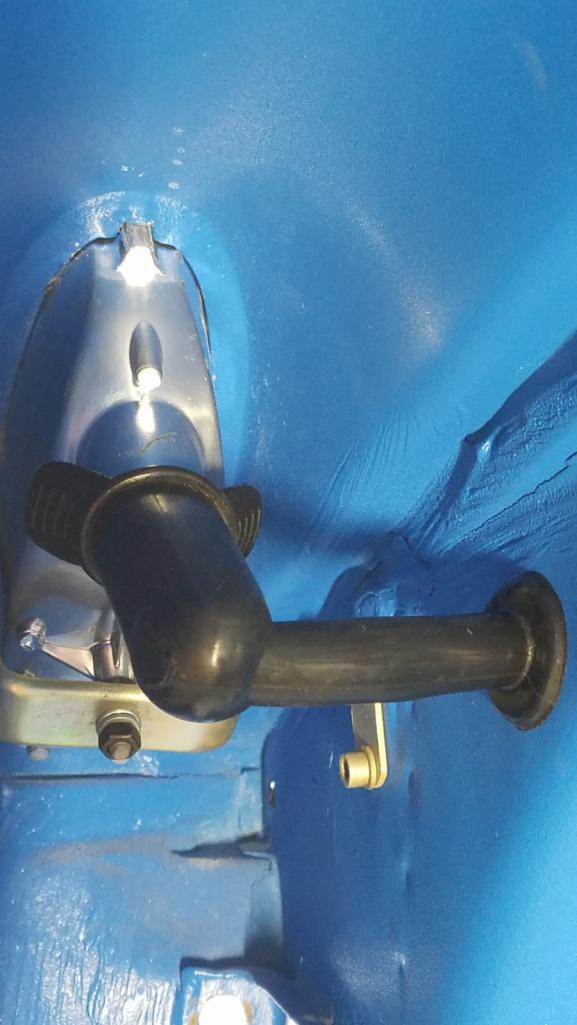
I'm going to wait a little while before I paint all those pieces black because I also want to paint my roof while I am at it. For this reason I jumped to the wiring harness. I have been dreading this job for a while but it also has to get done.
Here the installation of the new snorkel. 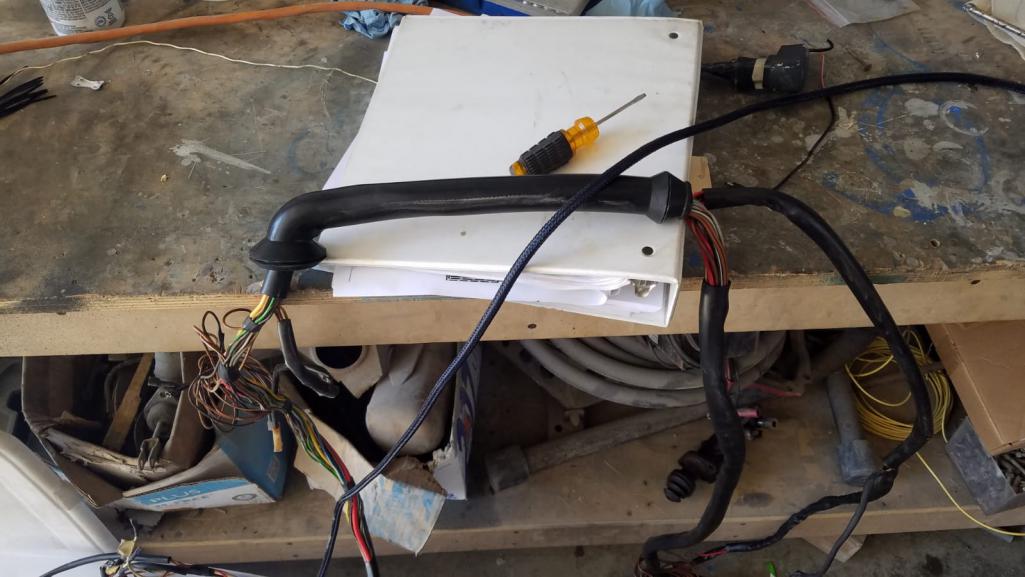 Then working on the new washer pump switch. Installation is pretty straight forward and simple for this switch thanks to all the great info that is here on the site. 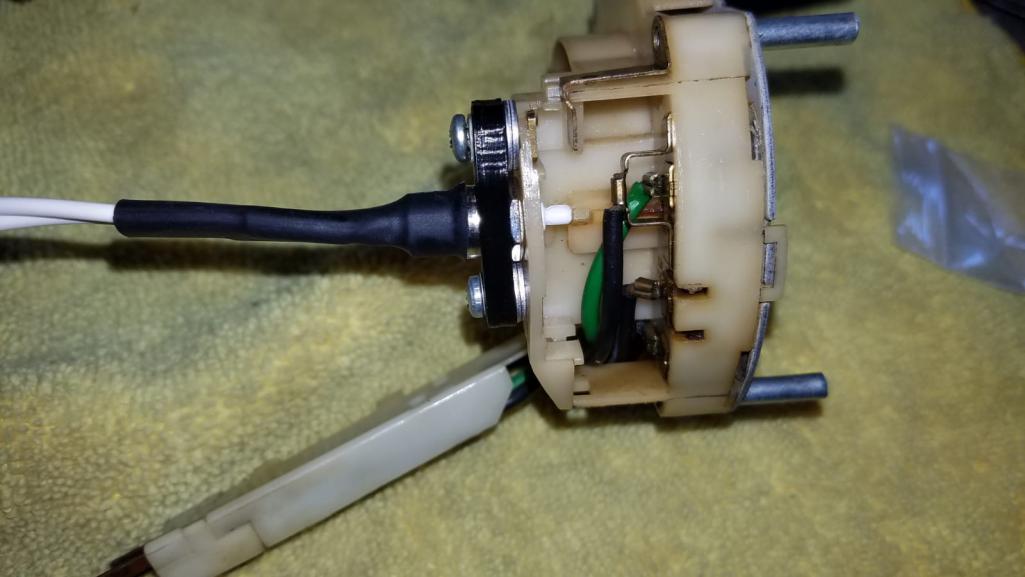 Then it was time to start running the wiring harness. Started at the tunnel and worked my way to both ends. 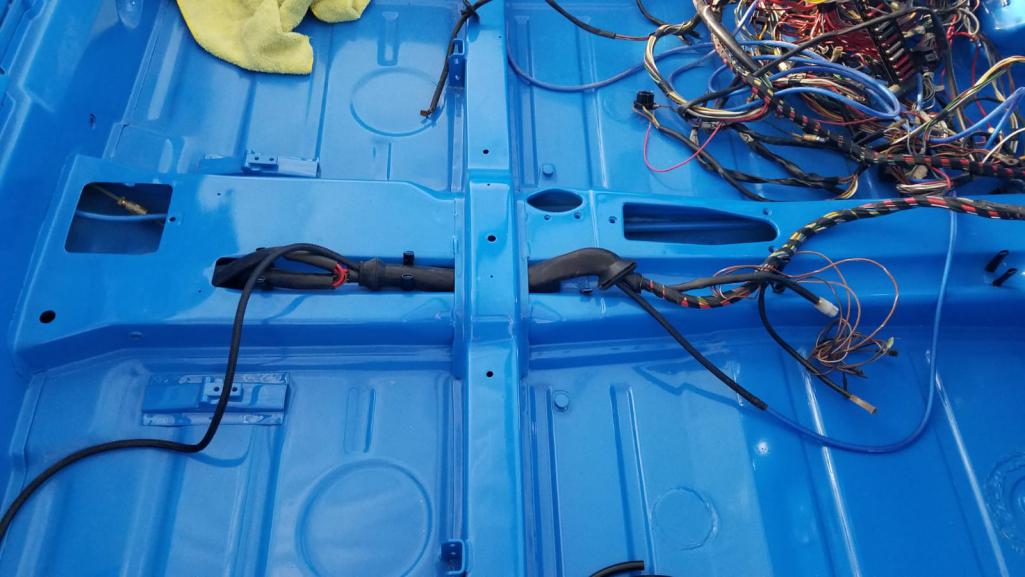 |
| autopro |
 Jul 20 2022, 05:11 PM Jul 20 2022, 05:11 PM
Post
#157
|
|
Member   Group: Members Posts: 306 Joined: 14-January 18 From: San Diego / Tijuana Member No.: 21,797 Region Association: Southern California |
|
| autopro |
 Jul 20 2022, 05:20 PM Jul 20 2022, 05:20 PM
Post
#158
|
|
Member   Group: Members Posts: 306 Joined: 14-January 18 From: San Diego / Tijuana Member No.: 21,797 Region Association: Southern California |
Mounted the fuse panel under the dash, some of those fuses are probably still original (IMG:style_emoticons/default/biggrin.gif)
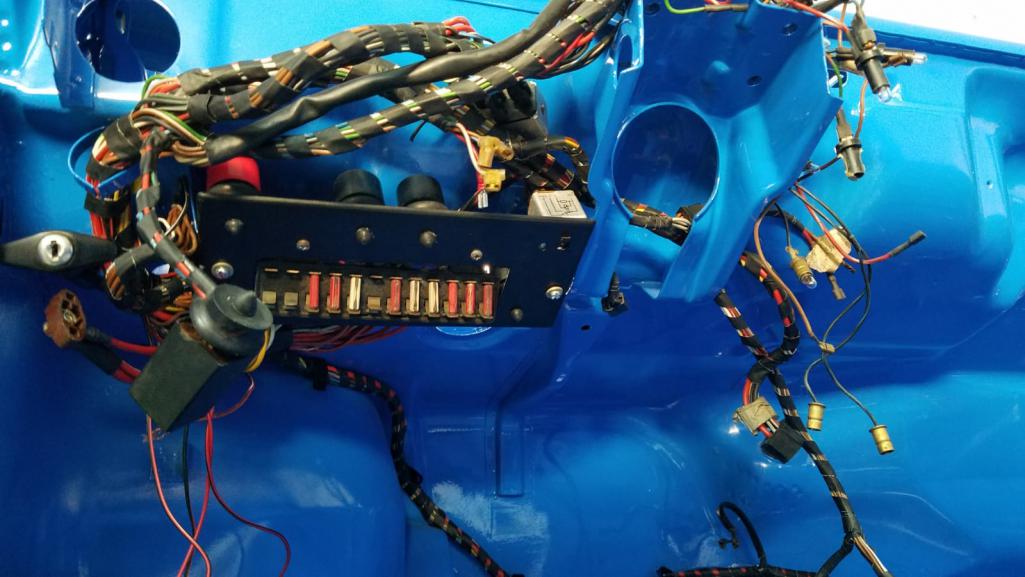 Installing the steering column to check that all my lights and the washer pump work. 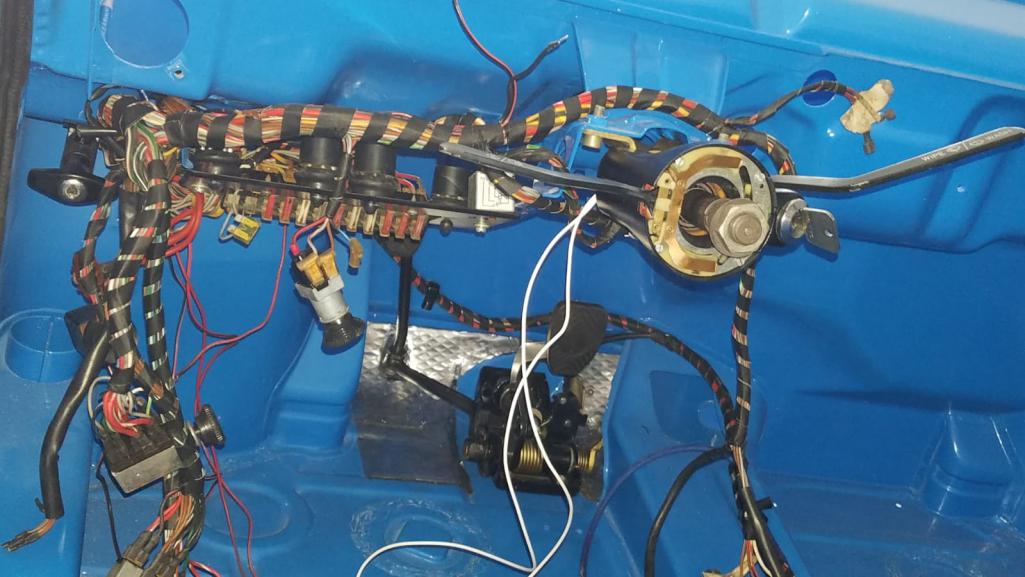 Then it was a matter of running it to the front of the car. 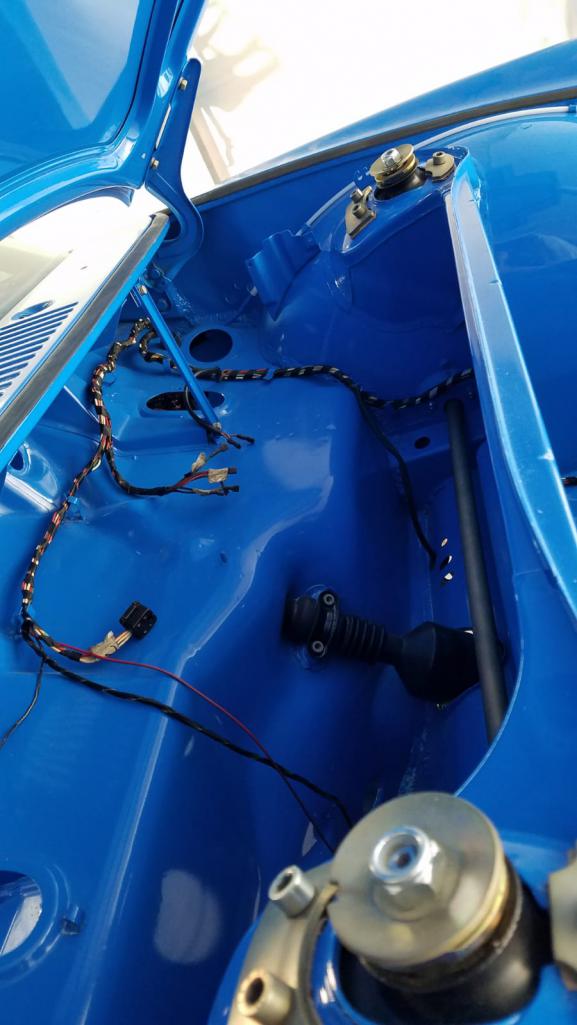 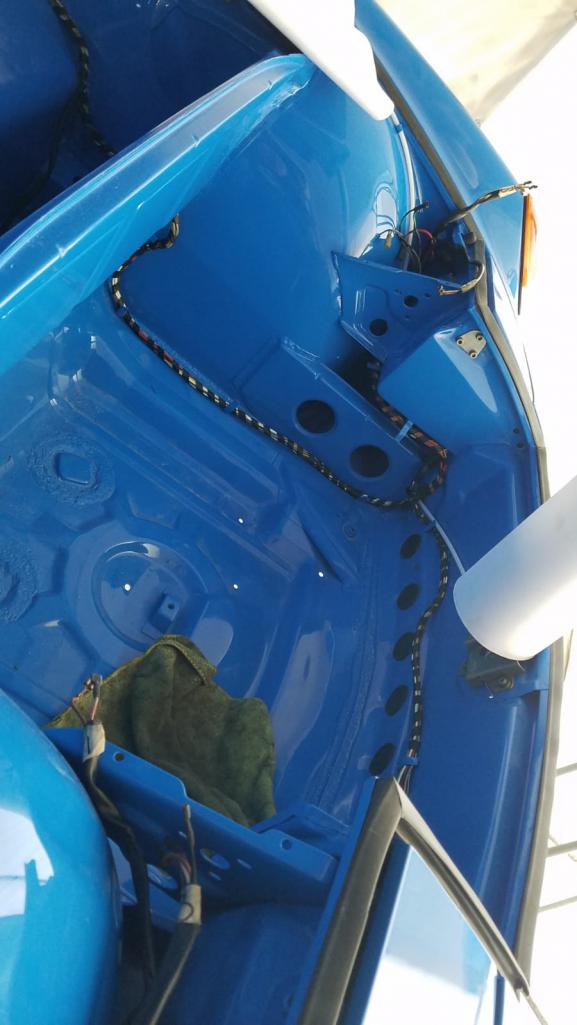 |
| autopro |
 Jul 20 2022, 05:31 PM Jul 20 2022, 05:31 PM
Post
#159
|
|
Member   Group: Members Posts: 306 Joined: 14-January 18 From: San Diego / Tijuana Member No.: 21,797 Region Association: Southern California |
|
| Dion |
 Jul 21 2022, 06:58 AM Jul 21 2022, 06:58 AM
Post
#160
|
|
RN     Group: Members Posts: 2,801 Joined: 16-September 04 From: Audubon,PA Member No.: 2,766 Region Association: MidAtlantic Region 

|
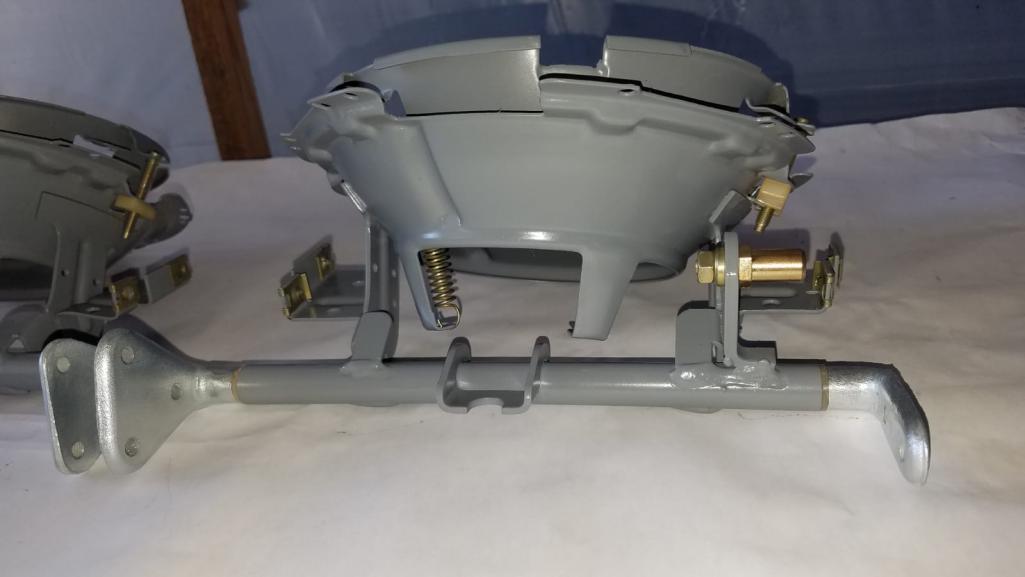
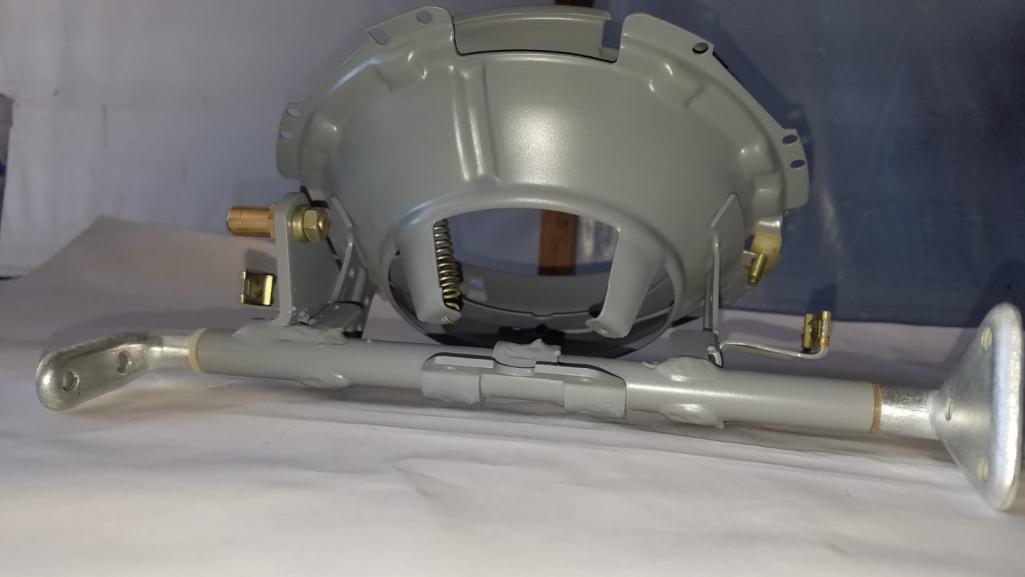
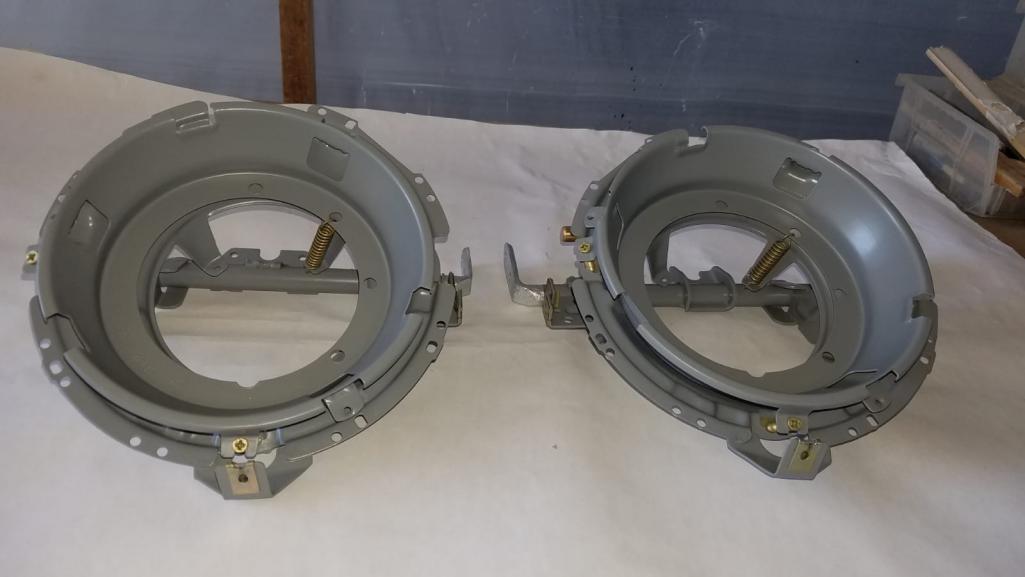
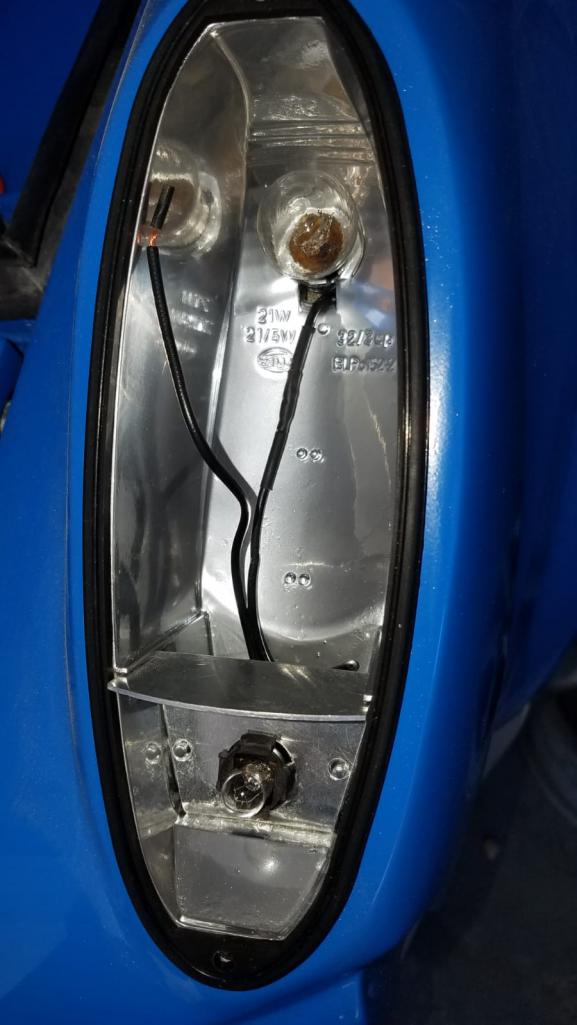
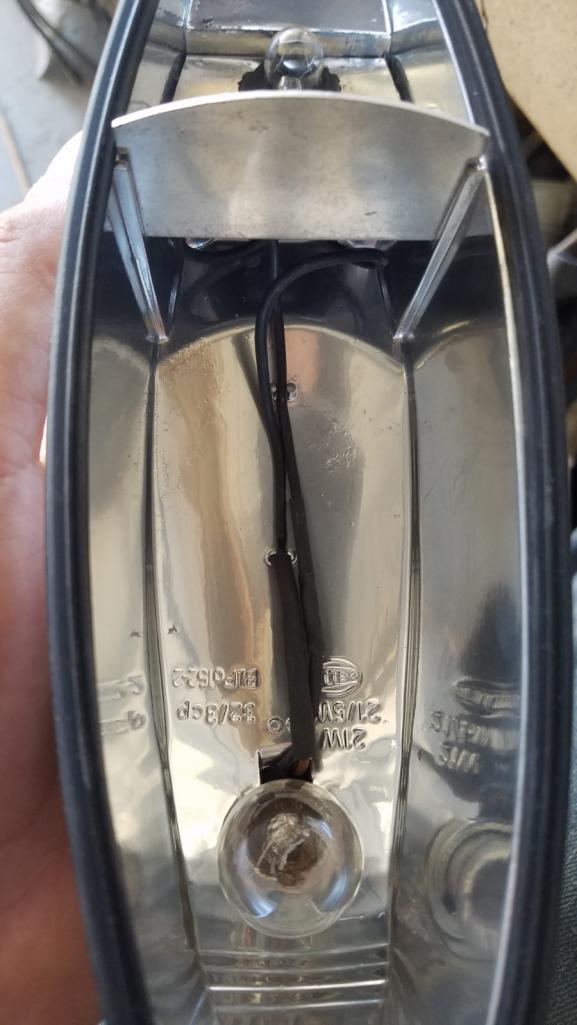
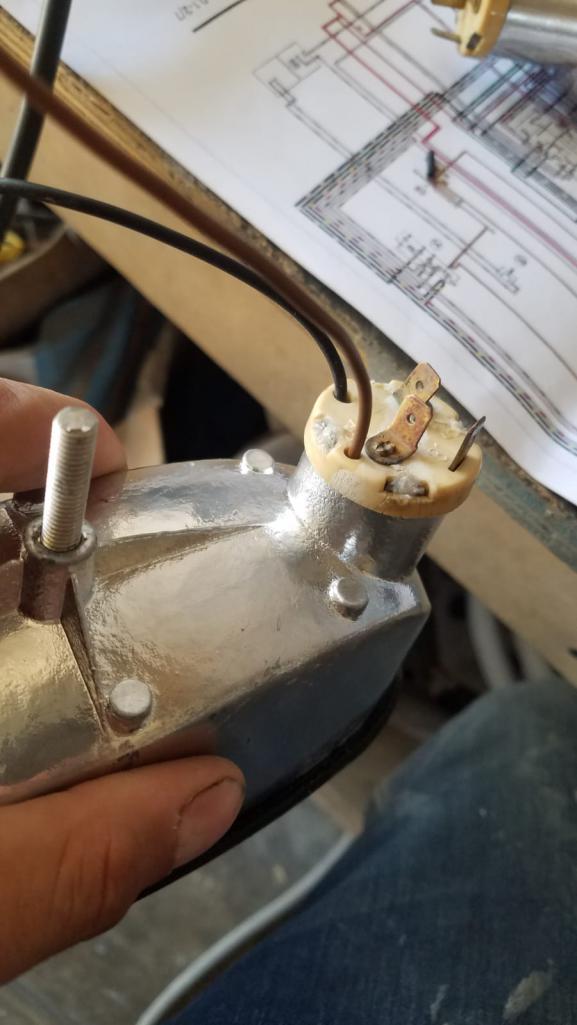
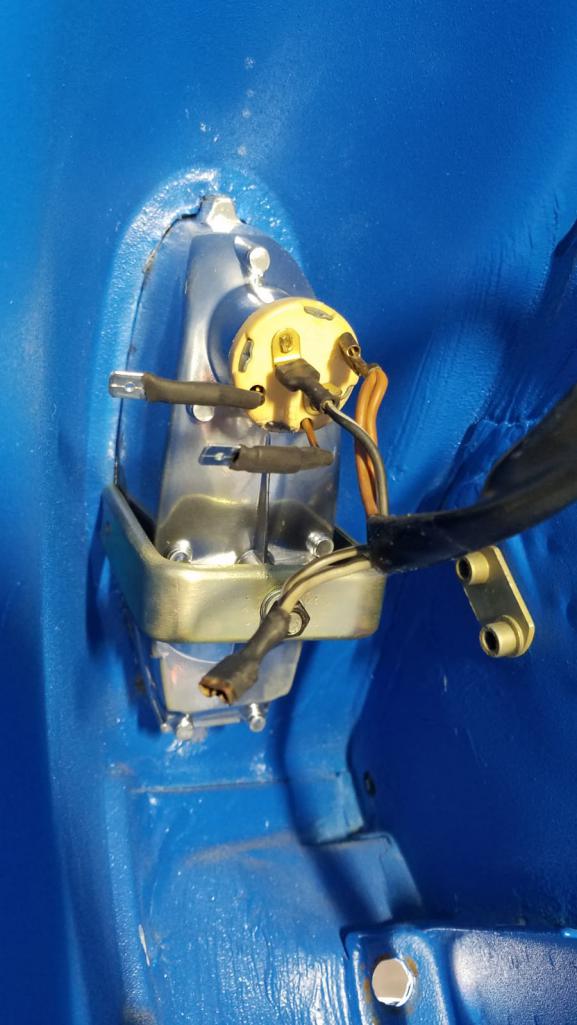
Nicely done as usual Pedro. Coming along so well. How did you get the front turn signal buckets to shine so well? They look new!
(IMG:style_emoticons/default/beerchug.gif) |
  |
4 User(s) are reading this topic (4 Guests and 0 Anonymous Users)
0 Members:

|
Lo-Fi Version | Time is now: 22nd November 2024 - 02:37 PM |
Invision Power Board
v9.1.4 © 2024 IPS, Inc.


