|
|

|
Porsche, and the Porsche crest are registered trademarks of Dr. Ing. h.c. F. Porsche AG.
This site is not affiliated with Porsche in any way. Its only purpose is to provide an online forum for car enthusiasts. All other trademarks are property of their respective owners. |
|
|
  |
| ctc911ctc |
 Mar 25 2019, 09:05 AM Mar 25 2019, 09:05 AM
Post
#1
|
|
Senior Member    Group: Members Posts: 942 Joined: 9-June 18 From: boston Member No.: 22,206 Region Association: North East States 
|
My 17 year old son and I have about 9 months into this project. Our first car, working together. Real 'encounter session'. We have the car running with many learning-experiences along the way.
1. Brake Cylinder - weird installation method, on our 3rd re-try, when will it stop leaking? 2. Valve adjustment - third time was a charm - man can this thing make noise! 3. Pedal assem - Seems OK.......then: let's take it apart and make it smoother. 4. Transmission linkage - All seems in Order, what are those bushings??? Hhhm, rebuild 5. Throttle Control - seems sticky, let's rebuild it! 911Rubber! Pretty rough looking after 45+ years 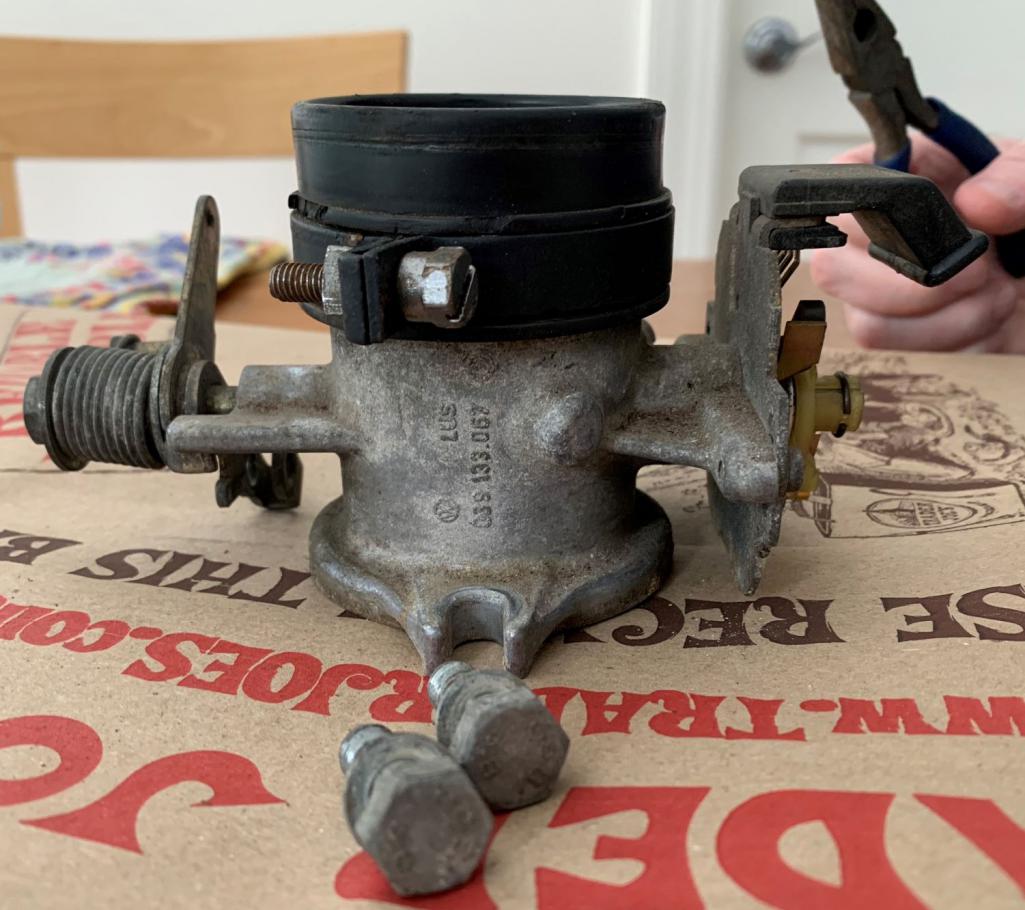 Looks pretty grimy down there 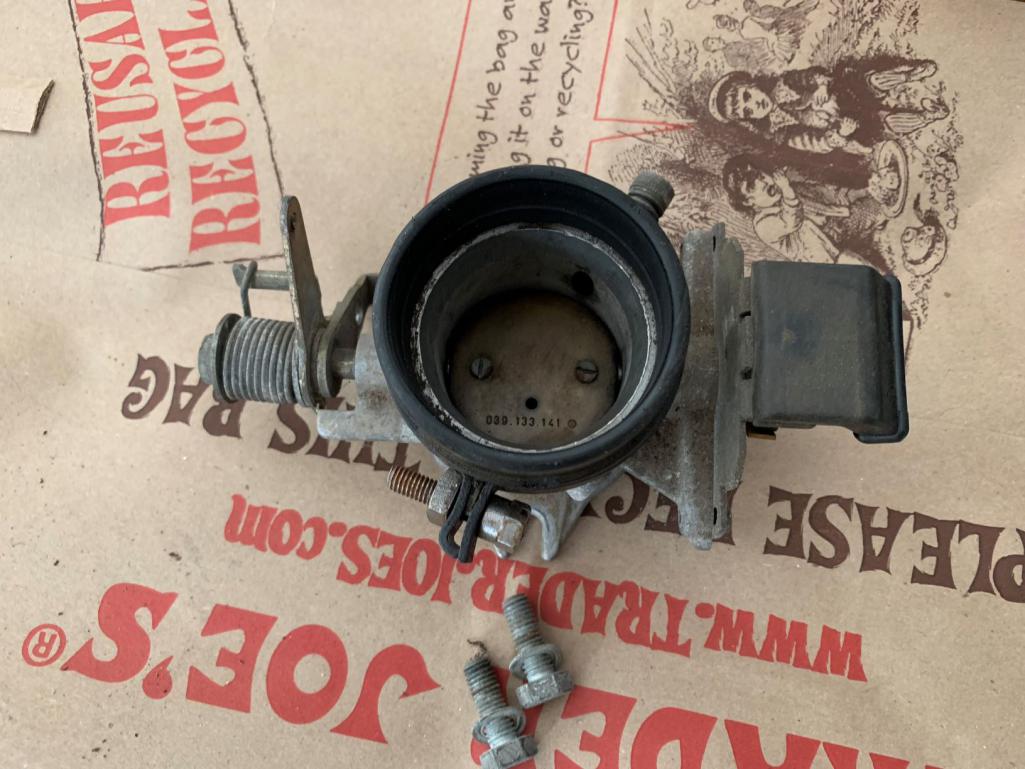 Had to chisel this out of the degreaser! 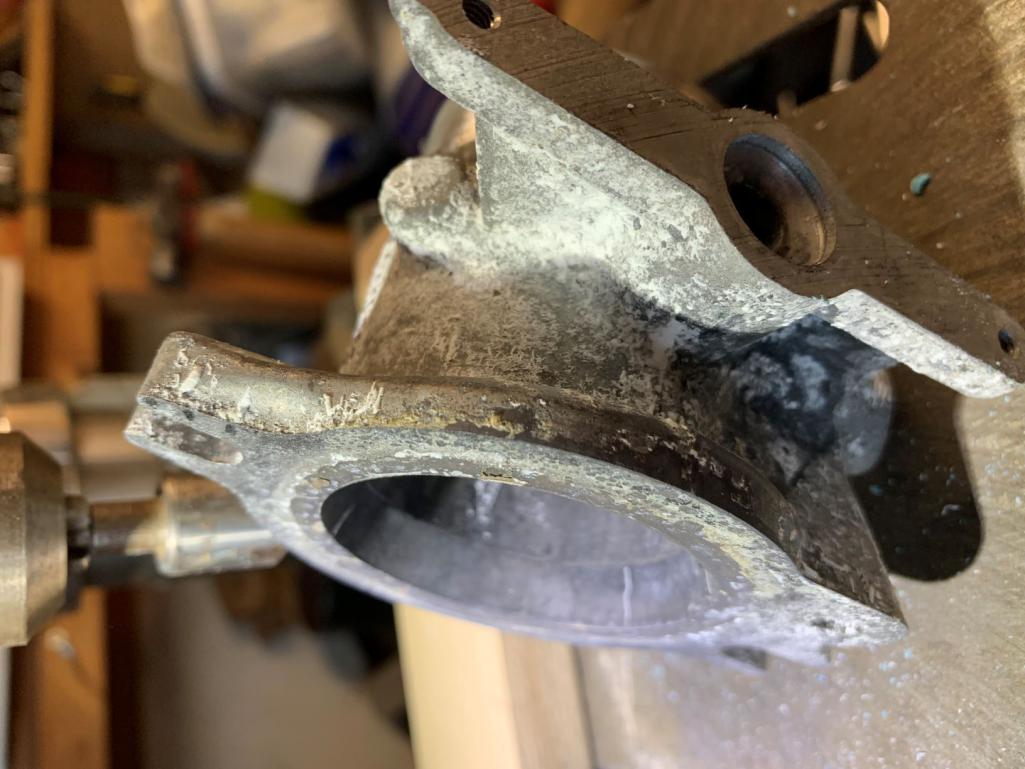 Circuit Card has 20K and 45 years....REPLACE! 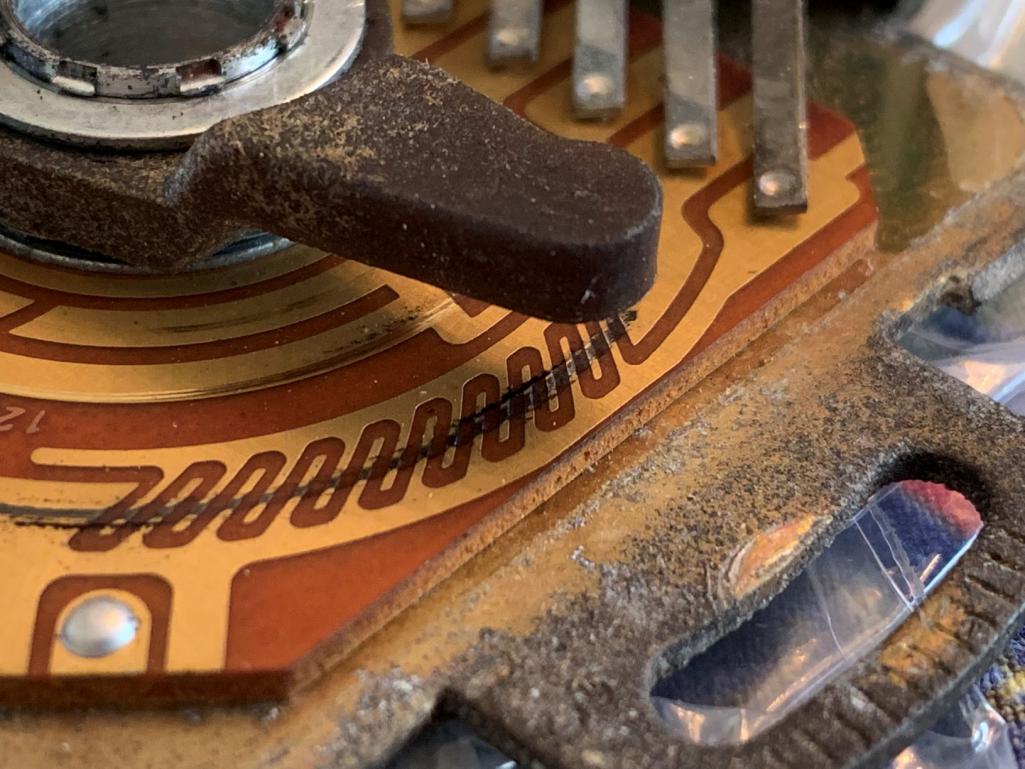 All of the parts ready and accounted for,,,,,,,,perhaps we should buy a parts tumbler? 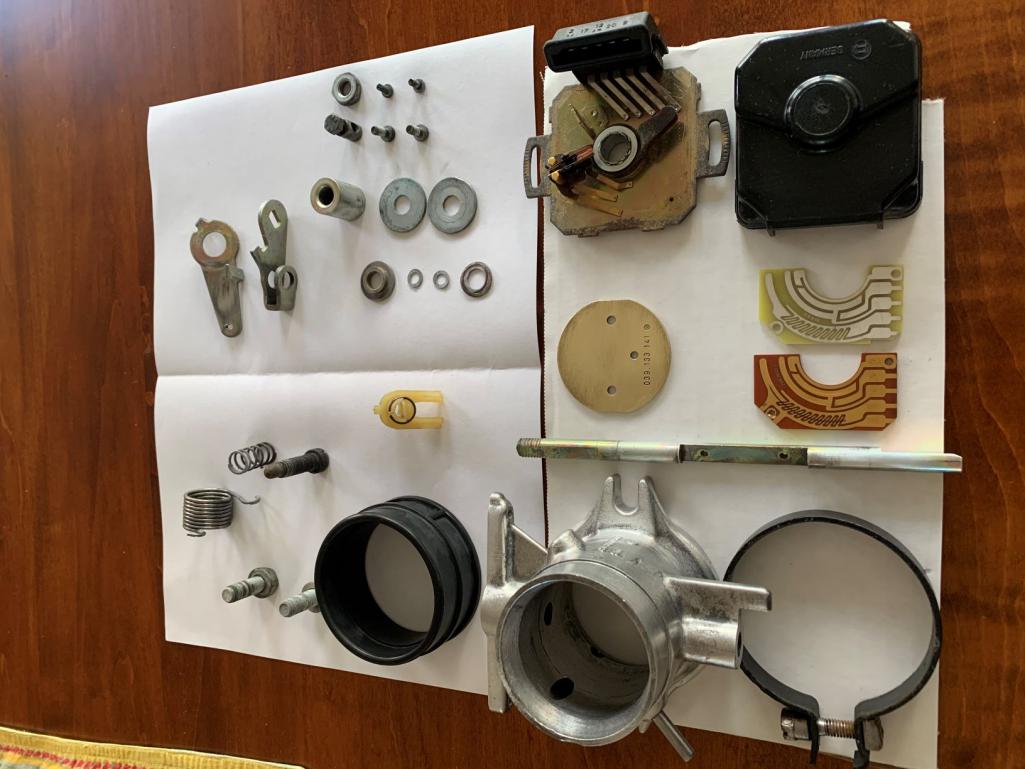 Ready to bolt back into the Silver Beast! 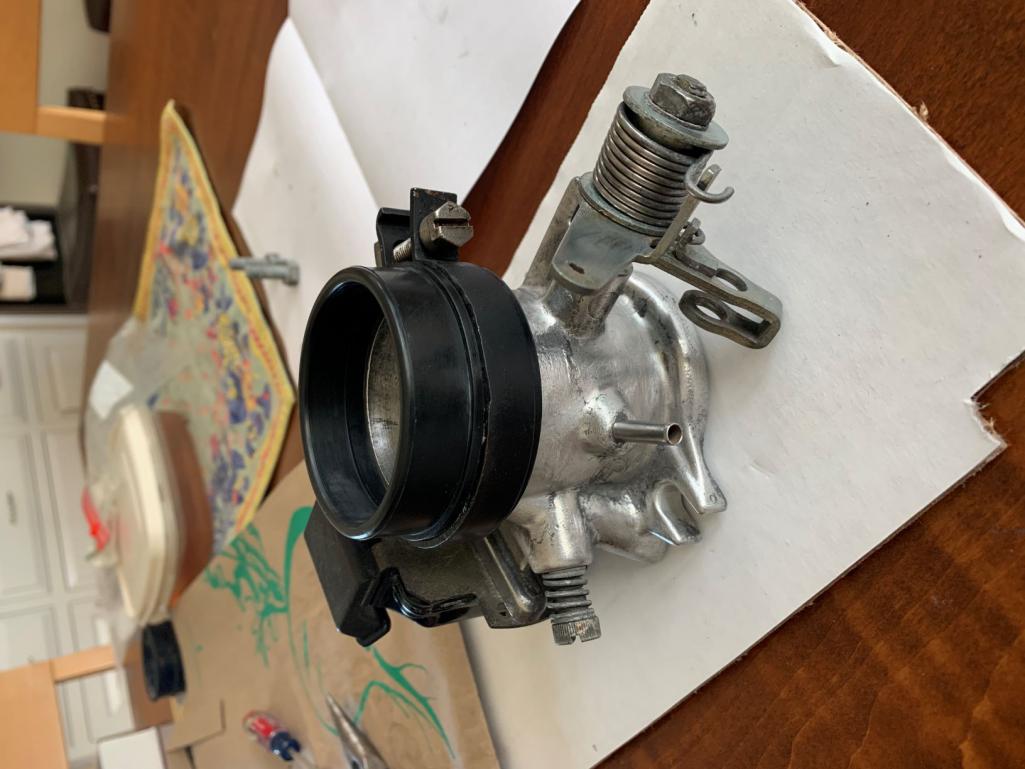 Big difference from where we started 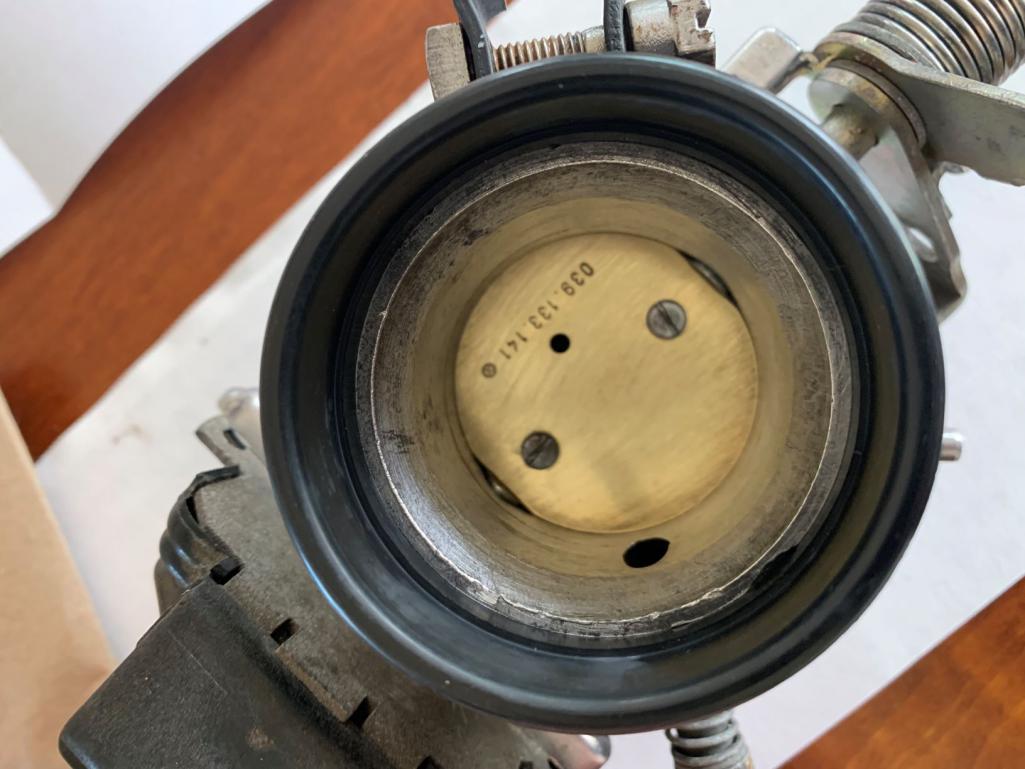 Attached thumbnail(s) 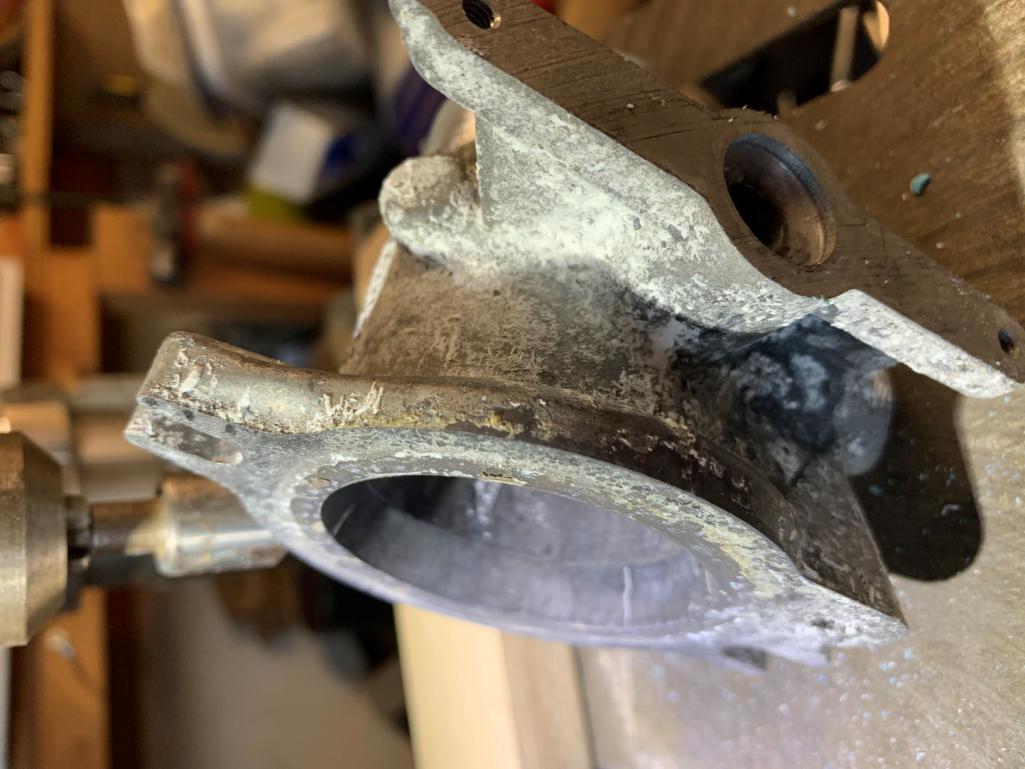
|
| ctc911ctc |
 Mar 25 2019, 09:14 AM Mar 25 2019, 09:14 AM
Post
#2
|
|
Senior Member    Group: Members Posts: 942 Joined: 9-June 18 From: boston Member No.: 22,206 Region Association: North East States 
|
I would like to add that I am trying to figure out the best method to clean parts. Currently we are using degreaser and then various wire brushes (steel and synth) which is less than optimum. Comments welcome!
|
| ctc911ctc |
 Mar 25 2019, 04:52 PM Mar 25 2019, 04:52 PM
Post
#3
|
|
Senior Member    Group: Members Posts: 942 Joined: 9-June 18 From: boston Member No.: 22,206 Region Association: North East States 
|
Larger and correct orientation of the pictures can be seen by clicking on the top right of the photos that seem to be turned on their side - could not get this 'feature' to stop working.
|
| BeatNavy |
 Mar 25 2019, 05:48 PM Mar 25 2019, 05:48 PM
Post
#4
|
|
Certified Professional Scapegoat     Group: Members Posts: 2,938 Joined: 26-February 14 From: Easton, MD Member No.: 17,042 Region Association: MidAtlantic Region 
|
How was the shaft inside the TB? They have a tendency to wear and wobble a little, and then you do not get a reliable, consistent closed throttle position. The fix is to bore it out slightly and insert bushings.
Glad you're having fun with your son (IMG:style_emoticons/default/smile.gif) |
| worn |
 Mar 25 2019, 06:37 PM Mar 25 2019, 06:37 PM
Post
#5
|
|
can't remember     Group: Members Posts: 3,356 Joined: 3-June 11 From: Madison, WI Member No.: 13,152 Region Association: Upper MidWest 
|
I would like to add that I am trying to figure out the best method to clean parts. Currently we are using degreaser and then various wire brushes (steel and synth) which is less than optimum. Comments welcome! I have used wire brushes on a Dremel type tool. It is that time of year again folks for me to say those wire brushes can spray out high speed wire arrows. I know one of them added a piercing to my nose. Had it been my eye... but I was wearing goggles. I know that you would have been wearing them too. We all go to such great lengths to roll back the clock on the toy cars of yesteryear. Good for us, but be safe out there. |
| Mark Henry |
 Mar 25 2019, 07:10 PM Mar 25 2019, 07:10 PM
Post
#6
|
|
that's what I do!                Group: Members Posts: 20,065 Joined: 27-December 02 From: Port Hope, Ontario Member No.: 26 Region Association: Canada |
I would like to add that I am trying to figure out the best method to clean parts. Currently we are using degreaser and then various wire brushes (steel and synth) which is less than optimum. Comments welcome! I use pinesol great on the aluminum , but don't use it on the brass it doesn't hurt it but turns it black, also pinesol will strip cad plating. |
| draganc |
 Apr 3 2019, 08:40 PM Apr 3 2019, 08:40 PM
Post
#7
|
|
Senior Member    Group: Members Posts: 725 Joined: 2-November 09 From: central new jersey Member No.: 11,000 Region Association: North East States |
FYI, in regards to cleaning options; I just cleaned my 30 year
old S&S carb in my ultrasonic cleaner, submerged in a 1:1 solution of simple green “HD” and water. After only 1hr at 60C the parts look like NEW! https://simplegreen.com/products/pro-hd-cleaner-degreaser/ Attached thumbnail(s) 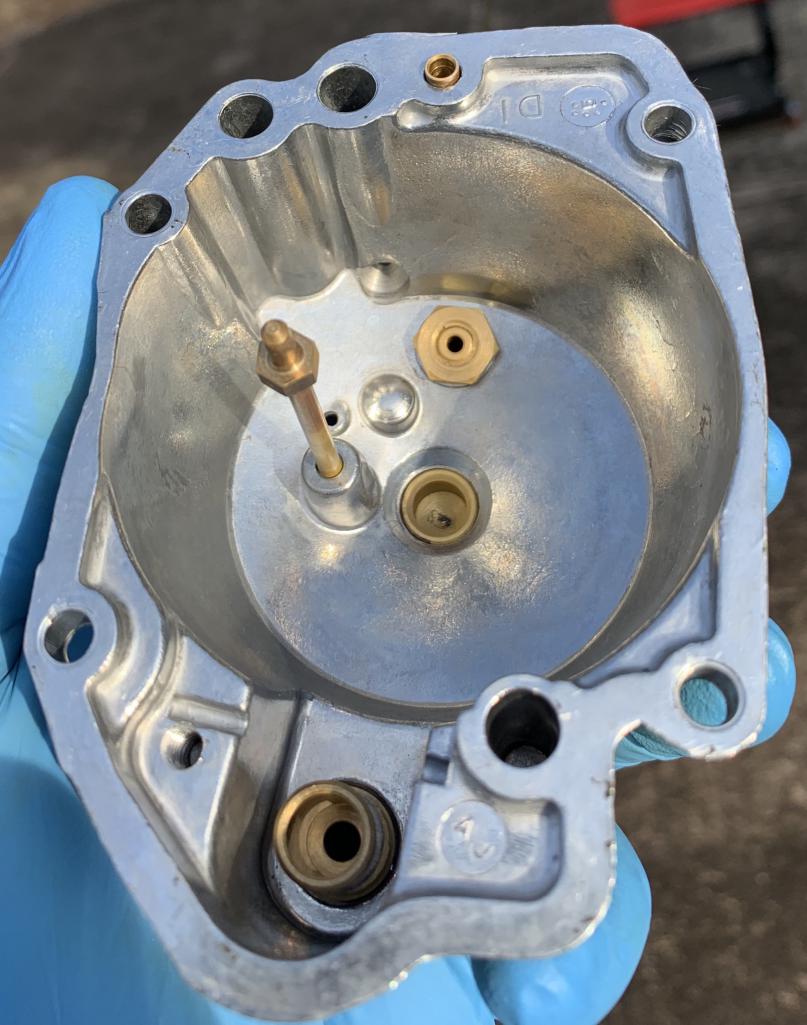 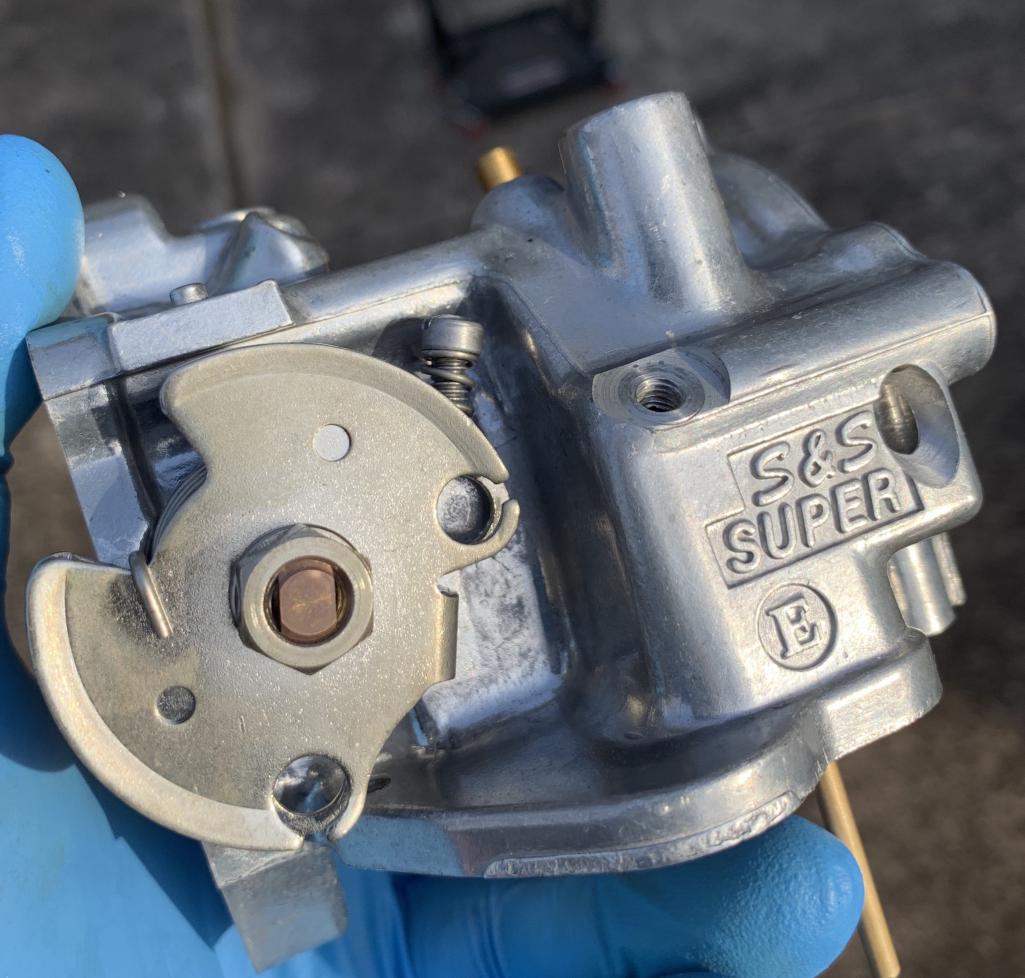 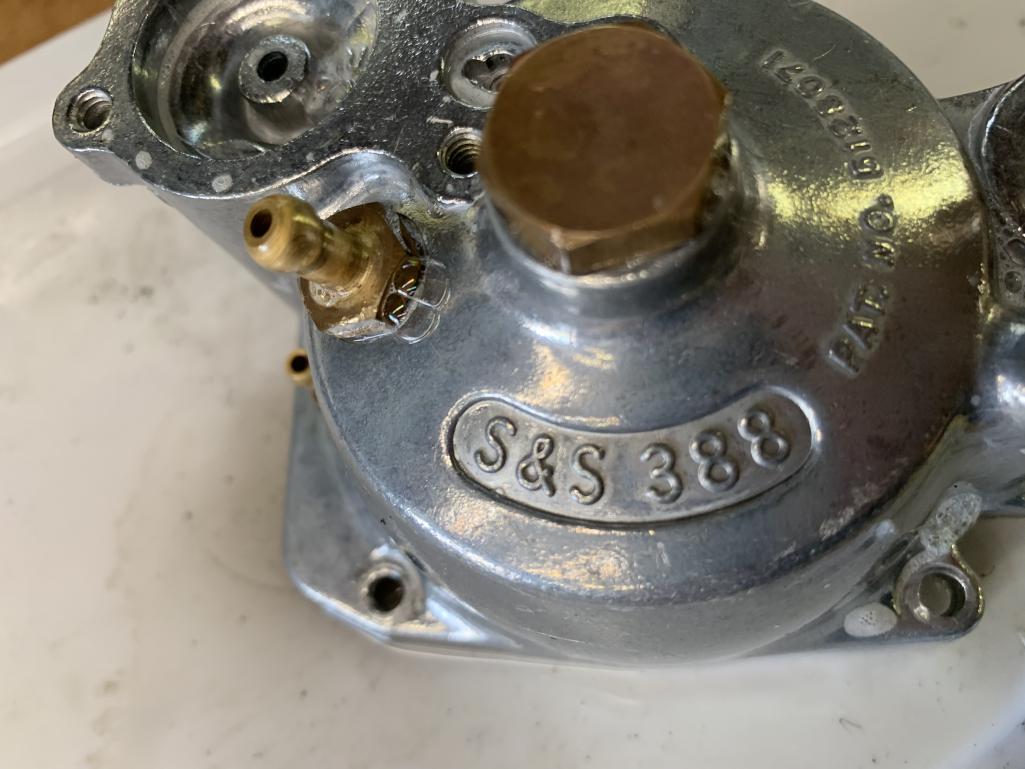
|
| Valy |
 Apr 4 2019, 02:16 AM Apr 4 2019, 02:16 AM
Post
#8
|
|
Senior Member    Group: Members Posts: 1,677 Joined: 6-April 10 From: Sunnyvale, CA Member No.: 11,573 Region Association: Northern California |
Where did you get the circuit card from?
|
| ctc911ctc |
 Apr 4 2019, 07:52 AM Apr 4 2019, 07:52 AM
Post
#9
|
|
Senior Member    Group: Members Posts: 942 Joined: 9-June 18 From: boston Member No.: 22,206 Region Association: North East States 
|
|
| Mikey914 |
 Apr 4 2019, 09:18 AM Apr 4 2019, 09:18 AM
Post
#10
|
|
The rubber man           Group: Members Posts: 12,738 Joined: 27-December 04 From: Hillsboro, OR Member No.: 3,348 Region Association: None 
|
we have the
Early 1.7 - 4 pin connectors (on the TPS housing) https://900designs-container.zoeysite.com/1...4-pin-connecter Some solderng requires with these late 1.7 - 5 pin connectors https://900designs-container.zoeysite.com/1...pin-connector-1 and the 2.0 https://900designs-container.zoeysite.com/2...on-sensor-board |
| ctc911ctc |
 Apr 5 2019, 08:35 AM Apr 5 2019, 08:35 AM
Post
#11
|
|
Senior Member    Group: Members Posts: 942 Joined: 9-June 18 From: boston Member No.: 22,206 Region Association: North East States 
|
What is the model and brand of the Ultrasonic Cleaner???
Many thanks in advance! CTC911CTC FYI, in regards to cleaning options; I just cleaned my 30 year old S&S carb in my ultrasonic cleaner, submerged in a 1:1 solution of simple green “HD” and water. After only 1hr at 60C the parts look like NEW! https://simplegreen.com/products/pro-hd-cleaner-degreaser/ |
| draganc |
 Apr 5 2019, 11:04 PM Apr 5 2019, 11:04 PM
Post
#12
|
|
Senior Member    Group: Members Posts: 725 Joined: 2-November 09 From: central new jersey Member No.: 11,000 Region Association: North East States |
I bought following model, which has served me well the past two years:
VEVOR Commercial Ultrasonic Cleaner 6L https://www.amazon.com/dp/B01HGNYO0U/ref=cm...i_RbdQCb5V7Z3RM Also, the six liter tank is big enough to clean even most of our 901 transmission parts. Bigger is better, but it will require also more cleaning solution for the same part. |
  |
1 User(s) are reading this topic (1 Guests and 0 Anonymous Users)
0 Members:

|
Lo-Fi Version | Time is now: 4th December 2024 - 01:16 PM |
Invision Power Board
v9.1.4 © 2024 IPS, Inc.


