|
|

|
Porsche, and the Porsche crest are registered trademarks of Dr. Ing. h.c. F. Porsche AG.
This site is not affiliated with Porsche in any way. Its only purpose is to provide an online forum for car enthusiasts. All other trademarks are property of their respective owners. |
|
|
  |
| bkrantz |
 Dec 26 2020, 08:25 PM Dec 26 2020, 08:25 PM
Post
#1801
|
|
914 Guru      Group: Members Posts: 8,154 Joined: 3-August 19 From: SW Colorado Member No.: 23,343 Region Association: Rocky Mountains 
|
And then attach the new supply plastic tubing to the metal tubing ends.
Attached thumbnail(s) 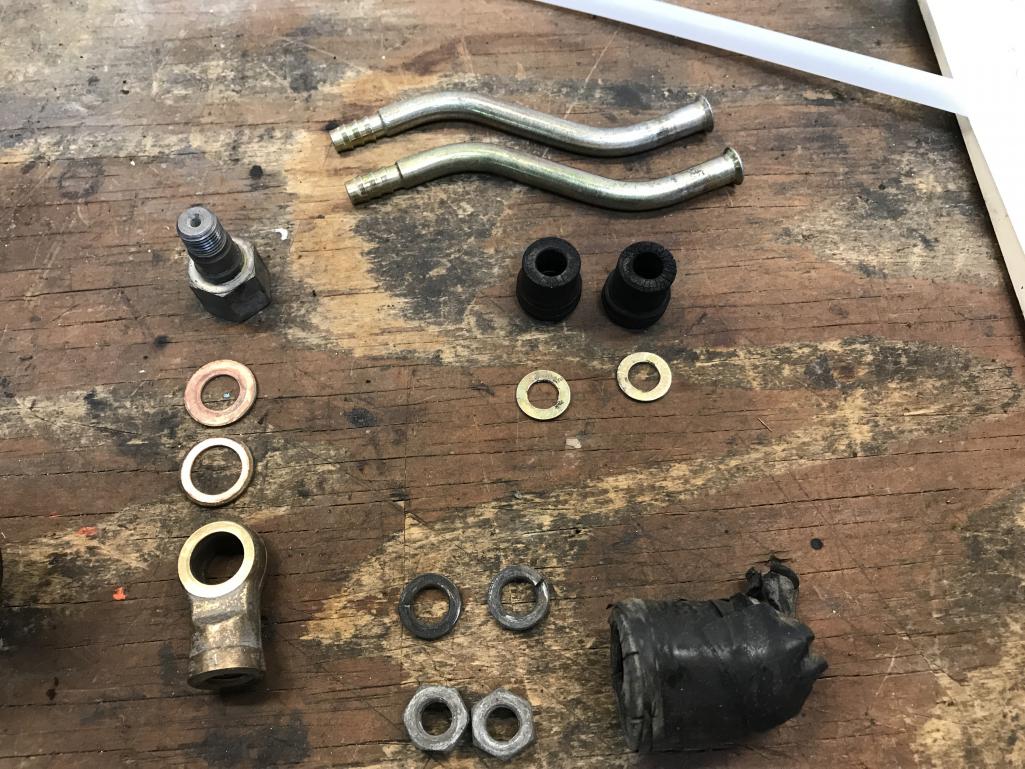
|
| bkrantz |
 Dec 26 2020, 08:26 PM Dec 26 2020, 08:26 PM
Post
#1802
|
|
914 Guru      Group: Members Posts: 8,154 Joined: 3-August 19 From: SW Colorado Member No.: 23,343 Region Association: Rocky Mountains 
|
I first tried warning the end of the plastic tubing to push onto the barbed fitting.
Attached thumbnail(s) 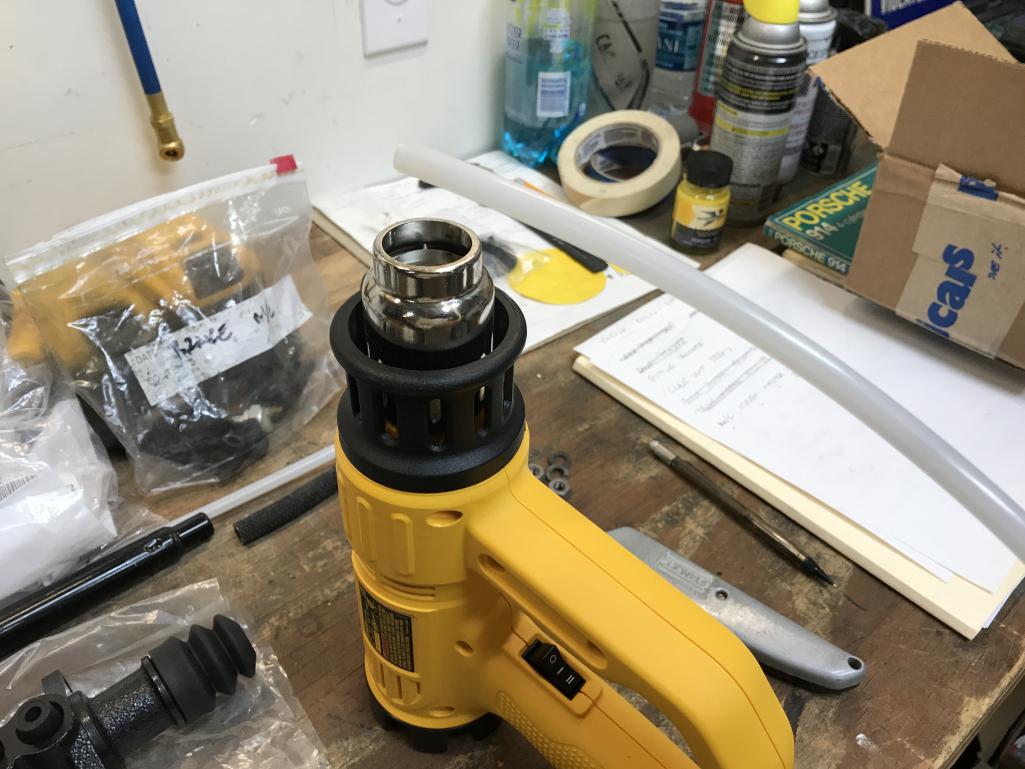
|
| bkrantz |
 Dec 26 2020, 08:27 PM Dec 26 2020, 08:27 PM
Post
#1803
|
|
914 Guru      Group: Members Posts: 8,154 Joined: 3-August 19 From: SW Colorado Member No.: 23,343 Region Association: Rocky Mountains 
|
But, the tubing got too warm and buckled when I tried to push it onto the cold barbed fitting.
Attached thumbnail(s) 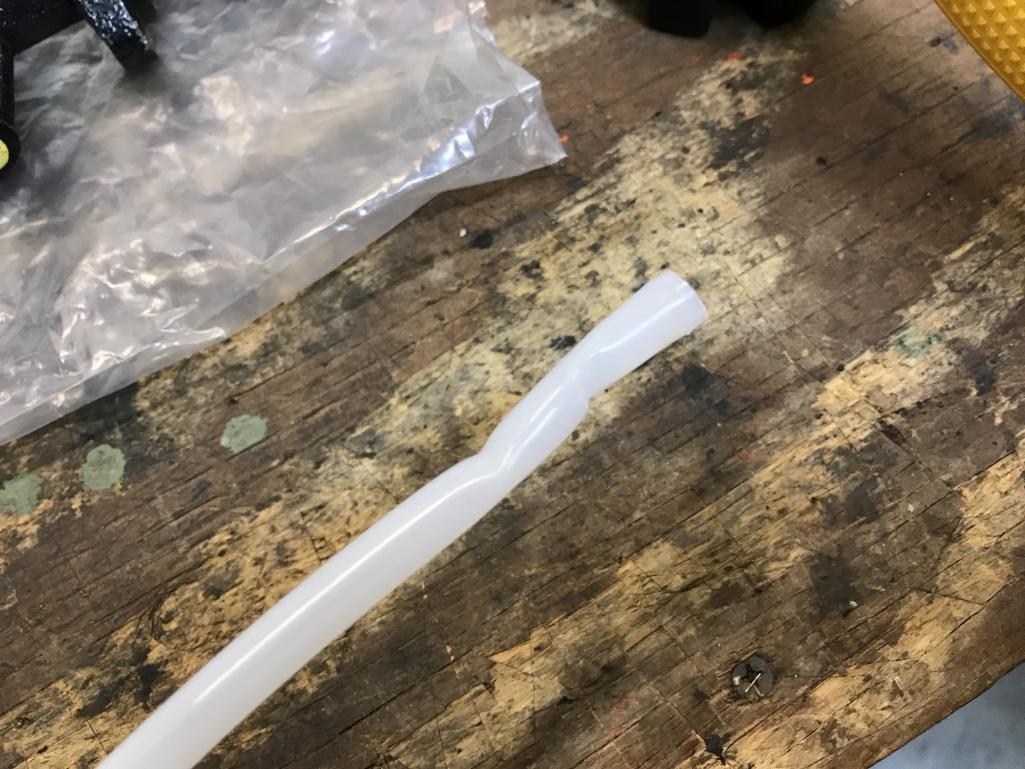
|
| bkrantz |
 Dec 26 2020, 08:28 PM Dec 26 2020, 08:28 PM
Post
#1804
|
|
914 Guru      Group: Members Posts: 8,154 Joined: 3-August 19 From: SW Colorado Member No.: 23,343 Region Association: Rocky Mountains 
|
So for the second try, I warmed the metal barbs and then pushed the plastic tubing on. Much easier.
Attached thumbnail(s) 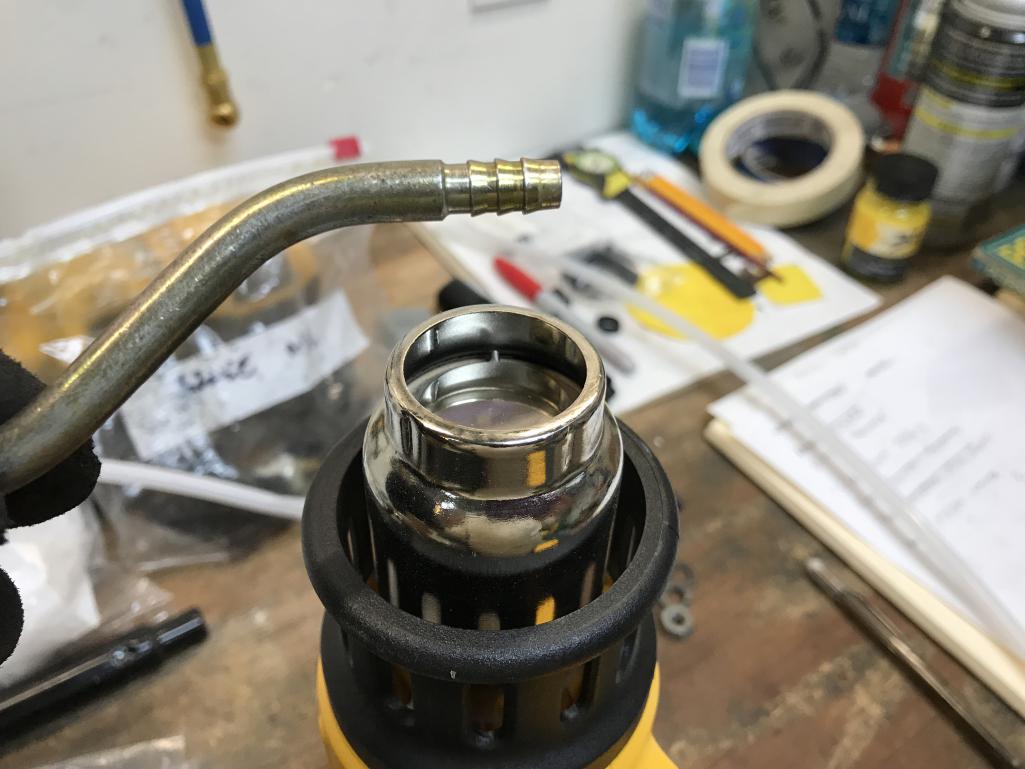
|
| bkrantz |
 Dec 26 2020, 08:29 PM Dec 26 2020, 08:29 PM
Post
#1805
|
|
914 Guru      Group: Members Posts: 8,154 Joined: 3-August 19 From: SW Colorado Member No.: 23,343 Region Association: Rocky Mountains 
|
I lubed the grommets with brake fluid.
Attached thumbnail(s) 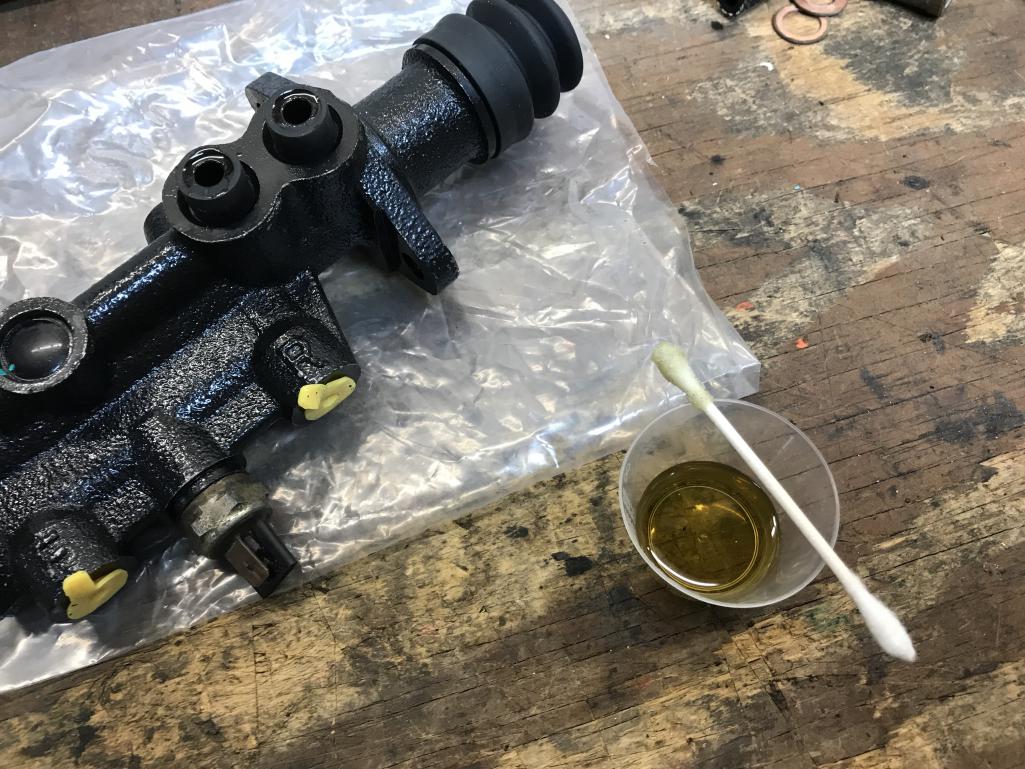
|
| bkrantz |
 Dec 26 2020, 08:32 PM Dec 26 2020, 08:32 PM
Post
#1806
|
|
914 Guru      Group: Members Posts: 8,154 Joined: 3-August 19 From: SW Colorado Member No.: 23,343 Region Association: Rocky Mountains 
|
And then eased (and pushed) the flanged ends into the grommets.
My logic here is to install the MC by feeding the supply lines up through the floor. I still plan to "bench bleed" the MC in place, with some long return tubing on temporary output fittings. We will see how that works. Attached thumbnail(s) 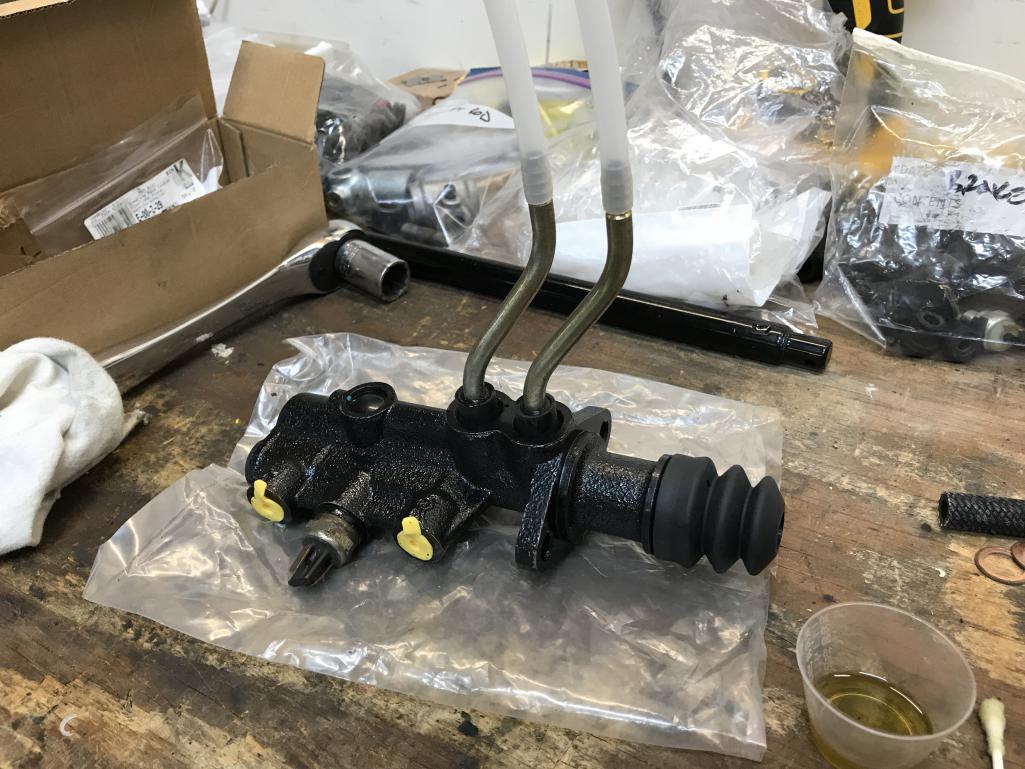
|
| bkrantz |
 Dec 26 2020, 08:35 PM Dec 26 2020, 08:35 PM
Post
#1807
|
|
914 Guru      Group: Members Posts: 8,154 Joined: 3-August 19 From: SW Colorado Member No.: 23,343 Region Association: Rocky Mountains 
|
MC mounted, with the supply lines up through the floor.
Attached thumbnail(s) 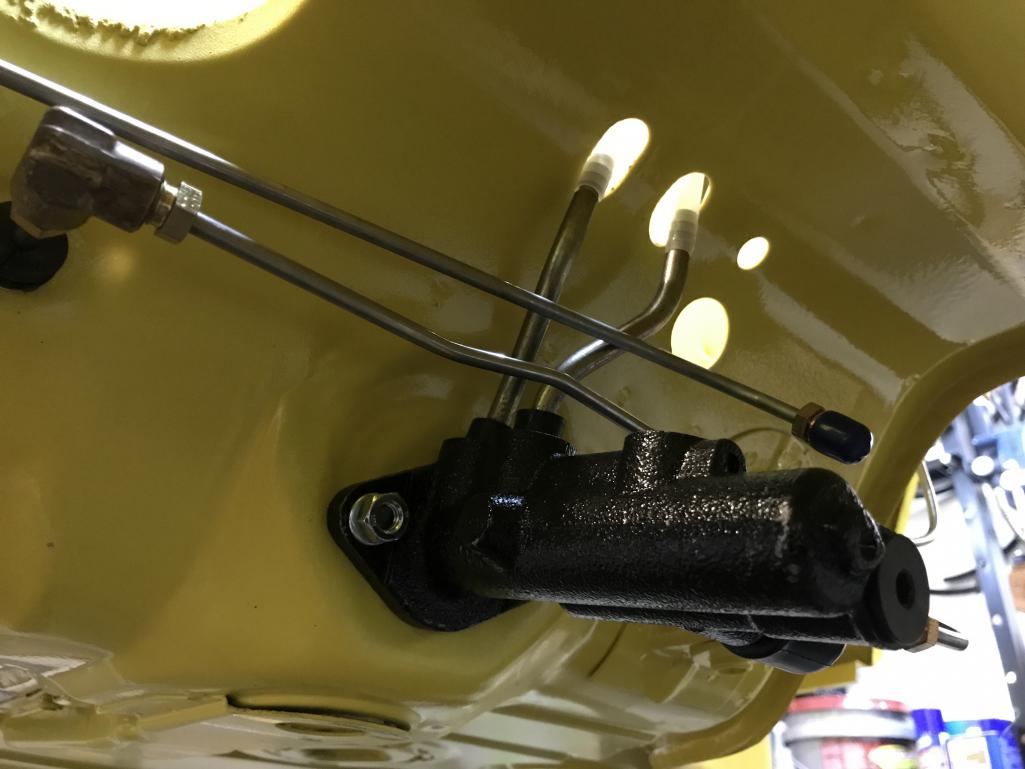
|
| bkrantz |
 Dec 26 2020, 08:36 PM Dec 26 2020, 08:36 PM
Post
#1808
|
|
914 Guru      Group: Members Posts: 8,154 Joined: 3-August 19 From: SW Colorado Member No.: 23,343 Region Association: Rocky Mountains 
|
I think I need new angled grommets for the supply lines.
Attached thumbnail(s) 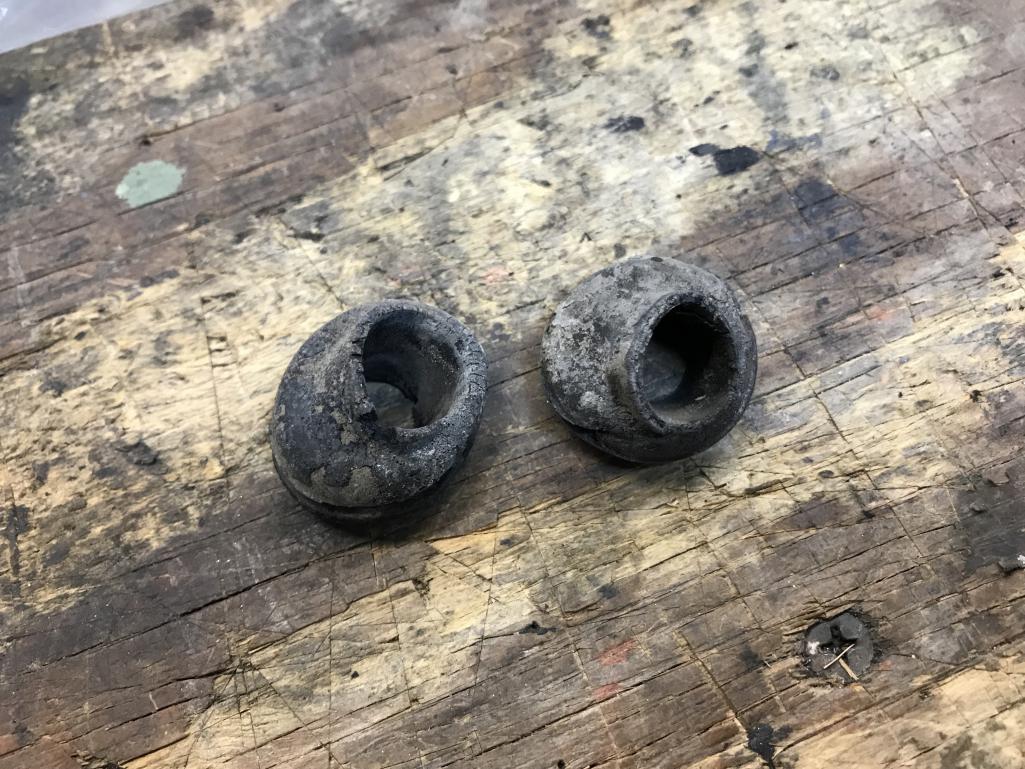
|
| bkrantz |
 Dec 26 2020, 08:38 PM Dec 26 2020, 08:38 PM
Post
#1809
|
|
914 Guru      Group: Members Posts: 8,154 Joined: 3-August 19 From: SW Colorado Member No.: 23,343 Region Association: Rocky Mountains 
|
Also, a new boot for the warning switch. I decided to use the old switch with two contacts, so I would not have to fuss with making sure the MC body is effectively grounded.
Attached thumbnail(s) 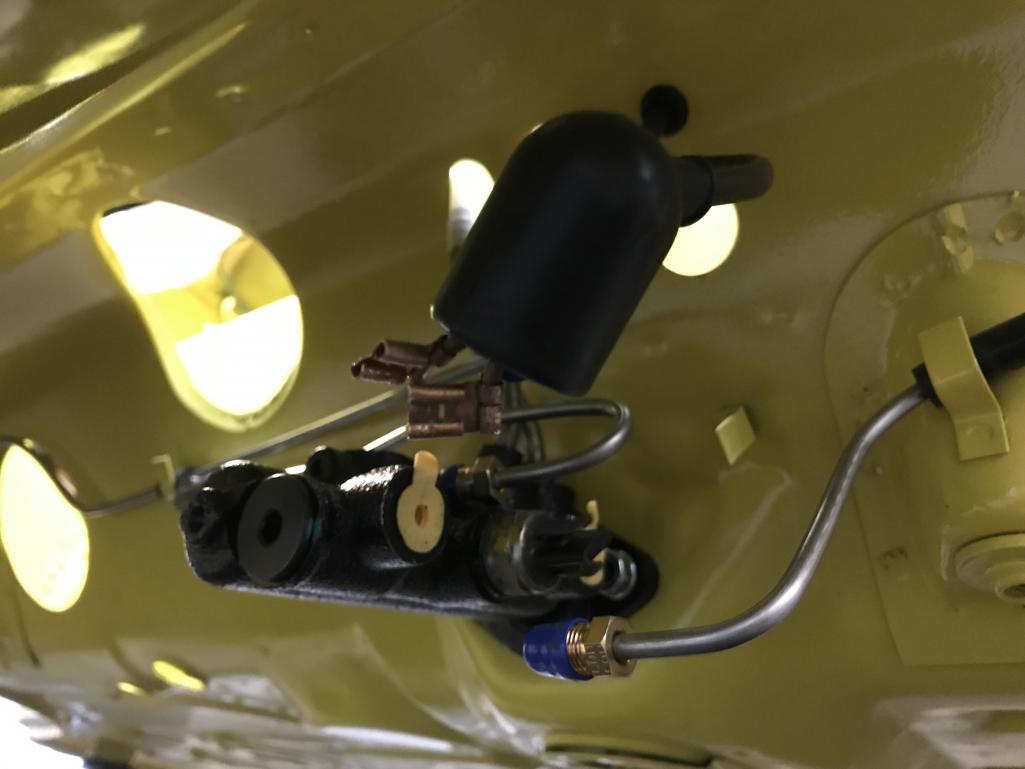
|
| bkrantz |
 Dec 26 2020, 08:41 PM Dec 26 2020, 08:41 PM
Post
#1810
|
|
914 Guru      Group: Members Posts: 8,154 Joined: 3-August 19 From: SW Colorado Member No.: 23,343 Region Association: Rocky Mountains 
|
Before mounting the banjo fitting for the front lines, I need new crush washers.
Attached thumbnail(s) 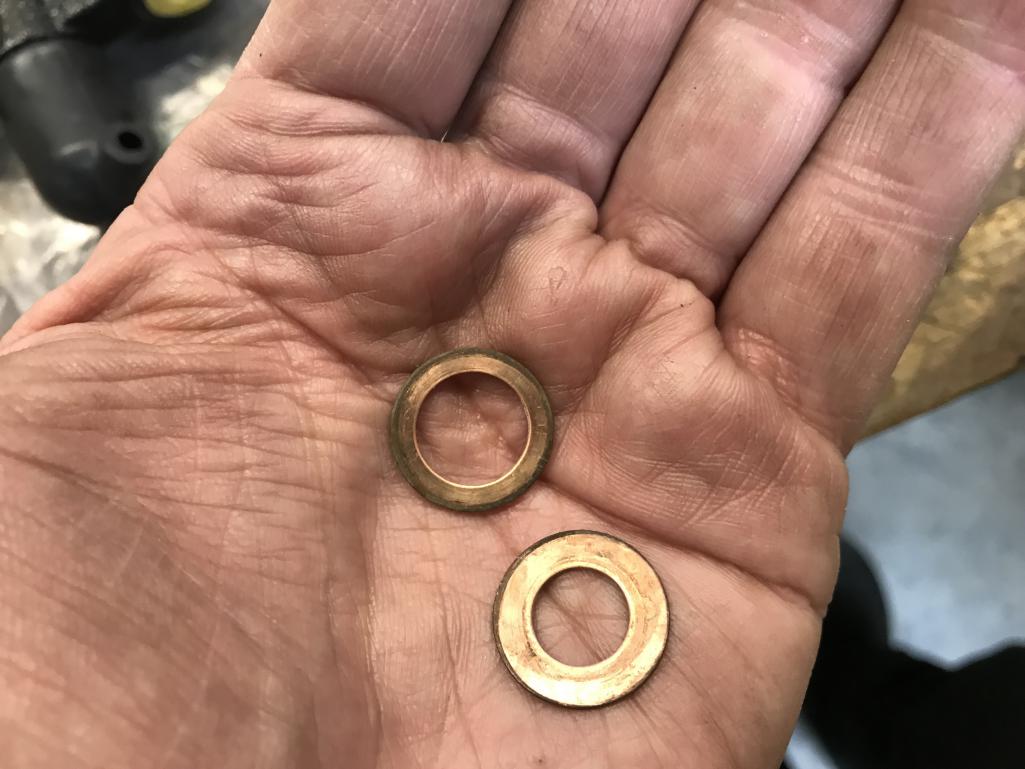
|
| bkrantz |
 Dec 26 2020, 08:48 PM Dec 26 2020, 08:48 PM
Post
#1811
|
|
914 Guru      Group: Members Posts: 8,154 Joined: 3-August 19 From: SW Colorado Member No.: 23,343 Region Association: Rocky Mountains 
|
Meanwhile, I put my visiting son to work again, first on the engine relay board. I had removed the cracked and failing tar-like material on the underside, and wanted to replace this with more modern potting material. This is a two-part flexible potty compound.
Attached thumbnail(s) 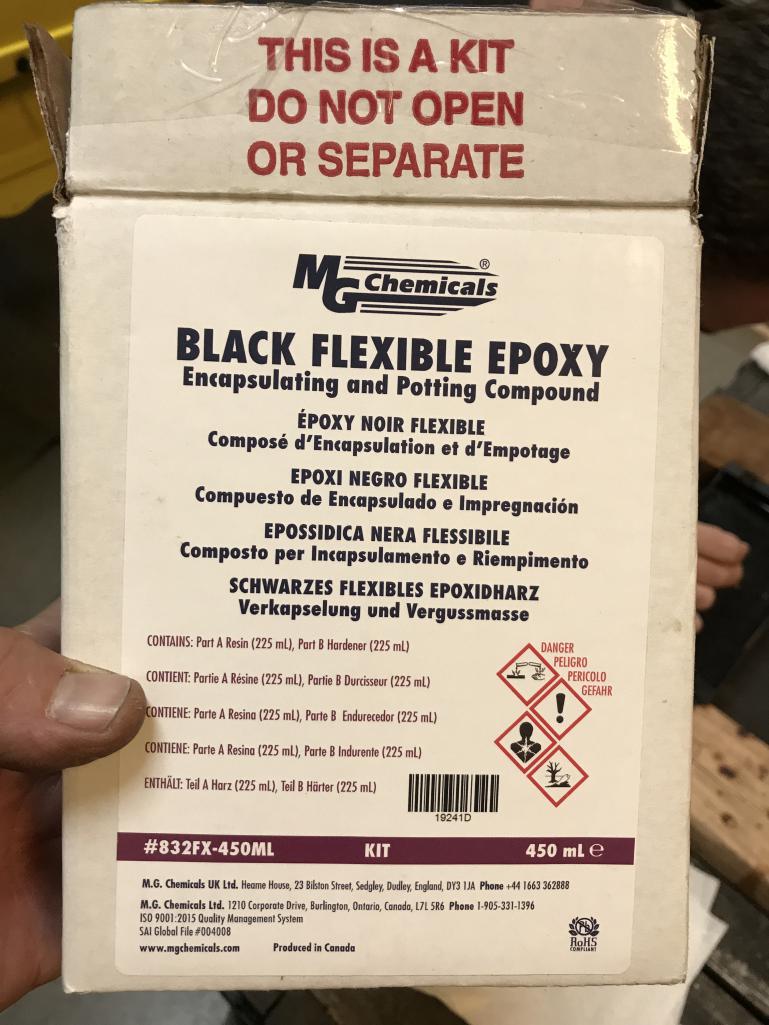
|
| bkrantz |
 Dec 26 2020, 08:53 PM Dec 26 2020, 08:53 PM
Post
#1812
|
|
914 Guru      Group: Members Posts: 8,154 Joined: 3-August 19 From: SW Colorado Member No.: 23,343 Region Association: Rocky Mountains 
|
The obvious thing is to pour this into the inverted relay board. But a few holes, for the cable retaining clips and the 3-prong socket, would let the compound leak through.
So I decided to try wax to create temporary filling for these holes. This furniture wax seems like the purest material that can be dissolved later with solvent. Yes, we did test this. Attached thumbnail(s) 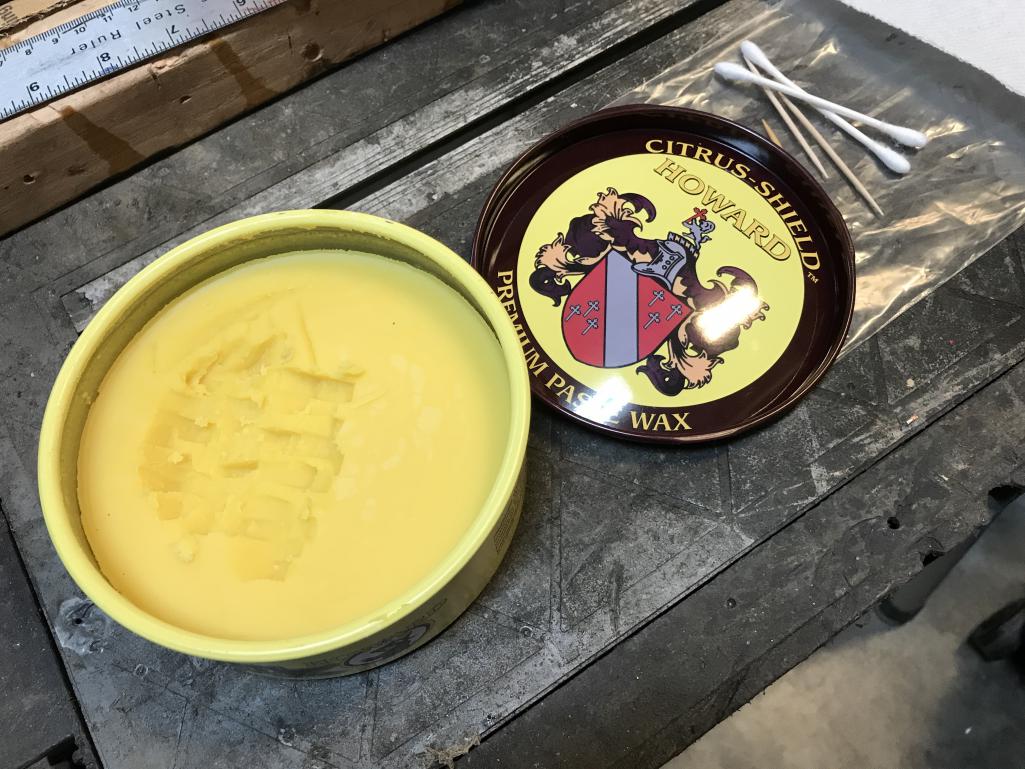
|
| bkrantz |
 Dec 26 2020, 08:54 PM Dec 26 2020, 08:54 PM
Post
#1813
|
|
914 Guru      Group: Members Posts: 8,154 Joined: 3-August 19 From: SW Colorado Member No.: 23,343 Region Association: Rocky Mountains 
|
Here's the wax, forced into the holes from the top side.
Attached thumbnail(s) 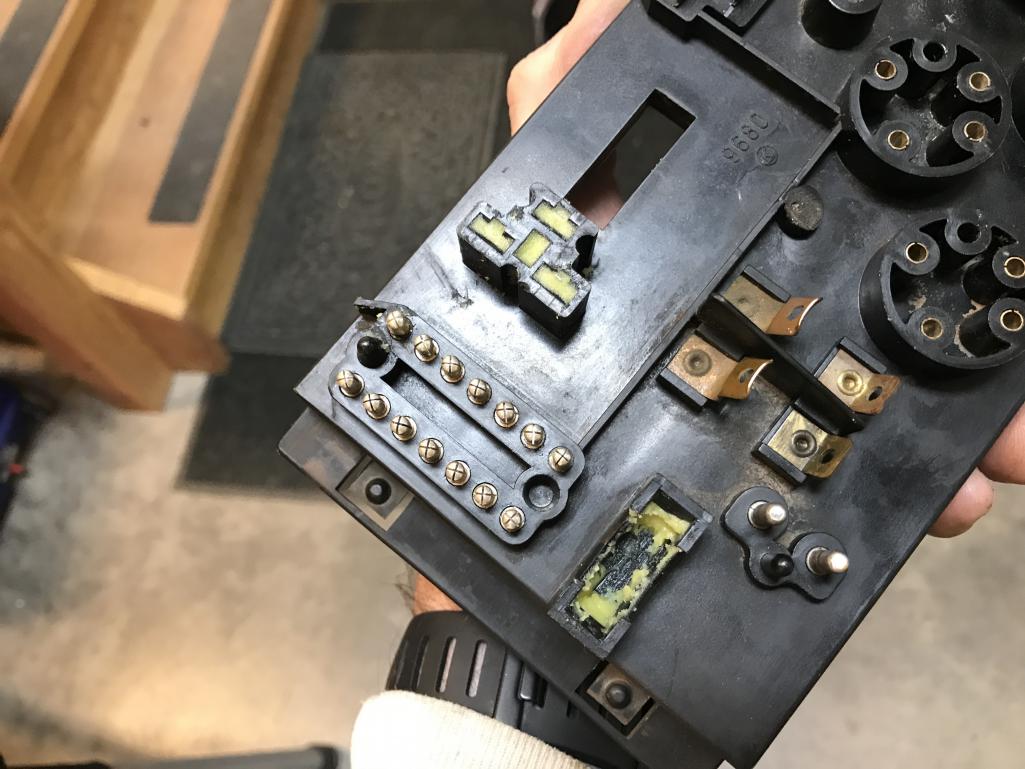
|
| bkrantz |
 Dec 26 2020, 08:55 PM Dec 26 2020, 08:55 PM
Post
#1814
|
|
914 Guru      Group: Members Posts: 8,154 Joined: 3-August 19 From: SW Colorado Member No.: 23,343 Region Association: Rocky Mountains 
|
And from below (sorry for the fuzzy photo).
Attached thumbnail(s) 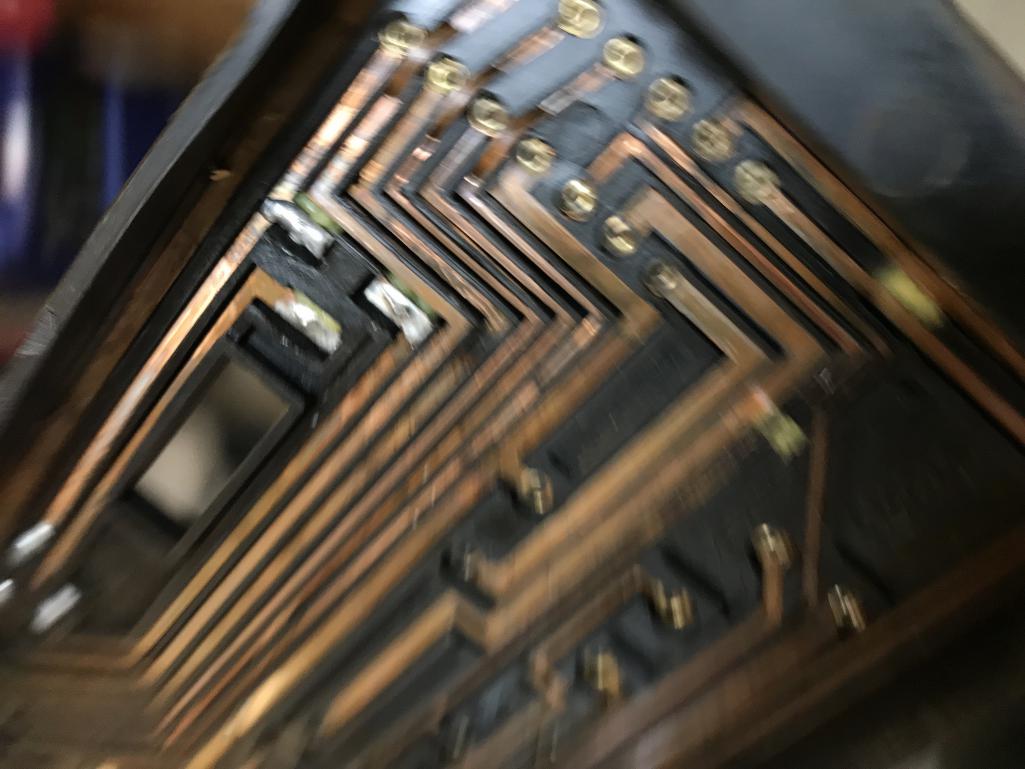
|
| bkrantz |
 Dec 26 2020, 08:55 PM Dec 26 2020, 08:55 PM
Post
#1815
|
|
914 Guru      Group: Members Posts: 8,154 Joined: 3-August 19 From: SW Colorado Member No.: 23,343 Region Association: Rocky Mountains 
|
Finally, we leveled the relay board.
Attached thumbnail(s) 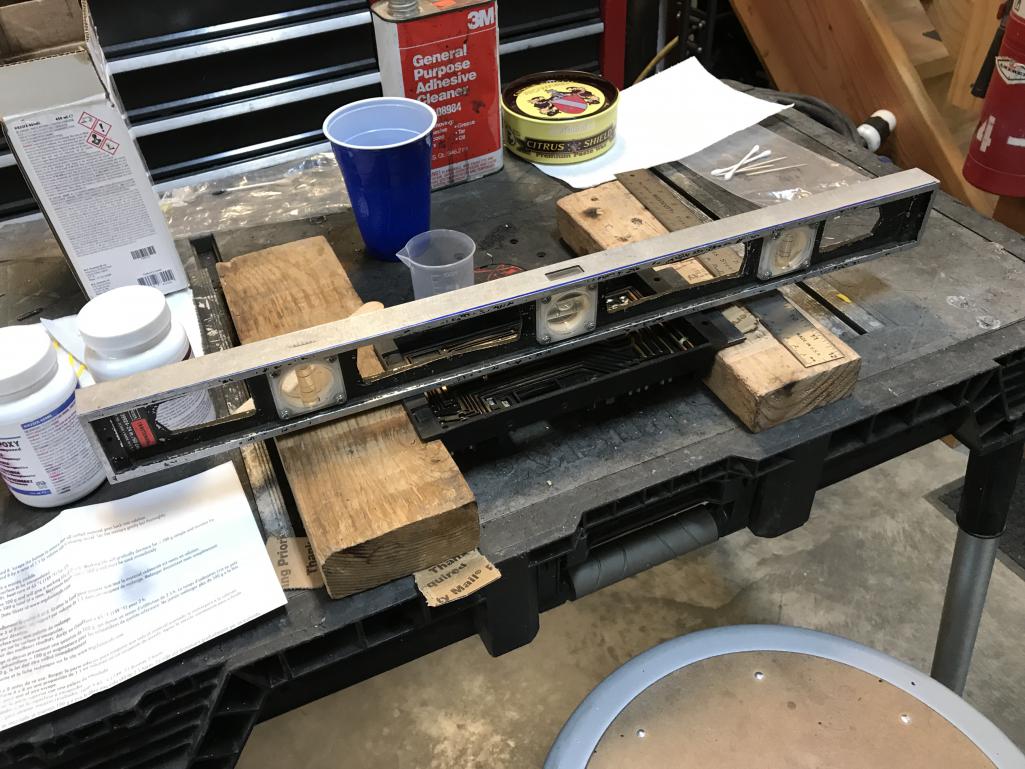
|
| bkrantz |
 Dec 26 2020, 08:56 PM Dec 26 2020, 08:56 PM
Post
#1816
|
|
914 Guru      Group: Members Posts: 8,154 Joined: 3-August 19 From: SW Colorado Member No.: 23,343 Region Association: Rocky Mountains 
|
Then mixed the potting compound and poured in about 75 ml.
Attached thumbnail(s) 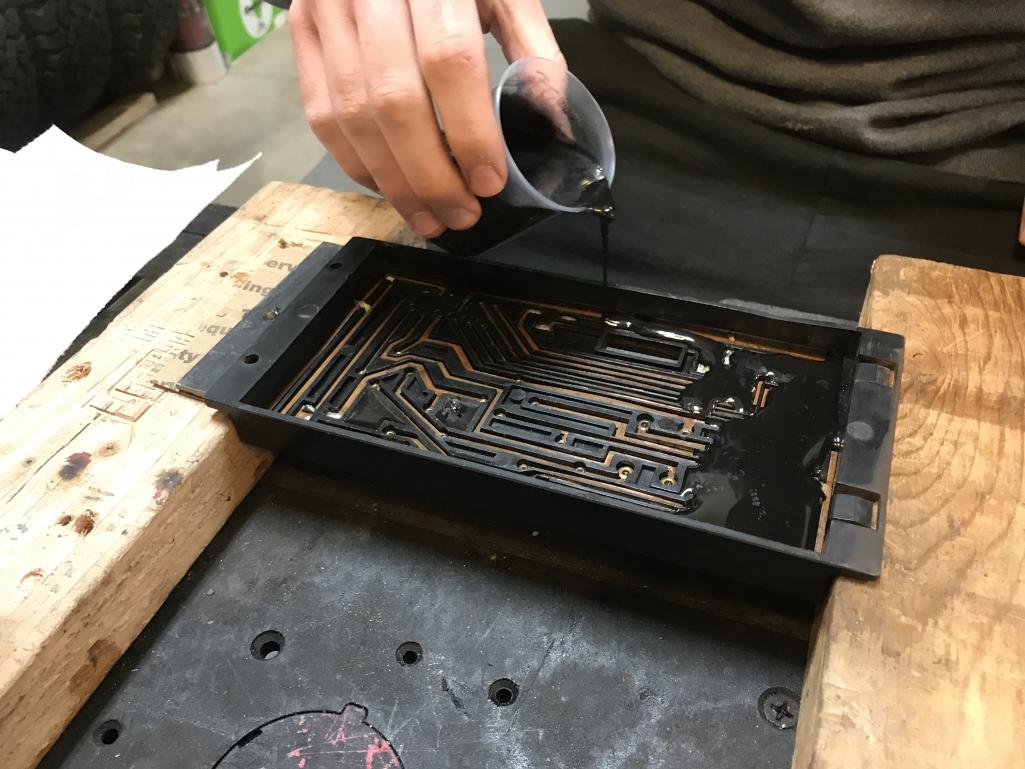
|
| bkrantz |
 Dec 26 2020, 08:58 PM Dec 26 2020, 08:58 PM
Post
#1817
|
|
914 Guru      Group: Members Posts: 8,154 Joined: 3-August 19 From: SW Colorado Member No.: 23,343 Region Association: Rocky Mountains 
|
For about 15 minutes, we popped some air bubbles. The compound was fairly thin for at least 1 hour.
Attached thumbnail(s) 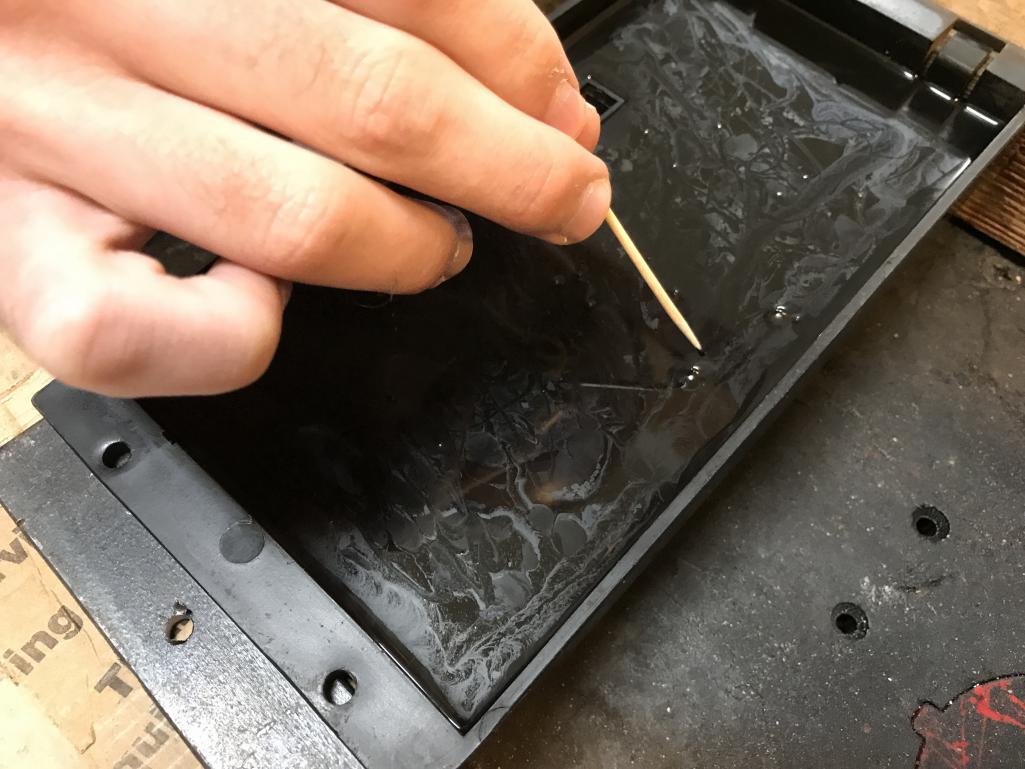
|
| bkrantz |
 Dec 26 2020, 08:59 PM Dec 26 2020, 08:59 PM
Post
#1818
|
|
914 Guru      Group: Members Posts: 8,154 Joined: 3-August 19 From: SW Colorado Member No.: 23,343 Region Association: Rocky Mountains 
|
Now just wait 24 to 48 hours for full cure.
Attached thumbnail(s) 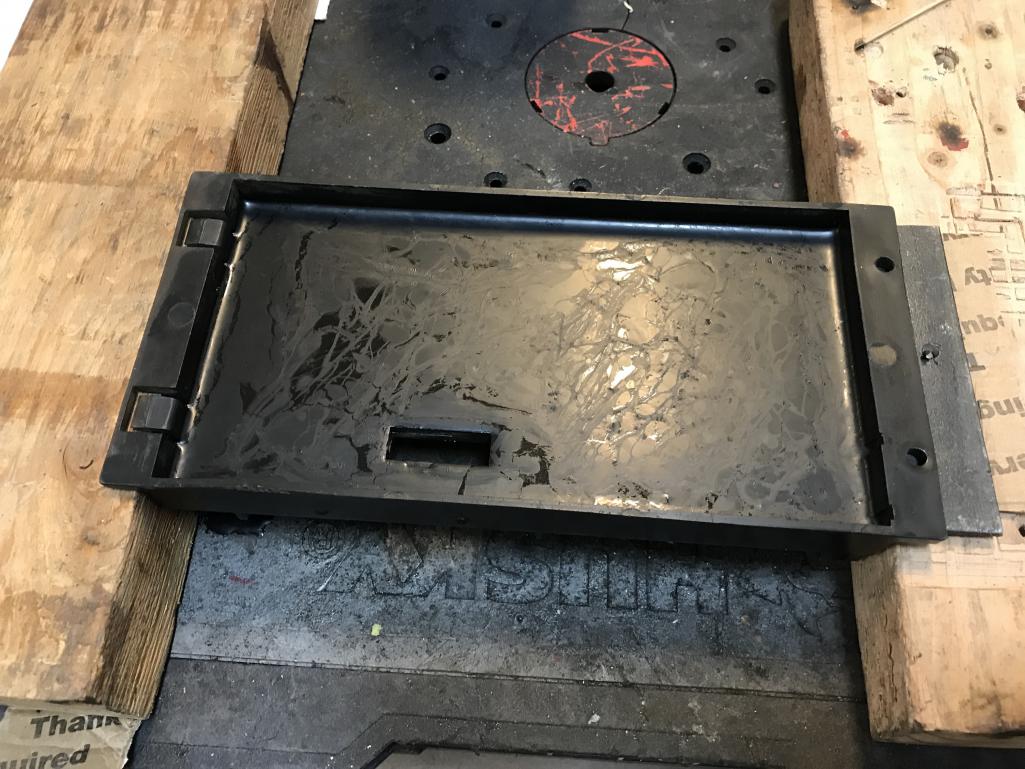
|
| djway |
 Dec 26 2020, 11:29 PM Dec 26 2020, 11:29 PM
Post
#1819
|
|
Senior Member    Group: Members Posts: 787 Joined: 16-October 15 From: Riverside Member No.: 19,266 Region Association: Southern California |
And then re-install the new rubber grommets (old on the left, new on the right). On my Notchback I am using the 19mm MC. Grommets started leaking before it ever was driven so I ordered some ATE grommets. They were much beafier, larger diameter and the leading edge is rounded to ease with smooth installation. Dry as can be now. Fill your system as soon as possible and look for weeping. Easier to fix early on. |
| bbrock |
 Dec 27 2020, 11:29 PM Dec 27 2020, 11:29 PM
Post
#1820
|
|
914 Guru      Group: Members Posts: 5,269 Joined: 17-February 17 From: Montana Member No.: 20,845 Region Association: Rocky Mountains 
|
And then re-install the new rubber grommets (old on the left, new on the right). On my Notchback I am using the 19mm MC. Grommets started leaking before it ever was driven so I ordered some ATE grommets. They were much beafier, larger diameter and the leading edge is rounded to ease with smooth installation. Dry as can be now. Fill your system as soon as possible and look for weeping. Easier to fix early on. This is good to know. I had the same experience with the grommets weeping and have had replacing them on my to-do list. New grommets are on the way from Porsche now so hoping they work better. |
  |
2 User(s) are reading this topic (2 Guests and 0 Anonymous Users)
0 Members:

|
Lo-Fi Version | Time is now: 28th November 2024 - 06:50 AM |
Invision Power Board
v9.1.4 © 2024 IPS, Inc.


