|
|
|
Porsche, and the Porsche crest are registered trademarks of Dr. Ing. h.c. F. Porsche AG.
This site is not affiliated with Porsche in any way. Its only purpose is to provide an online forum for car enthusiasts. All other trademarks are property of their respective owners. |
|
|

  |

| bkrantz |
 Feb 14 2021, 08:19 PM Feb 14 2021, 08:19 PM
Post
#2241
|
|
914 Guru  Group: Members Posts: 8,154 Joined: 3-August 19 From: SW Colorado Member No.: 23,343 Region Association: Rocky Mountains |
The door shell back in cold storage.
Attached thumbnail(s) 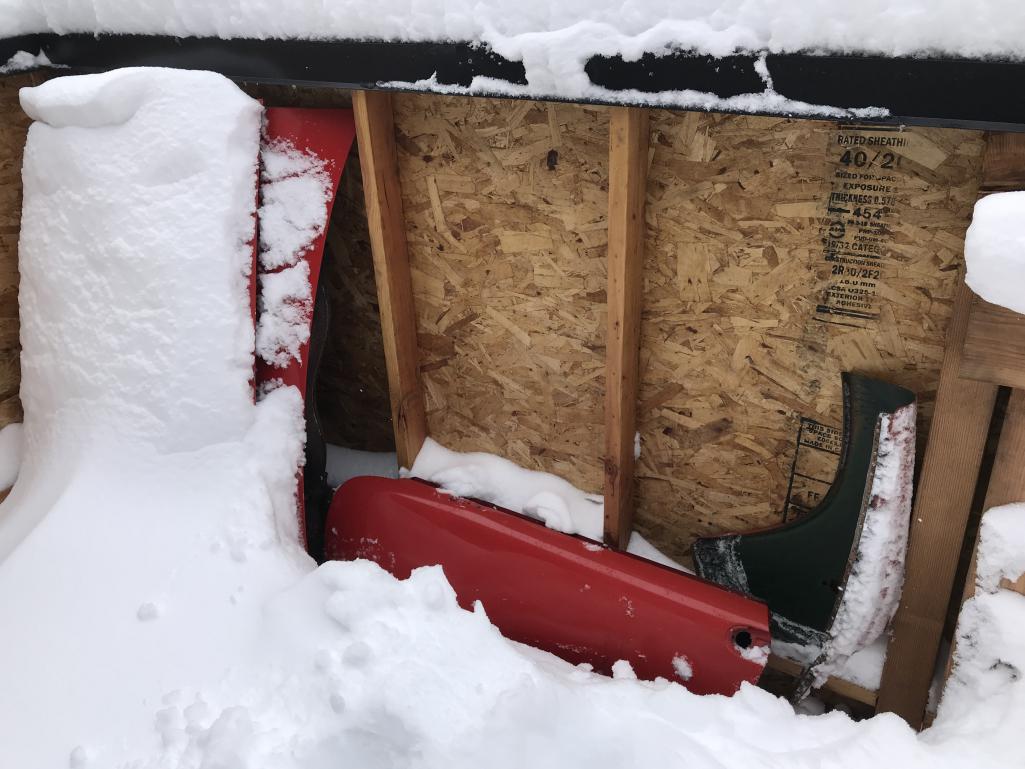
|
   |

 
|
| bkrantz |
Feb 14 2021, 08:20 PM
Post
#2242
|
|
914 Guru Group: Members Posts: 8,154 Joined: 3-August 19 From: SW Colorado Member No.: 23,343 Region Association: Rocky Mountains |
After that, I installed the eyebrows, after the touch-up paint dried overnight.
Attached thumbnail(s) 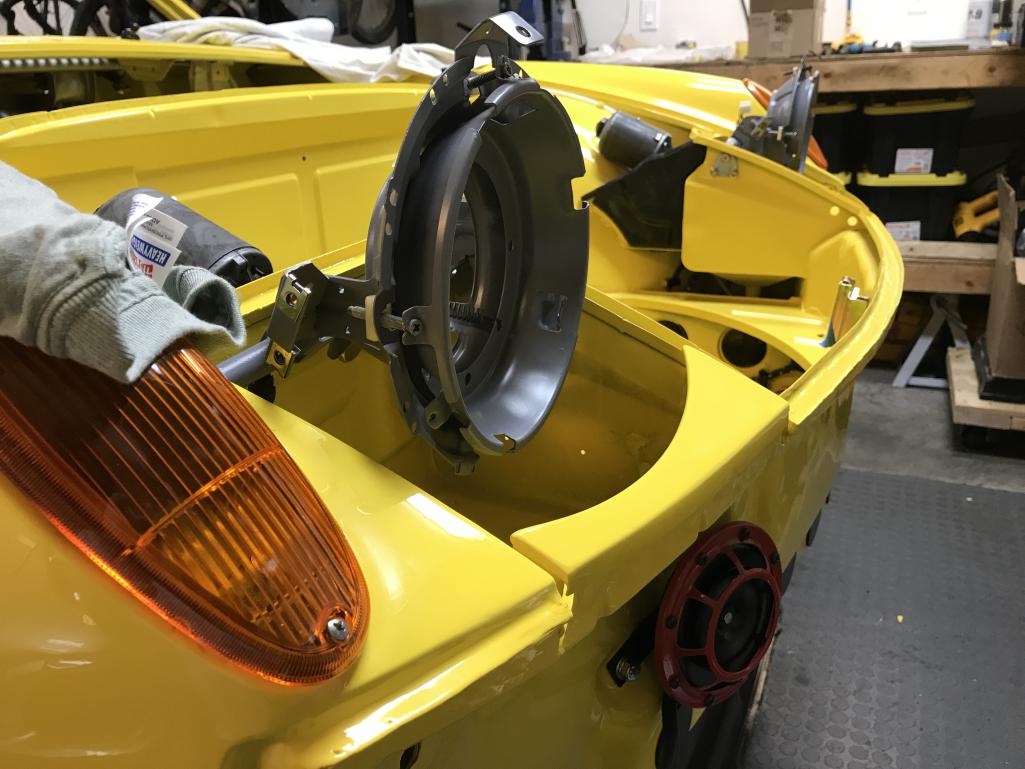
|
|
|
|
| bkrantz |
Feb 14 2021, 08:21 PM
Post
#2243
|
|
914 Guru Group: Members Posts: 8,154 Joined: 3-August 19 From: SW Colorado Member No.: 23,343 Region Association: Rocky Mountains |
The left side fit is still a bit off, but OK for now.
Attached thumbnail(s) 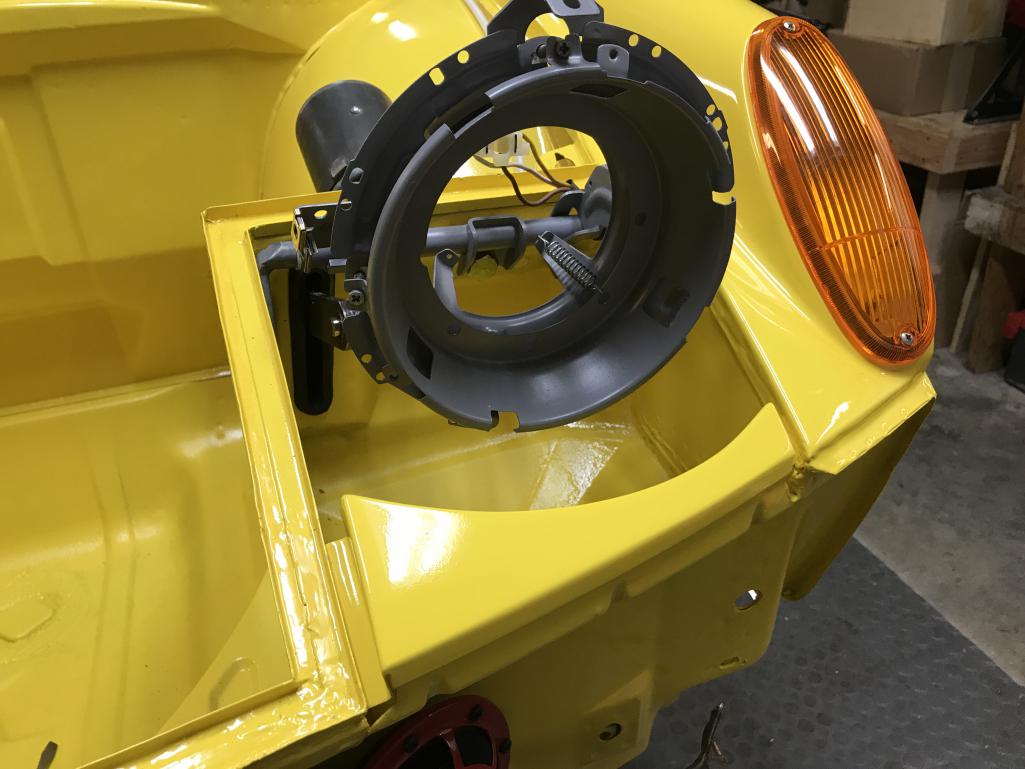
|
|
|
|
| DRPHIL914 |
Feb 15 2021, 06:54 AM
Post
#2244
|
|
Dr. Phil Group: Members Posts: 5,810 Joined: 9-December 09 From: Bluffton, SC Member No.: 11,106 Region Association: South East States |
man those eyebrows are a PIA! great job, excellent work on the window trip polishing!.
one question is on the eye brow installed it looks like the front edge of the eyelid over laps the edge on the car? is that what you were having to bend?. mine just does not fit well and this is something i need to go back again and get right. i could not get those grommets to pull thru and stay in place, so what’s the secret? |
|
|
|
| iankarr |
Feb 15 2021, 07:28 AM
Post
#2245
|
|
The wrencher formerly known as Cuddy_K Group: Members Posts: 2,522 Joined: 22-May 15 From: Heber City, UT Member No.: 18,749 Region Association: Intermountain Region |
Not sure if @bkrantz has found the same, but on my car adjusting that front metal lip was the ticket to getting things lined up.
|
|
|
|
| bkrantz |
Feb 15 2021, 08:48 PM
Post
#2246
|
|
914 Guru Group: Members Posts: 8,154 Joined: 3-August 19 From: SW Colorado Member No.: 23,343 Region Association: Rocky Mountains |
I did adjust the vertical lips on the front panel by tapping them inwards as needed so the front eyebrow edge can overlap.
To get the grommets in, I first made sure the eyebrow tabs sat tight against the walls of the headlight bucket. That required a bit a bending, and trial and error. To install each grommet, I pushed it in hard from the headlight side, and then pulled or flicked the protruding tip sideways in all directions. That was enough to get part of the grommet lip on the outside of the hole. After that I get working and twisting until the lip was out all around. Attached thumbnail(s) 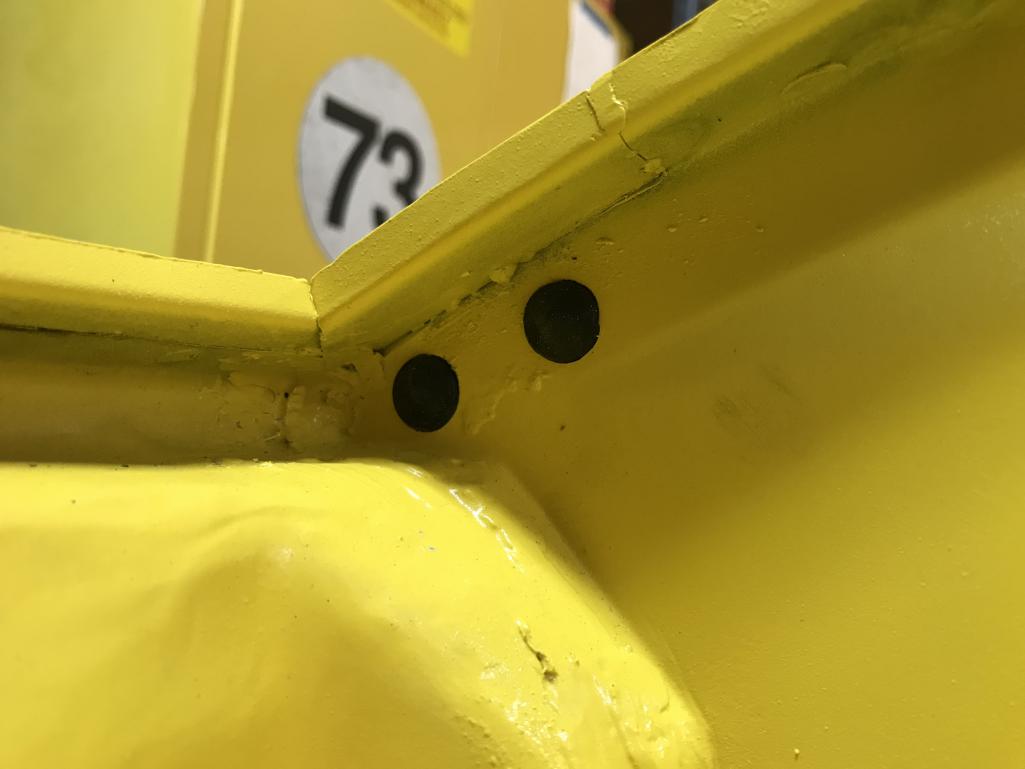
|
|
|
|
| bbrock |
Feb 15 2021, 09:43 PM
Post
#2247
|
|
914 Guru Group: Members Posts: 5,269 Joined: 17-February 17 From: Montana Member No.: 20,845 Region Association: Rocky Mountains |
The trick I used to install the eyebrow grommets was to use a dowel or blunt drift to push into the hole on the back side of the grommet to poke the pointy side through. The drift causes the pointy button to stretch and squeeze through the hole. Sometimes I push hard enough I thought the drift would poke through or the grommet would tear but they never did.
|
|
|
|
| bkrantz |
Feb 16 2021, 08:18 PM
Post
#2248
|
|
914 Guru Group: Members Posts: 8,154 Joined: 3-August 19 From: SW Colorado Member No.: 23,343 Region Association: Rocky Mountains |
New LED headlights from Vintage Car LEDs. Should be plug and play.
Attached thumbnail(s) 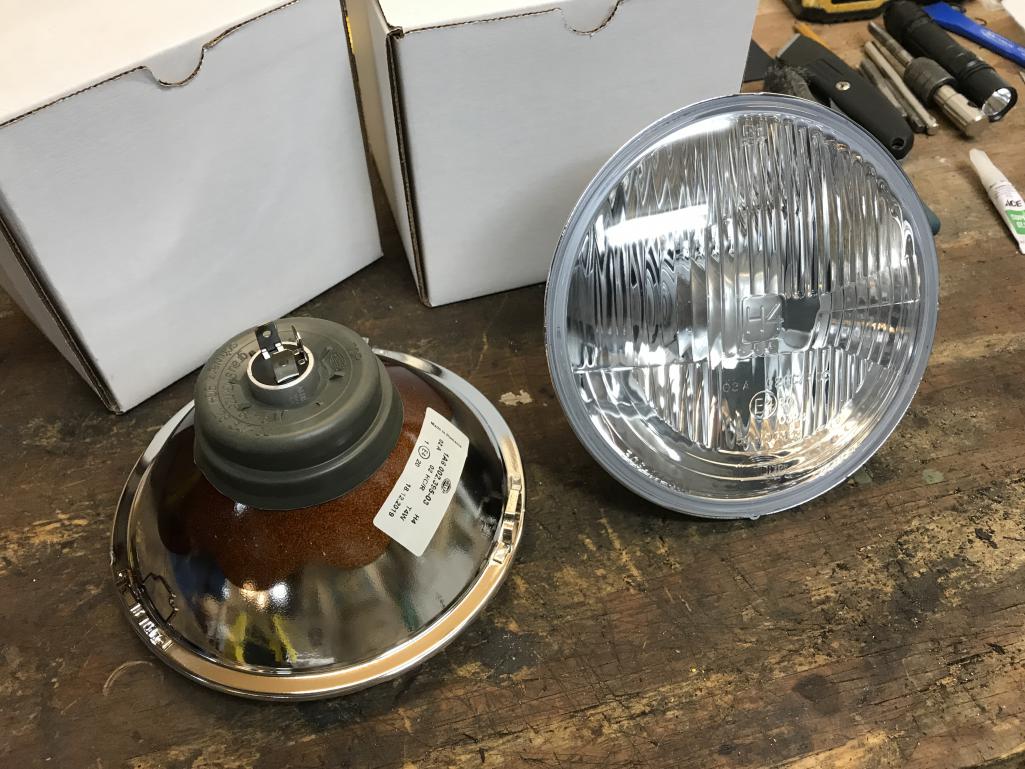
|
|
|
|
| bkrantz |
Feb 16 2021, 08:21 PM
Post
#2249
|
|
914 Guru Group: Members Posts: 8,154 Joined: 3-August 19 From: SW Colorado Member No.: 23,343 Region Association: Rocky Mountains |
Collection of assorted screws that came off the headlights 18 months ago. I have replacements for most that are necessary.
Attached thumbnail(s) 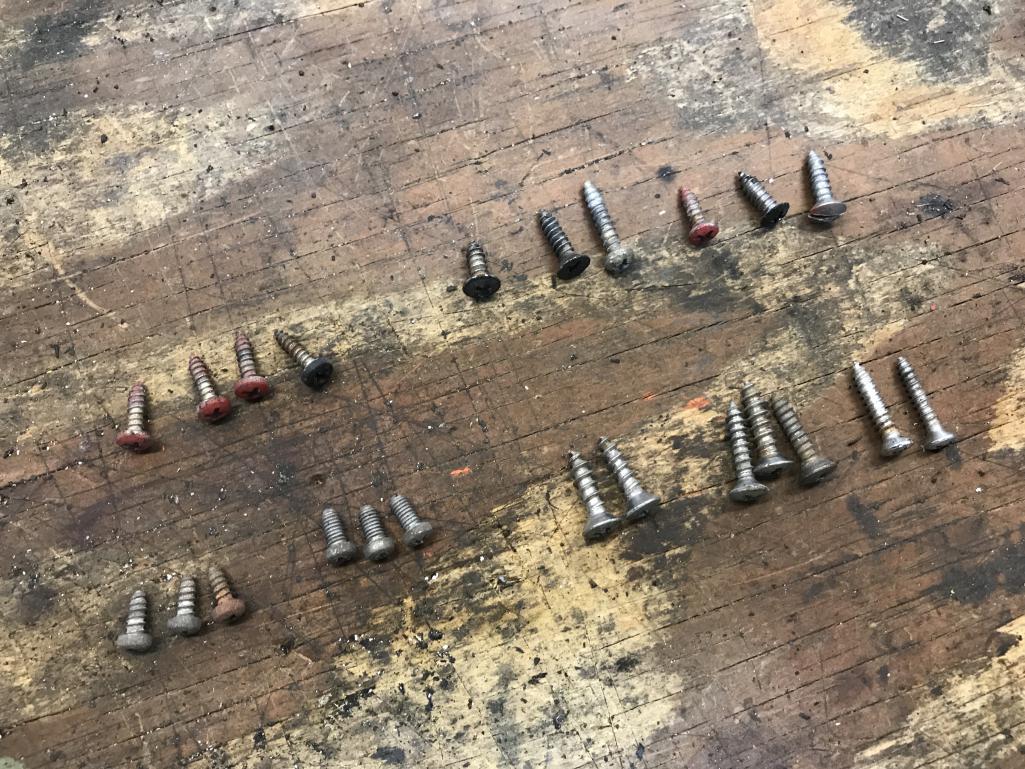
|
|
|
|
| bkrantz |
Feb 16 2021, 08:29 PM
Post
#2250
|
|
914 Guru Group: Members Posts: 8,154 Joined: 3-August 19 From: SW Colorado Member No.: 23,343 Region Association: Rocky Mountains |
Except the AM4 machine screws. I will order 6, preferably in stainless.
Attached thumbnail(s) 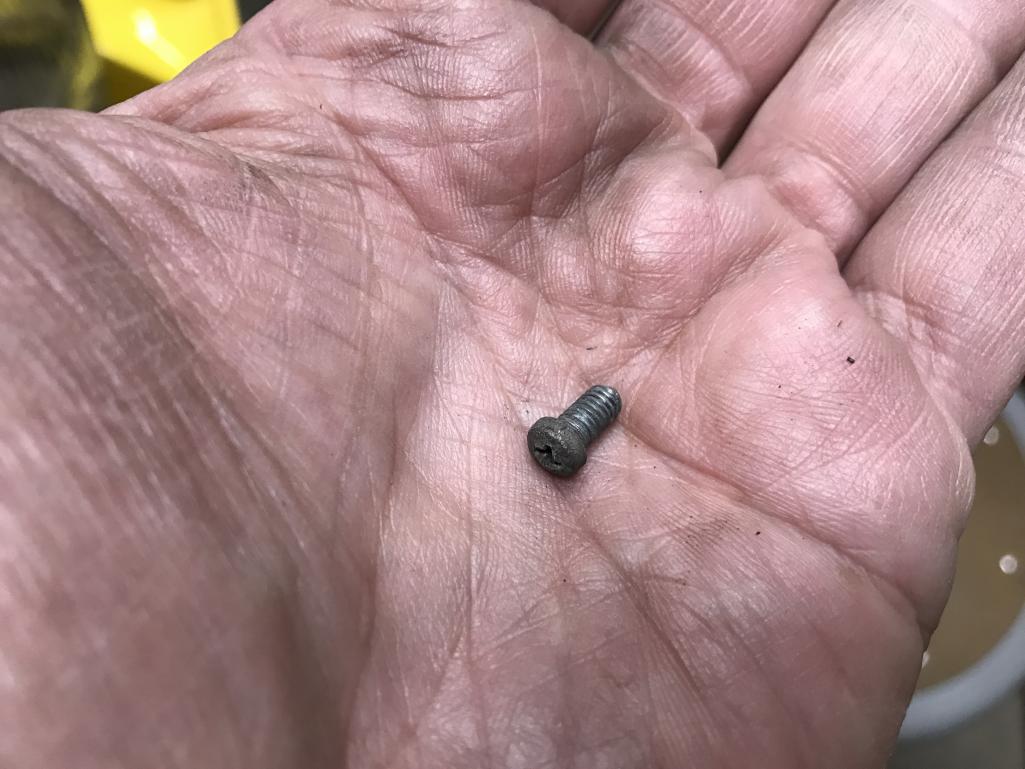
|
|
|
|
| bkrantz |
Feb 16 2021, 08:31 PM
Post
#2251
|
|
914 Guru Group: Members Posts: 8,154 Joined: 3-August 19 From: SW Colorado Member No.: 23,343 Region Association: Rocky Mountains |
Meanwhile, with the 3 screws that I have, I installed the headlight and the retaining ring.
Attached thumbnail(s) 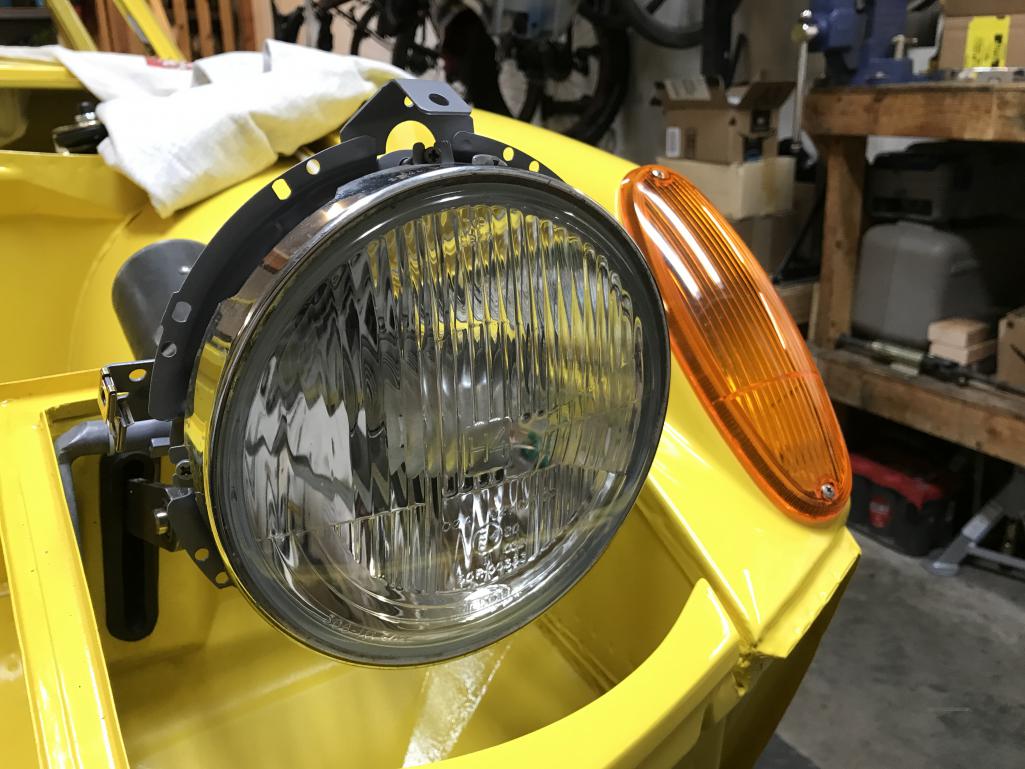
|
|
|
|
| bkrantz |
Feb 16 2021, 08:32 PM
Post
#2252
|
|
914 Guru Group: Members Posts: 8,154 Joined: 3-August 19 From: SW Colorado Member No.: 23,343 Region Association: Rocky Mountains |
And then the lid.
Attached thumbnail(s) 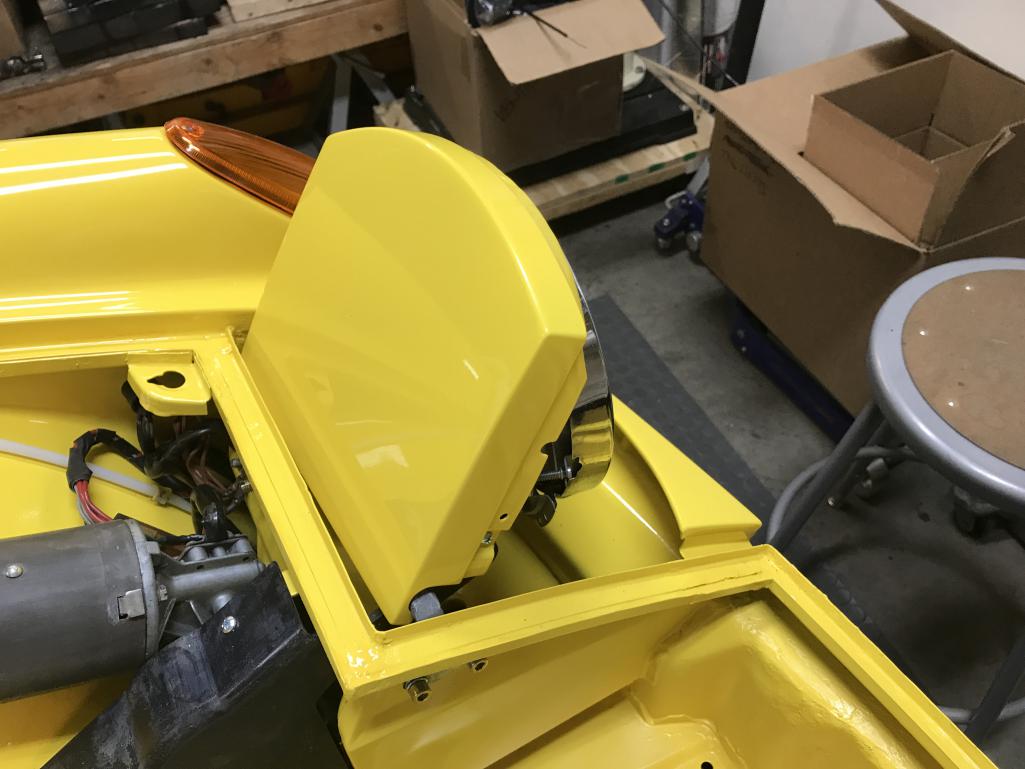
|
|
|
|
| bkrantz |
Feb 16 2021, 08:33 PM
Post
#2253
|
|
914 Guru Group: Members Posts: 8,154 Joined: 3-August 19 From: SW Colorado Member No.: 23,343 Region Association: Rocky Mountains |
After just a quick adjustment, the fit looks OK. More adjustment to come.
Attached thumbnail(s) 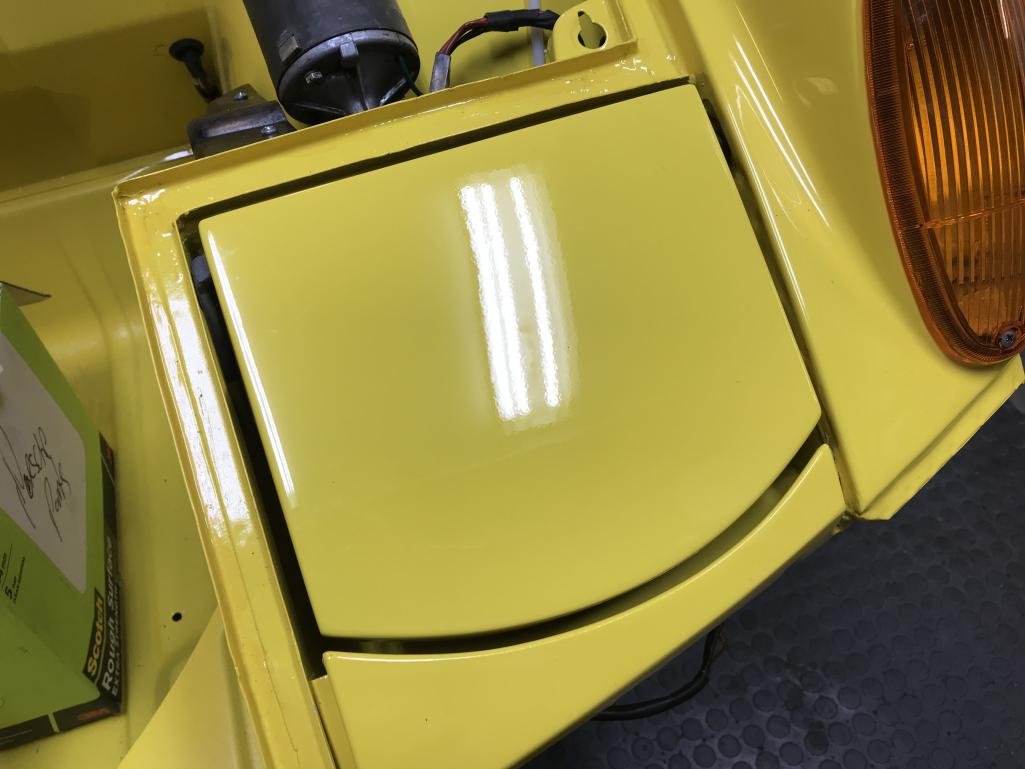
|
|
|
|
| raynekat |
Feb 16 2021, 09:54 PM
Post
#2254
|
|
Advanced Member Group: Members Posts: 2,164 Joined: 30-December 14 From: Coeur d'Alene, Idaho Member No.: 18,263 Region Association: Pacific Northwest |
Nice gaps there man....
|
|
|
|
| euro911 |
Feb 17 2021, 04:34 AM
Post
#2255
|
|
Retired & living the dream. God help me if I wake up! Group: Members Posts: 8,858 Joined: 2-December 06 From: So.Cal. & No.AZ (USA) Member No.: 7,300 Region Association: Southern California |
QUOTE(raynekat @ Feb 16 2021, 07:54 PM)  Nice gaps there man.... ... almost as nice as this gap ... (IMG:style_emoticons/default/poke.gif)(IMG:style_emoticons/default/happy11.gif)  |
|
|
|
| bkrantz |
Feb 17 2021, 08:00 PM
Post
#2256
|
|
914 Guru Group: Members Posts: 8,154 Joined: 3-August 19 From: SW Colorado Member No.: 23,343 Region Association: Rocky Mountains |
|
|
|
|
| bkrantz |
Feb 17 2021, 08:05 PM
Post
#2257
|
|
914 Guru Group: Members Posts: 8,154 Joined: 3-August 19 From: SW Colorado Member No.: 23,343 Region Association: Rocky Mountains |
Checking the fit of the new headlight surround from 914 Rubber.
Attached thumbnail(s) 
|
|
|
|
| bkrantz |
Feb 17 2021, 08:07 PM
Post
#2258
|
|
914 Guru Group: Members Posts: 8,154 Joined: 3-August 19 From: SW Colorado Member No.: 23,343 Region Association: Rocky Mountains |
A bit more fiddling with the fit, especially matching the lid height to fender edge.
Attached thumbnail(s) 
|
|
|
|
| bkrantz |
Feb 17 2021, 08:09 PM
Post
#2259
|
|
914 Guru Group: Members Posts: 8,154 Joined: 3-August 19 From: SW Colorado Member No.: 23,343 Region Association: Rocky Mountains |
On a roll, so what about the right headlight lid, even if I am missing the right hardware to install the new light.
Attached thumbnail(s) 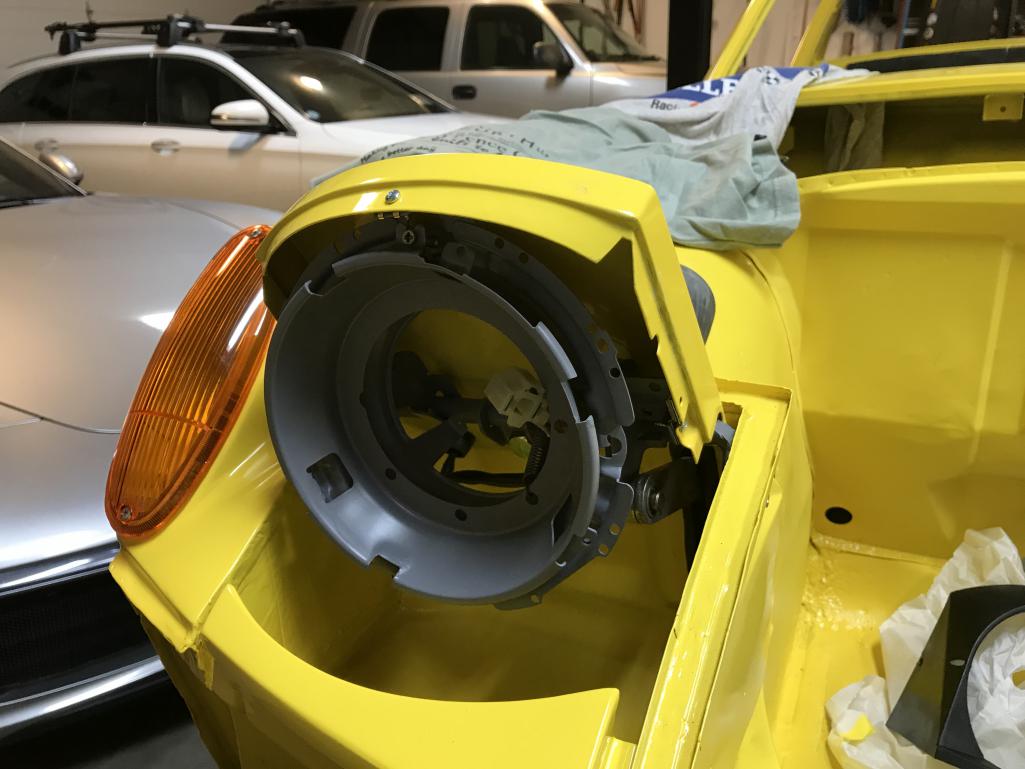
|
|
|
|
| bkrantz |
Feb 17 2021, 08:09 PM
Post
#2260
|
|
914 Guru Group: Members Posts: 8,154 Joined: 3-August 19 From: SW Colorado Member No.: 23,343 Region Association: Rocky Mountains |
Another quick fit adjustment.
Attached thumbnail(s) 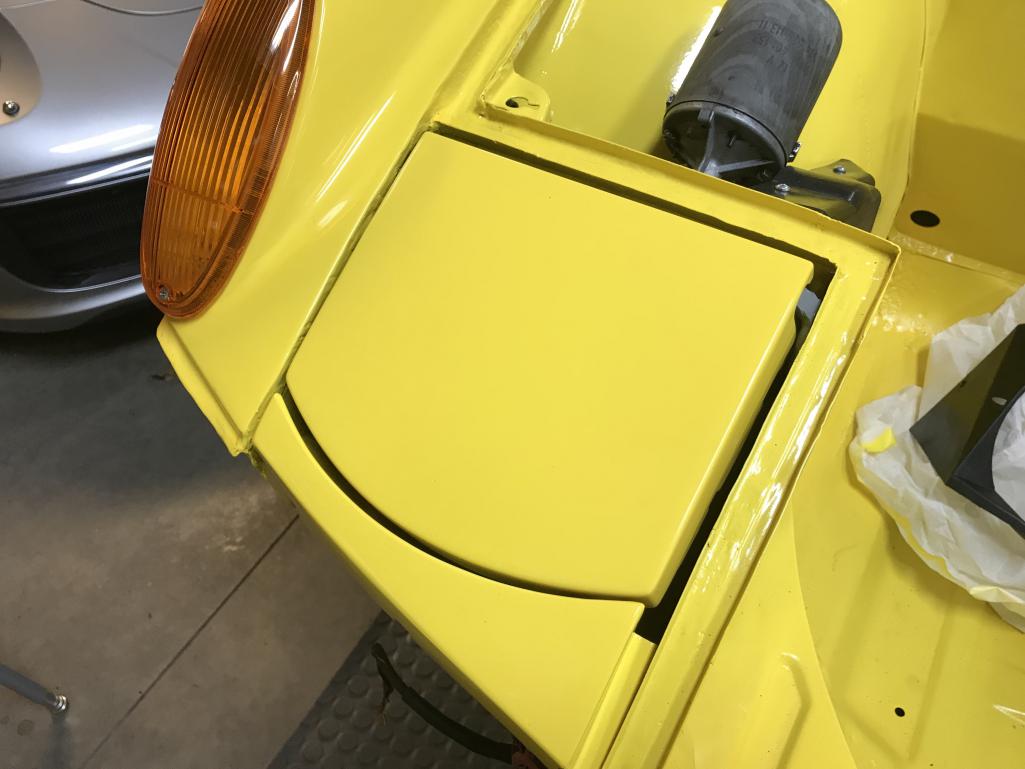
|
|
|
|
|
2 User(s) are reading this topic (2 Guests and 0 Anonymous Users)
0 Members:

|
Lo-Fi Version | Time is now: 29th November 2024 - 08:51 AM |
Invision Power Board
v9.1.4 © 2024 IPS, Inc.