|
|
|
Porsche, and the Porsche crest are registered trademarks of Dr. Ing. h.c. F. Porsche AG.
This site is not affiliated with Porsche in any way. Its only purpose is to provide an online forum for car enthusiasts. All other trademarks are property of their respective owners. |
|
|

  |

| bkrantz |
 Mar 24 2021, 07:18 PM Mar 24 2021, 07:18 PM
Post
#2501
|
|
914 Guru  Group: Members Posts: 8,154 Joined: 3-August 19 From: SW Colorado Member No.: 23,343 Region Association: Rocky Mountains |
I also found original switches, for rear window defroster and rear fog light.
Attached thumbnail(s) 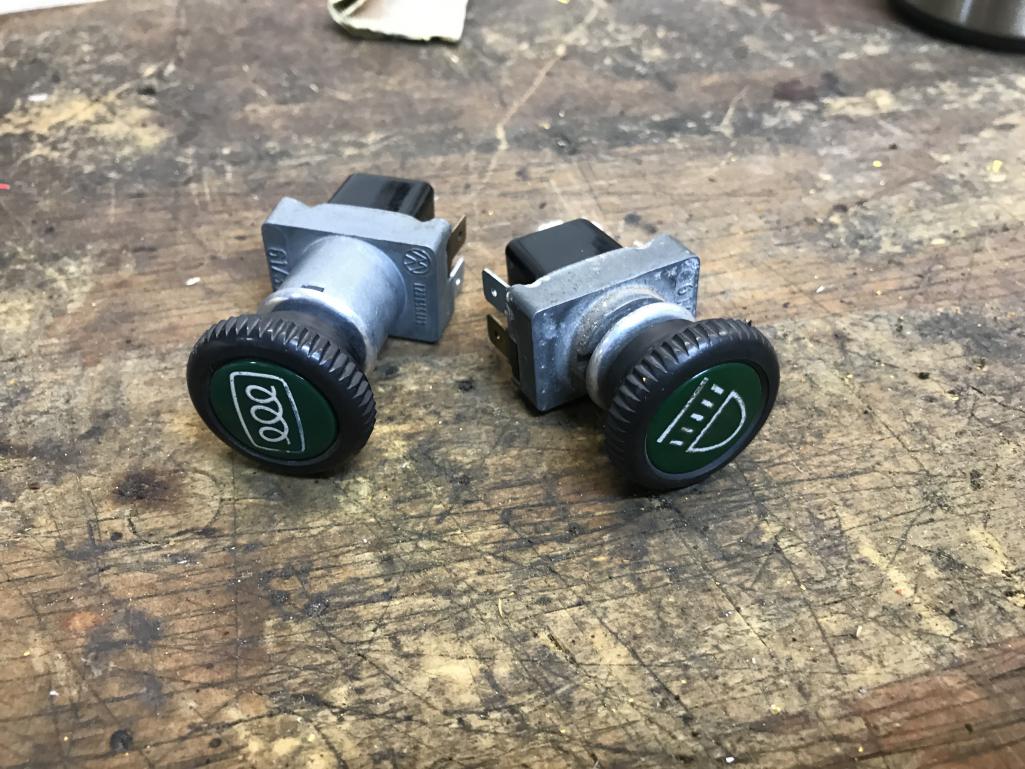
|
   |

 
|
| bkrantz |
Mar 24 2021, 07:20 PM
Post
#2502
|
|
914 Guru Group: Members Posts: 8,154 Joined: 3-August 19 From: SW Colorado Member No.: 23,343 Region Association: Rocky Mountains |
Once I install the cigarette lighter, I will have all the dash holes filled. And I have some plans for the new switches.
Attached thumbnail(s) 
|
|
|
|
| bkrantz |
Mar 24 2021, 07:28 PM
Post
#2503
|
|
914 Guru Group: Members Posts: 8,154 Joined: 3-August 19 From: SW Colorado Member No.: 23,343 Region Association: Rocky Mountains |
I also got the missing targa trim piece from 914 Rubber, so I have left and right.
Attached thumbnail(s) 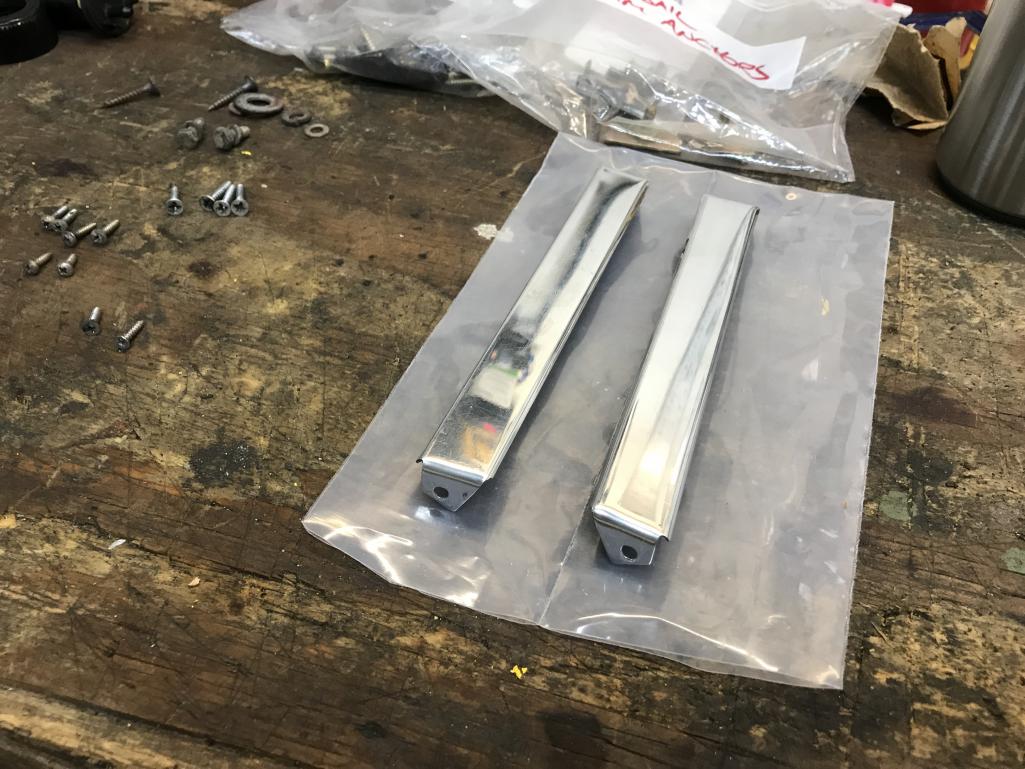
|
|
|
|
| bkrantz |
Mar 24 2021, 07:29 PM
Post
#2504
|
|
914 Guru Group: Members Posts: 8,154 Joined: 3-August 19 From: SW Colorado Member No.: 23,343 Region Association: Rocky Mountains |
Left side installed, with flat head screws in the rear holes.
Attached thumbnail(s) 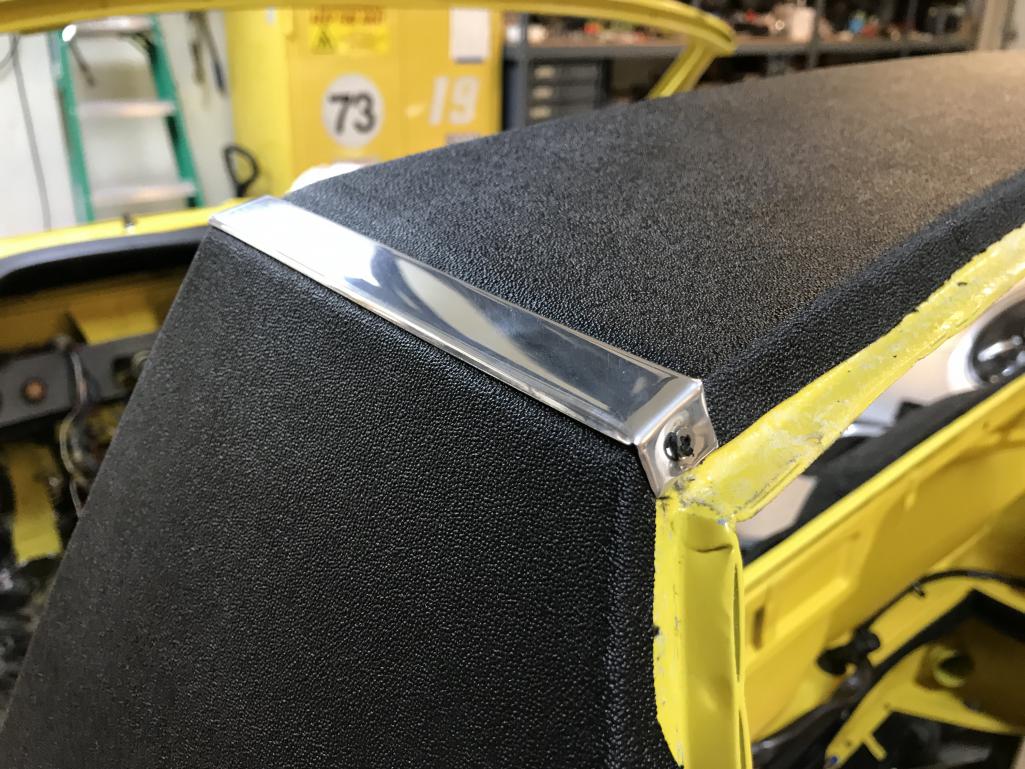
|
|
|
|
| bkrantz |
Mar 24 2021, 07:30 PM
Post
#2505
|
|
914 Guru Group: Members Posts: 8,154 Joined: 3-August 19 From: SW Colorado Member No.: 23,343 Region Association: Rocky Mountains |
And right side.
Attached thumbnail(s) 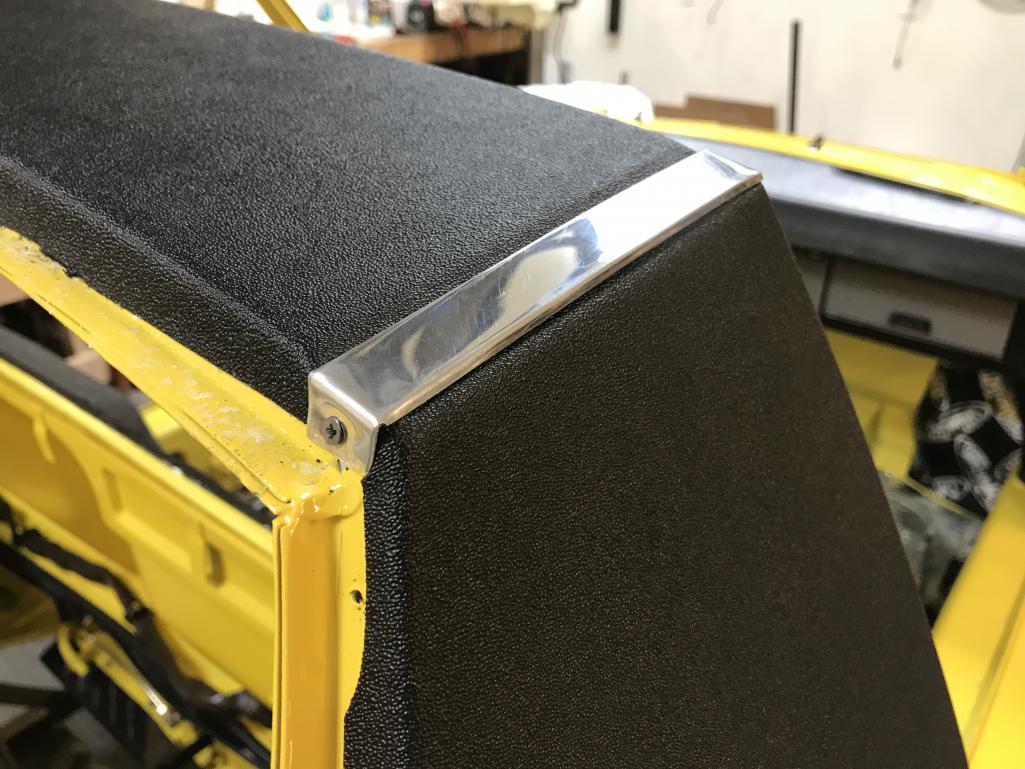
|
|
|
|
| bkrantz |
Mar 24 2021, 07:32 PM
Post
#2506
|
|
914 Guru Group: Members Posts: 8,154 Joined: 3-August 19 From: SW Colorado Member No.: 23,343 Region Association: Rocky Mountains |
Then time for the rear edge trim piece. I treated the steel retaining clips with T-9 to prevent (more) rust.
Attached thumbnail(s) 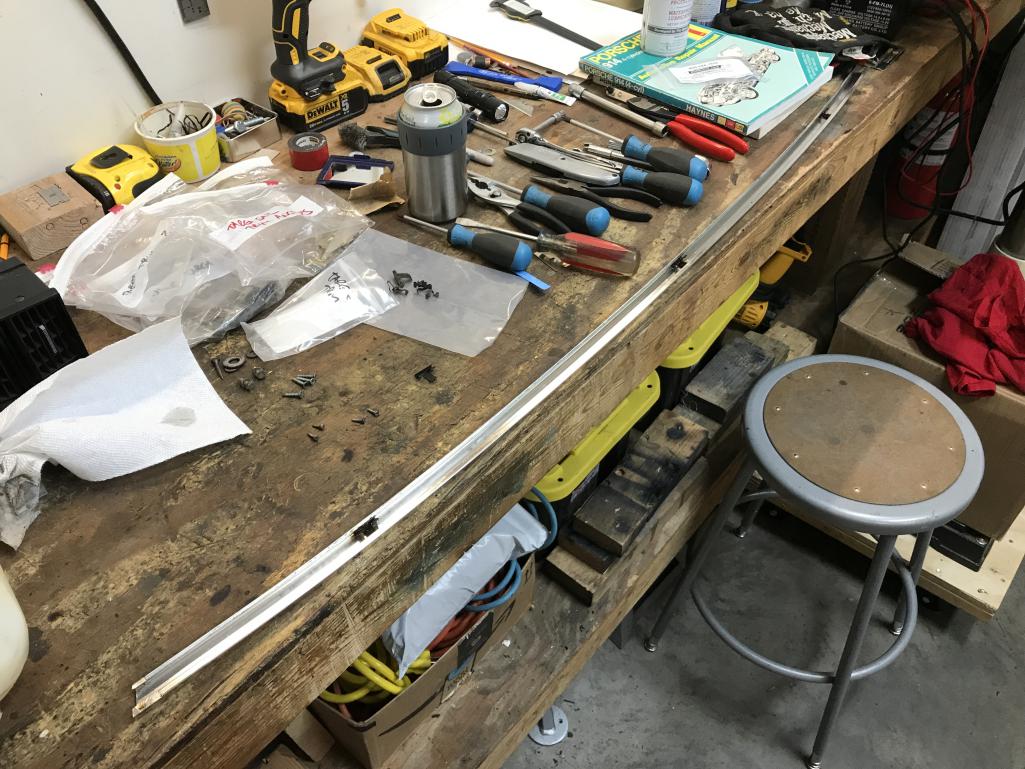
|
|
|
|
| bkrantz |
Mar 24 2021, 07:32 PM
Post
#2507
|
|
914 Guru Group: Members Posts: 8,154 Joined: 3-August 19 From: SW Colorado Member No.: 23,343 Region Association: Rocky Mountains |
Easy to tap into place.
Attached thumbnail(s) 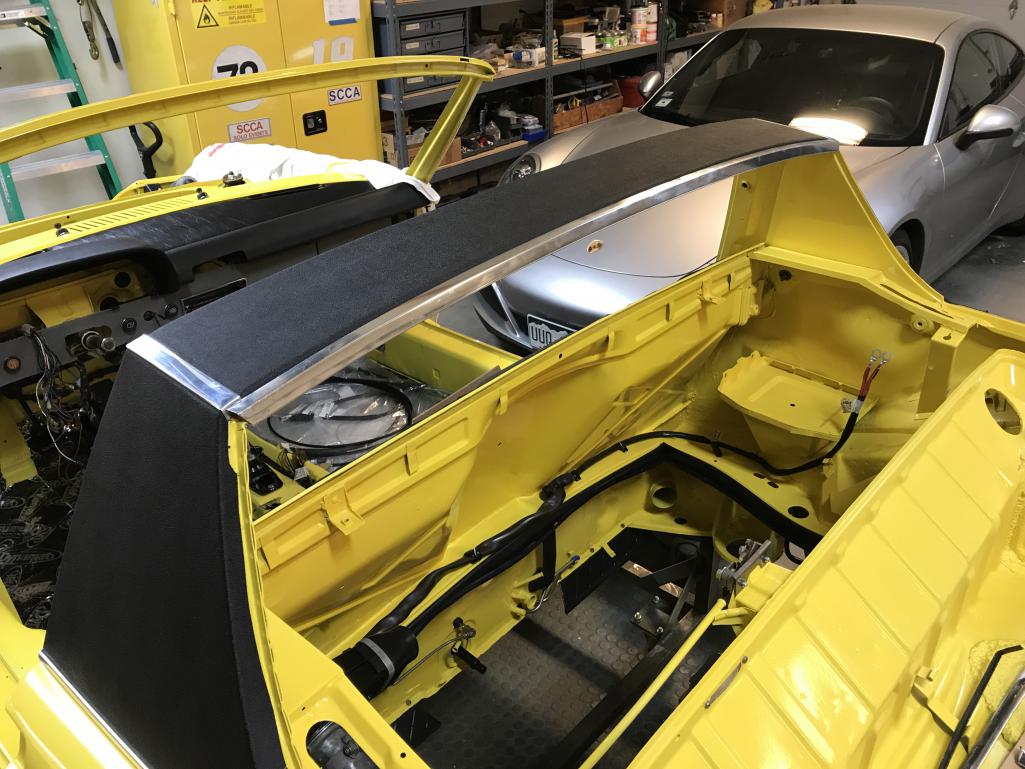
|
|
|
|
| bkrantz |
Mar 24 2021, 07:43 PM
Post
#2508
|
|
914 Guru Group: Members Posts: 8,154 Joined: 3-August 19 From: SW Colorado Member No.: 23,343 Region Association: Rocky Mountains |
Then the fun started with the rear sail trim. I recycled the spacer for the upper screw. The screw hole in the new factory piece did not line up with the existing hole in the sail edge, so that required a new hole.
Attached thumbnail(s) 
|
|
|
|
| bkrantz |
Mar 24 2021, 07:45 PM
Post
#2509
|
|
914 Guru Group: Members Posts: 8,154 Joined: 3-August 19 From: SW Colorado Member No.: 23,343 Region Association: Rocky Mountains |
Here's the trailing edge retaining clip, slid into the trim. But the fit is sloppy, so when I tried to get the nut started inside the fender, the protruding bolt vanished into the hole.
Attached thumbnail(s) 
|
|
|
|
| bkrantz |
Mar 24 2021, 07:47 PM
Post
#2510
|
|
914 Guru Group: Members Posts: 8,154 Joined: 3-August 19 From: SW Colorado Member No.: 23,343 Region Association: Rocky Mountains |
My solution: a small roll of vinyl electrical tape, sticky side out, and wedged into the space to force the clip towards the bottom.
Attached thumbnail(s) 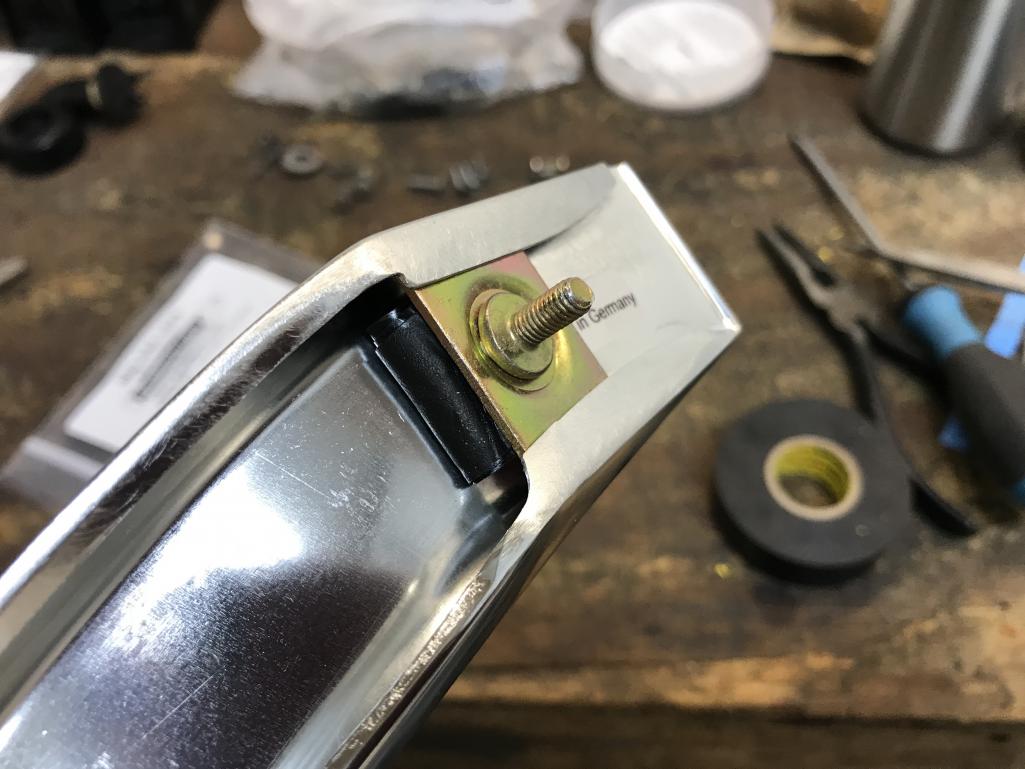
|
|
|
|
| bkrantz |
Mar 24 2021, 07:48 PM
Post
#2511
|
|
914 Guru Group: Members Posts: 8,154 Joined: 3-August 19 From: SW Colorado Member No.: 23,343 Region Association: Rocky Mountains |
With that I managed to get the nut started, and the trim installed. Looks good to me.
Attached thumbnail(s) 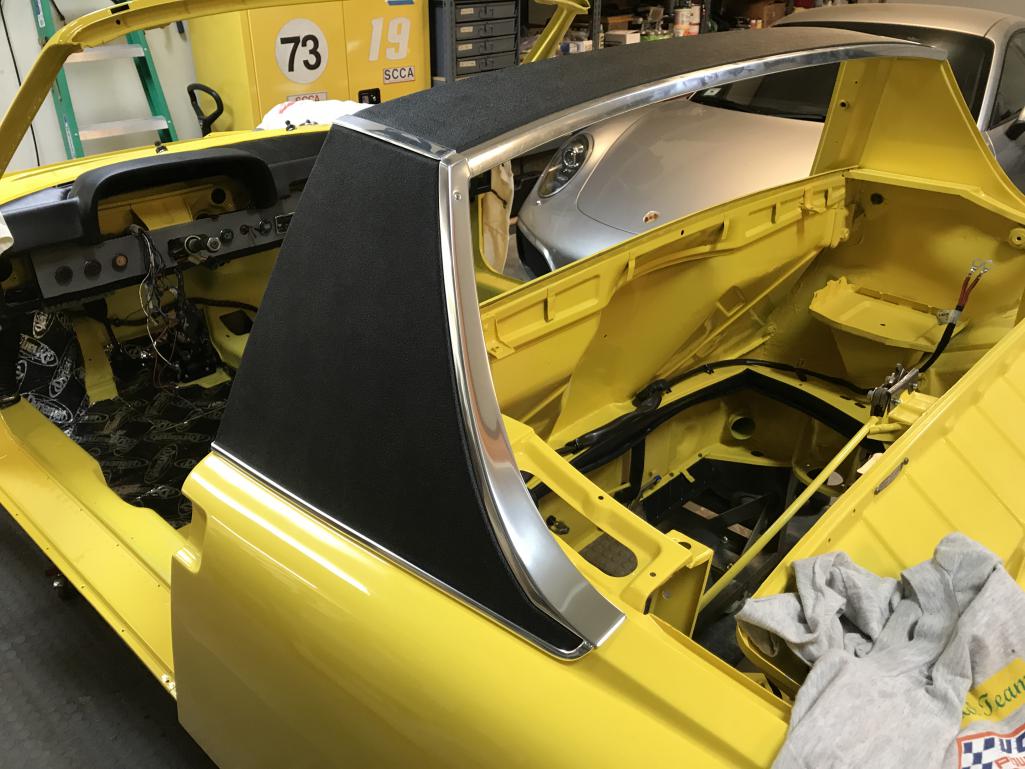
|
|
|
|
| ndfrigi |
Mar 24 2021, 09:49 PM
Post
#2512
|
|
Advanced Member Group: Members Posts: 2,959 Joined: 21-August 11 From: Orange County Member No.: 13,474 Region Association: Southern California |
beautiful!
|
|
|
|
| Puebloswatcop |
Mar 25 2021, 08:23 AM
Post
#2513
|
|
Senior Member Group: Members Posts: 1,403 Joined: 27-December 14 From: Mineola, Texas Member No.: 18,258 Region Association: Southwest Region |
Bob, the car is coming along beautifully. Very nice workmanship and attention to detail as usual.
Kevin |
|
|
|
| Root_Werks |
Mar 25 2021, 08:29 AM
Post
#2514
|
|
Village Idiot Group: Members Posts: 8,492 Joined: 25-May 04 From: About 5NM from Canada Member No.: 2,105 Region Association: Pacific Northwest |
|
|
|
|
| Cairo94507 |
Mar 25 2021, 08:43 AM
Post
#2515
|
|
Michael Group: Members Posts: 10,099 Joined: 1-November 08 From: Auburn, CA Member No.: 9,712 Region Association: Northern California |
That looks perfect! (IMG:style_emoticons/default/smilie_pokal.gif)
I really think the sail panel vinyl adds so much to the look of our cars. On my 2nd Six, following some paint/rust repair, I left the sail panel vinyl off to see if I could get accustomed to that look. After about a week I put the vinyl back on. It's funny, because my default would always be to remove any vinyl roofing on cars as it just traps moisture and creates problems. |
|
|
|
| bkrantz |
Mar 25 2021, 07:26 PM
Post
#2516
|
|
914 Guru Group: Members Posts: 8,154 Joined: 3-August 19 From: SW Colorado Member No.: 23,343 Region Association: Rocky Mountains |
Thanks, everyone.
Cairo, I agree about the sail vinyl. I have seen very few 914s that I think look good without it. One I did like (and made) was my 914 race car. Attached thumbnail(s) 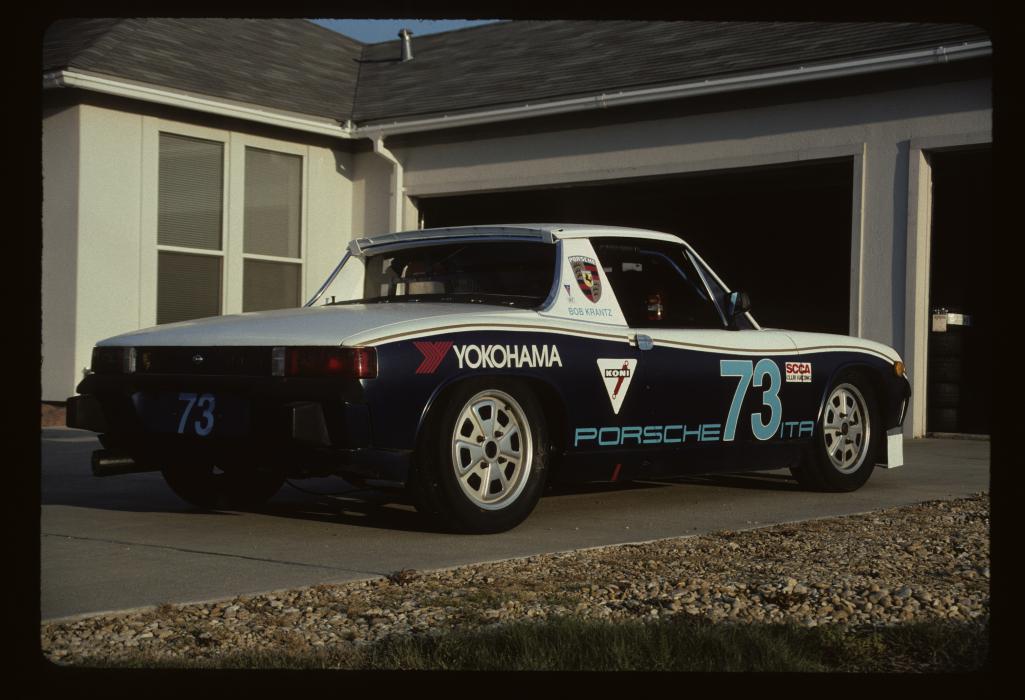
|
|
|
|
| bkrantz |
Mar 25 2021, 07:29 PM
Post
#2517
|
|
914 Guru Group: Members Posts: 8,154 Joined: 3-August 19 From: SW Colorado Member No.: 23,343 Region Association: Rocky Mountains |
I did the trim on the other side today, and got a few more photos of details.
Just like on the left side, the tab on the lower trim is elevated, so the trailing edge of the rear trim sits too high. Attached thumbnail(s) 
|
|
|
|
| bkrantz |
Mar 25 2021, 07:33 PM
Post
#2518
|
|
914 Guru Group: Members Posts: 8,154 Joined: 3-August 19 From: SW Colorado Member No.: 23,343 Region Association: Rocky Mountains |
To fix that I folded the tab down. The metal is soft aluminum, so pretty easy.
Attached thumbnail(s) 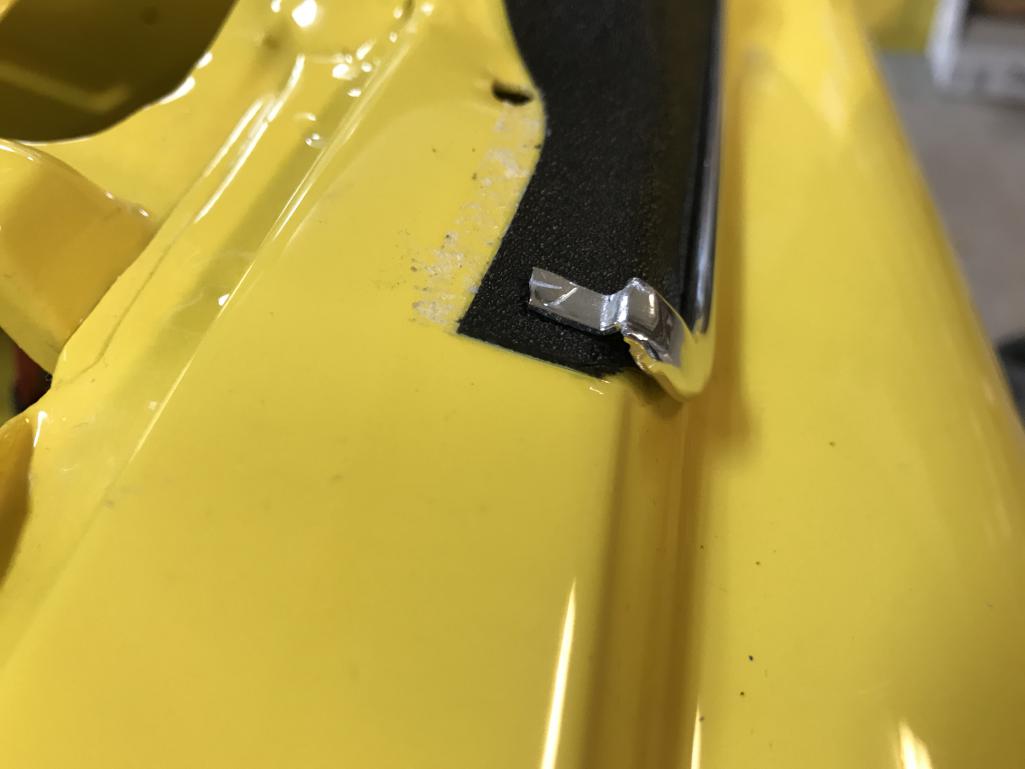
|
|
|
|
| bkrantz |
Mar 25 2021, 07:34 PM
Post
#2519
|
|
914 Guru Group: Members Posts: 8,154 Joined: 3-August 19 From: SW Colorado Member No.: 23,343 Region Association: Rocky Mountains |
That lets the rear trim sit flat on the bodywork.
Attached thumbnail(s) 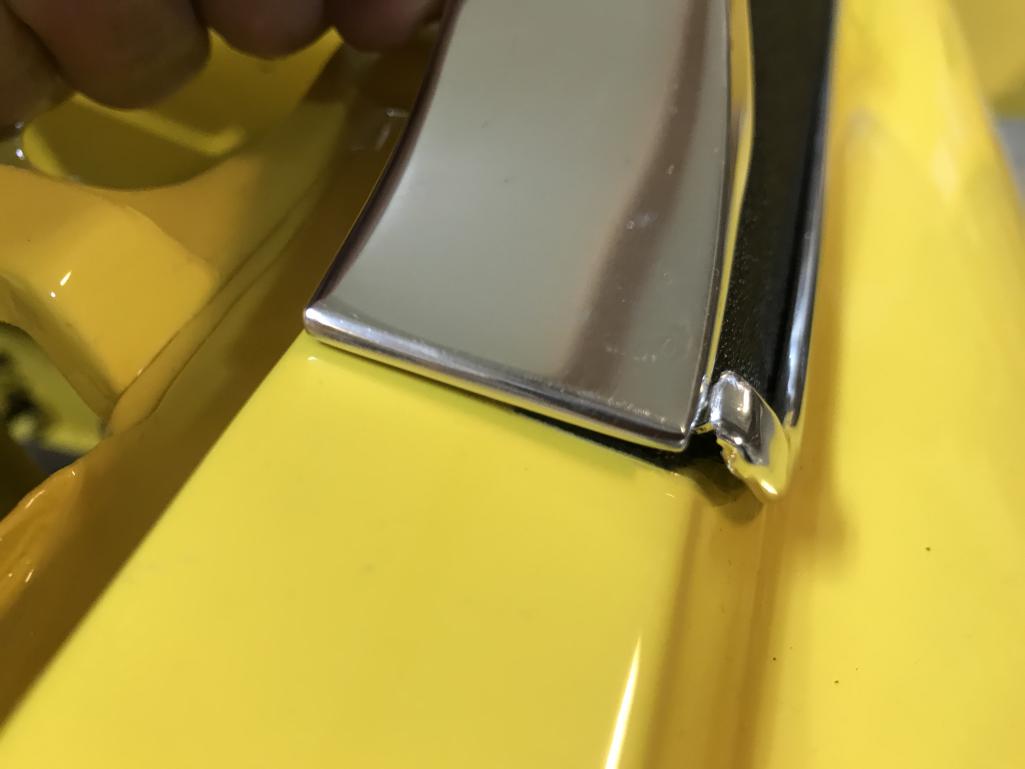
|
|
|
|
| bkrantz |
Mar 25 2021, 07:36 PM
Post
#2520
|
|
914 Guru Group: Members Posts: 8,154 Joined: 3-August 19 From: SW Colorado Member No.: 23,343 Region Association: Rocky Mountains |
And just like on the left side, the existing screw hole did not line up with the new trim, but here was off by only a few mm.
Attached thumbnail(s) 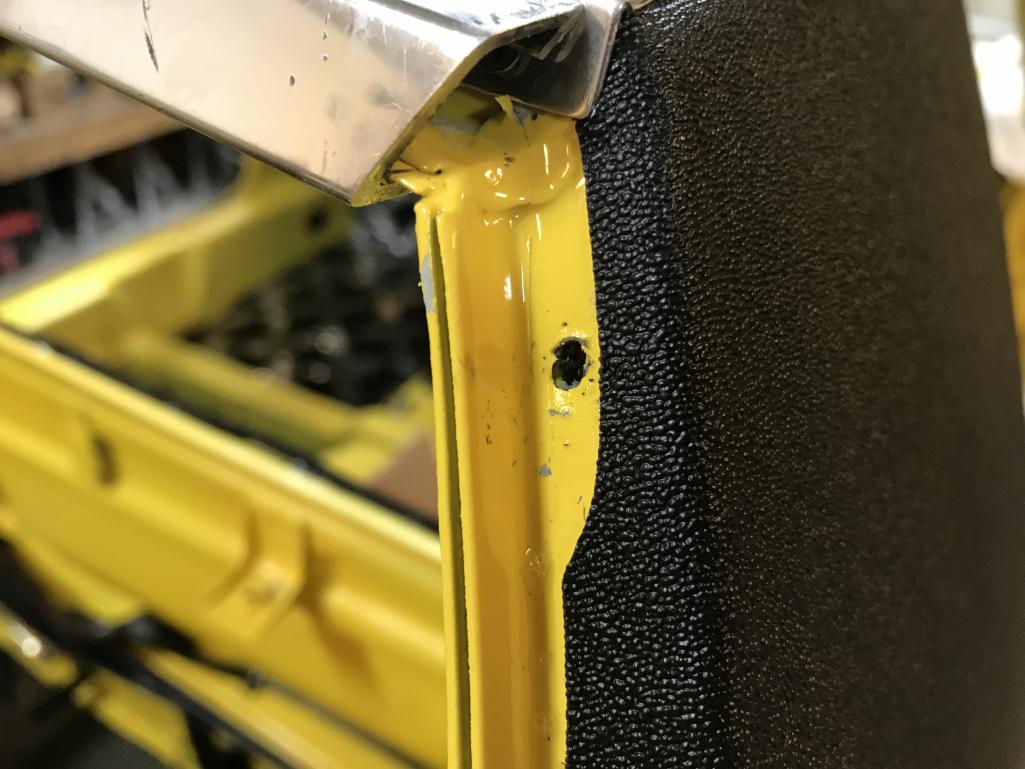
|
|
|
|
|
1 User(s) are reading this topic (1 Guests and 0 Anonymous Users)
0 Members:

|
Lo-Fi Version | Time is now: 29th November 2024 - 11:24 PM |
Invision Power Board
v9.1.4 © 2024 IPS, Inc.