|
|

|
Porsche, and the Porsche crest are registered trademarks of Dr. Ing. h.c. F. Porsche AG.
This site is not affiliated with Porsche in any way. Its only purpose is to provide an online forum for car enthusiasts. All other trademarks are property of their respective owners. |
|
|
  |
| bkrantz |
 Dec 24 2021, 06:32 PM Dec 24 2021, 06:32 PM
Post
#4481
|
|
914 Guru      Group: Members Posts: 8,346 Joined: 3-August 19 From: SW Colorado Member No.: 23,343 Region Association: Rocky Mountains 
|
With all the fuel lines connected, it was time to test the system for leaks. And that means putting some gas in the tank (about 2.5 gallons).
Attached thumbnail(s) 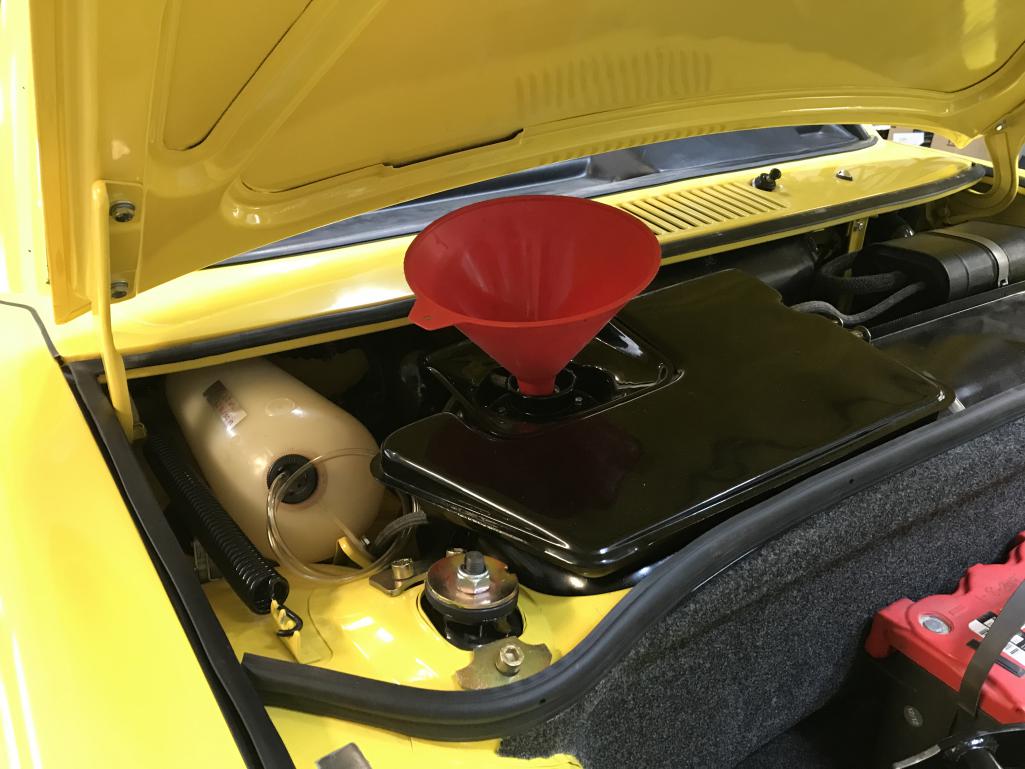
|
| bkrantz |
 Dec 24 2021, 06:33 PM Dec 24 2021, 06:33 PM
Post
#4482
|
|
914 Guru      Group: Members Posts: 8,346 Joined: 3-August 19 From: SW Colorado Member No.: 23,343 Region Association: Rocky Mountains 
|
And it also means its time to install the new battery. It fits just right.
Attached thumbnail(s) 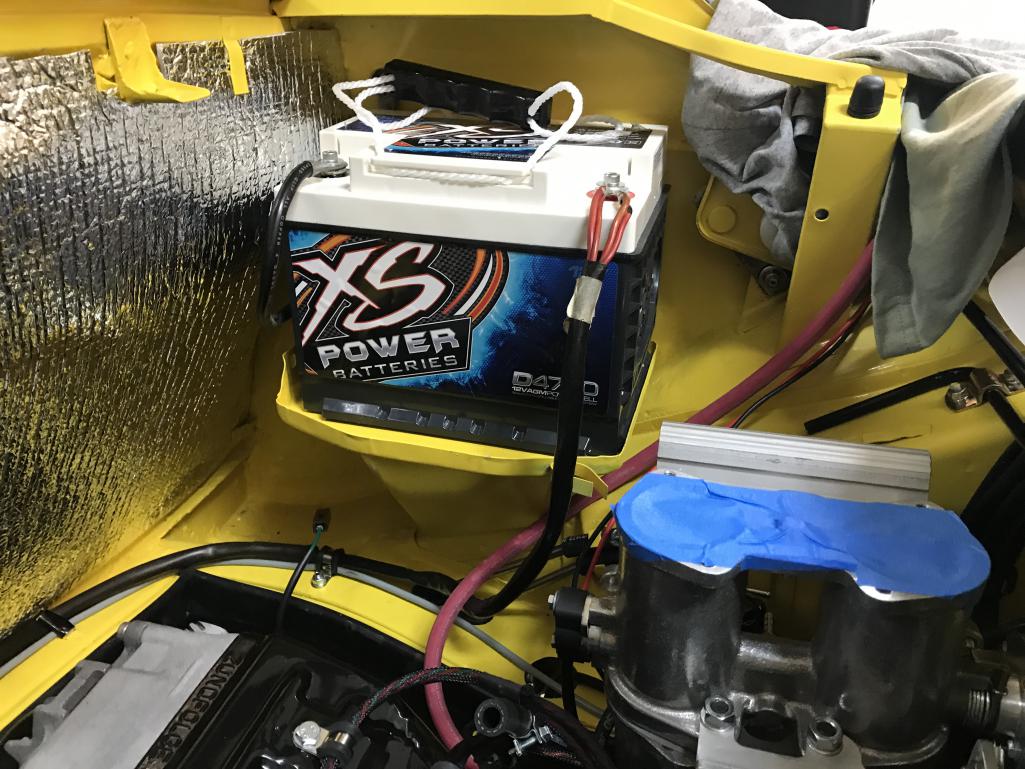
|
| bkrantz |
 Dec 24 2021, 06:36 PM Dec 24 2021, 06:36 PM
Post
#4483
|
|
914 Guru      Group: Members Posts: 8,346 Joined: 3-August 19 From: SW Colorado Member No.: 23,343 Region Association: Rocky Mountains 
|
To run the pump, I grounded pin #III on the factory relay board, with the stock fuel pump relay in place. When I power the pump from the new EFI relay box, the stock relay comes out.
I cycled the pump enough, with about 20 seconds per cycle, until I heard the pitch of the pump change, and then heard fuel running through the engine lines. But I found leaks at all 4 fittings that screw into the injector rails. (IMG:style_emoticons/default/sad.gif) Attached thumbnail(s) 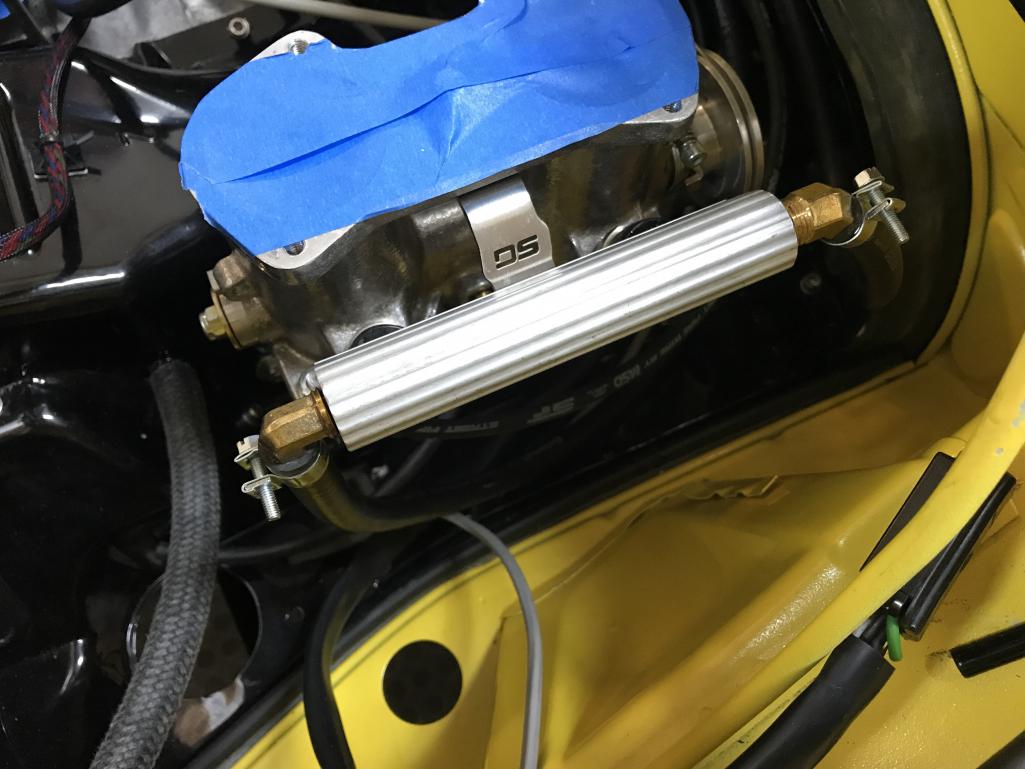
|
| bkrantz |
 Dec 24 2021, 06:39 PM Dec 24 2021, 06:39 PM
Post
#4484
|
|
914 Guru      Group: Members Posts: 8,346 Joined: 3-August 19 From: SW Colorado Member No.: 23,343 Region Association: Rocky Mountains 
|
I pulled the connectors and it looks like I did not get a good seal at the threads. Could be that I did not coat both the male and female threads, and maybe I used an off-brand aviation type 3 sealer.
Attached thumbnail(s) 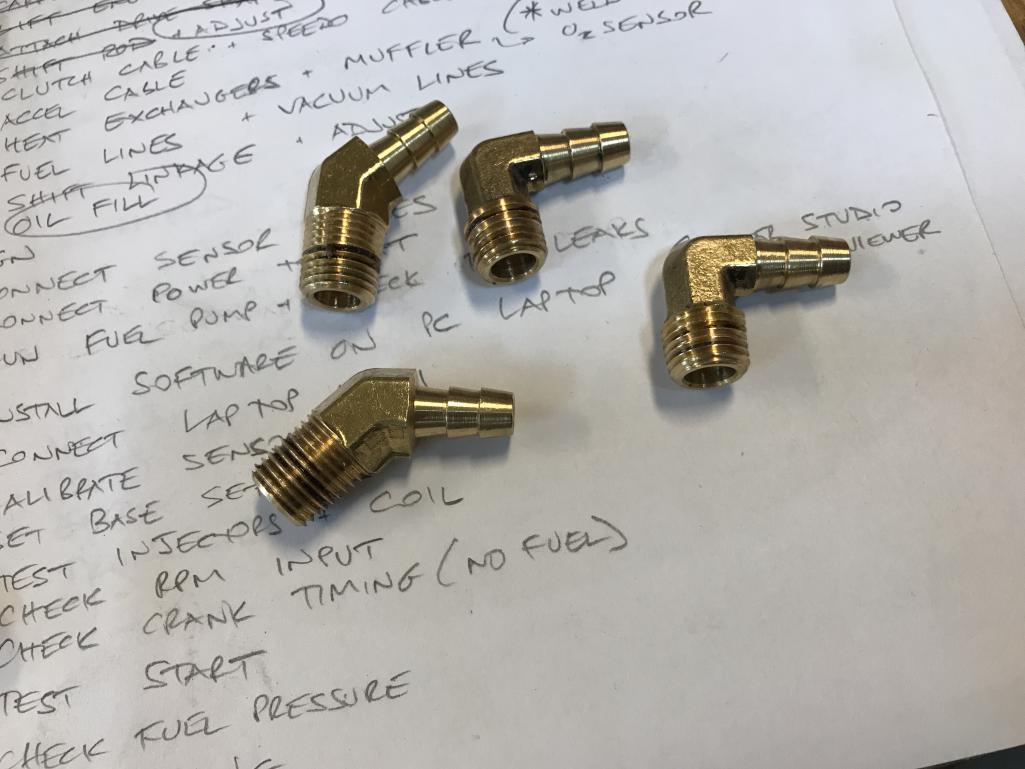
|
| bkrantz |
 Dec 24 2021, 06:42 PM Dec 24 2021, 06:42 PM
Post
#4485
|
|
914 Guru      Group: Members Posts: 8,346 Joined: 3-August 19 From: SW Colorado Member No.: 23,343 Region Association: Rocky Mountains 
|
So, out into the world but only to NAPA. I got a hardening sealer (name brand). And followed the procedure more carefully, including wrenching harder when I installed the fittings. Fingers crossed.
Attached thumbnail(s) 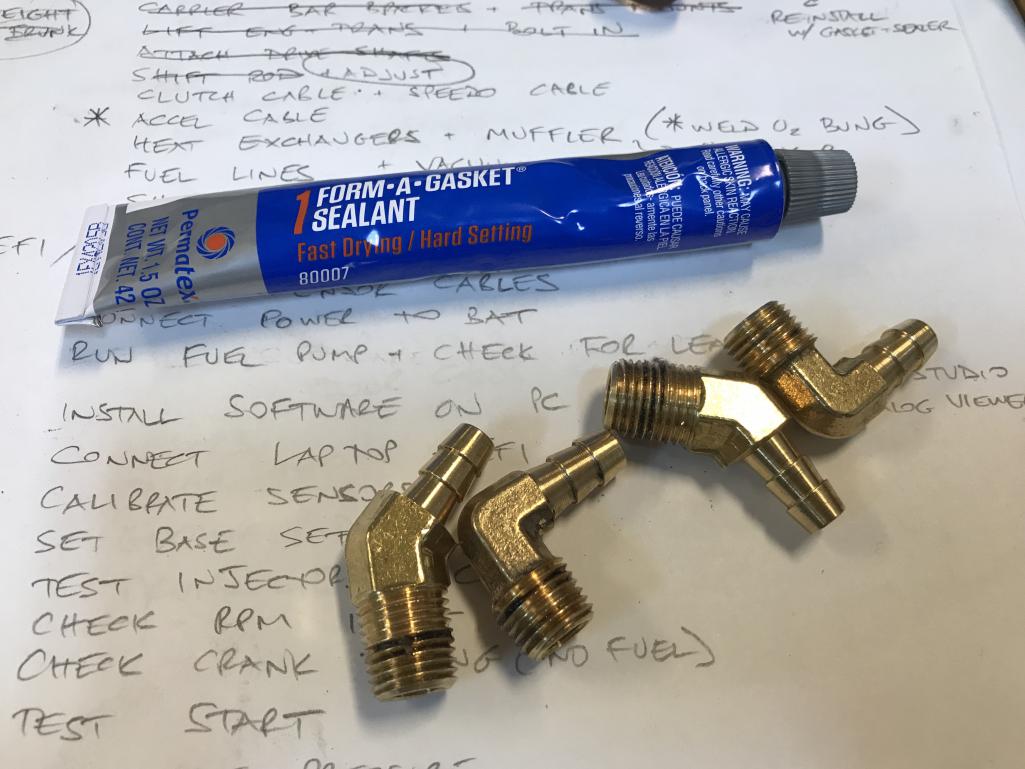
|
| bkrantz |
 Dec 24 2021, 06:43 PM Dec 24 2021, 06:43 PM
Post
#4486
|
|
914 Guru      Group: Members Posts: 8,346 Joined: 3-August 19 From: SW Colorado Member No.: 23,343 Region Association: Rocky Mountains 
|
Meanwhile, my son was in charge of wires. He got all the bundles through the new holes (now 2) into the trunk, and sorted out.
Attached thumbnail(s) 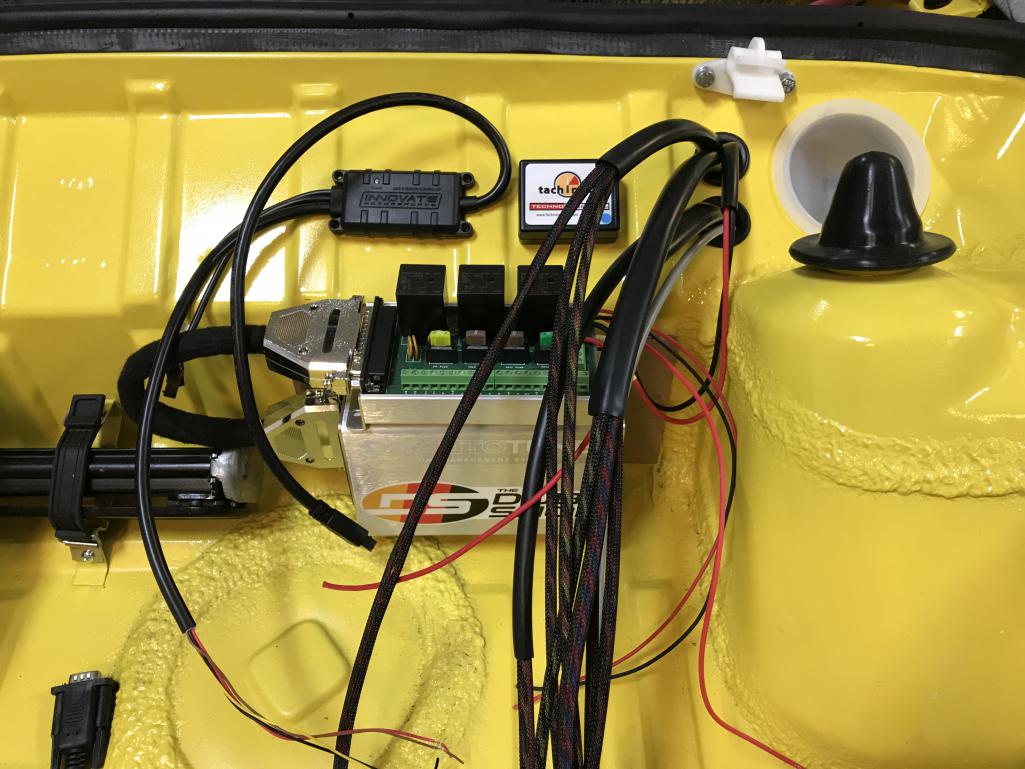
|
| bkrantz |
 Dec 24 2021, 06:45 PM Dec 24 2021, 06:45 PM
Post
#4487
|
|
914 Guru      Group: Members Posts: 8,346 Joined: 3-August 19 From: SW Colorado Member No.: 23,343 Region Association: Rocky Mountains 
|
We then decided to connect things "temporarily" before doing any final mounting of components and routing wires. Here's the first two leads attached to the new relay box, plus leads into the tach signal convertor (small black box).
Attached thumbnail(s) 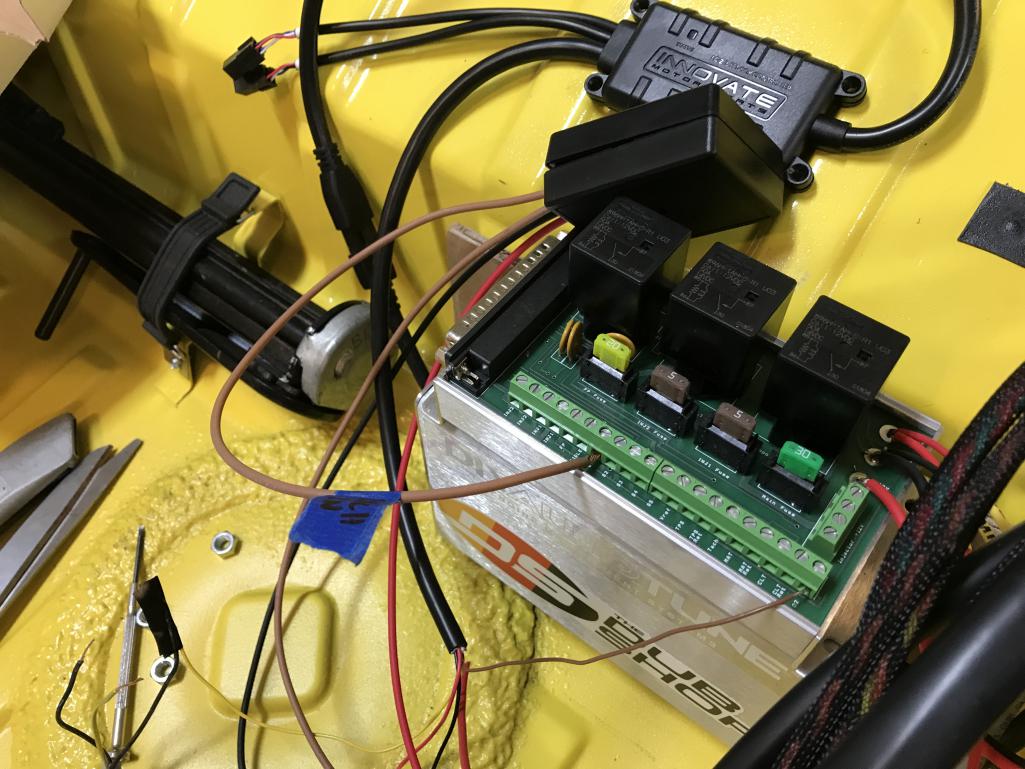
|
| bkrantz |
 Dec 24 2021, 06:48 PM Dec 24 2021, 06:48 PM
Post
#4488
|
|
914 Guru      Group: Members Posts: 8,346 Joined: 3-August 19 From: SW Colorado Member No.: 23,343 Region Association: Rocky Mountains 
|
And, one after another, we got the leads into the right slot or connected to each other. The only wires not connected are positive and negative direct to the battery, and the O2 sensor.
Note the small hose coming over the rear engine wall--that's the temporary routing of the intake vacuum line that goes to the ECU. Attached thumbnail(s) 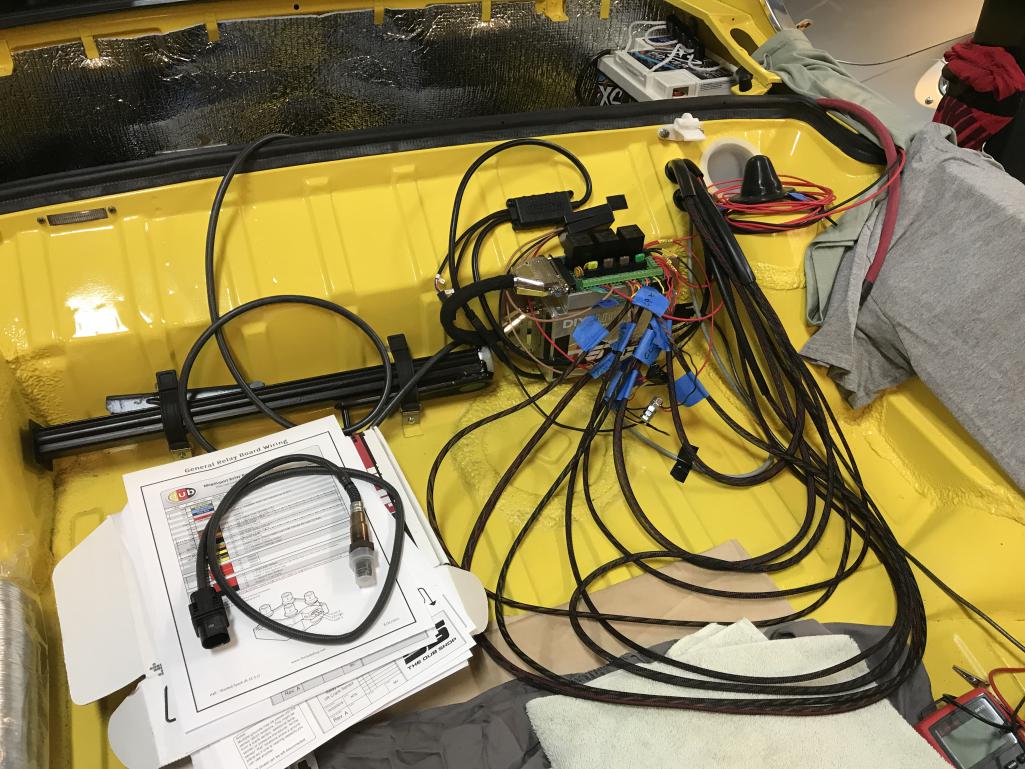
|
| bkrantz |
 Dec 24 2021, 06:50 PM Dec 24 2021, 06:50 PM
Post
#4489
|
|
914 Guru      Group: Members Posts: 8,346 Joined: 3-August 19 From: SW Colorado Member No.: 23,343 Region Association: Rocky Mountains 
|
Closer view. Eventually, I just NEED to make this look tidy.
Attached thumbnail(s) 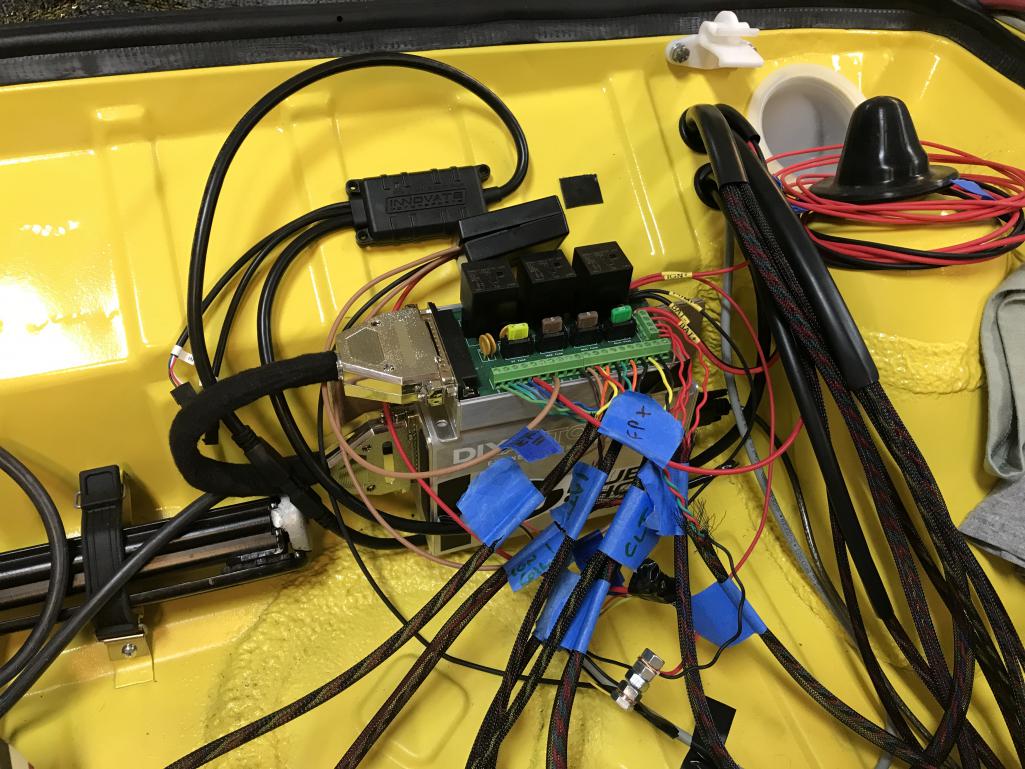
|
| bkrantz |
 Dec 24 2021, 06:53 PM Dec 24 2021, 06:53 PM
Post
#4490
|
|
914 Guru      Group: Members Posts: 8,346 Joined: 3-August 19 From: SW Colorado Member No.: 23,343 Region Association: Rocky Mountains 
|
We ran out of time, but to get ready for completing things I got the new SS heat exchangers out of "storage", AKA the guest rom closet. The only parts left there are the windshield trim pieces.
Attached thumbnail(s) 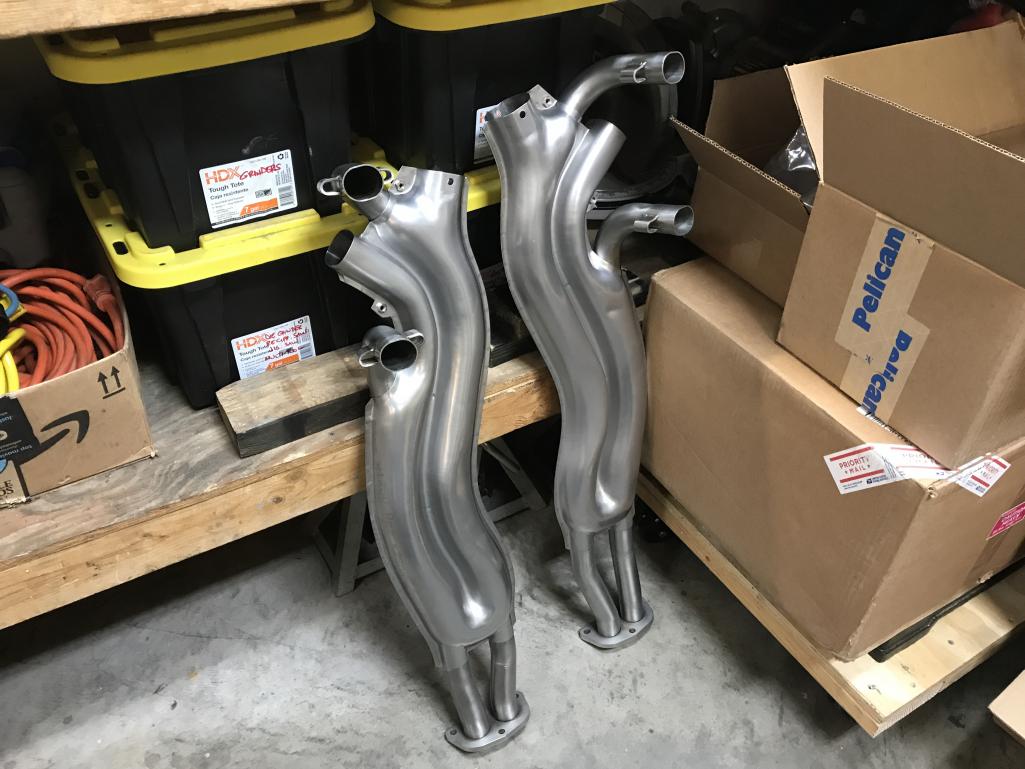
|
| bkrantz |
 Dec 24 2021, 06:55 PM Dec 24 2021, 06:55 PM
Post
#4491
|
|
914 Guru      Group: Members Posts: 8,346 Joined: 3-August 19 From: SW Colorado Member No.: 23,343 Region Association: Rocky Mountains 
|
Last thing before xmas break: I grabbed 4 copper exhaust gaskets and did the annealing thing, heating them up to dull red and letting them cool in air.
Merry Christmas to all you guys! Attached thumbnail(s) 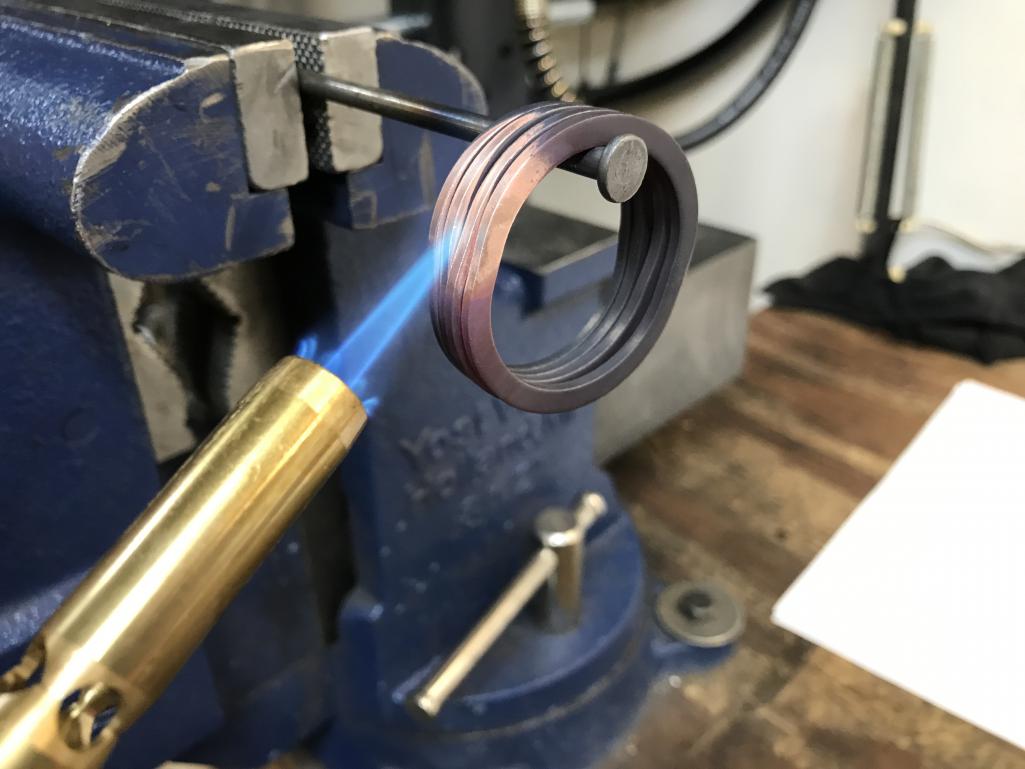
|
| bkrantz |
 Dec 27 2021, 09:23 PM Dec 27 2021, 09:23 PM
Post
#4492
|
|
914 Guru      Group: Members Posts: 8,346 Joined: 3-August 19 From: SW Colorado Member No.: 23,343 Region Association: Rocky Mountains 
|
Another minor detour: I will replace the PCV valve with an open line, first to a catch tank, and then to one air filter. I chose one of many tanks on Amazon. This one is all machined aluminum. It has an optional filtered air vent and other stuff.
Attached thumbnail(s) 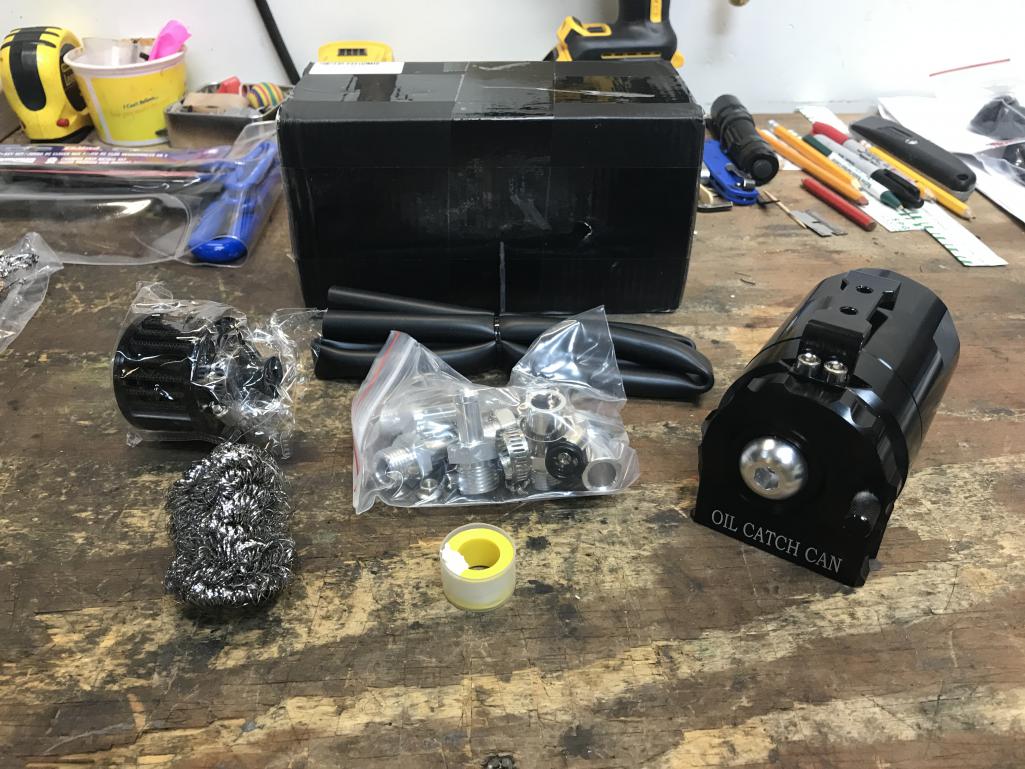
|
| bkrantz |
 Dec 27 2021, 09:25 PM Dec 27 2021, 09:25 PM
Post
#4493
|
|
914 Guru      Group: Members Posts: 8,346 Joined: 3-August 19 From: SW Colorado Member No.: 23,343 Region Association: Rocky Mountains 
|
Here's the inside of the lid, with a baffle and dip stick.
Attached thumbnail(s) 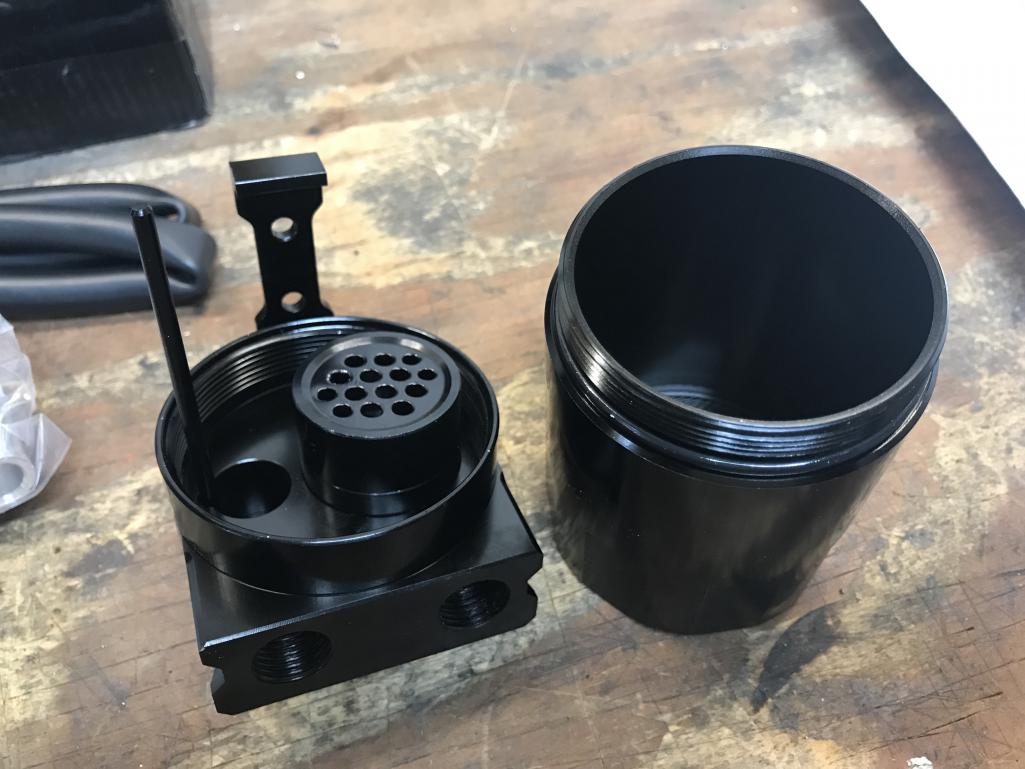
|
| bkrantz |
 Dec 27 2021, 09:26 PM Dec 27 2021, 09:26 PM
Post
#4494
|
|
914 Guru      Group: Members Posts: 8,346 Joined: 3-August 19 From: SW Colorado Member No.: 23,343 Region Association: Rocky Mountains 
|
Some steel wool adds surface area for oil vapor to condense on.
Attached thumbnail(s) 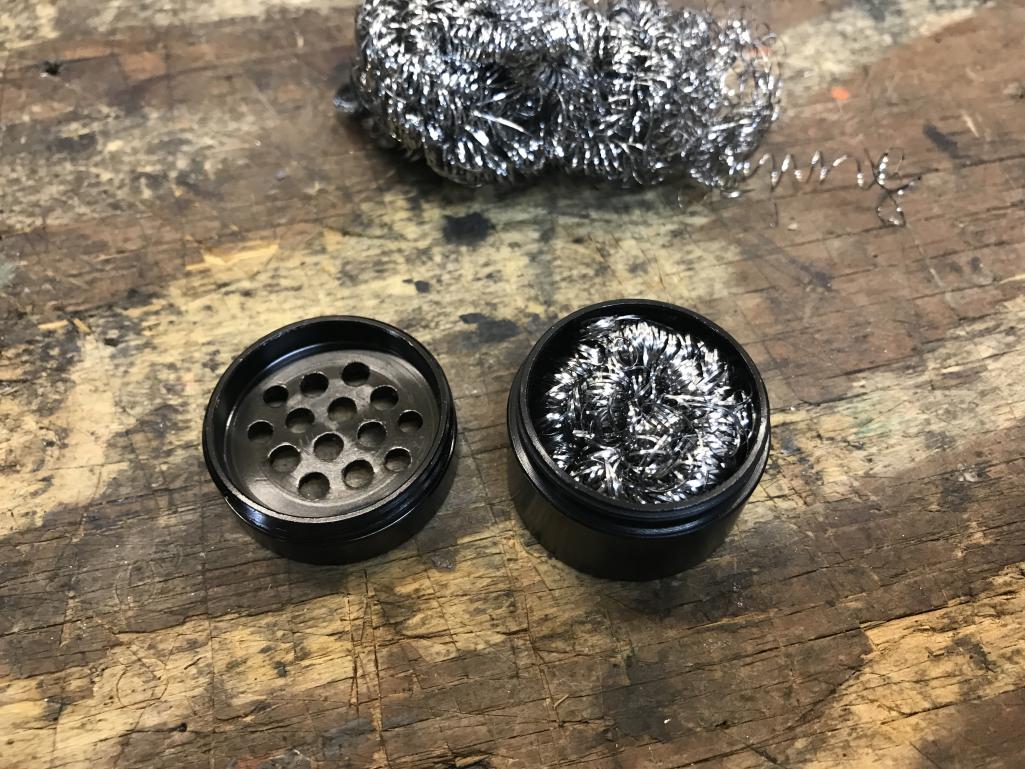
|
| bkrantz |
 Dec 27 2021, 09:27 PM Dec 27 2021, 09:27 PM
Post
#4495
|
|
914 Guru      Group: Members Posts: 8,346 Joined: 3-August 19 From: SW Colorado Member No.: 23,343 Region Association: Rocky Mountains 
|
It also has a choice of hose fitting sizes, with O-rings to seal against the tank lid.
Attached thumbnail(s) 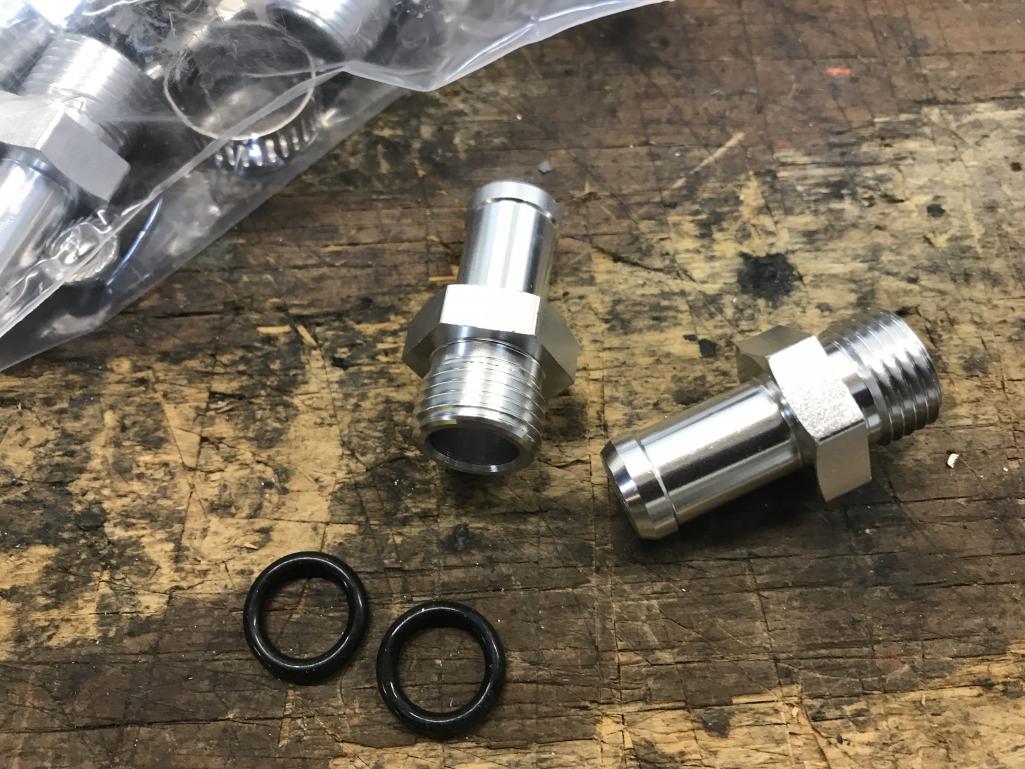
|
| bkrantz |
 Dec 27 2021, 09:28 PM Dec 27 2021, 09:28 PM
Post
#4496
|
|
914 Guru      Group: Members Posts: 8,346 Joined: 3-August 19 From: SW Colorado Member No.: 23,343 Region Association: Rocky Mountains 
|
Tank ready to install, and a quick bracket. The tiny piece is a spacer for the recessed mounting point on the lid.
Attached thumbnail(s) 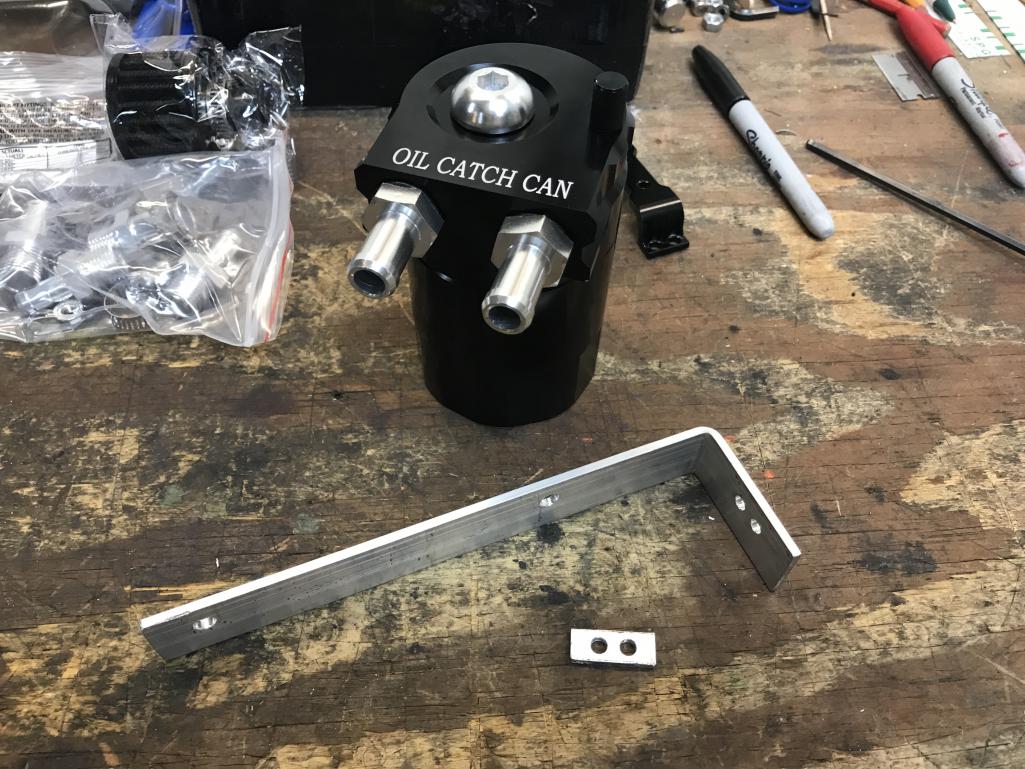
|
| bkrantz |
 Dec 27 2021, 09:30 PM Dec 27 2021, 09:30 PM
Post
#4497
|
|
914 Guru      Group: Members Posts: 8,346 Joined: 3-August 19 From: SW Colorado Member No.: 23,343 Region Association: Rocky Mountains 
|
I mounted the tank to the battery tray edge, since I will not be using the stock FI brain.
Attached thumbnail(s) 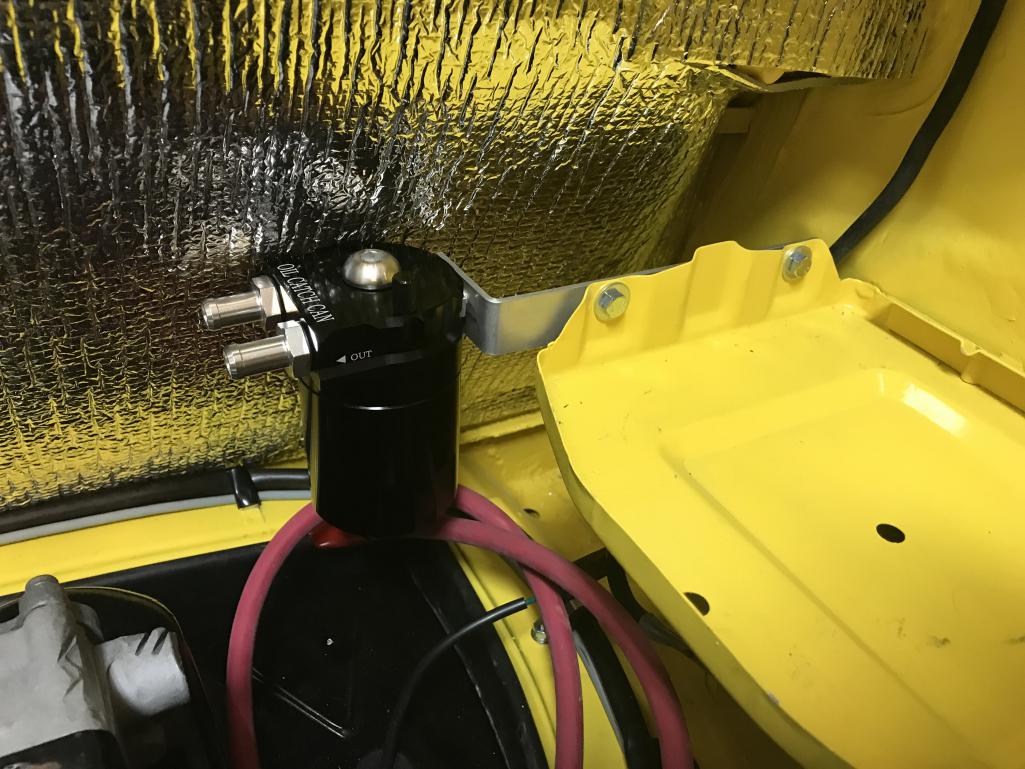
|
| bkrantz |
 Dec 27 2021, 09:34 PM Dec 27 2021, 09:34 PM
Post
#4498
|
|
914 Guru      Group: Members Posts: 8,346 Joined: 3-August 19 From: SW Colorado Member No.: 23,343 Region Association: Rocky Mountains 
|
While the battery was out, I added some 3/16 inch rubber strips, since the rear edge of the battery was a bit low relative to the retaining edge.
Attached thumbnail(s) 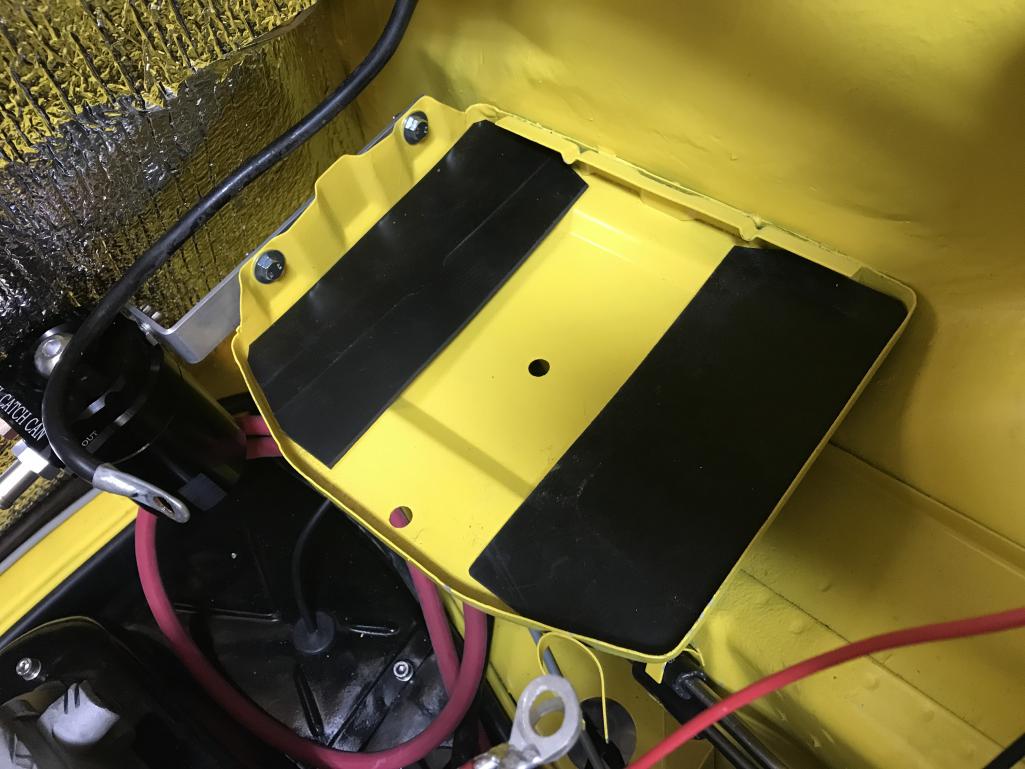
|
| bkrantz |
 Dec 27 2021, 09:36 PM Dec 27 2021, 09:36 PM
Post
#4499
|
|
914 Guru      Group: Members Posts: 8,346 Joined: 3-August 19 From: SW Colorado Member No.: 23,343 Region Association: Rocky Mountains 
|
Battery back in place, and now held down tight.
Attached thumbnail(s) 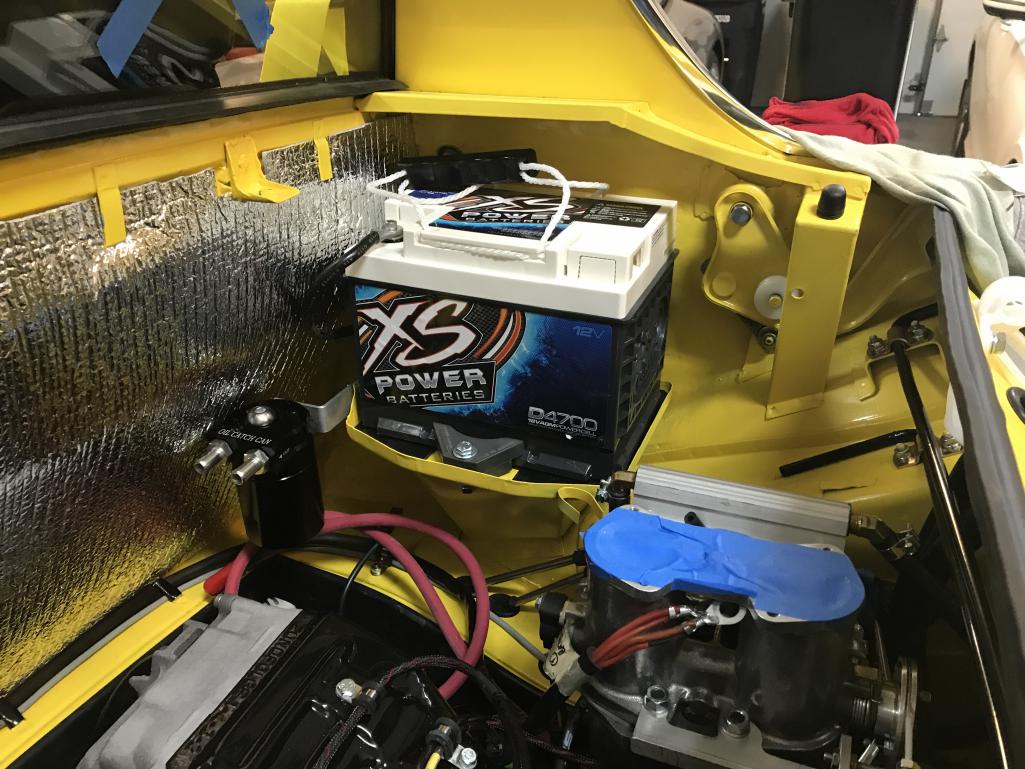
|
| bkrantz |
 Dec 27 2021, 09:38 PM Dec 27 2021, 09:38 PM
Post
#4500
|
|
914 Guru      Group: Members Posts: 8,346 Joined: 3-August 19 From: SW Colorado Member No.: 23,343 Region Association: Rocky Mountains 
|
16 gauge aluminum plate, based on the temporary cardboard version.
Attached thumbnail(s) 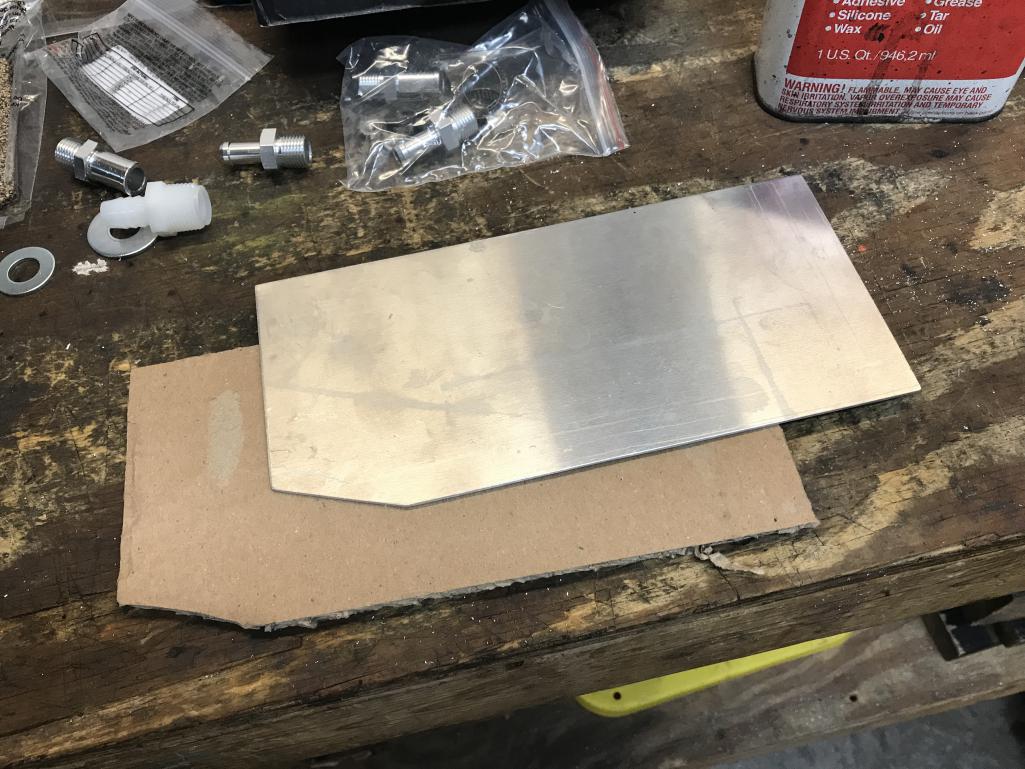
|
  |
1 User(s) are reading this topic (1 Guests and 0 Anonymous Users)
0 Members:

|
Lo-Fi Version | Time is now: 28th April 2025 - 05:19 PM |
Invision Power Board
v9.1.4 © 2025 IPS, Inc.


