|
|
|
Porsche, and the Porsche crest are registered trademarks of Dr. Ing. h.c. F. Porsche AG.
This site is not affiliated with Porsche in any way. Its only purpose is to provide an online forum for car enthusiasts. All other trademarks are property of their respective owners. |
|
|

  |

| bkrantz |
 Jun 28 2022, 07:28 PM Jun 28 2022, 07:28 PM
Post
#5681
|
|
914 Guru  Group: Members Posts: 8,343 Joined: 3-August 19 From: SW Colorado Member No.: 23,343 Region Association: Rocky Mountains |
Mount removed. Pretty easy, and less risk to the glass than trying to pry or twist off the mount.
Attached thumbnail(s) 
|
   |

 
|
| bkrantz |
Jun 28 2022, 07:31 PM
Post
#5682
|
|
914 Guru Group: Members Posts: 8,343 Joined: 3-August 19 From: SW Colorado Member No.: 23,343 Region Association: Rocky Mountains |
Sorry for the fuzzy photo, but I cut a cardboard profile on the outside of the glass to make a curve that the base should fit into.
Attached thumbnail(s) 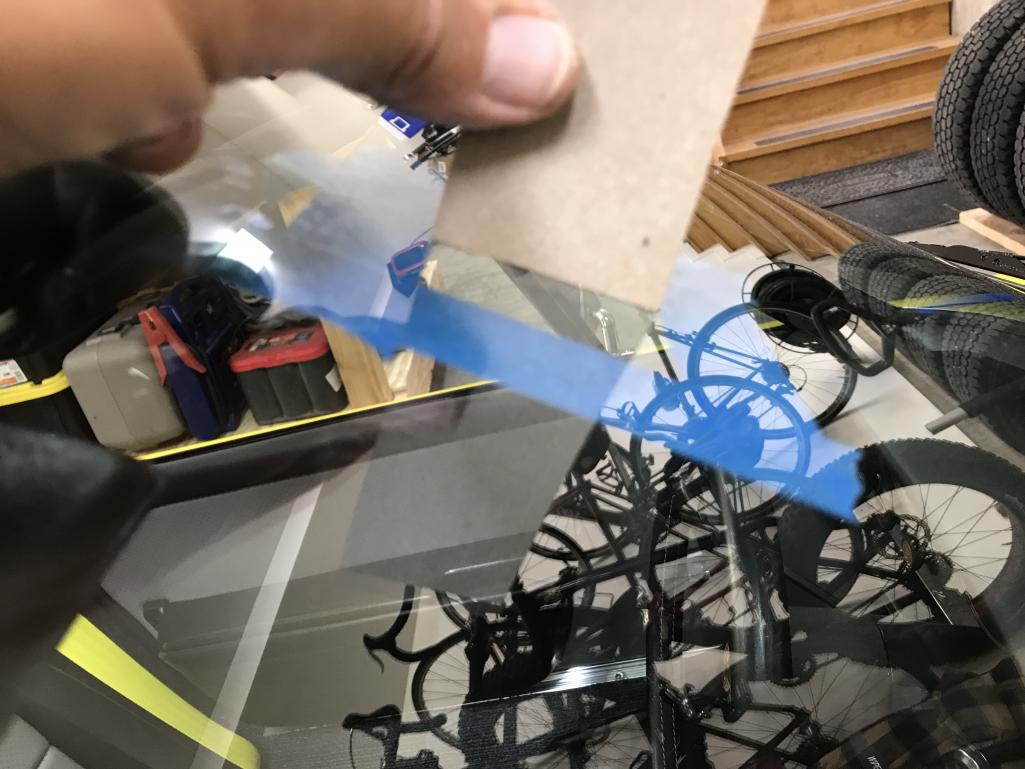
|
|
|
|
| bkrantz |
Jun 28 2022, 07:33 PM
Post
#5683
|
|
914 Guru Group: Members Posts: 8,343 Joined: 3-August 19 From: SW Colorado Member No.: 23,343 Region Association: Rocky Mountains |
I sanded the mount to match the windshield. That requires a VERY subtle curve, just a barely detectable rocking on a flat surface.
Attached thumbnail(s) 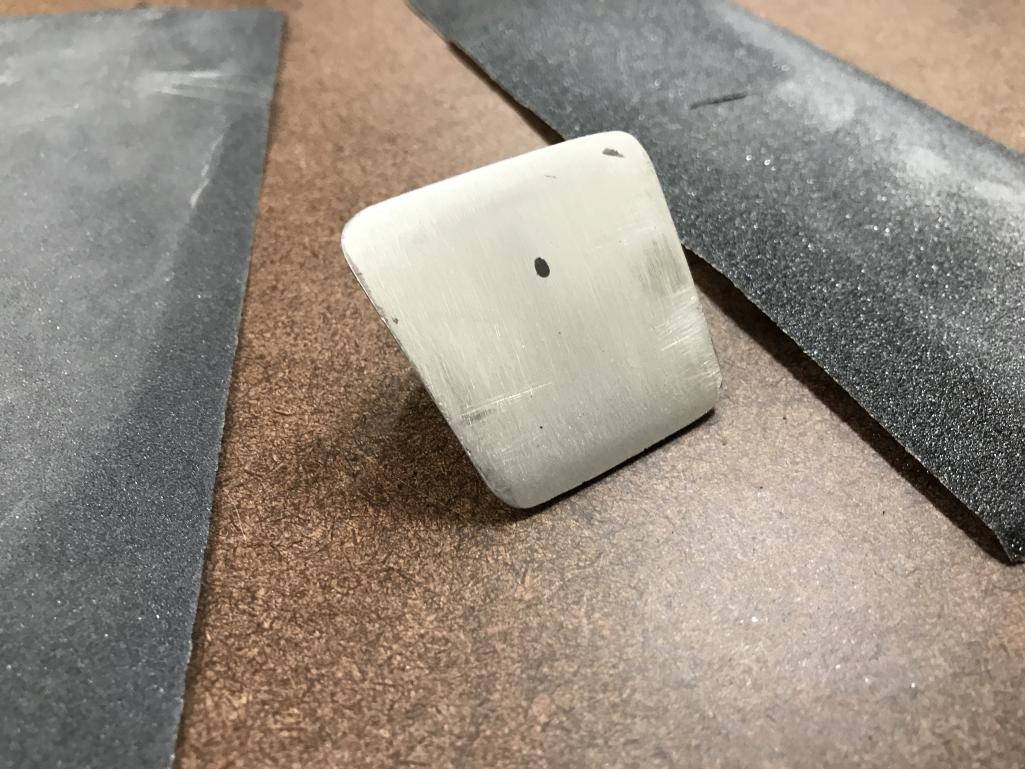
|
|
|
|
| bkrantz |
Jun 28 2022, 07:34 PM
Post
#5684
|
|
914 Guru Group: Members Posts: 8,343 Joined: 3-August 19 From: SW Colorado Member No.: 23,343 Region Association: Rocky Mountains |
So I stuck the the adhesive pad on the mount, and the mount on the glass--again.
Note: don't do it in this order! See my next post. Attached thumbnail(s) 
|
|
|
|
| bkrantz |
Jun 28 2022, 07:38 PM
Post
#5685
|
|
914 Guru Group: Members Posts: 8,343 Joined: 3-August 19 From: SW Colorado Member No.: 23,343 Region Association: Rocky Mountains |
I got a better result, with all but the center stuck on.
After I did this, I thought of a better way, to avoid any air bubbles or central unstuck area. Next time, I will still the adhesive pad to the glass first, rolling it on to avoid bubbles, and then stick the mirror base to the pad. Attached thumbnail(s) 
|
|
|
|
| bkrantz |
Jun 28 2022, 07:39 PM
Post
#5686
|
|
914 Guru Group: Members Posts: 8,343 Joined: 3-August 19 From: SW Colorado Member No.: 23,343 Region Association: Rocky Mountains |
Anyway, the mirror seems stuck on pretty well.
Attached thumbnail(s) 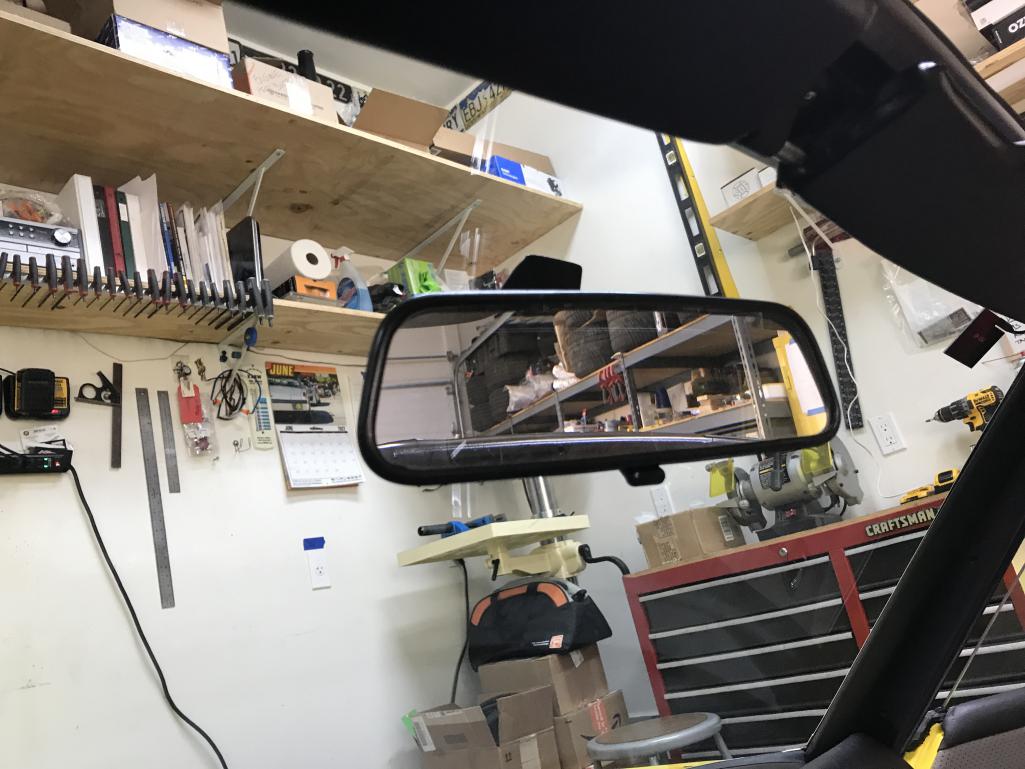
|
|
|
|
| raynekat |
Jun 28 2022, 08:56 PM
Post
#5687
|
|
Advanced Member Group: Members Posts: 2,169 Joined: 30-December 14 From: Coeur d'Alene, Idaho Member No.: 18,263 Region Association: Pacific Northwest |
Putting the sticky pad on the windshield 1st has it's own unknown.
How do you know you don't have the same void (or non stick area) between the sticky pad and the mirror mount? At least you can see void between the sticky pad and the windshield. You can't see a void between the sticky pad and the mirror mount. There....that should keep you awake at night. haha Looks great Bob. |
|
|
|
| bkrantz |
Jun 29 2022, 08:36 PM
Post
#5688
|
|
914 Guru Group: Members Posts: 8,343 Joined: 3-August 19 From: SW Colorado Member No.: 23,343 Region Association: Rocky Mountains |
Geez, Doug. Thanks a lot. Do I want the adhesive to look perfect and worry about a bubble I can't see? Or see the imperfection and assume the inner side is perfect? Or see the imperfection AND worry about the side I can't see?
|
|
|
|
| bkrantz |
Jul 2 2022, 03:10 PM
Post
#5689
|
|
914 Guru Group: Members Posts: 8,343 Joined: 3-August 19 From: SW Colorado Member No.: 23,343 Region Association: Rocky Mountains |
On a forced break from 914 work since I was told we had volunteered for extended child care assist. I took advantage of the situation to buy my grand daughter her first wheeled vehicle that she drives. She's a bit young and could not quite reach the floor, so I hacked the adjustment to go lower. 914 restoration skills pay off!
Now I need to get a Porsche sticker. Or maybe a NARP sticker. Attached thumbnail(s) 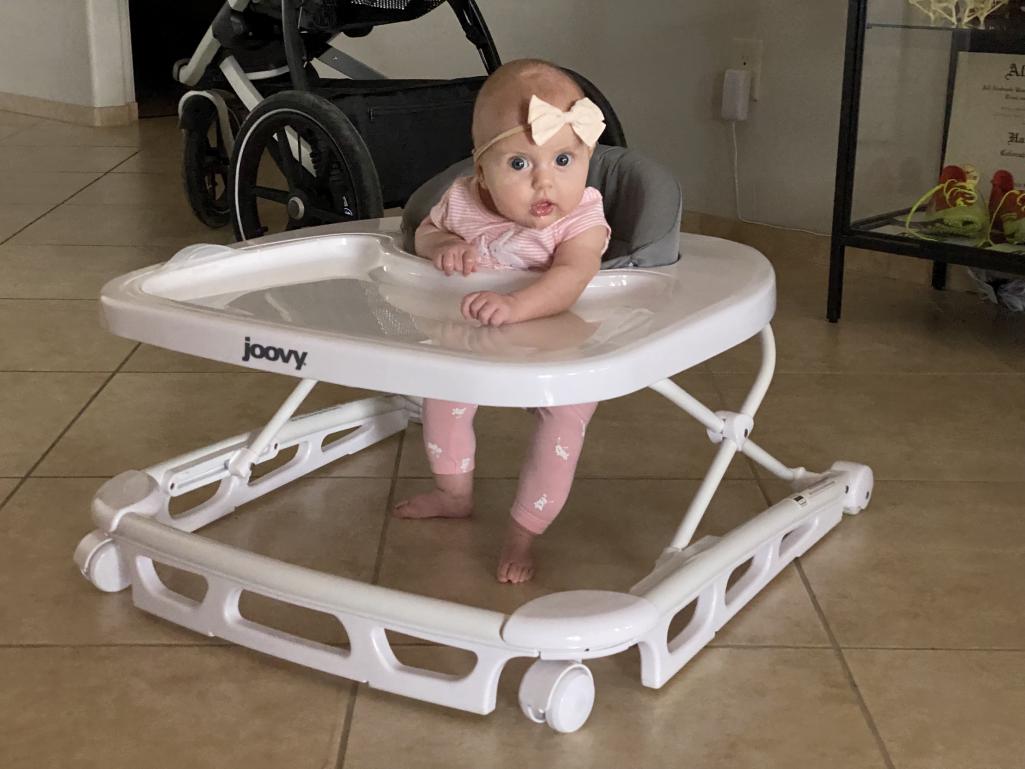
|
|
|
|
| Puebloswatcop |
Jul 3 2022, 06:28 AM
Post
#5690
|
|
Senior Member Group: Members Posts: 1,443 Joined: 27-December 14 From: Mineola, Texas Member No.: 18,258 Region Association: Southwest Region |
(IMG:style_emoticons/default/cheer.gif) Yes Bob, she appears to be in race mode (IMG:style_emoticons/default/driving.gif) , time to get those stickers on there. She is already on the road to 914 land... (IMG:style_emoticons/default/cheer.gif)
|
|
|
|
| 930cabman |
Jul 4 2022, 05:59 PM
Post
#5691
|
|
Advanced Member Group: Members Posts: 4,047 Joined: 12-November 20 From: Buffalo Member No.: 24,877 Region Association: North East States |
What a lil cutie she is.
The mod's have begun, good one papa |
 |
|
| nivekdodge |
Jul 5 2022, 07:42 PM
Post
#5692
|
|
Member Group: Members Posts: 299 Joined: 28-August 21 From: Pittsburgh Pa Member No.: 25,860 Region Association: MidAtlantic Region |
A very cute little one that's already on wheels.
Great deal with the usb and where did you get the black tubing for behind the speakers up to the dash? Really hoping none of my friends see this Bob, Beautiful |
|
|
|
| Front yard mechanic |
Jul 5 2022, 08:16 PM
Post
#5693
|
|
Senior Member Group: Members Posts: 1,311 Joined: 23-July 15 From: New Mexico Member No.: 18,984 Region Association: None |
(IMG:style_emoticons/default/driving-girl.gif) won't be long
|
|
|
|
| nivekdodge |
Jul 10 2022, 08:37 PM
Post
#5694
|
|
Member Group: Members Posts: 299 Joined: 28-August 21 From: Pittsburgh Pa Member No.: 25,860 Region Association: MidAtlantic Region |
Bob
Where"d you get the black plastic tubing for the Front longs, behind the speakers grills? Kevin |
|
|
|
| bkrantz |
Jul 11 2022, 09:02 PM
Post
#5695
|
|
914 Guru Group: Members Posts: 8,343 Joined: 3-August 19 From: SW Colorado Member No.: 23,343 Region Association: Rocky Mountains |
QUOTE(nivekdodge @ Jul 10 2022, 08:37 PM)  Bob Where"d you get the black plastic tubing for the Front longs, behind the speakers grills? Kevin Kevin, do you mean the vent tubing? I got those from 914 Rubber. |
|
|
|
| bkrantz |
Jul 11 2022, 09:10 PM
Post
#5696
|
|
914 Guru Group: Members Posts: 8,343 Joined: 3-August 19 From: SW Colorado Member No.: 23,343 Region Association: Rocky Mountains |
OK, last baby photo. Final grandpa setup of race walker and driver.
Attached thumbnail(s) 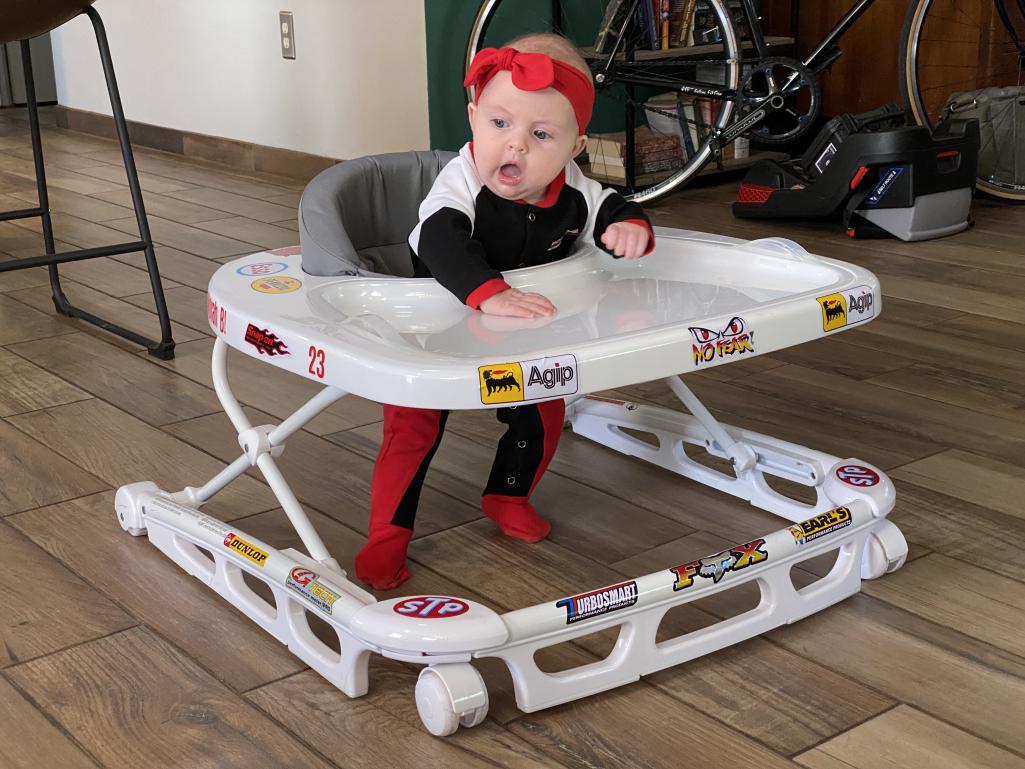
|
|
|
|
| wonkipop |
Jul 11 2022, 09:25 PM
Post
#5697
|
|
Advanced Member Group: Members Posts: 4,753 Joined: 6-May 20 From: north antarctica Member No.: 24,231 Region Association: NineFourteenerVille |
QUOTE(raynekat @ Jun 28 2022, 08:56 PM) Putting the sticky pad on the windshield 1st has it's own unknown. How do you know you don't have the same void (or non stick area) between the sticky pad and the mirror mount? At least you can see void between the sticky pad and the windshield. You can't see a void between the sticky pad and the mirror mount. There....that should keep you awake at night. haha Looks great Bob. when you do structural sheer glazing in buildings, watch a good glazier do it. the tape goes on the glass and the bubbles get rolled out. then the glass with the tape is adhered to the aluminium glazing frame. (the wobbles in the tape are disguised by later filling with black liquid sealant). you accept that there will be bubbles in one or the other surface. the tape bond surface to amount of air bubbles trapped is engineered into the consideration of the tape surface area as an engineering overdesign principle. one way you see the bubbles, one way you don't. as well as being visually better, generally speaking the air voids or bubbles if exposed directly to solar radiation through the glass expand more and can start deterioration of the bond around the edges of the bubbles sooner than if on the other side of tape against the frame where the bubbles are not exposed so directly to sunlight. all that applies for on site glazing. done in a factory - whole different story. they can evactuate all trapped air when factory bonding glass to aluminium frames or surfaces. never seen it done in person, just the on-site glazing and the right way to do it. (IMG:style_emoticons/default/beerchug.gif) |
|
|
|
| Puebloswatcop |
Jul 12 2022, 06:59 AM
Post
#5698
|
|
Senior Member Group: Members Posts: 1,443 Joined: 27-December 14 From: Mineola, Texas Member No.: 18,258 Region Association: Southwest Region |
QUOTE(bkrantz @ Jul 11 2022, 08:10 PM) OK, last baby photo. Final grandpa setup of race walker and driver. She is on the move, great job grandpa. |
|
|
|
| bkrantz |
Jul 13 2022, 07:57 PM
Post
#5699
|
|
914 Guru Group: Members Posts: 8,343 Joined: 3-August 19 From: SW Colorado Member No.: 23,343 Region Association: Rocky Mountains |
Getting back to work, including some minor "punch list" things.
The exhaust tail pipe is still too close to the valence for me. Not touching but not much space. Attached thumbnail(s) 
|
|
|
|
| bkrantz |
Jul 13 2022, 08:00 PM
Post
#5700
|
|
914 Guru Group: Members Posts: 8,343 Joined: 3-August 19 From: SW Colorado Member No.: 23,343 Region Association: Rocky Mountains |
I brought home a short piece of aluminum pipe with 2.50" ID, and got this onto the tail pipe with 2.50" OD. I put a floor jack under the muffler and then leaned/pushed on the pipe.
Attached thumbnail(s) 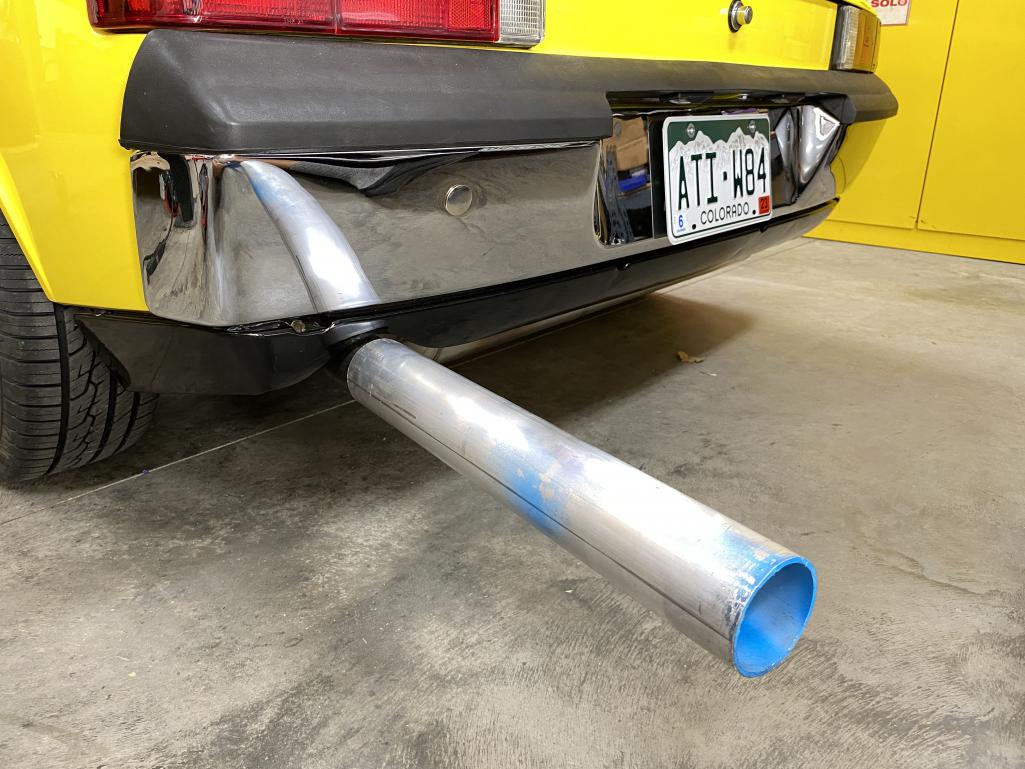
|
|
|
|
|
1 User(s) are reading this topic (1 Guests and 0 Anonymous Users)
0 Members:

|
Lo-Fi Version | Time is now: 22nd April 2025 - 10:42 AM |
Invision Power Board
v9.1.4 © 2025 IPS, Inc.