|
|
|
Porsche, and the Porsche crest are registered trademarks of Dr. Ing. h.c. F. Porsche AG.
This site is not affiliated with Porsche in any way. Its only purpose is to provide an online forum for car enthusiasts. All other trademarks are property of their respective owners. |
|
|

  |

| bkrantz |
 Oct 28 2022, 07:58 PM Oct 28 2022, 07:58 PM
Post
#5921
|
|
914 Guru  Group: Members Posts: 8,342 Joined: 3-August 19 From: SW Colorado Member No.: 23,343 Region Association: Rocky Mountains |
Here's the template in place.
BTW, my research shows an infinite variation on placement, up-down, side to side, and angle. Attached thumbnail(s) 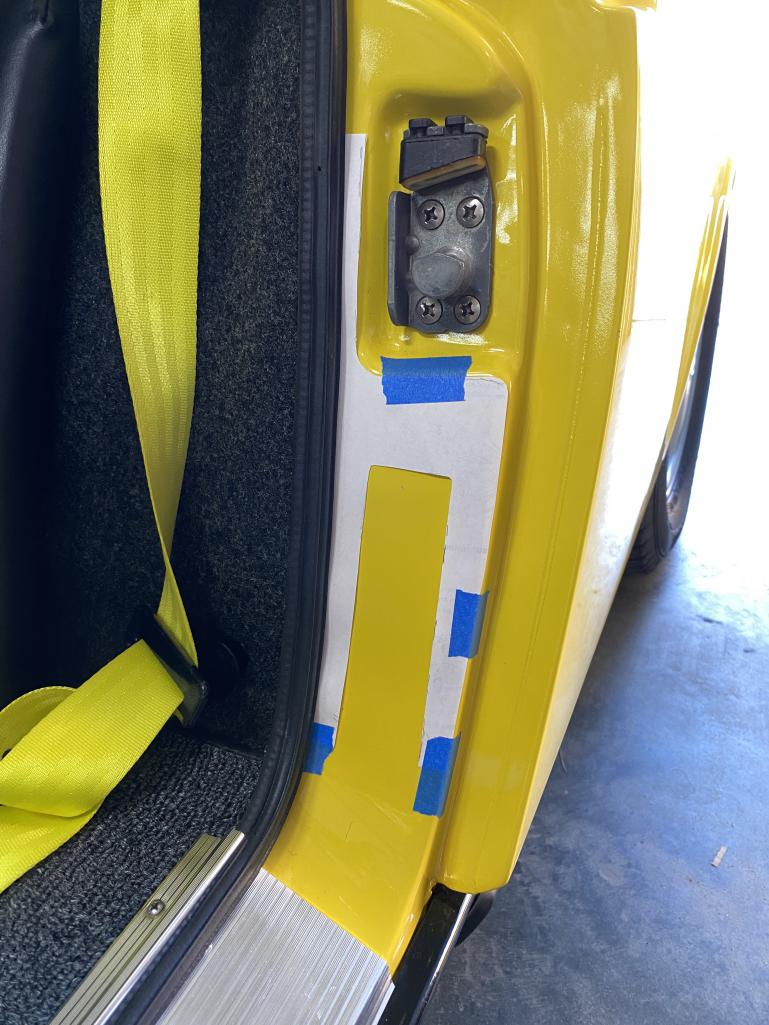
|
   |

 
|
| bkrantz |
Oct 28 2022, 08:00 PM
Post
#5922
|
|
914 Guru Group: Members Posts: 8,342 Joined: 3-August 19 From: SW Colorado Member No.: 23,343 Region Association: Rocky Mountains |
Sticker in place. Although the original was sliver, I opted for black--that was found on some cars in 1973 (as far as I can tell).
Attached thumbnail(s) 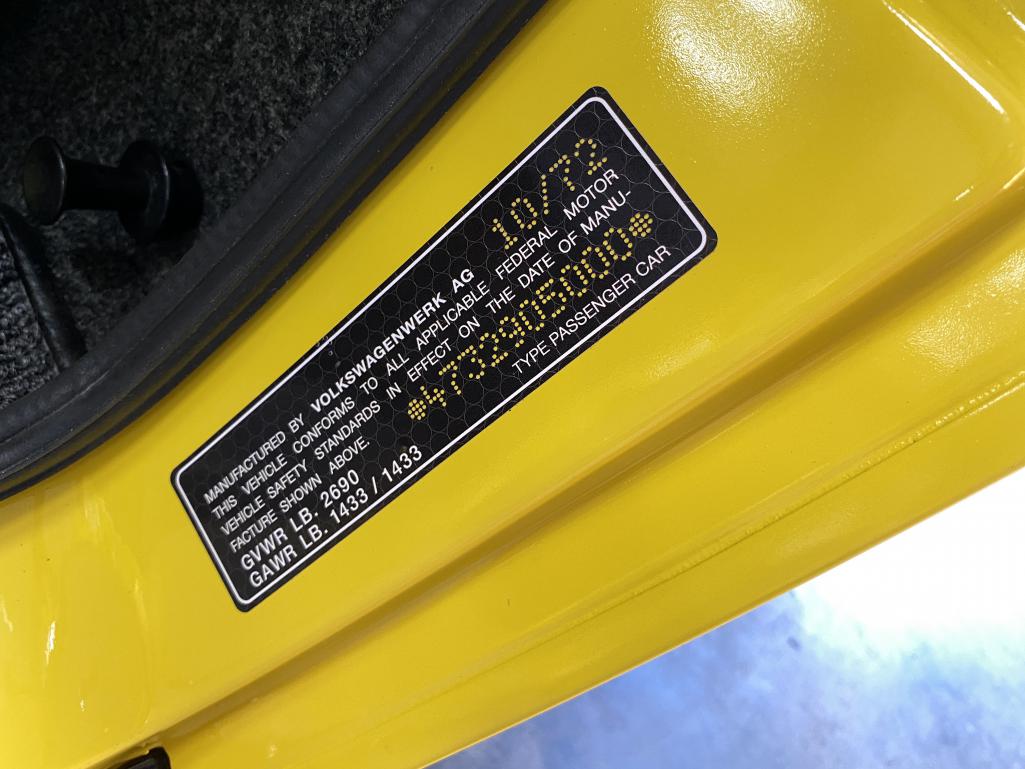
|
|
|
|
| 930cabman |
Oct 29 2022, 05:55 AM
Post
#5923
|
|
Advanced Member Group: Members Posts: 4,047 Joined: 12-November 20 From: Buffalo Member No.: 24,877 Region Association: North East States |
QUOTE(bkrantz @ Oct 26 2022, 08:09 PM)  QUOTE(930cabman @ Oct 25 2022, 01:31 PM) Bob, Great thread and thanks again for documenting. Looking back how many things would you have done differently? If you can answer, it might be a big question I may be interested in the heads Geez, what a question. The first, obvious answer is that I would have looked for a cleaner car to start with. A couple of other things that come to mind: - Done more body work and panel fitting with the doors mounted - Been more engaged with the paint shop, especially before the color coat started - Did a complete dry assembly of the engine, and checked alignment and clearances (especially deck height) - Generally have a known standard for work from the beginning. The further along I got, the higher my quality standards got. I ended up going back to do things over, and bought more than one version of some parts. Sounds as though mostly, measure twice, cut once. For the most part you must be more than pleased to have gotten her complete and driving. (IMG:style_emoticons/default/beerchug.gif) |
|
|
|
| Cairo94507 |
Oct 29 2022, 01:28 PM
Post
#5924
|
|
Michael Group: Members Posts: 10,298 Joined: 1-November 08 From: Auburn, CA Member No.: 9,712 Region Association: Northern California |
I agree 100% with @bkrantz . Having a comprehensive plan before you begin is very helpful. There always tends to be issues that pop-up along the way. The single biggest thing I would add is if you farm work out, make sure the shop is within visiting range so you can keep tight reins on the project and see the actual work they are doing. Photos do not really cut it. (IMG:style_emoticons/default/beerchug.gif)
|
|
|
|
| bkrantz |
Oct 29 2022, 07:12 PM
Post
#5925
|
|
914 Guru Group: Members Posts: 8,342 Joined: 3-August 19 From: SW Colorado Member No.: 23,343 Region Association: Rocky Mountains |
QUOTE(930cabman @ Oct 29 2022, 05:55 AM) QUOTE(bkrantz @ Oct 26 2022, 08:09 PM) QUOTE(930cabman @ Oct 25 2022, 01:31 PM) Bob, Great thread and thanks again for documenting. Looking back how many things would you have done differently? If you can answer, it might be a big question I may be interested in the heads Geez, what a question. The first, obvious answer is that I would have looked for a cleaner car to start with. A couple of other things that come to mind: - Done more body work and panel fitting with the doors mounted - Been more engaged with the paint shop, especially before the color coat started - Did a complete dry assembly of the engine, and checked alignment and clearances (especially deck height) - Generally have a known standard for work from the beginning. The further along I got, the higher my quality standards got. I ended up going back to do things over, and bought more than one version of some parts. Sounds as though mostly, measure twice, cut once. For the most part you must be more than pleased to have gotten her complete and driving. (IMG:style_emoticons/default/beerchug.gif) Yes, indeed. I just have to keep my inner perfectionist from getting out. (IMG:style_emoticons/default/happy11.gif) |
|
|
|
| bkrantz |
Oct 29 2022, 07:14 PM
Post
#5926
|
|
914 Guru Group: Members Posts: 8,342 Joined: 3-August 19 From: SW Colorado Member No.: 23,343 Region Association: Rocky Mountains |
Replacement chassis badge with color code. Pop quiz: what color does the new badge show?
Attached thumbnail(s) 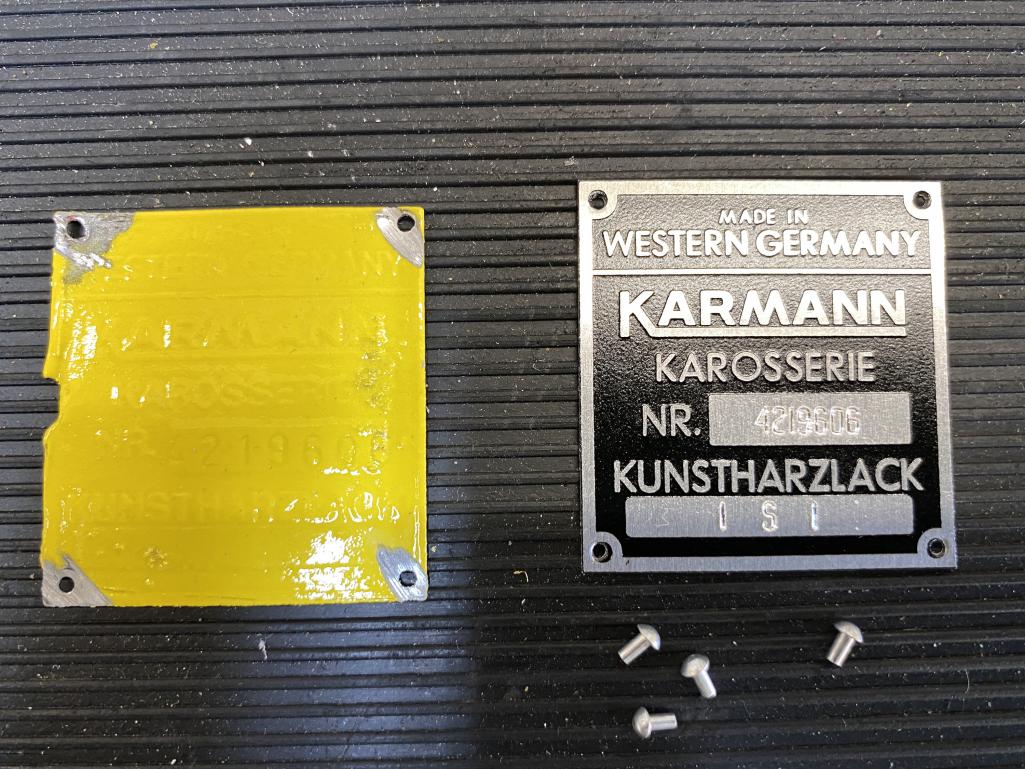
|
|
|
|
| bkrantz |
Oct 29 2022, 07:16 PM
Post
#5927
|
|
914 Guru Group: Members Posts: 8,342 Joined: 3-August 19 From: SW Colorado Member No.: 23,343 Region Association: Rocky Mountains |
I took out the door stay pin to gain a bit more opening (but not much).
Attached thumbnail(s) 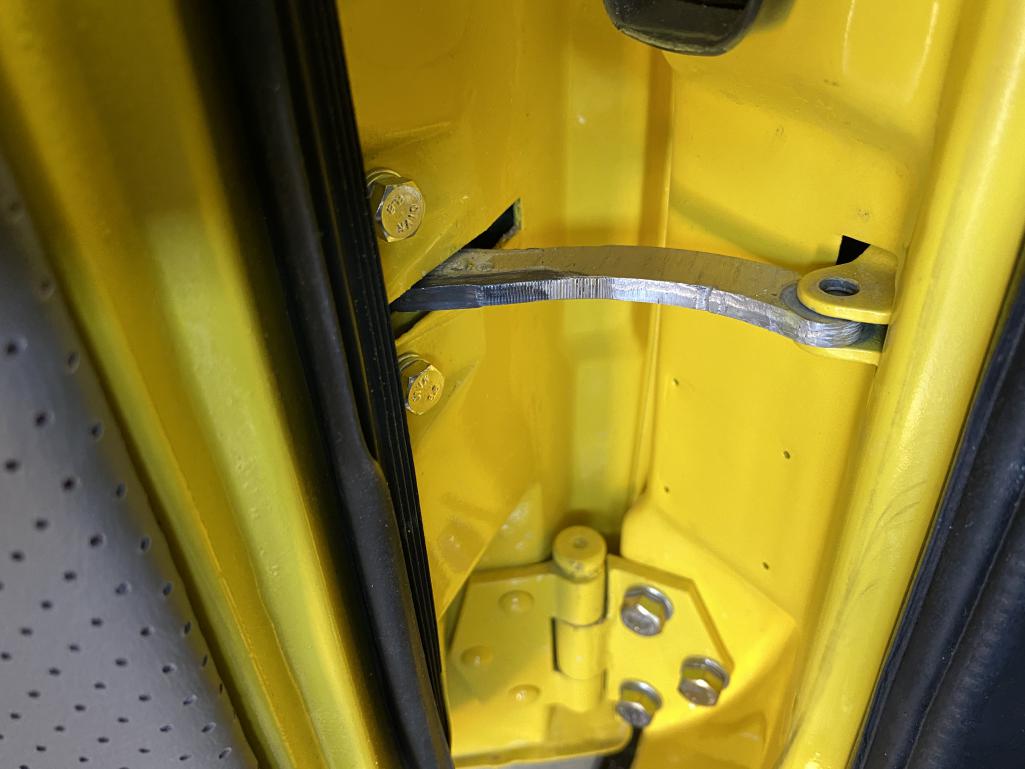
|
|
|
|
| bkrantz |
Oct 29 2022, 07:17 PM
Post
#5928
|
|
914 Guru Group: Members Posts: 8,342 Joined: 3-August 19 From: SW Colorado Member No.: 23,343 Region Association: Rocky Mountains |
First adjustment: the holes in the new badge are too small for the rivets. I drilled them bigger.
Attached thumbnail(s) 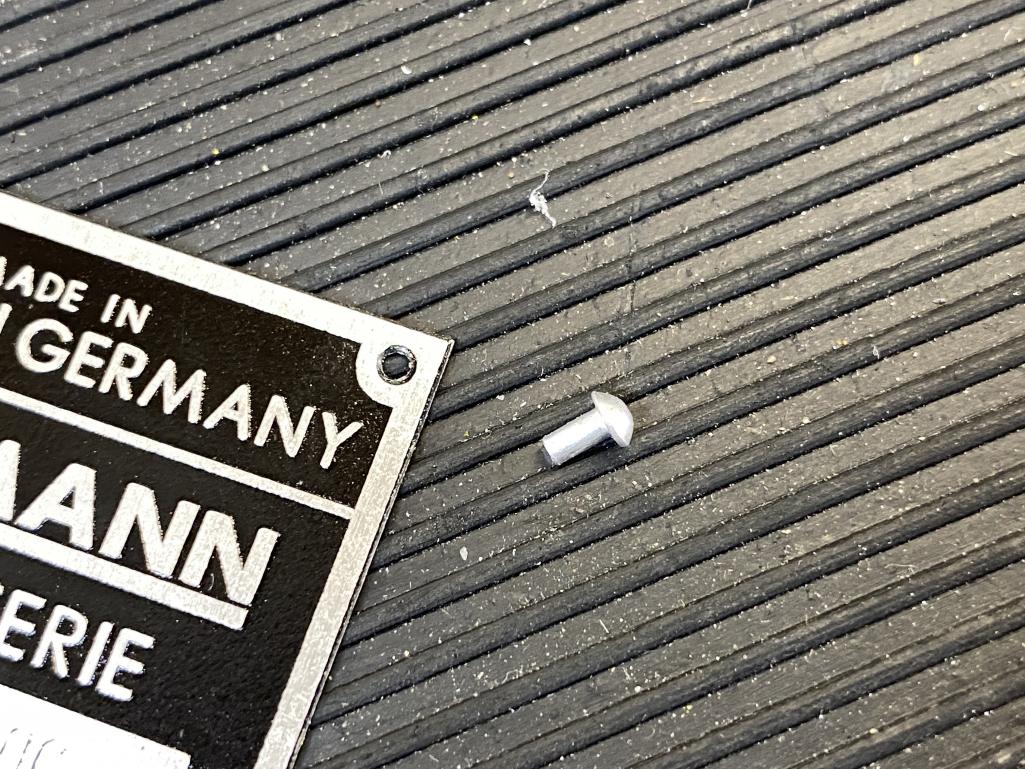
|
|
|
|
| bkrantz |
Oct 29 2022, 07:19 PM
Post
#5929
|
|
914 Guru Group: Members Posts: 8,342 Joined: 3-August 19 From: SW Colorado Member No.: 23,343 Region Association: Rocky Mountains |
Next problem: the rivets are too thin to wedge into the holes in the door frame. I decided to glue the rivets in place. Not factory, but O cam remove them later if necessary.
Attached thumbnail(s) 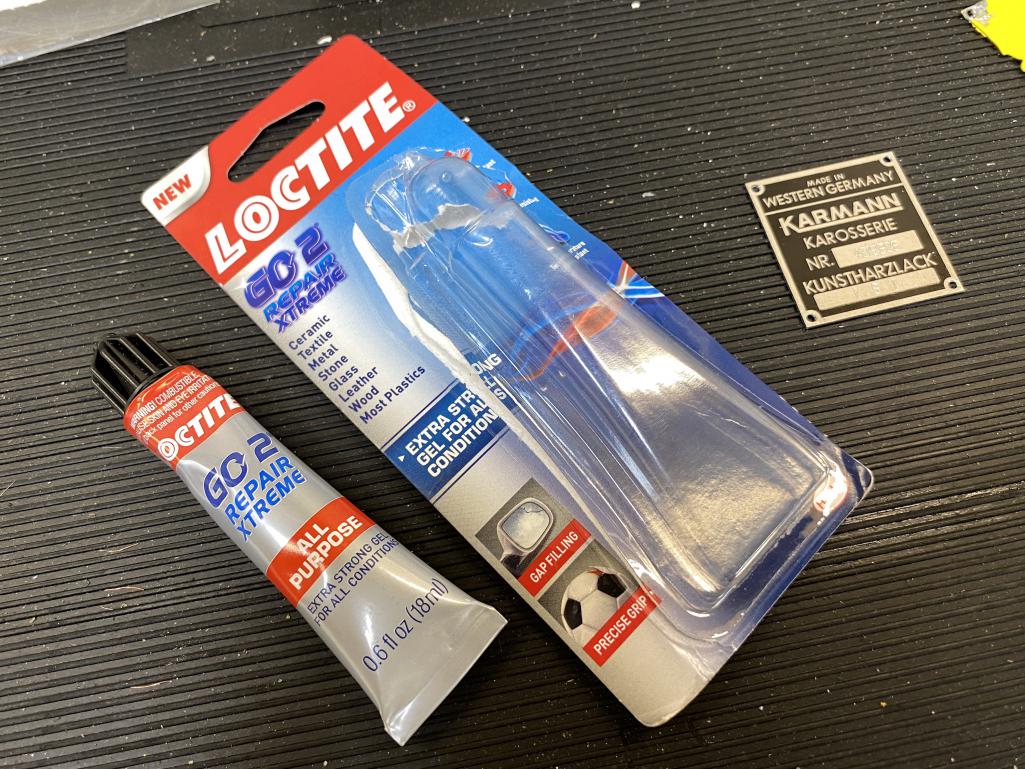
|
|
|
|
| bkrantz |
Oct 29 2022, 07:20 PM
Post
#5930
|
|
914 Guru Group: Members Posts: 8,342 Joined: 3-August 19 From: SW Colorado Member No.: 23,343 Region Association: Rocky Mountains |
Holding the badge in place, so I can get the lower rivets installed.
Attached thumbnail(s) 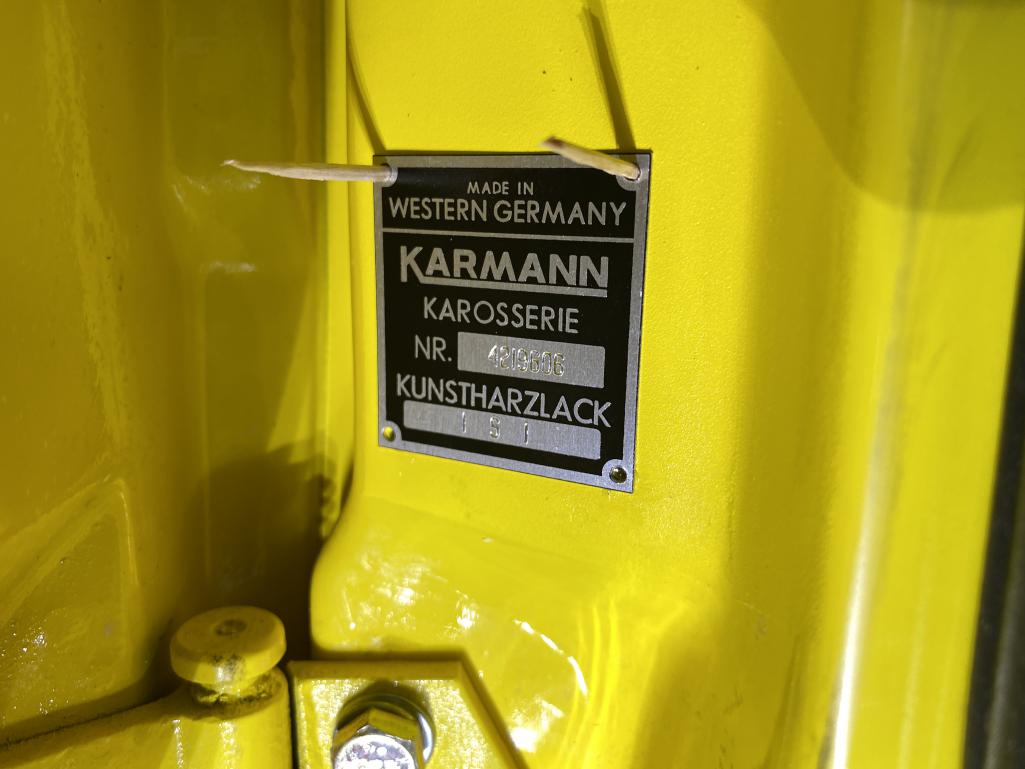
|
|
|
|
| bkrantz |
Oct 29 2022, 07:21 PM
Post
#5931
|
|
914 Guru Group: Members Posts: 8,342 Joined: 3-August 19 From: SW Colorado Member No.: 23,343 Region Association: Rocky Mountains |
All done.
Attached thumbnail(s) 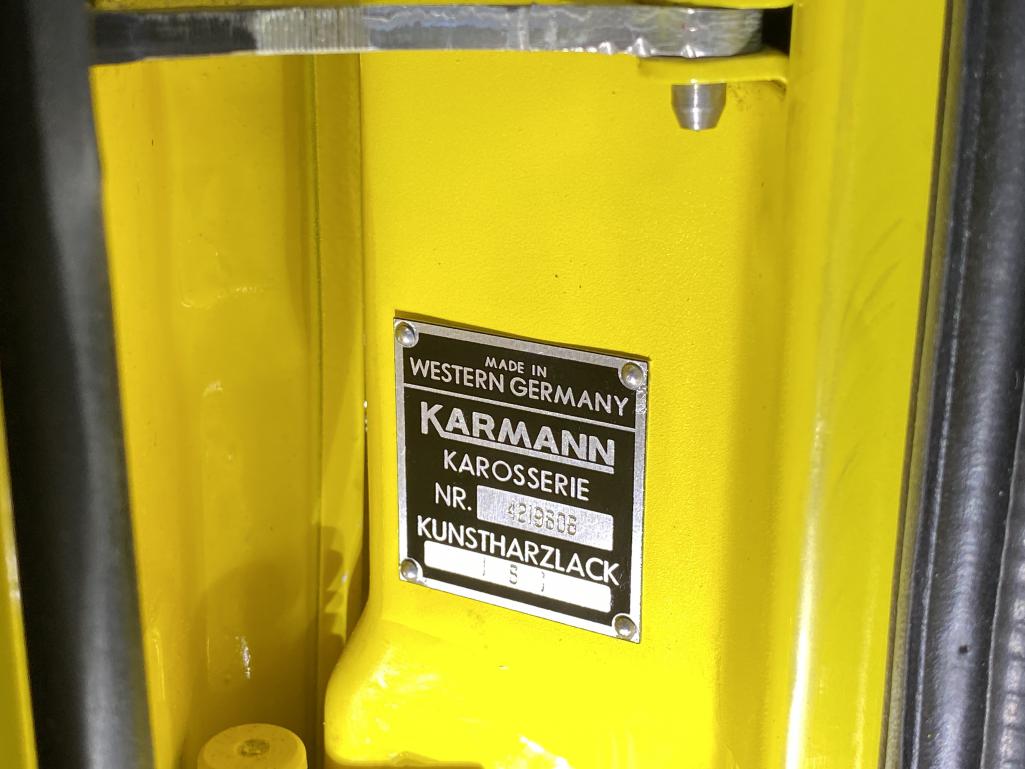
|
|
|
|
| bkrantz |
Oct 29 2022, 07:22 PM
Post
#5932
|
|
914 Guru Group: Members Posts: 8,342 Joined: 3-August 19 From: SW Colorado Member No.: 23,343 Region Association: Rocky Mountains |
Punch list is getting shorter.
Attached thumbnail(s) 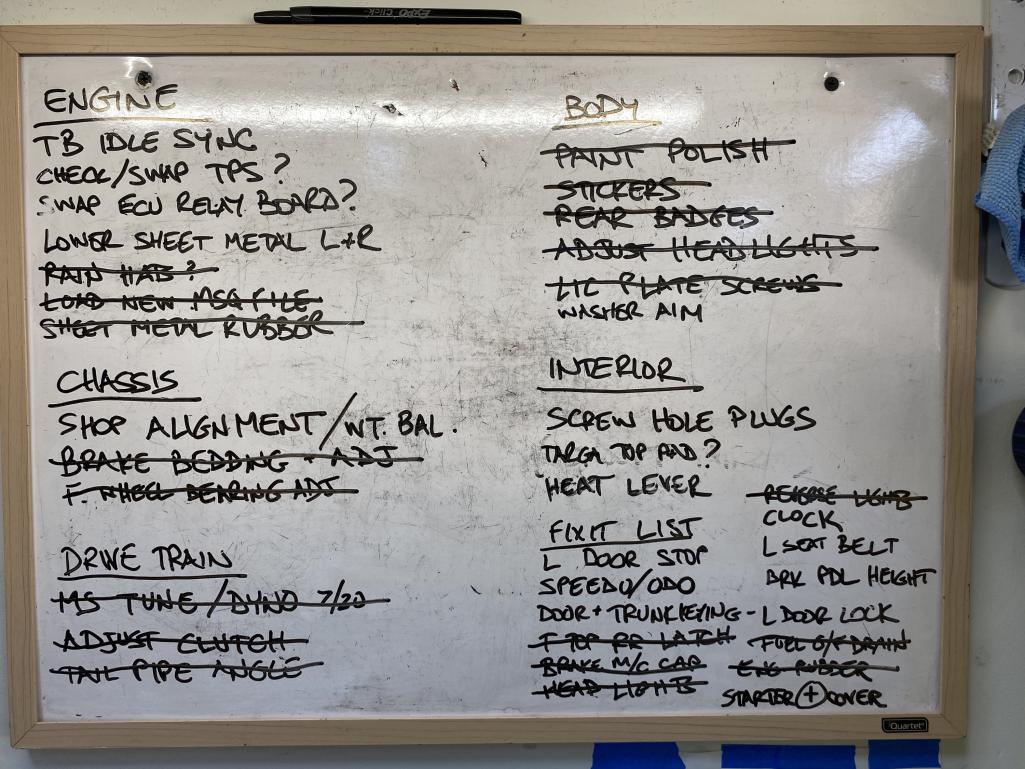
|
|
|
|
| JmuRiz |
Oct 29 2022, 07:32 PM
Post
#5933
|
|
914 Guru Group: Members Posts: 5,559 Joined: 30-December 02 From: NoVA Member No.: 50 Region Association: MidAtlantic Region |
QUOTE(bkrantz @ Oct 29 2022, 05:14 PM) Replacement chassis badge with color code. Pop quiz: what color does the new badge show? Racing yellow (IMG:style_emoticons/default/beerchug.gif) |
|
|
|
| raynekat |
Oct 29 2022, 09:16 PM
Post
#5934
|
|
Advanced Member Group: Members Posts: 2,169 Joined: 30-December 14 From: Coeur d'Alene, Idaho Member No.: 18,263 Region Association: Pacific Northwest |
Bob, the door compliance sticker placement was right on.
And with the paint tag...I did the same thing on my 911. Used a bit of glue and it worked out great. Your car is looking awesome. You just need to sell it me next Spring....NOT. hahaha |
|
|
|
| bkrantz |
Oct 30 2022, 06:53 PM
Post
#5935
|
|
914 Guru Group: Members Posts: 8,342 Joined: 3-August 19 From: SW Colorado Member No.: 23,343 Region Association: Rocky Mountains |
QUOTE(JmuRiz @ Oct 29 2022, 07:32 PM) QUOTE(bkrantz @ Oct 29 2022, 05:14 PM) Replacement chassis badge with color code. Pop quiz: what color does the new badge show? Racing yellow (IMG:style_emoticons/default/beerchug.gif) Winner! (IMG:style_emoticons/default/smilie_pokal.gif) And while not correct for 1973, it is at least a Porsche color. |
|
|
|
| bkrantz |
Oct 30 2022, 07:01 PM
Post
#5936
|
|
914 Guru Group: Members Posts: 8,342 Joined: 3-August 19 From: SW Colorado Member No.: 23,343 Region Association: Rocky Mountains |
QUOTE(raynekat @ Oct 29 2022, 09:16 PM) Bob, the door compliance sticker placement was right on. And with the paint tag...I did the same thing on my 911. Used a bit of glue and it worked out great. Your car is looking awesome. You just need to sell it me next Spring....NOT. hahaha Hi, Doug. I could not find any definitive info for setting the rivets mechanically. I thought about removing the door switch and sneaking some tool inside the jamb--and then trying to mushroom the end of the rivet. But that started to feel like too much work! If you don't want to buy it, bring the crew to Colorado and you can borrow it. |
|
|
|
| nivekdodge |
Oct 30 2022, 08:43 PM
Post
#5937
|
|
Member Group: Members Posts: 299 Joined: 28-August 21 From: Pittsburgh Pa Member No.: 25,860 Region Association: MidAtlantic Region |
QUOTE(Cairo94507 @ Oct 29 2022, 03:28 PM) I agree 100% with @bkrantz . Having a comprehensive plan before you begin is very helpful. There always tends to be issues that pop-up along the way. The single biggest thing I would add is if you farm work out, make sure the shop is within visiting range so you can keep tight reins on the project and see the actual work they are doing. Photos do not really cut it. (IMG:style_emoticons/default/beerchug.gif) I was going to get it running and legal then start to tear it apart. Next thing you know it's sideways on a rotisserie. Bob How long was your lead to the starter? Kevin |
 |
|
| bkrantz |
Oct 31 2022, 07:30 PM
Post
#5938
|
|
914 Guru Group: Members Posts: 8,342 Joined: 3-August 19 From: SW Colorado Member No.: 23,343 Region Association: Rocky Mountains |
QUOTE(nivekdodge @ Oct 30 2022, 08:43 PM) QUOTE(Cairo94507 @ Oct 29 2022, 03:28 PM) I agree 100% with @bkrantz . Having a comprehensive plan before you begin is very helpful. There always tends to be issues that pop-up along the way. The single biggest thing I would add is if you farm work out, make sure the shop is within visiting range so you can keep tight reins on the project and see the actual work they are doing. Photos do not really cut it. (IMG:style_emoticons/default/beerchug.gif) I was going to get it running and legal then start to tear it apart. Next thing you know it's sideways on a rotisserie. Bob How long was your lead to the starter? Kevin 4 ft |
|
|
|
| bkrantz |
Oct 31 2022, 07:36 PM
Post
#5939
|
|
914 Guru Group: Members Posts: 8,342 Joined: 3-August 19 From: SW Colorado Member No.: 23,343 Region Association: Rocky Mountains |
Another small jobs that was not on the list (except in my head). The left fog light was loose, and kept falling forward. I had tried before to tighten the mount, without removing the bumper, but could not get a wrench or socket on the nut.
Attached thumbnail(s) 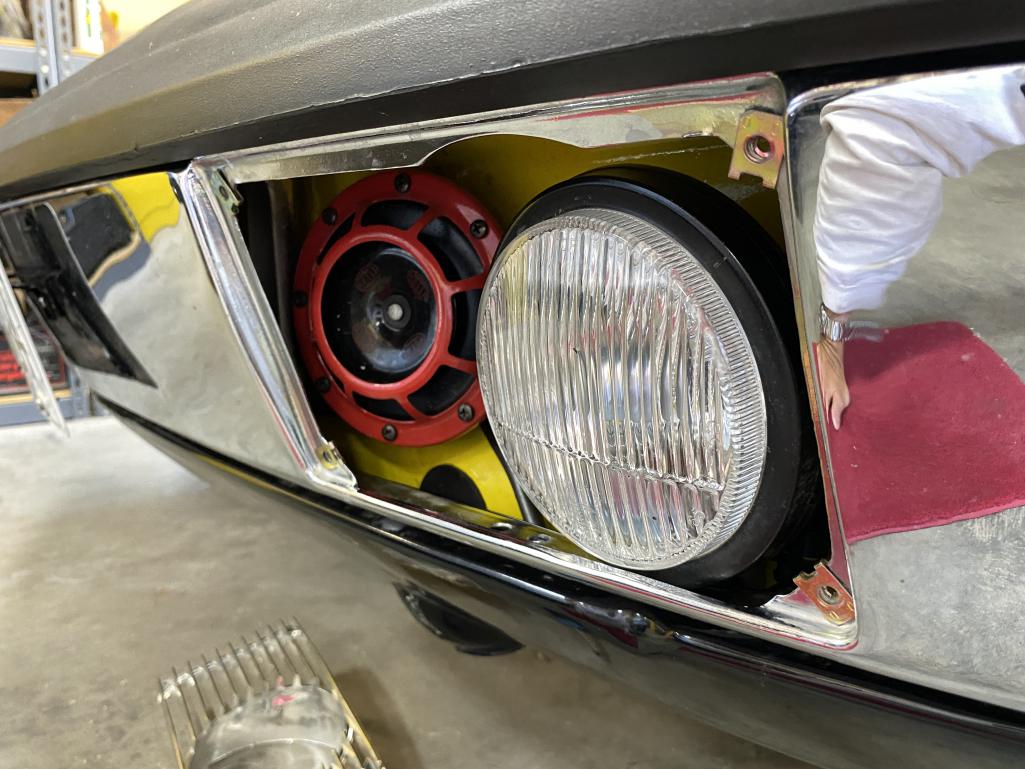
|
|
|
|
| bkrantz |
Oct 31 2022, 07:37 PM
Post
#5940
|
|
914 Guru Group: Members Posts: 8,342 Joined: 3-August 19 From: SW Colorado Member No.: 23,343 Region Association: Rocky Mountains |
That meant I got to buy a new tool, another Facom angle wrench, 14 mm.
Attached thumbnail(s) 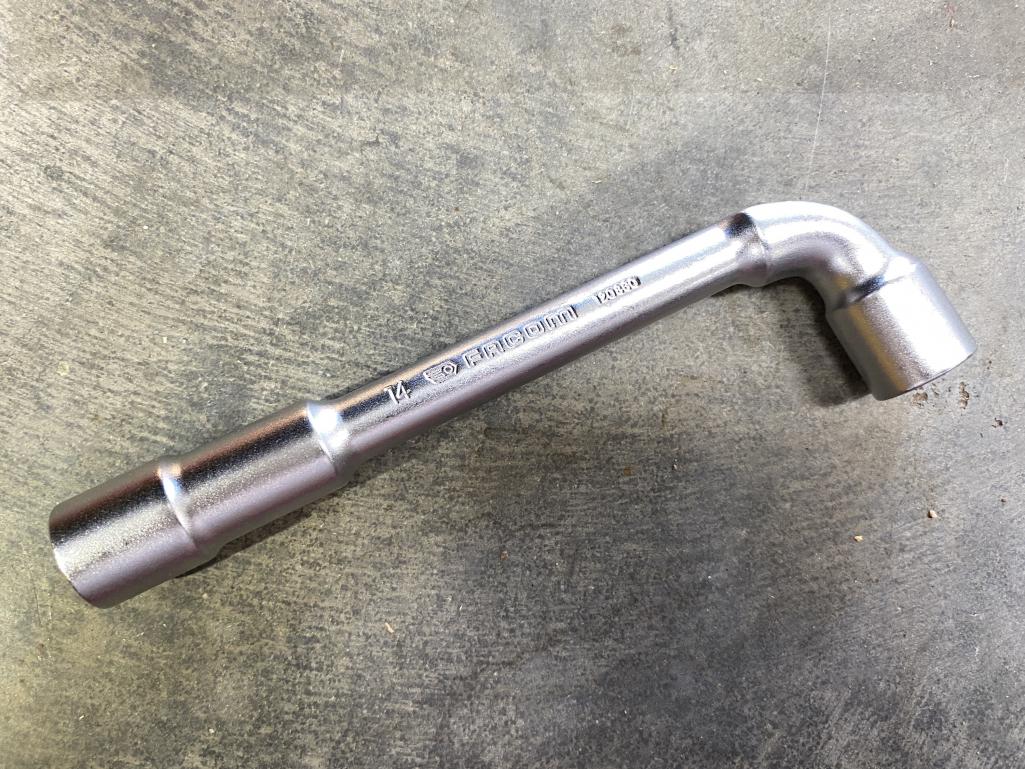
|
|
|
|
|
2 User(s) are reading this topic (2 Guests and 0 Anonymous Users)
0 Members:

|
Lo-Fi Version | Time is now: 21st April 2025 - 08:47 PM |
Invision Power Board
v9.1.4 © 2025 IPS, Inc.