|
|

|
Porsche, and the Porsche crest are registered trademarks of Dr. Ing. h.c. F. Porsche AG.
This site is not affiliated with Porsche in any way. Its only purpose is to provide an online forum for car enthusiasts. All other trademarks are property of their respective owners. |
|
|
  |
| rfinegan |
 Apr 27 2021, 06:31 AM Apr 27 2021, 06:31 AM
Post
#101
|
|
Senior Member    Group: Members Posts: 1,043 Joined: 8-February 13 From: NC Member No.: 15,499 Region Association: MidAtlantic Region 
|
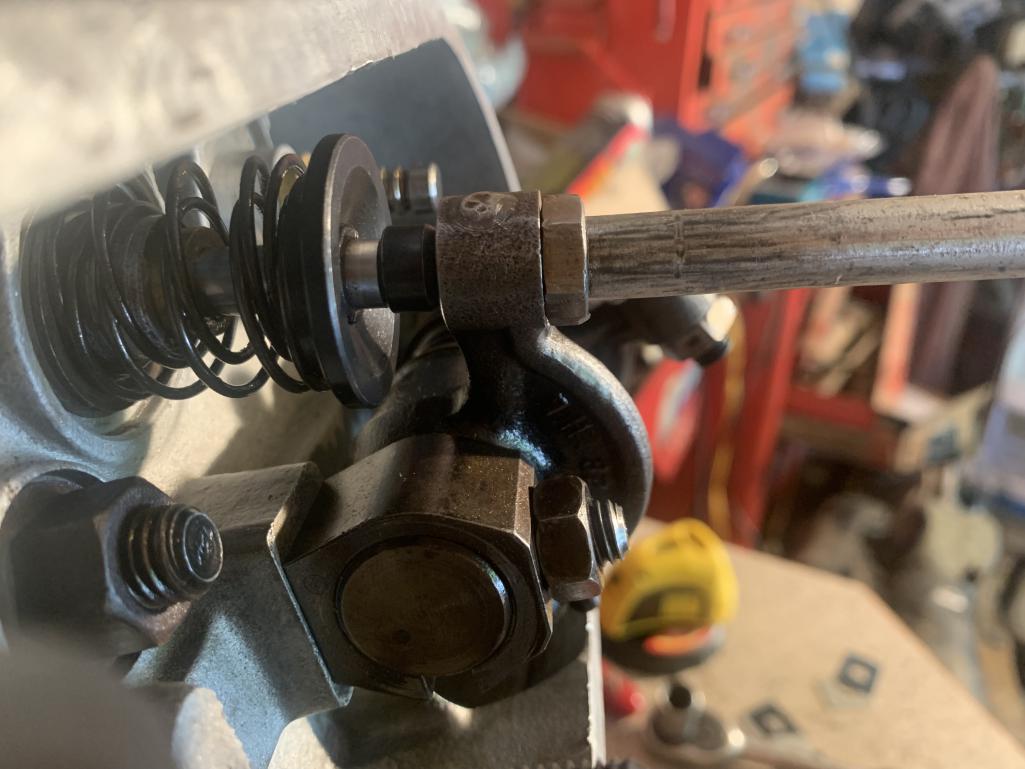
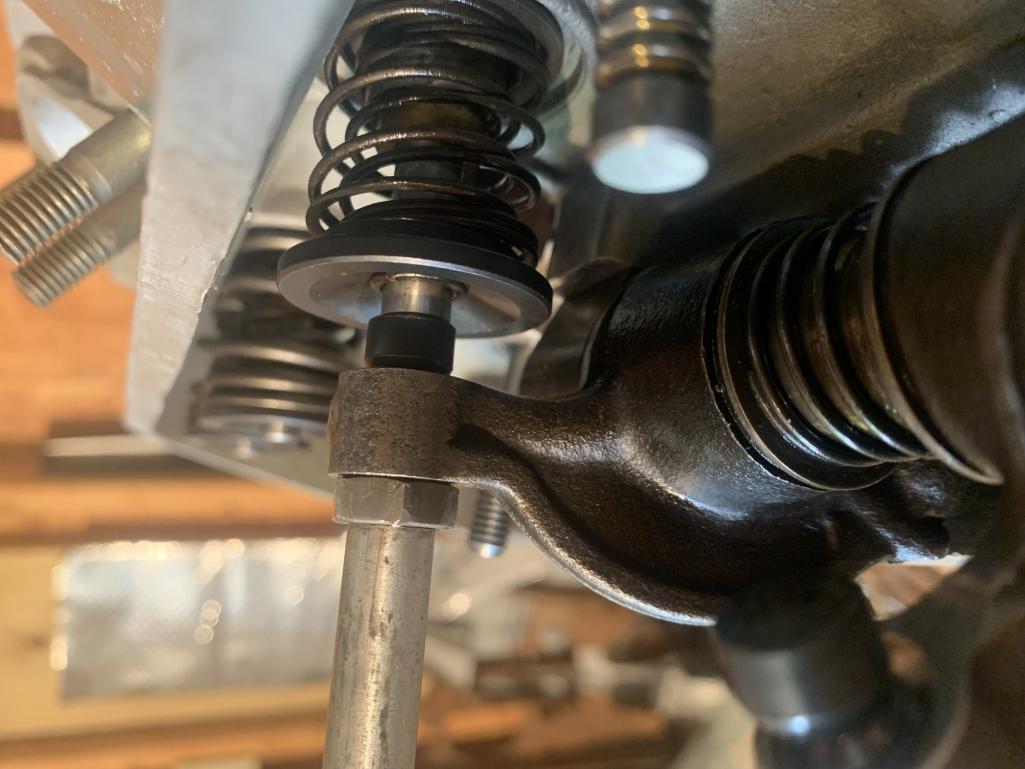
shimmed rocker to .050
Push rod length 27.27 cm this turns out to be the wrong way to do this... Started over and things are looking fine without the shims and the pushrods are close to the stock length... FWIW: The aluminum rod to help align the adjuster is from a shot gun cleaning kit ;-) |
| rfinegan |
 Apr 27 2021, 01:26 PM Apr 27 2021, 01:26 PM
Post
#102
|
|
Senior Member    Group: Members Posts: 1,043 Joined: 8-February 13 From: NC Member No.: 15,499 Region Association: MidAtlantic Region 
|
UPDATE:
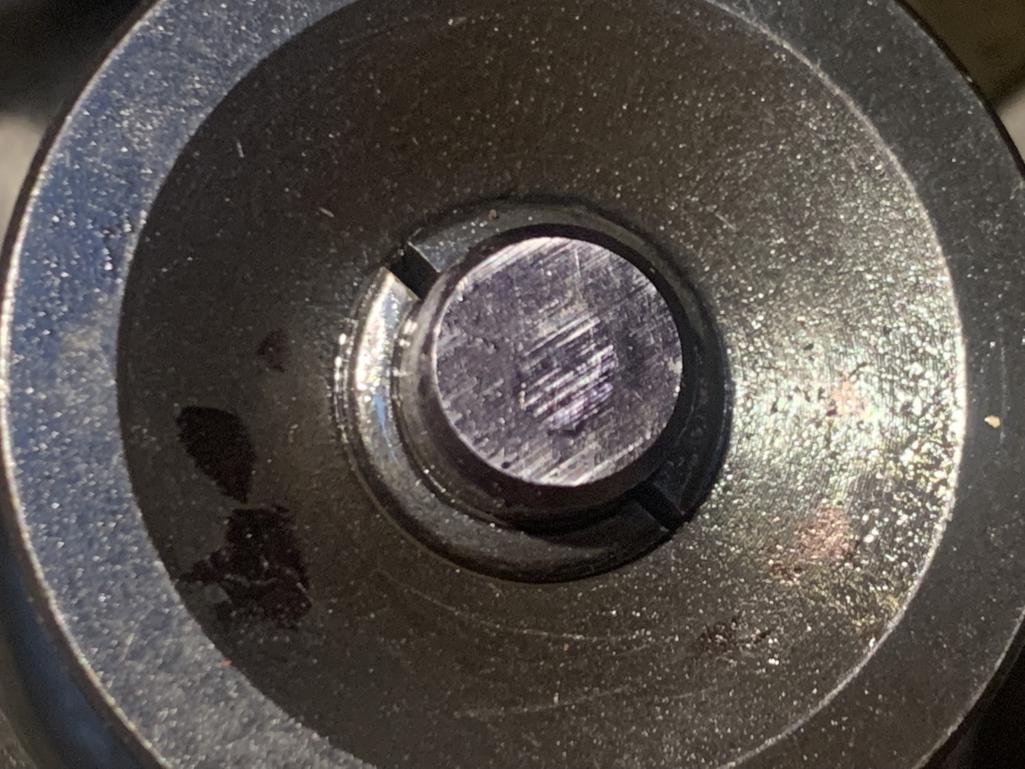
Removed all the shims Base line push rod to stock: 10.66/27.1 Lengthen push rod 1/8 turn till alignment @ 1/2 lift .238/ full lift .476 (card .465) Final Intake push rod length 10.704in/27.188cm Attached thumbnail(s) 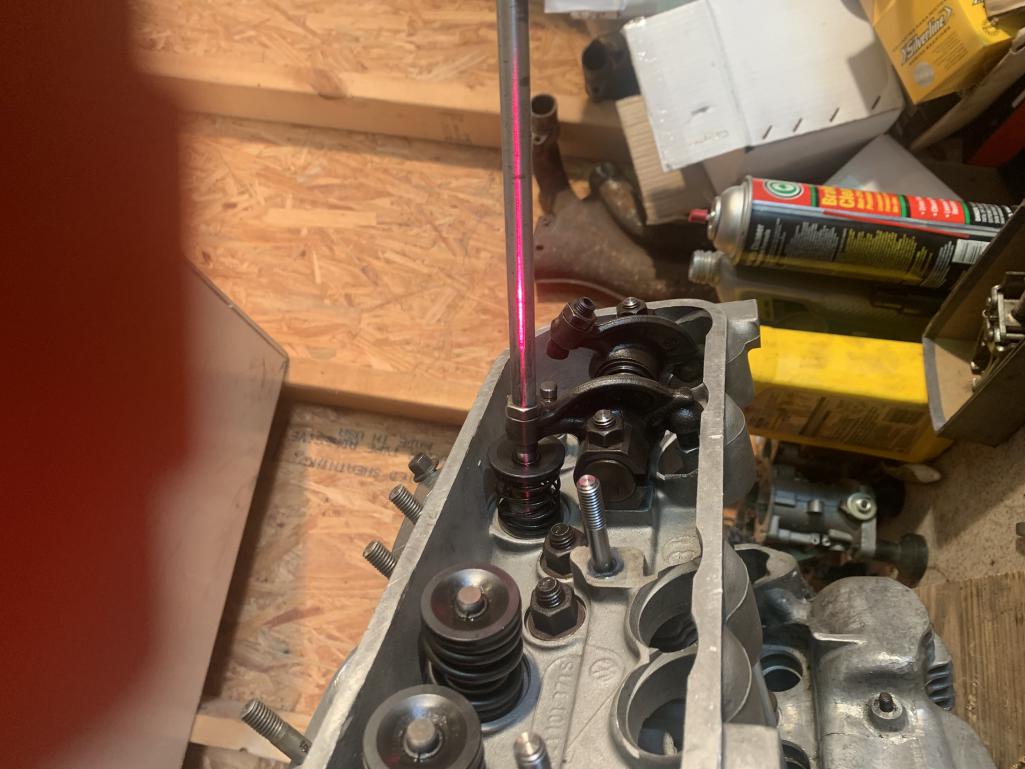
|
| rfinegan |
 Apr 27 2021, 01:27 PM Apr 27 2021, 01:27 PM
Post
#103
|
|
Senior Member    Group: Members Posts: 1,043 Joined: 8-February 13 From: NC Member No.: 15,499 Region Association: MidAtlantic Region 
|
|
| rfinegan |
 Apr 27 2021, 01:28 PM Apr 27 2021, 01:28 PM
Post
#104
|
|
Senior Member    Group: Members Posts: 1,043 Joined: 8-February 13 From: NC Member No.: 15,499 Region Association: MidAtlantic Region 
|
|
| rfinegan |
 Apr 27 2021, 04:35 PM Apr 27 2021, 04:35 PM
Post
#105
|
|
Senior Member    Group: Members Posts: 1,043 Joined: 8-February 13 From: NC Member No.: 15,499 Region Association: MidAtlantic Region 
|
|
| rfinegan |
 Apr 28 2021, 01:15 PM Apr 28 2021, 01:15 PM
Post
#106
|
|
Senior Member    Group: Members Posts: 1,043 Joined: 8-February 13 From: NC Member No.: 15,499 Region Association: MidAtlantic Region 
|
Ditch the laser for an angle gauge for the exhaust valve geometry. The push rod is a little smaller than the Intake. More on that...
Set a base line angle of the valve stem with a collet holder on the stem and an angle gauge HERE: 3.5 degrees 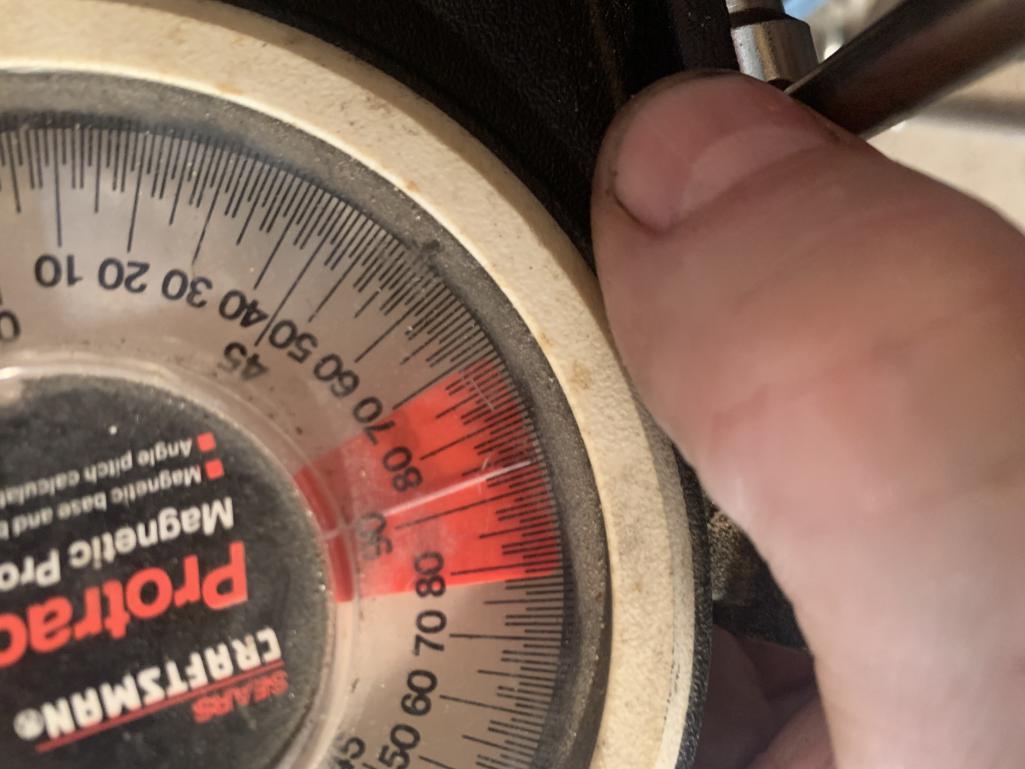 Next I do a full lift rotation of the cam and measure with a dial indicator at the retainer of the valve. .458 in Cam card .465 less than the needed 5% loss 1/2 lift =229 I mention the wrong gross value in the video but use the correct 1/2 lift of 229 https://www.youtube.com/watch?v=TFHP6UVlFv0 |
| rfinegan |
 May 17 2021, 11:25 AM May 17 2021, 11:25 AM
Post
#107
|
|
Senior Member    Group: Members Posts: 1,043 Joined: 8-February 13 From: NC Member No.: 15,499 Region Association: MidAtlantic Region 
|
Finished the last 2 Pushrod measurements last night. Good news is a few of them are the same across cylinders. ODD however one (first cylinder) #1 had no shim. All the others had .015" , but the lenses are close to the same
I will measure them again and see if the if it was performed correctly. Others would not adjust zero lash unless I was much under the stock Push rod length . shim put it right in there |
| pilothyer |
 May 17 2021, 01:52 PM May 17 2021, 01:52 PM
Post
#108
|
|
Member    Group: Members Posts: 838 Joined: 21-May 08 From: N. Alabama Member No.: 9,080 Region Association: South East States |
Looks like you have gone to great pains to get your geometry as (nearly) perfect as you could. I am also in the ranks of those who believe this is a vital part of the engine build.
I do, however, wonder what happens to this "perfect" rocker geometry as future valve adjustments are made. |
| rfinegan |
 Jun 13 2021, 12:03 PM Jun 13 2021, 12:03 PM
Post
#109
|
|
Senior Member    Group: Members Posts: 1,043 Joined: 8-February 13 From: NC Member No.: 15,499 Region Association: MidAtlantic Region 
|
I was getting ready to do a quick video on cutting push rods and while pressing the tip on may last intake push rod, I noticed it was much too long. About 0.030 inches too long.
WHAT WENT WRONG? All the others were within 0.001 of my desired final length. NOT a big a deal I got another one on the way. $9.95 but shipping was more than the part. But I wanted to be sure they were the same brand and I want a complete the set. Seems I had "30" on the brain...my target was 11.300..I cut to 11.330. Wound be fine but i did not notice till I had pressed on the tip (IT IS NOT COMING OFF) It was not till I was cutting another push rod that I found out what my hang up on the .030 mark on the dial caliper was not "0" or .300 Working on the spacers for the rocker shafts . Number all the parts for each location to ensure they go where they need to go and the .003-.005 spacing clearance is maintained. THIS INCLUDED THE END Clamps. As they wear on one side (spring side) I will get a video on this too ounce I set up the final Push rod cut length and confirmed. But for now: Attached thumbnail(s) 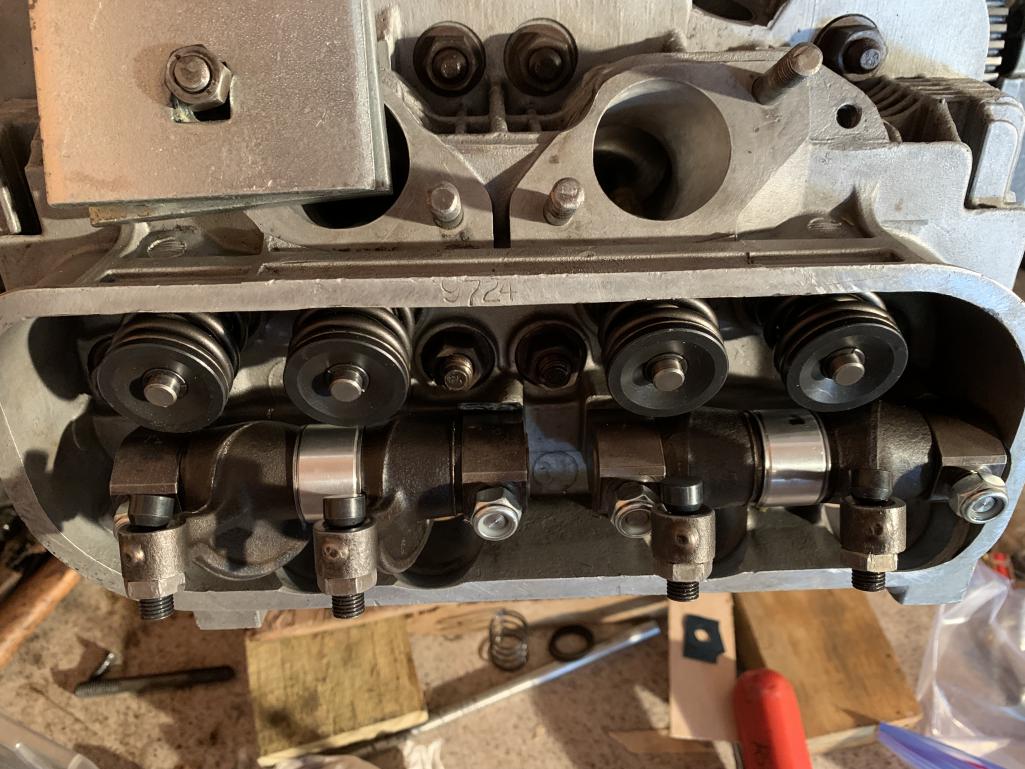
|
| rfinegan |
 Jun 16 2021, 03:21 PM Jun 16 2021, 03:21 PM
Post
#110
|
|
Senior Member    Group: Members Posts: 1,043 Joined: 8-February 13 From: NC Member No.: 15,499 Region Association: MidAtlantic Region 
|
Tonight I received my replacement pushrod from EMW and will walk us through how I cut the pushrods and assembled the ends for a final length.
calculations and cutting push rods https://www.youtube.com/watch?v=TNfHK3SpwbQ Final cut and assemble tips for completed push rod https://www.youtube.com/watch?v=kteDX9ZgNZw |
| rfinegan |
 Jun 27 2021, 08:09 AM Jun 27 2021, 08:09 AM
Post
#111
|
|
Senior Member    Group: Members Posts: 1,043 Joined: 8-February 13 From: NC Member No.: 15,499 Region Association: MidAtlantic Region 
|
|
| rfinegan |
 Jun 27 2021, 08:21 AM Jun 27 2021, 08:21 AM
Post
#112
|
|
Senior Member    Group: Members Posts: 1,043 Joined: 8-February 13 From: NC Member No.: 15,499 Region Association: MidAtlantic Region 
|
|
| rfinegan |
 Jun 27 2021, 08:30 AM Jun 27 2021, 08:30 AM
Post
#113
|
|
Senior Member    Group: Members Posts: 1,043 Joined: 8-February 13 From: NC Member No.: 15,499 Region Association: MidAtlantic Region 
|
|
| 930cabman |
 Jul 10 2021, 04:10 PM Jul 10 2021, 04:10 PM
Post
#114
|
|
Advanced Member     Group: Members Posts: 3,816 Joined: 12-November 20 From: Buffalo Member No.: 24,877 Region Association: North East States 
|
When will this baby sing? Thanks for posting your build
|
| rfinegan |
 Jul 10 2021, 08:00 PM Jul 10 2021, 08:00 PM
Post
#115
|
|
Senior Member    Group: Members Posts: 1,043 Joined: 8-February 13 From: NC Member No.: 15,499 Region Association: MidAtlantic Region 
|
I think I have the last few bits needed to finish( less a few tunings jets TBD) but I may pop for the Tangerine stub pipes before the test and tune just to make sure she can breathe
-Robert I Was shooting to finish by independence day...but any day in July will due |
| rfinegan |
 Jul 11 2021, 02:20 PM Jul 11 2021, 02:20 PM
Post
#116
|
|
Senior Member    Group: Members Posts: 1,043 Joined: 8-February 13 From: NC Member No.: 15,499 Region Association: MidAtlantic Region 
|
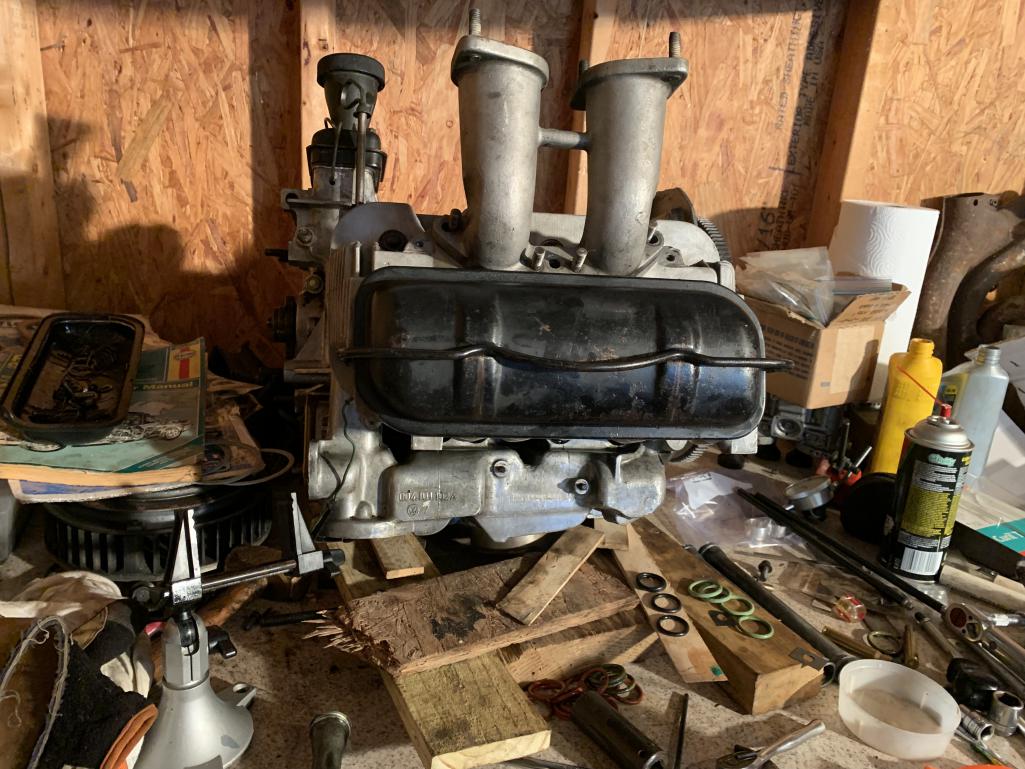
Today I am installing the last of the push rod tubes, along with the cool tins for the heads, the solid spacers for the rocker shafts and installing the shafts and setting the lash to zero for start up
https://www.youtube.com/watch?v=MaWDpwd_7dg https://www.youtube.com/watch?v=5jjCTQBDIUw |
| rfinegan |
 Jul 12 2021, 04:43 AM Jul 12 2021, 04:43 AM
Post
#117
|
|
Senior Member    Group: Members Posts: 1,043 Joined: 8-February 13 From: NC Member No.: 15,499 Region Association: MidAtlantic Region 
|
from another Question thread here on the World:
http://www.914world.com/bbs2/index.php?act...=0#entry2930085 |
| Root_Werks |
 Jul 13 2021, 05:16 PM Jul 13 2021, 05:16 PM
Post
#118
|
|
Village Idiot      Group: Members Posts: 8,530 Joined: 25-May 04 From: About 5NM from Canada Member No.: 2,105 Region Association: Pacific Northwest 
|
A well built 2056 is a great power plant for a 914. Driven only a few, both were FI and really impressed me.
|
| rfinegan |
 Jul 17 2021, 02:24 PM Jul 17 2021, 02:24 PM
Post
#119
|
|
Senior Member    Group: Members Posts: 1,043 Joined: 8-February 13 From: NC Member No.: 15,499 Region Association: MidAtlantic Region 
|
Rebuild the early weber 44 IDF
Initial tune to: 55 idles jets 200 air bleeds F11 tubes 36 vents 150 main jets Will add the return springs, arms and Tangerine racing cams and cables on the install day. Also some extended Jet holders (just stacks). Maybe when I order the new jets on tune day Need some cast 2 bolt air cleaner bases to match the top 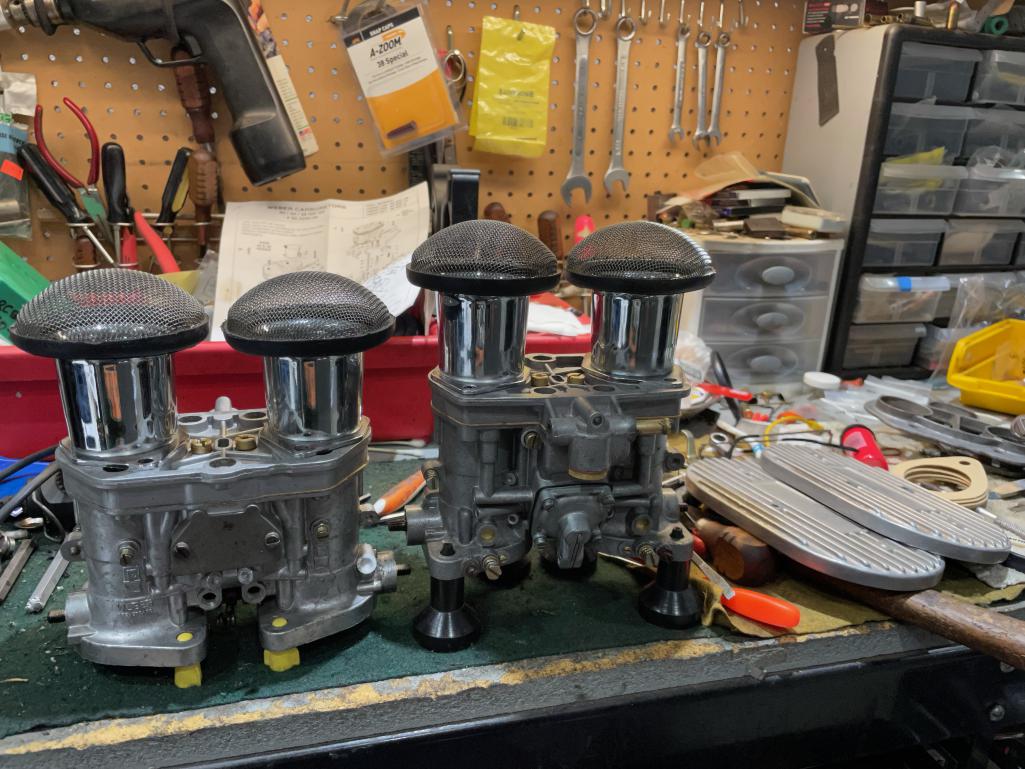 |
| barefoot |
 Jul 17 2021, 04:55 PM Jul 17 2021, 04:55 PM
Post
#120
|
|
Senior Member    Group: Members Posts: 1,336 Joined: 19-March 13 From: Charleston SC Member No.: 15,673 Region Association: South East States 
|
Will add the return springs, arms and Tangerine racing cams and cables on the install day. Also some extended Jet holders (just stacks). Maybe when I order the new jets on tune day
Need some cast 2 bolt air cleaner bases to match the top  [/quote] Is the ID of those velocity stacks the same as the carb barrel ID's right at the top ? Don't know what throttle linkage design you're using, but look closely. My Dell 40's using the cross bar top plates resulted in the ID of the top plates being larger than the carb barrel bores. That resulted in a zero radius for air entering the carb itself. I made my own 2 piece velocity stacks. Had to be 2 piece as the lower part fit UNDER the cross bar top plate. This would not permit a well radiused inlet for the top part as not enough OD . 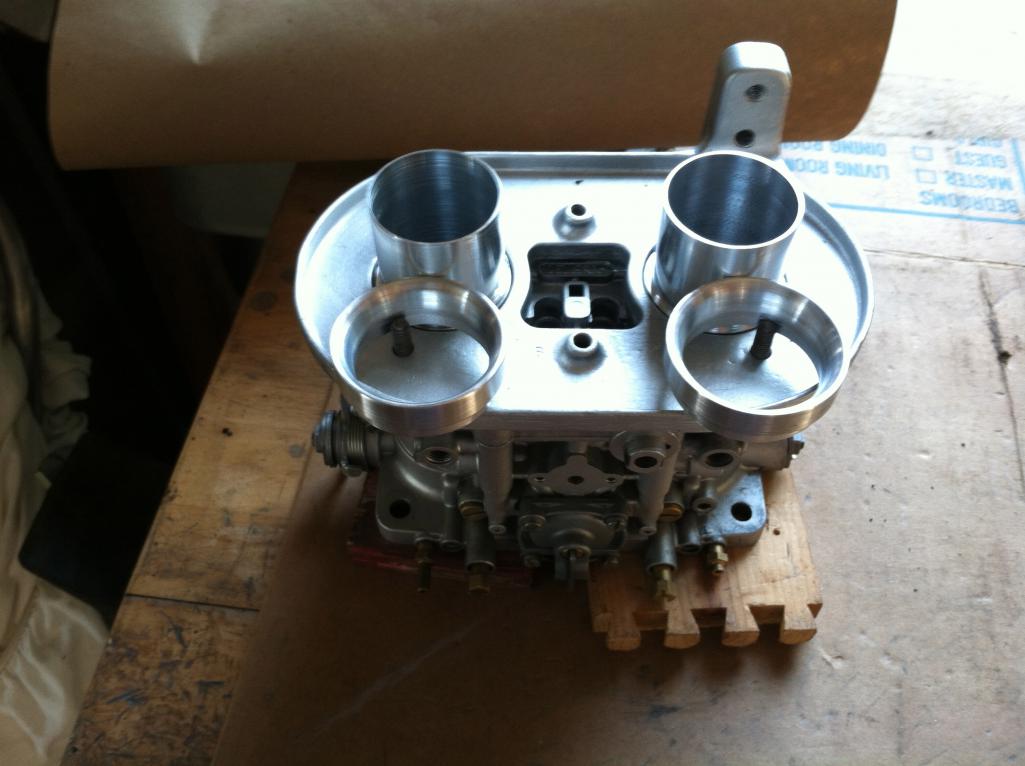 |
  |
1 User(s) are reading this topic (1 Guests and 0 Anonymous Users)
0 Members:

|
Lo-Fi Version | Time is now: 8th January 2025 - 07:57 PM |
Invision Power Board
v9.1.4 © 2025 IPS, Inc.


