|
|

|
Porsche, and the Porsche crest are registered trademarks of Dr. Ing. h.c. F. Porsche AG.
This site is not affiliated with Porsche in any way. Its only purpose is to provide an online forum for car enthusiasts. All other trademarks are property of their respective owners. |
|
|
  |
| CCE |
 Jun 27 2022, 04:15 PM Jun 27 2022, 04:15 PM
Post
#641
|
|
CCE   Group: Members Posts: 328 Joined: 28-December 21 From: Mexico Member No.: 26,203 Region Association: NineFourteenerVille 
|
That is an epic Build! Thanks for sharing
|
| Puebloswatcop |
 Jun 28 2022, 07:16 PM Jun 28 2022, 07:16 PM
Post
#642
|
|
Senior Member    Group: Members Posts: 1,401 Joined: 27-December 14 From: Mineola, Texas Member No.: 18,258 Region Association: Southwest Region |
So over the past several days between company and working not allot has been done, however I received some goodies via UPS thanks to Finishing and plating services in Wisconsin.
To start with I got my rear brake calipers back....All plated and ready for re-assembly. Before and After 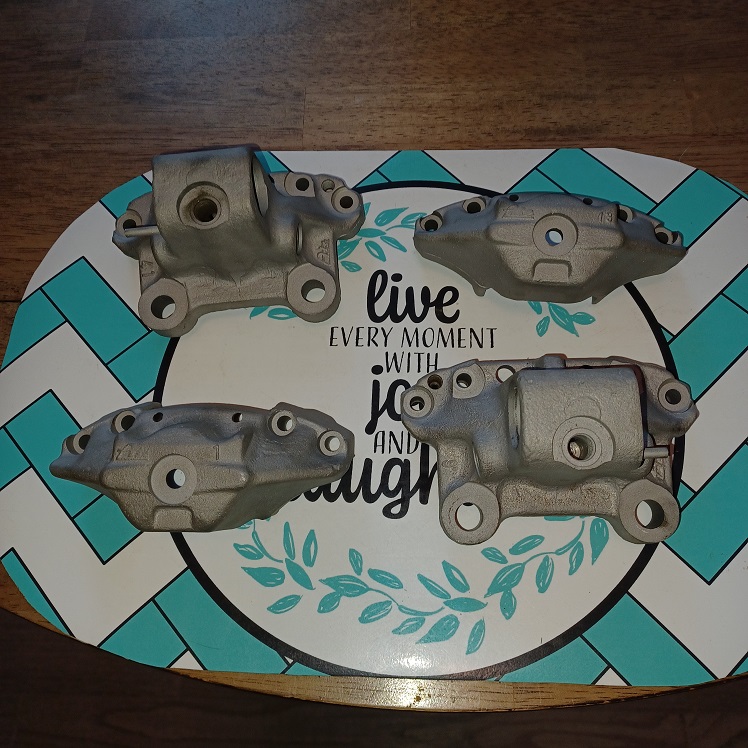 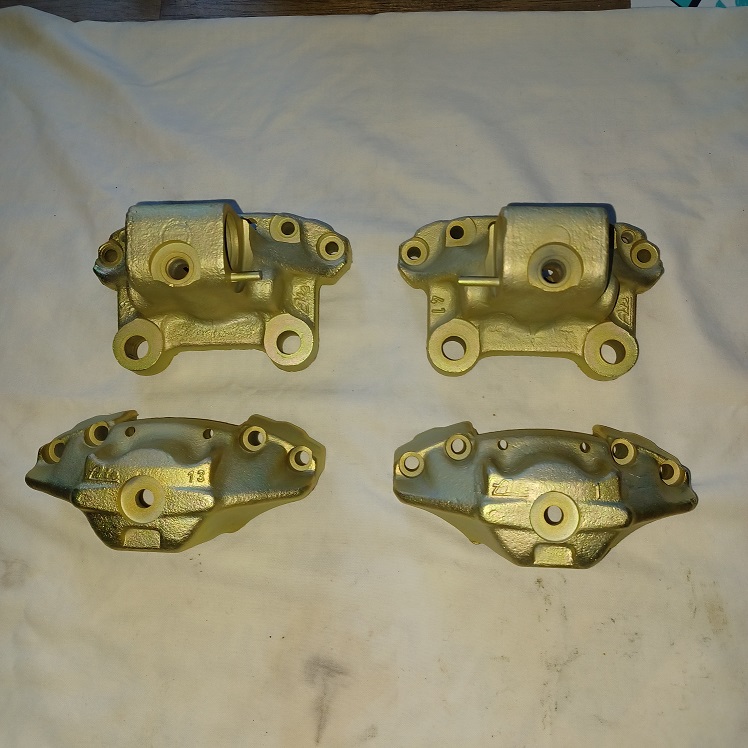 |
| Puebloswatcop |
 Jun 28 2022, 07:18 PM Jun 28 2022, 07:18 PM
Post
#643
|
|
Senior Member    Group: Members Posts: 1,401 Joined: 27-December 14 From: Mineola, Texas Member No.: 18,258 Region Association: Southwest Region |
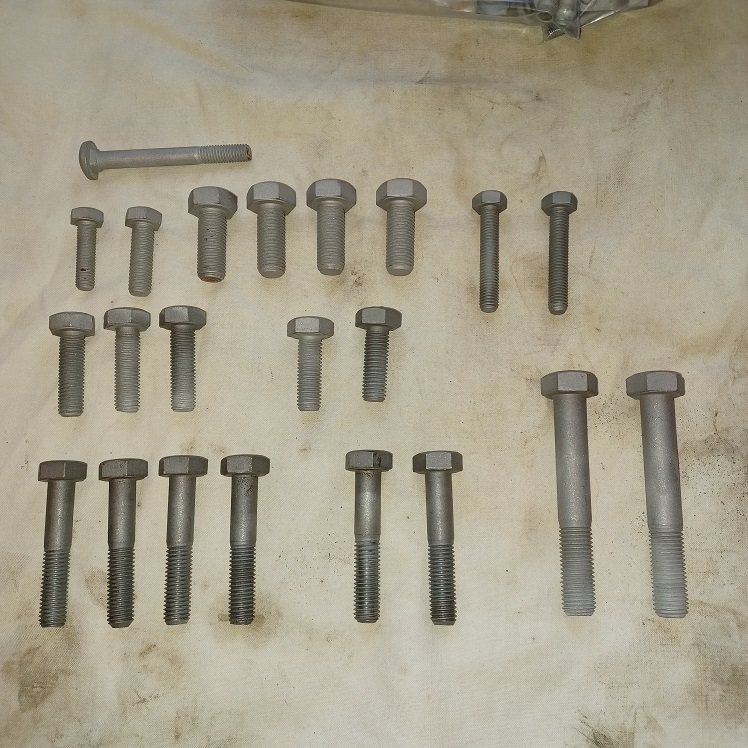
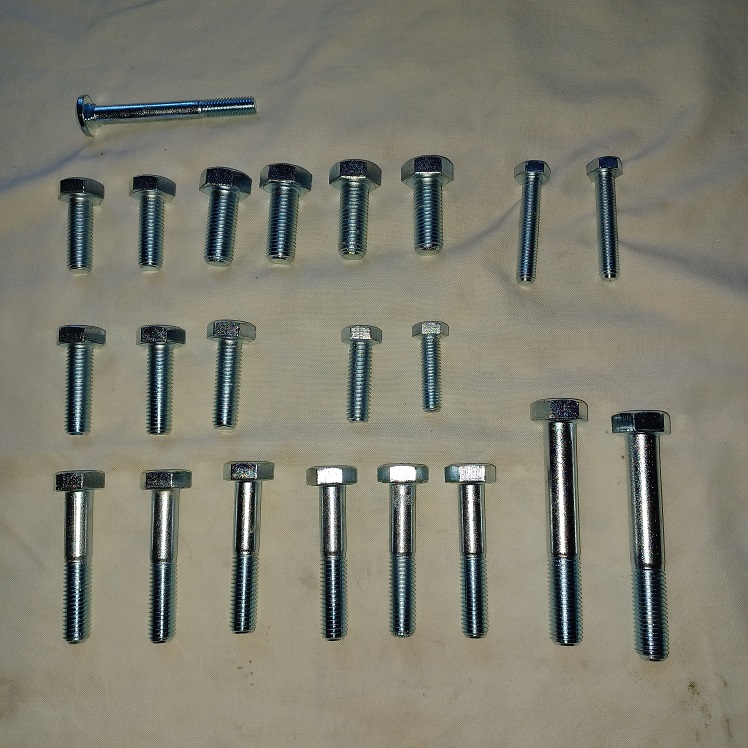
Miscellaneous clear hardware from things such as the suspension consoles
  |
| Puebloswatcop |
 Jun 28 2022, 07:24 PM Jun 28 2022, 07:24 PM
Post
#644
|
|
Senior Member    Group: Members Posts: 1,401 Joined: 27-December 14 From: Mineola, Texas Member No.: 18,258 Region Association: Southwest Region |
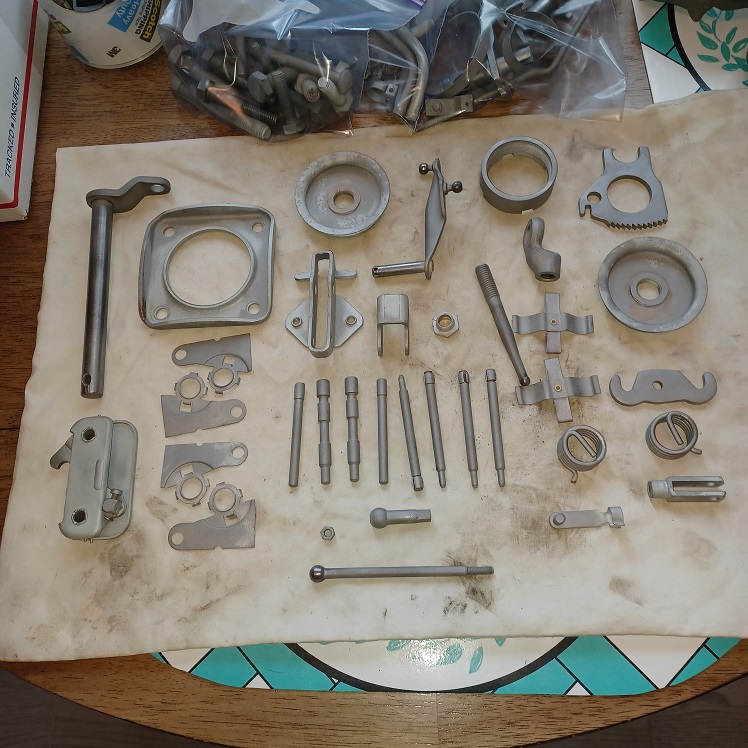
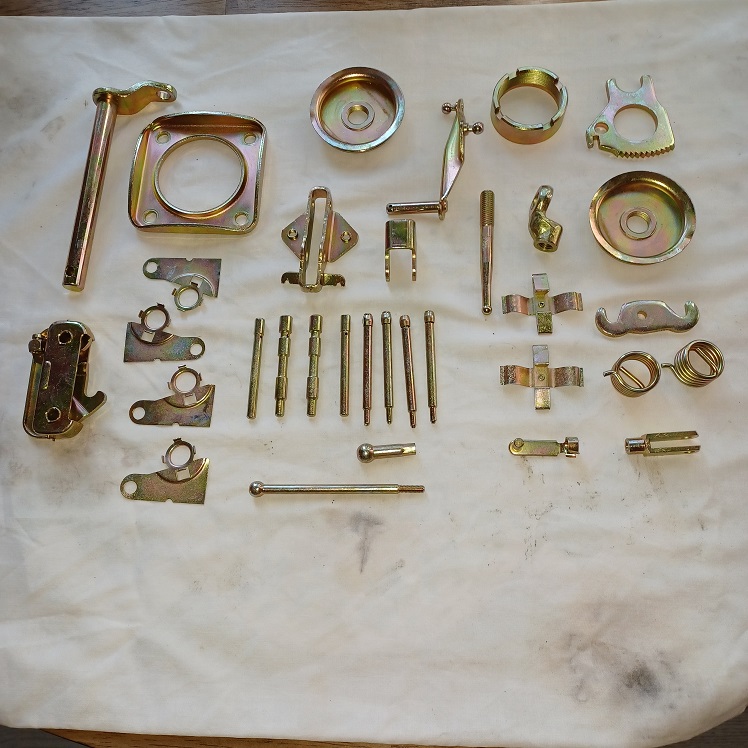
Misc parts, emergency brake parts, Brake parts, pedal cluster parts and the engine lid latch
  |
| Puebloswatcop |
 Jun 28 2022, 07:25 PM Jun 28 2022, 07:25 PM
Post
#645
|
|
Senior Member    Group: Members Posts: 1,401 Joined: 27-December 14 From: Mineola, Texas Member No.: 18,258 Region Association: Southwest Region |
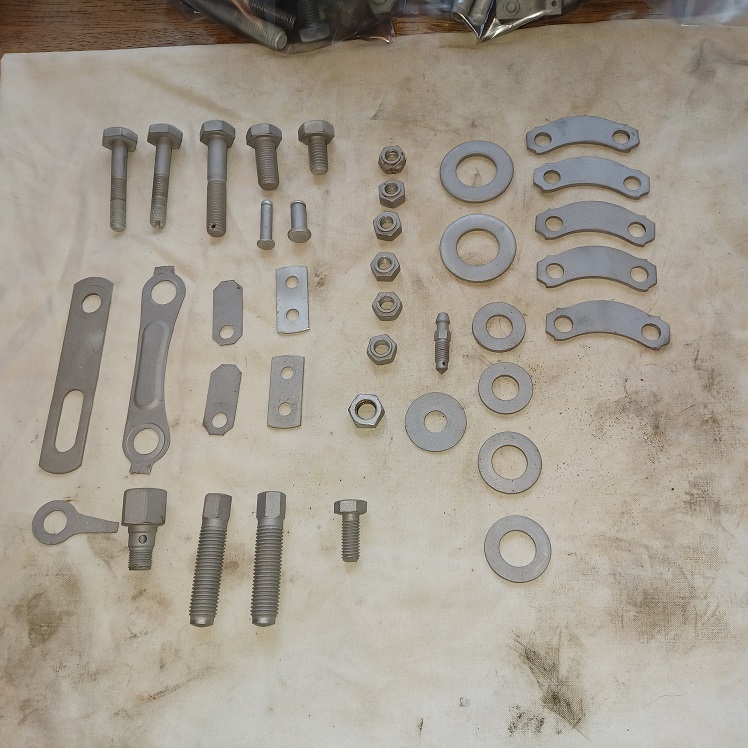
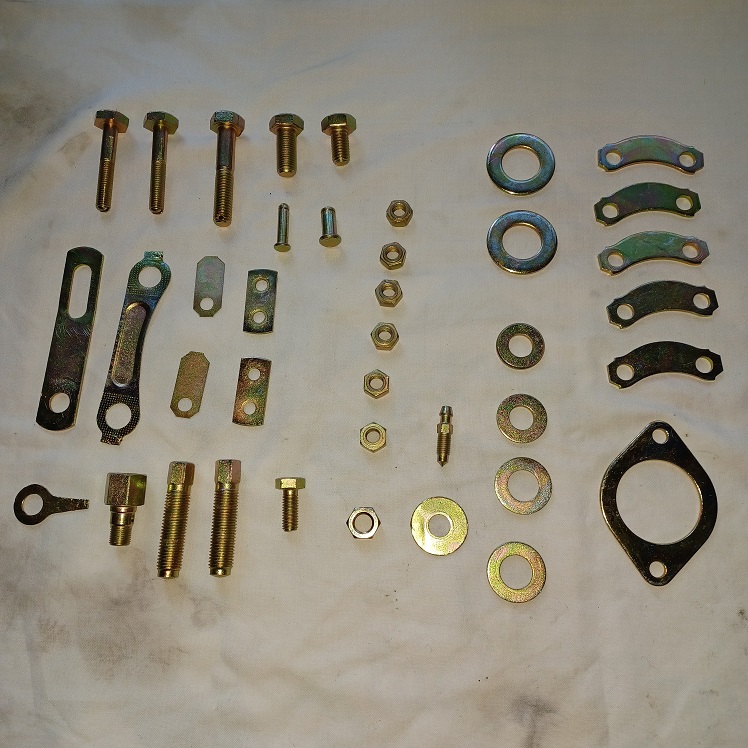
Misc specialized hardware
  |
| Puebloswatcop |
 Jun 28 2022, 07:28 PM Jun 28 2022, 07:28 PM
Post
#646
|
|
Senior Member    Group: Members Posts: 1,401 Joined: 27-December 14 From: Mineola, Texas Member No.: 18,258 Region Association: Southwest Region |
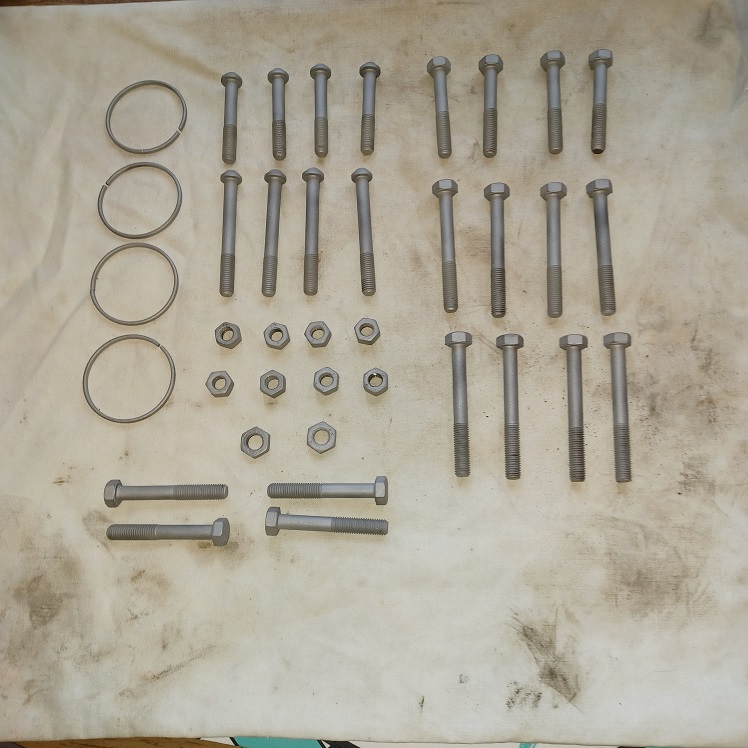
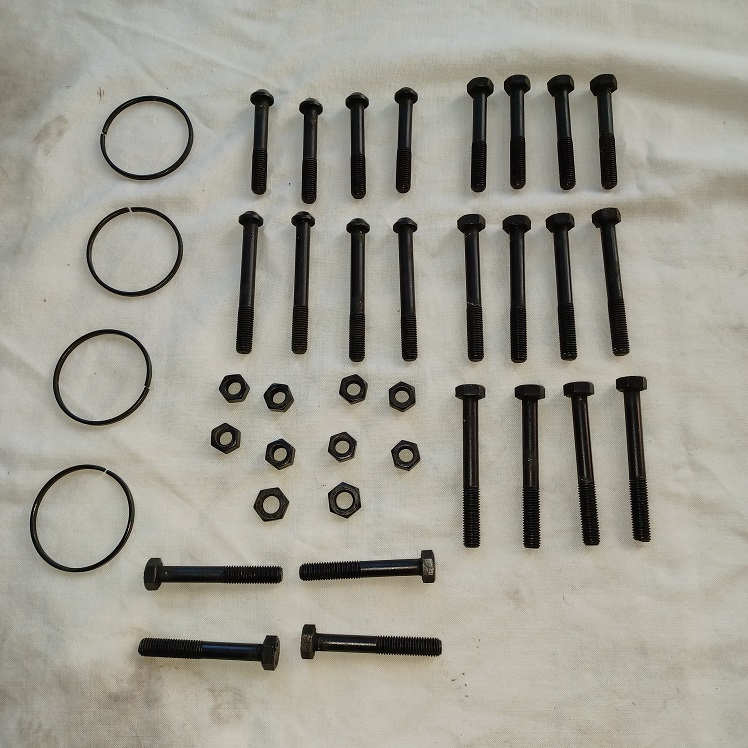
The black fasteners from the brake calipers
  |
| Puebloswatcop |
 Jun 28 2022, 07:31 PM Jun 28 2022, 07:31 PM
Post
#647
|
|
Senior Member    Group: Members Posts: 1,401 Joined: 27-December 14 From: Mineola, Texas Member No.: 18,258 Region Association: Southwest Region |
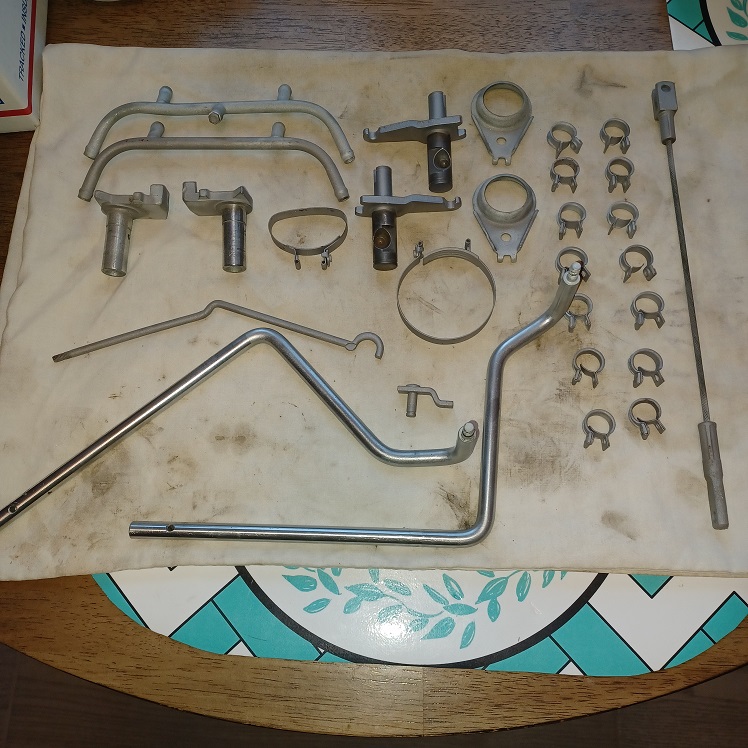
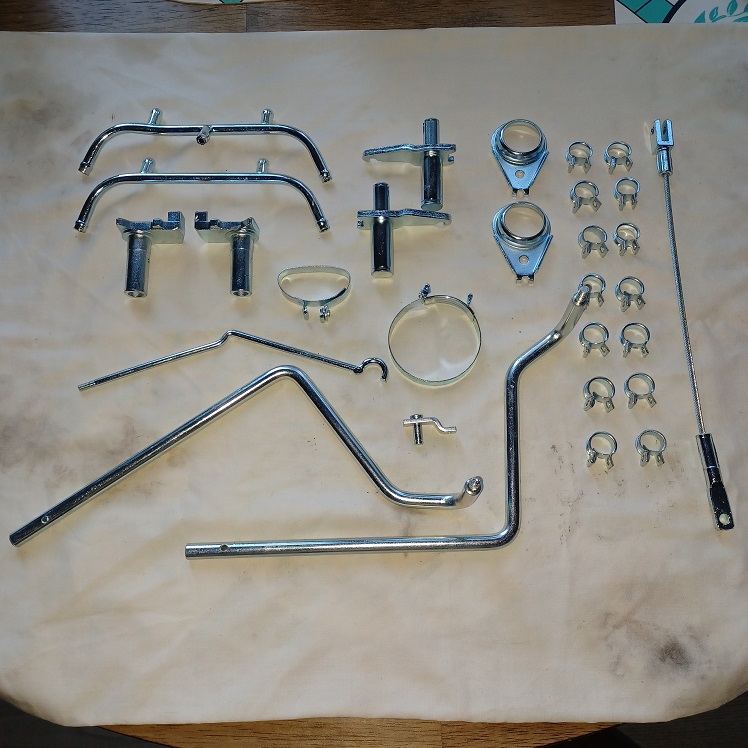
And also some seat mount hardware, FI parts, other misc clamps and brake hardware all done in clear zinc
  |
| Puebloswatcop |
 Jun 28 2022, 07:48 PM Jun 28 2022, 07:48 PM
Post
#648
|
|
Senior Member    Group: Members Posts: 1,401 Joined: 27-December 14 From: Mineola, Texas Member No.: 18,258 Region Association: Southwest Region |
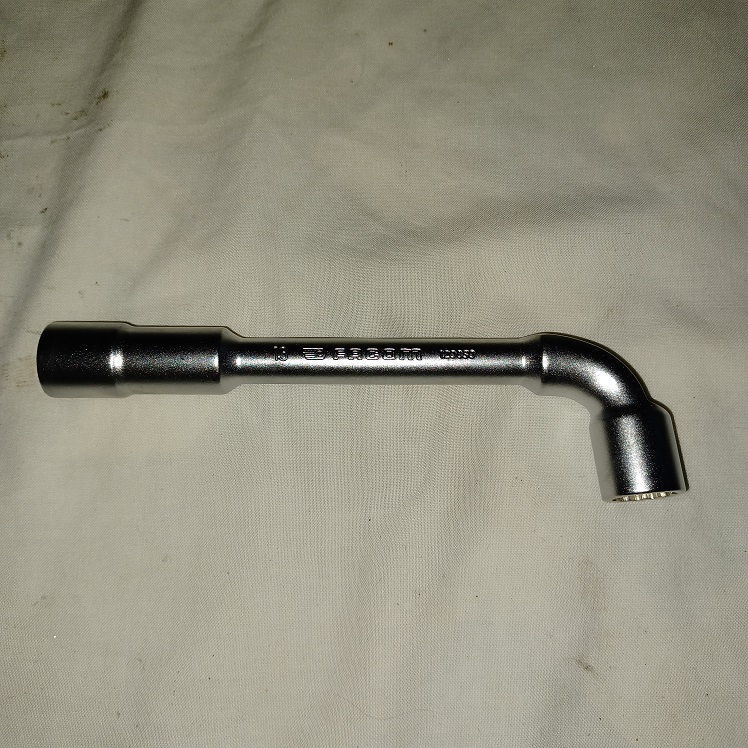
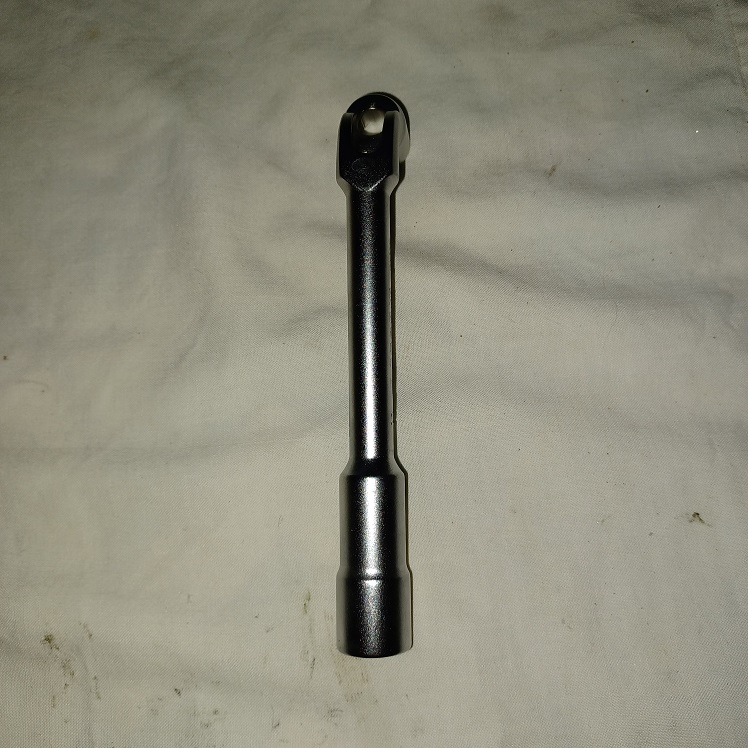
And then to top things off I got this as well, Thanks Bob (BKrantz) for turning me on to this tool. it is the perfect tool for setting the air gap on the rear brakes
  |
| bkrantz |
 Jun 28 2022, 07:50 PM Jun 28 2022, 07:50 PM
Post
#649
|
|
914 Guru      Group: Members Posts: 8,150 Joined: 3-August 19 From: SW Colorado Member No.: 23,343 Region Association: Rocky Mountains 
|
Freshly replaced parts are inspirational. I hope you had better luck remembering to send all the parts to the plating shop than me.
|
| bkrantz |
 Jun 28 2022, 07:51 PM Jun 28 2022, 07:51 PM
Post
#650
|
|
914 Guru      Group: Members Posts: 8,150 Joined: 3-August 19 From: SW Colorado Member No.: 23,343 Region Association: Rocky Mountains 
|
And then to top things off I got this as well, Thanks Bob (BKrantz) for turning me on to this tool. it is the perfect tool for setting the air gap on the rear brakes   Yep, that's the ideal tool. I often reach for that when I can't make up my mind about using a wrench or a socket. |
| Puebloswatcop |
 Jun 29 2022, 07:42 AM Jun 29 2022, 07:42 AM
Post
#651
|
|
Senior Member    Group: Members Posts: 1,401 Joined: 27-December 14 From: Mineola, Texas Member No.: 18,258 Region Association: Southwest Region |
Freshly replaced parts are inspirational. I hope you had better luck remembering to send all the parts to the plating shop than me. Funny you say that Bob. I always send off the box just to discover I missed 1 or 2 pieces. So I just save them up for the next batch....which of course costs me more $$$$ |
| Jamie |
 Jun 29 2022, 08:18 AM Jun 29 2022, 08:18 AM
Post
#652
|
|
Senior Member    Group: Members Posts: 1,072 Joined: 13-October 04 From: Georgetown,KY Member No.: 2,939 Region Association: South East States 
|
Hey Slacker (IMG:style_emoticons/default/av-943.gif) , that color is gonna be nice, good choice. One thing to think about if you haven't already.. is at the bottom horizontal seam of the firewall make sure you've got the holes drilled for the little black plastic air diverters. If I recall, they're bigger holes than just sheet-metal screw size because of the way they mount. Yep they are already drilled. Measured those out and drilled them quit awhile back....I think they are hard to see in the pic. I was pretty excited when I was finally able to do a side by side comparison on the colors. Light green, ravenna green and the Acid green....acid green was definitely the hands down winner..... There will be no excuse when people say they didn't see ya' coming! (IMG:style_emoticons/default/agree.gif) |
| Puebloswatcop |
 Jun 29 2022, 07:31 PM Jun 29 2022, 07:31 PM
Post
#653
|
|
Senior Member    Group: Members Posts: 1,401 Joined: 27-December 14 From: Mineola, Texas Member No.: 18,258 Region Association: Southwest Region |
So although I didn't have allot of time today I decided to at least put the E-brake handle back together. All new or replated parts. The part at the yellow pointer was listed as NLA, but a lot of checking around and I was able to find it...although I am sure I could have come up with an alternative fix.
The black arrow shows the orientation of the rod that goes inside the handle it is the only way to get the rod in. this rod is what activates the pawl that locks the brake handle in the locked position. 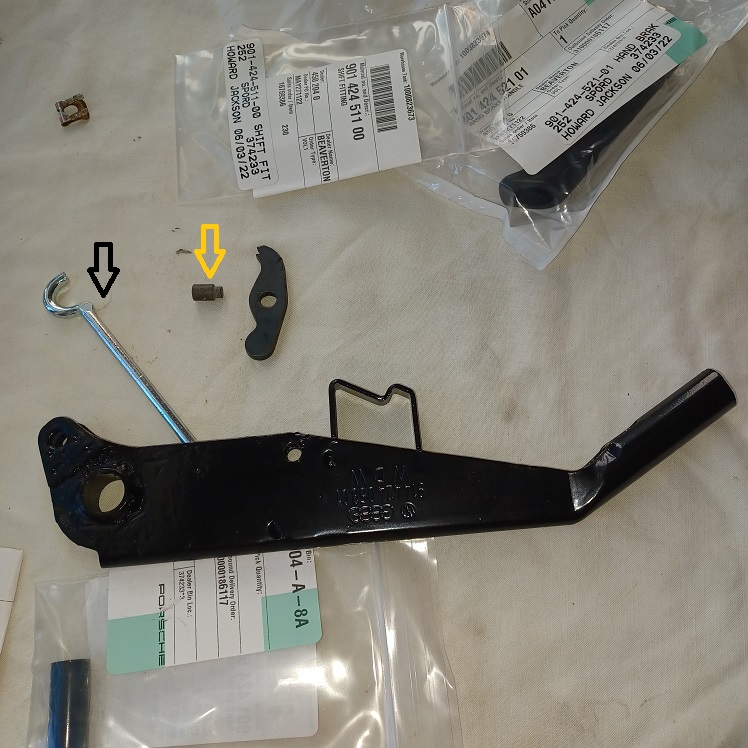 |
| Puebloswatcop |
 Jun 29 2022, 07:50 PM Jun 29 2022, 07:50 PM
Post
#654
|
|
Senior Member    Group: Members Posts: 1,401 Joined: 27-December 14 From: Mineola, Texas Member No.: 18,258 Region Association: Southwest Region |
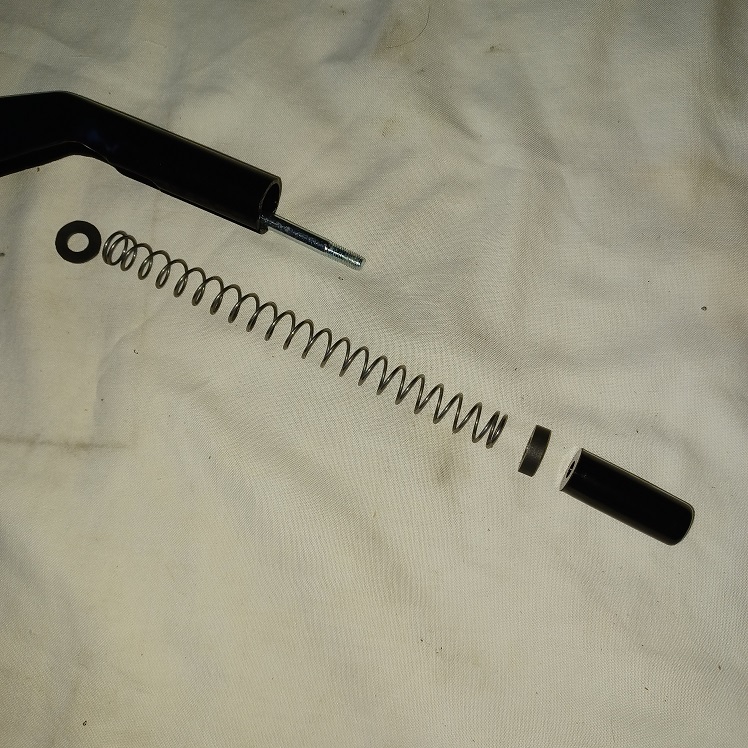
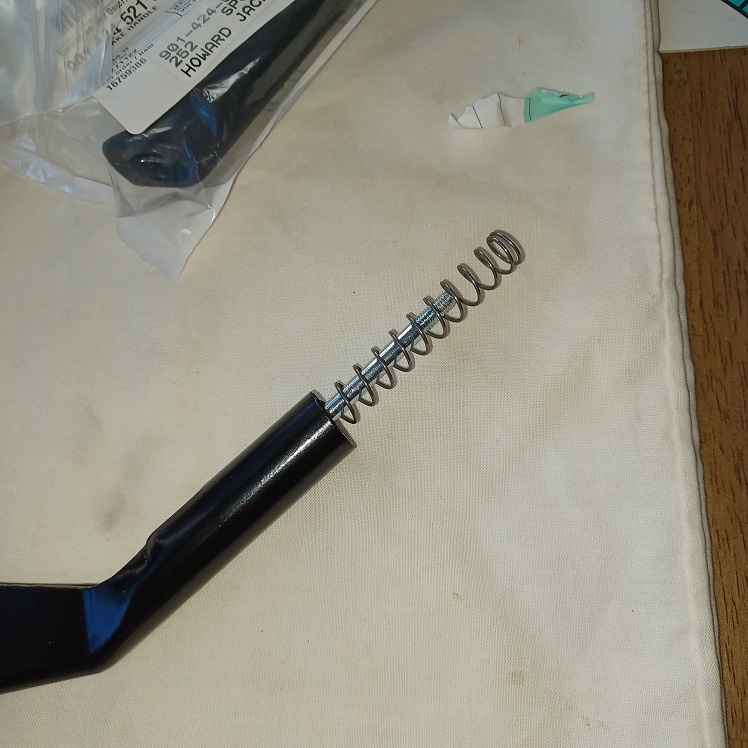
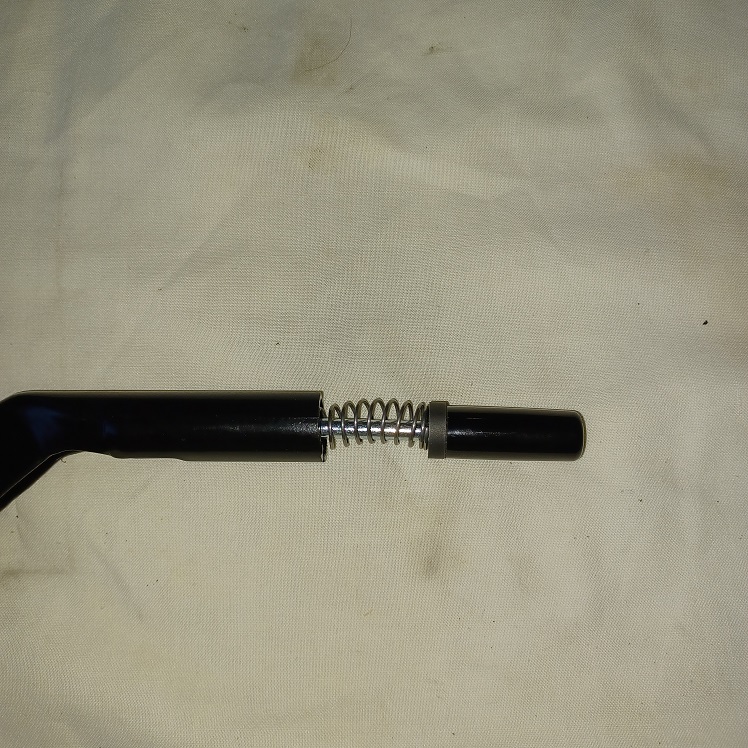
The spring that goes over the rod and inside the handle consists of 4 parts, the first is a flat washer, then the spring, then a collar of the same ID and OD as the washer, but about 4 times thicker, and last the button screws on to hold it all in place.
   |
| Puebloswatcop |
 Jun 29 2022, 07:53 PM Jun 29 2022, 07:53 PM
Post
#655
|
|
Senior Member    Group: Members Posts: 1,401 Joined: 27-December 14 From: Mineola, Texas Member No.: 18,258 Region Association: Southwest Region |
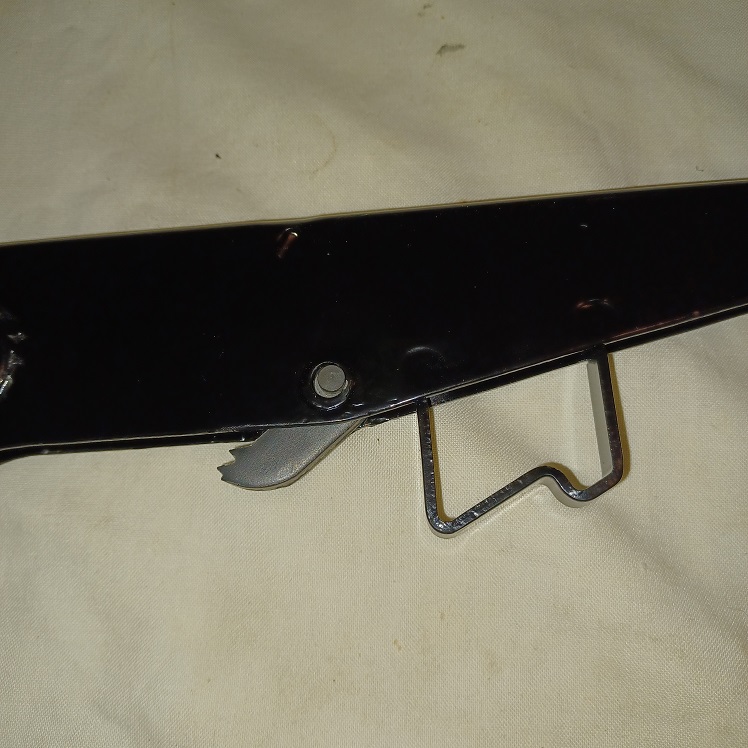
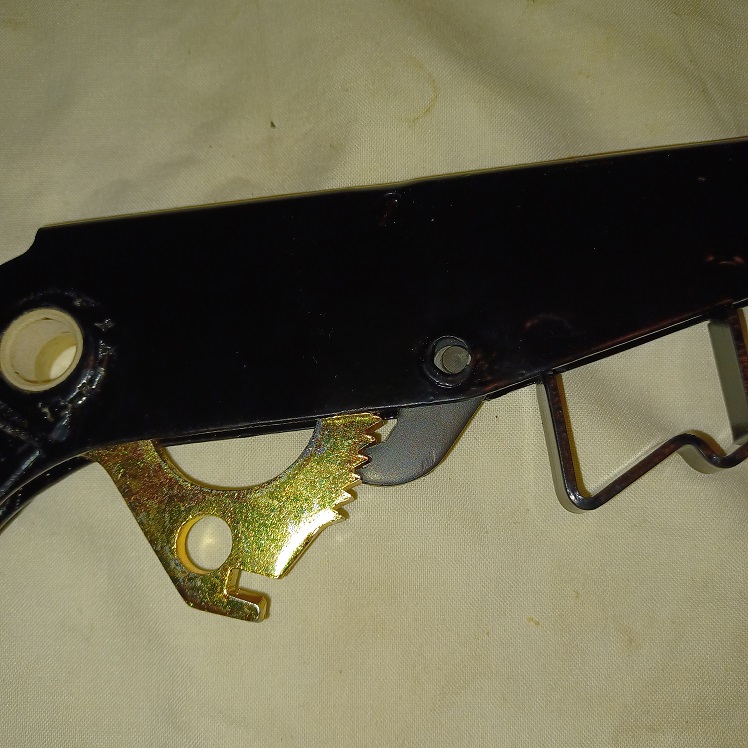
Next you move down to where the pawl has to be installed. You have to push the button to alighn the rod with where the pawl installs. then slide in the pawl with the teeth facing the base of the housing and line up the hole to install the retaining pin.
 |
| Puebloswatcop |
 Jun 29 2022, 07:57 PM Jun 29 2022, 07:57 PM
Post
#656
|
|
Senior Member    Group: Members Posts: 1,401 Joined: 27-December 14 From: Mineola, Texas Member No.: 18,258 Region Association: Southwest Region |
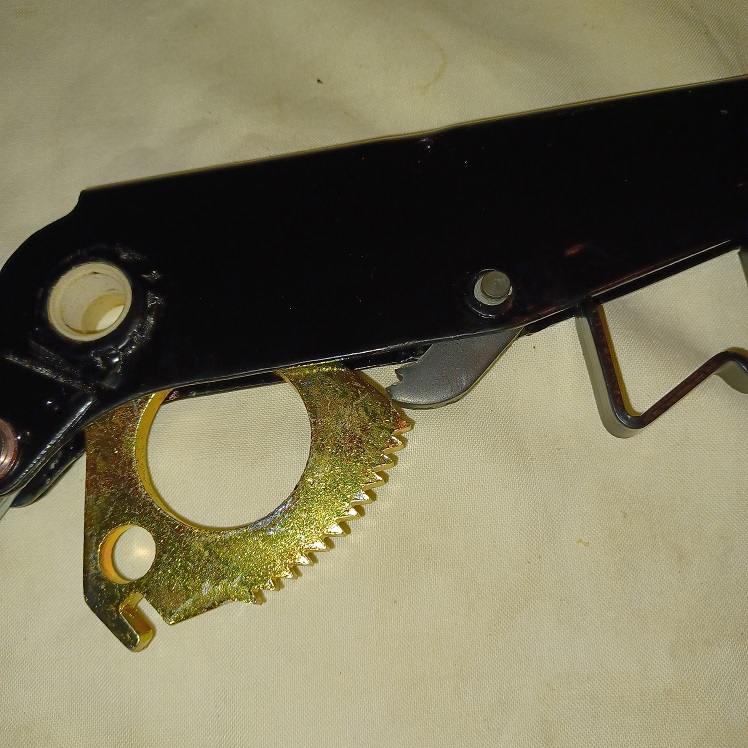
Then you slide the ratchet portion into the base of the housing, push the button to pull the pawl away from the ratchet and push the ratchet up inside.
  |
| Puebloswatcop |
 Jun 29 2022, 08:00 PM Jun 29 2022, 08:00 PM
Post
#657
|
|
Senior Member    Group: Members Posts: 1,401 Joined: 27-December 14 From: Mineola, Texas Member No.: 18,258 Region Association: Southwest Region |
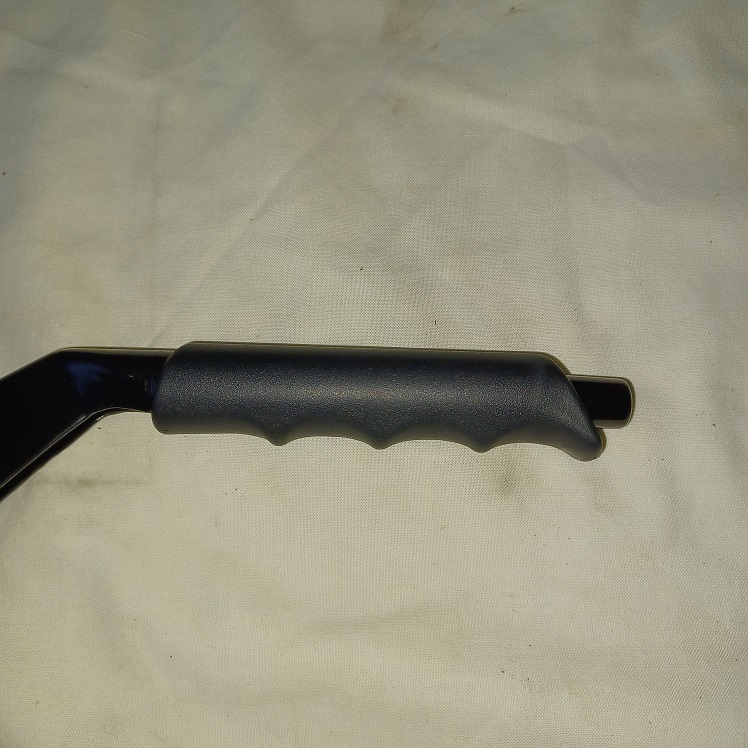
Last thing for the e-brake handle assembly is sliding the actual handle in place. I have heard that on some you have to heat them up to get them on. Mine is an actual Porsche part and it slides right on, in fact I will have to glue it in place.
 |
| Puebloswatcop |
 Jun 29 2022, 08:06 PM Jun 29 2022, 08:06 PM
Post
#658
|
|
Senior Member    Group: Members Posts: 1,401 Joined: 27-December 14 From: Mineola, Texas Member No.: 18,258 Region Association: Southwest Region |
I also installed the cable that runs to the e-bake handle as well as the bushing that goes inside the e-brake handle and the mount post in the car. The bushig fits very tightly inside the handle base, so I very gently hammered into the base with a plastic mallet.
And with that the assembly is complete. 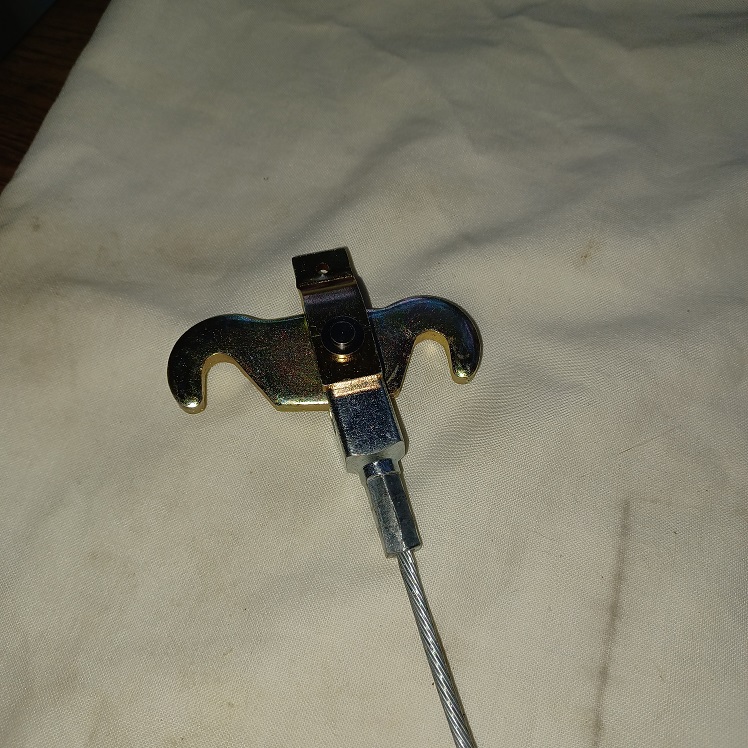 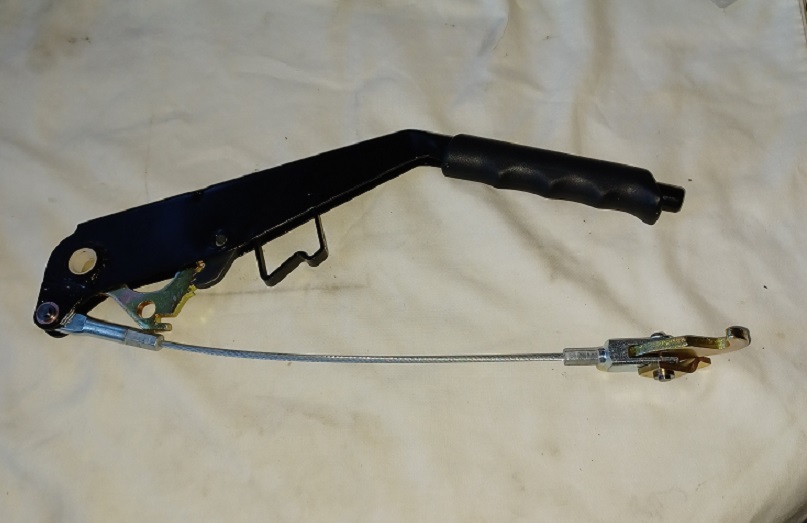 |
| Puebloswatcop |
 Jul 1 2022, 06:28 PM Jul 1 2022, 06:28 PM
Post
#659
|
|
Senior Member    Group: Members Posts: 1,401 Joined: 27-December 14 From: Mineola, Texas Member No.: 18,258 Region Association: Southwest Region |
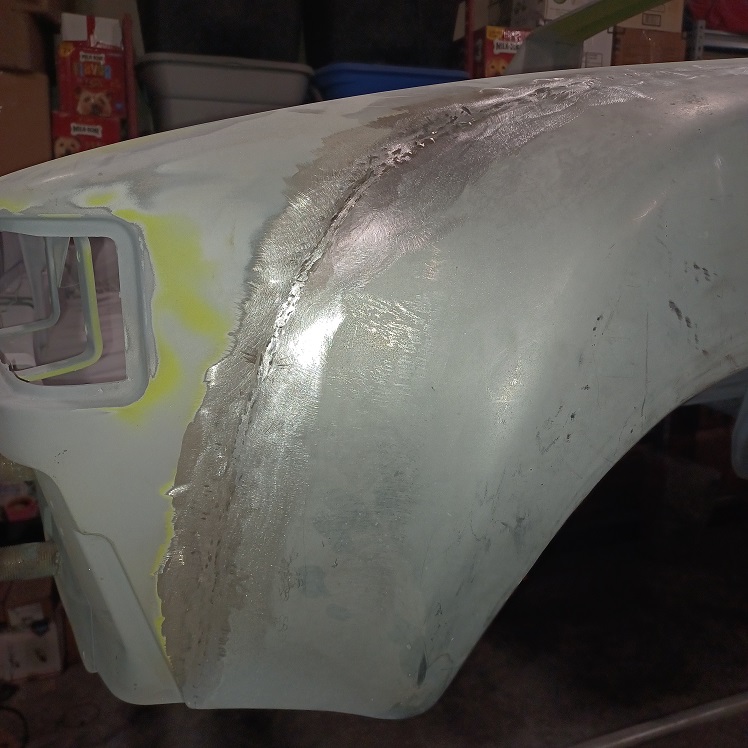
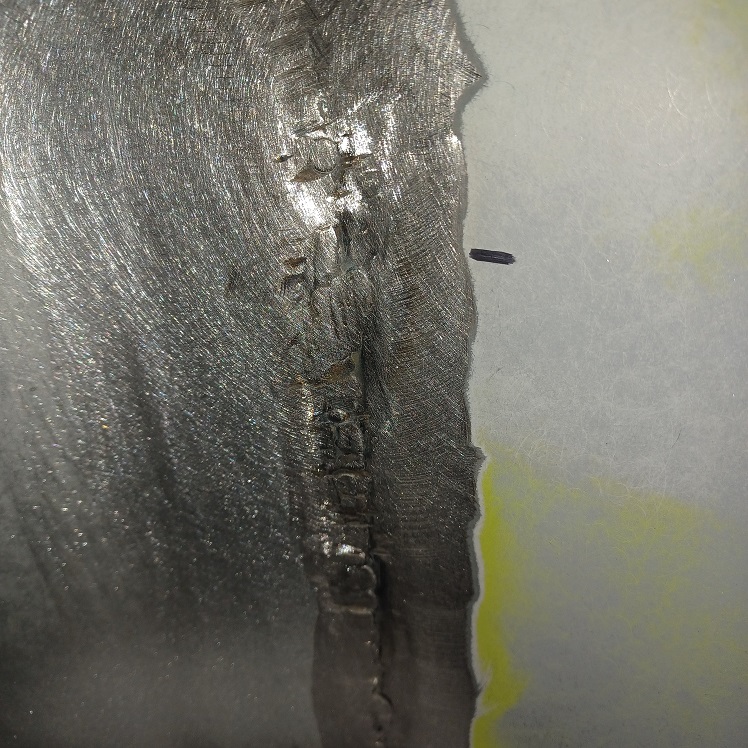
This weekend is going to be spent on body work. So today I started on the passenger side flares. First was to fill over the top of the joint line.
  |
| Puebloswatcop |
 Jul 1 2022, 06:29 PM Jul 1 2022, 06:29 PM
Post
#660
|
|
Senior Member    Group: Members Posts: 1,401 Joined: 27-December 14 From: Mineola, Texas Member No.: 18,258 Region Association: Southwest Region |
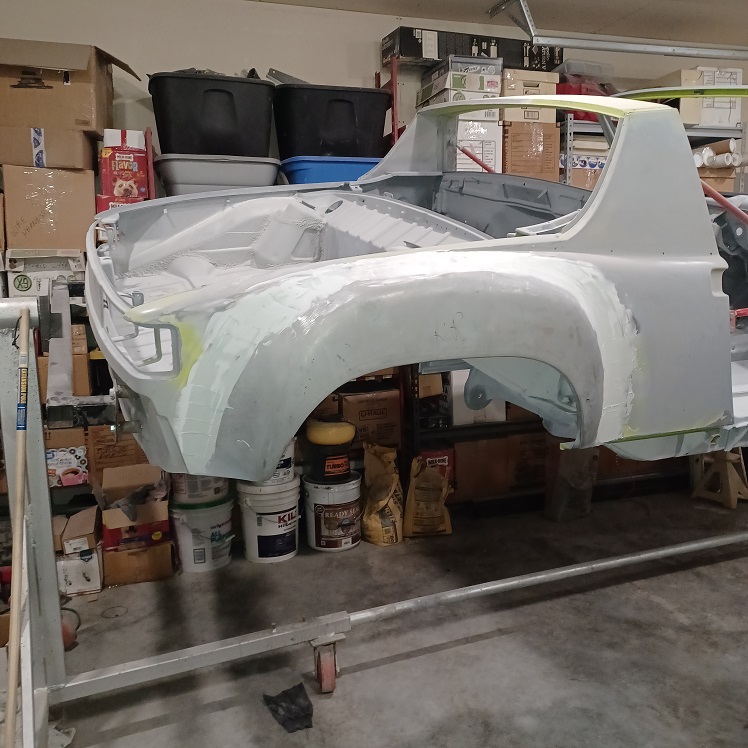
First coat of filler on the rear fender
 |
  |
2 User(s) are reading this topic (2 Guests and 0 Anonymous Users)
0 Members:

|
Lo-Fi Version | Time is now: 25th November 2024 - 06:18 PM |
Invision Power Board
v9.1.4 © 2024 IPS, Inc.


