|
|

|
Porsche, and the Porsche crest are registered trademarks of Dr. Ing. h.c. F. Porsche AG.
This site is not affiliated with Porsche in any way. Its only purpose is to provide an online forum for car enthusiasts. All other trademarks are property of their respective owners. |
|
|
  |
| Puebloswatcop |
 Jul 1 2022, 06:34 PM Jul 1 2022, 06:34 PM
Post
#661
|
|
Senior Member    Group: Members Posts: 1,401 Joined: 27-December 14 From: Mineola, Texas Member No.: 18,258 Region Association: Southwest Region |
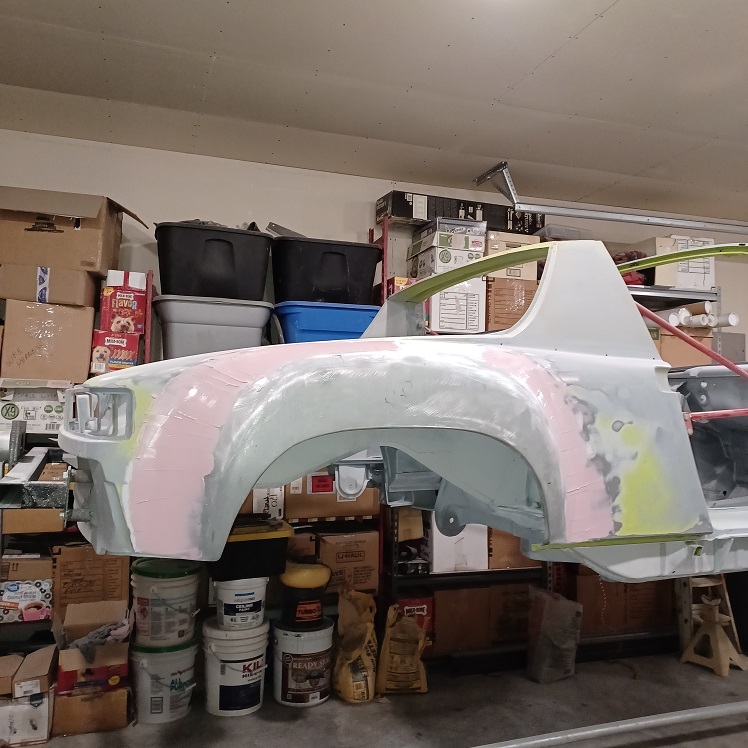
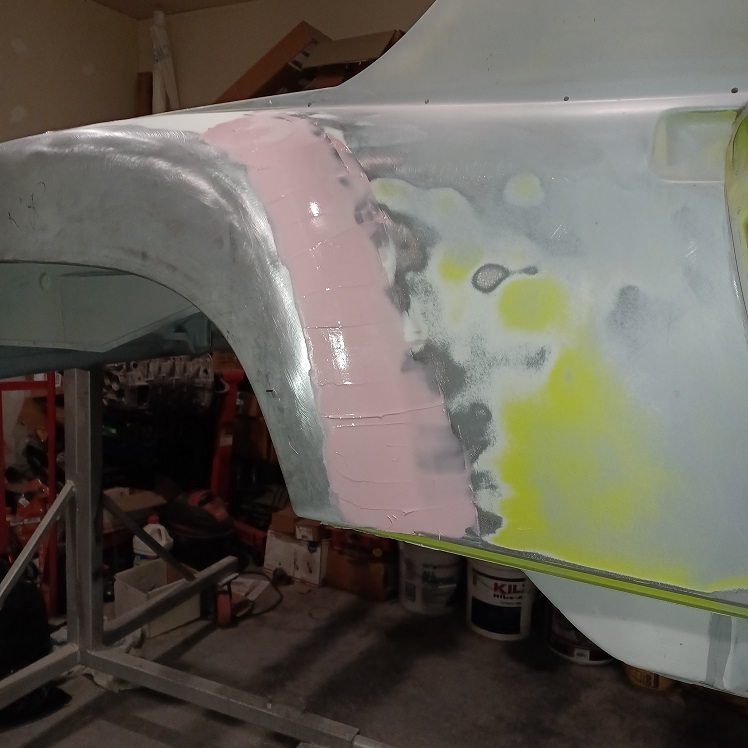
After sanding out the first coat, I found I still had some pretty deep low spots in the seam, so I put on a second coat. I am using Evercoat Rage Optex filler.. It nice because it starts out pink and then as it hardens turns a green color. Not that I am in a hurry to start sanding, but it lets me know when its ready....
  |
| Puebloswatcop |
 Jul 1 2022, 06:35 PM Jul 1 2022, 06:35 PM
Post
#662
|
|
Senior Member    Group: Members Posts: 1,401 Joined: 27-December 14 From: Mineola, Texas Member No.: 18,258 Region Association: Southwest Region |
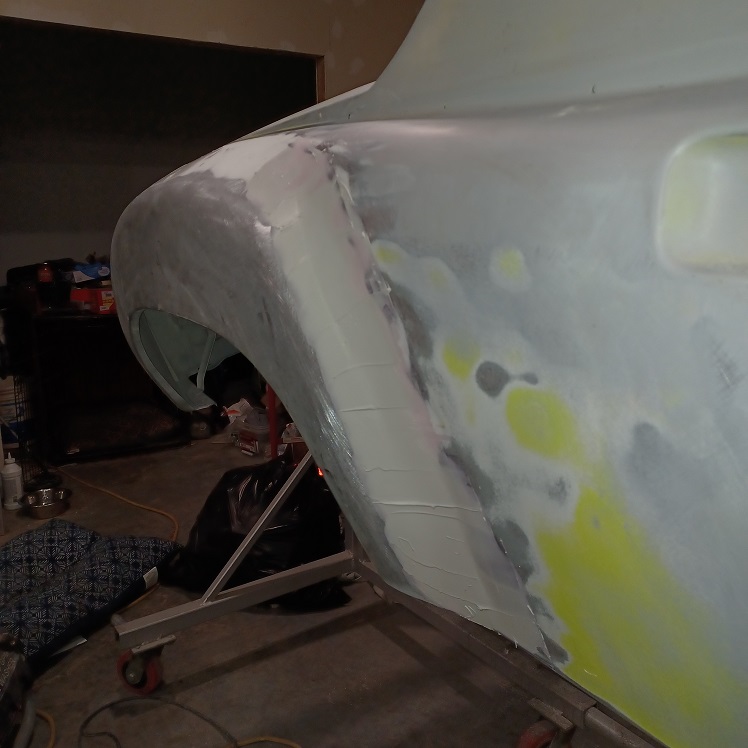
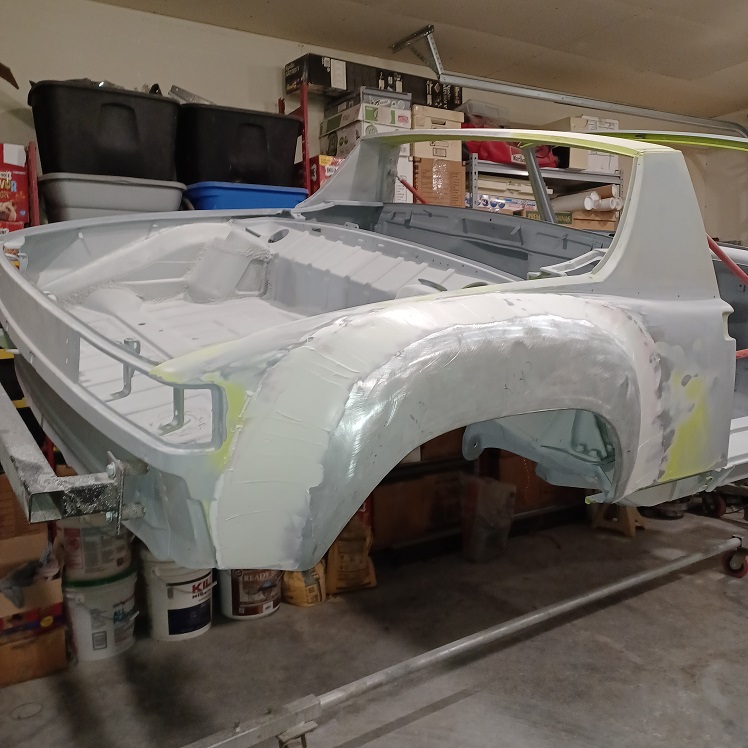
After about 10 minutes...
  |
| Puebloswatcop |
 Jul 1 2022, 06:41 PM Jul 1 2022, 06:41 PM
Post
#663
|
|
Senior Member    Group: Members Posts: 1,401 Joined: 27-December 14 From: Mineola, Texas Member No.: 18,258 Region Association: Southwest Region |
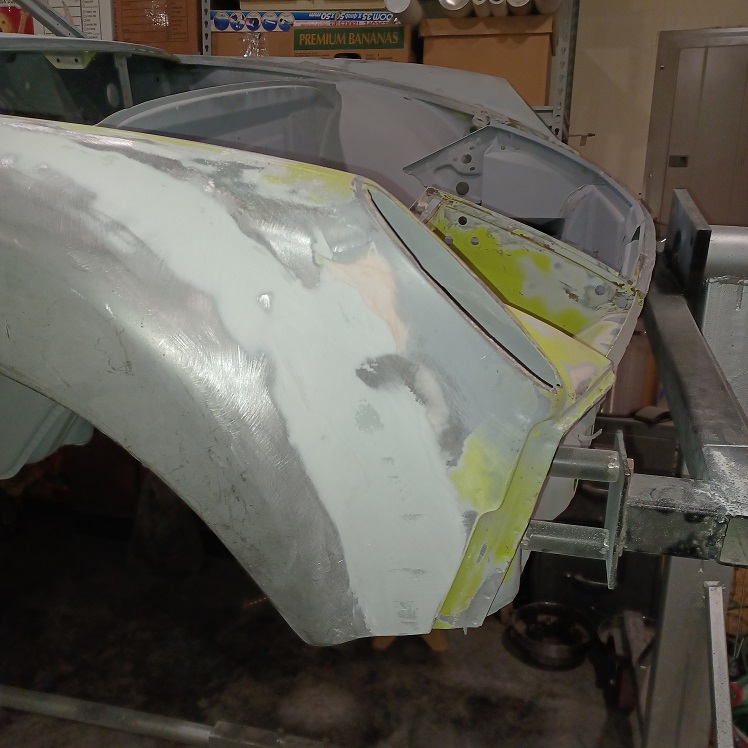
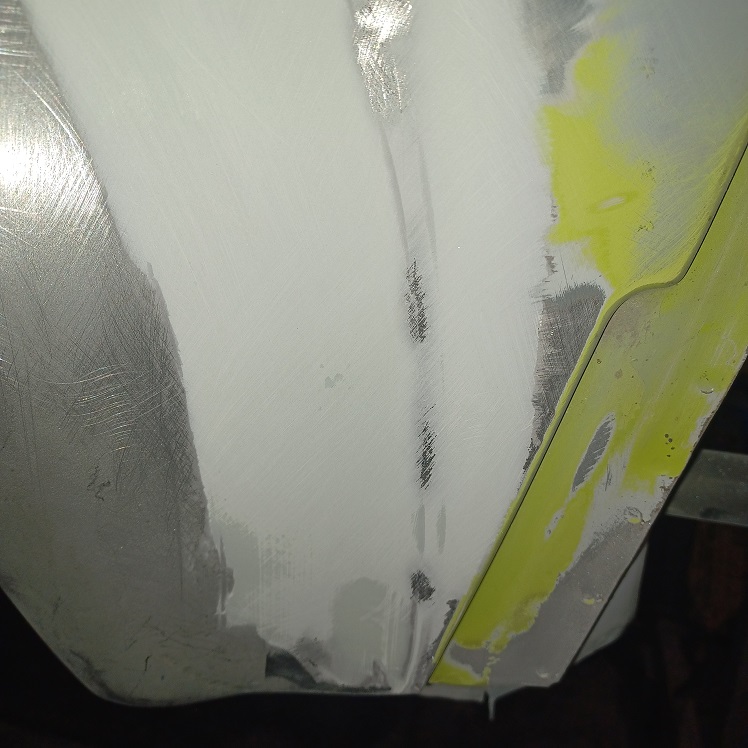
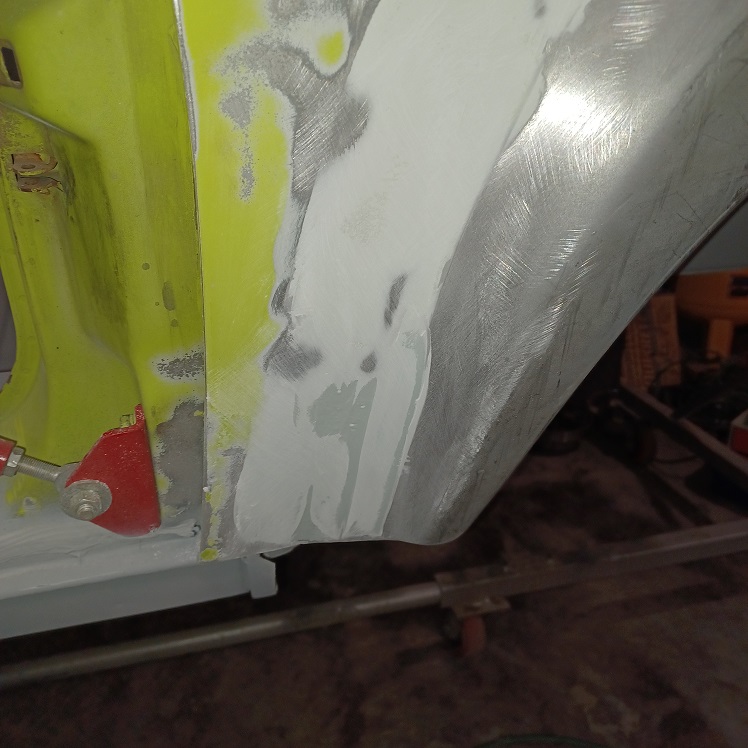
First coat of filler on the front fender....starting to take shape.
   |
| Puebloswatcop |
 Jul 1 2022, 07:07 PM Jul 1 2022, 07:07 PM
Post
#664
|
|
Senior Member    Group: Members Posts: 1,401 Joined: 27-December 14 From: Mineola, Texas Member No.: 18,258 Region Association: Southwest Region |
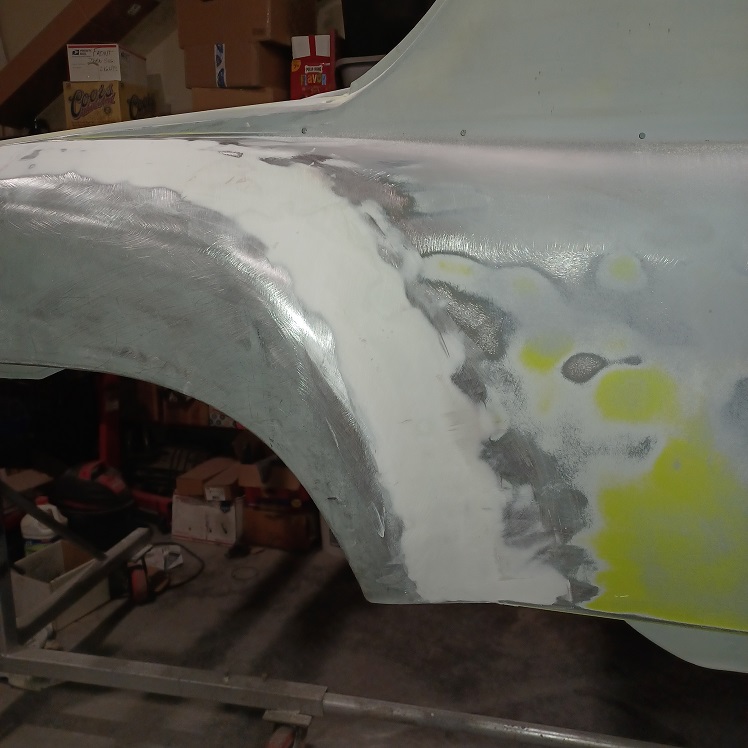
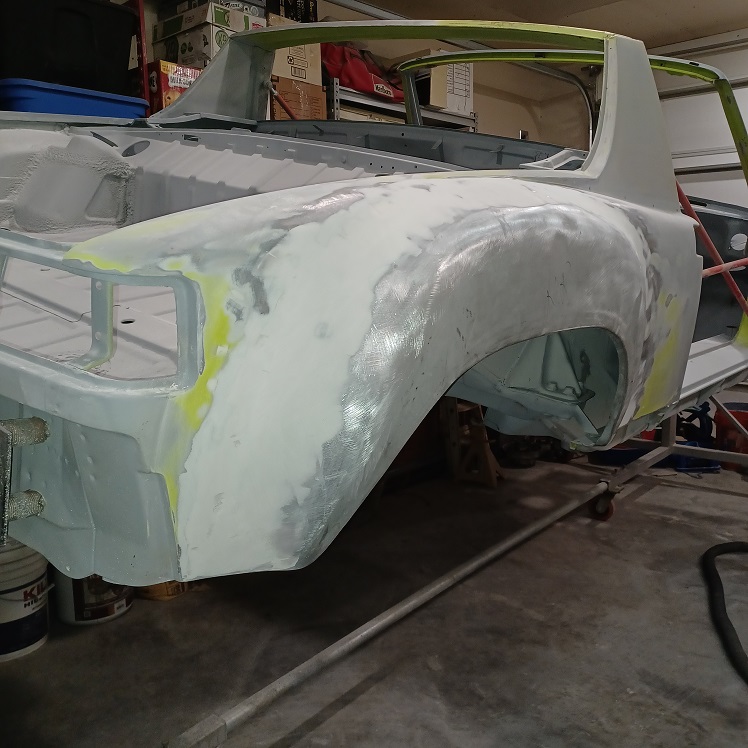
After the initial sanding of the second coat on the rear fender, I am much happier with the contour....
  |
| 9146C |
 Jul 2 2022, 06:03 AM Jul 2 2022, 06:03 AM
Post
#665
|
|
Member   Group: Members Posts: 228 Joined: 14-September 19 From: US Member No.: 23,460 Region Association: None 
|
Looks really good Kevin! I remember this part caused me a lot of frustration to try to get it right. I recall it wasn't until after the 3rd coat of primer that I was happy with it. Not trying to discourage you...it's all about patience.
One thing that worked well for me...on the contour areas, I hand-sanded using sandpaper wrapped around a foot long section of 2" PVC. While sanding, I just rotated the PVC "block" to the contour. The other key for me...maybe I'm just getting old and my eyes aren't what they used to be...rolling my car into natural light (outdoors) helped to easily see imperfections after I thought I was "done" (with single color primer applied for visual contrast). When you pay a bodyshop to do this, remember the difference between a quality job and a "Maaco job" is the time spent in prep. Keep up the good work...it's coming together nicely! |
| Puebloswatcop |
 Jul 2 2022, 06:32 AM Jul 2 2022, 06:32 AM
Post
#666
|
|
Senior Member    Group: Members Posts: 1,401 Joined: 27-December 14 From: Mineola, Texas Member No.: 18,258 Region Association: Southwest Region |
Looks really good Kevin! I remember this part caused me a lot of frustration to try to get it right. I recall it wasn't until after the 3rd coat of primer that I was happy with it. Not trying to discourage you...it's all about patience. One thing that worked well for me...on the contour areas, I hand-sanded using sandpaper wrapped around a foot long section of 2" PVC. While sanding, I just rotated the PVC "block" to the contour. The other key for me...maybe I'm just getting old and my eyes aren't what they used to be...rolling my car into natural light (outdoors) helped to easily see imperfections after I thought I was "done" (with single color primer applied for visual contrast). When you pay a bodyshop to do this, remember the difference between a quality job and a "Maaco job" is the time spent in prep. Keep up the good work...it's coming together nicely! Thanks Rob, Not discouraging at all. In fact encouraging. I never liked doing bodywork before but I am actually enjoying it at this point. I knew this part was going to be the most challenging, blending in the flares, but I feel I am up to the challenge and am learning allot along the way. I'm certainly going for the quality and have plenty of time. When I get frustrated I just stop, have a beer and then move along....I love retirement....lol |
| Puebloswatcop |
 Jul 2 2022, 04:56 PM Jul 2 2022, 04:56 PM
Post
#667
|
|
Senior Member    Group: Members Posts: 1,401 Joined: 27-December 14 From: Mineola, Texas Member No.: 18,258 Region Association: Southwest Region |
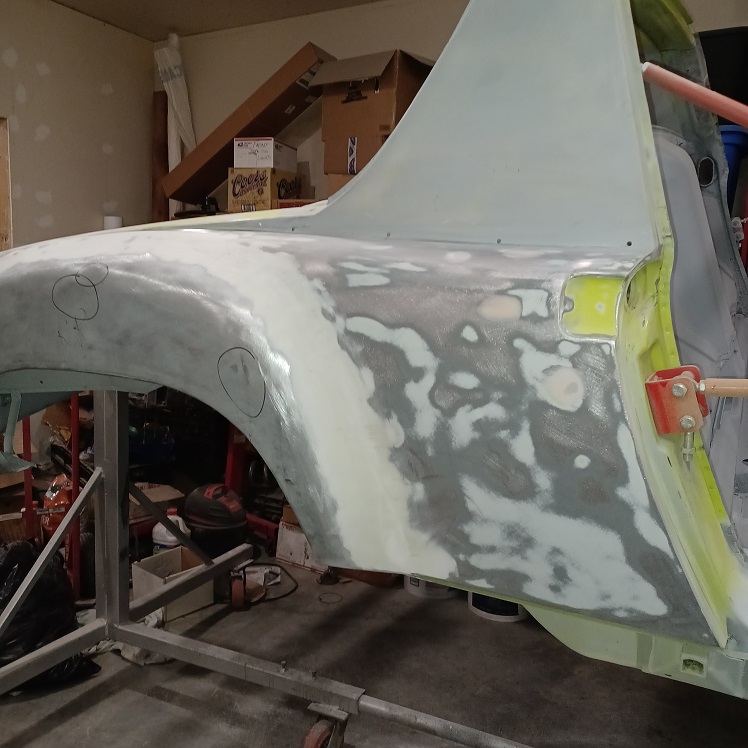
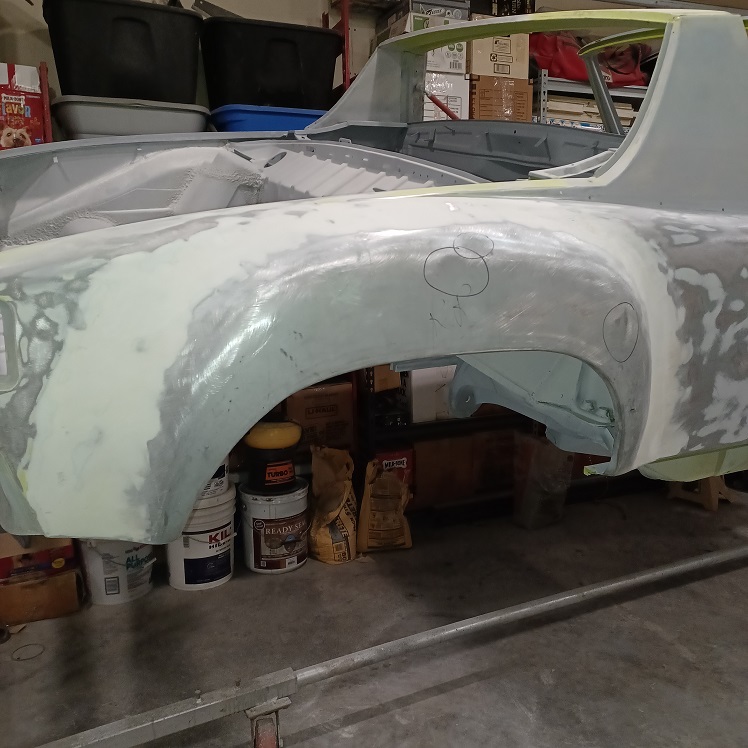
Today I decided to concentrate on the right rear fender...I started off by identifying the more obvious low spots and sanding off any old existing paint. Some of the paint was original but some was very chalky looking and I think it had been painted later in its life with very cheap paint, so all traces of green had to go.
  |
| Puebloswatcop |
 Jul 2 2022, 04:59 PM Jul 2 2022, 04:59 PM
Post
#668
|
|
Senior Member    Group: Members Posts: 1,401 Joined: 27-December 14 From: Mineola, Texas Member No.: 18,258 Region Association: Southwest Region |
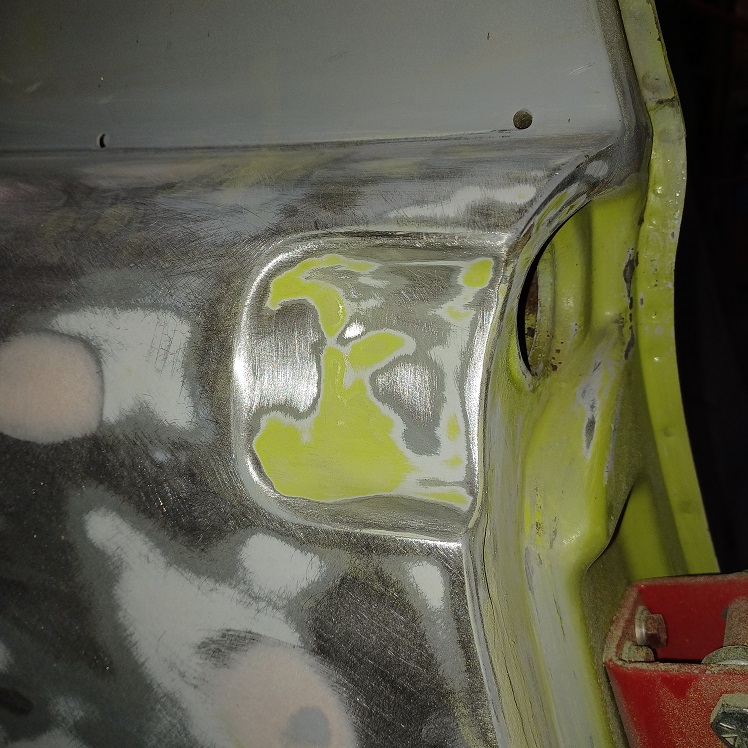
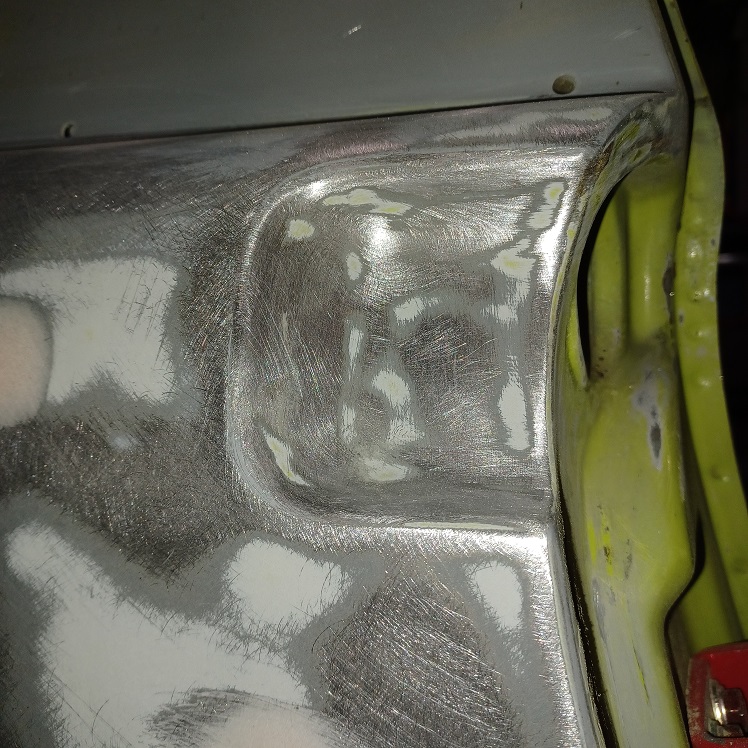
That included all traces of green from the door handle area, what a PIA. All had to be done by hand because of the tight confines, so about an hour of sanding....
  |
| Puebloswatcop |
 Jul 2 2022, 05:00 PM Jul 2 2022, 05:00 PM
Post
#669
|
|
Senior Member    Group: Members Posts: 1,401 Joined: 27-December 14 From: Mineola, Texas Member No.: 18,258 Region Association: Southwest Region |
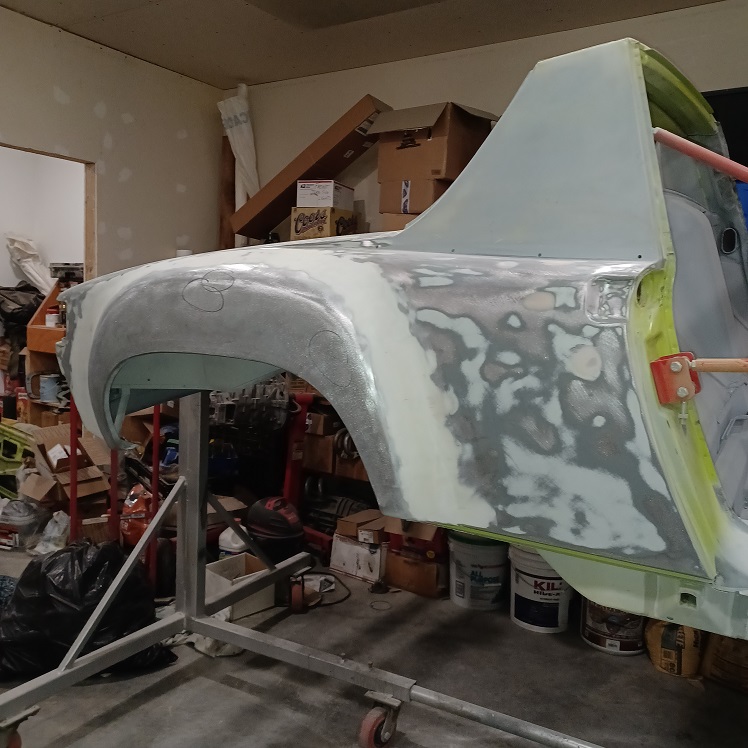
The entire rear panel was stripped down to bare metal or good solid primer...
 |
| Puebloswatcop |
 Jul 2 2022, 05:04 PM Jul 2 2022, 05:04 PM
Post
#670
|
|
Senior Member    Group: Members Posts: 1,401 Joined: 27-December 14 From: Mineola, Texas Member No.: 18,258 Region Association: Southwest Region |
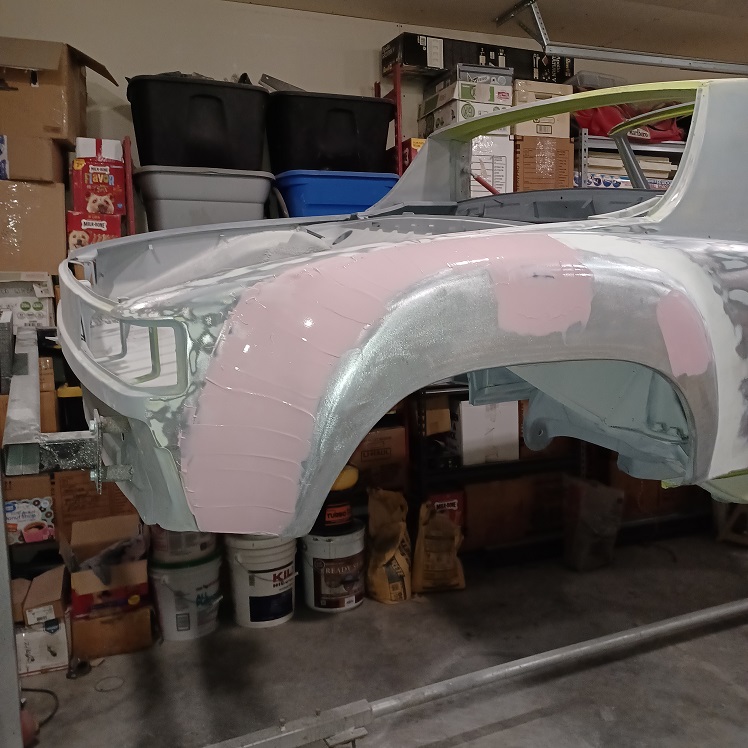
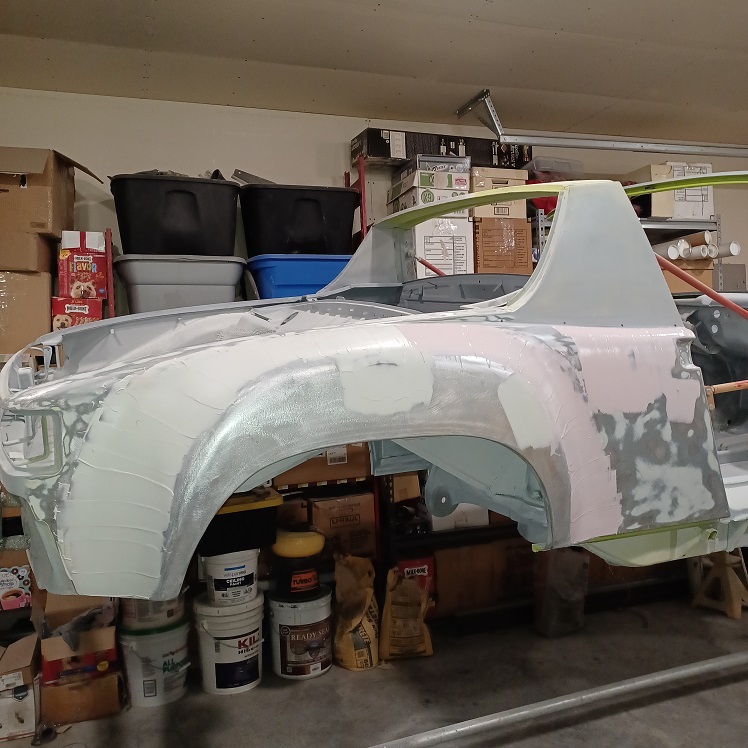
I addressed the obvious low spots and did a thin fill coat of body filler to those areas as well as building the contour of the flares.
  |
| Puebloswatcop |
 Jul 2 2022, 05:06 PM Jul 2 2022, 05:06 PM
Post
#671
|
|
Senior Member    Group: Members Posts: 1,401 Joined: 27-December 14 From: Mineola, Texas Member No.: 18,258 Region Association: Southwest Region |
Then sanded this until the dings, dents and contours were to my liking....
Tomorrow it will be on to a complete skim coat of the fender..... 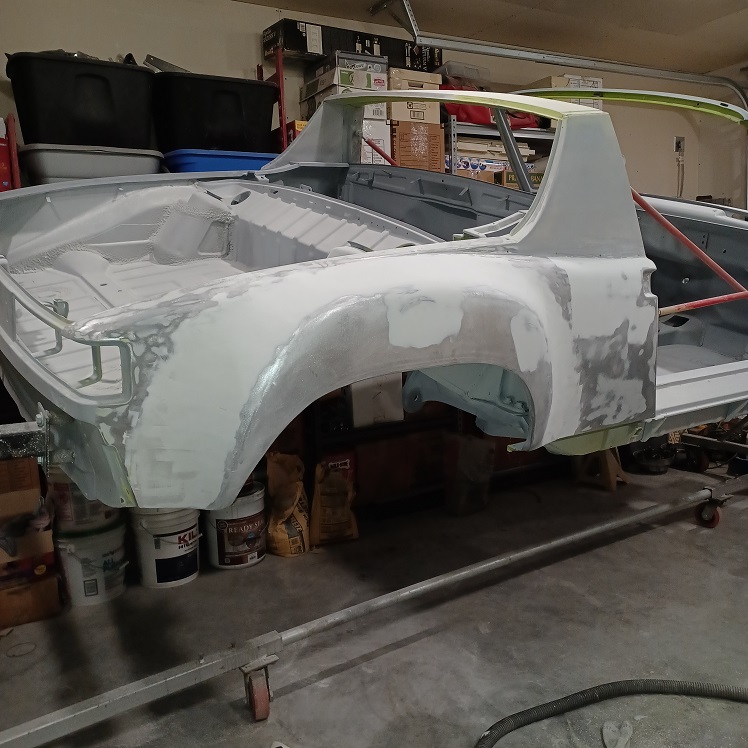 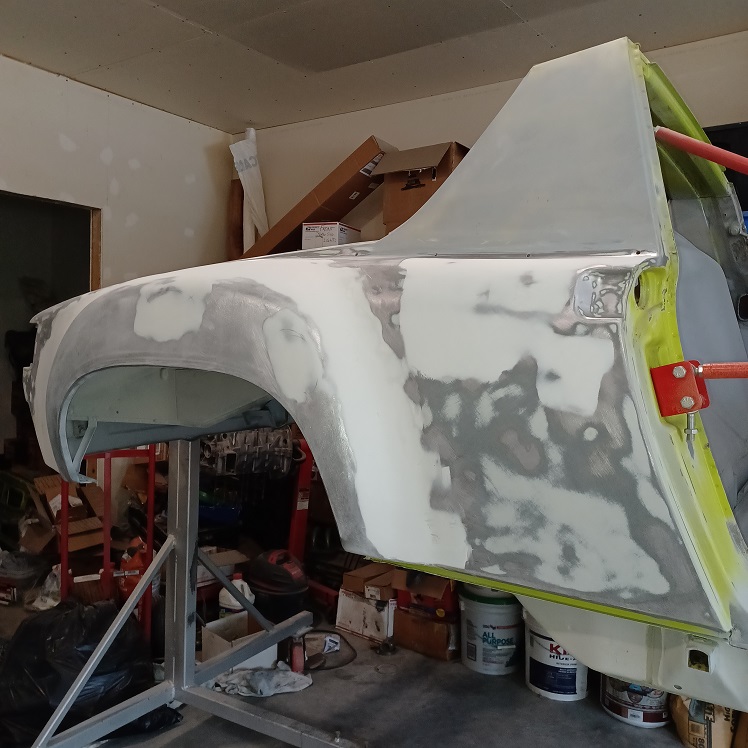 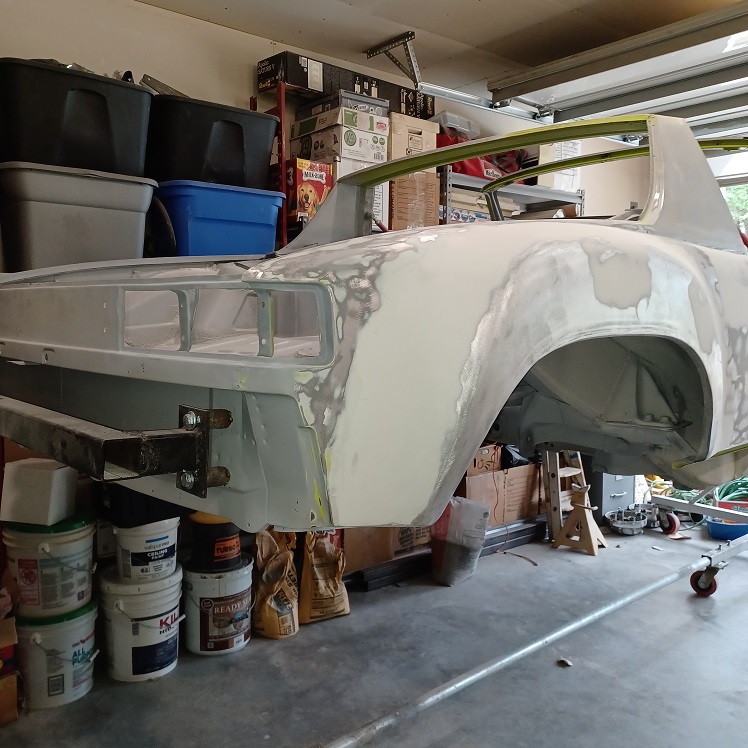 |
| 914Sixer |
 Jul 2 2022, 06:14 PM Jul 2 2022, 06:14 PM
Post
#672
|
|
914 Guru      Group: Members Posts: 9,019 Joined: 17-January 05 From: San Angelo Texas Member No.: 3,457 Region Association: Southwest Region 
|
Looking good (IMG:style_emoticons/default/popcorn[1].gif)
|
| oldie914 |
 Jul 3 2022, 12:12 AM Jul 3 2022, 12:12 AM
Post
#673
|
|
Member   Group: Members Posts: 107 Joined: 2-May 10 From: Germany Member No.: 11,680 Region Association: None |
Work looks good but I recommend you drape a couple of painter drop cloths over the boxes stored against the wall. Will save you a lot of dust clean up later.
|
| Puebloswatcop |
 Jul 3 2022, 06:43 PM Jul 3 2022, 06:43 PM
Post
#674
|
|
Senior Member    Group: Members Posts: 1,401 Joined: 27-December 14 From: Mineola, Texas Member No.: 18,258 Region Association: Southwest Region |
Today the goal was to get the rear fender skimmed out and sanded. An early start made it fairly comfortable, before the heat hit.
I got the skim coat on and then started sanding.... 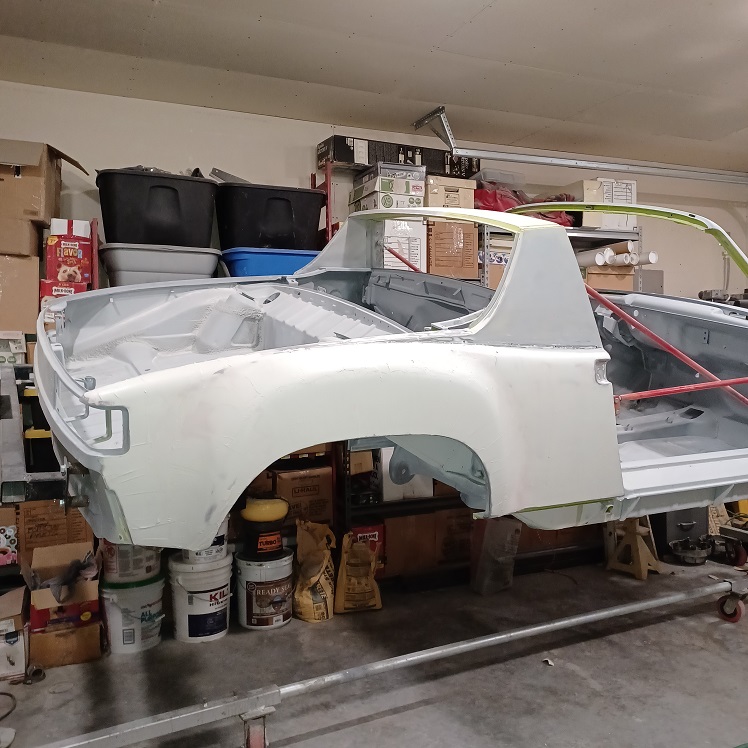 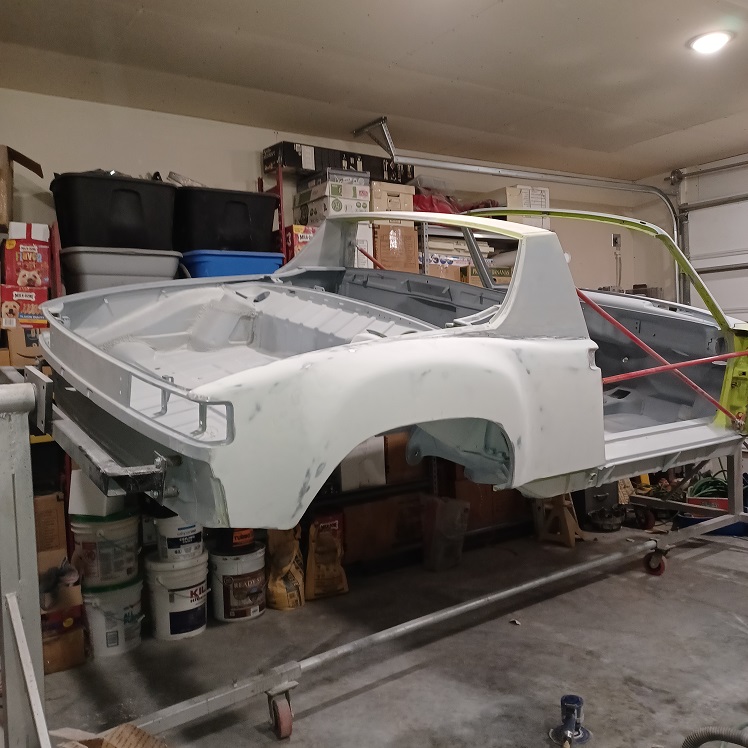 |
| Puebloswatcop |
 Jul 3 2022, 06:47 PM Jul 3 2022, 06:47 PM
Post
#675
|
|
Senior Member    Group: Members Posts: 1,401 Joined: 27-December 14 From: Mineola, Texas Member No.: 18,258 Region Association: Southwest Region |
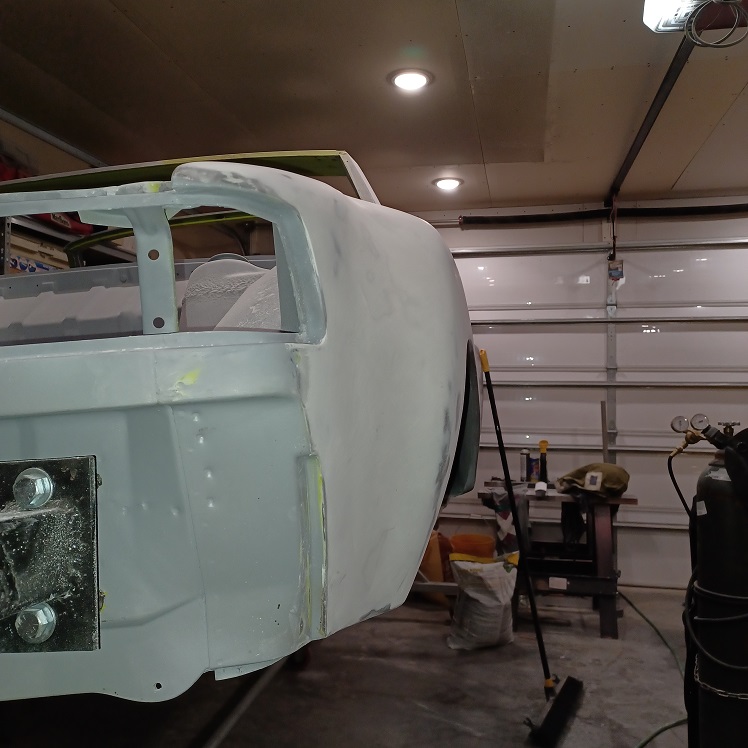
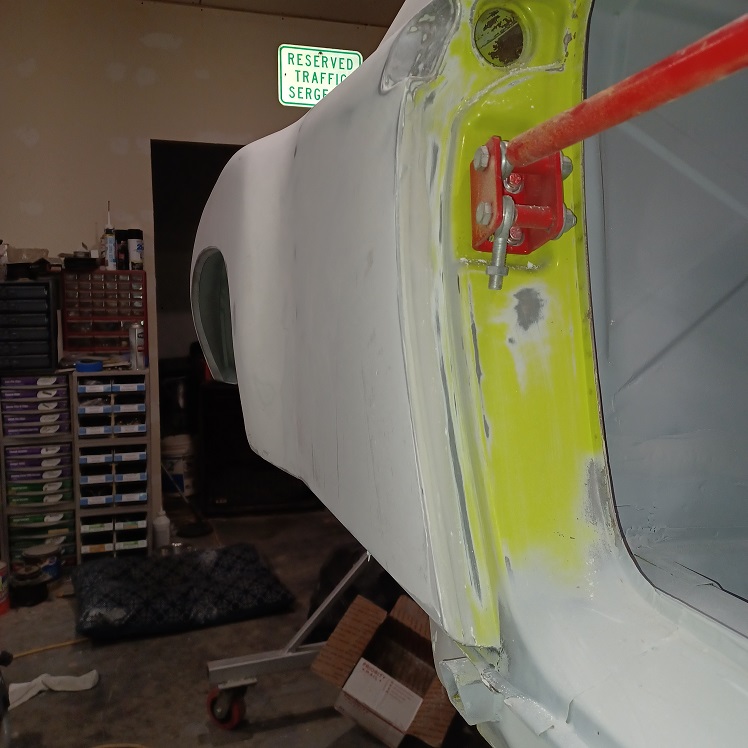
Still some sanding left to do, but the wife reminded me it was laundry day and our dryer vents into the garage...crap. Oh well, I am happy with the progress and just decided to go inside and do a few other things that need doing.
  |
| Puebloswatcop |
 Jul 3 2022, 06:51 PM Jul 3 2022, 06:51 PM
Post
#676
|
|
Senior Member    Group: Members Posts: 1,401 Joined: 27-December 14 From: Mineola, Texas Member No.: 18,258 Region Association: Southwest Region |
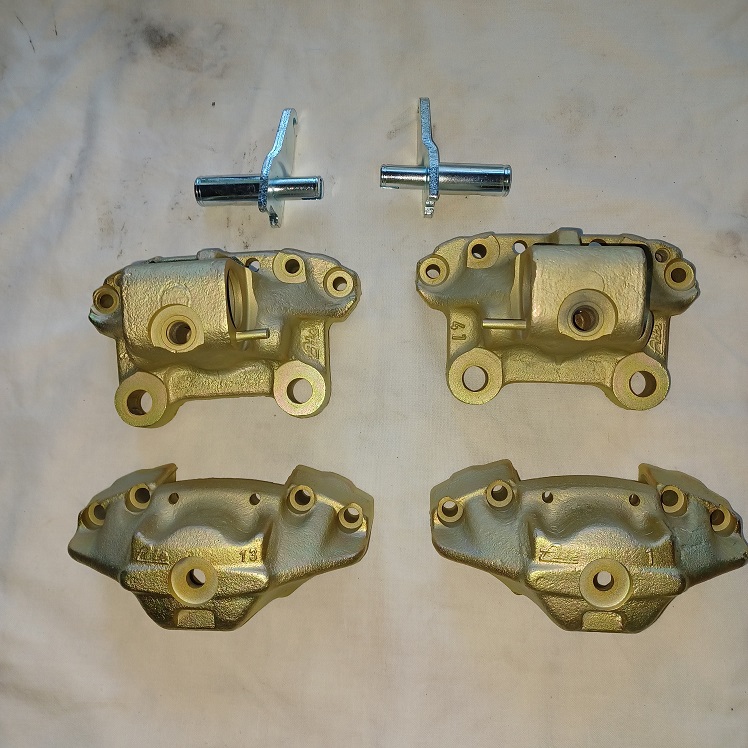
So since I can't work in the garage I moved to the kitchen table....I am lucky that my wife lets me work there as long as I cover the table and I am working on new / clean parts. So rear brakes were on the agenda.
 |
| Puebloswatcop |
 Jul 3 2022, 06:53 PM Jul 3 2022, 06:53 PM
Post
#677
|
|
Senior Member    Group: Members Posts: 1,401 Joined: 27-December 14 From: Mineola, Texas Member No.: 18,258 Region Association: Southwest Region |
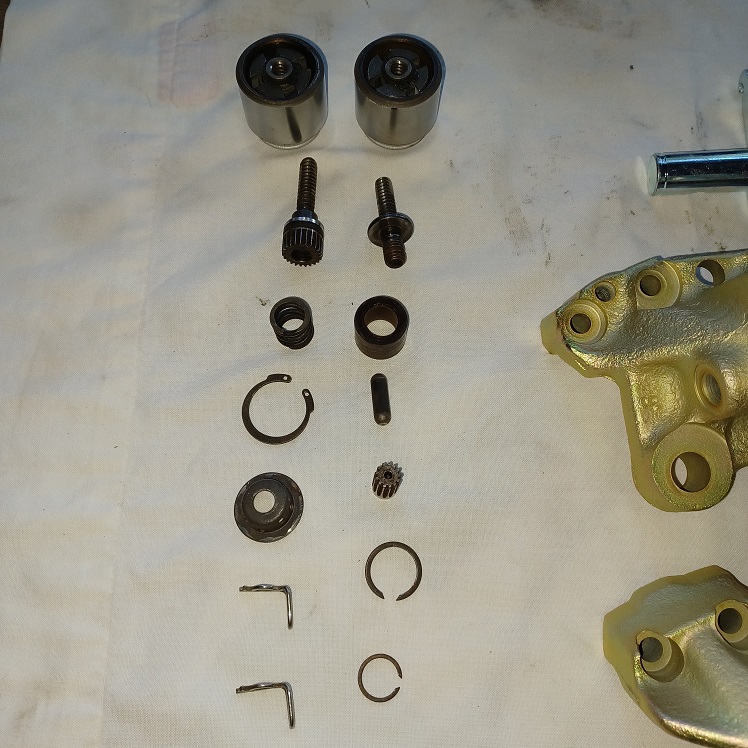
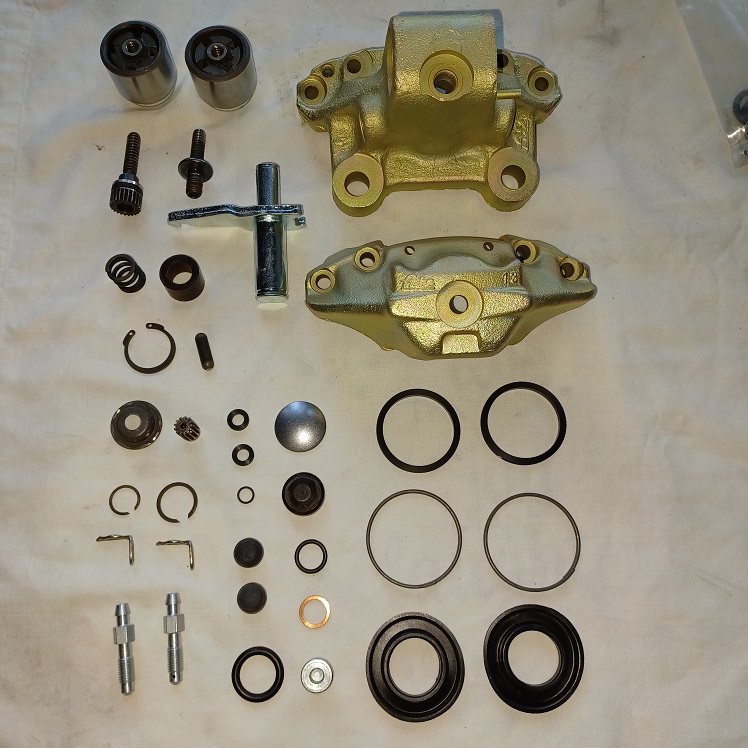
I started by laing out all of the hard parts, and then layed out the parts from the rebuild kit from PMB Brakes....
  |
| Puebloswatcop |
 Jul 3 2022, 07:04 PM Jul 3 2022, 07:04 PM
Post
#678
|
|
Senior Member    Group: Members Posts: 1,401 Joined: 27-December 14 From: Mineola, Texas Member No.: 18,258 Region Association: Southwest Region |
Once I confirmed I had all of my parts it was time for the build process. Now, this isn't my first brake re-build, but it has been awhile. So I reviewed the most awesome rear brake rebuild video on You Tube, again posted by Eric Shea at PMB Brakes, https://www.youtube.com/watch?v=dm_DnizKOZM , If you have never done a brake build but want to give it a shot, or just need to refresh your skills I highly recommend this video.
One thing to note is all of the internal parts do need to be lubricated, so I use Permatex ceramic extreme brake parts lube for all the internals. 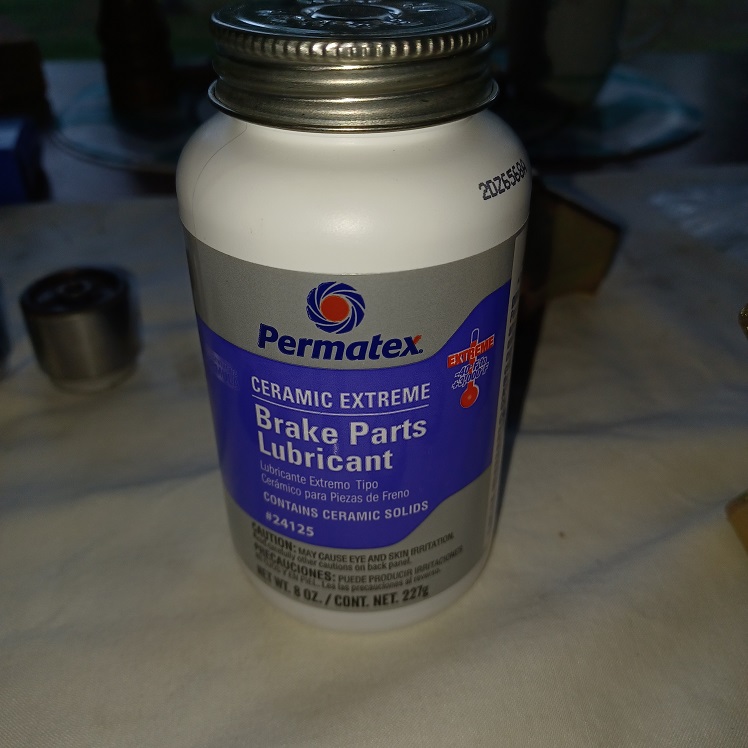 |
| Puebloswatcop |
 Jul 3 2022, 07:07 PM Jul 3 2022, 07:07 PM
Post
#679
|
|
Senior Member    Group: Members Posts: 1,401 Joined: 27-December 14 From: Mineola, Texas Member No.: 18,258 Region Association: Southwest Region |
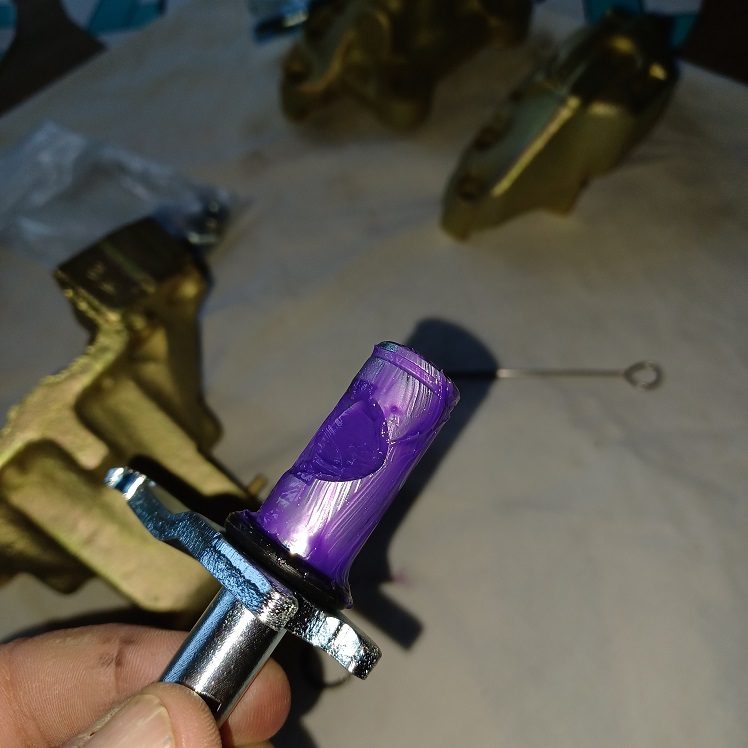
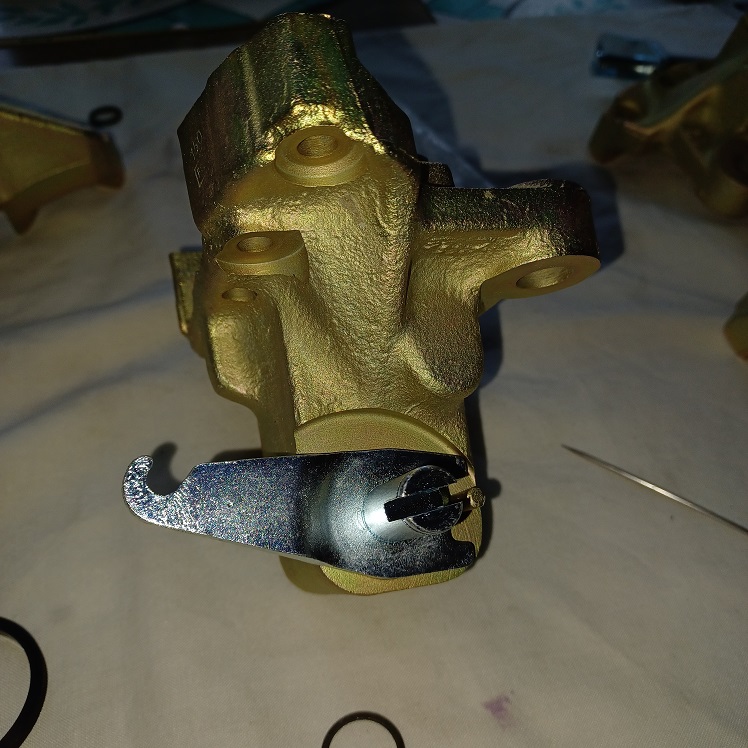
Since the e-brake arms and caliper bodies had all been re-plated I checked to insure the fit was good with no binding...It was perfect, so I lubed up the e-brake arm and installed it.
  |
| Puebloswatcop |
 Jul 3 2022, 07:11 PM Jul 3 2022, 07:11 PM
Post
#680
|
|
Senior Member    Group: Members Posts: 1,401 Joined: 27-December 14 From: Mineola, Texas Member No.: 18,258 Region Association: Southwest Region |
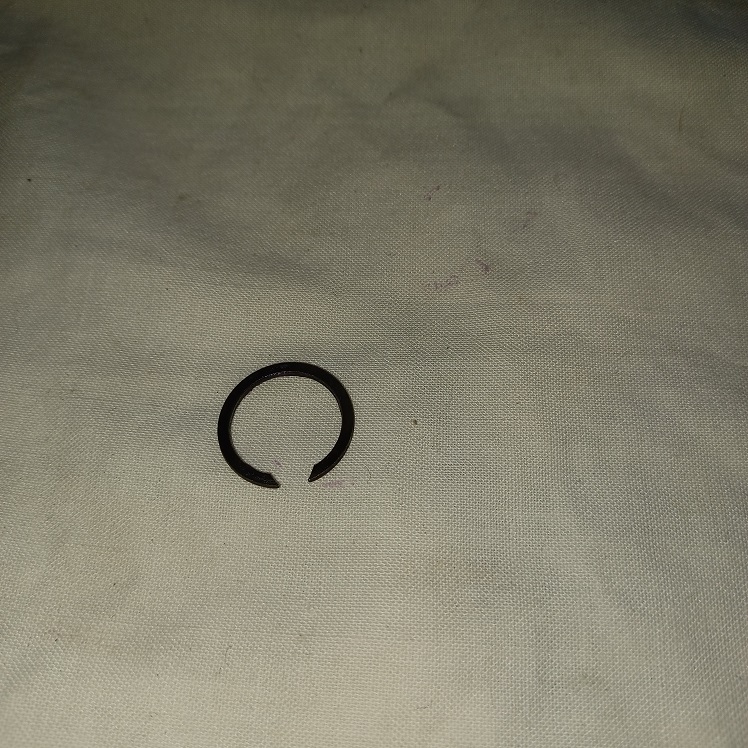
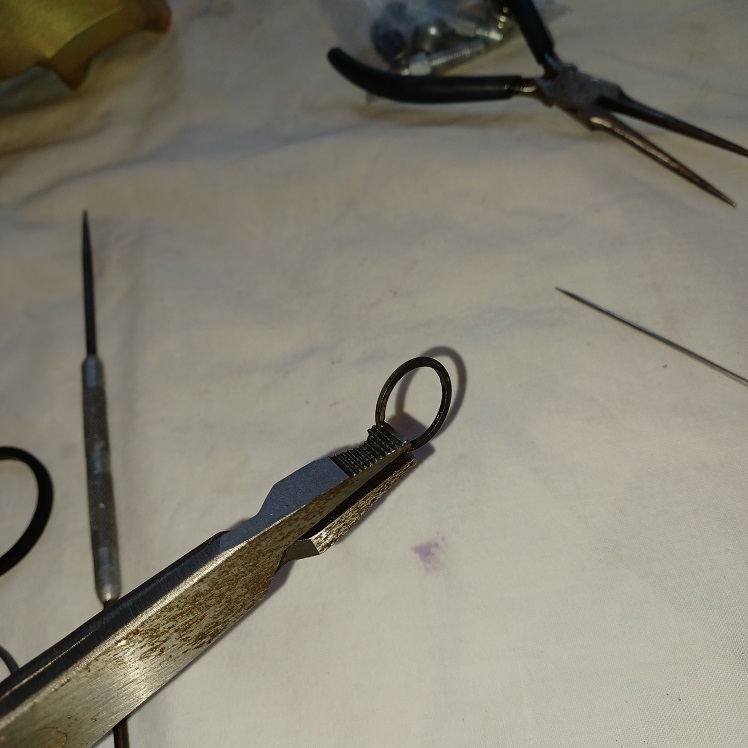
Then I had to install the retaining ring for the e-brake arm. I tried pushing it in but it kept giving me problems. Then I remembered I had a special pair of ring pliers that are actually for installing the ring on the snout of the crank....but hey... a ring is a ring...just much smaller. They worked like a charm.
  |
  |
2 User(s) are reading this topic (2 Guests and 0 Anonymous Users)
0 Members:

|
Lo-Fi Version | Time is now: 25th November 2024 - 06:43 PM |
Invision Power Board
v9.1.4 © 2024 IPS, Inc.


